
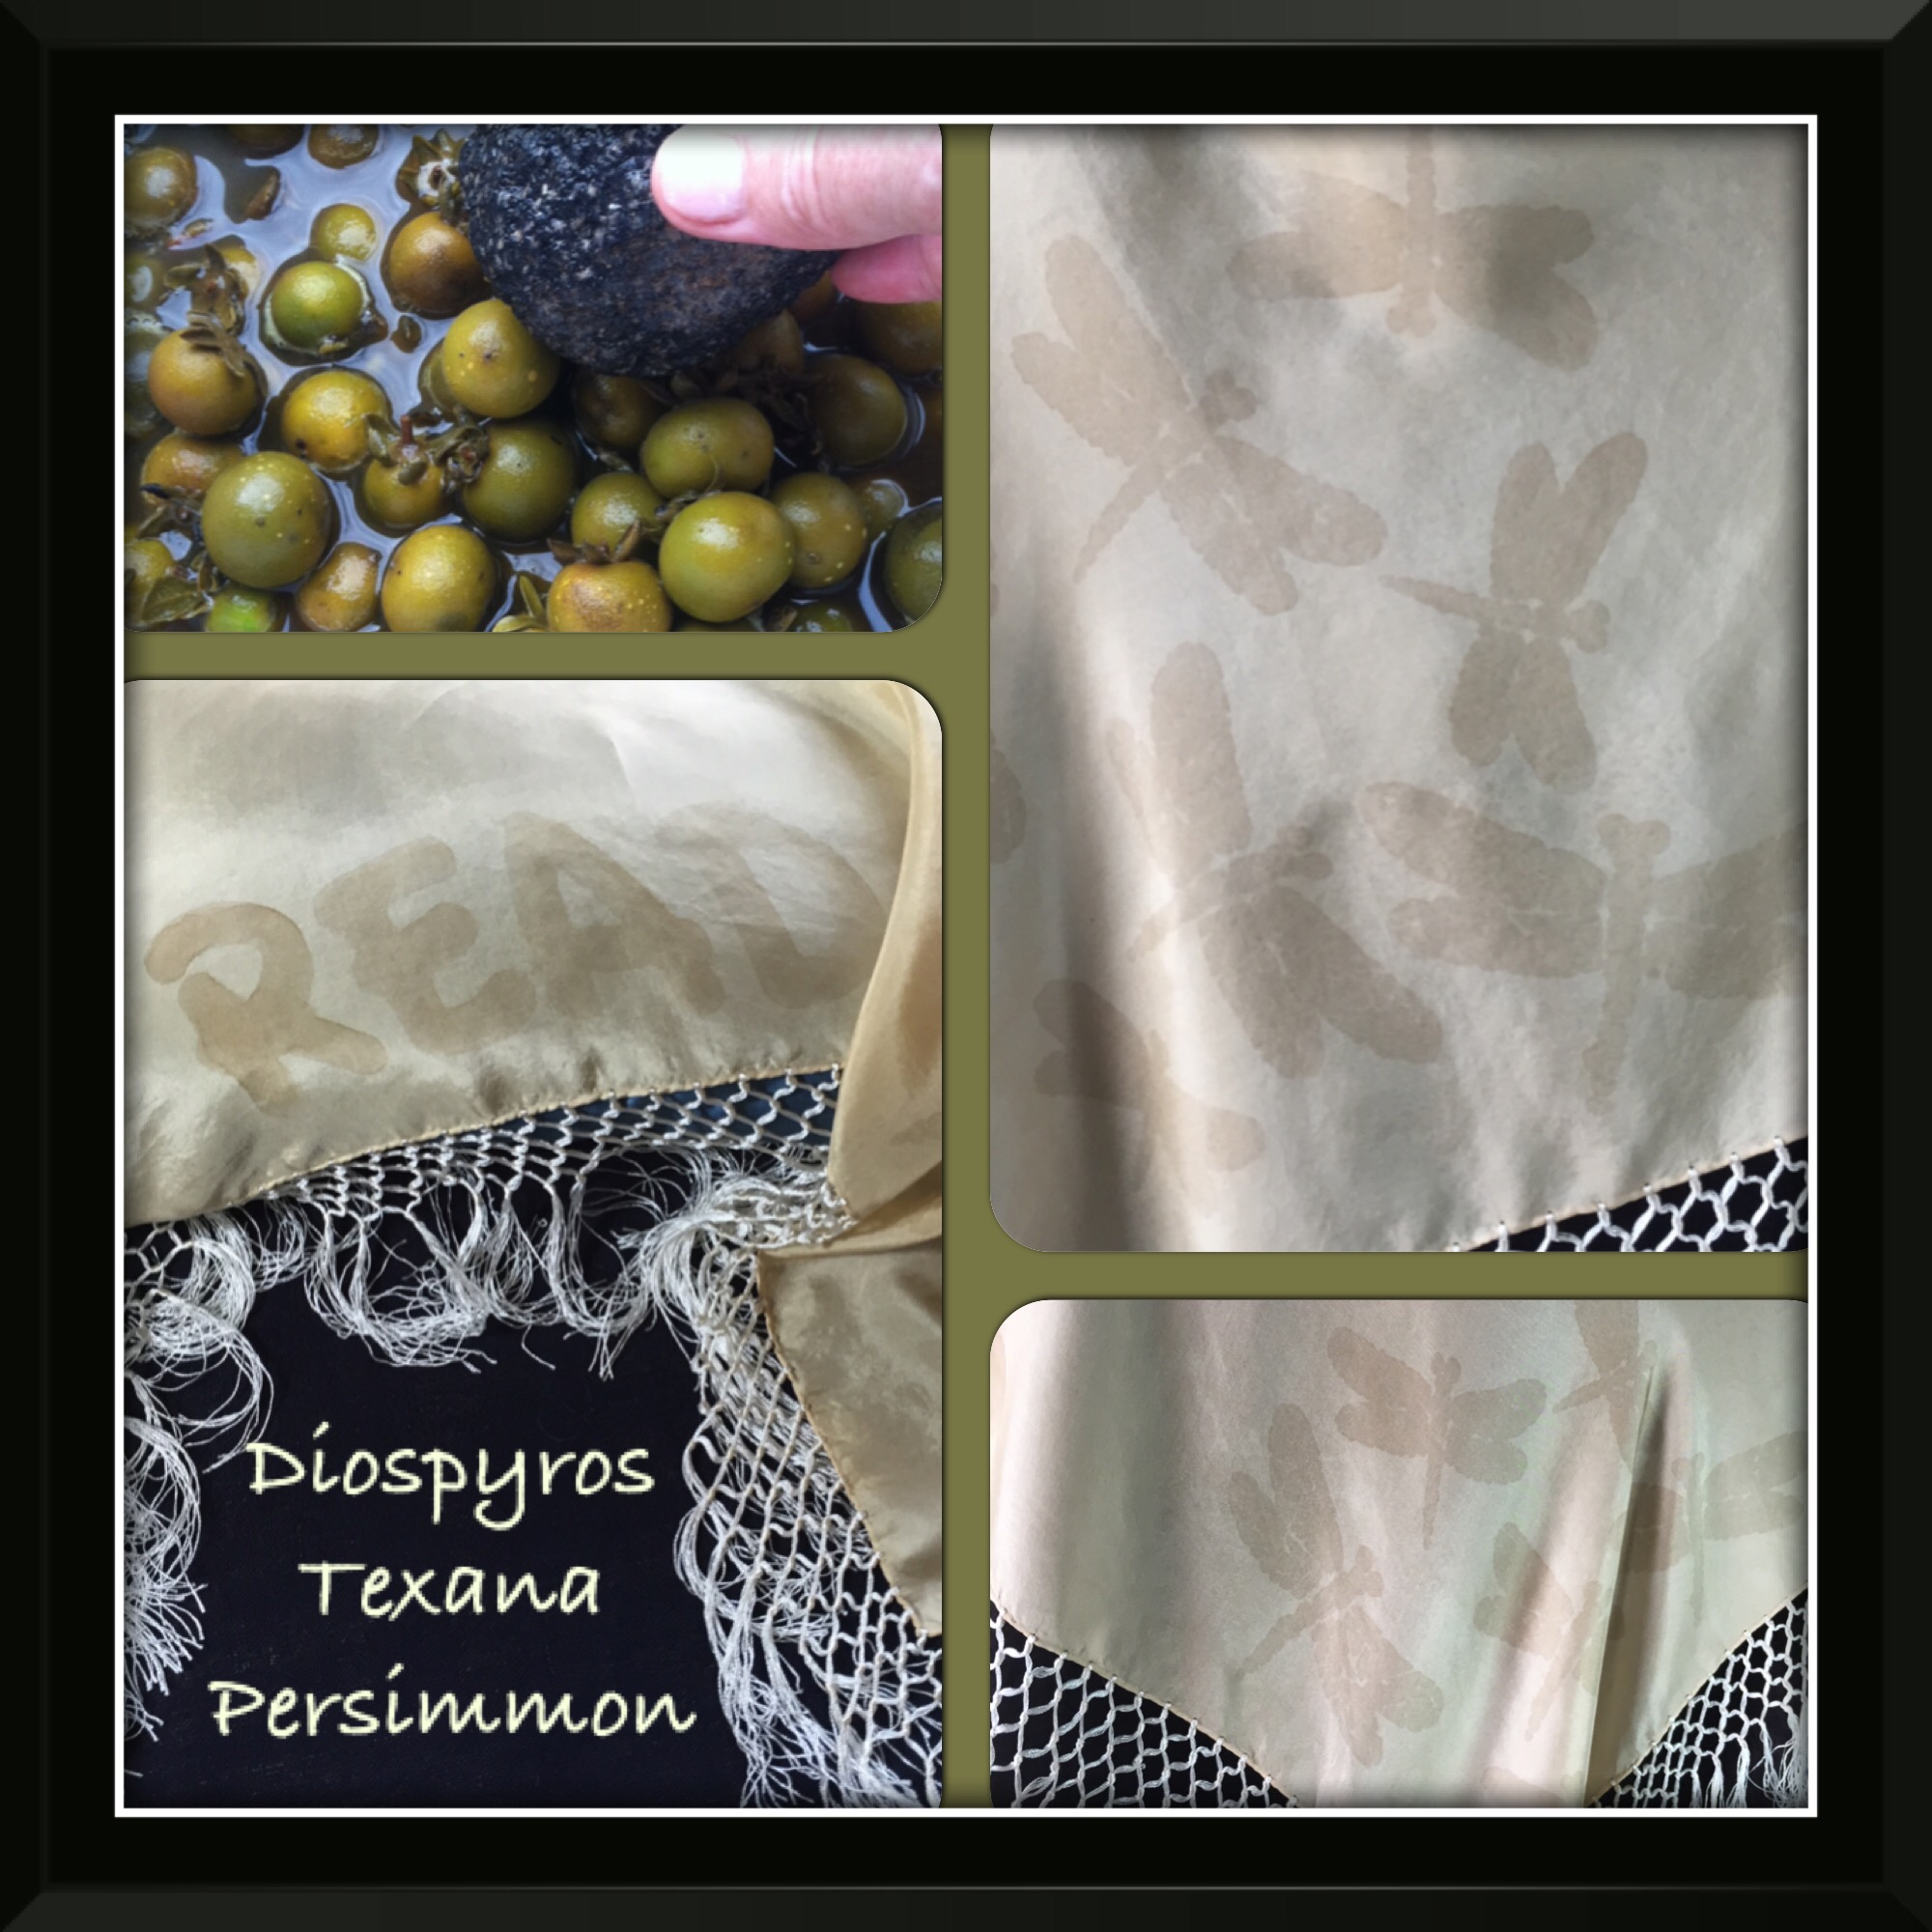
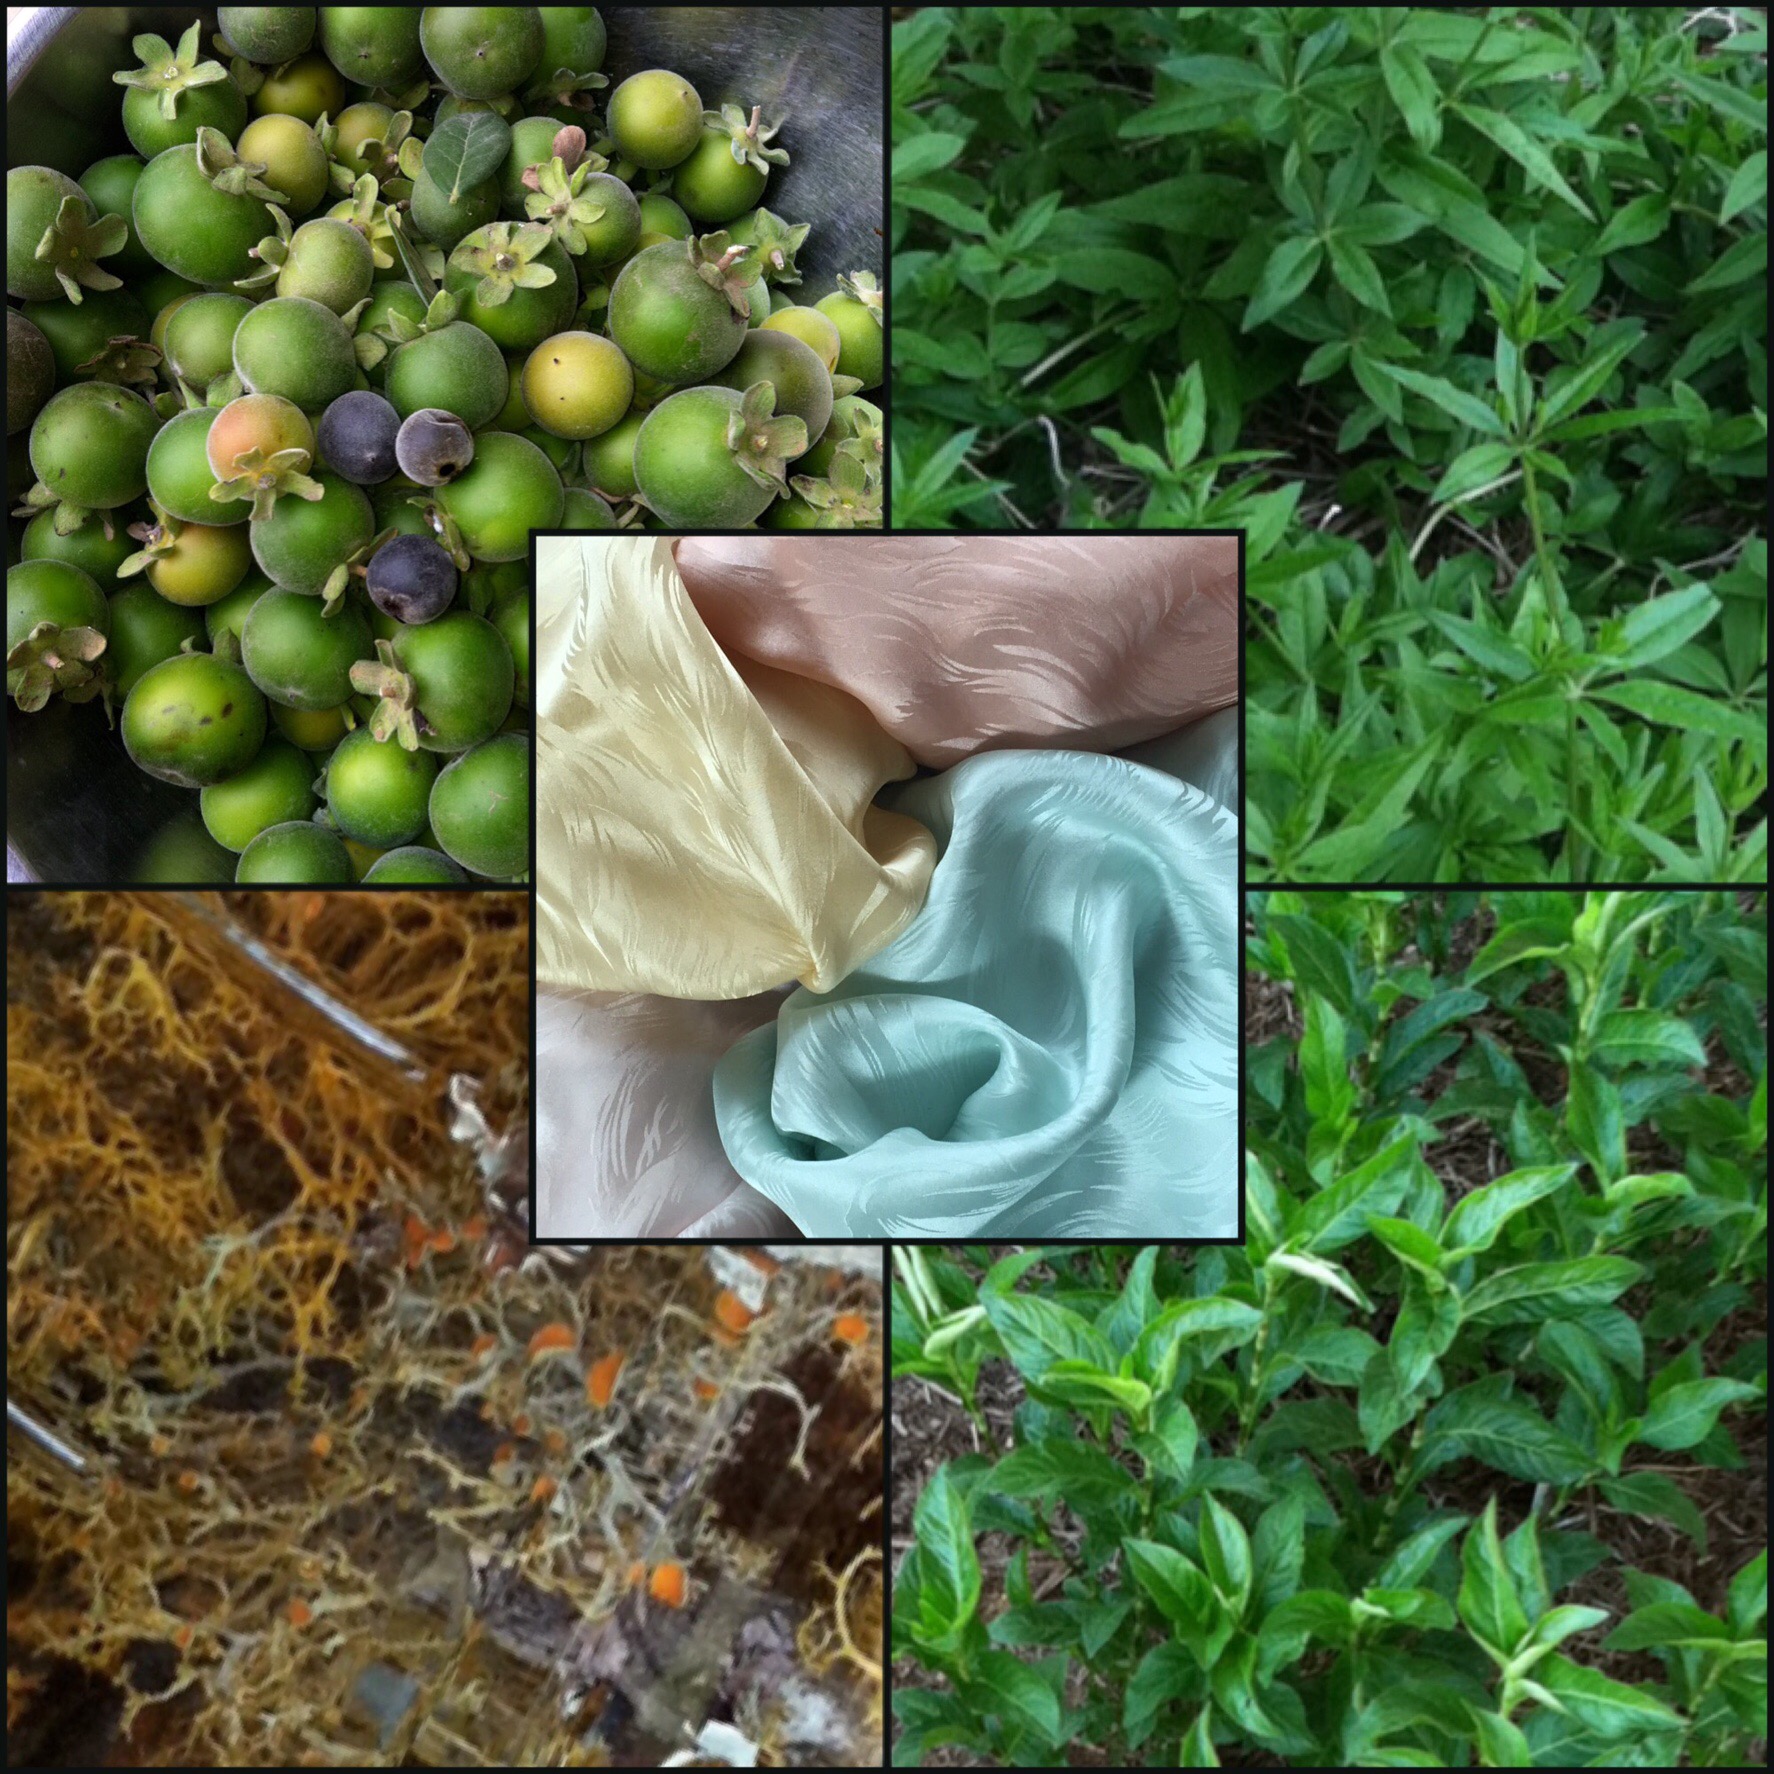
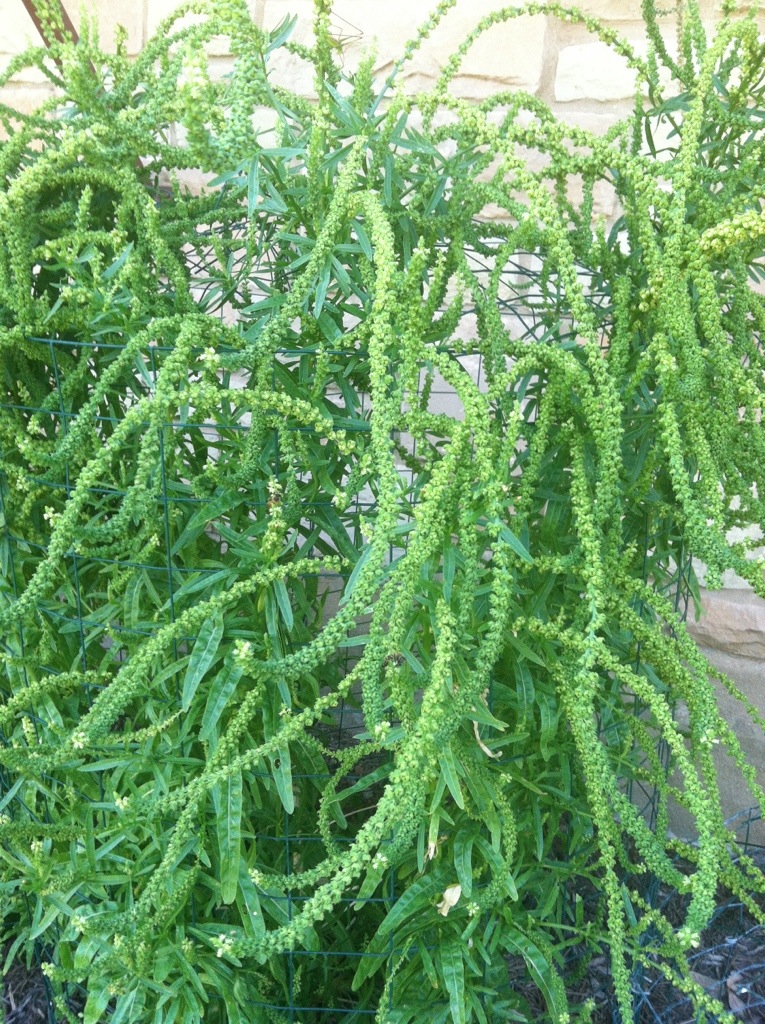
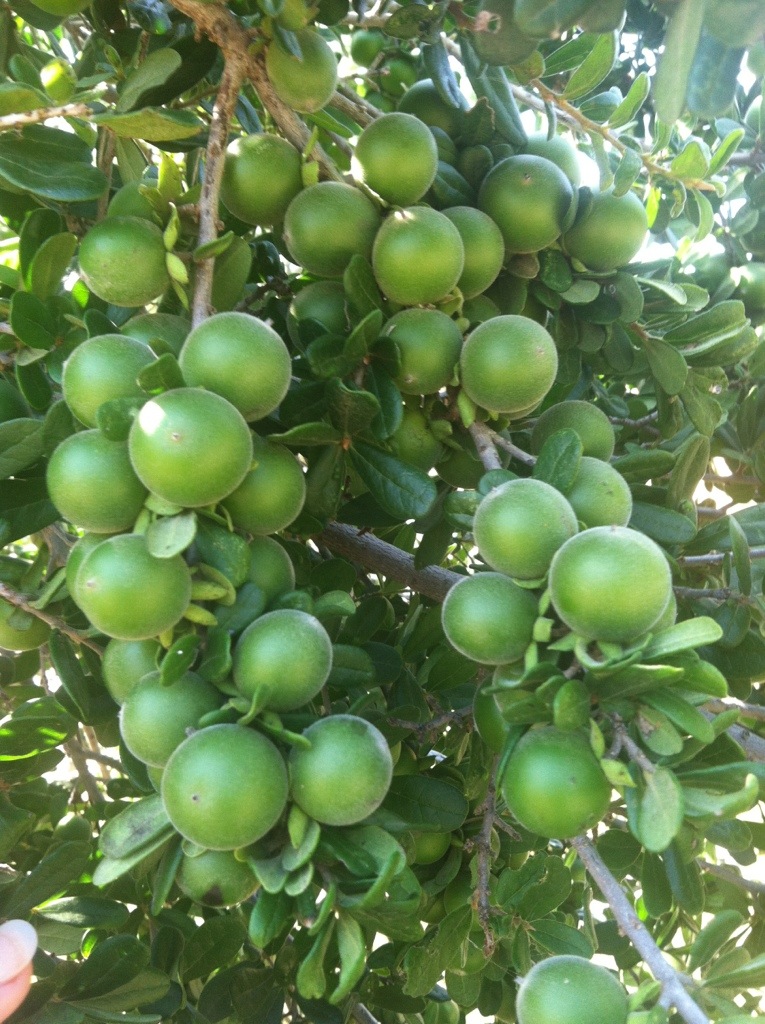
Enough folks have asked me about dyeing with our Texas persimmon that I gather up my random blog process posts from over the years and give you the steps first and then put in web links to my blog entries to give a bit of visual detail. The persimmons are green right now, get out there before the sun cranks up and pick them. You can hold them in the fridge until you gather enough for your holding vessel. About a pound of fruit gives you enough to experiment with. I don’t bother with pulling the leaves on the top of the fruit, they are along for the ride until you strain. Enjoy! Deb Mc
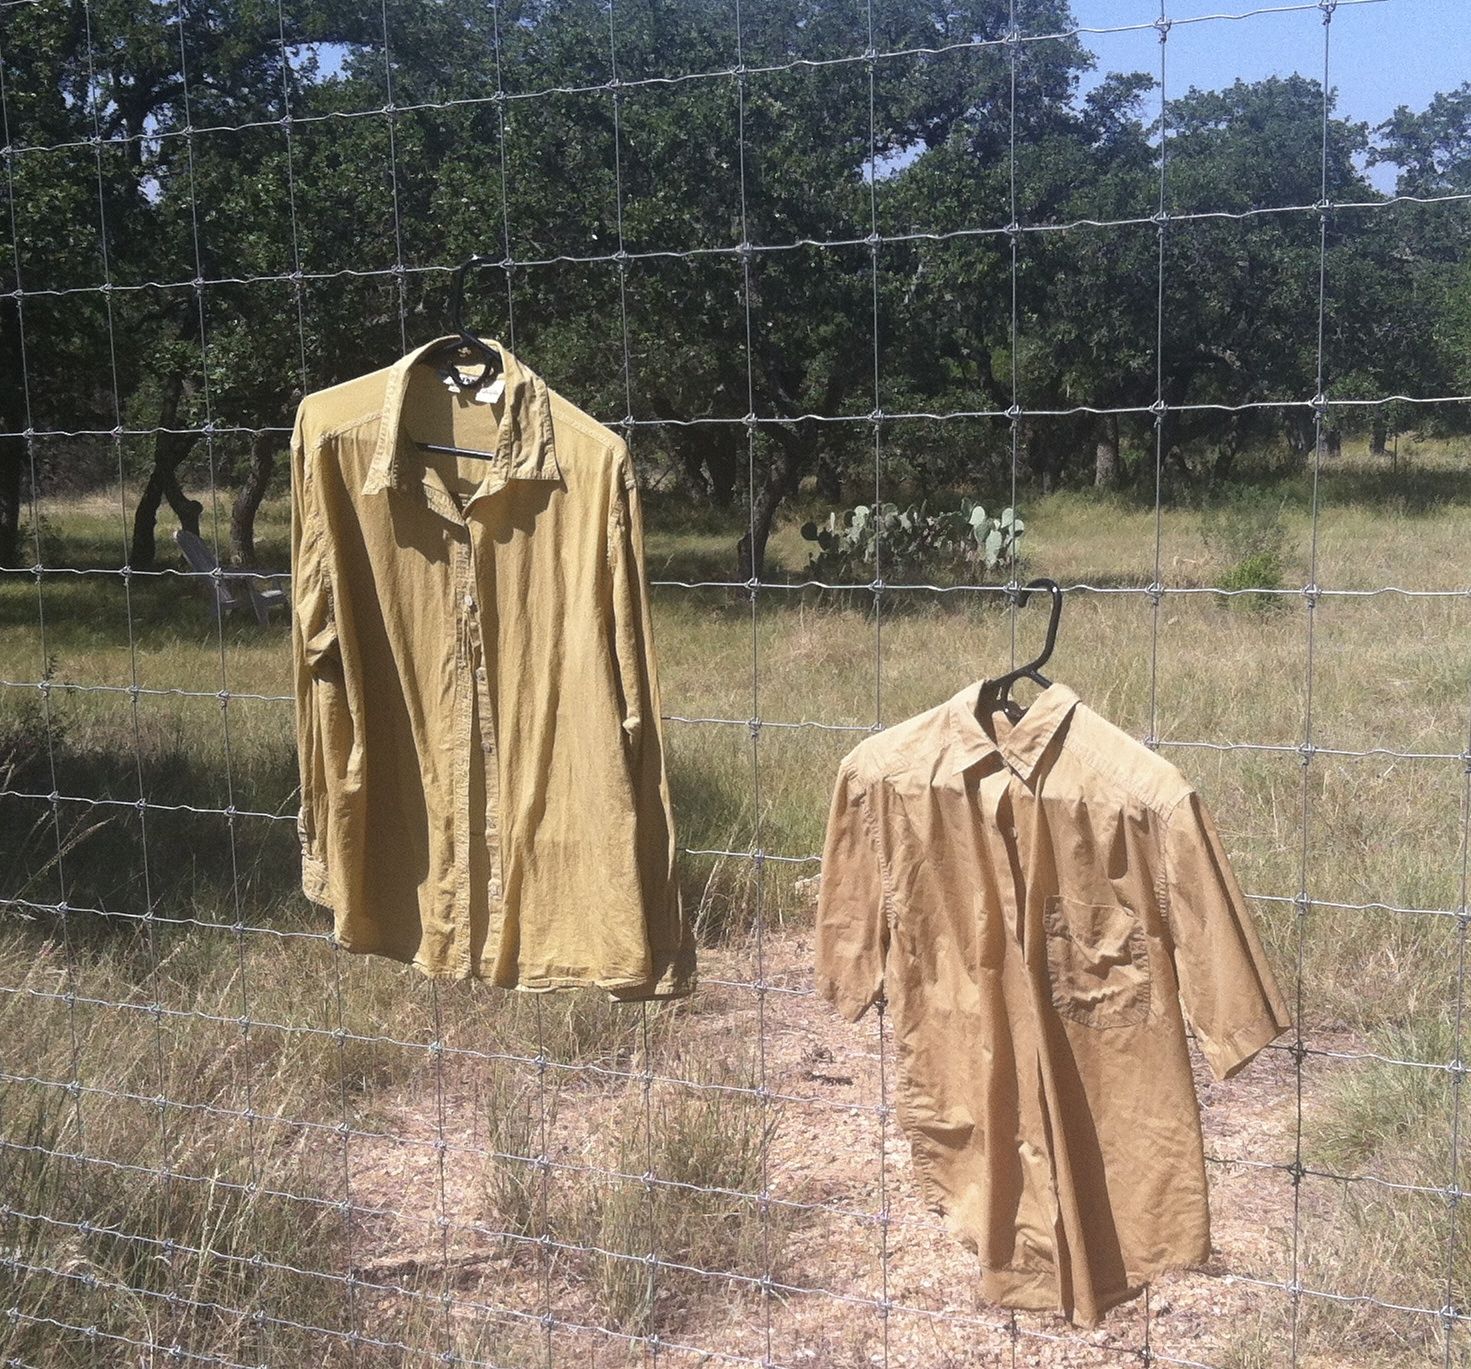
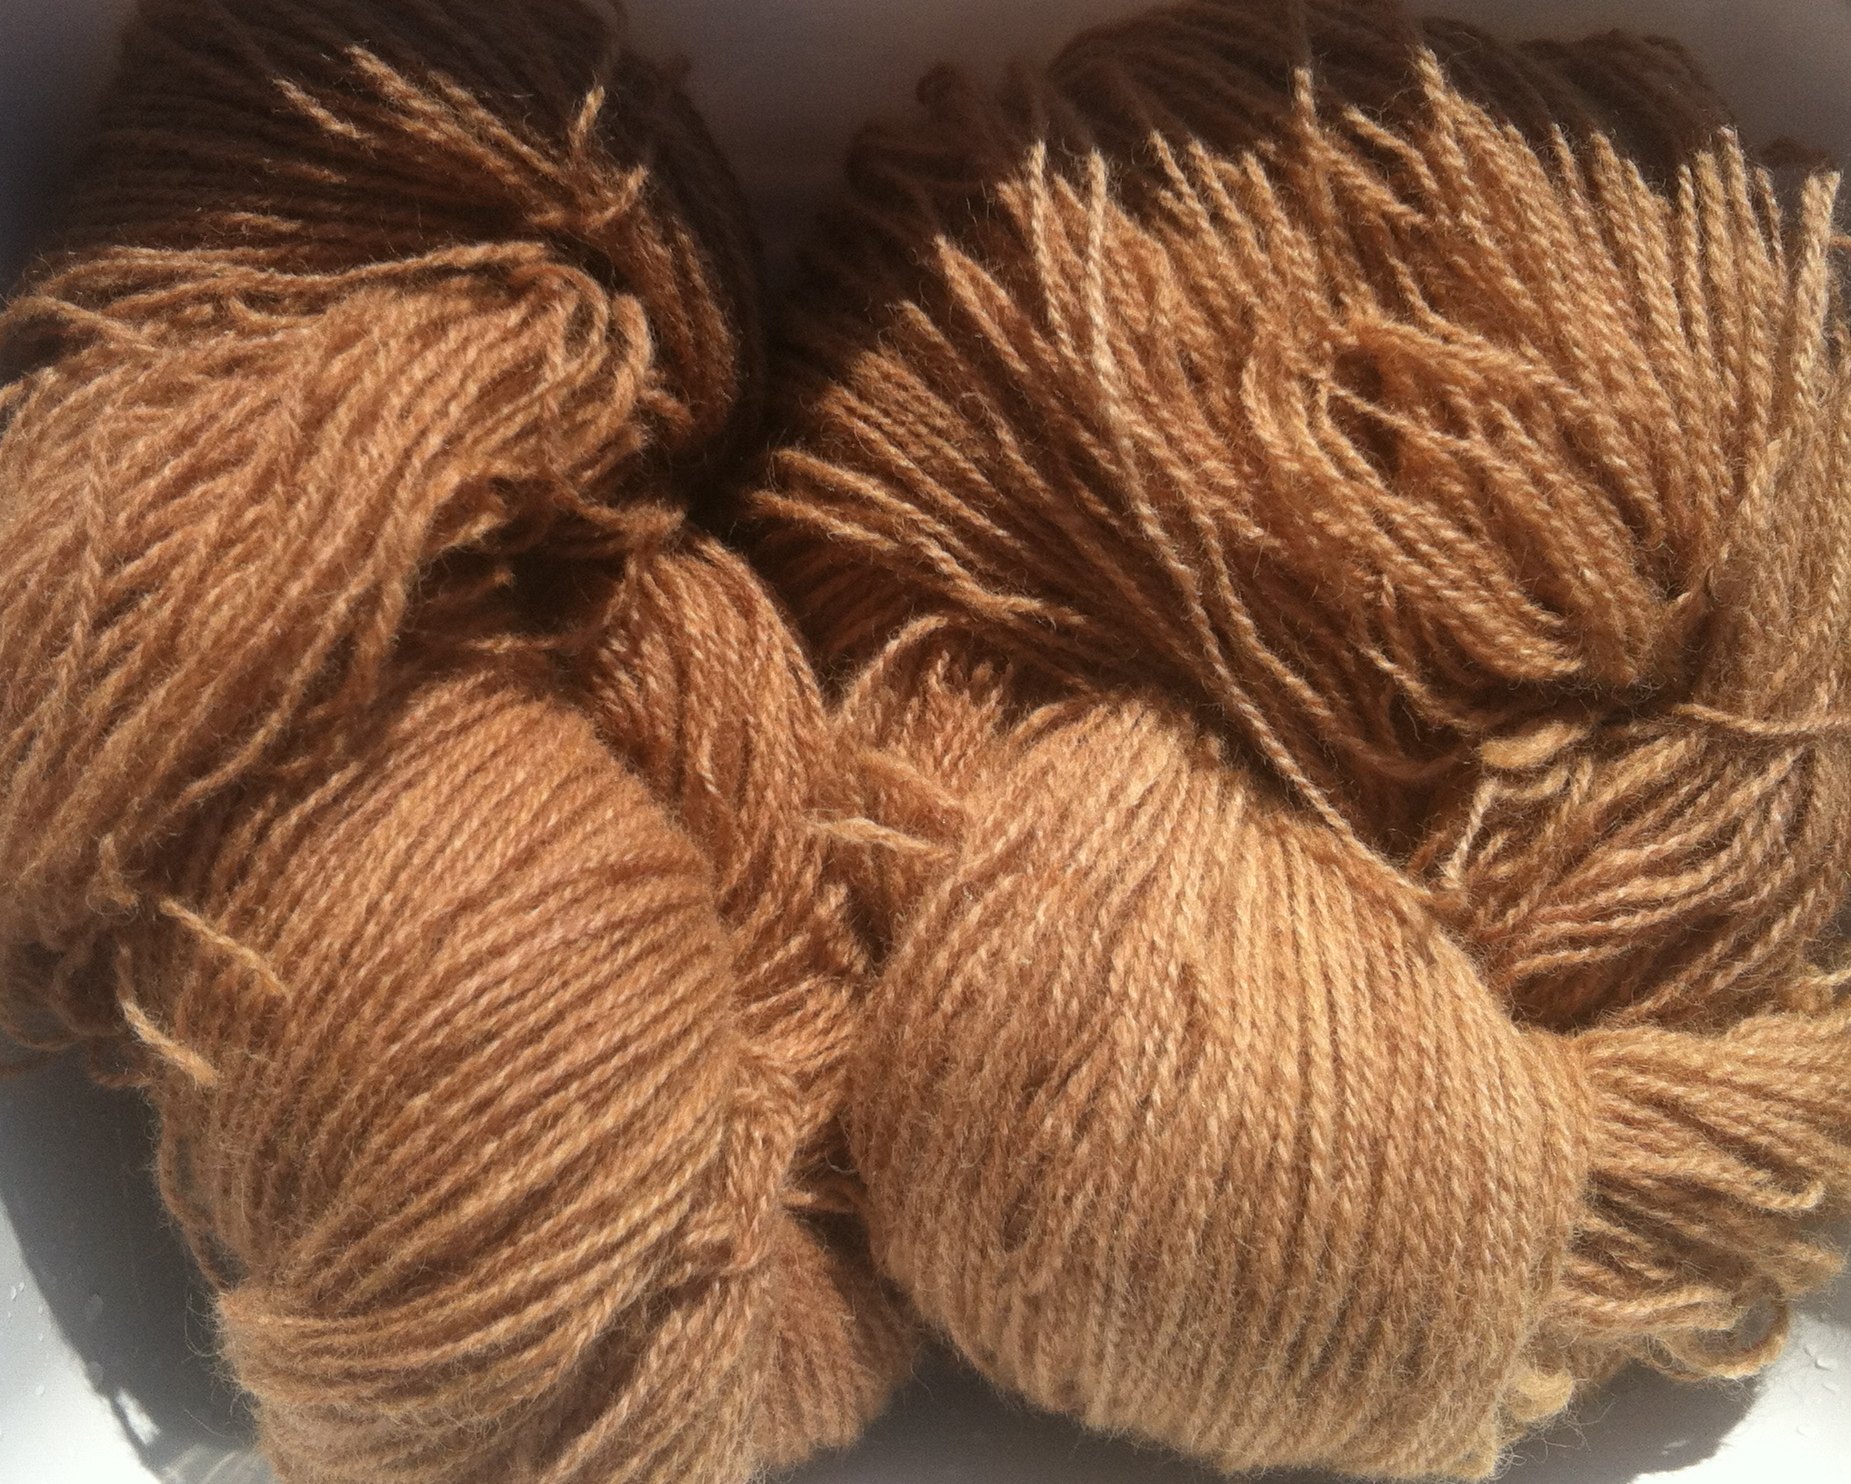
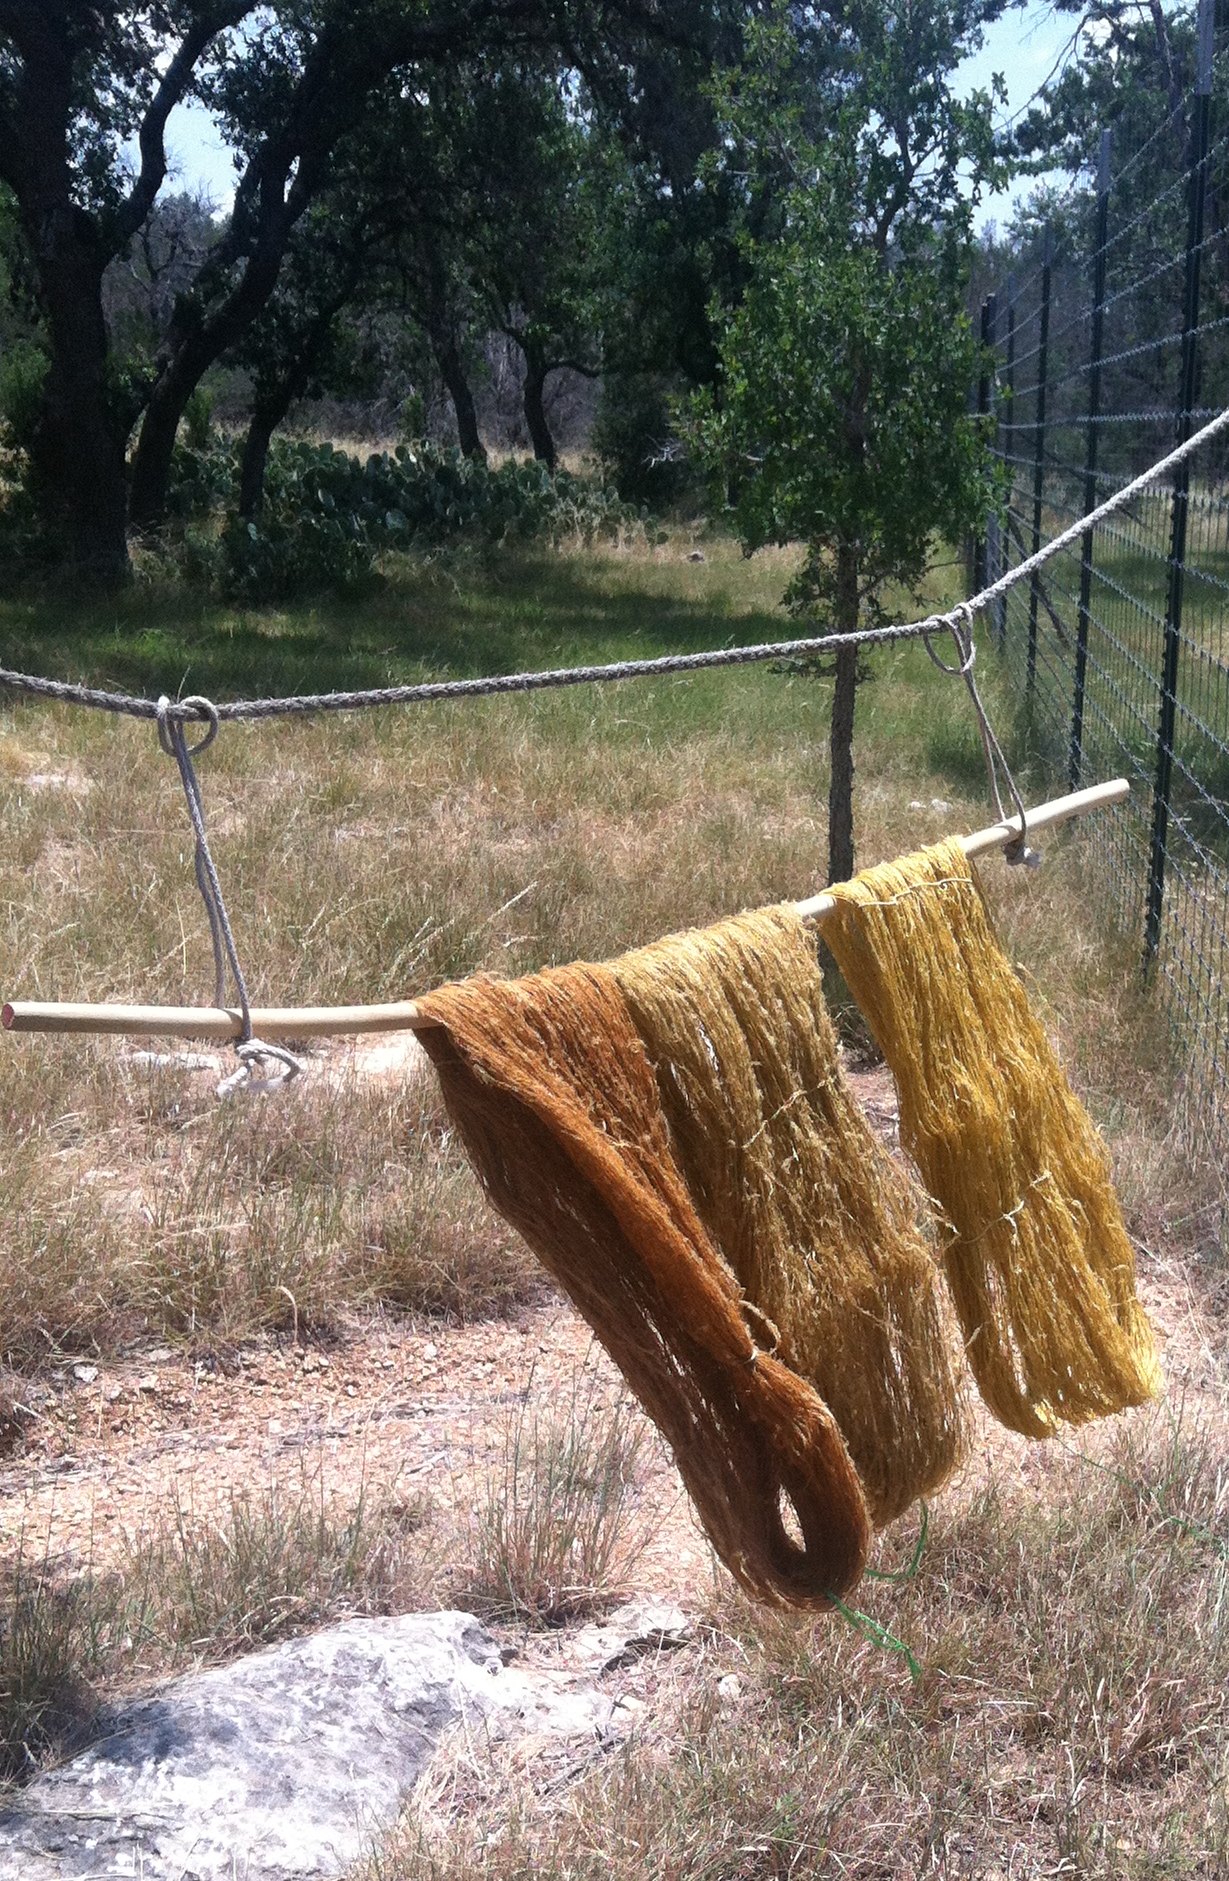
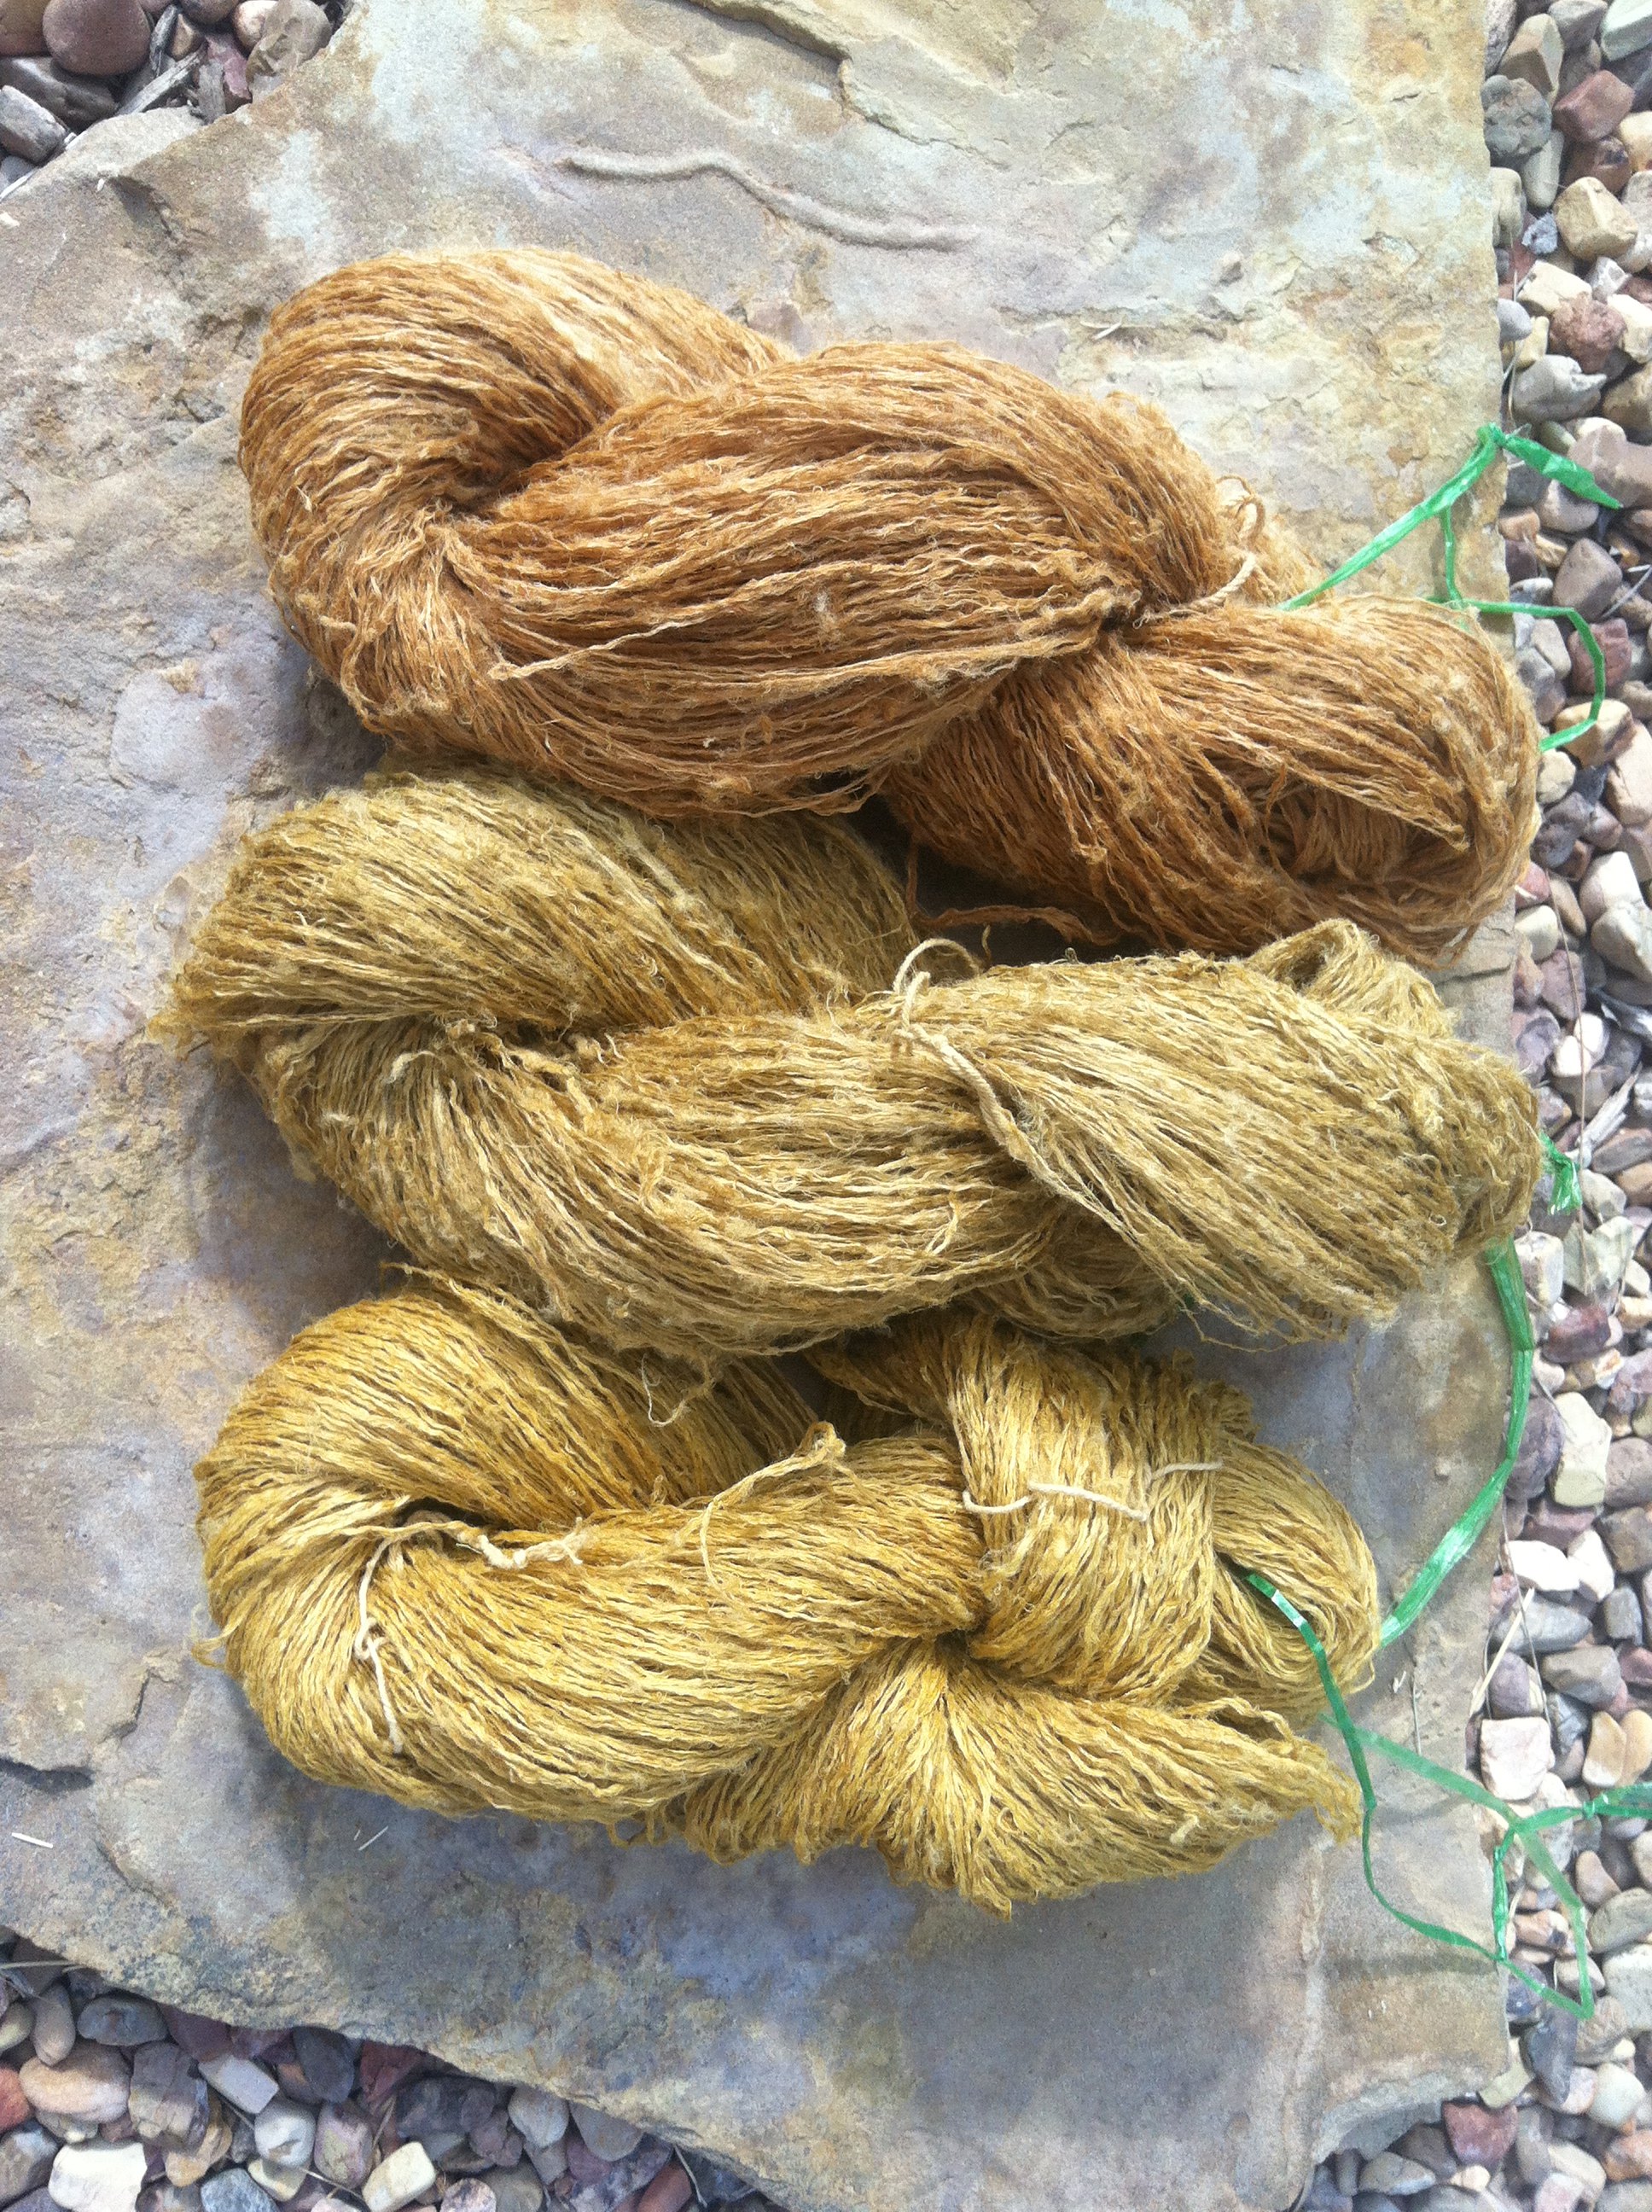
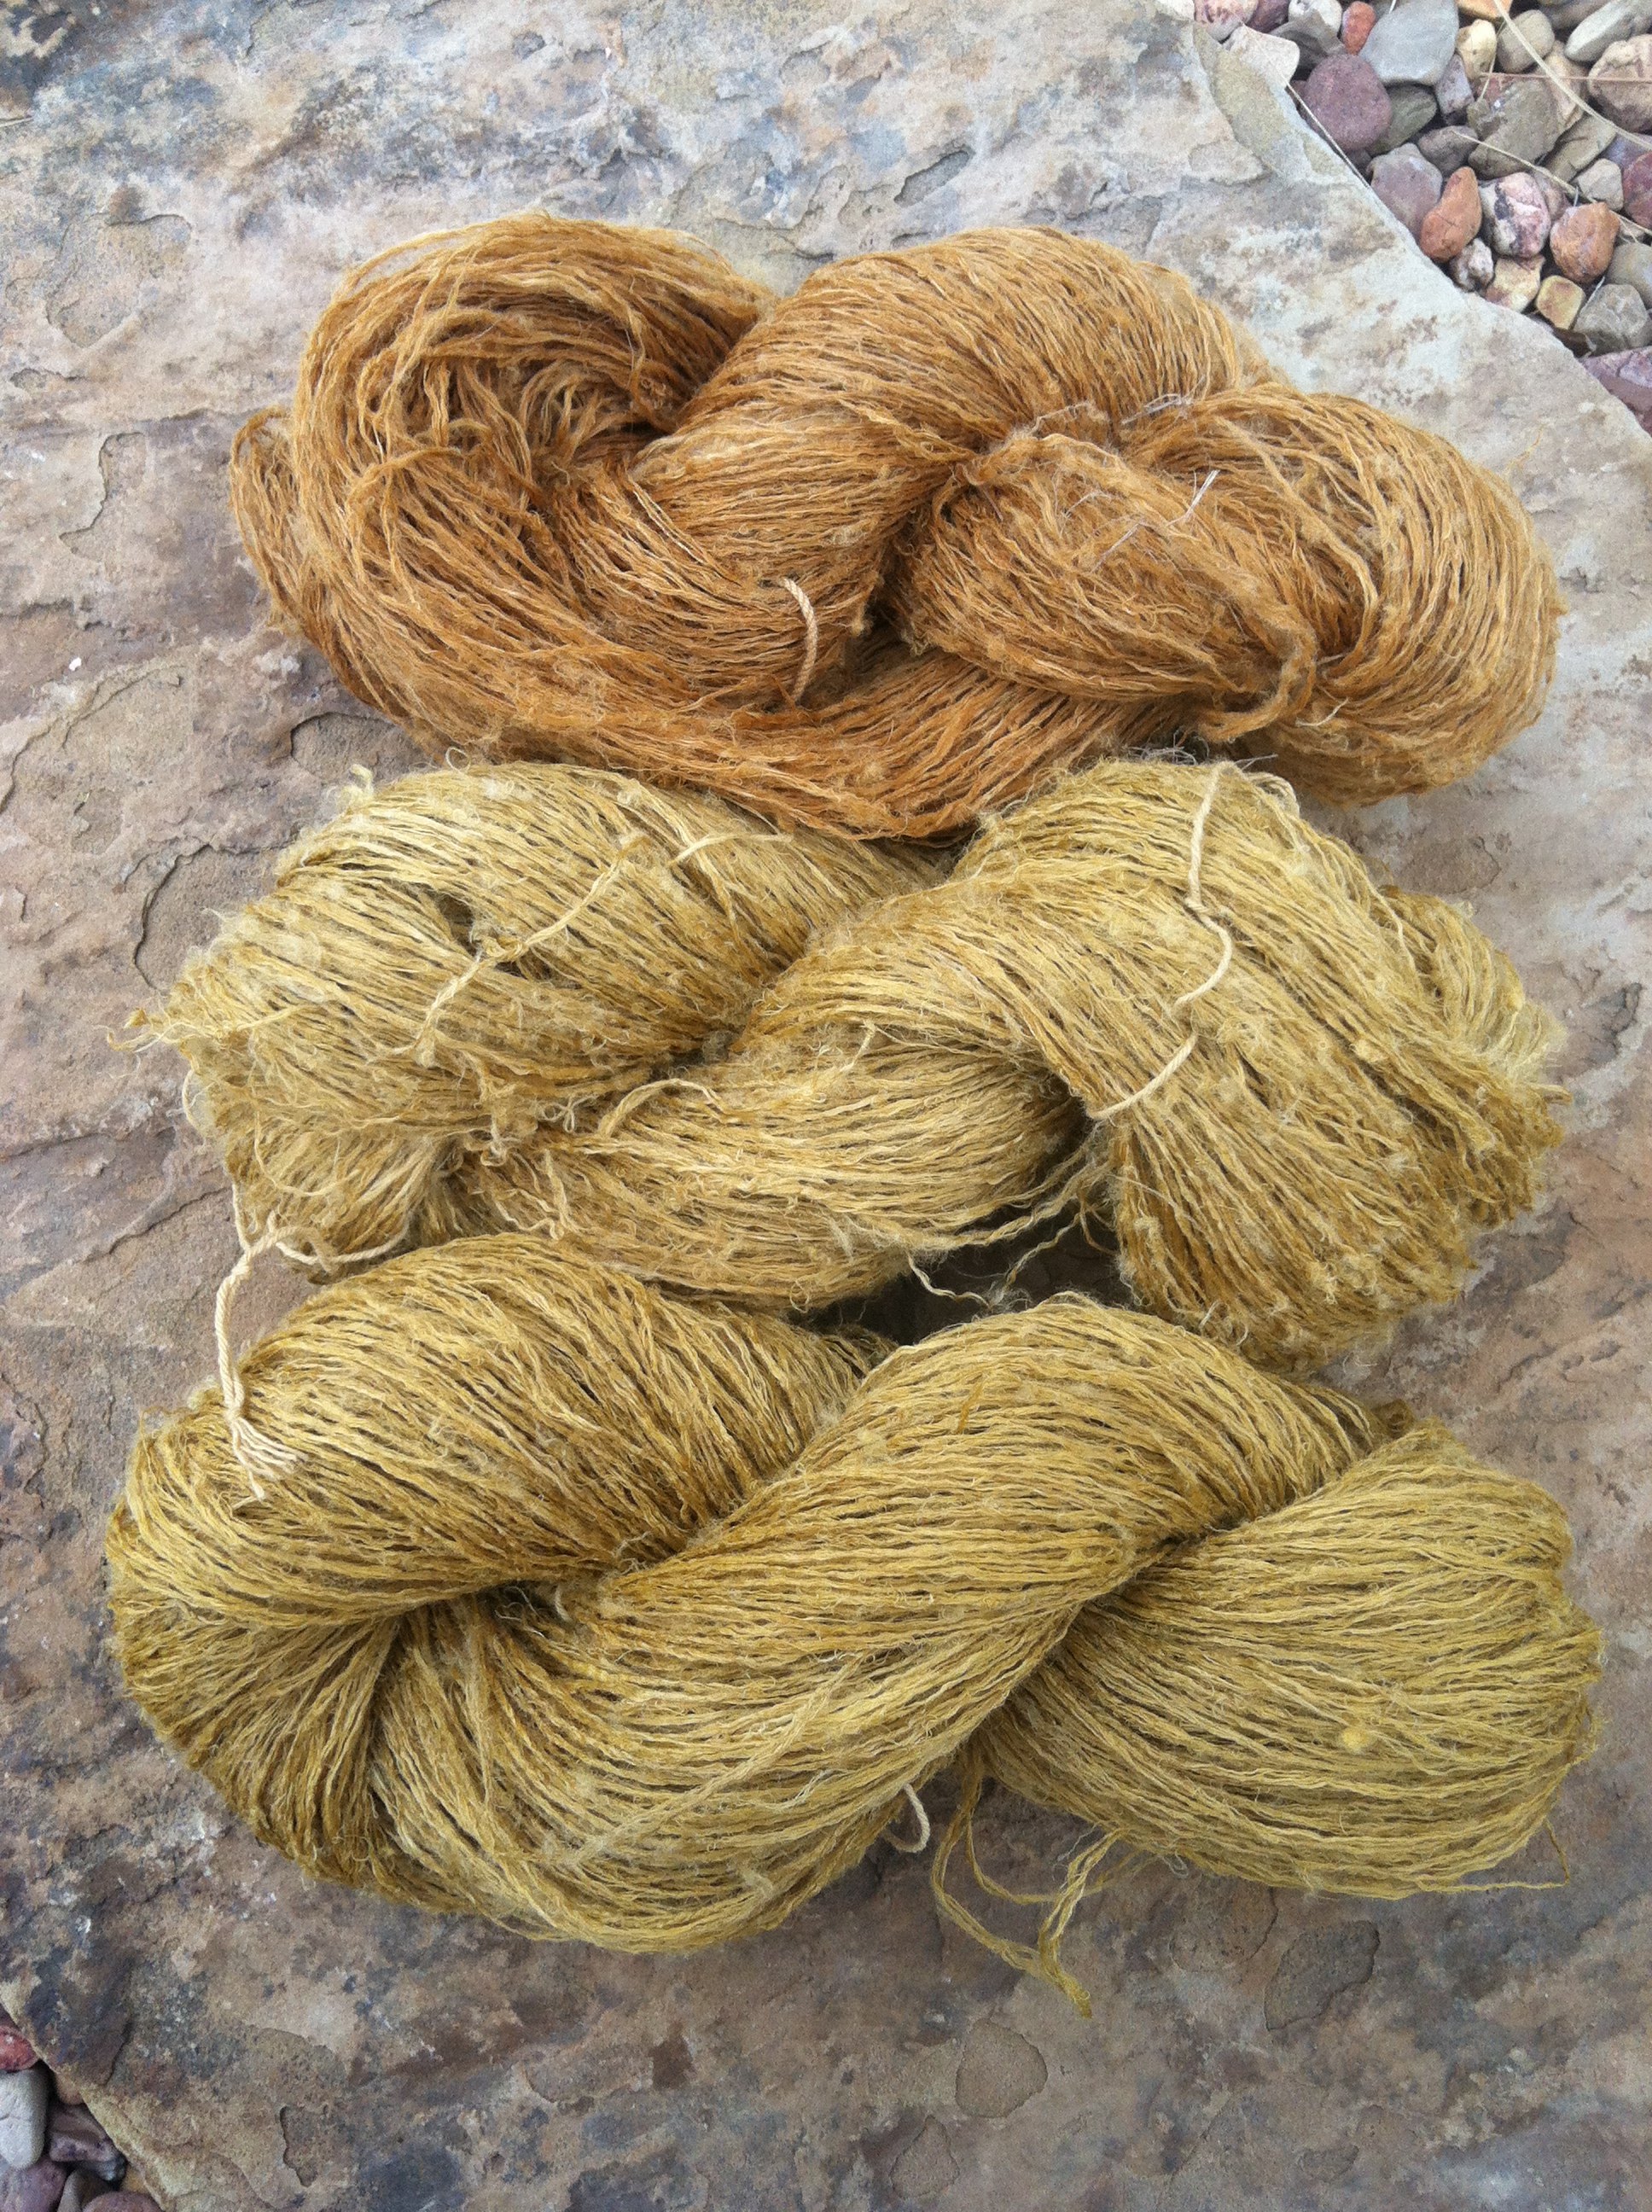
- Pick when green, green gives you the best yellow, if you want gold you can leave it in the sun. Personally, to get gold I prefer to let the brew age (more below on that)
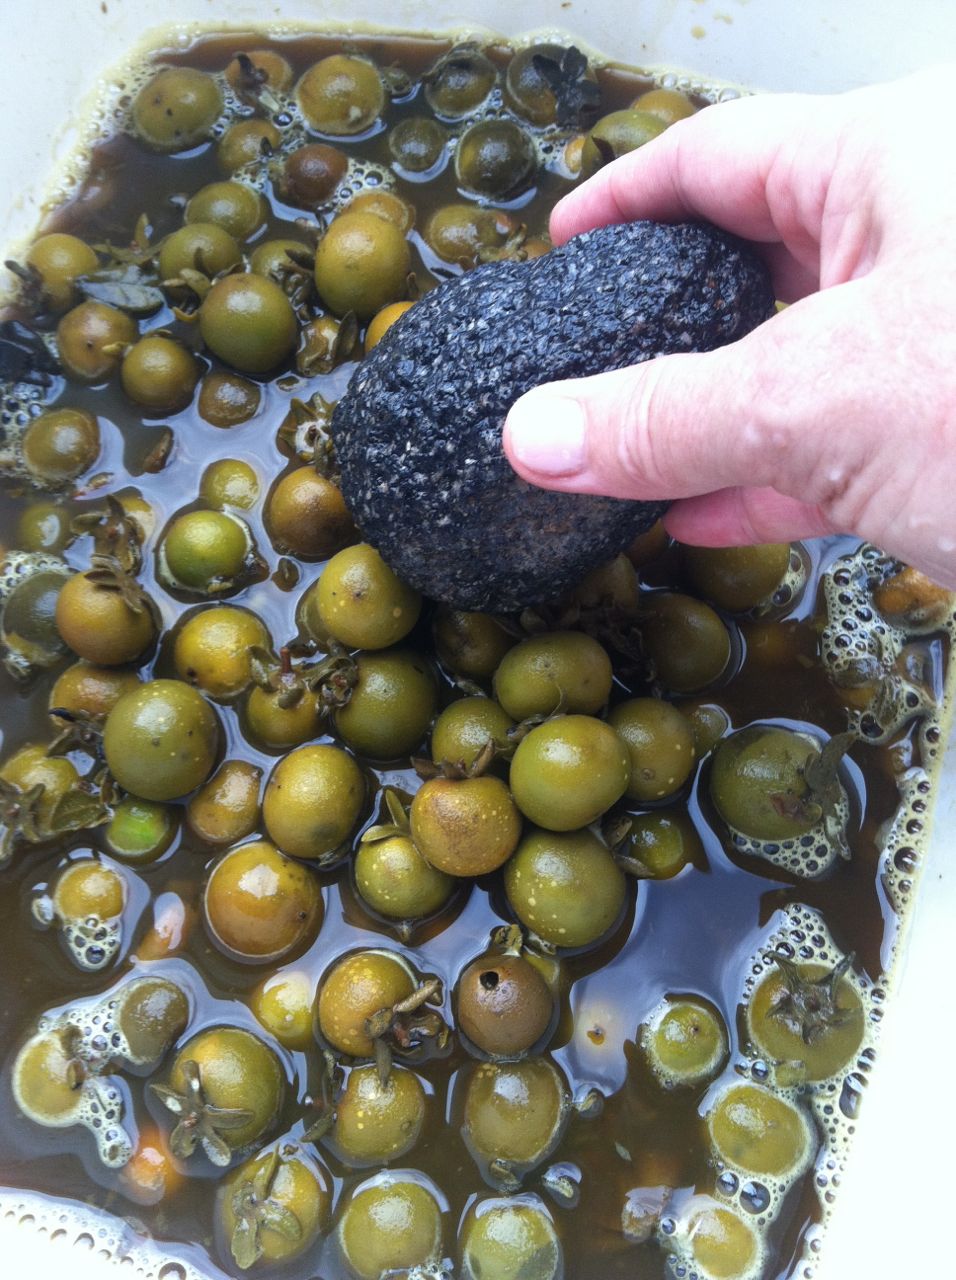
- Place unripe fruit to soak in a closed jar, be sure and release the lid to release the gas formed by fermenting. If you don’t you will get bent lids or spewing when you open it.
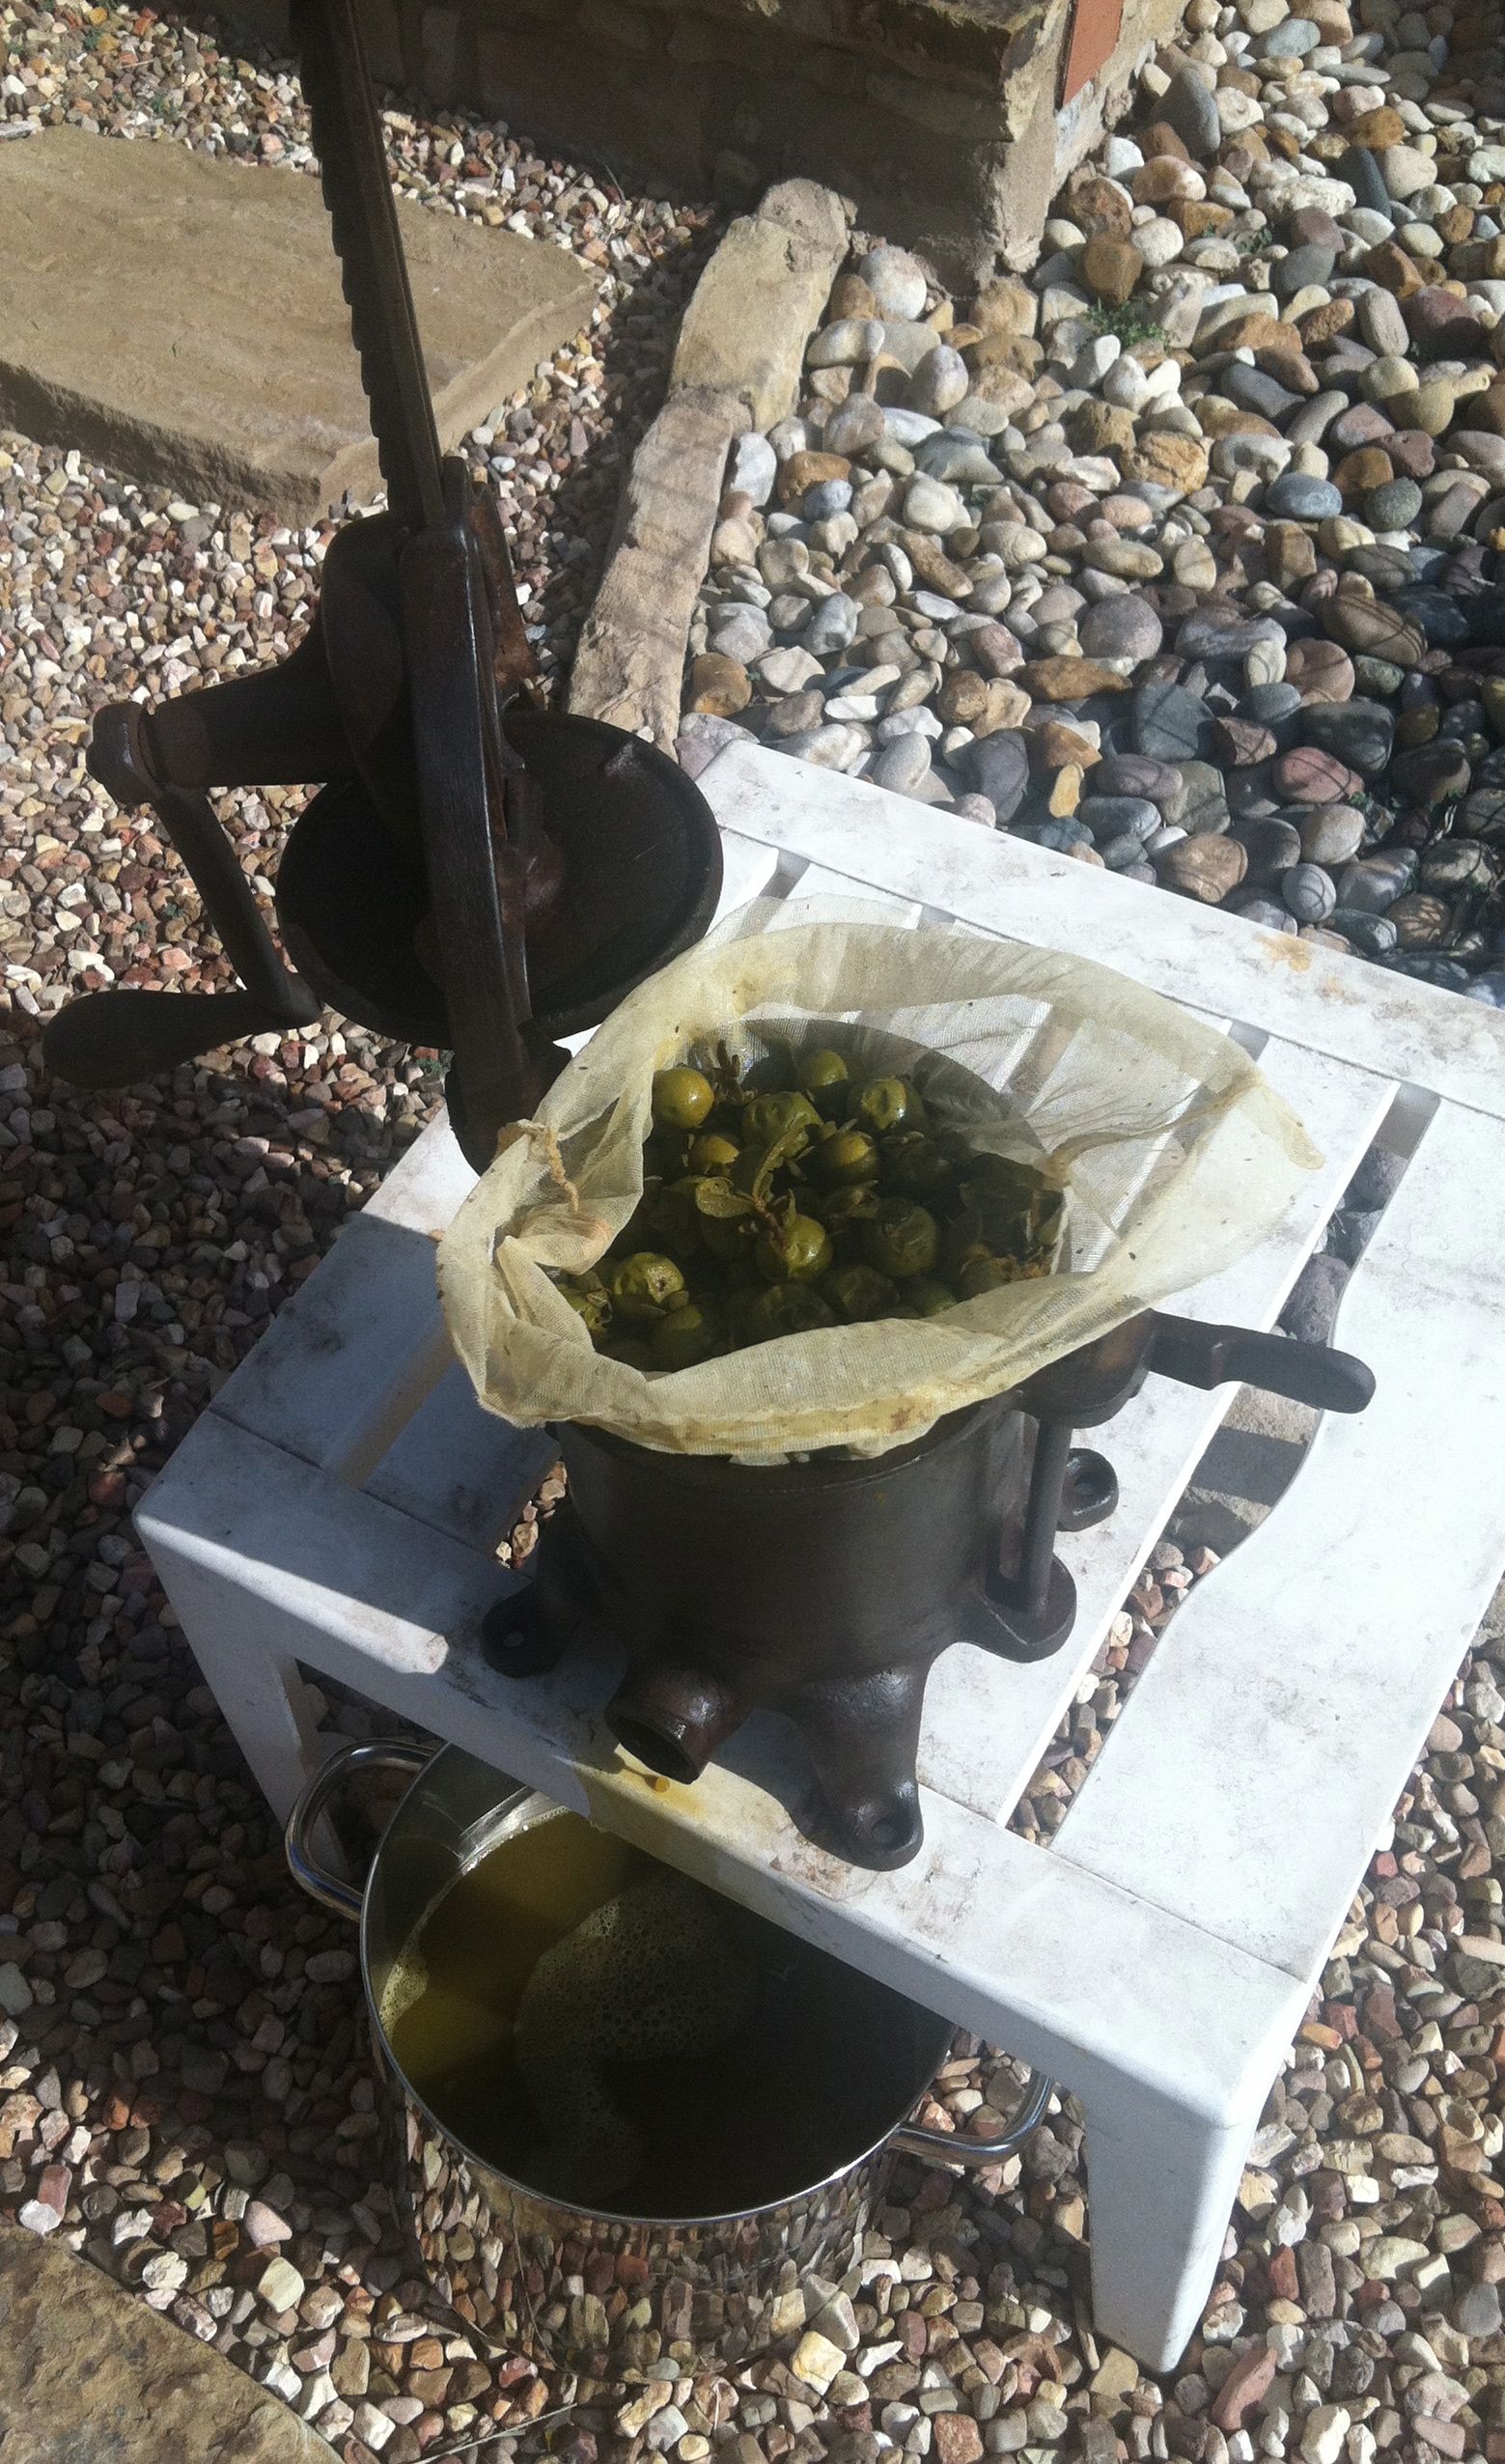
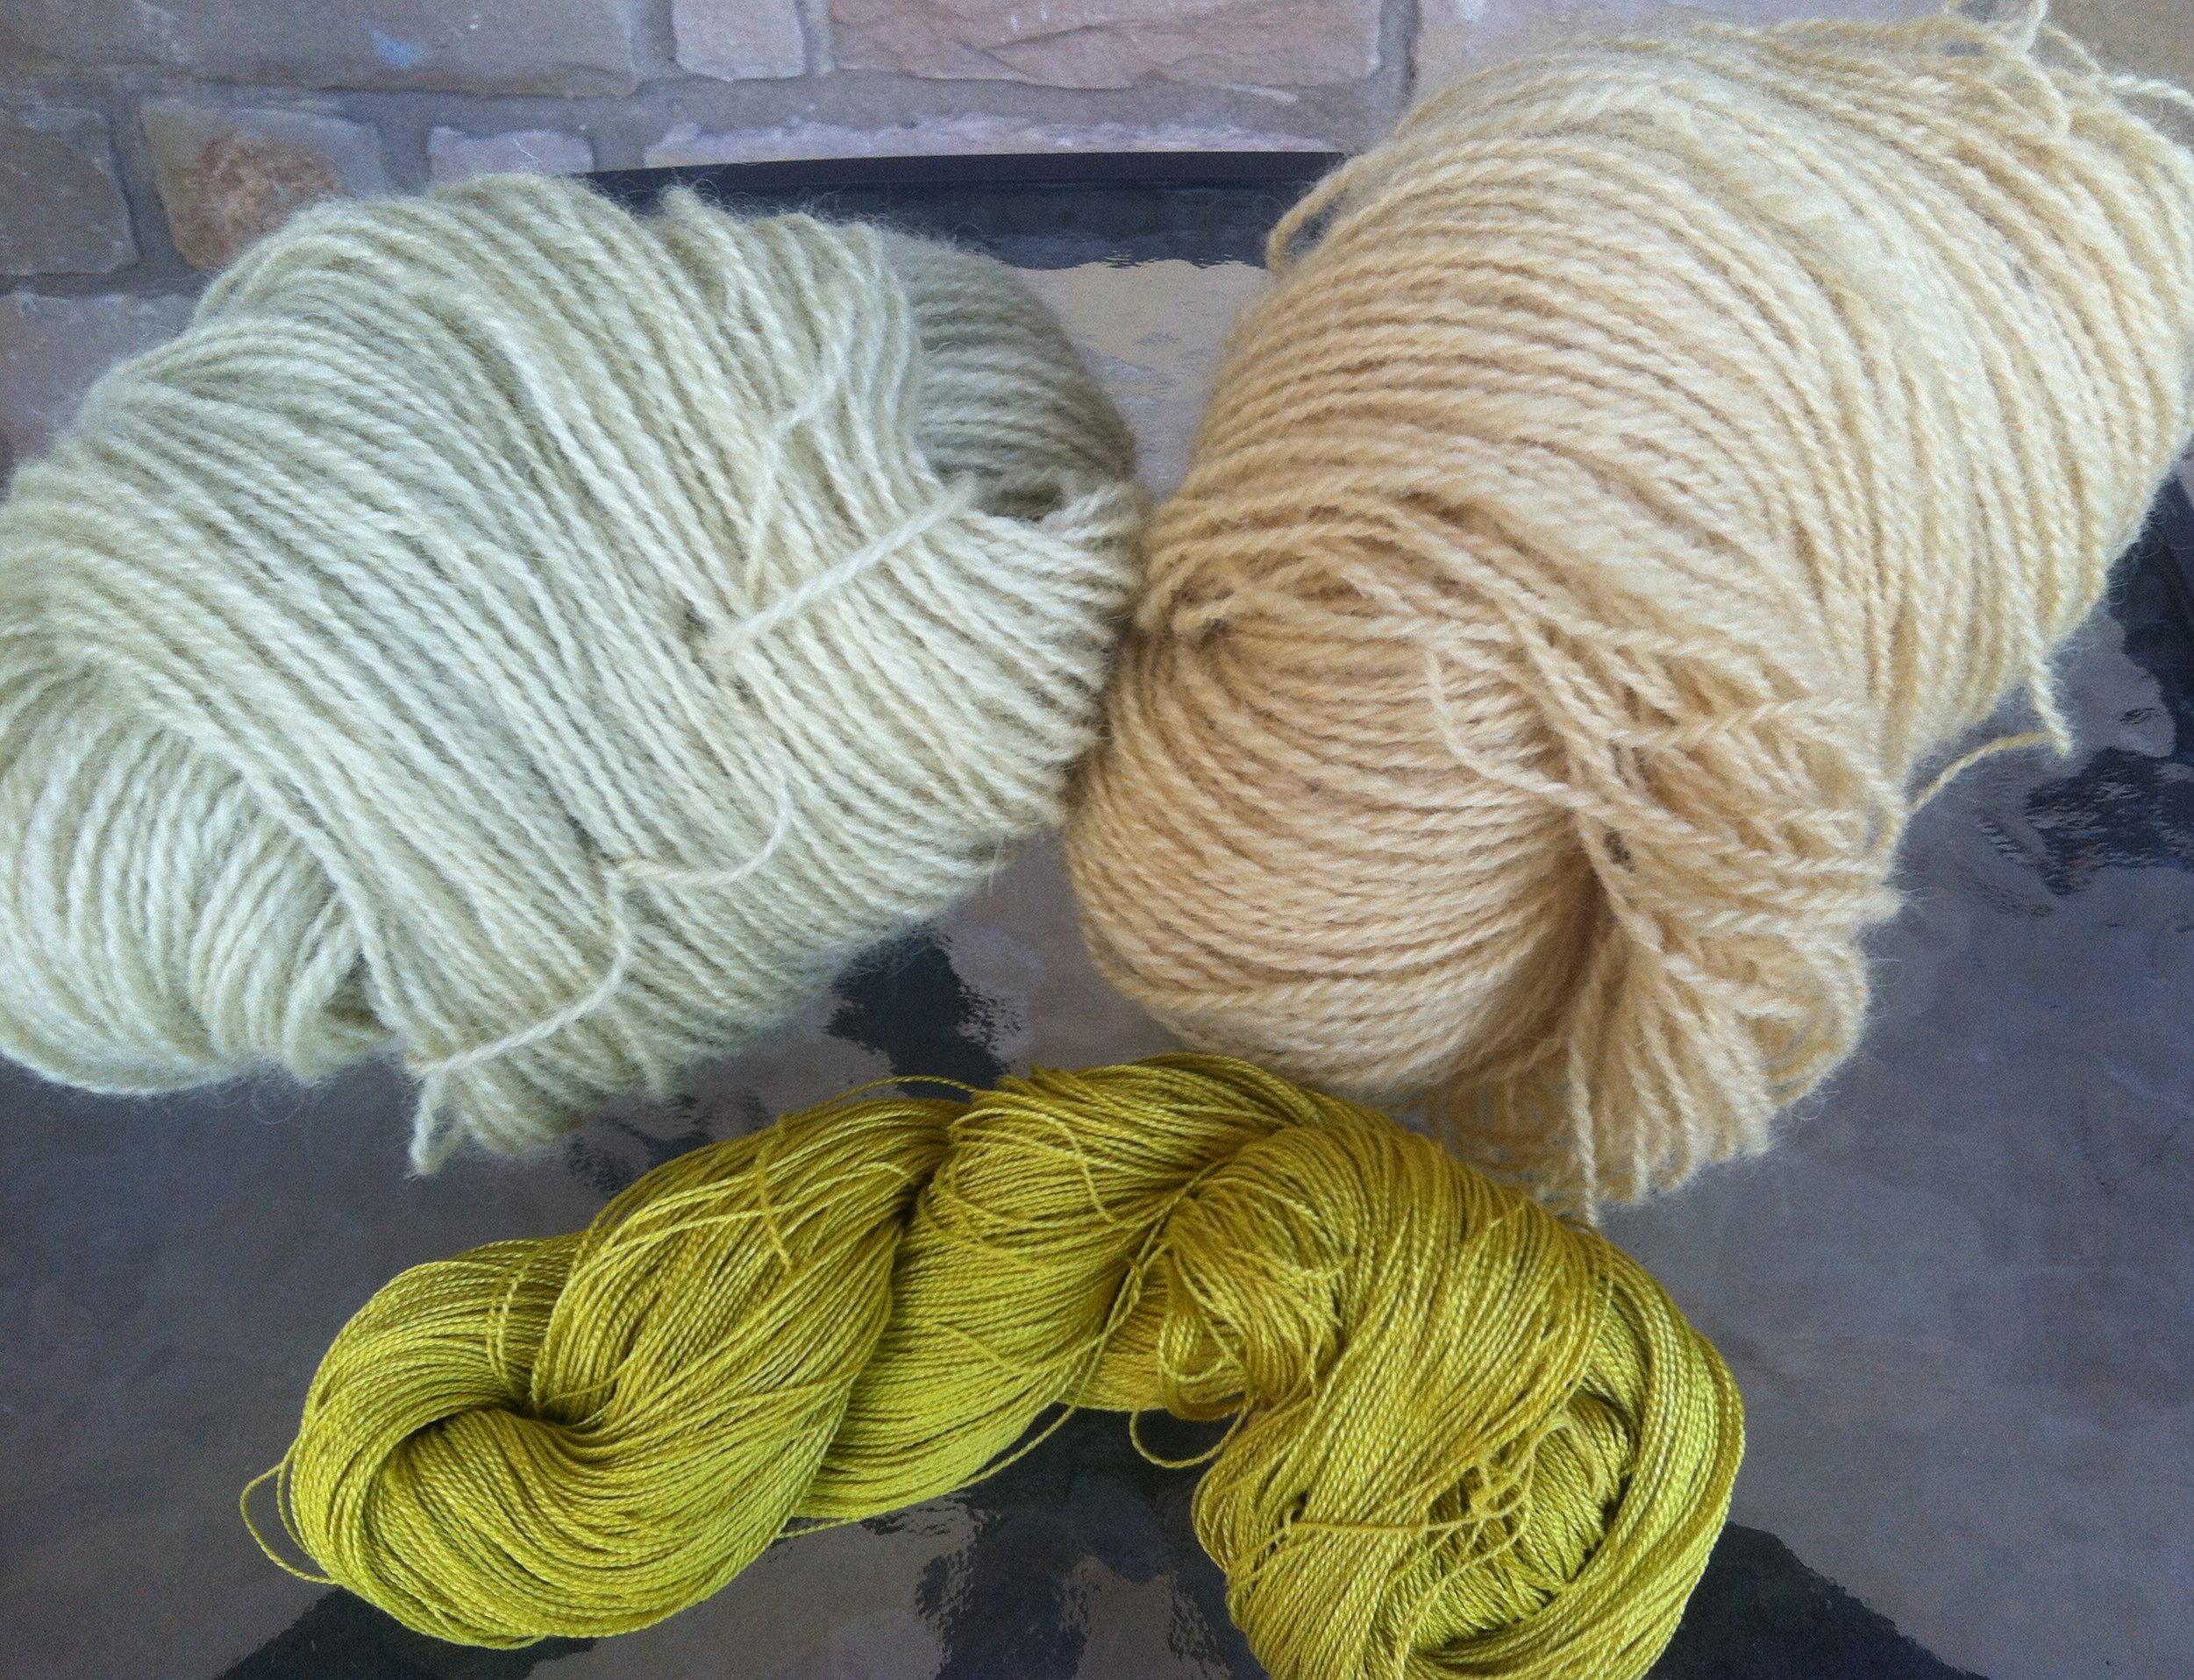
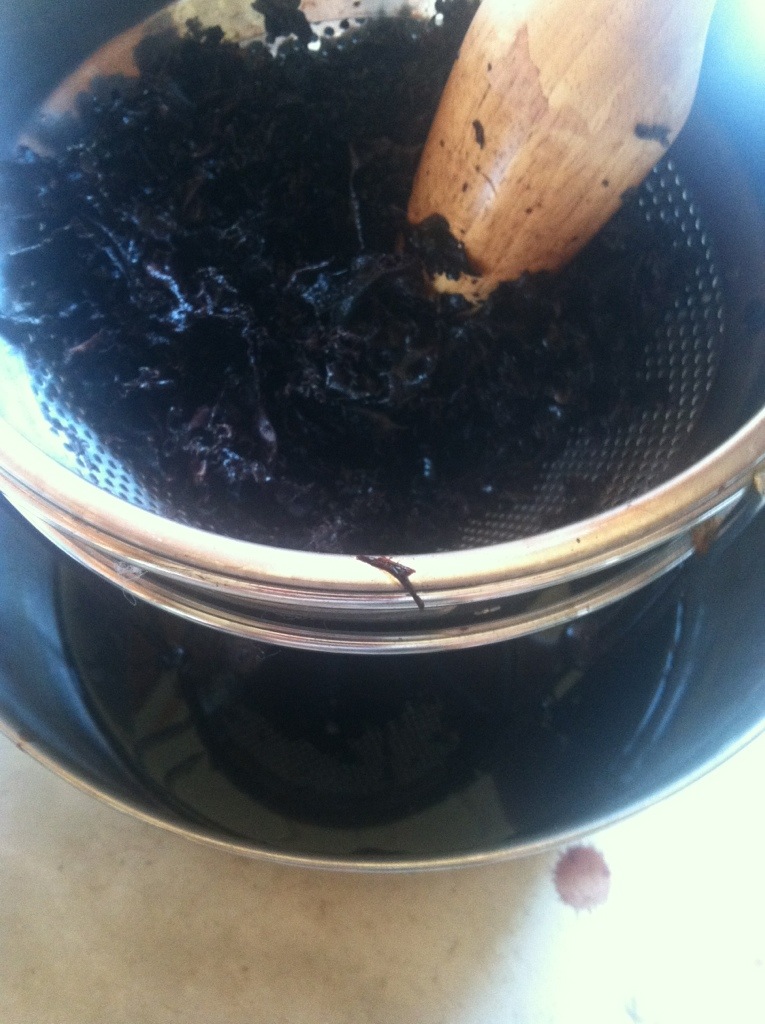
- I usually soften for about a month. I then squash and use 1st squeeze for yellow. You will find out how good your sense of smell is.
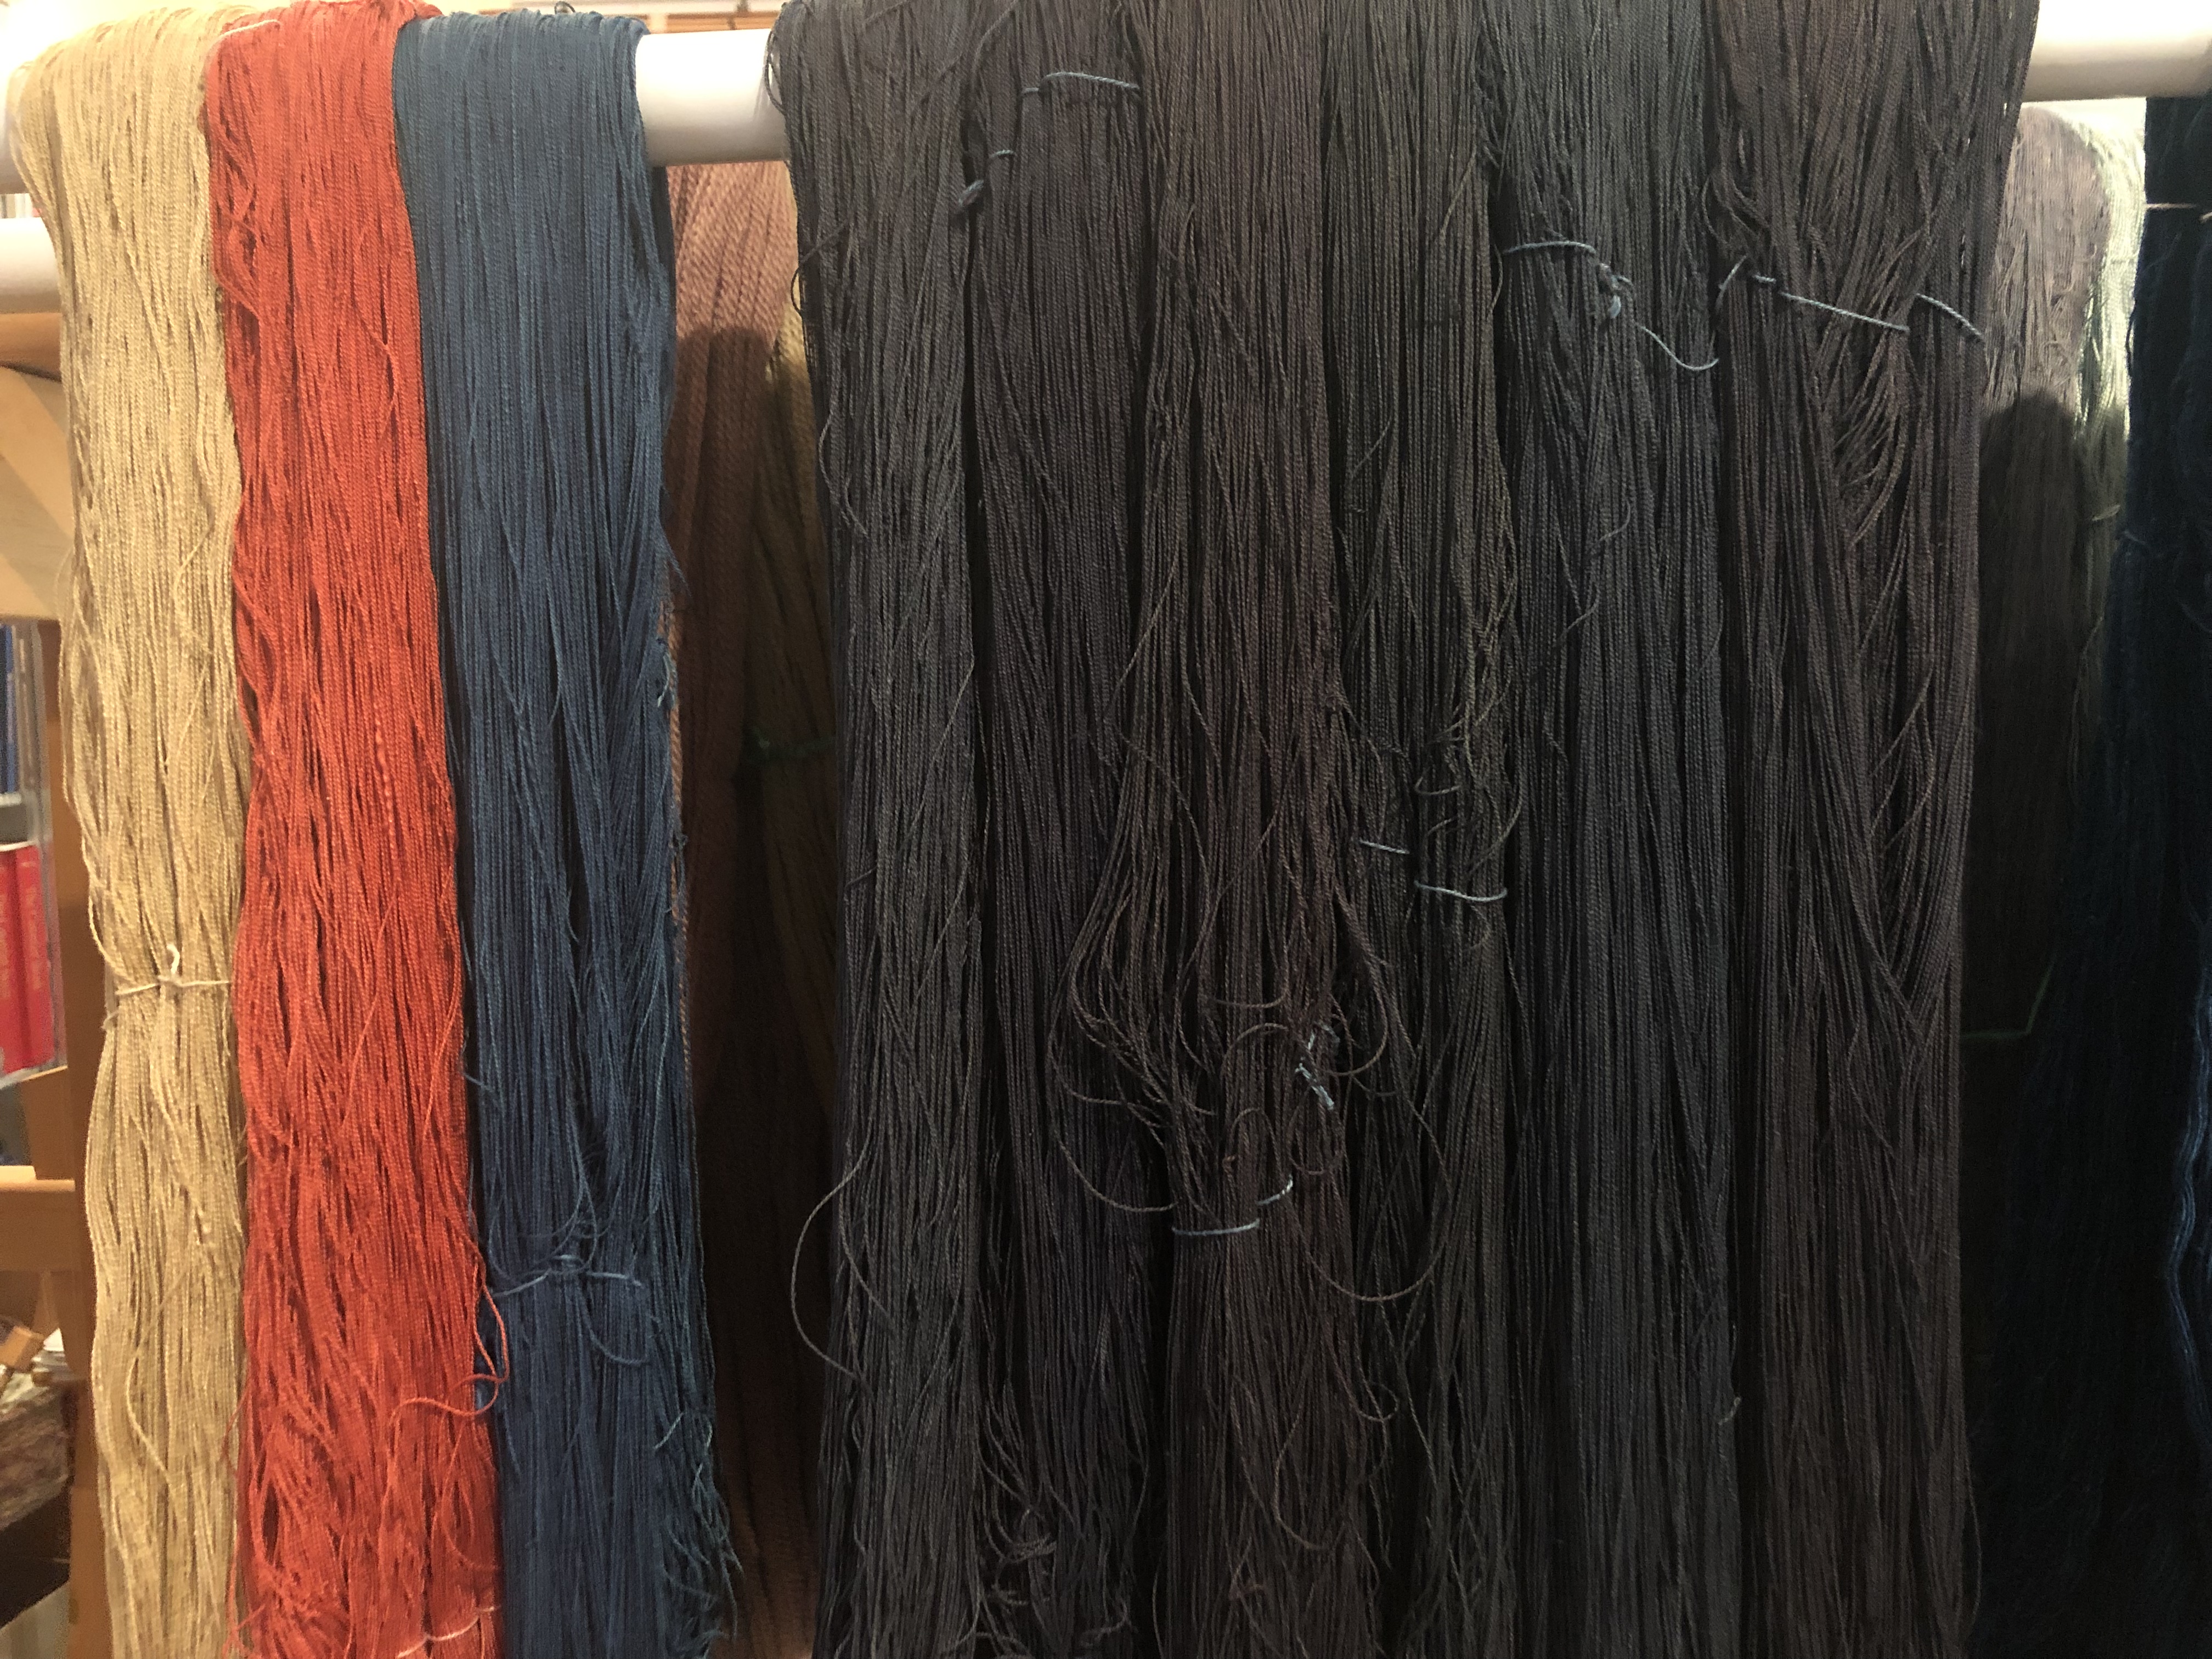
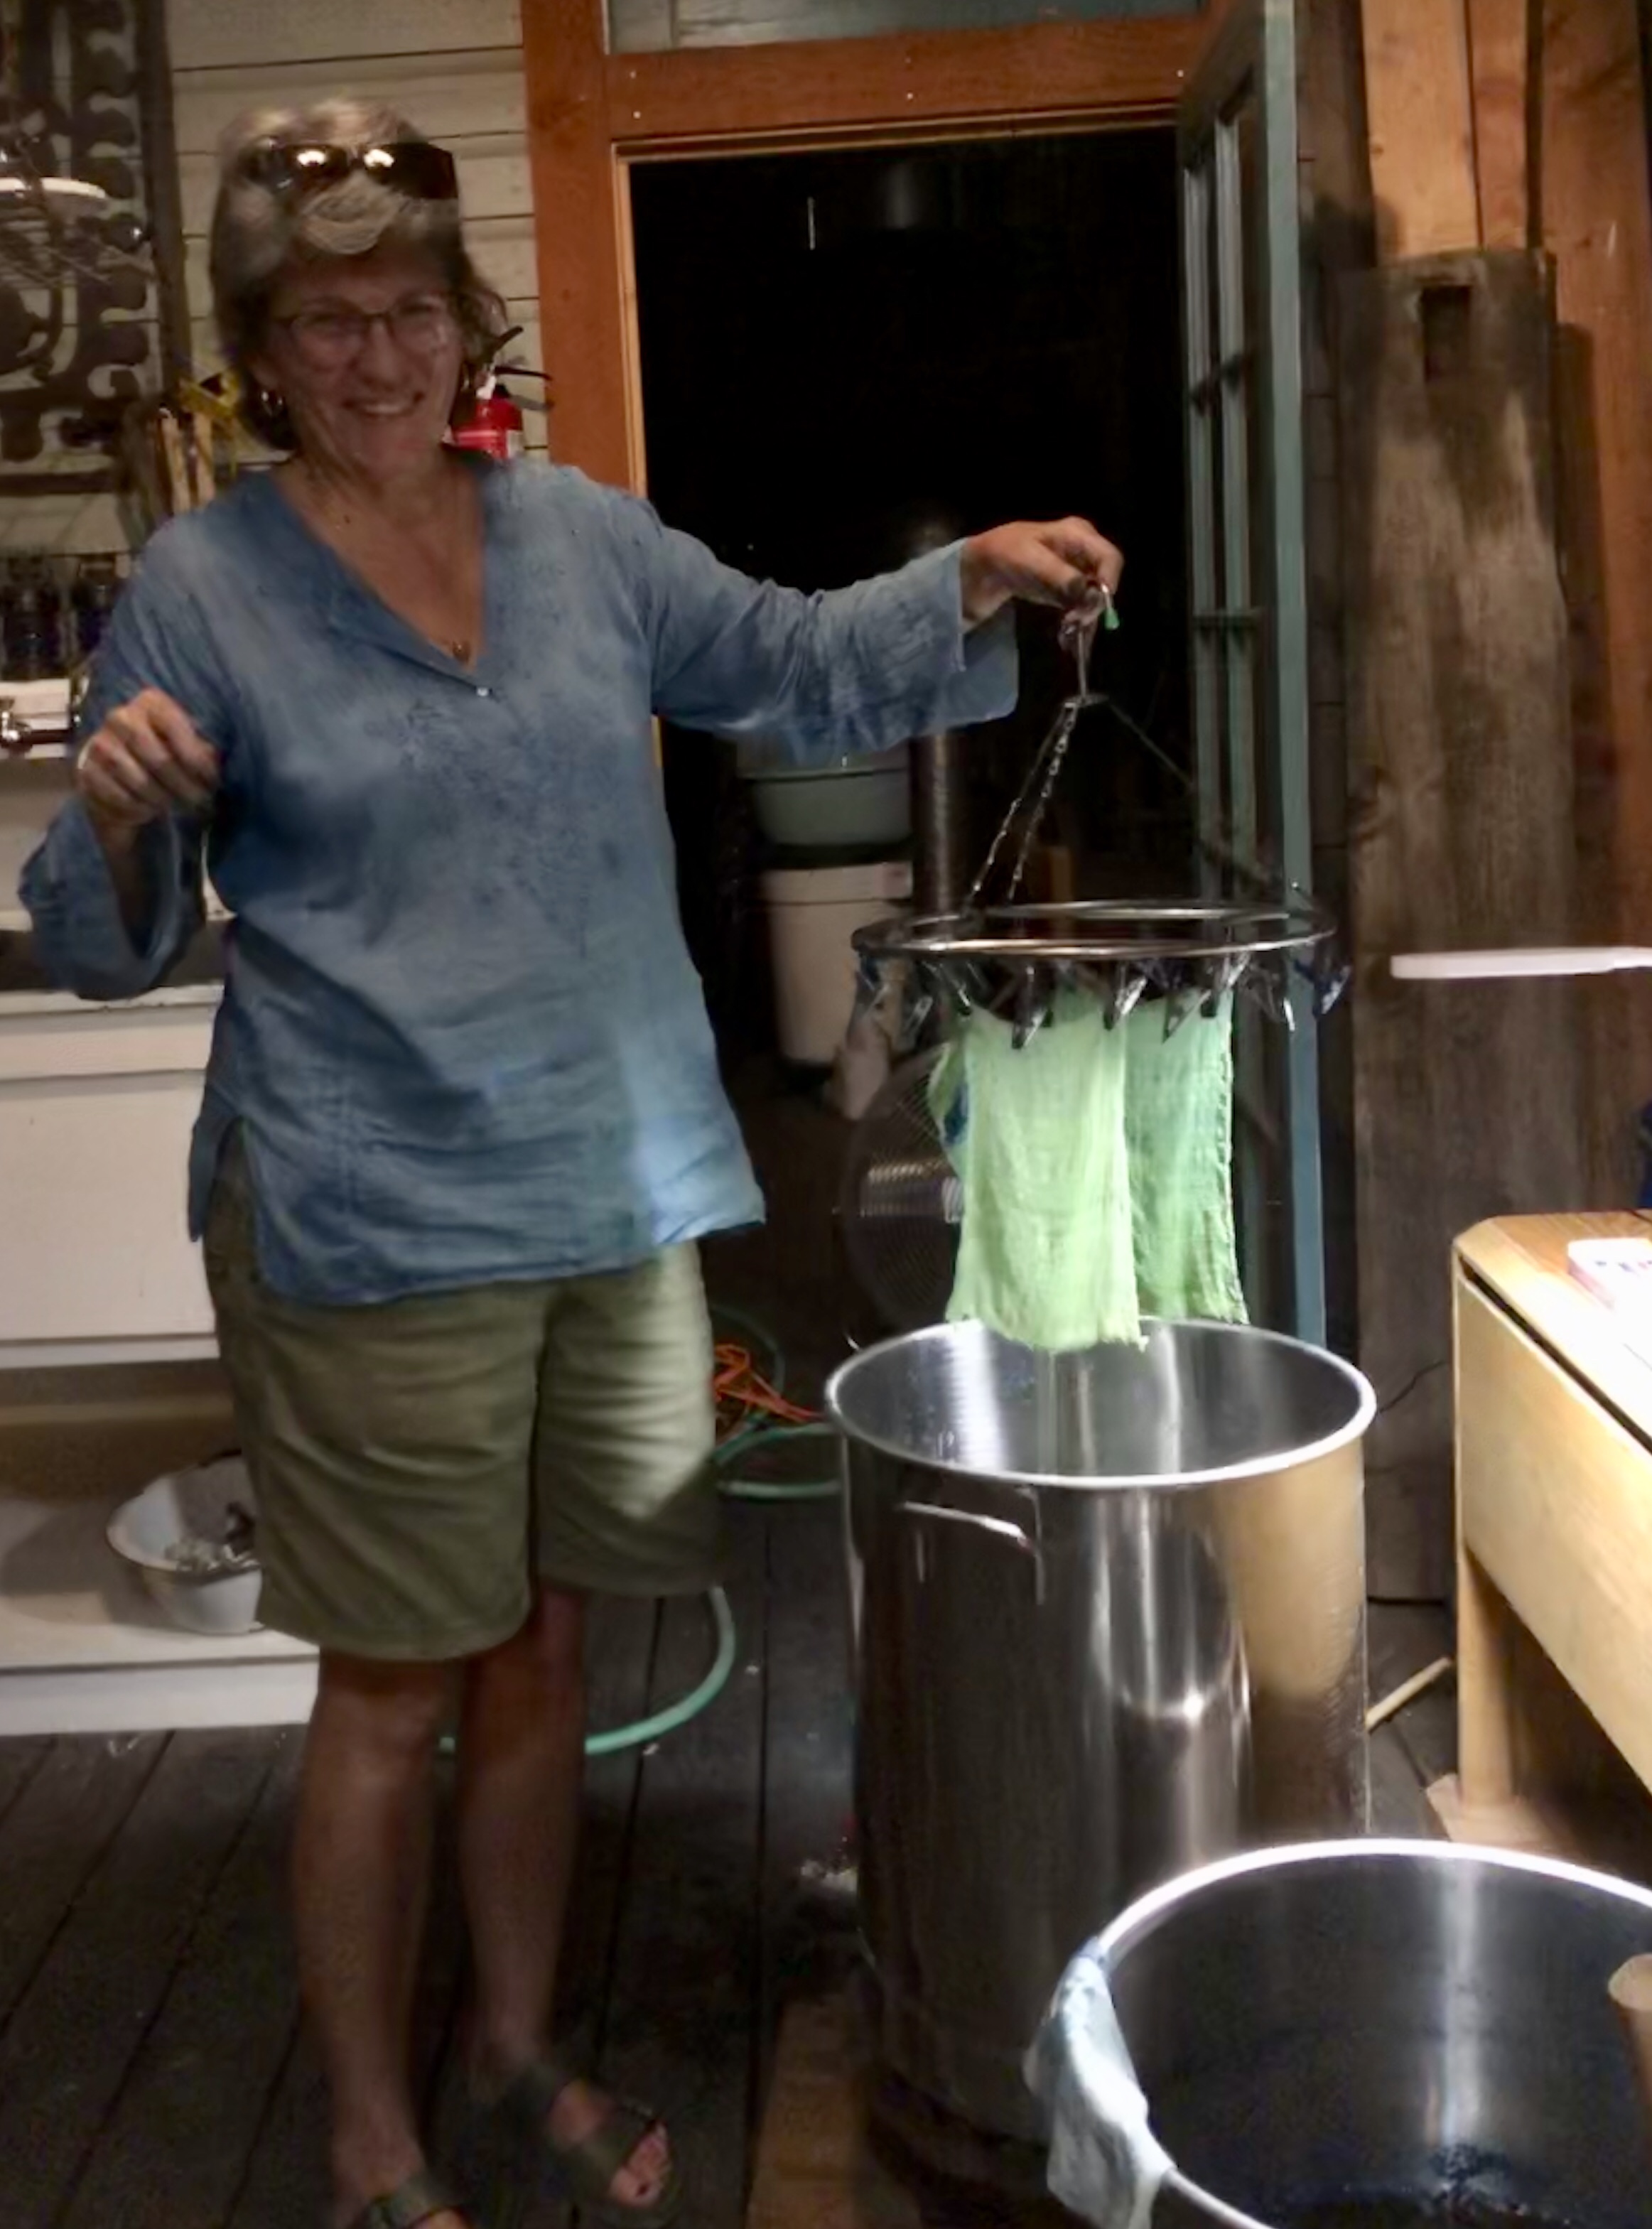
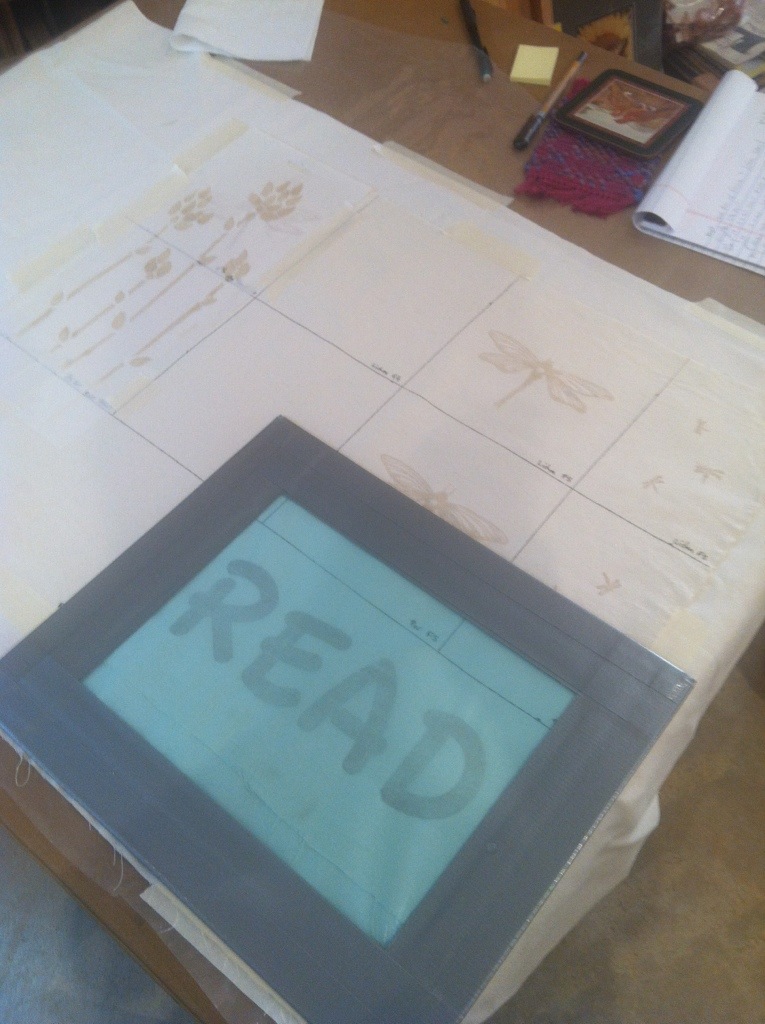
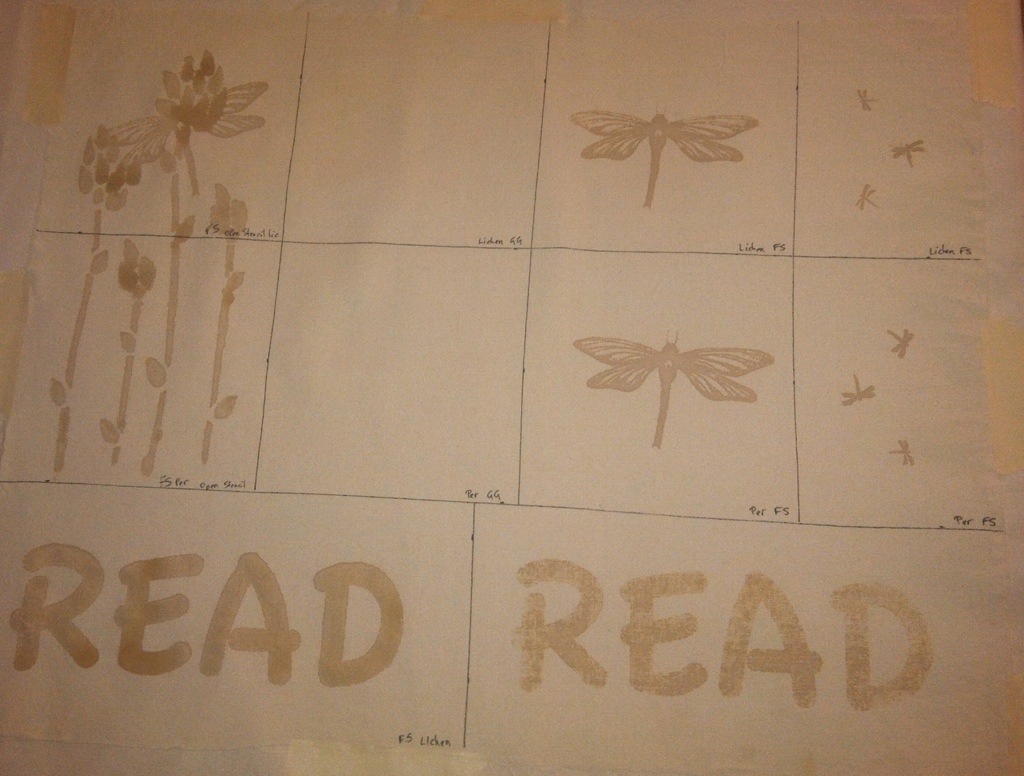
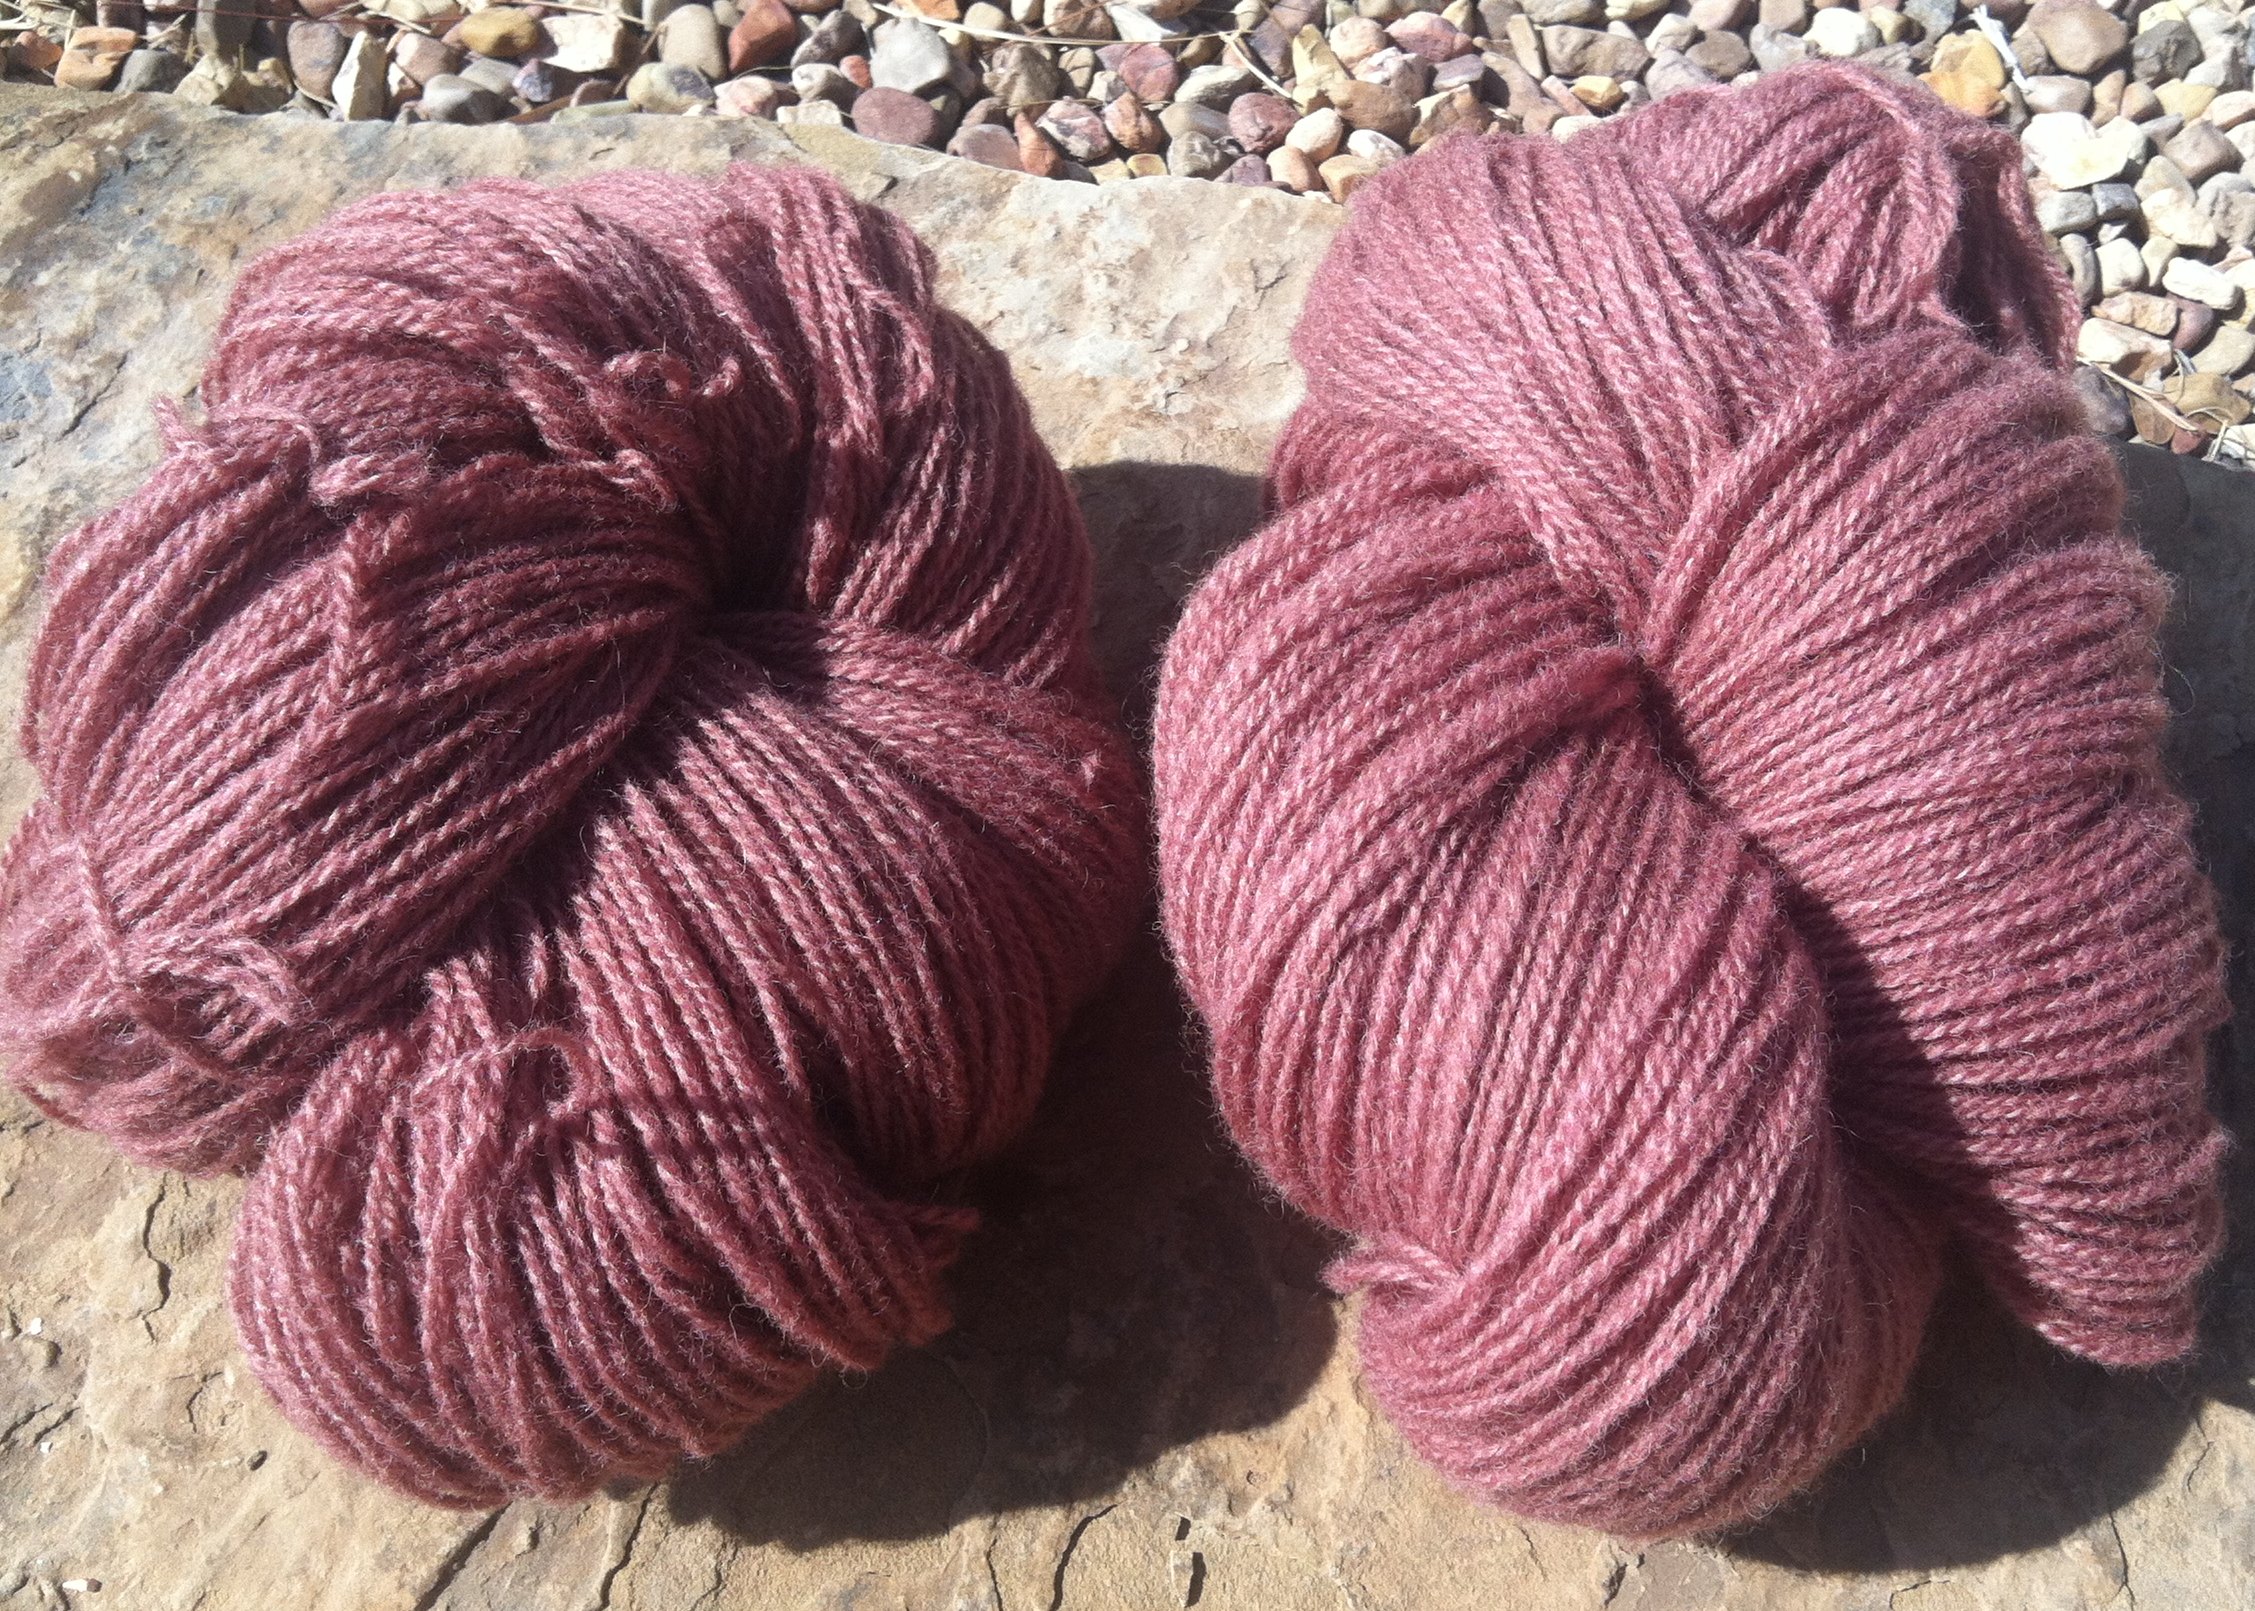
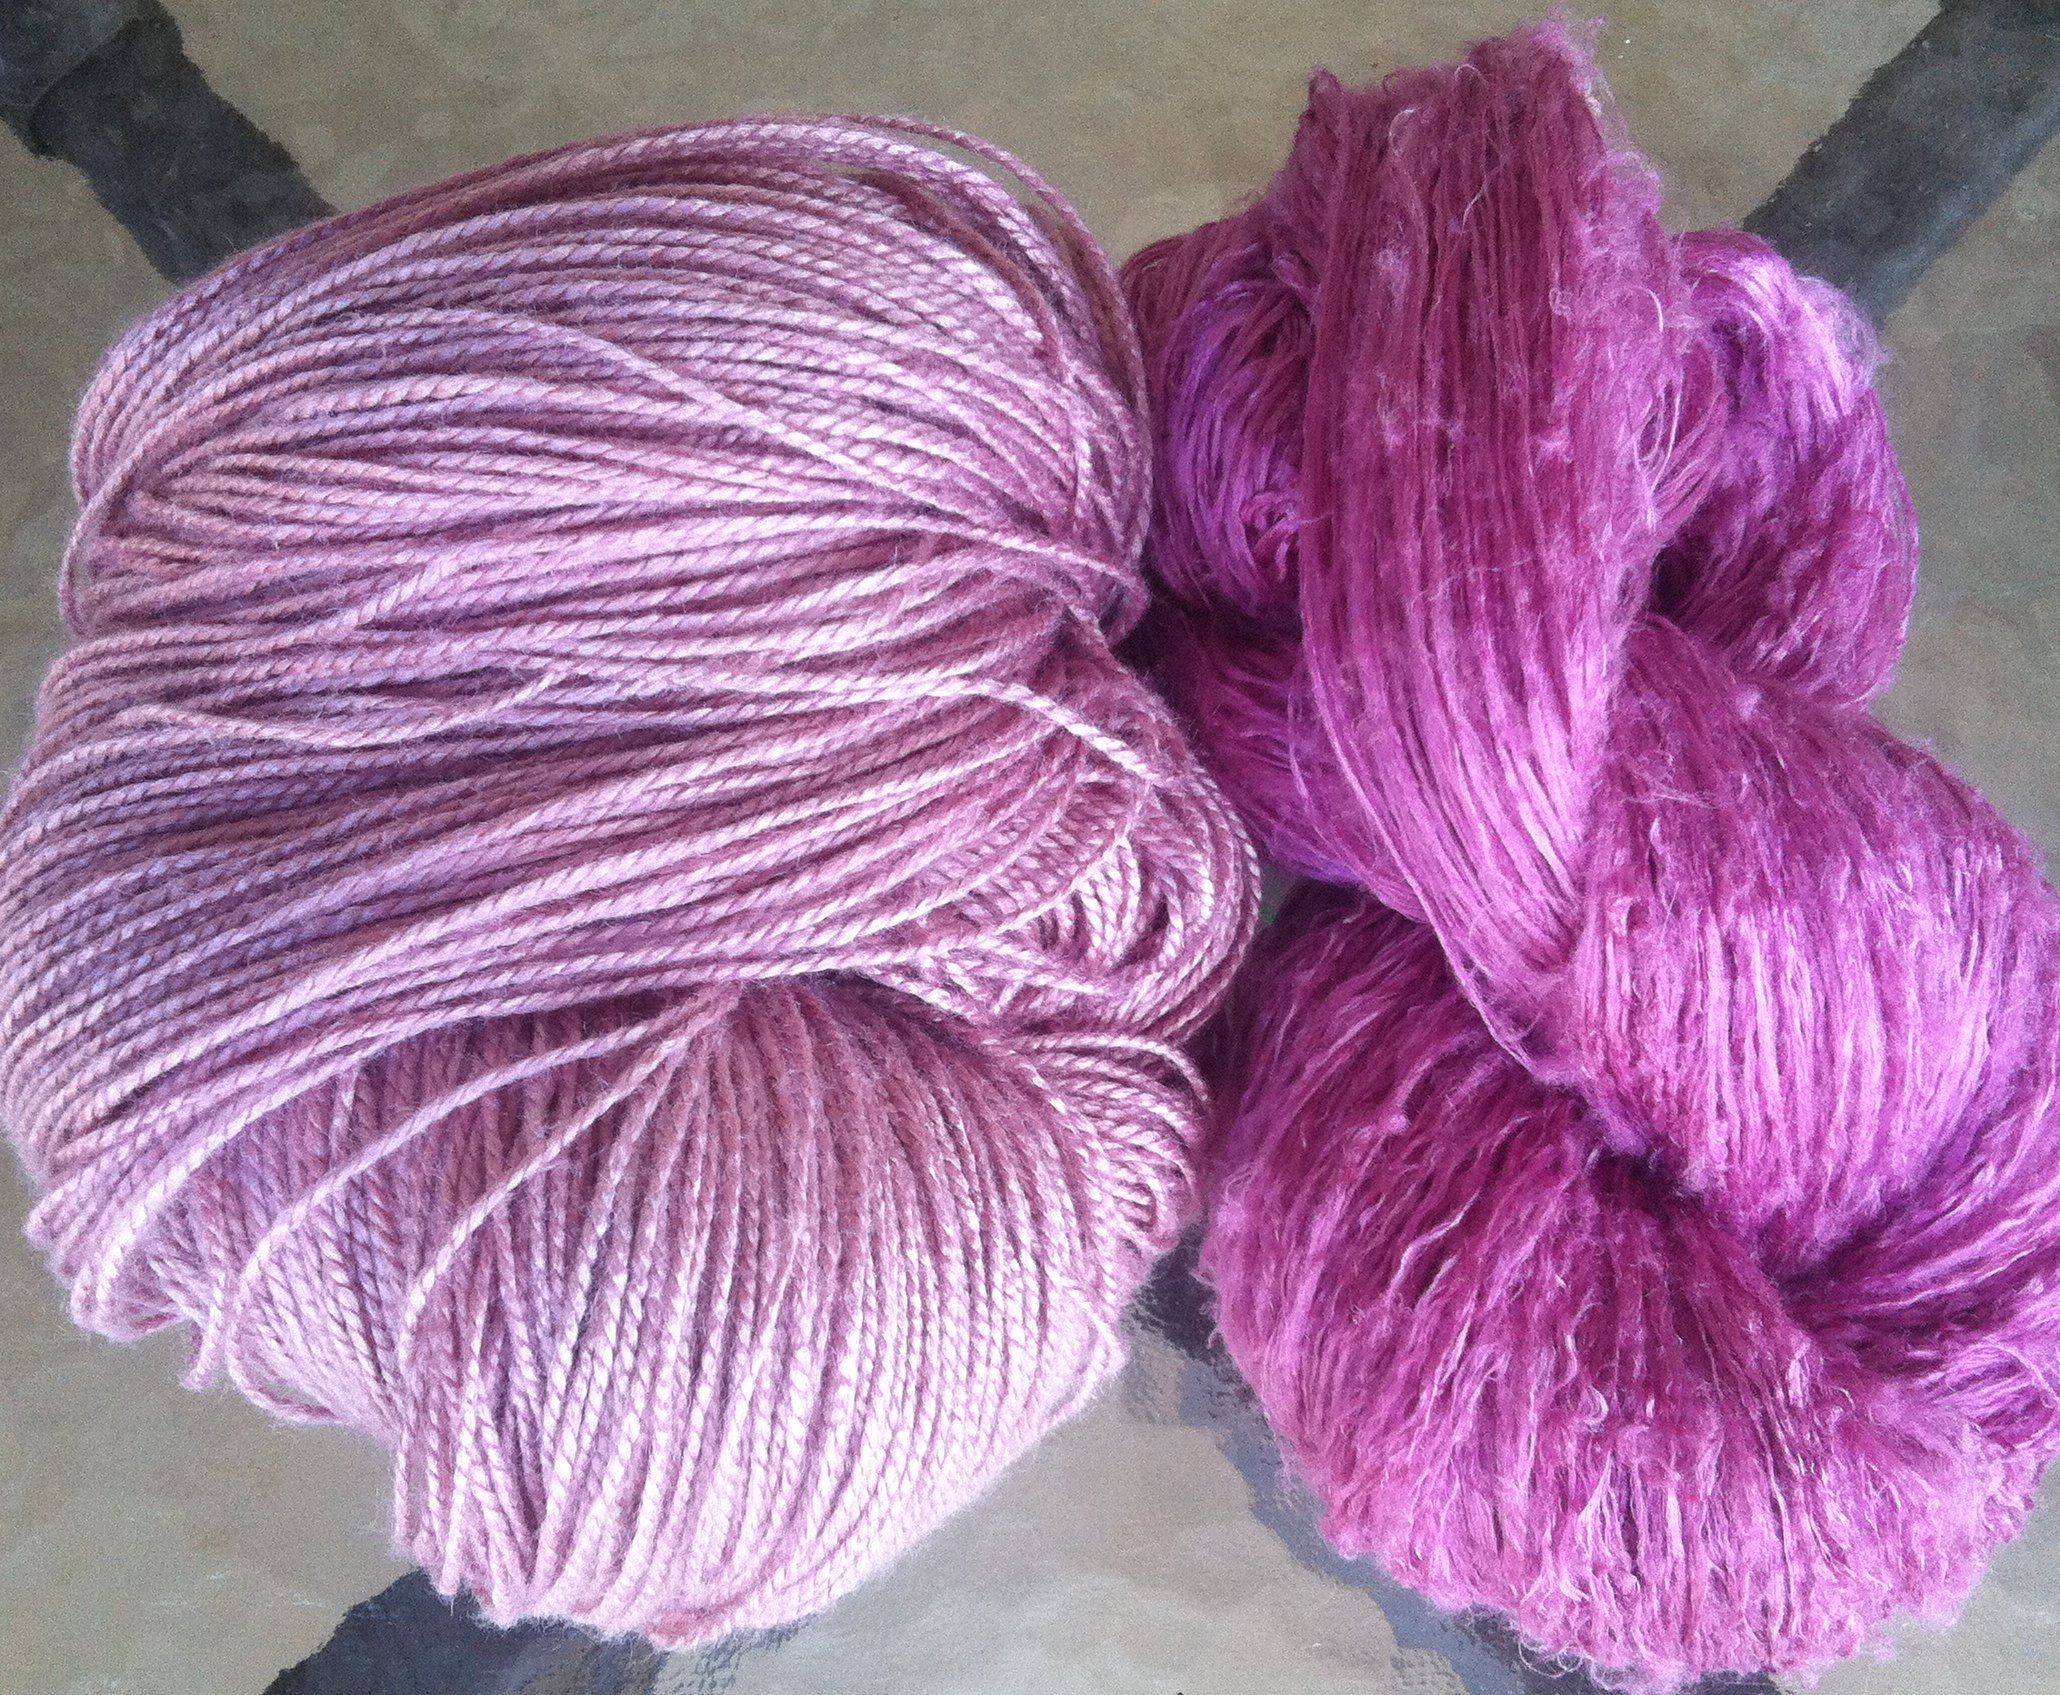
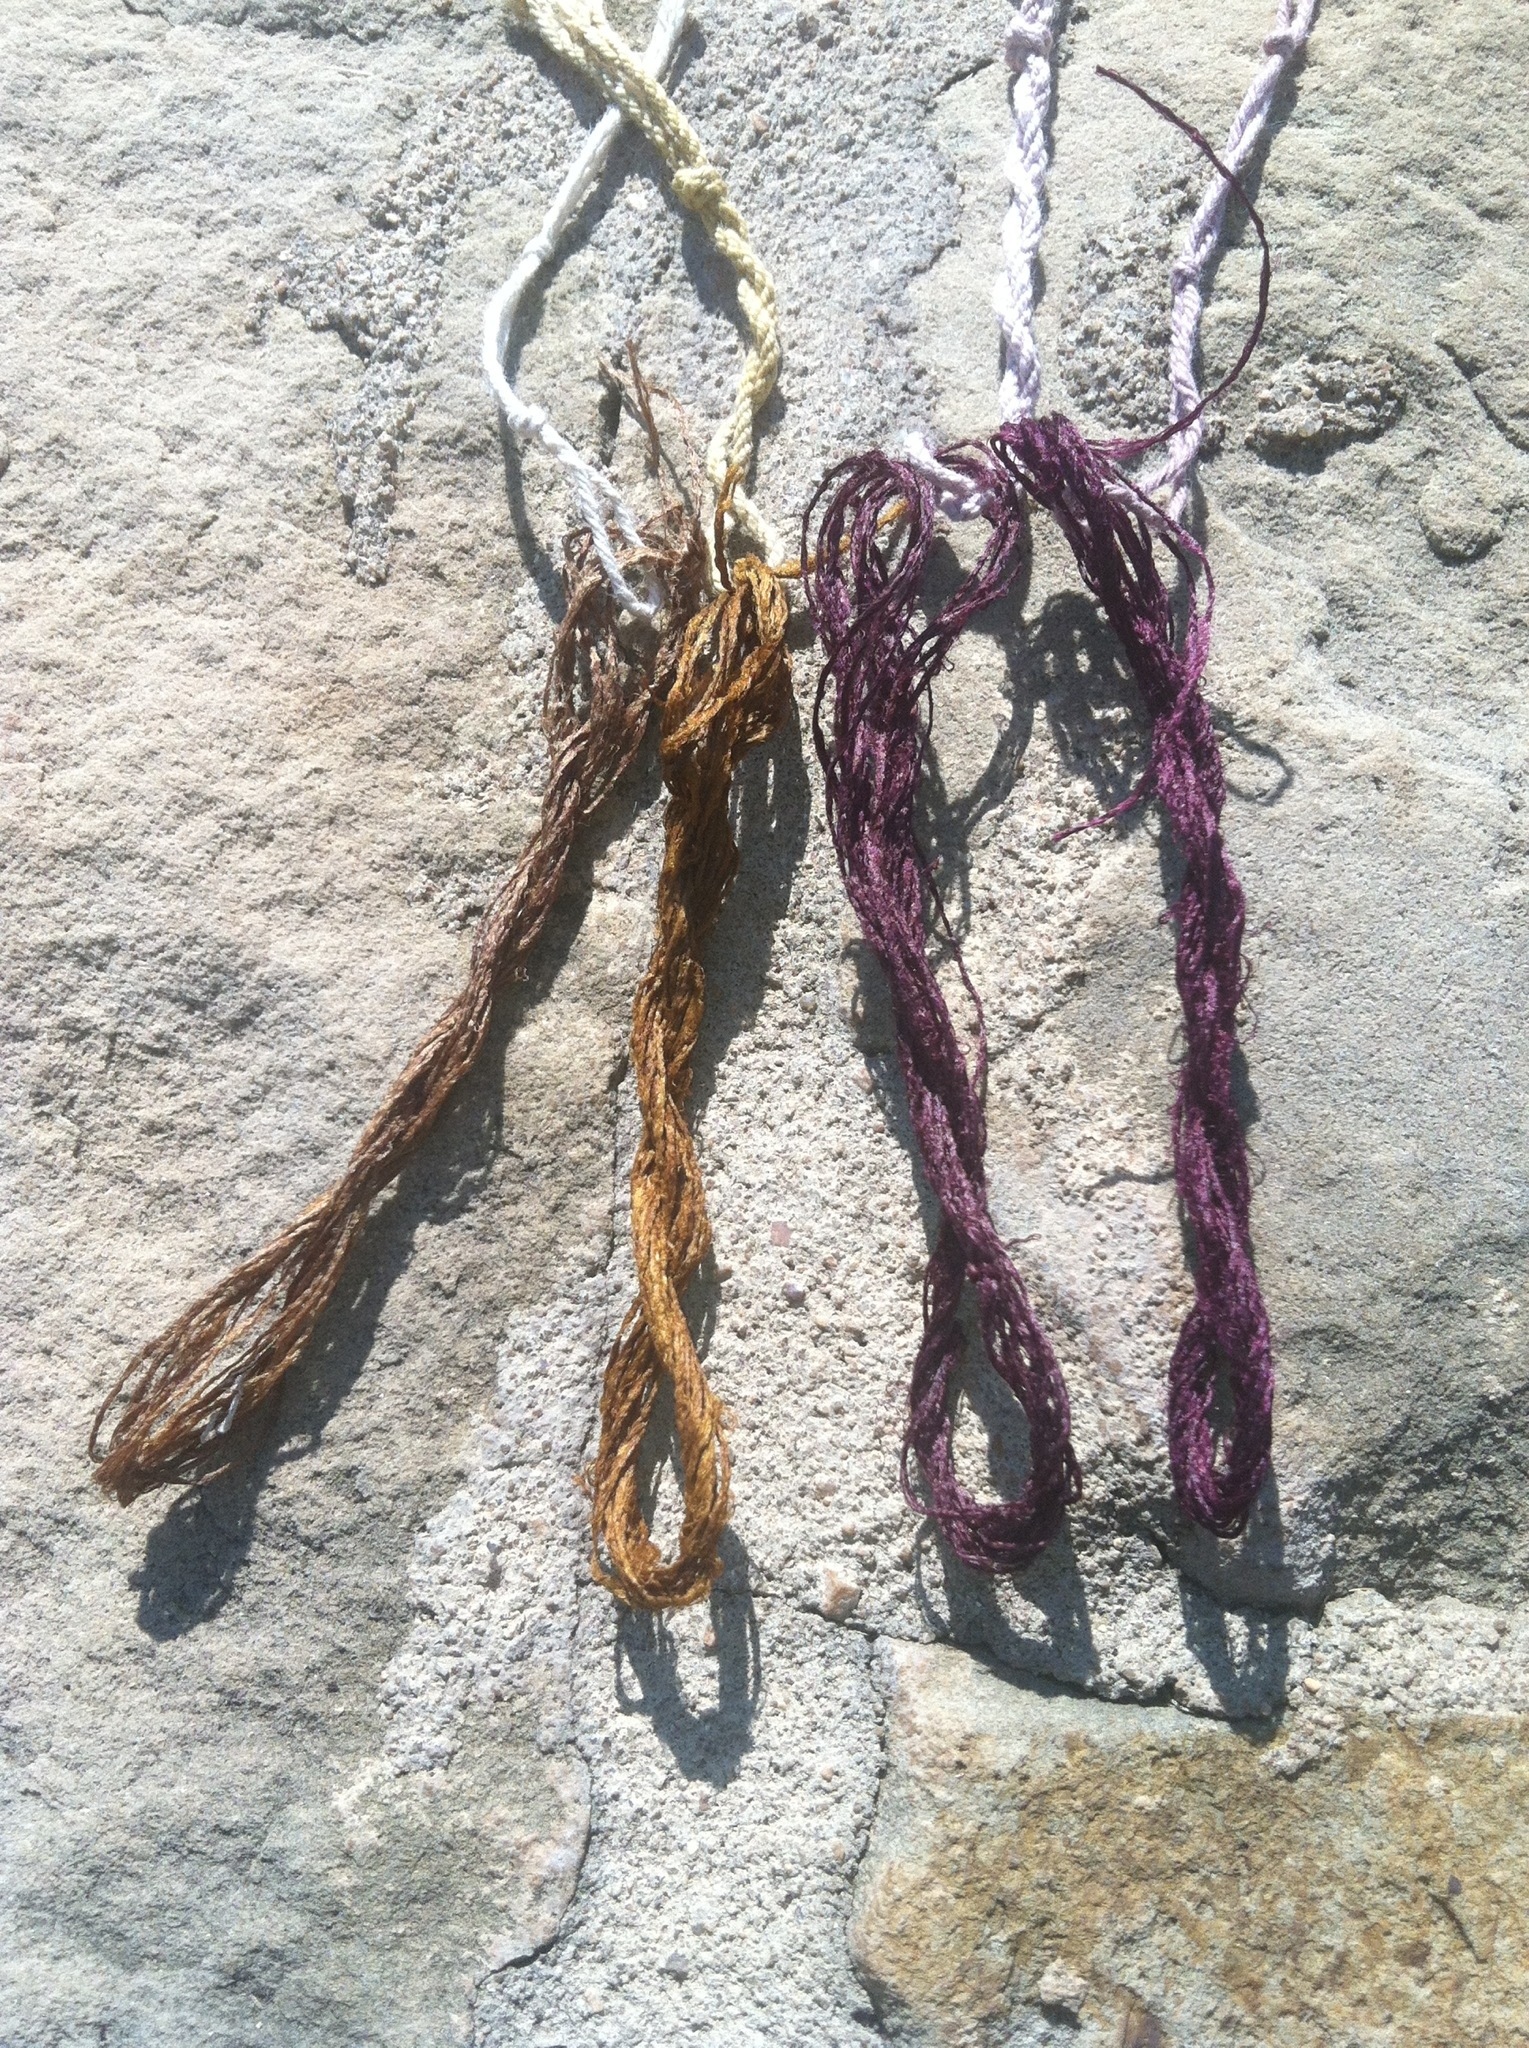
- I do filter and just dye with the liquid, just submerge yard or fabric in and circulate. You will see color strike. It is like an indigo or walnut bath, a substantive bath so no prep necessary. You can experiment with overdyeing, mordant or afterbaths for other color variation. At this point I discard the fruit.
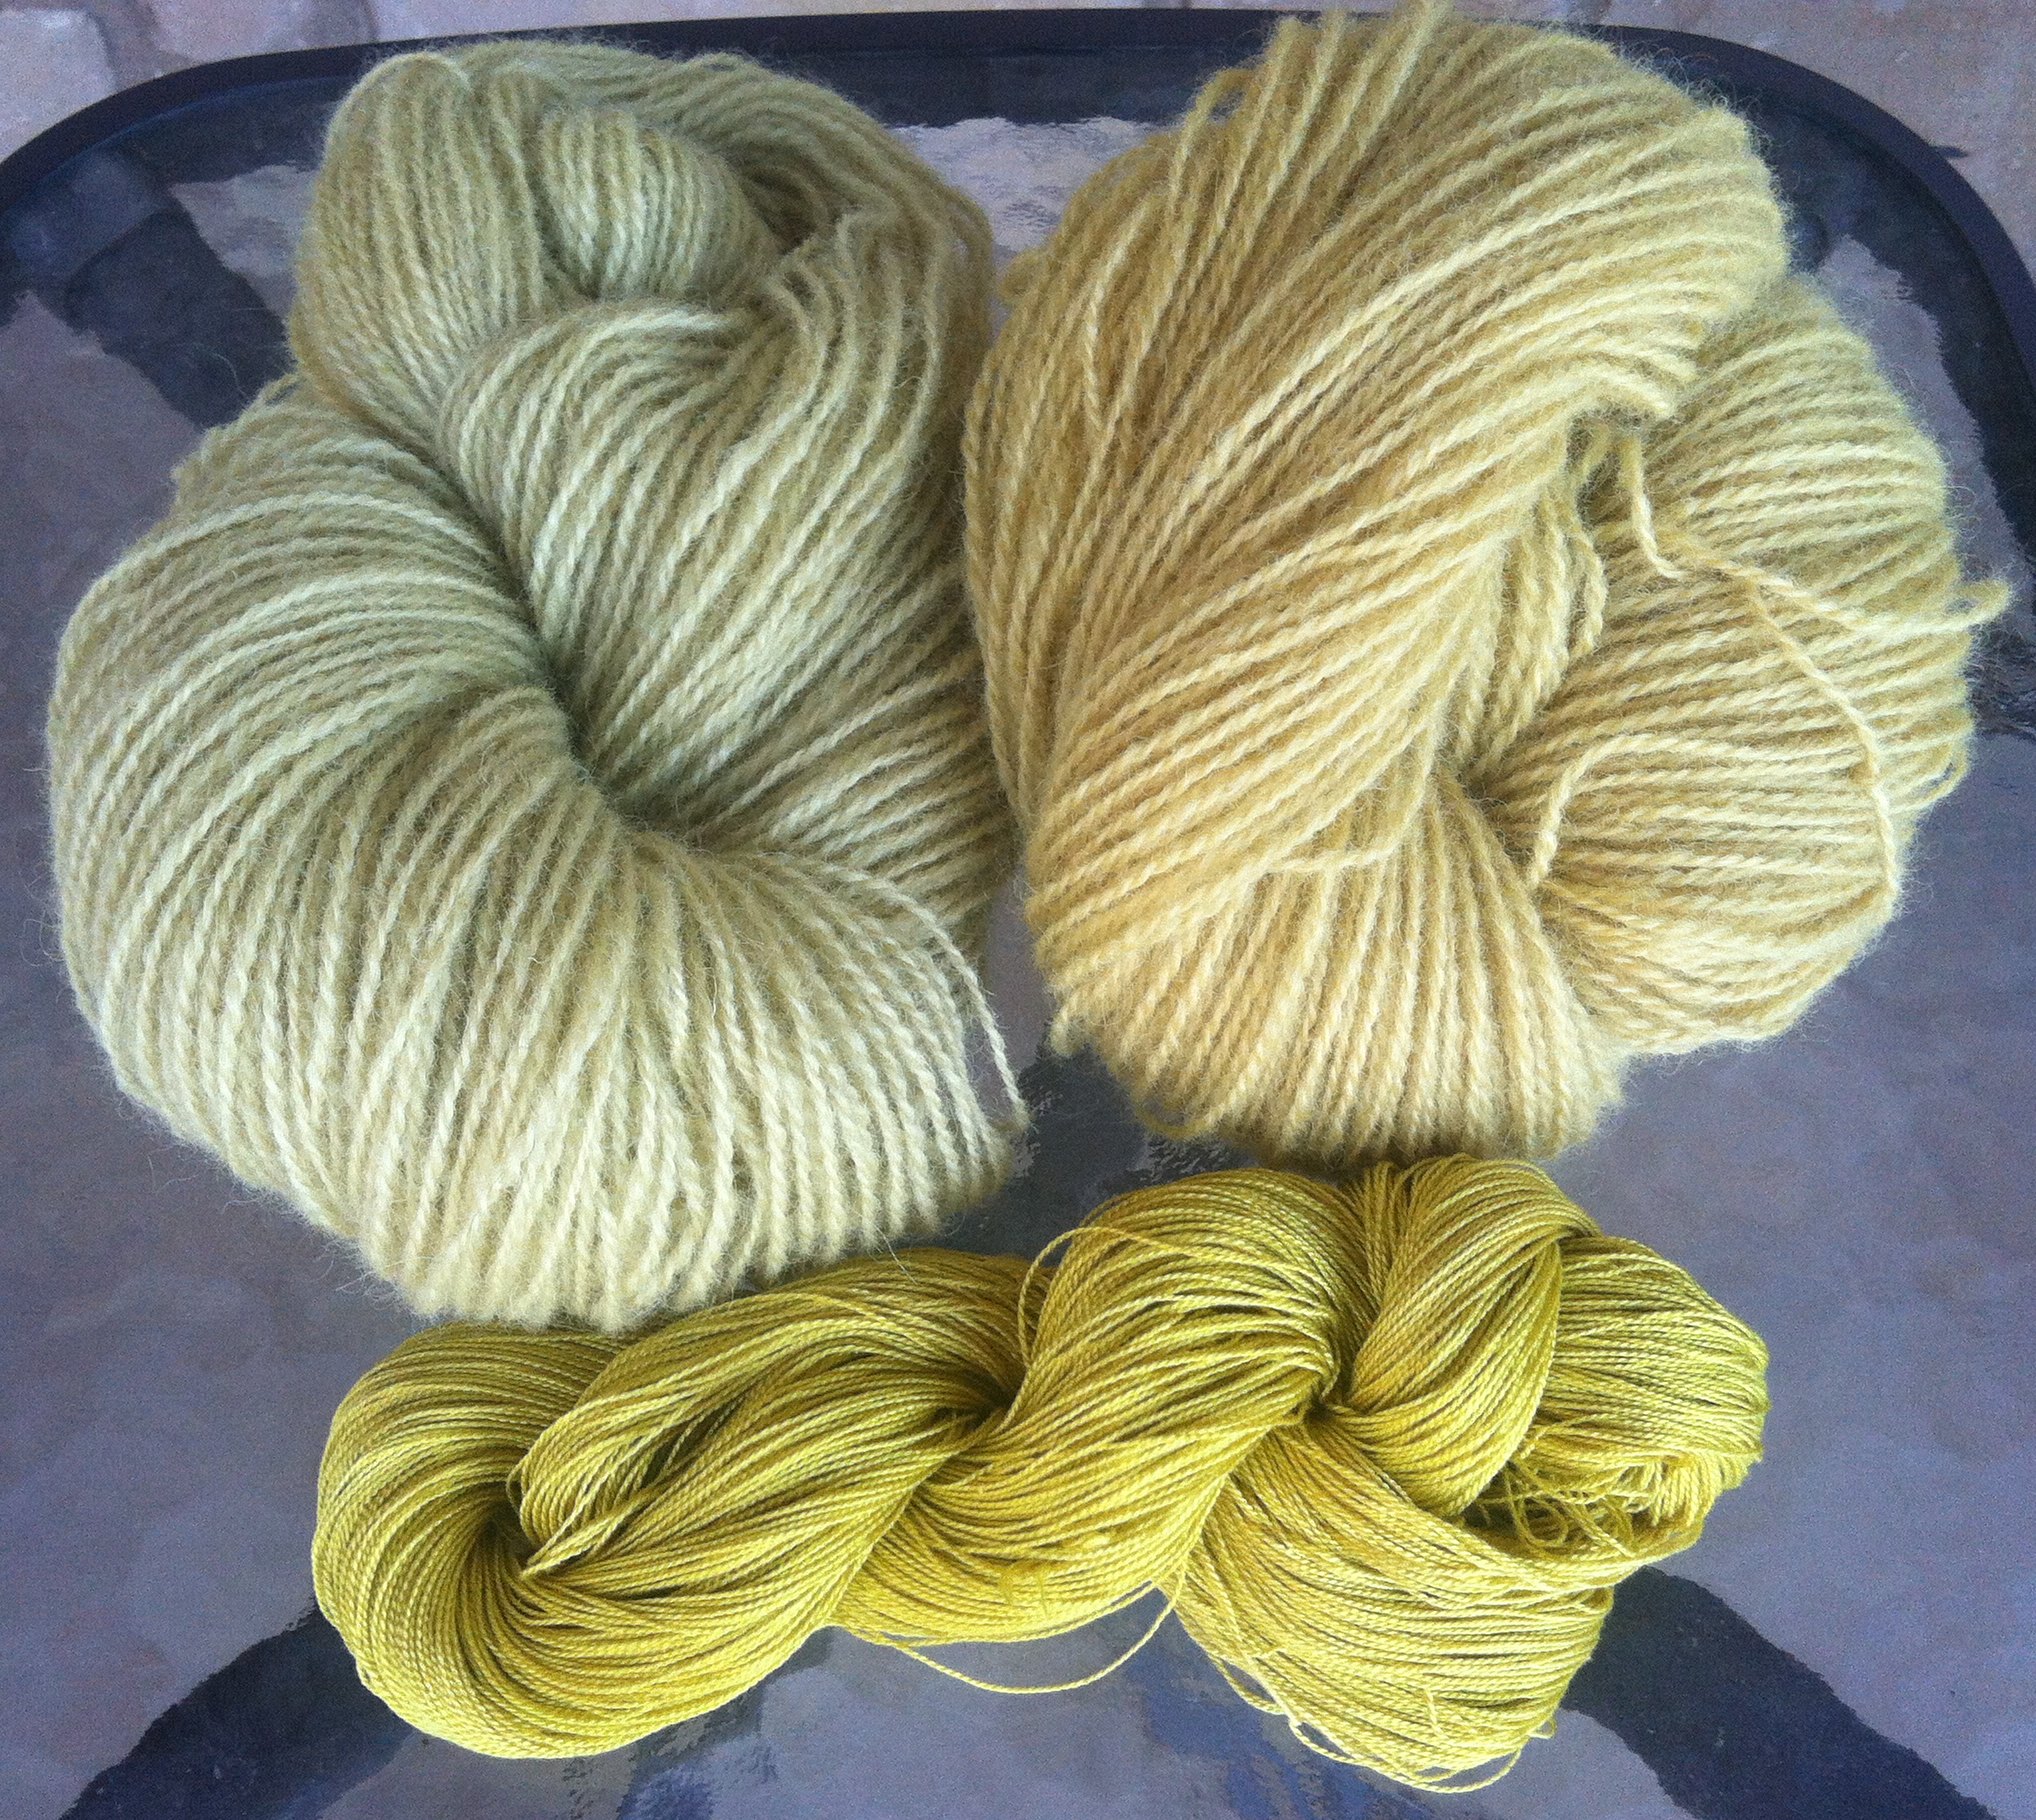
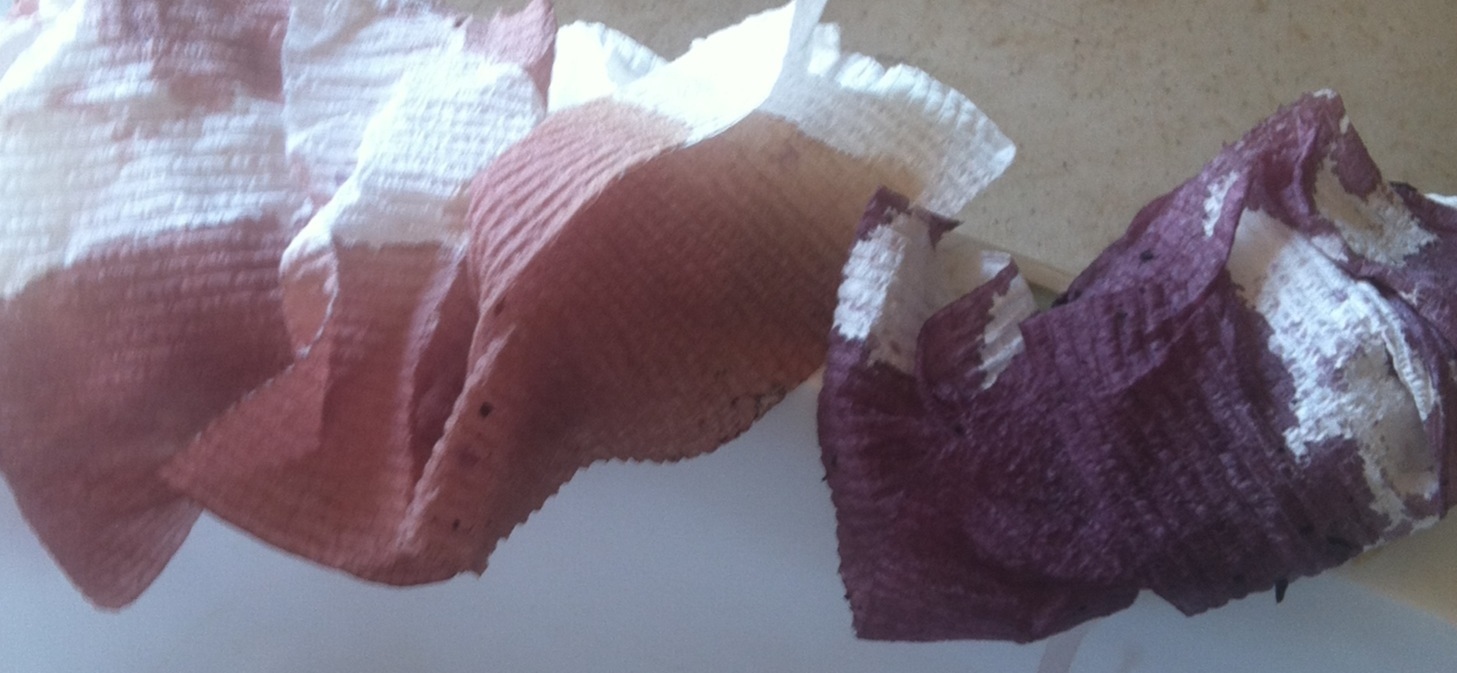
- Once you squash and expose to a lot of air the oxidation kicks in and the brew starts to go gold rather than yellow. I also explored working with ripe persimmons but the results were underwhelming for me.
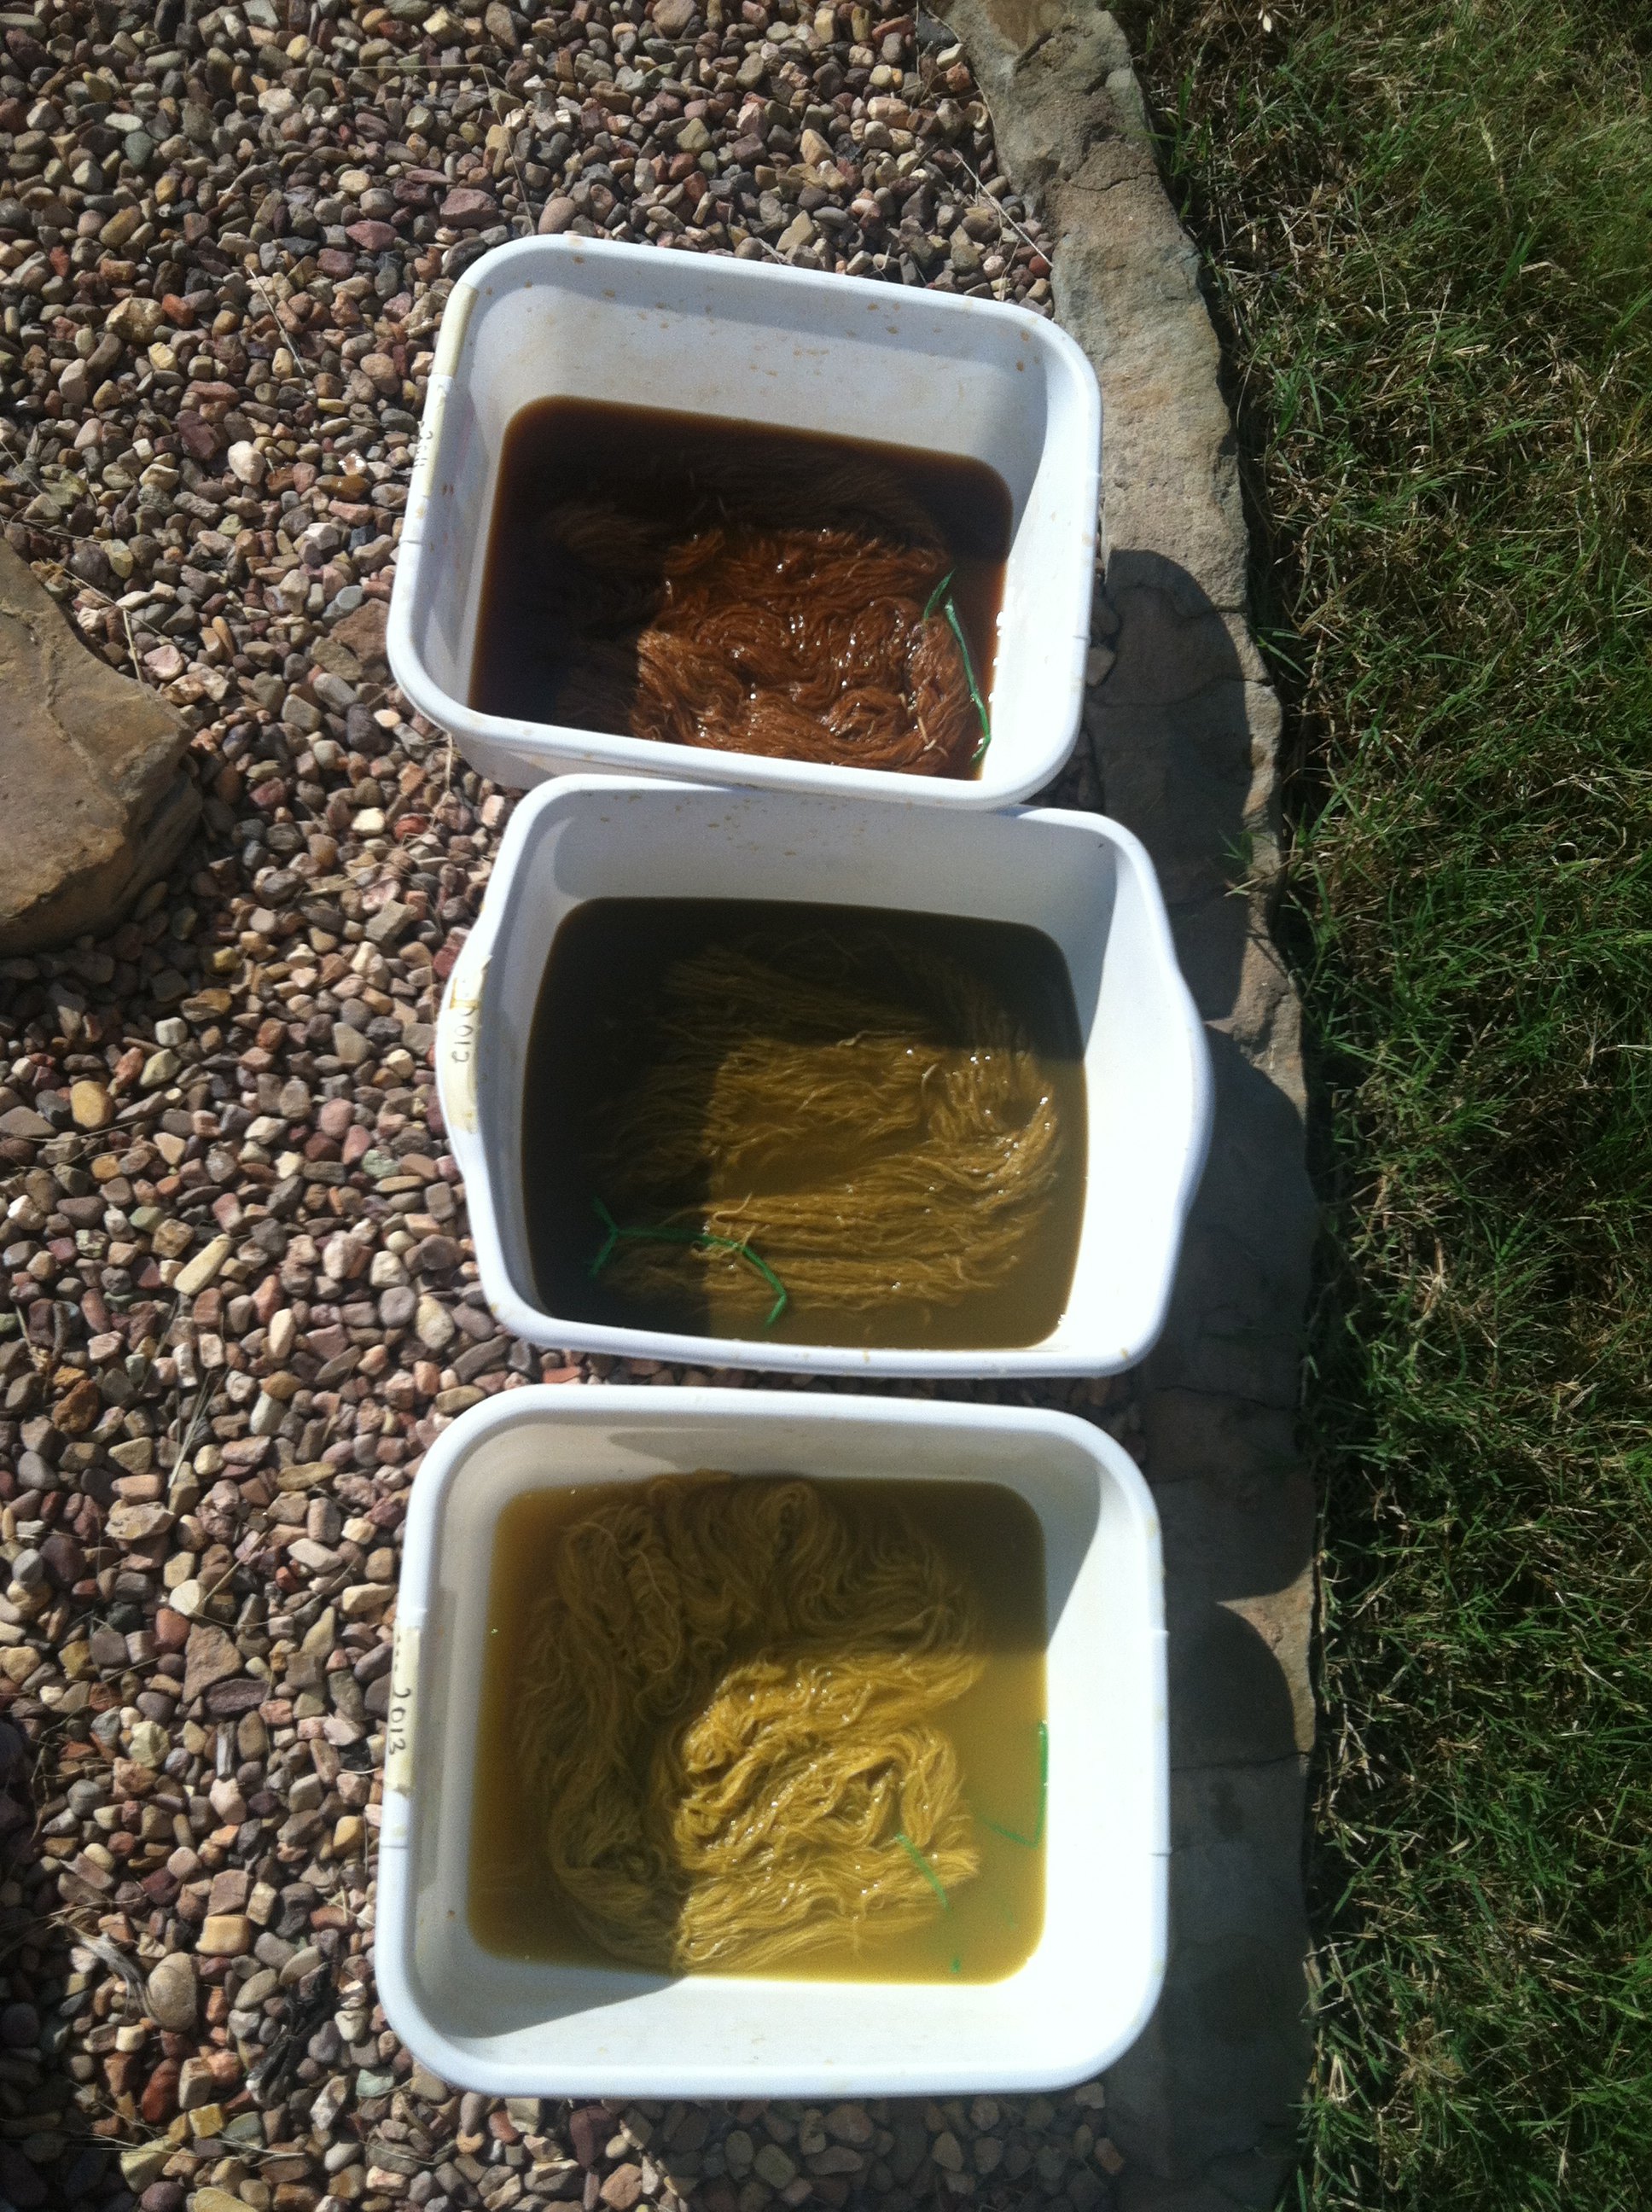
- I set aside jars of filtered brew with year vintage marked. As you go thru the years you will get browner colors. I have yet to get to black.

Below are some visuals for you to follow…..
- Pick when green, green gives you the best yellow, if you want gold you can leave it in the sun. Personally, to get gold I prefer to let the brew age (more below on that) https://debmcclintock.me/2013/06/13/diospyros-texana-persimmon-smashing/
- Place unripe fruit to soak in a closed jar, be sure and release the lid to release the gas formed by fermenting. If you don’t you will get bent lids or spewing when you open it. https://debmcclintock.me/2012/07/09/persimmon-size-vintage/
- I usually soften for about a month. I then squash and use 1st squeeze for yellow. You will find out how good your sense of smell is. https://debmcclintock.me/2013/08/06/meet-persi/
- I do filter and just dye with the liquid, just submerge yard or fabric in and circulate. You will see color strike. It is like an indigo or walnut bath, a substantive bath so no prep necessary. You can experiment with overdyeing, mordant or afterbaths for other color variation. At this point I discard the fruit. https://debmcclintock.me/2012/09/02/greens-over-or-under/ https://debmcclintock.me/2011/08/18/no-black-yet/
- Once you squash and expose to a lot of air the oxidation kicks in and the brew starts to go gold rather than yellow. I also explored working with ripe persimmons but the results were underwhelming for me. https://debmcclintock.me/2012/07/30/persimmon-revisited-or-still-searching-for-black/
- I set aside jars of filtered brew with year vintage marked. As you go thru the years you will get browner colors. I have yet to get to black. https://debmcclintock.me/2013/07/23/lichen-persimmon-vintages-and-fresh-weld-results/
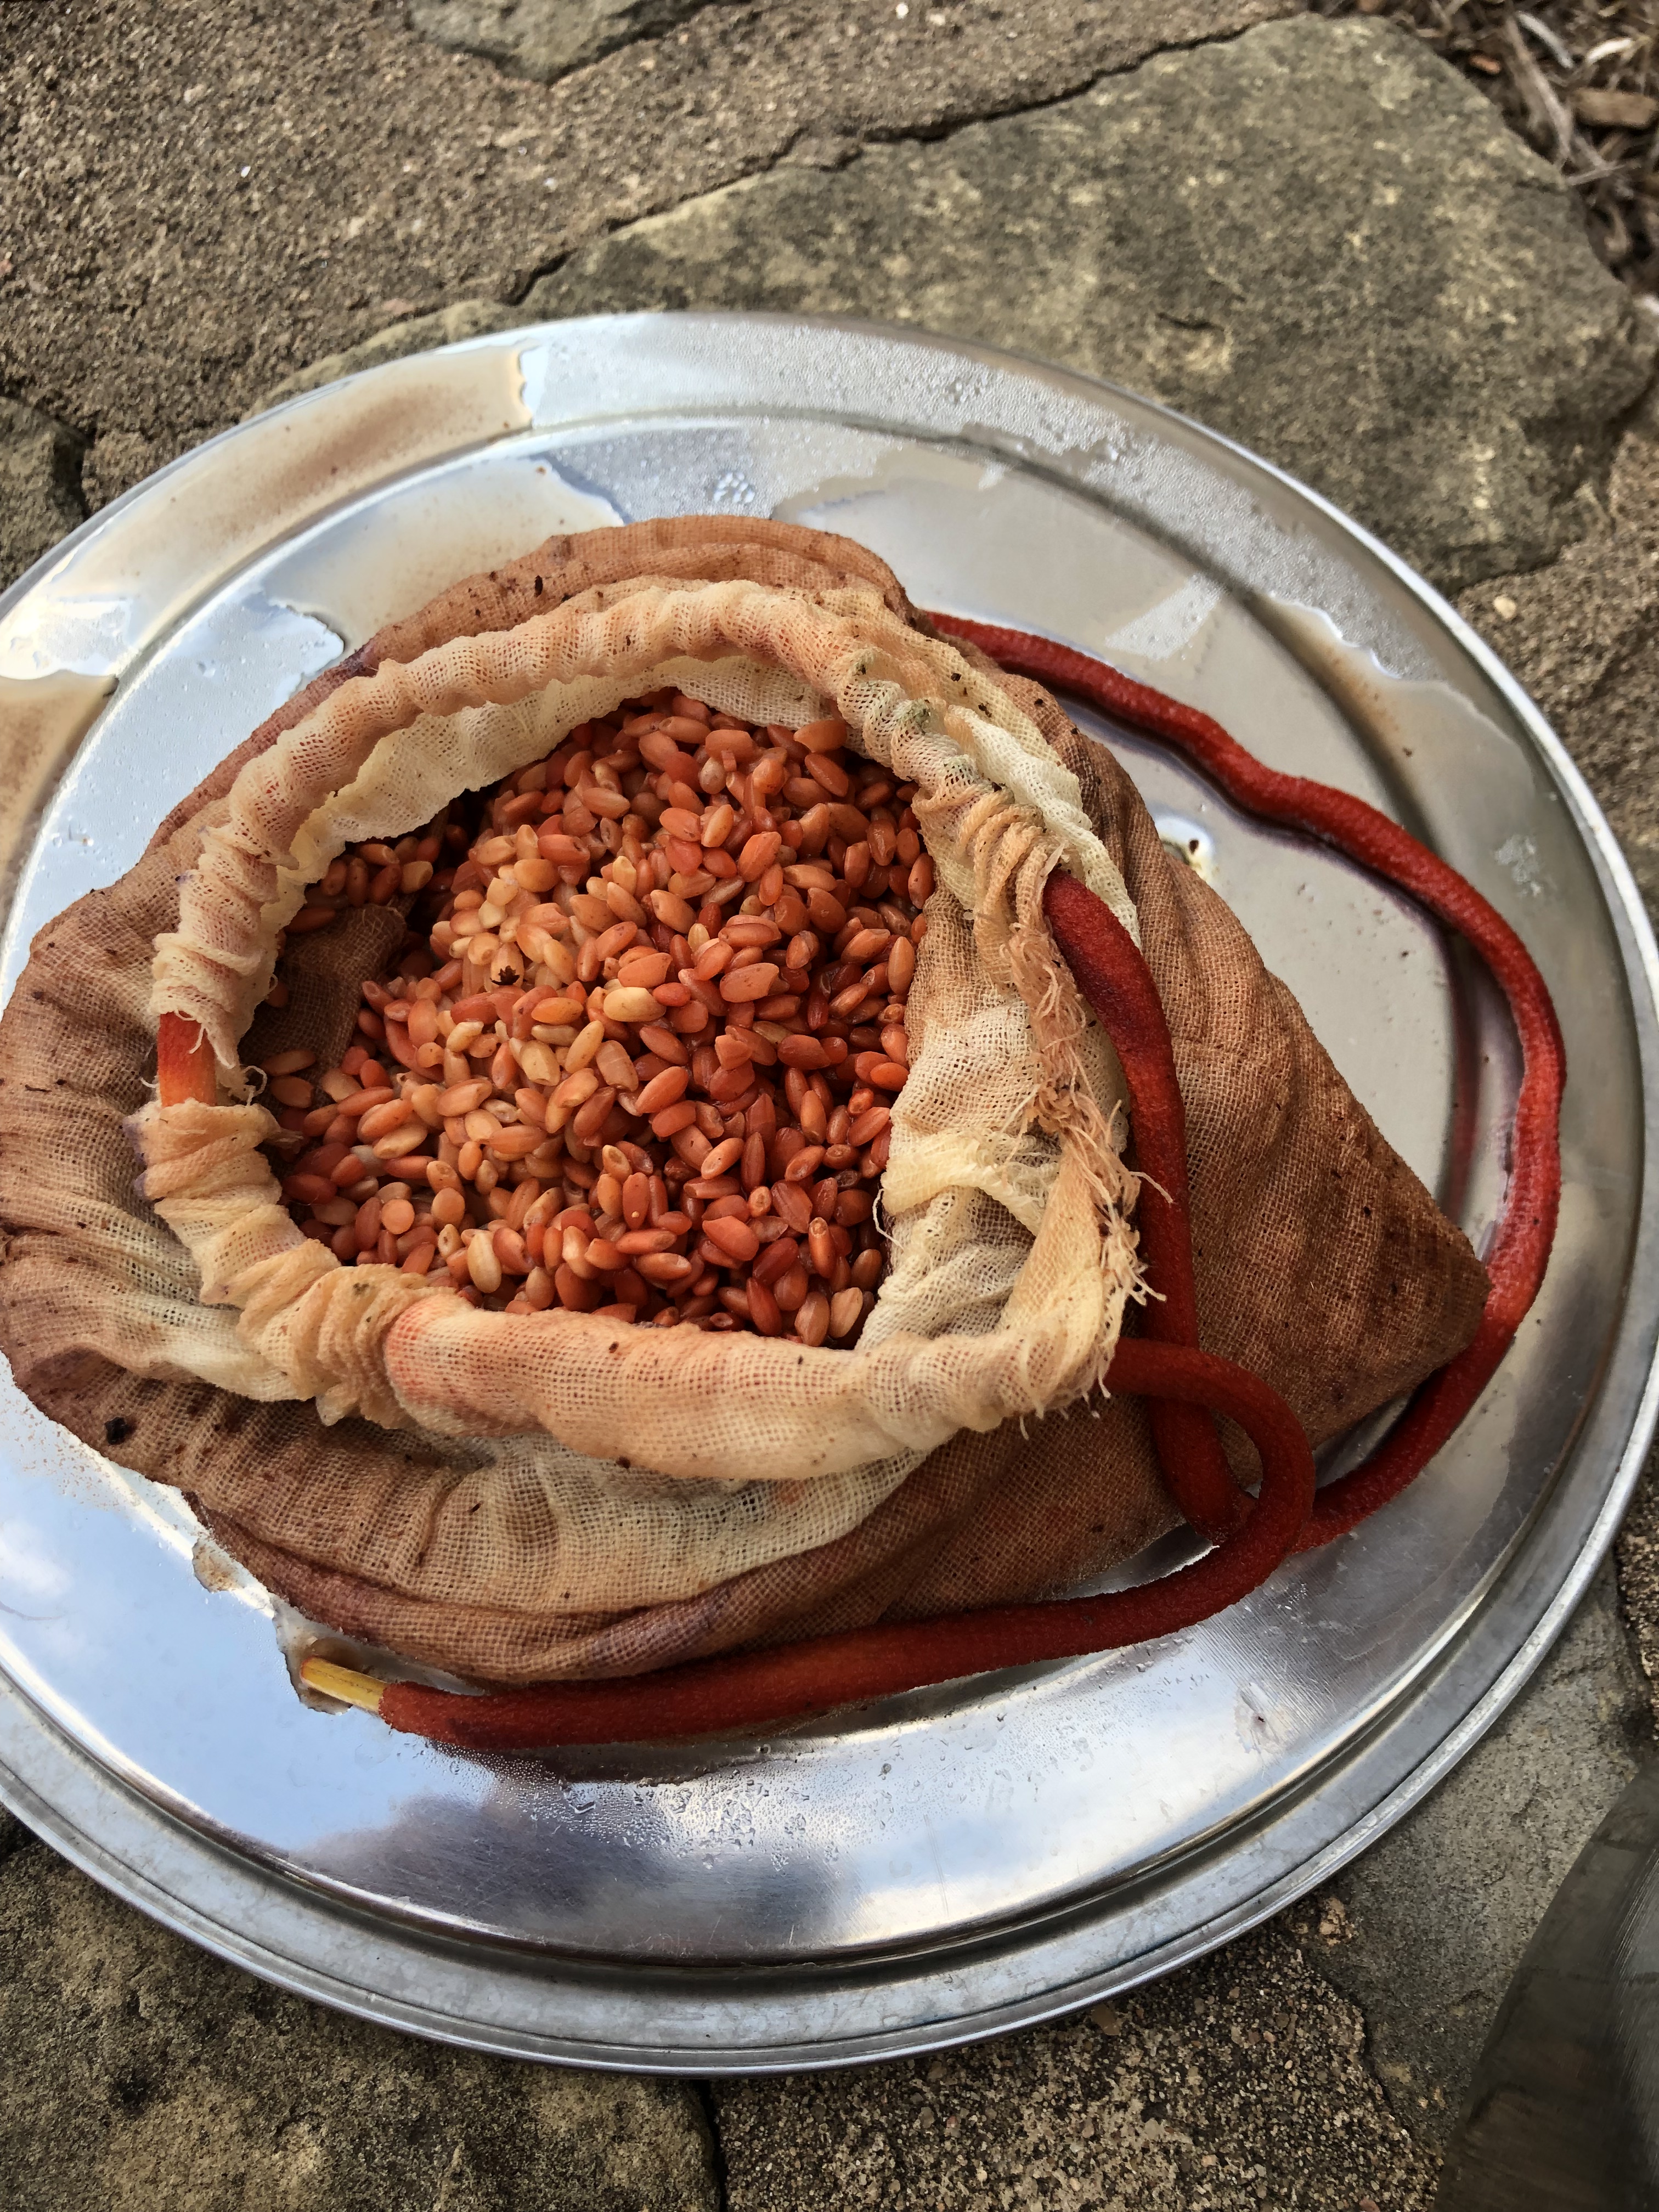

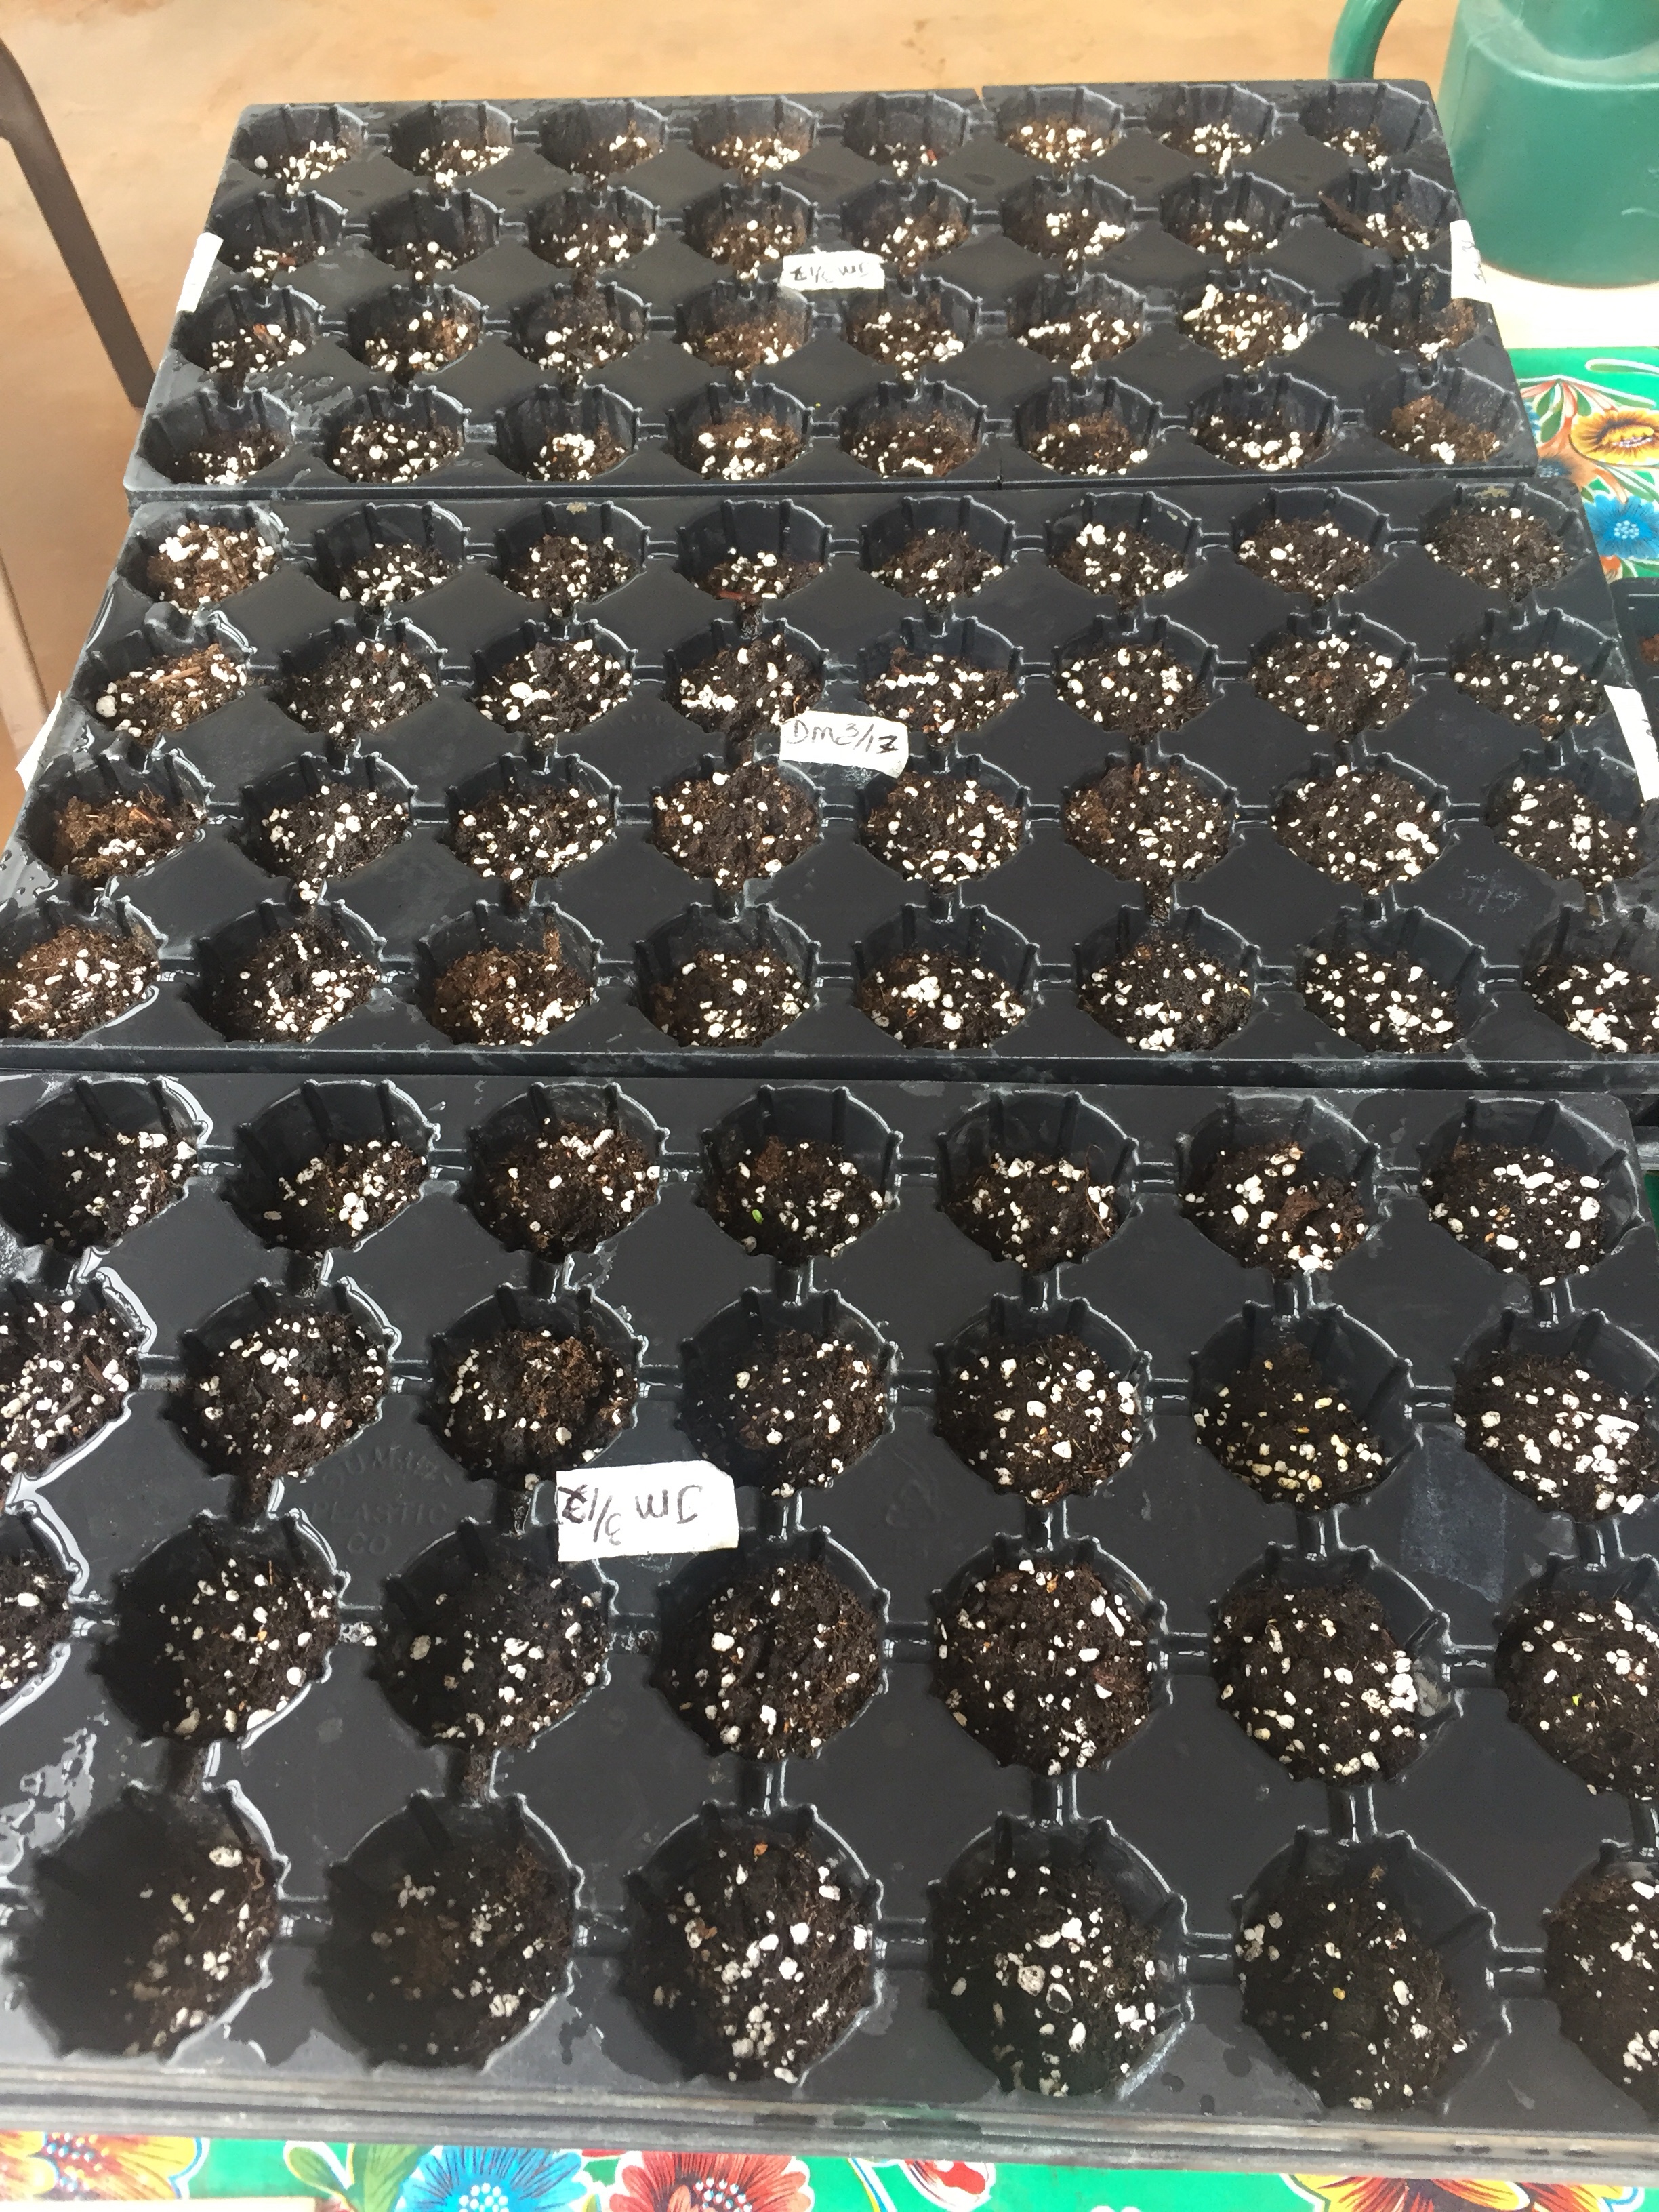
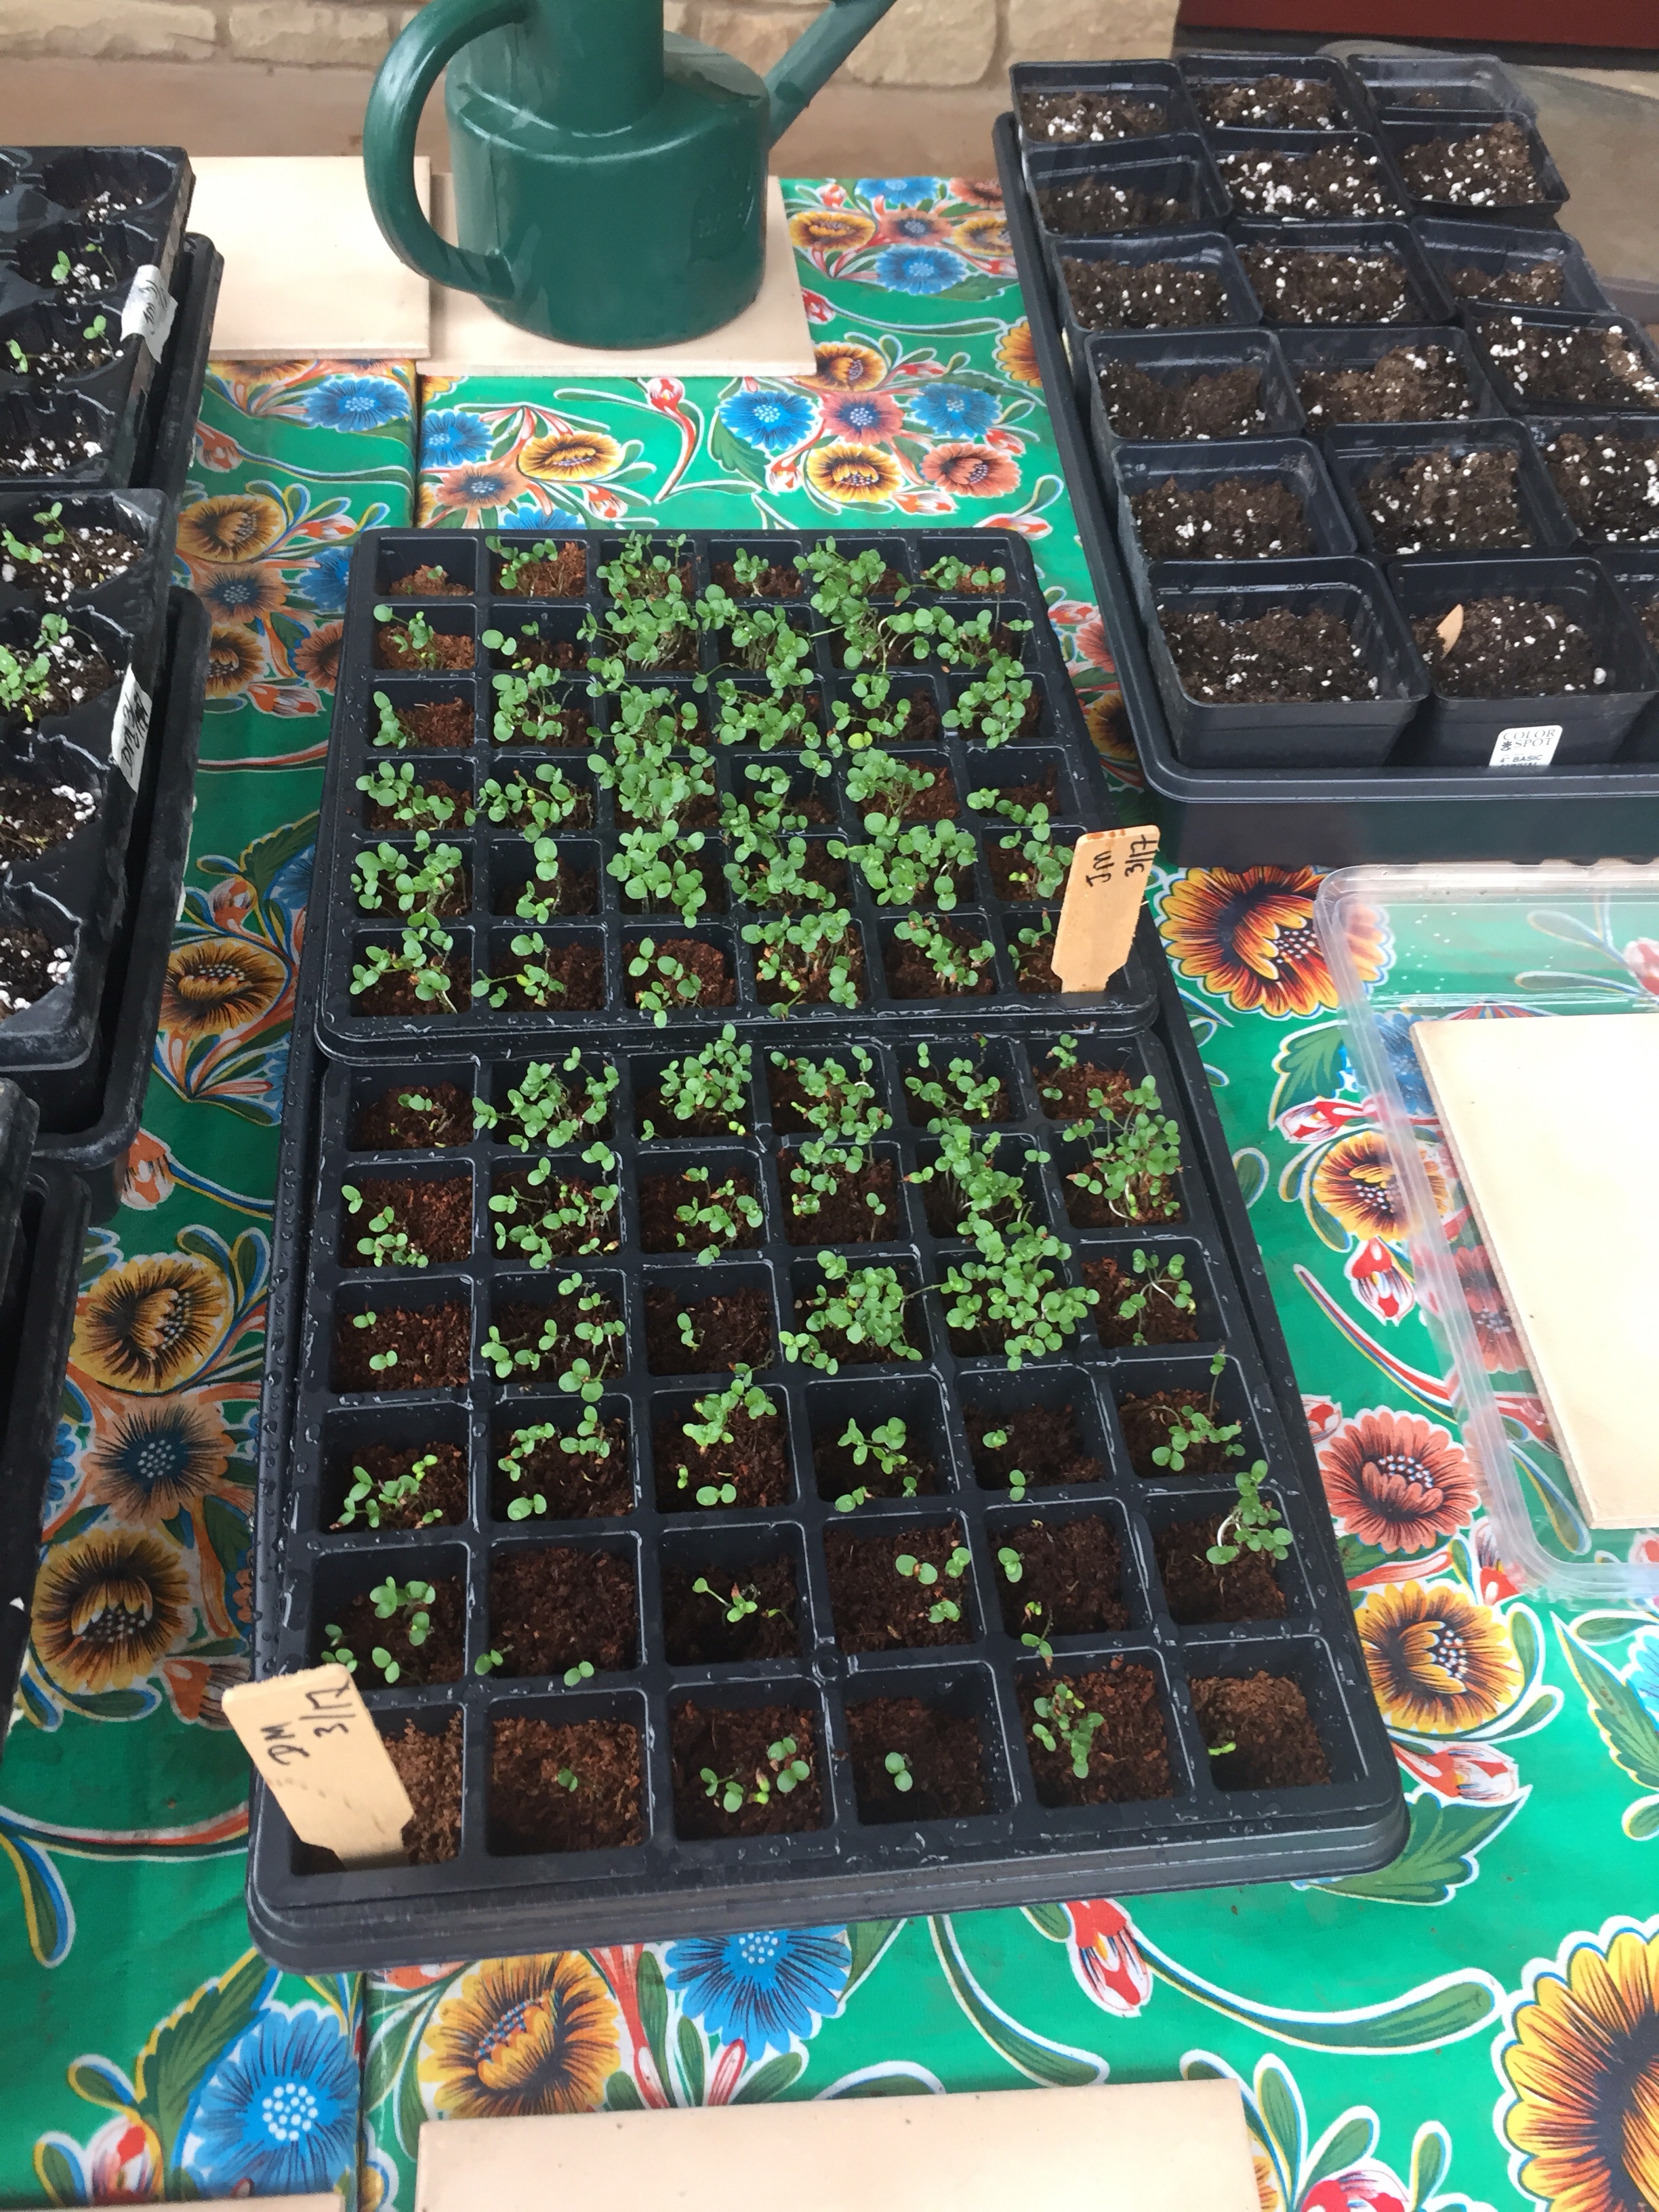 Next up I will plant my Indigofera Suffruticosa seeds. I’ll throw Cota and Hopi Sunflowers into the mix this year also. Maybe I can beat the birds to the seeds for dye this year.


You must be logged in to post a comment.