
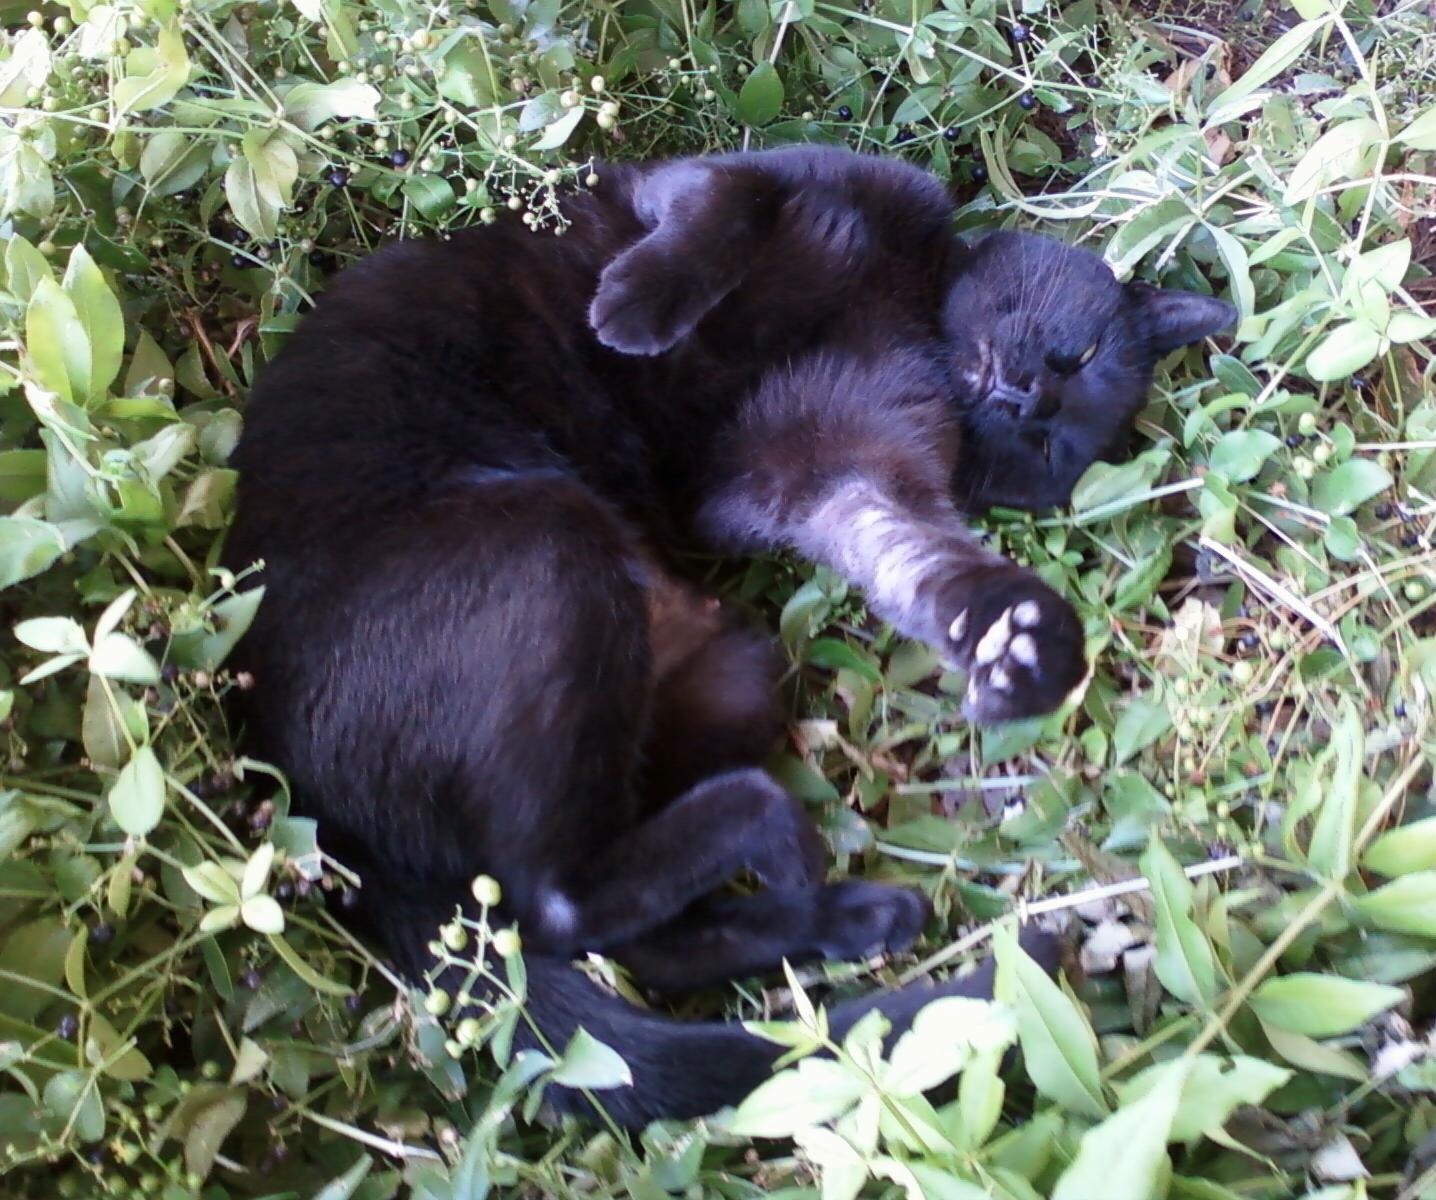
 Harley will assure you I grow madder root for his napping and bug hunting convenience. Despite his beliefs, I am experimenting with growing madder root as a crop with our alkaline soil and high PH well water. I don’t believe I will need to add calcium to this madder root to get to a deeper color. More on dye experiments later this month. This post is all about the digging and madder root prep. I am making an assumption most folks don’t and won’t grow their own madder root and would enjoy living vicariously thru my harvest.
Why do I? Because I can and I hope it will be a decent cash crop. You don’t grow madder for its beauty. It is invasive, scraggly and very scratchy. The tiny yellow blooms and purple/black berries are pretty but small. The mockingbirds and pill bugs LOVE the madder berries! It is a good rotation crop, if you can call every three years a timely garden rotation. Once you get it established it takes very little water and just grows.
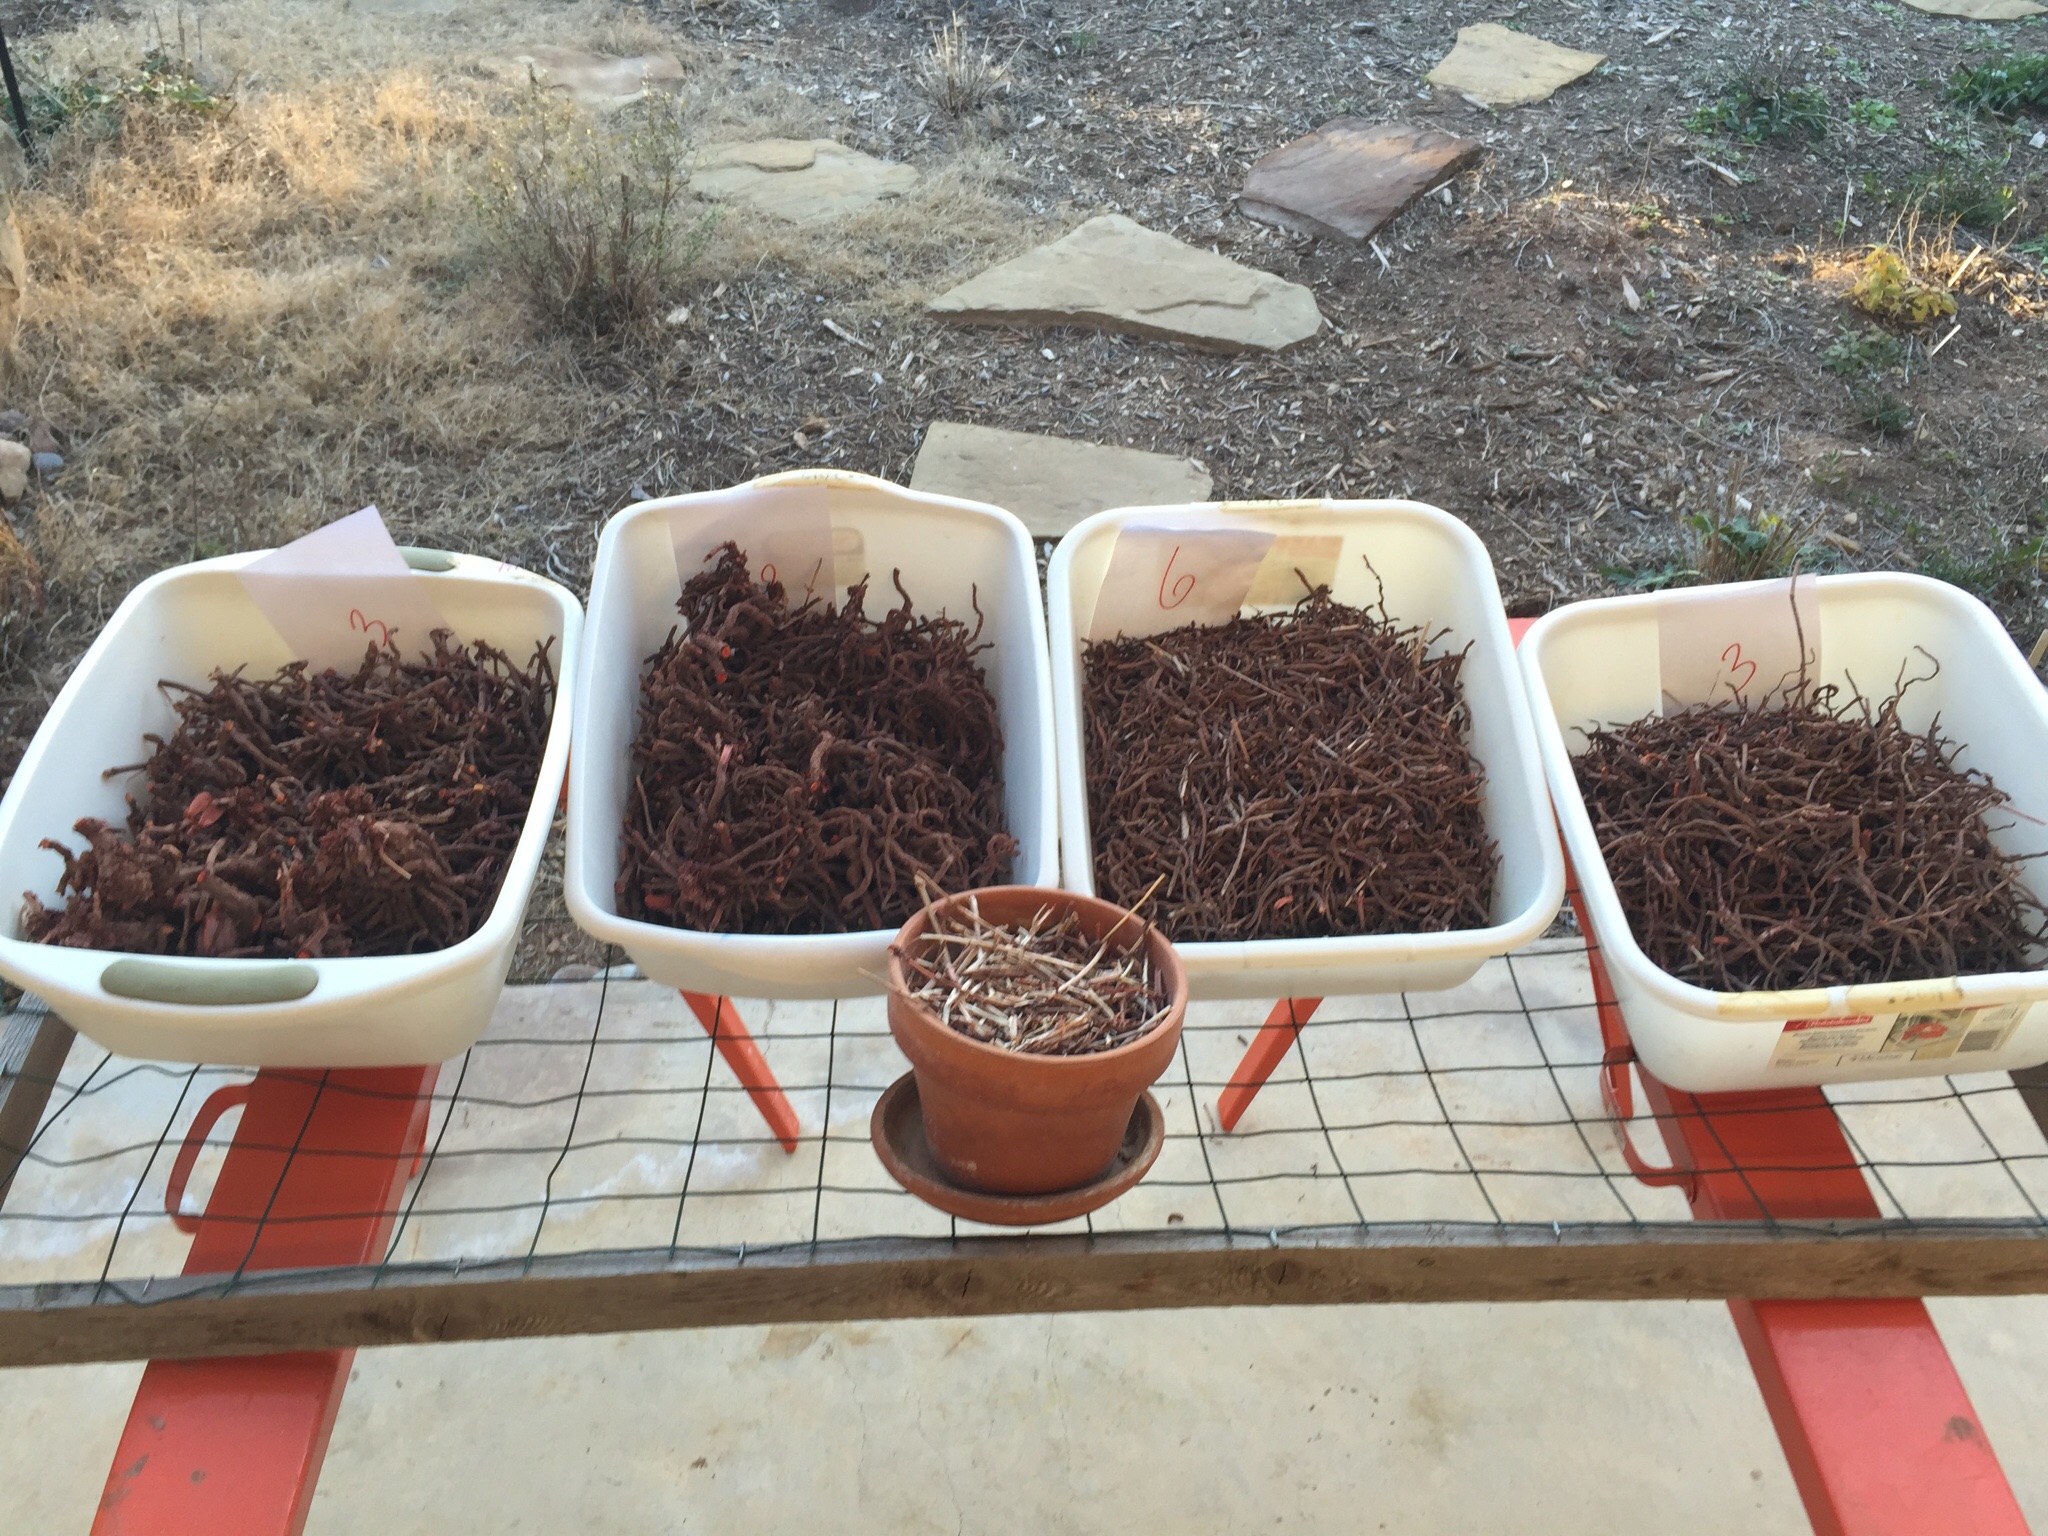
I had two madder beds to harvest, one three year and one six year bed. I did take the trouble to keep the vintages separate so I could test the color yield on the two vintages. The six year bed came about because of a shoulder injury and subsequent surgery which diminished my enthusiasm for heaving roots with a pitchfork. Once I run some test dye baths we’ll see if a six year vintage happens again or if a three year rotation will suffice.
To start the harvest I clipped off the green cover leaves and stalks. That leaf cover crop will give you a nice series of yellows and the leaf stalks will give you a light tangerine. You can plan out your bed harvest to take that portion of the crop to the dye pot and simmer your dye stock while you are digging the roots. I am sorry to say I just cut the leaves & stalks and put them out on the septic field for the deer to munch on. There are historical reports about livestock eating the madder root and developing red bones. I’m thinking some deer hunters around here will be scratching their head if they harvest any of our deer. I had a lot of digging to do and a tight timeline and wanted to get to it, so…happy deer!
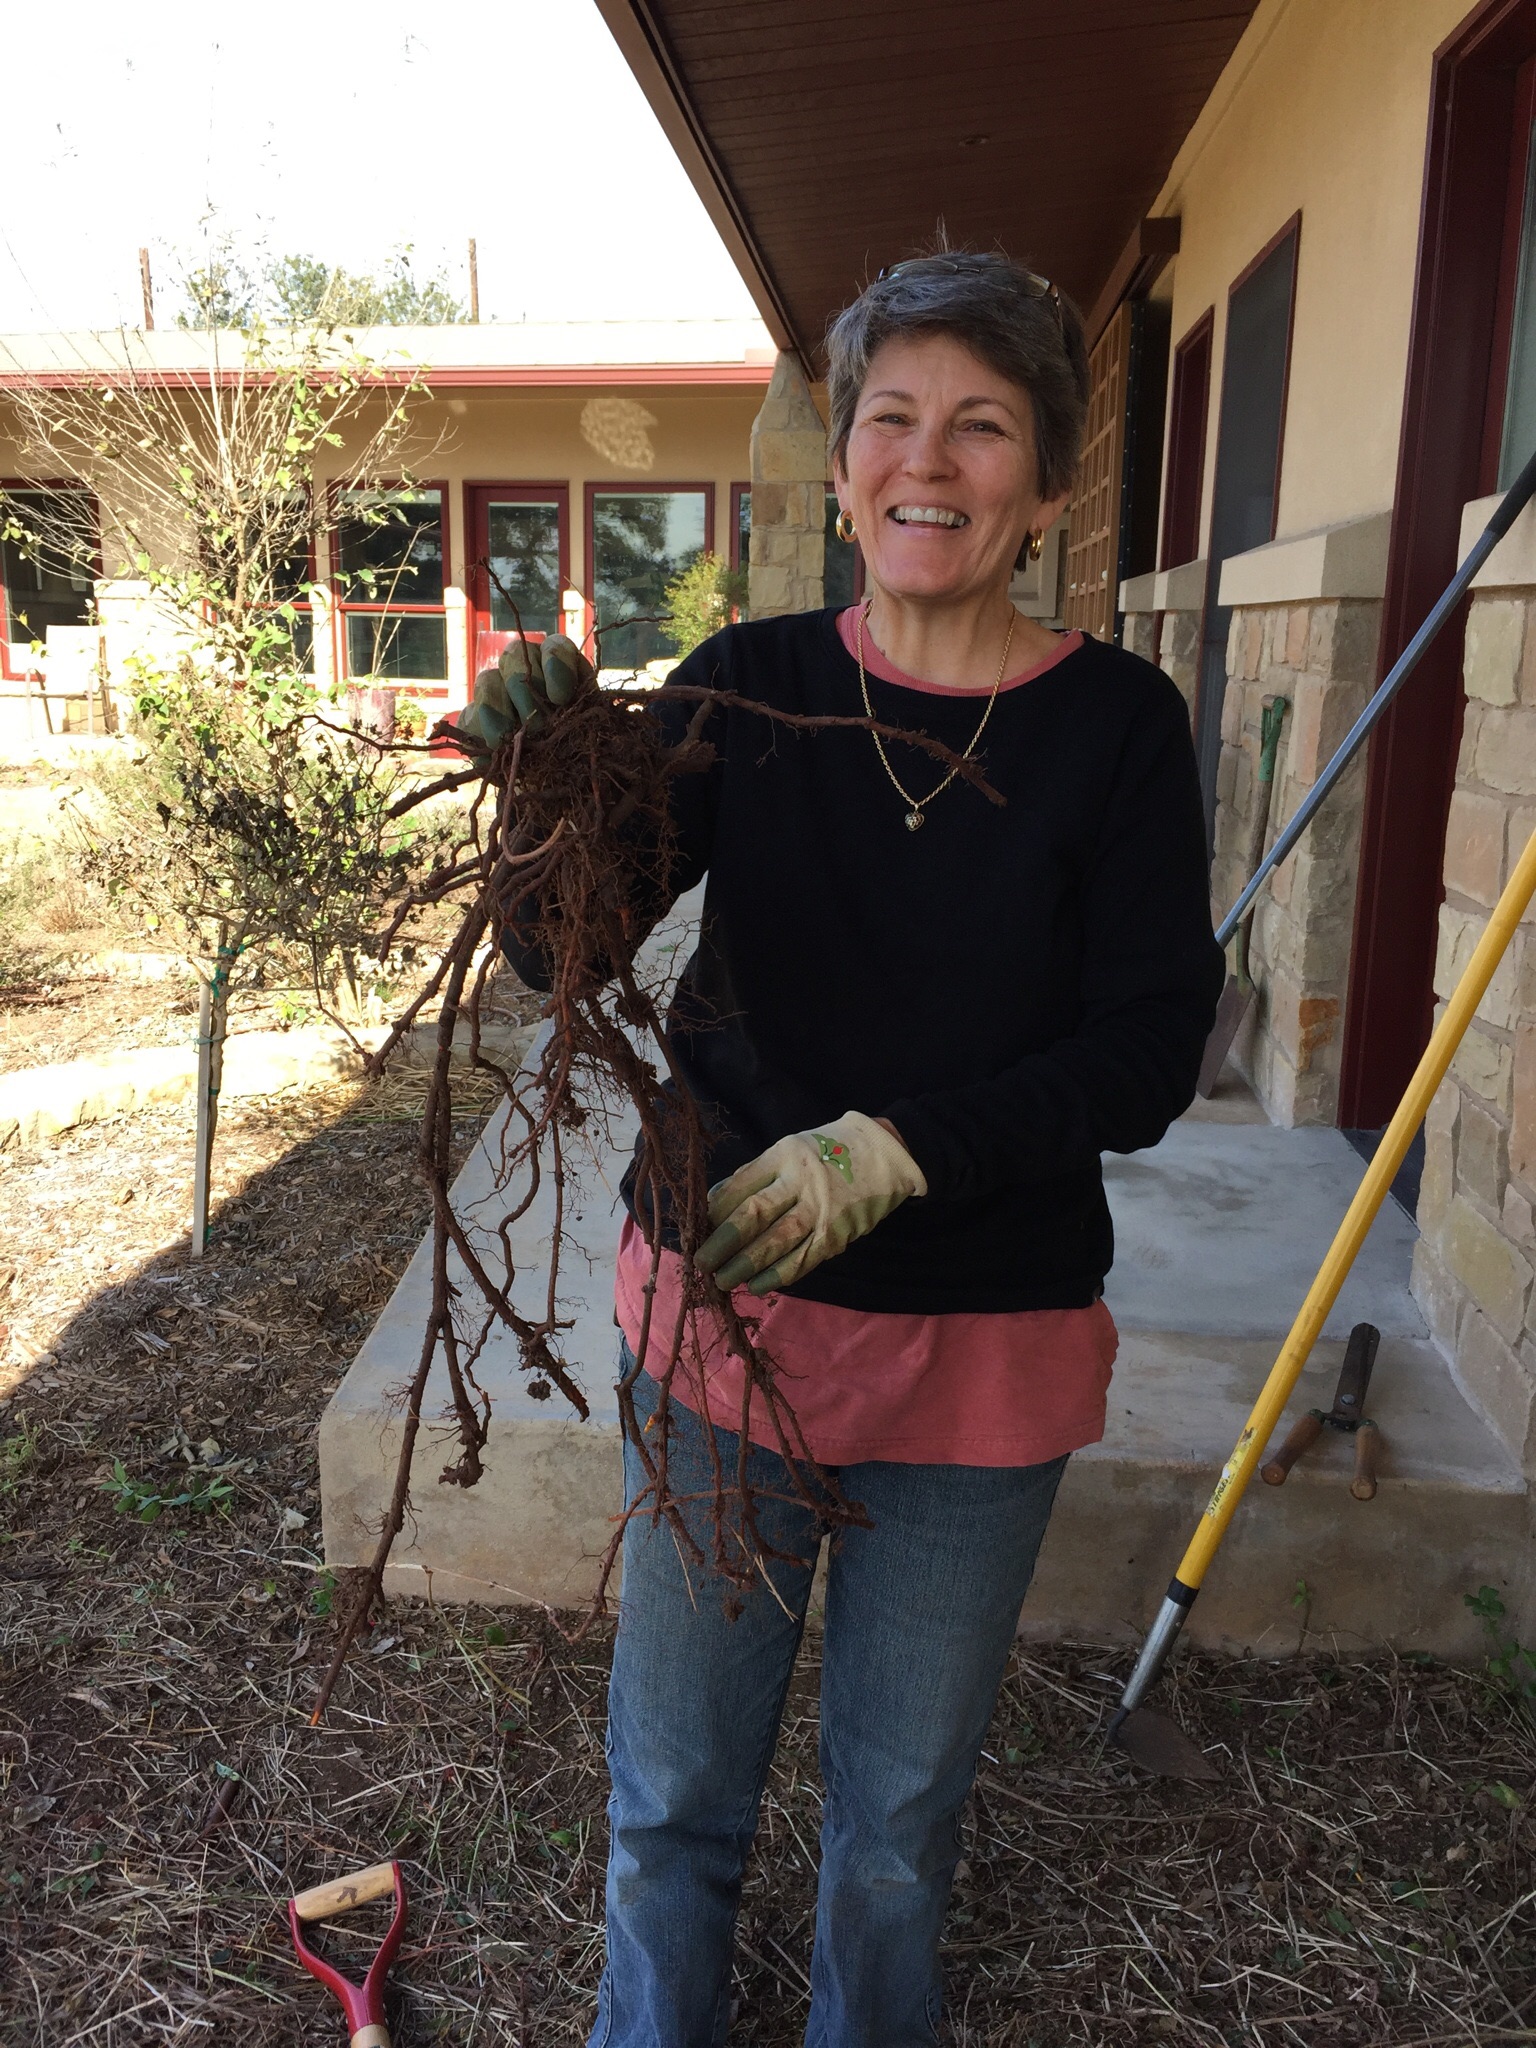
A garden friend and fellow weaver, Jeannette, came up from San Antonio to help me with my 2nd day of harvest. She wanted to see the plant first hand and learn more about the dye process. Her reward for her hard work was ample madder seed, fresh madder root and some commercial dried madder root for comparison for the dye pot. She went home with ideas for her own madder bed. My back appreciated Jeannette’s help the 2nd day very much.
It was nice to have someone with which to celebrate the big root “finds”.
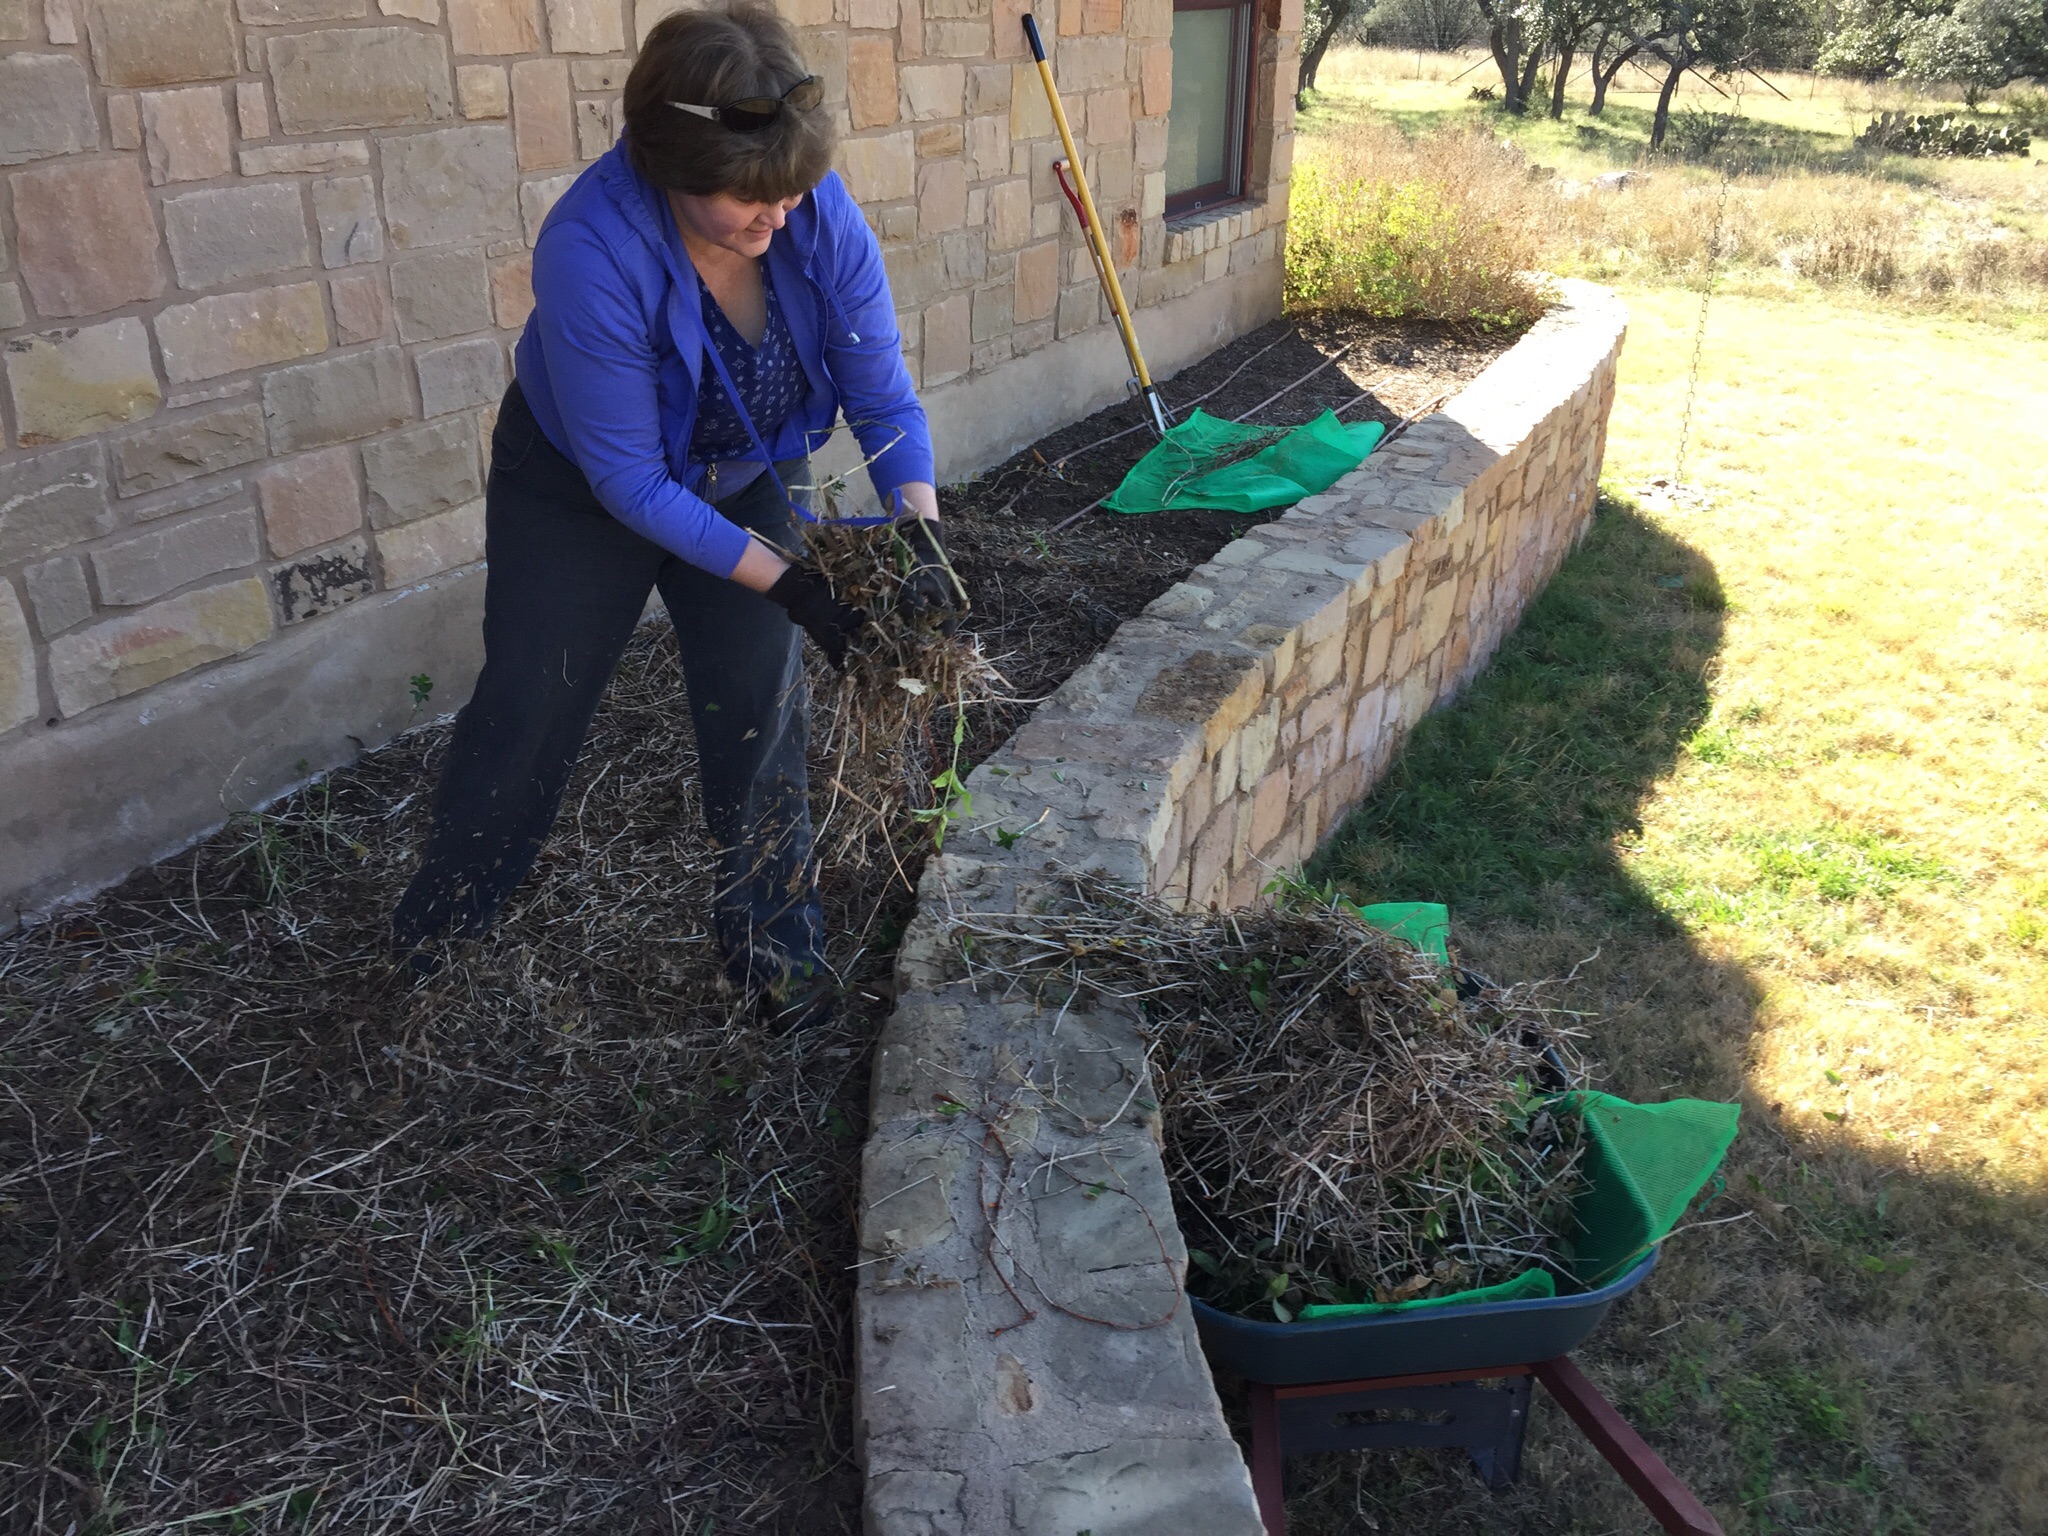
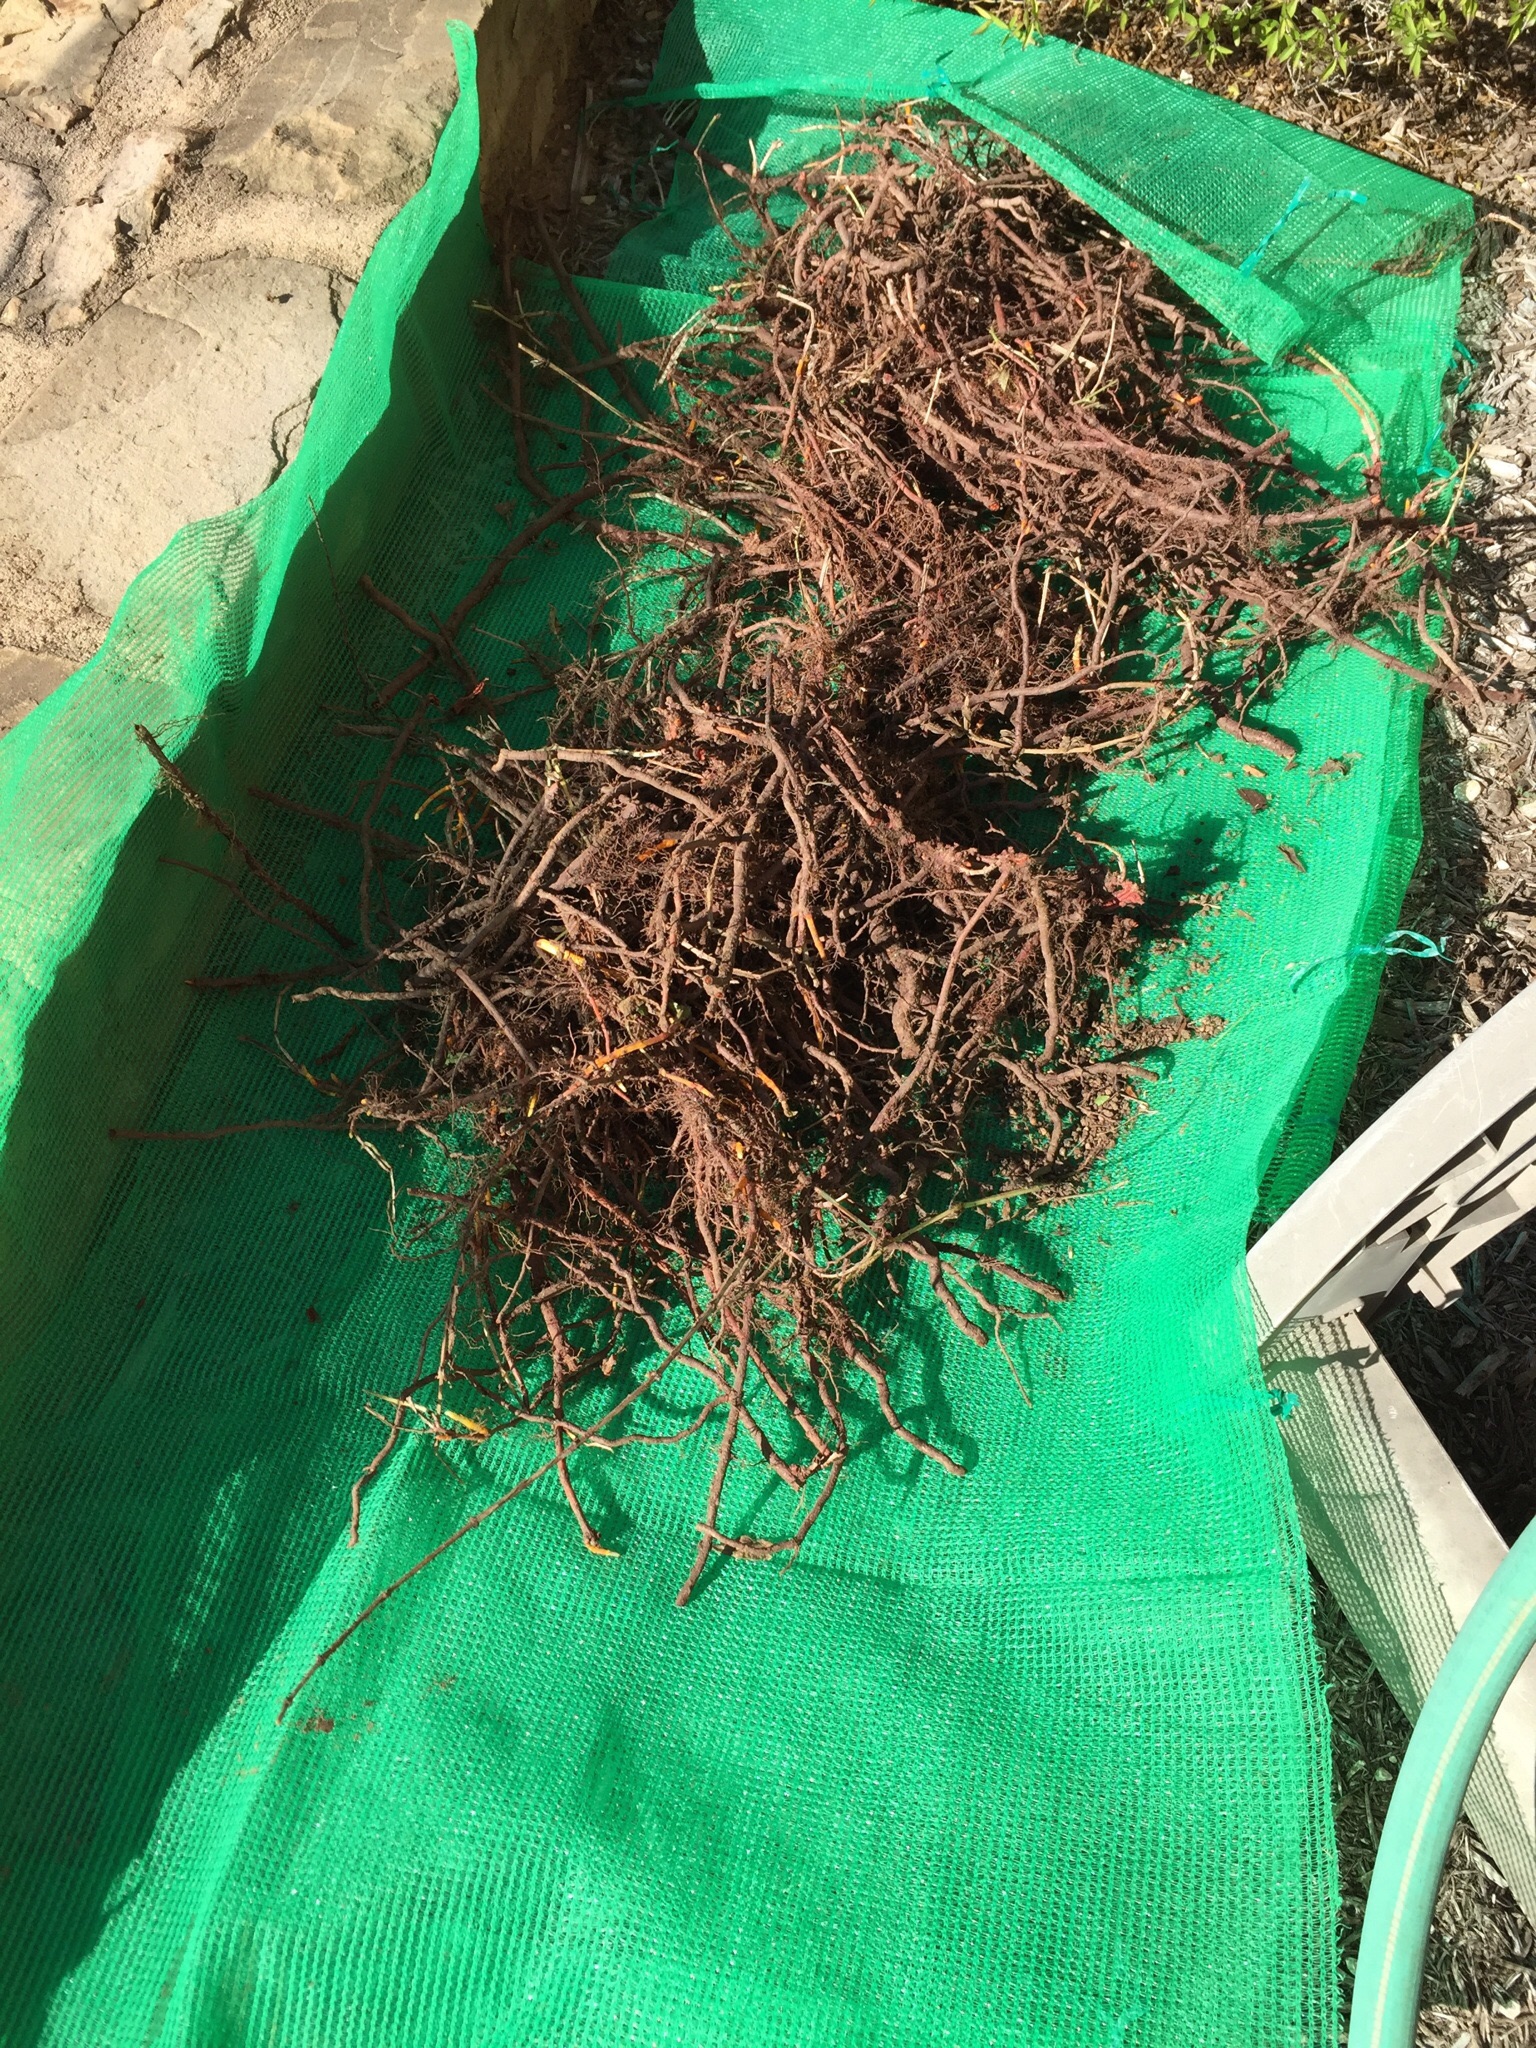
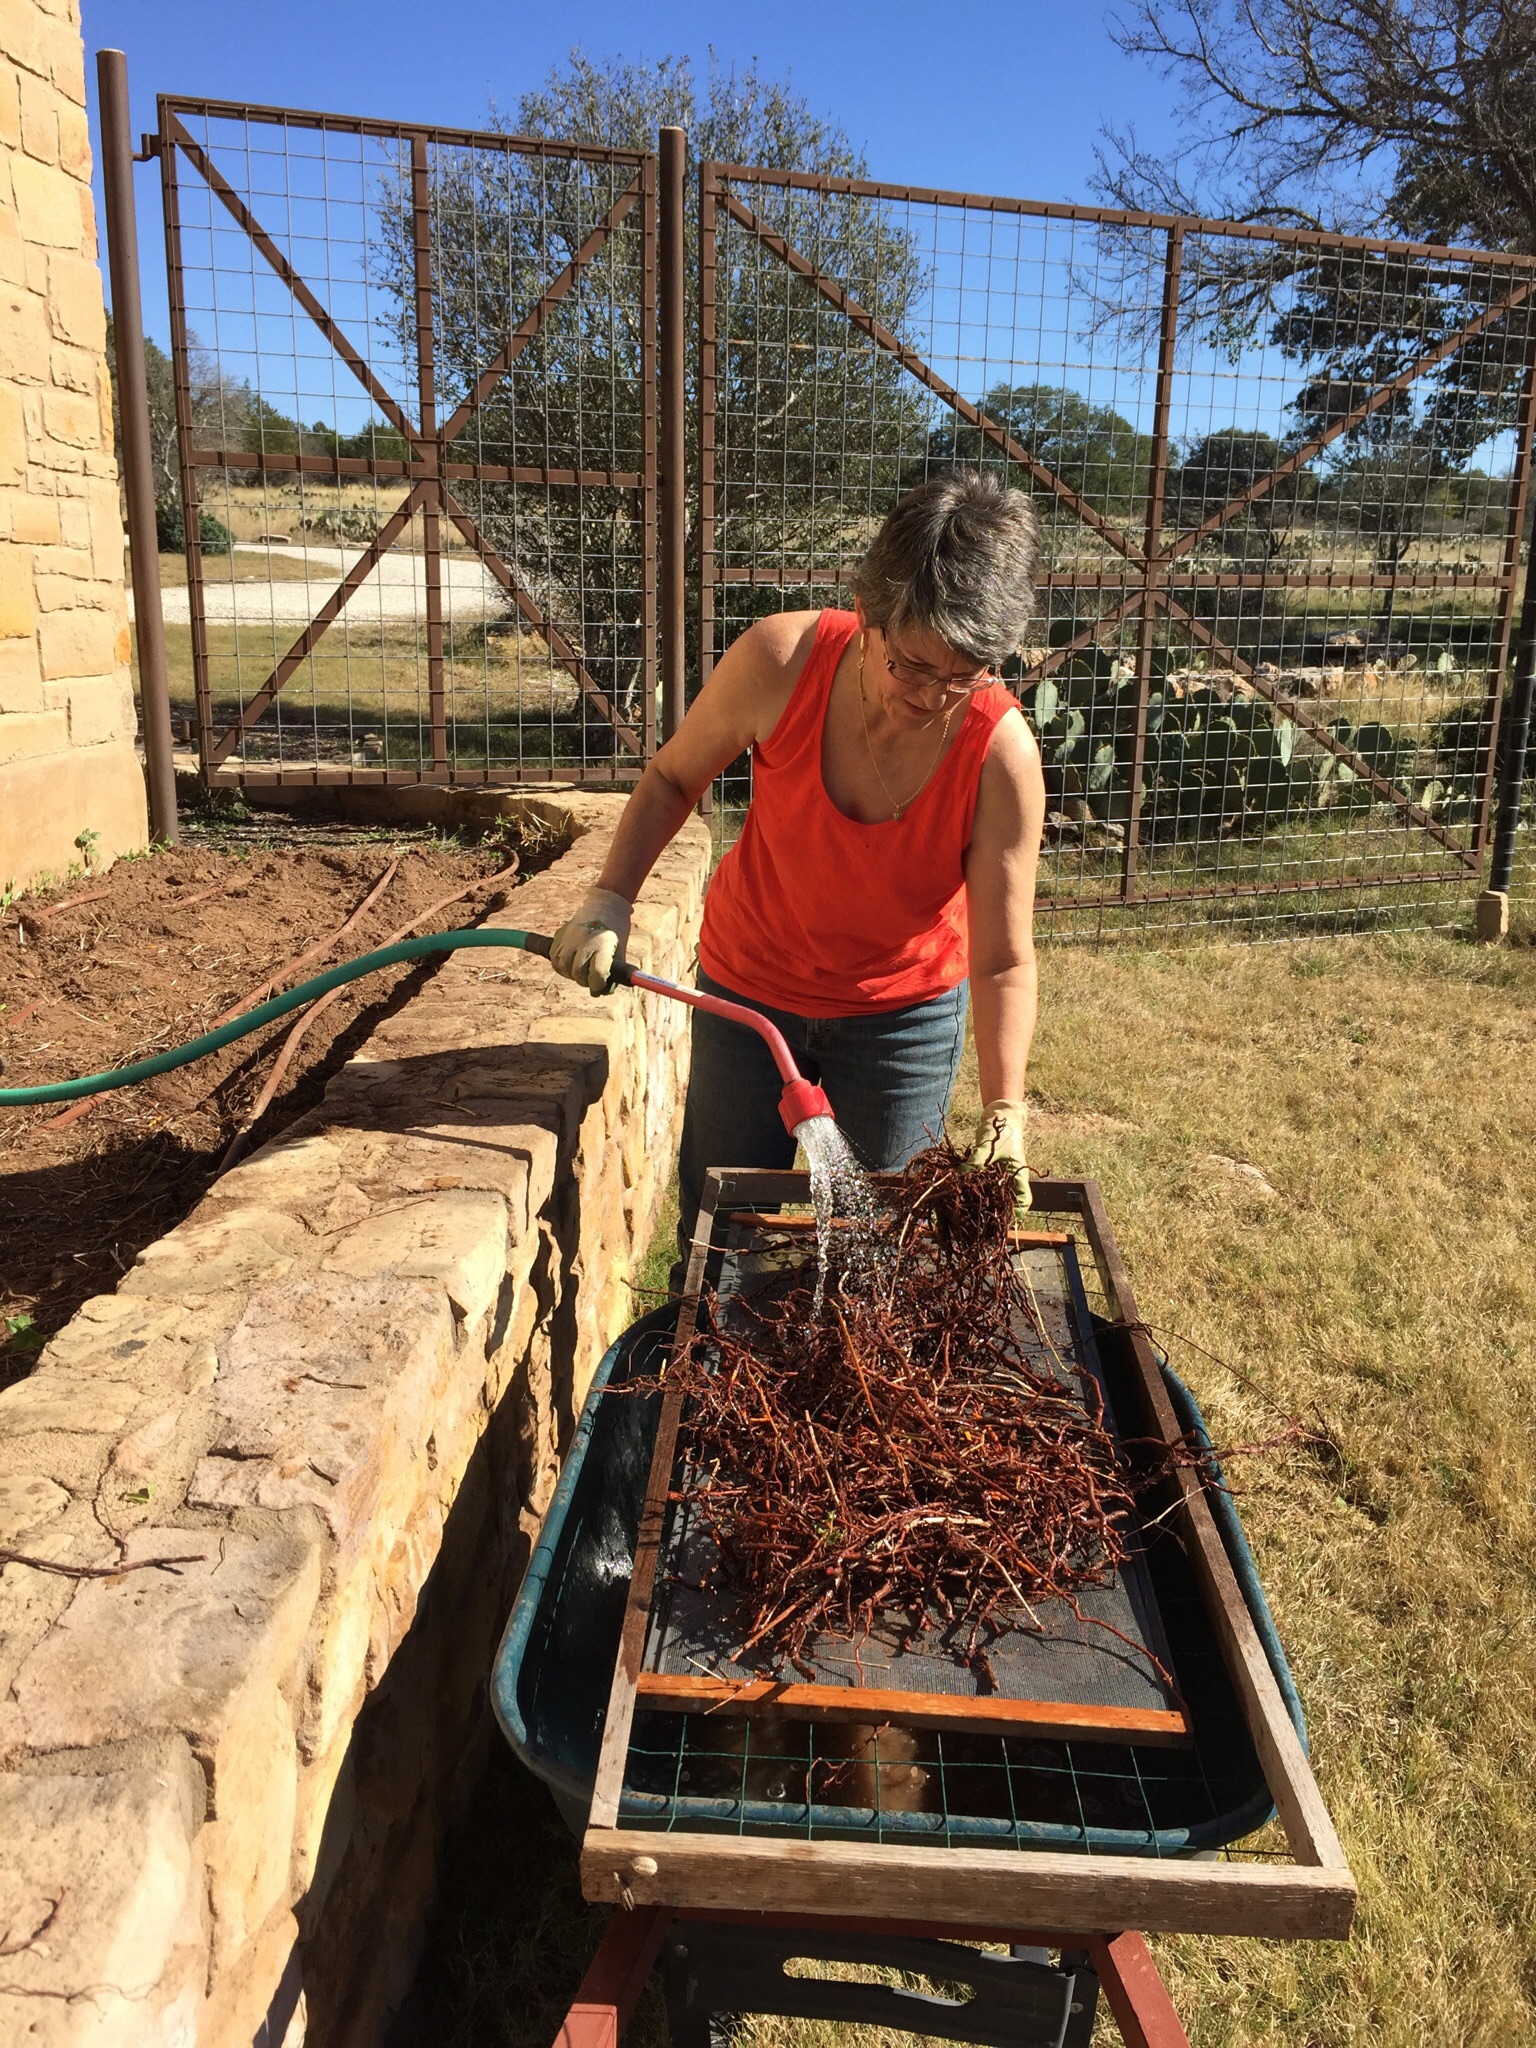
We dug, shook out dirt, washed and rinsed the madder harvest and set it out to dry.
If one is going to pull a big crop I can’t stress having enough tarps for sorting/rinsing and drying racks to manage the roots as you process the crop.
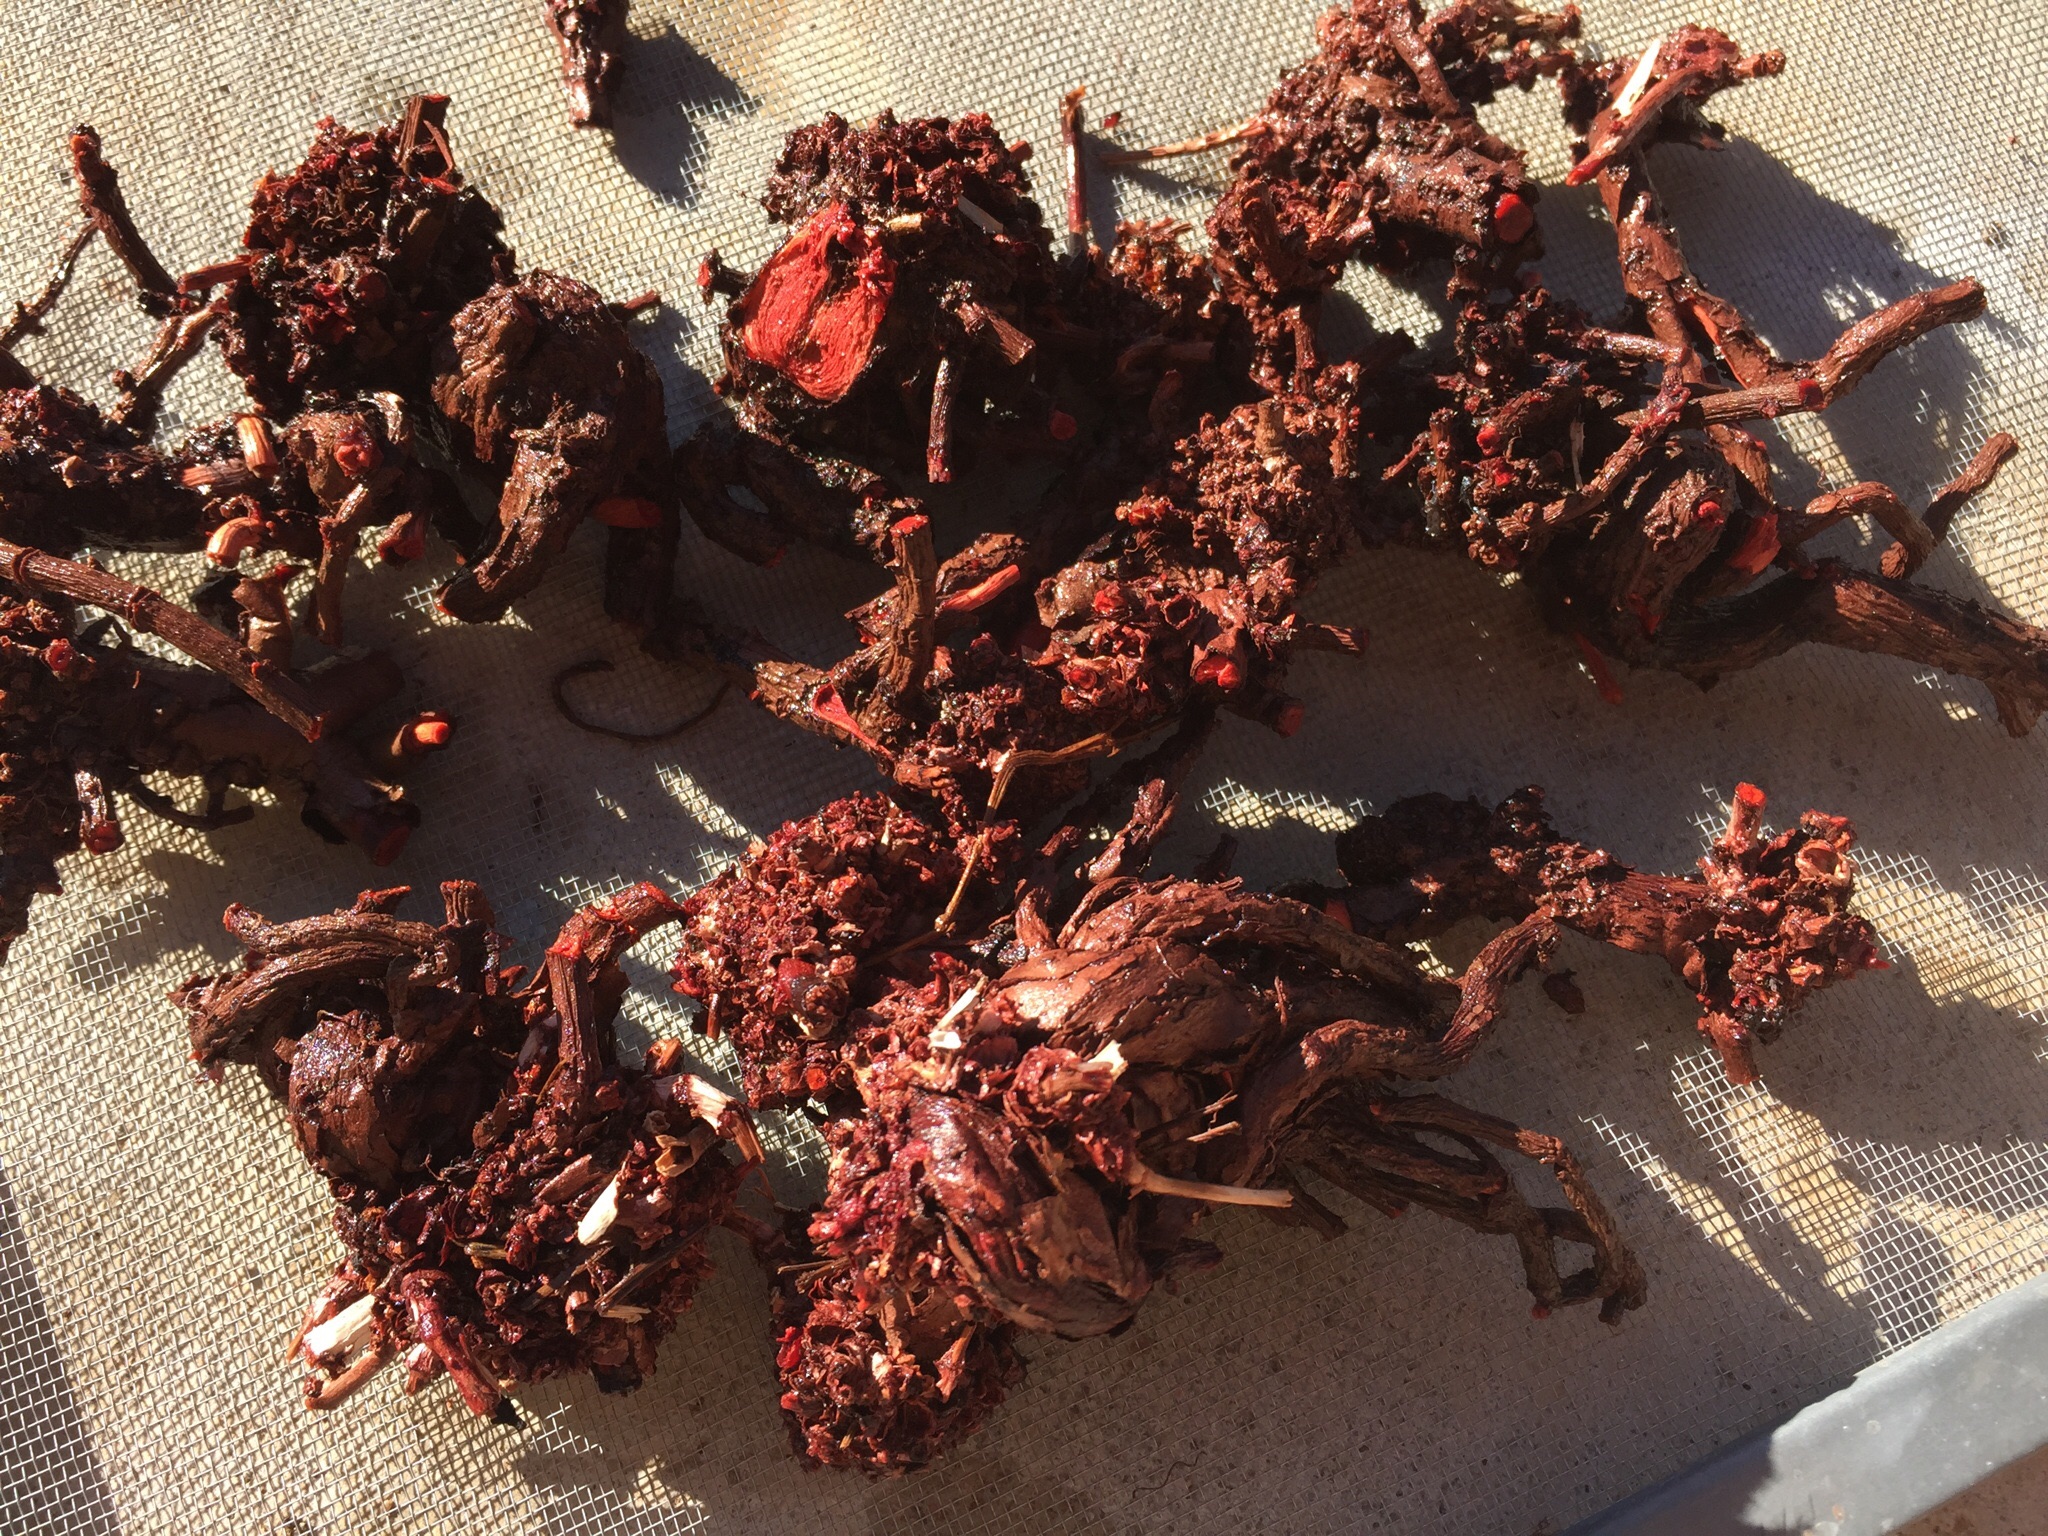
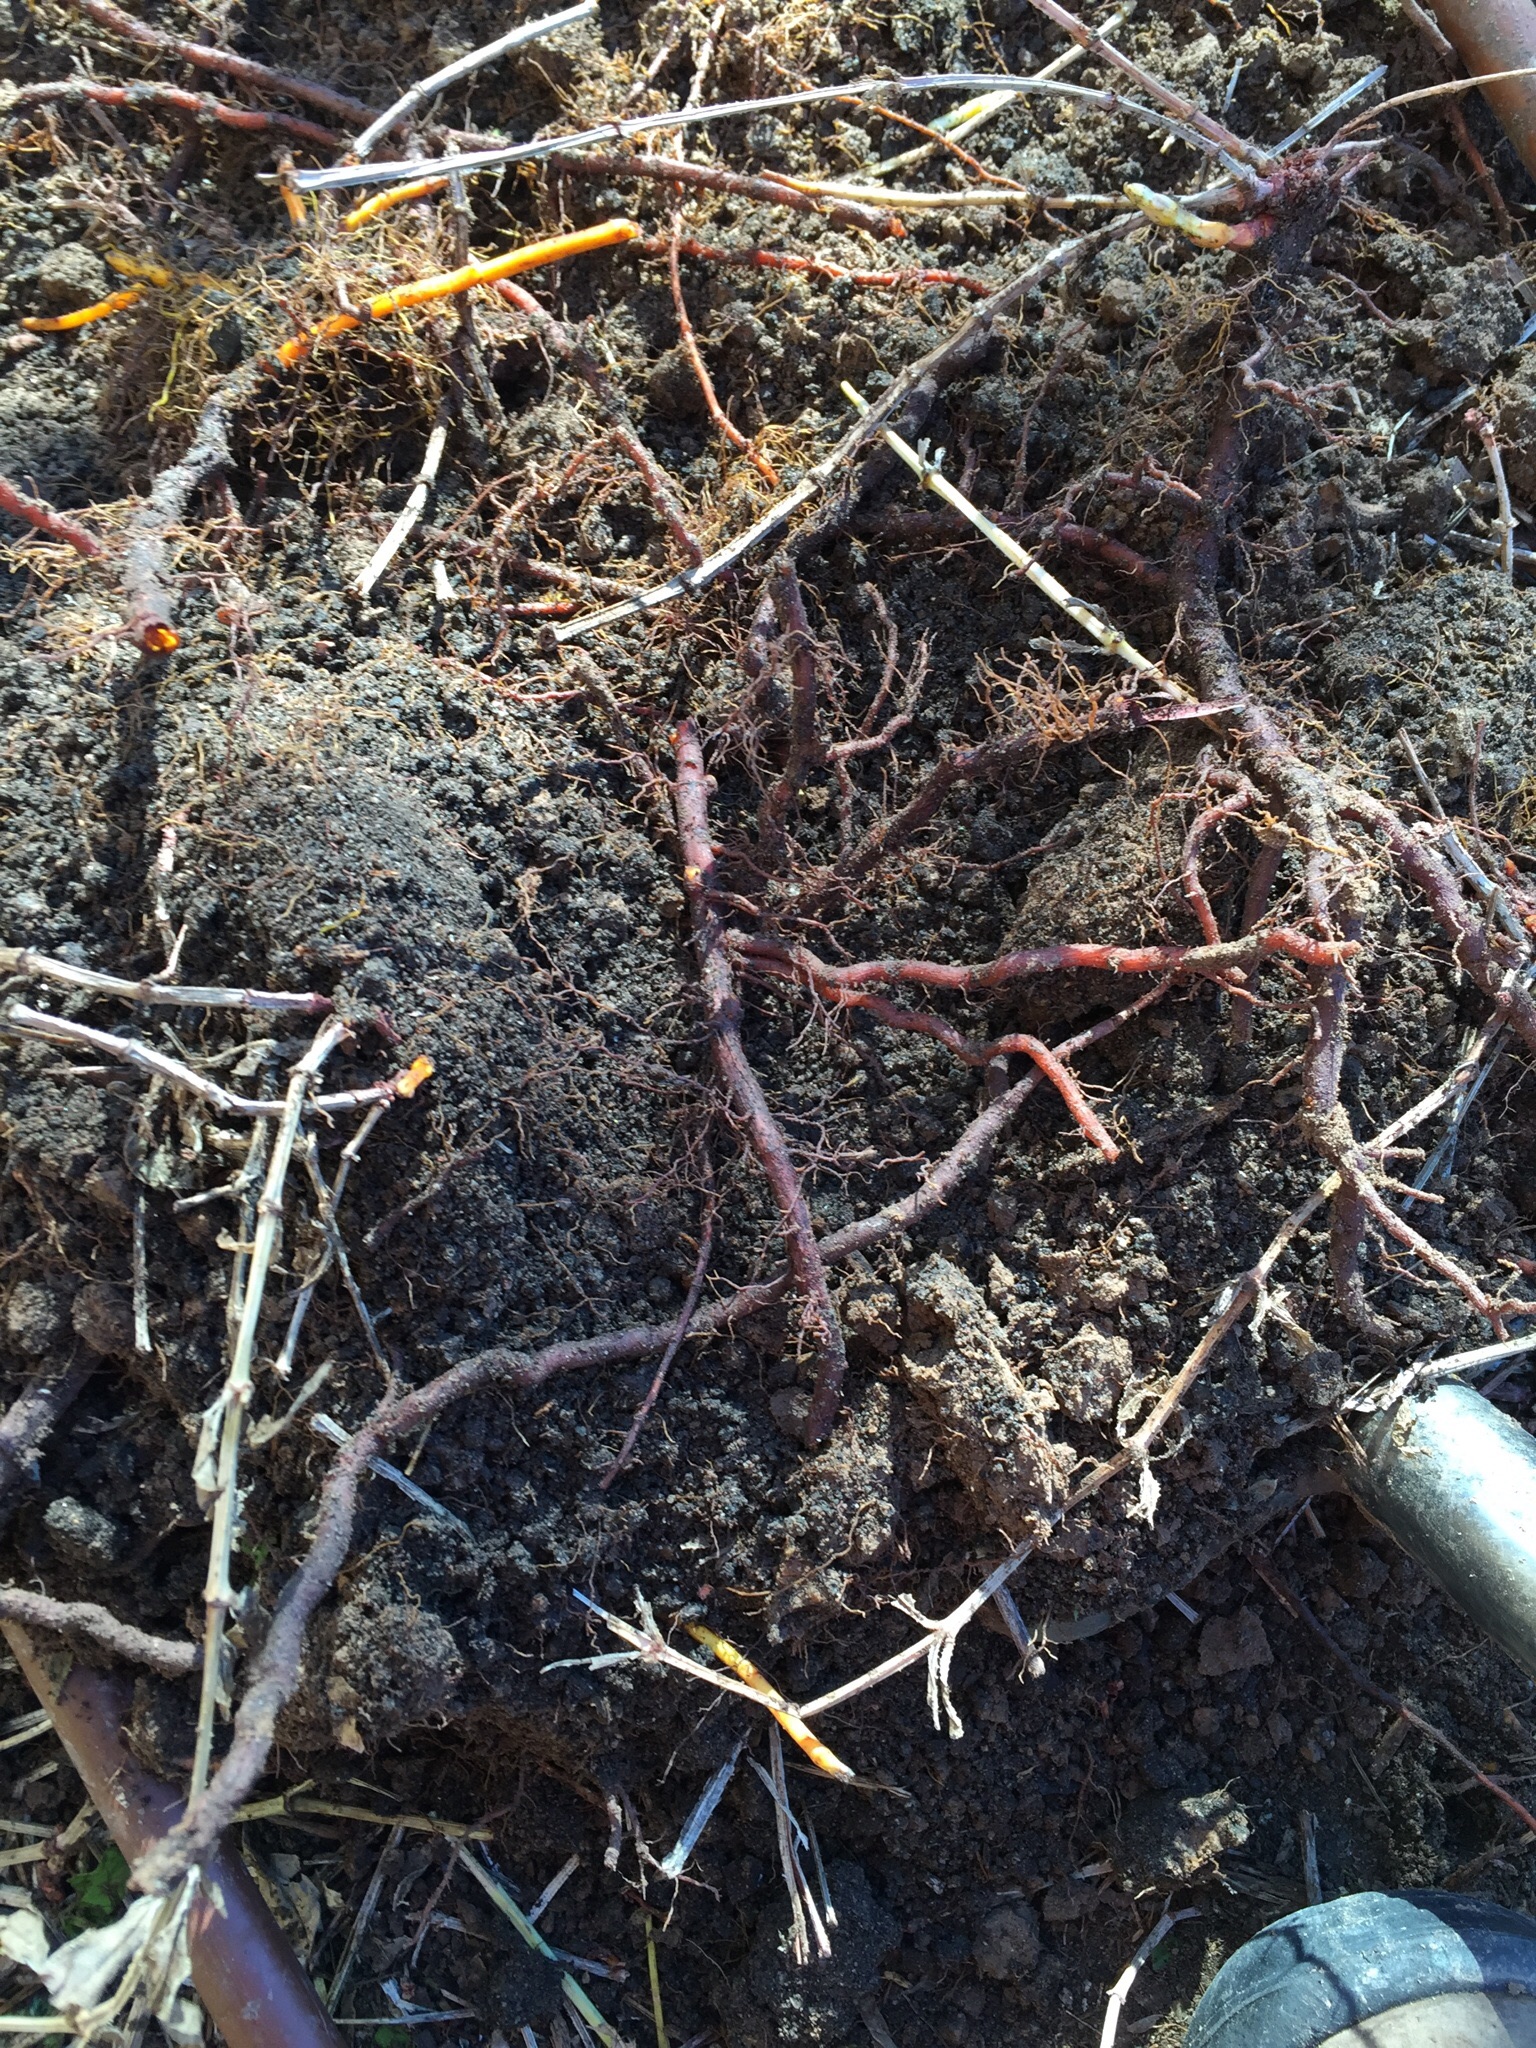
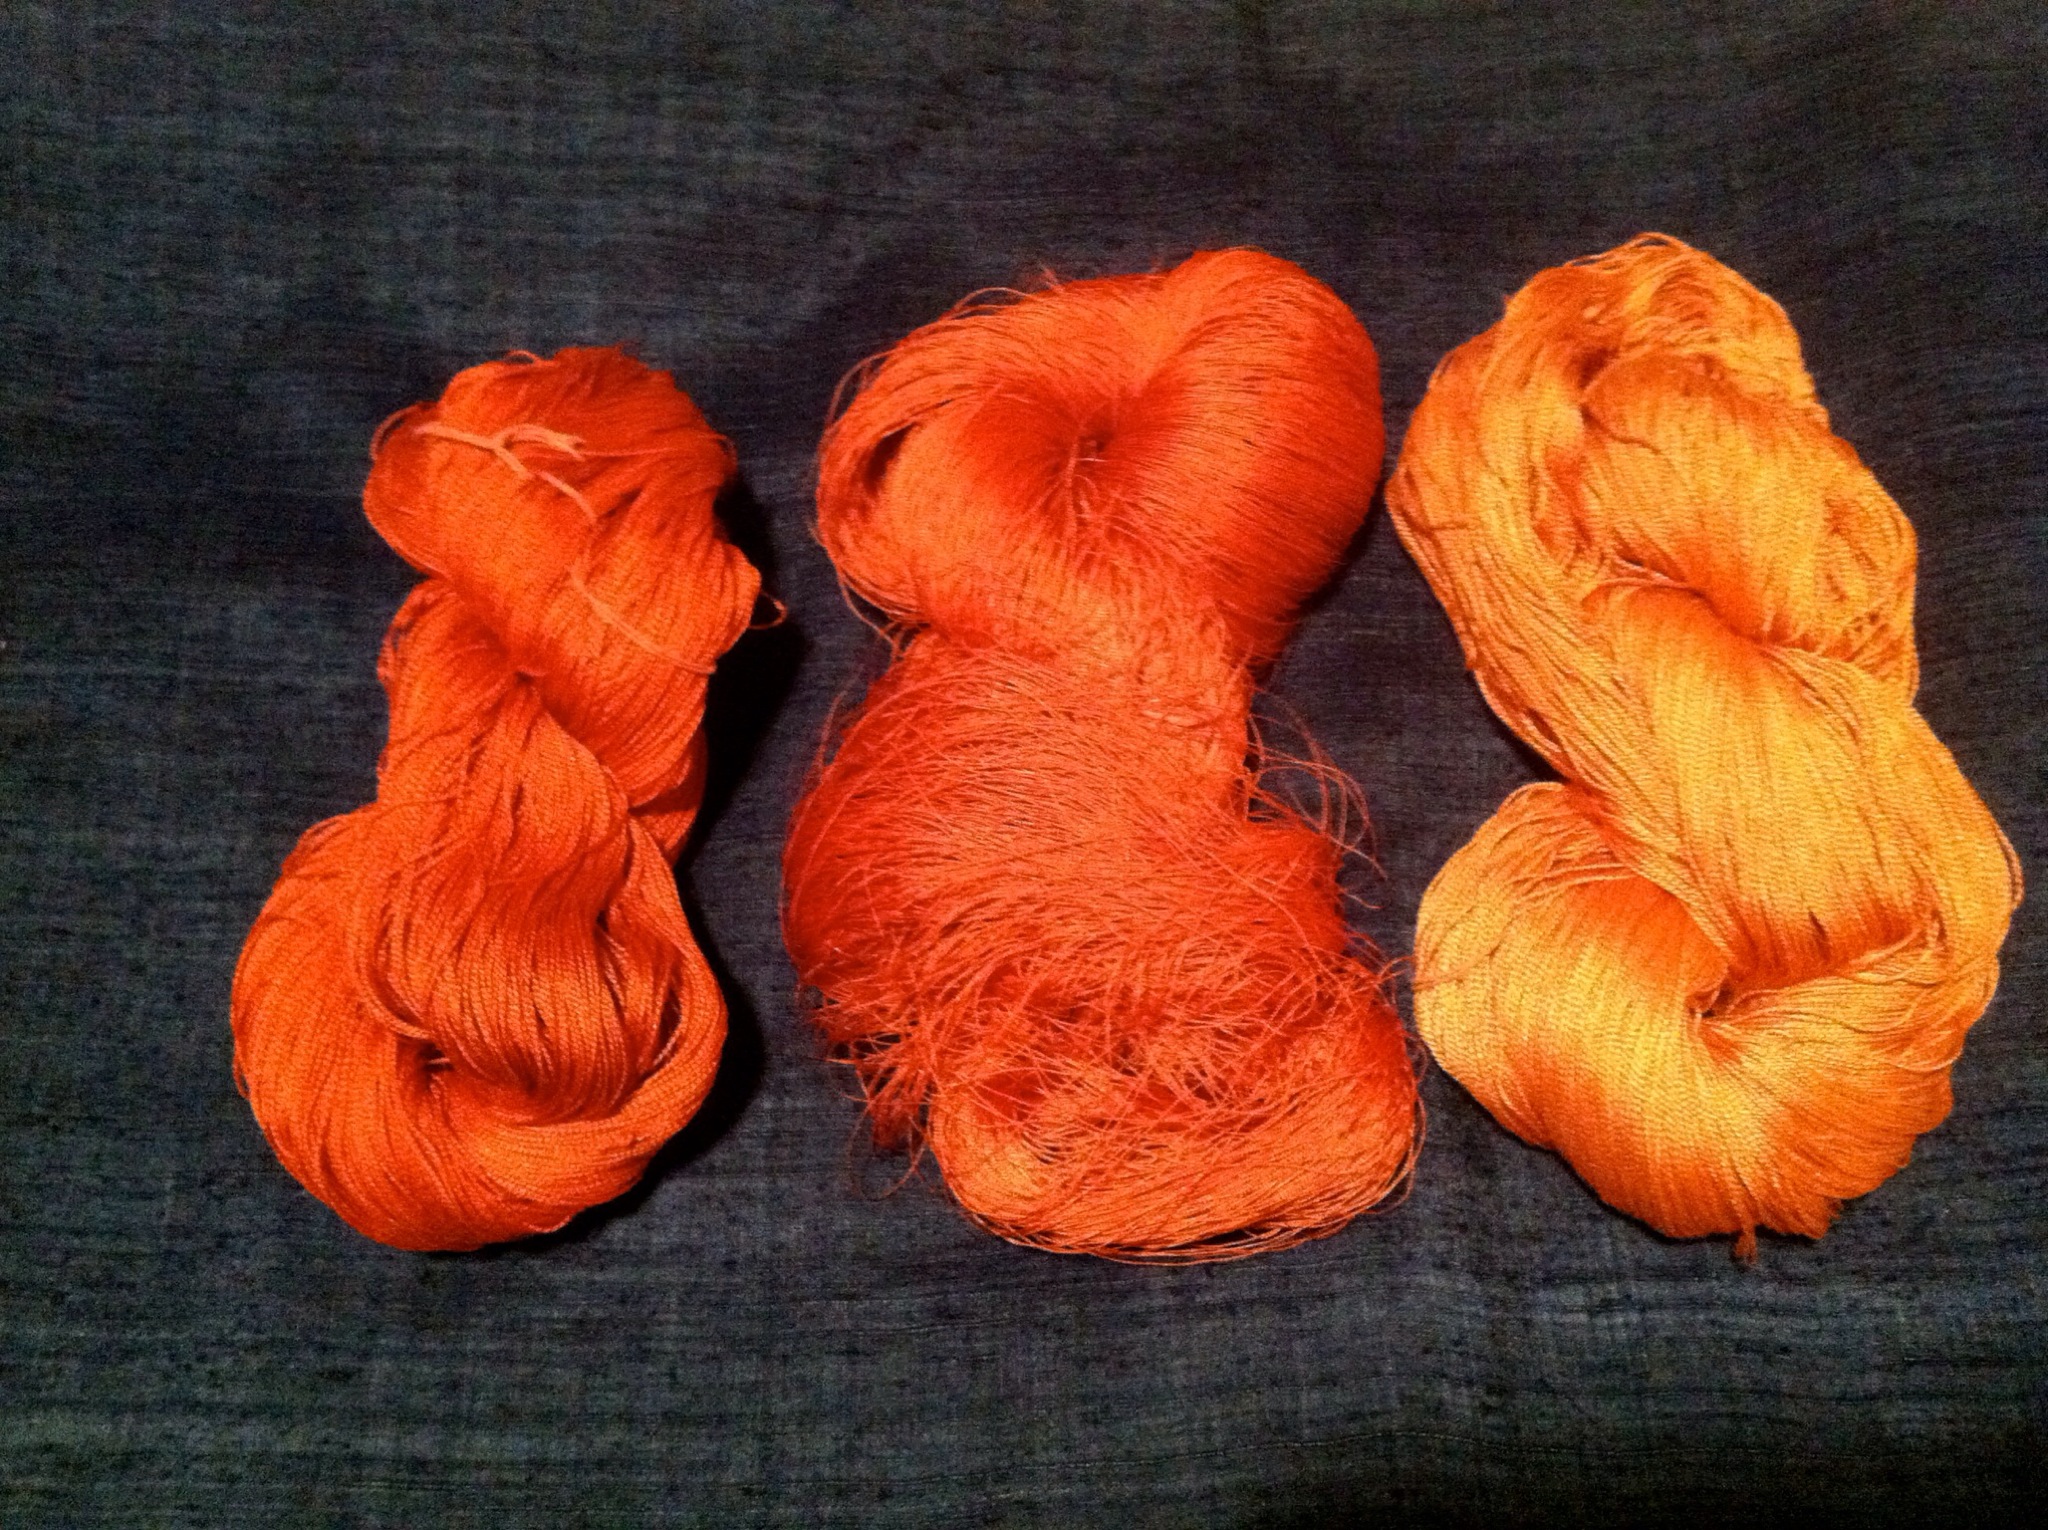
Above you can see the depth of color these tap roots hold! I think these will yield the deepest color.
Below is about two thirds of the crop laid out to dry.

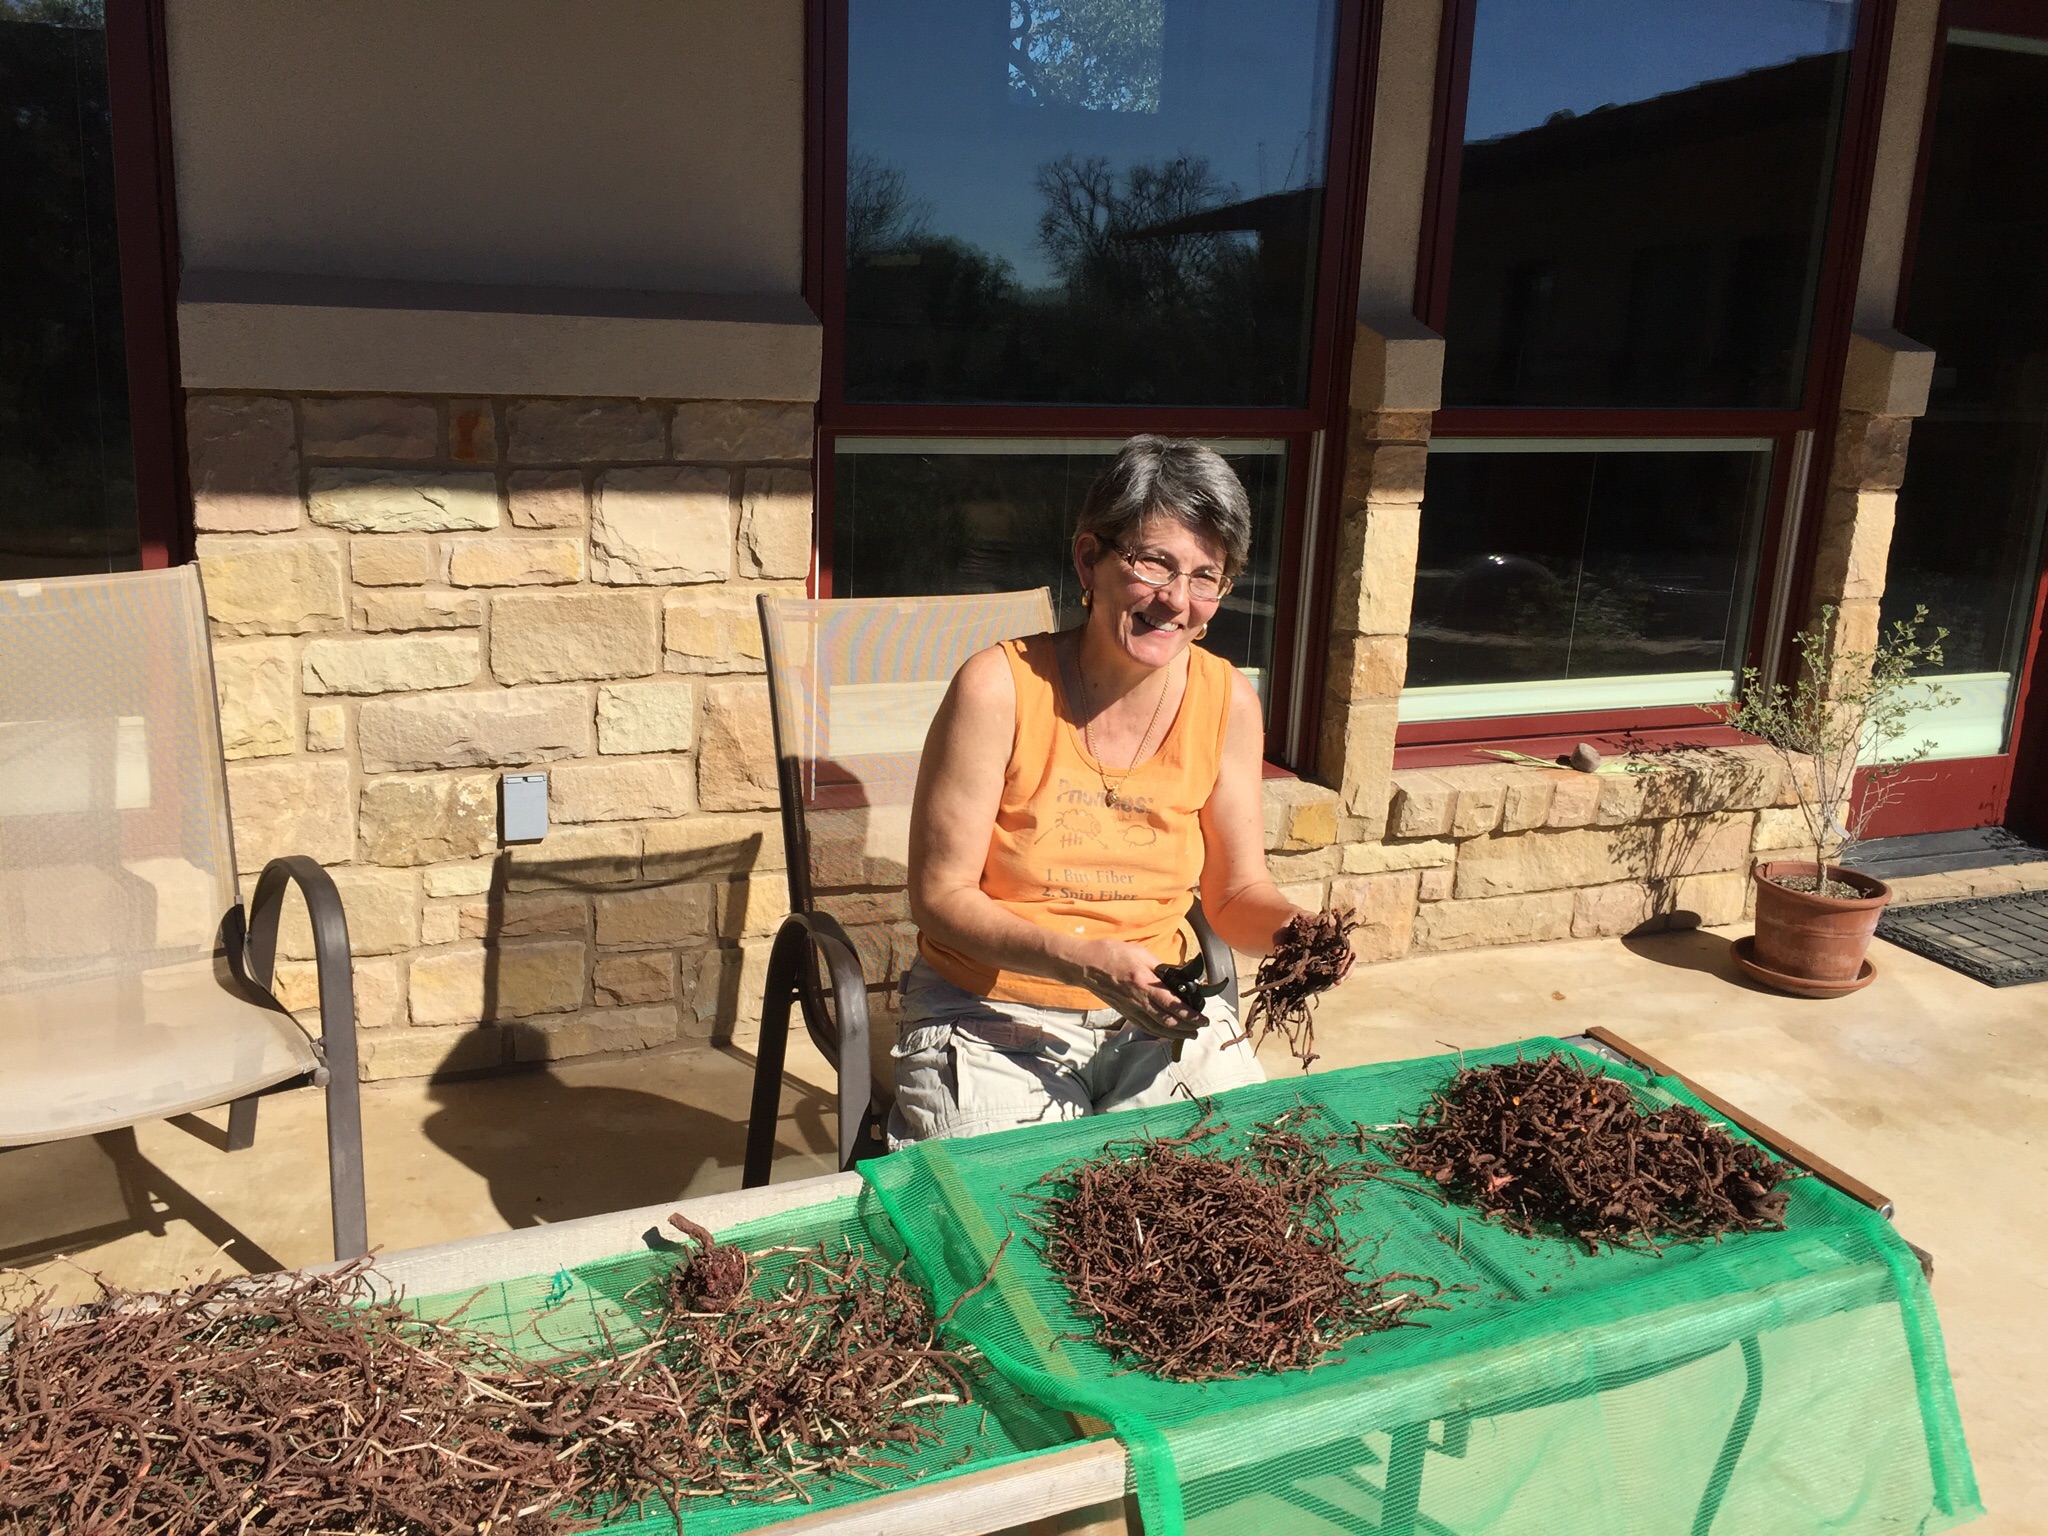
After a couple of weeks of drying and the next spell of clear weather I stomped the crop to clear more dirt and clipped the roots apart. The size sorting within the vintages began at this point. There are the root clumps, the “finger size or larger” madder root and the smaller roots within the 3 and 6 year vintages. This crop continues to dry.
Once the moisture is reduced I’ll weigh the crop to see what the root yield is from this effort.
Next up is to pull some 3 & 6 year samples and see what colors I can coax out of the roots.
Below are colors from another earlier 3 year crop to give you a color comparison preview. It will be fascinating to see what nature has in store for the roots when they meet the dye pot and silk.
Stay tuned!


You must be logged in to post a comment.