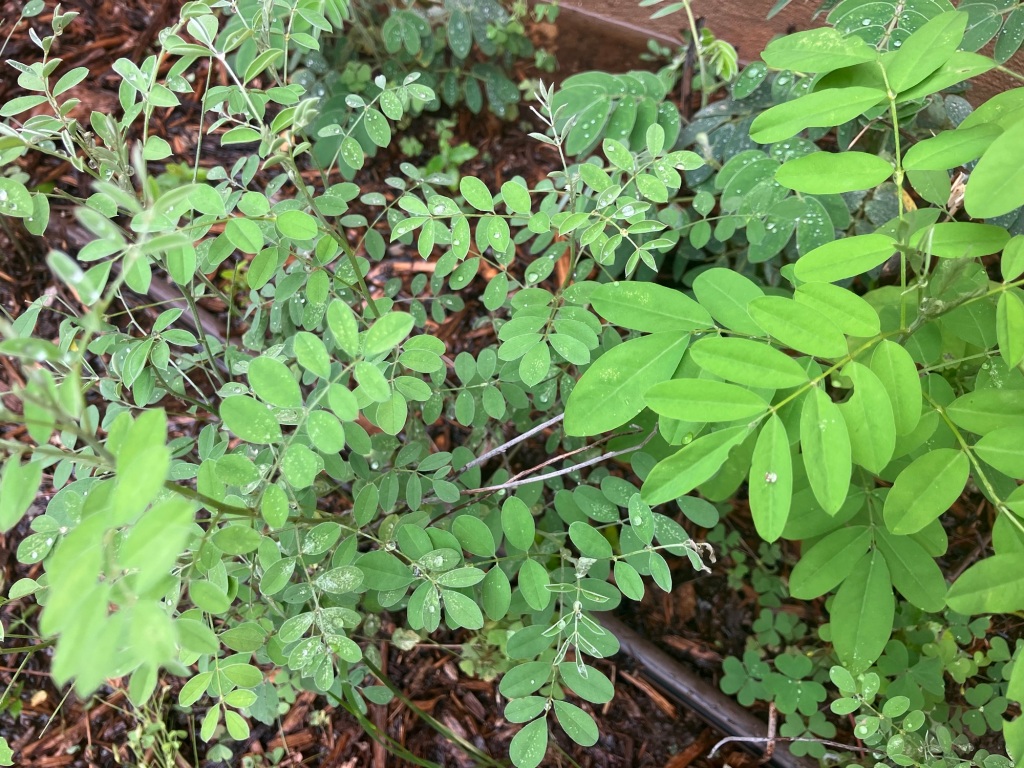
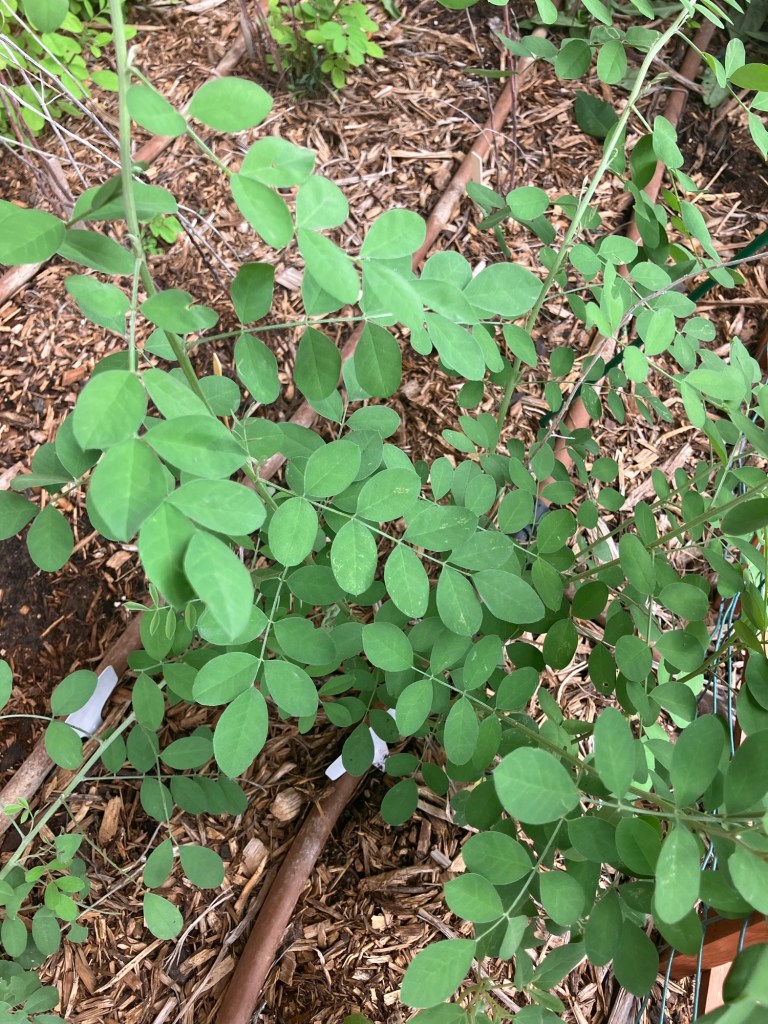
Posting for info 3 species of indigo, 2nd year plants …1st shows both Indigofera Lindheimera on the left and Indigofera Suffruticosa on the right, note leaf size difference. In 2nd photo is the Bastrop mystery indigo plant which I believe is Indigofera Caroliniana. Last year’s drought defeated bloom attempts, hoping I can get some blooms into seed so I have additional ID info this season. Happily all of these made a repeat appearance this second year. Definitely different size/shaped leaves on all 3 plants, IL Dainty, IS Long or Bastrop Roundish.
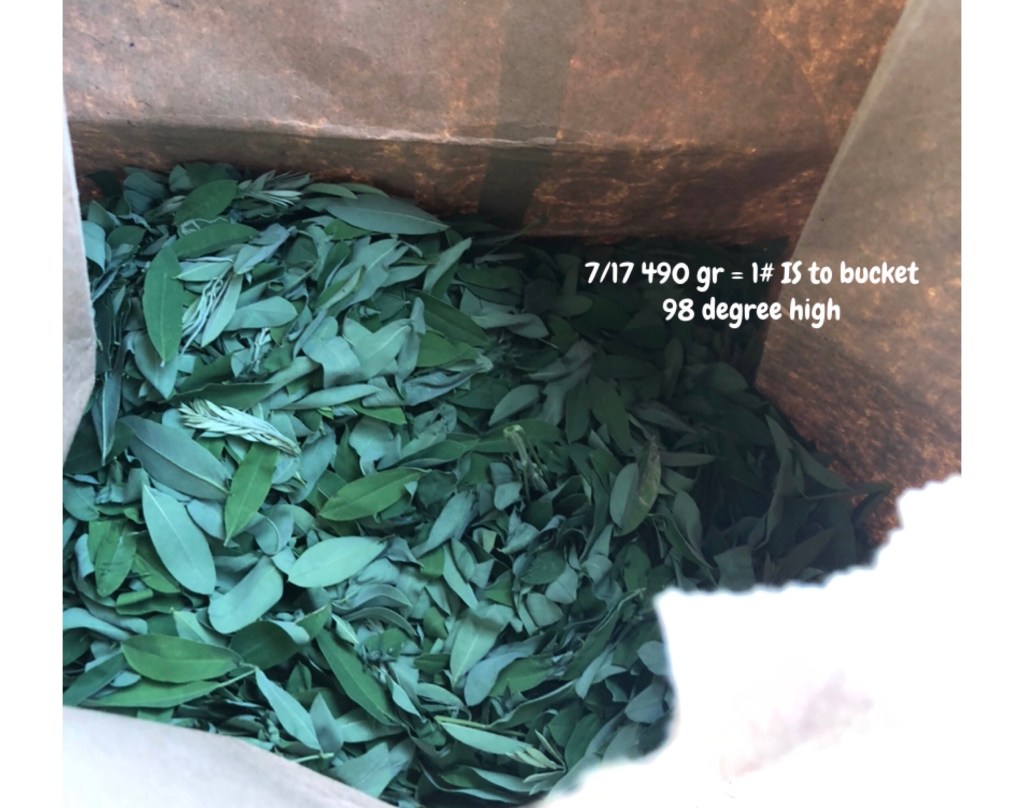
Back on July 17th I put a pound of Indigofera Suffruticosa leaves to soak. In the Texas heat it was ready to pull the leaves and move on to pull the pigment. I had time so I had used my well water (about 8-9ph) to soak the leaves and separate the pigment. And I waited for the pigment to settle.
Ready to give up the pigment!
And I waited. Little drained thru my Duda 25 micron filter, pigment was evident but the water was a beautiful blue and looked happy to wait for evaporation to happen.
Waiting for water extraction
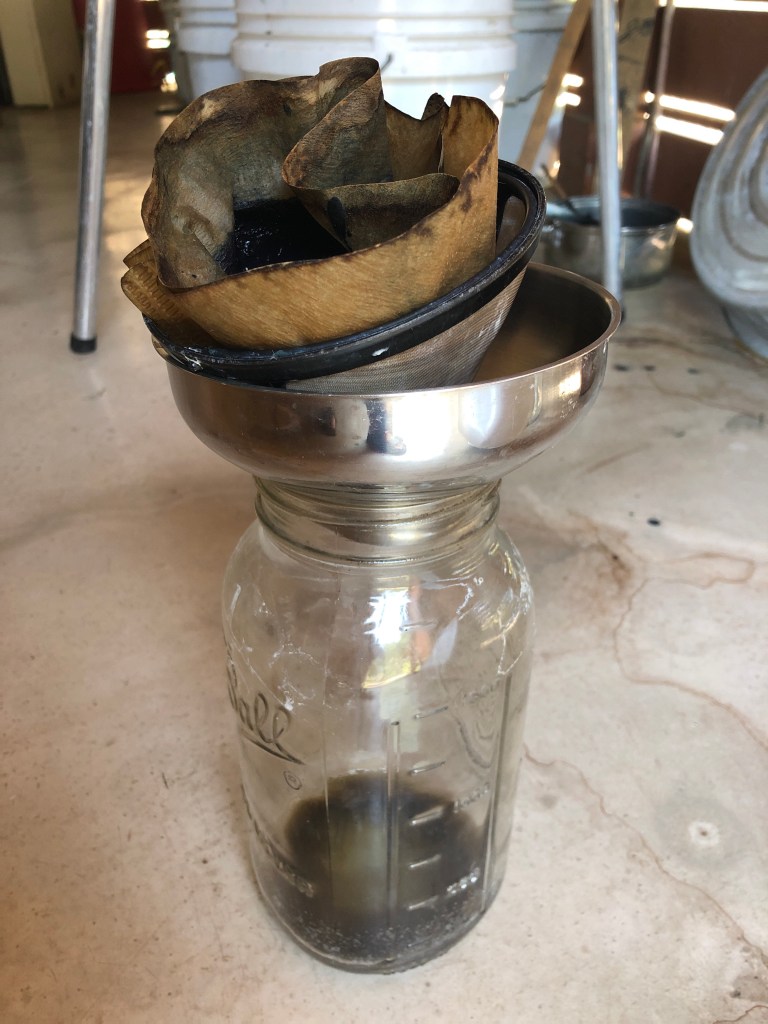
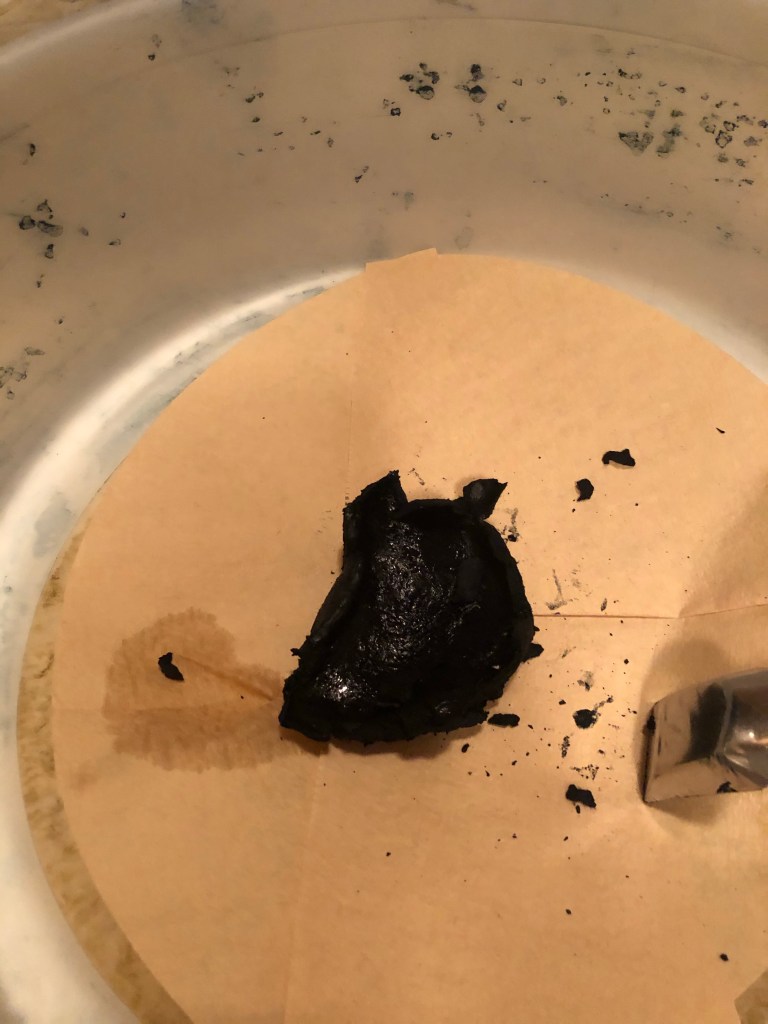
Come August 3rd I was done waiting, I poured off the liquid into a holding bucket and stopped when pigment paste was evident in the pour. This went into my coffee filter system. It is not beautiful or useful for large quantities but works if you parse out your work.
Paste from 1# of Indigofera Suffruticosa leaves by water extraction only
This paste is still wet and has a bit more drying to go before I measure.
Water extraction IS paste
But I still had half a bucket of dark blue water mocking me. So, I added 3 TBSP of calcium hydroxide and let fly with my paint mixer to aerate. The pigment/lime dropped like a rock and I could easily see the pigment ready to filter.
Pigment lurking in the bottom of the bucket
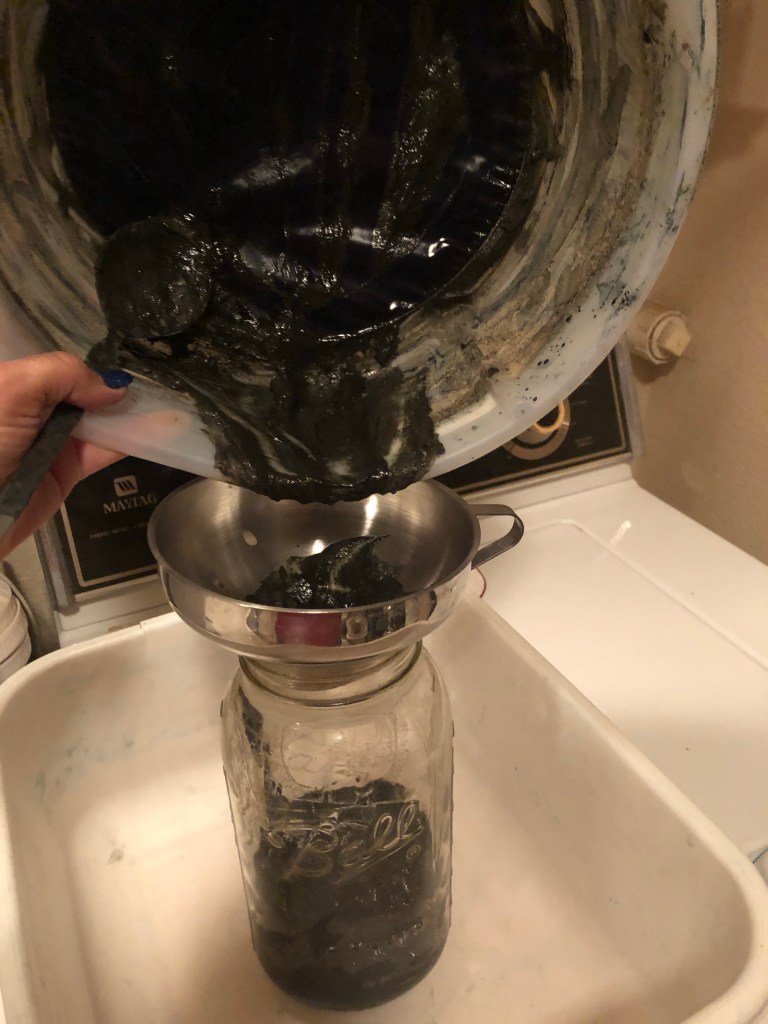
I poured the liquid off and captured the paste in my Duda filter again. I did have to clean my filters from the long wait for water pigment drop. The bottom side of the filter had molded from the heat and moisture. Ugly stuff. One day later my filtered paste volume had reduced enough for me to start my vinegar wash.
Capturing the paste for washing
Now, I am washing this paste because I want to see what my one pound of leaves yielded. Remember, I captured some of it with just a water drop but pigment remained to capture in order to get a full measurement.
I wash with 9% vinegar to dissolve the calcium carbonate that is formed during the aeration process. Others use a stronger chemical to wash but I will leave that process to them to explain. I am on a well and septic system so I prefer to keep my chemicals fairly intrusive.
CaCO3 + 2CH3COOH = Ca(CH3COO)2 + H2O + CO2. Limestone (CaCO3) combined with vinegar (2CH3COOH ) yields calcium acetate Ca(CH3COO)2, water (H20) and carbon dioxide (CO2).
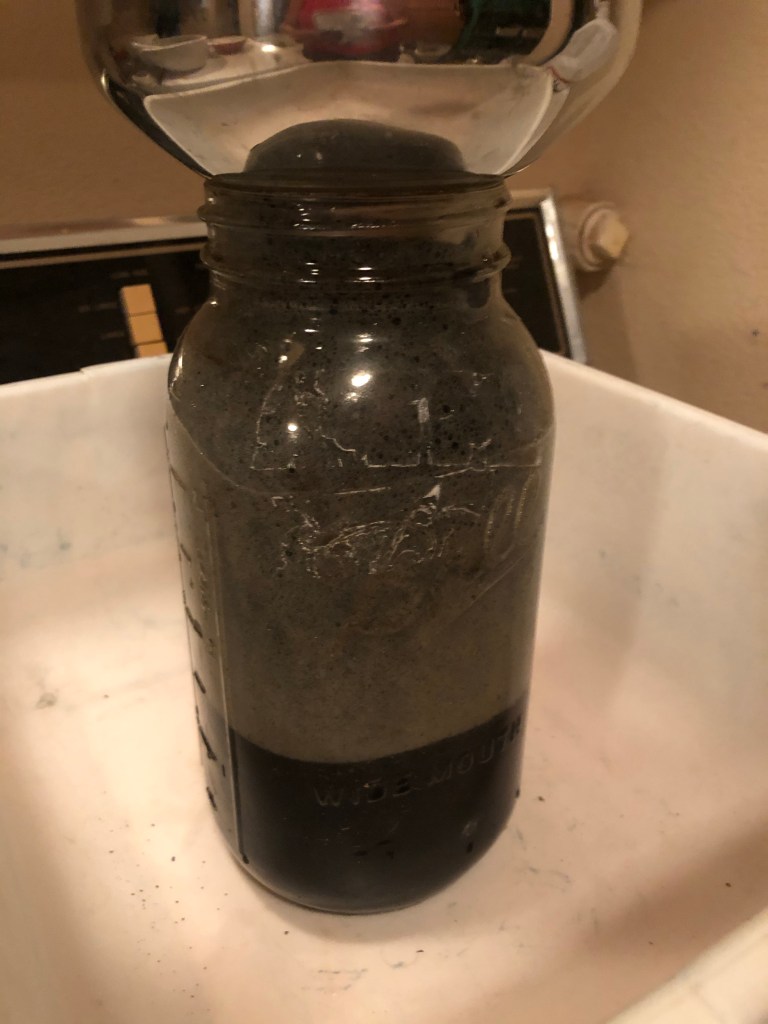
One must always remember to leave room in your container when adding your acid to your brew. Remember the volcano science experiments as a child? Yea, you are gonna make foam. I always secure my jar in a laundry tub so if nature gets too explosive I can recommend my pigment.
So, I add more water to my paste, add vinegar and mix and watch the foam rise.
So now I have started the wash to remove the calcium carbonate. The water & dissolved goods will float above the paste & I will pour that off. I might repeat 3 times to get a good wash and then cycle thru my coffee filter setup again for the final paste.
Waiting for the dissolving to separate
At this point I’ll be able to compare the two pastes to see the color. More on that later. In the meantime I have 3# of processed leaf water that also never really dropped that I am going to lime tomorrow. And I need to harvest my Japanese Indigo for pigment extraction as well. The water extract was an adventure but did not work well under my working conditions. This is the year for extraction opposed to drying leaves. Definitely more work for extraction.
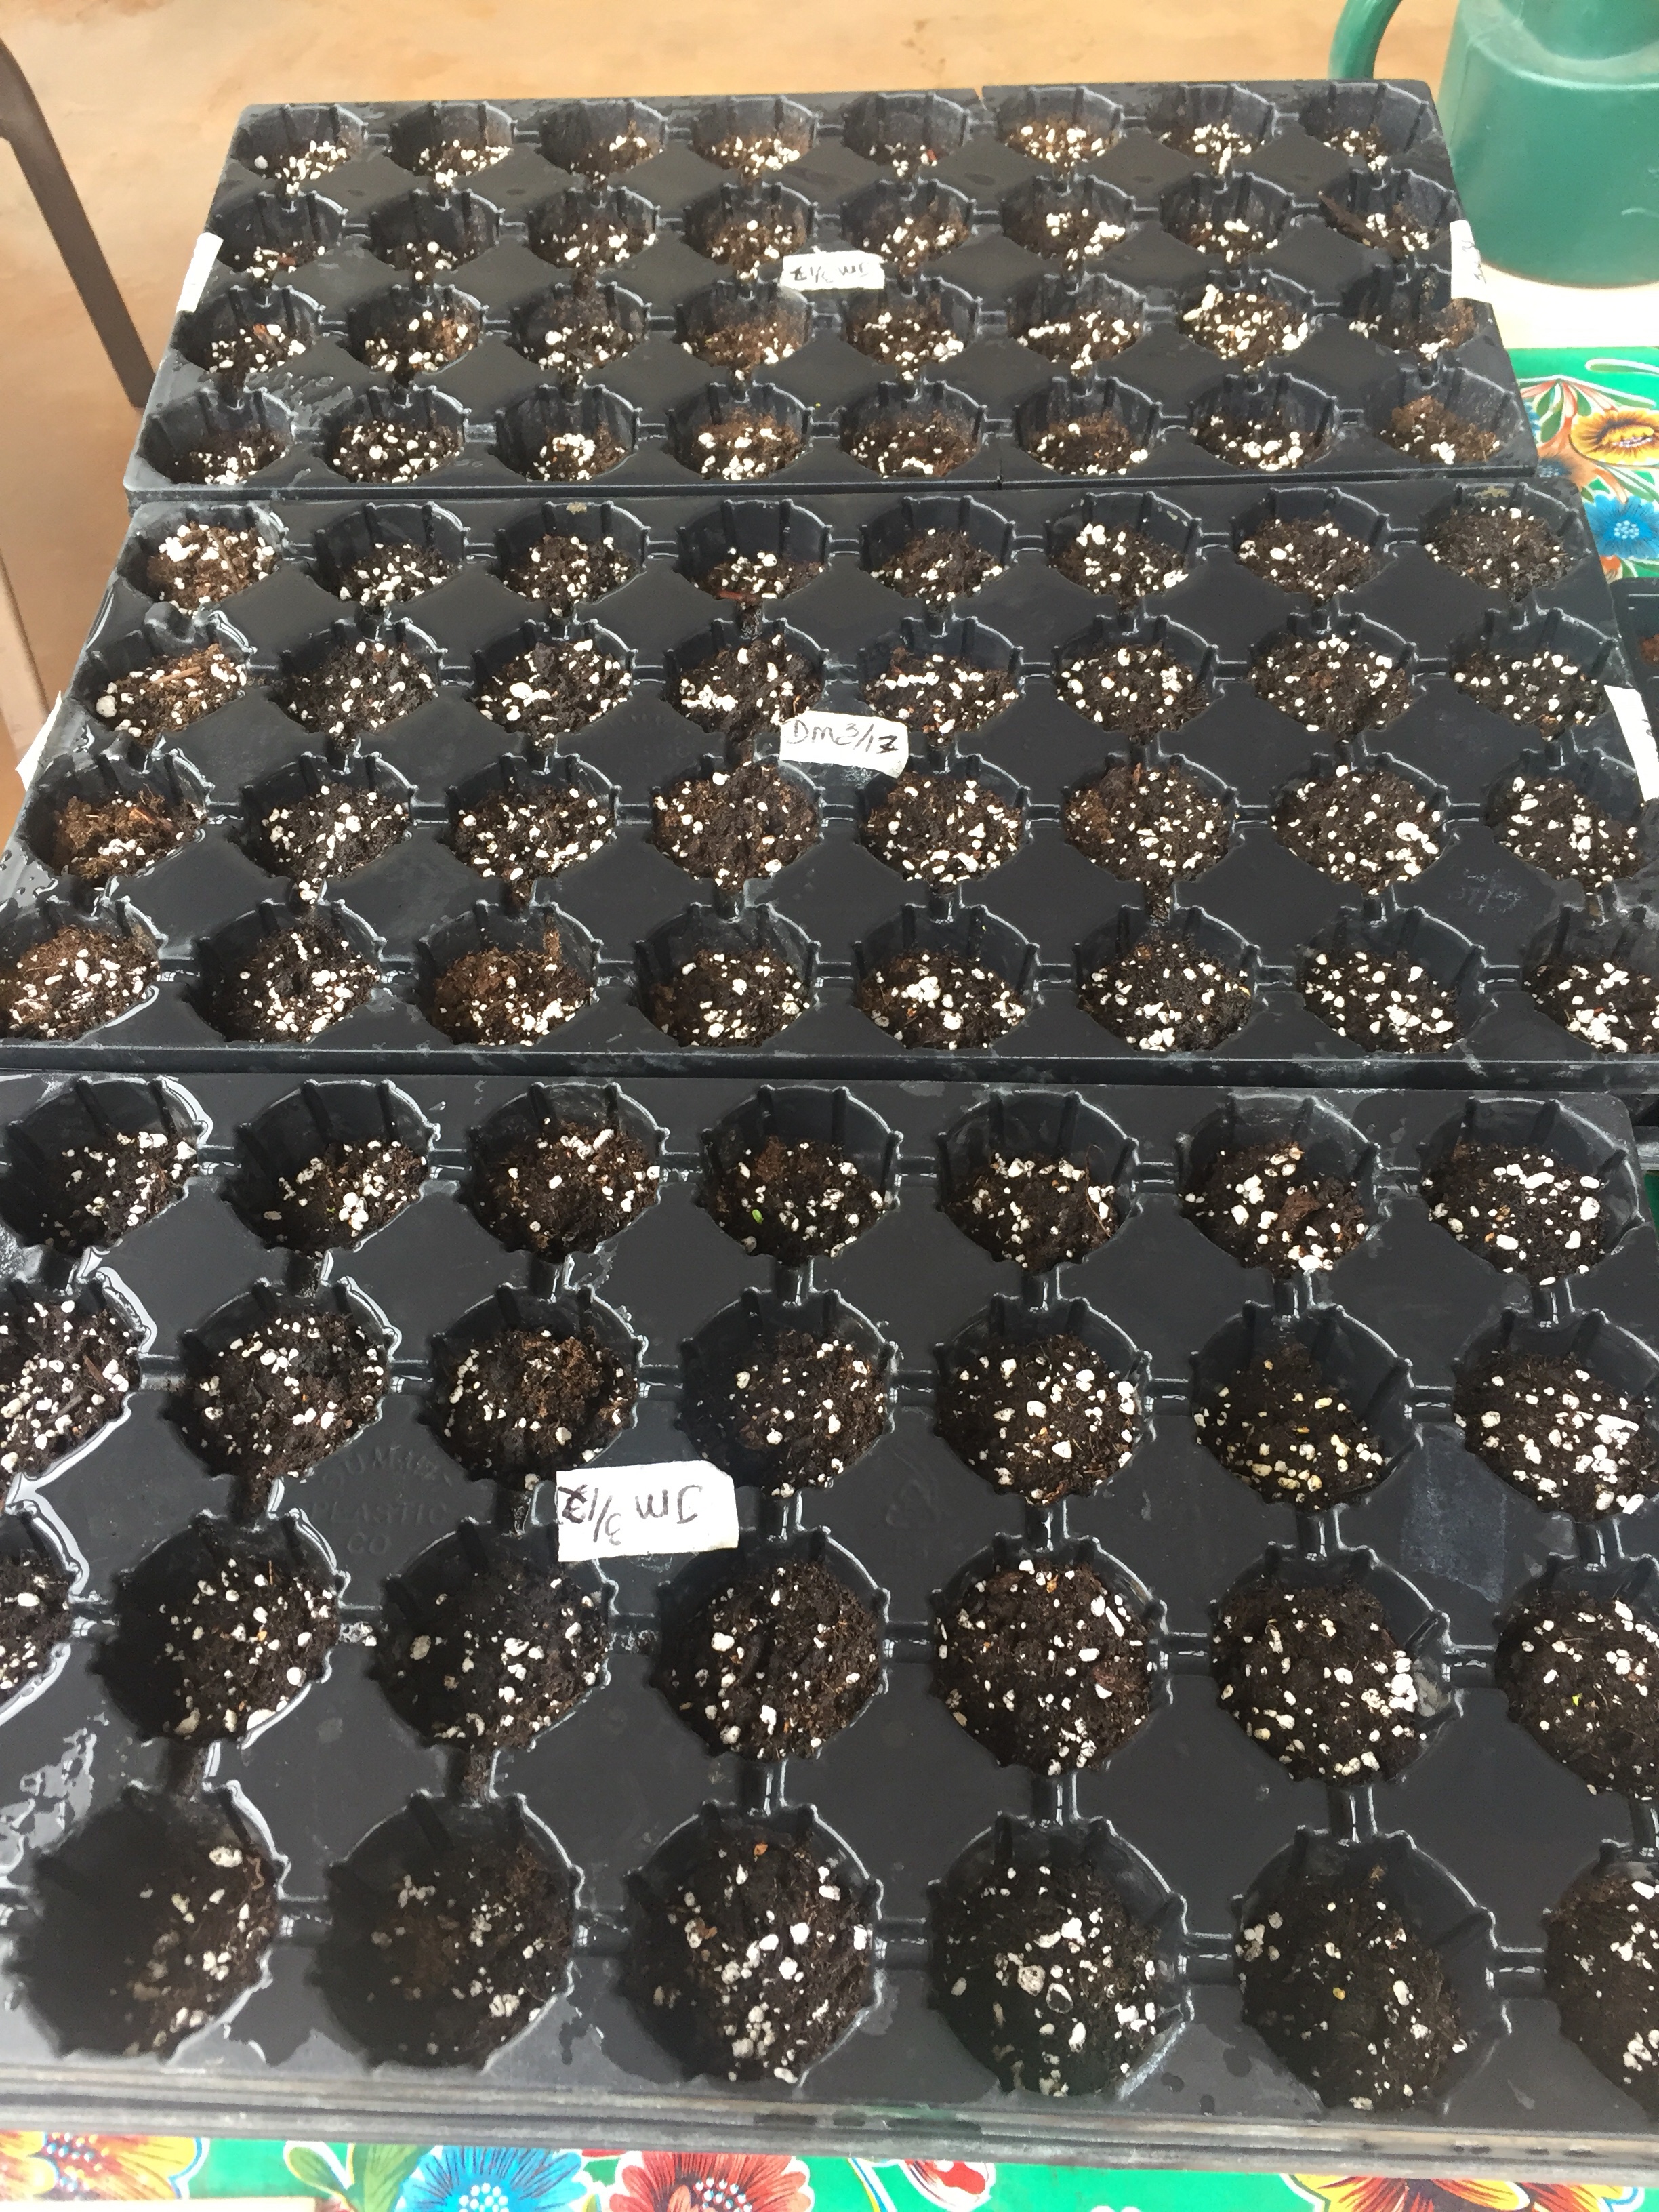
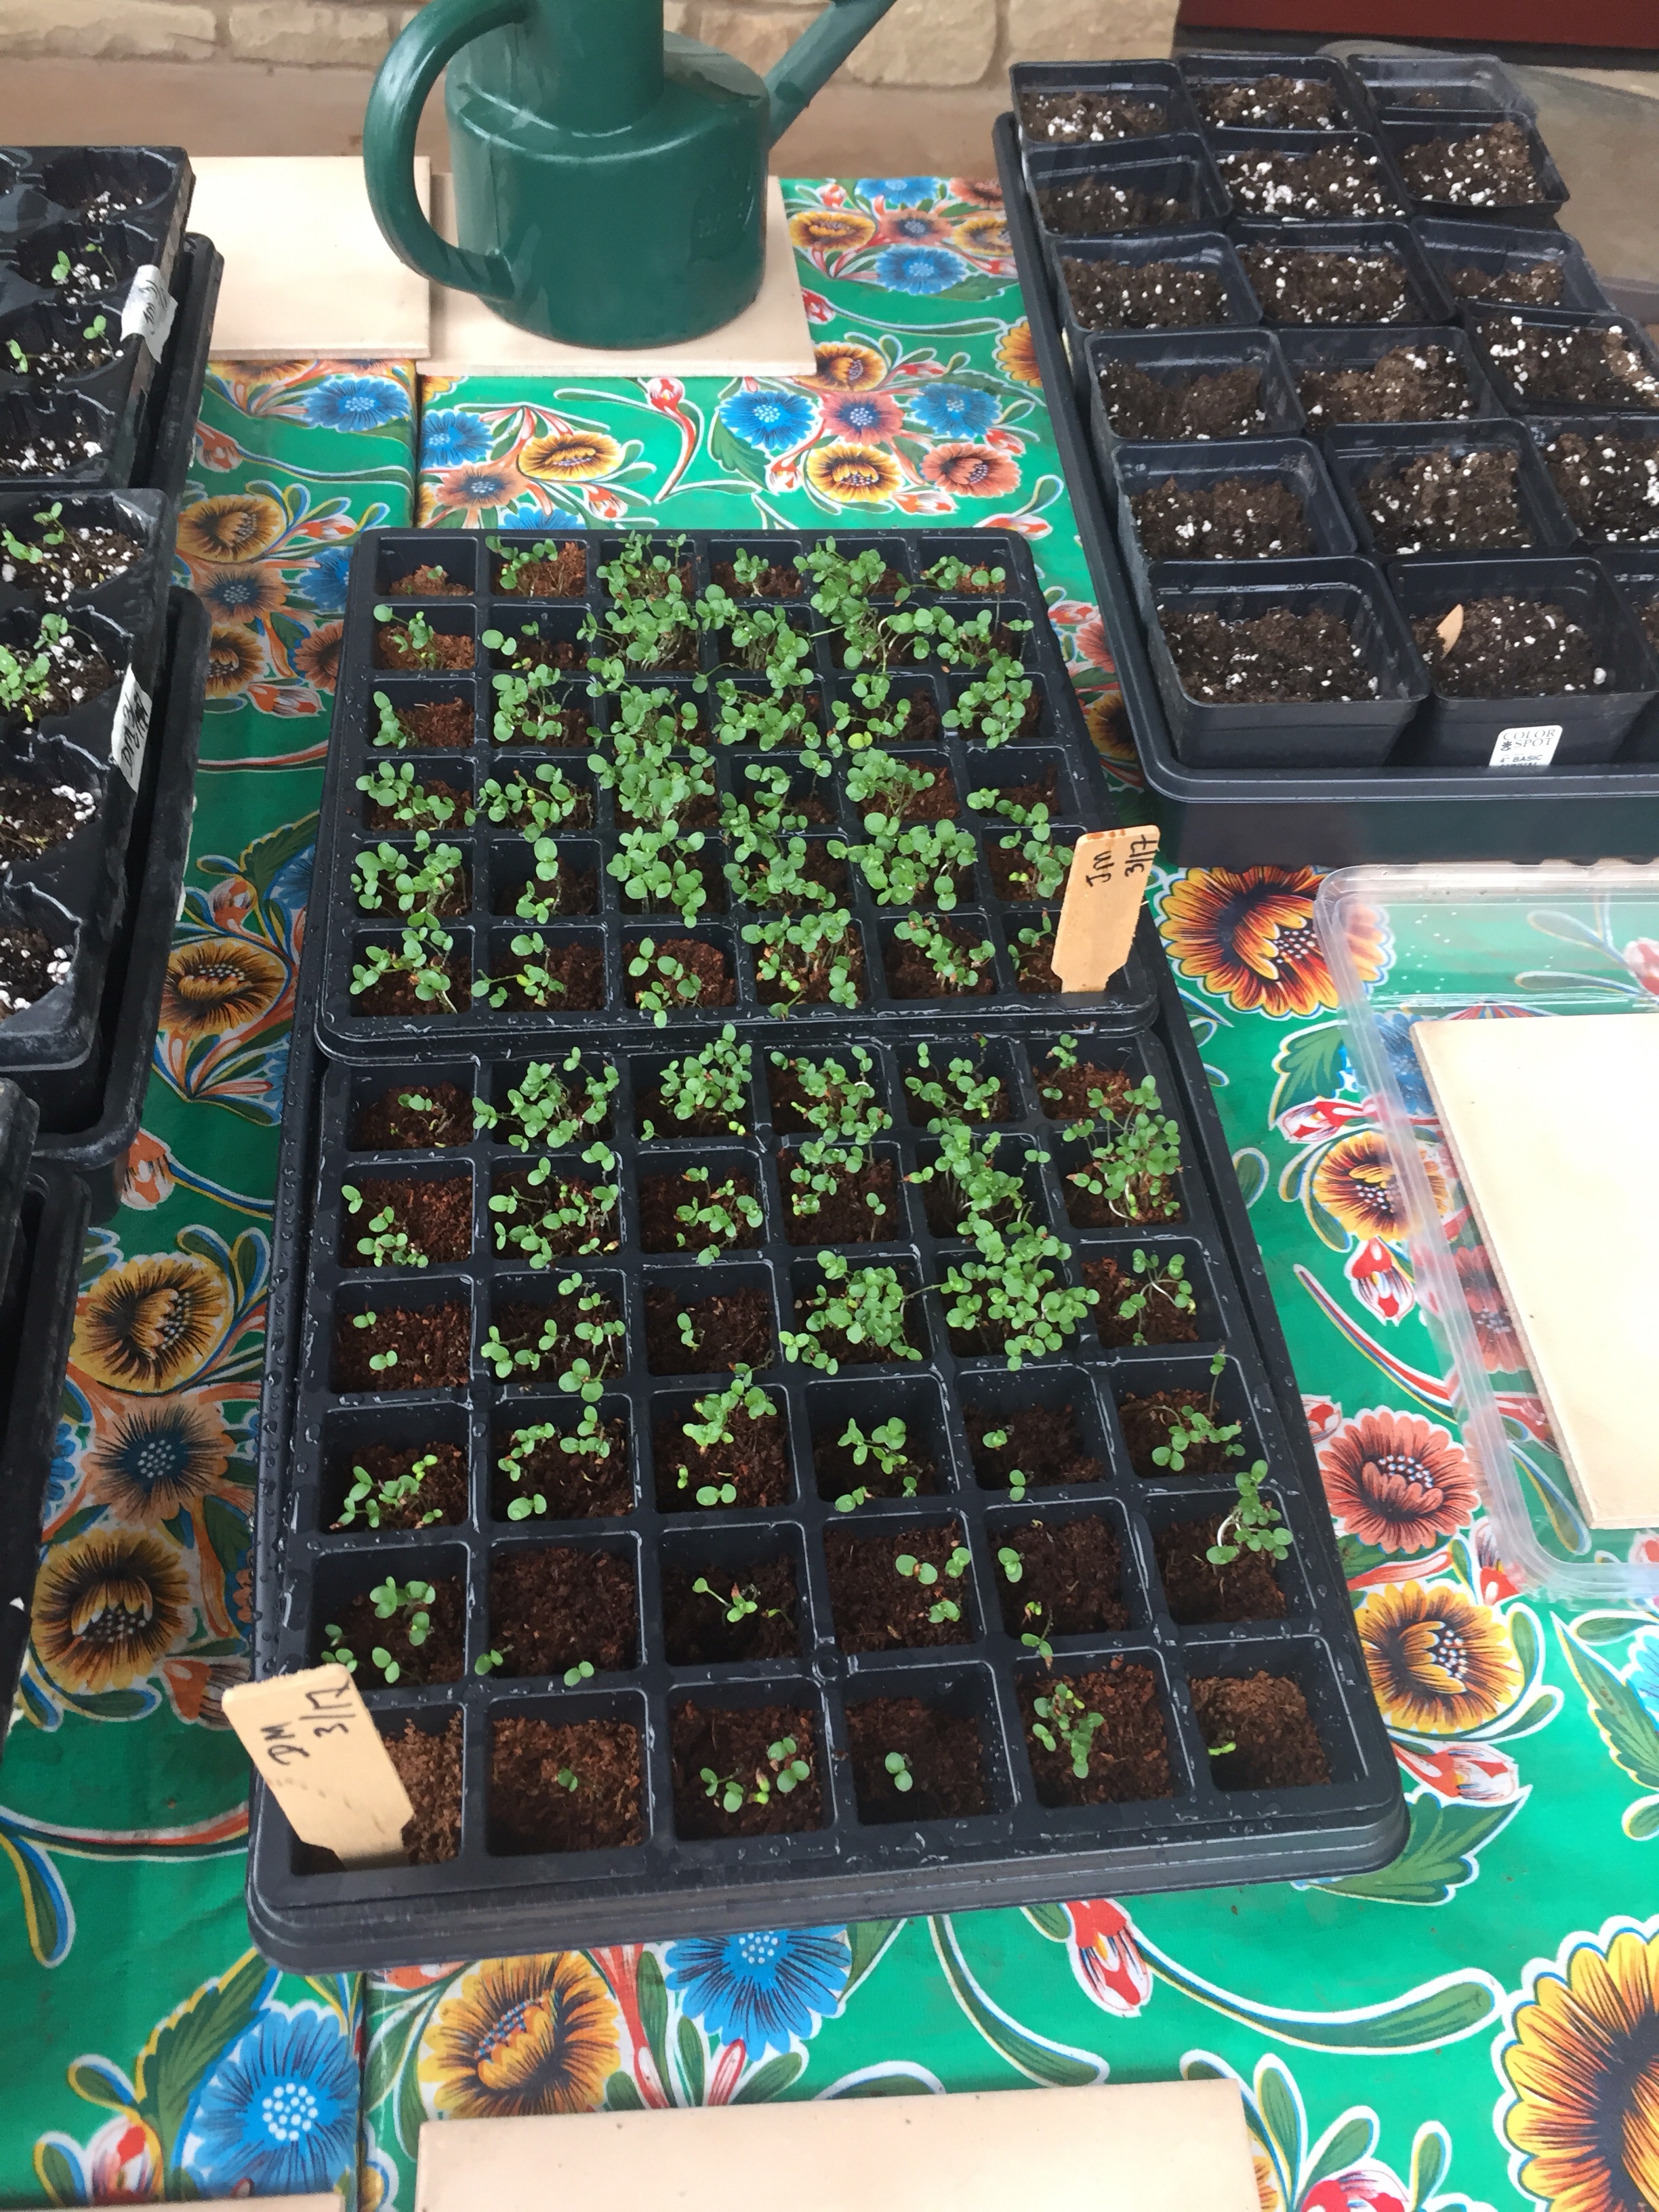
10 days & temperature increases and sunshine made a big difference. March 17th I planted my Japanese Indigo seeds, by the 27th I had sprouts! I ordered the wrong seed tray. Duh, but seeds planted in new tray sprouted sooner than my old method. I am smarter now despite myself. Next up I will plant my Indigofera Suffruticosa seeds. I’ll throw Cota and Hopi Sunflowers into the mix this year also. Maybe I can beat the birds to the seeds for dye this year.
I am still on bud watch on my older Suffruticosa plants. Will the 3 year old plants live longer? Did the freeze this January take the younger plants out? The drama of gardening continues.
Plus the Texas Persimmon is budding and blooming. Before I know it I will be out picking persimmons in July for the dye.
One of my indigo friends asked me a very good question. How much space does Indigo Suffruticosa take up? So I went out and measured my bushes in my garden. Understand that the info provided here is based on an experimental garden location in the Texas Hill country in an irrigated terrace area. I could grow more but had to know if the plant would survive, provide indigo and seeds. We are all learning. I happen to be a couple of years ahead of you. Keep in mind we are all in different growing regions.
In case you don’t have your seeds yet, they are available here. SOLD OUT FOR 2018!
Exposure I placed the plants in three different exposures, full west sun, morning sun with afternoon protection and limited sun with deer exposure. All three exposures have worked.
Water My spacing is based on protected areas within reach of my irrigation line or spray locations. Your garden may differ. Bear in mind, your plant needs some water about 3 times a week, no matter how it is delivered to the plant. I happen to use alkali well water for my irrigation. Your plant will be grateful for any water delivered to it no matter what PH.
Spacing Individually, at full leaf bearing size an individual plant takes up a 2′ by 2′ space with heights ranging from 4′ to 8′. I do trim my bushes to keep branches from breaking in our wind storms. We are both happy at the enforced 5′ height. I have let multiple bushes grow together at 2/3 per bunch. One always becomes the dominant plant. I let the others come along for the ride as long as they give me leaves, if they don’t play well with the main bush they are cut back.
Bed Size East Morning Sun Bed is 8′ (space limited) with 17 plants and West Sun bed is 9′ (limited due to west exposure/would they live – yes) with about 10 plants. Both beds are 3 feet wide and the plants are staggered at 2 plants deep. These photos are of the late winter beds so forgive the weeds and scraggly appearance.
East Bed
West Bed – limited planting
Finally, I am on “bud watch” right now. The plants are still dormant, the ground temps are not yet warm enough but we are very close to bud break on the plants that have survived. In my area the bushes live about 3 years. If we get a hard freeze I can loose all the plants. We did have several days of 14-16 degree weather here so it is possible not all the bushes will come back. I do start new plants, which do yield indigo in the first year and will plant them in once I see who has survived. Typically I pull the dead plants, give everything a good feeding and put in the new plants for the season.
Closeup of the branches I am watching for the buds to break on new stems and leaves.
I understand fully why folks have cultural blessings for their plants for a good yield and growing season. I have said a couple of those prayers or curses myself over the leaf cycle. May your growing season be joyful and curses be few.
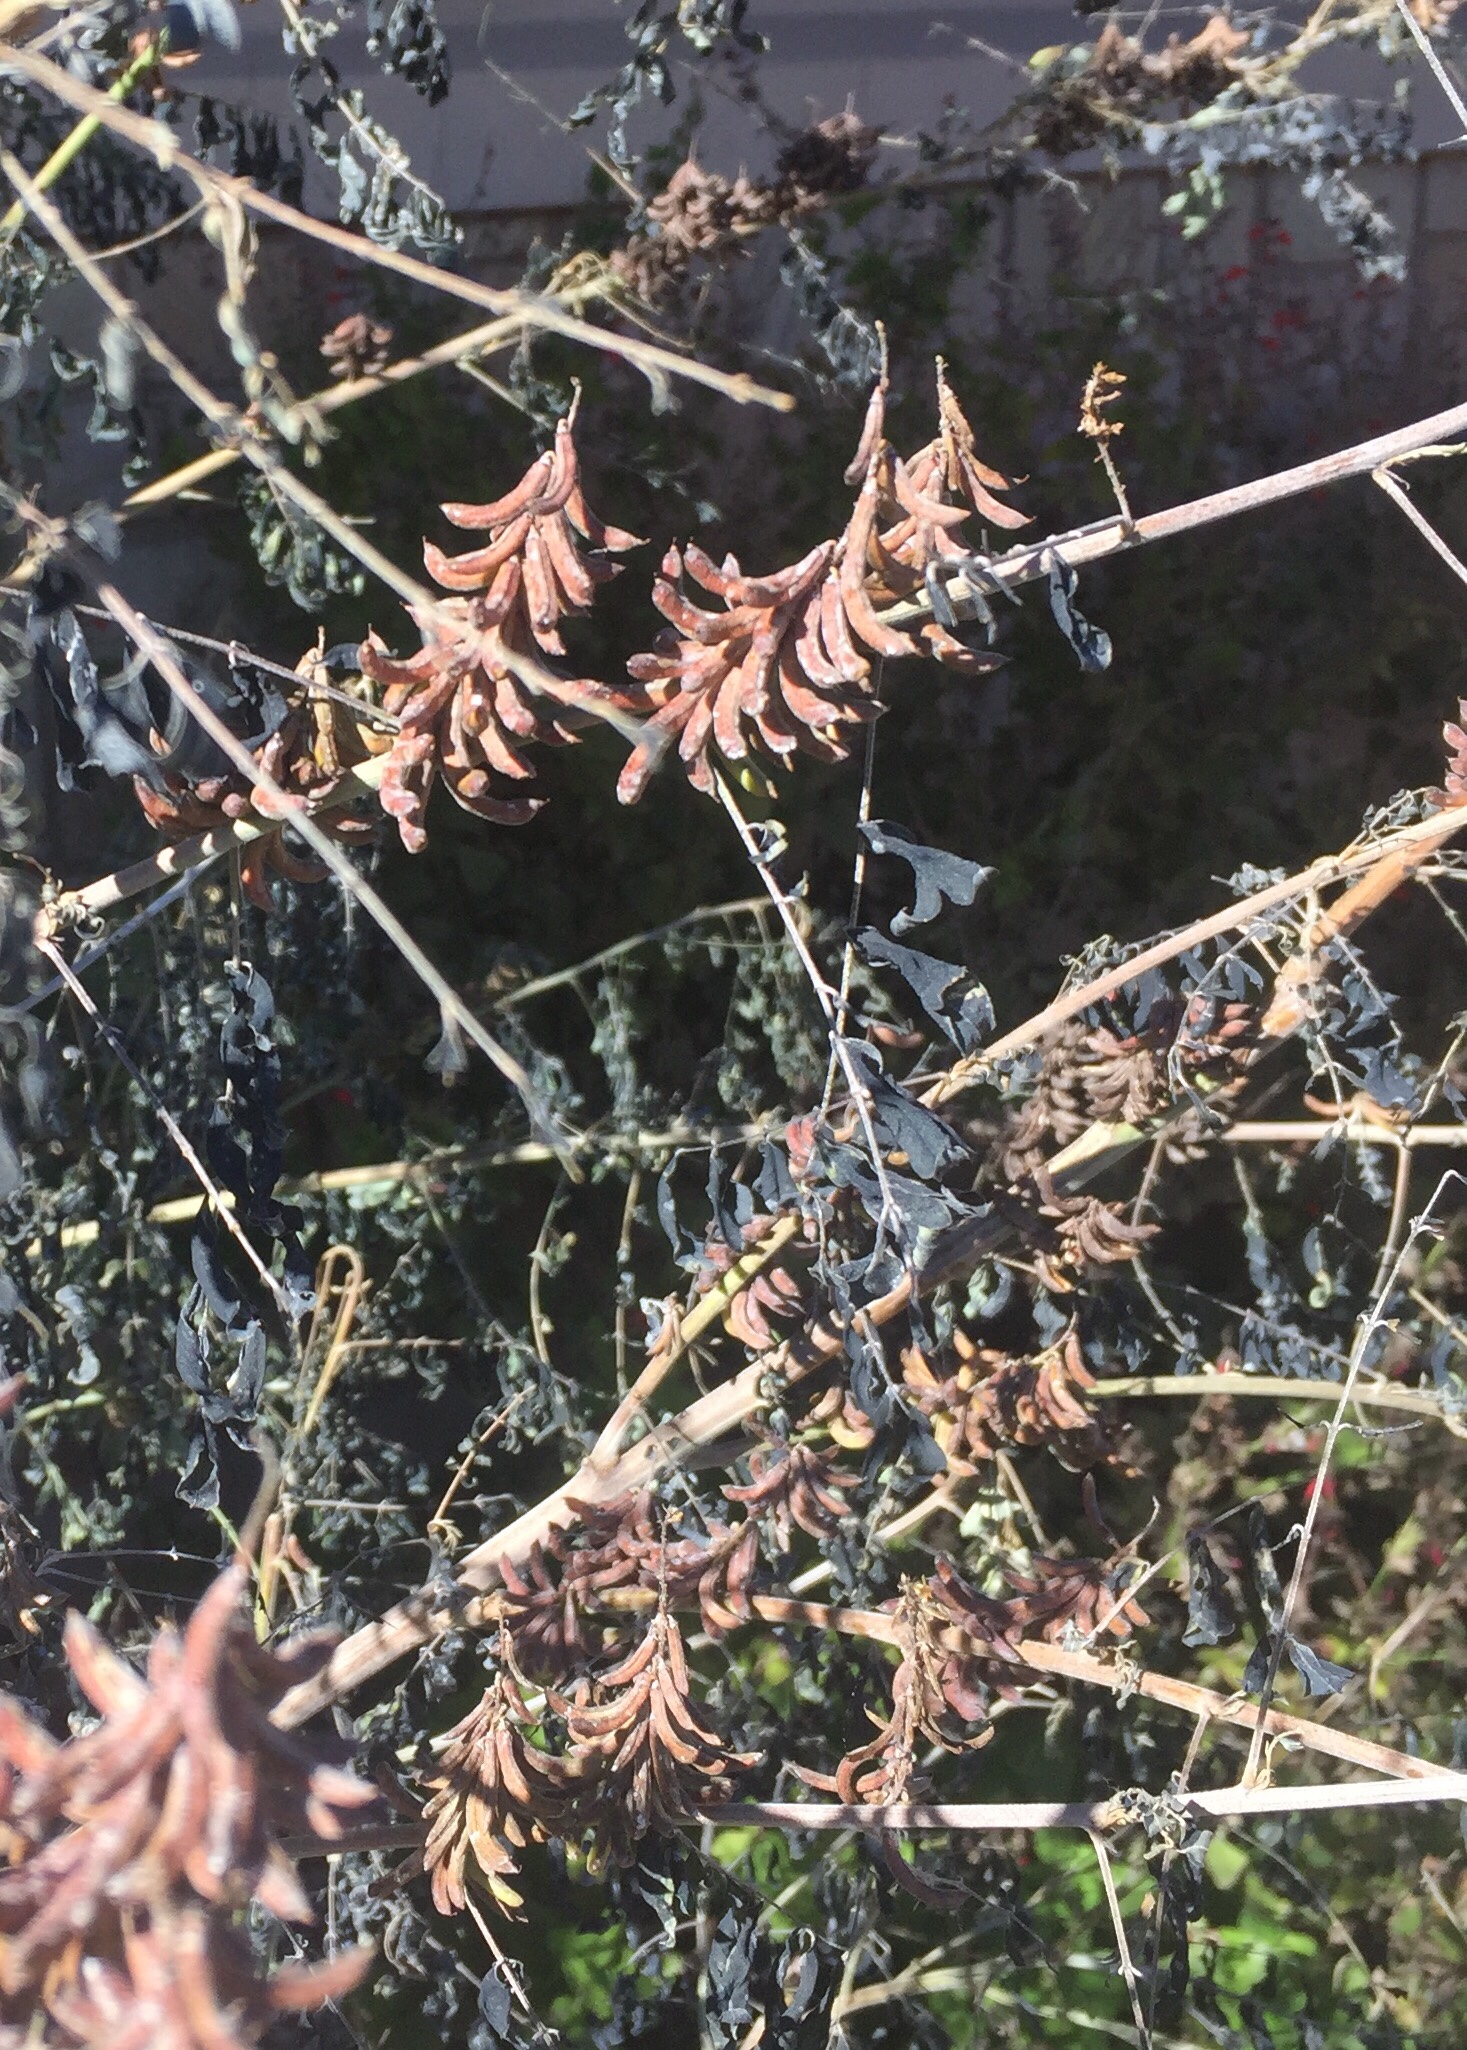
As the growing season winds down and winds and freezes become more frequent one begins to harvest the remaining leaves from the freezes and check the seed harvest status. Like little bunches of bananas the indigo seed pods darken from green to brown to black and start to reveal glimpses of tiny black seed pods.
I usually cut back my indigo after the first freezes so that the branches don’t break in the winter winds. I leave some up for the migrating hummingbirds to use in the late winter for observation perches. The stems that hold the seed pods are tough. It is easier to pull them off the same time you harvest the remaining indigo leaves before the “winter” trim. One runs the odds of leaving leaves on the branches against the odds of a wet week that will soak seed pods and frozen leaves. The weather forecast becomes a thing of great interest! But the longer one leaves the seed pods on, the better they ripen and are easier to harvest.
You can see in the photo below the “not quite ripe” against the “bursting and fling the seed out” pods. Greenish versus brown/black finishes give you the signal. Hence the wait for ripening against the rain gamble.
Usually I process in stages, cut some branches, strip out the seed pods and the frozen leaves, set the pods aside, finish up the leaf processing and let the pods continue to dry out. They are easier to process when dry. A bit of my leaf harvest is written about in this blog entry.
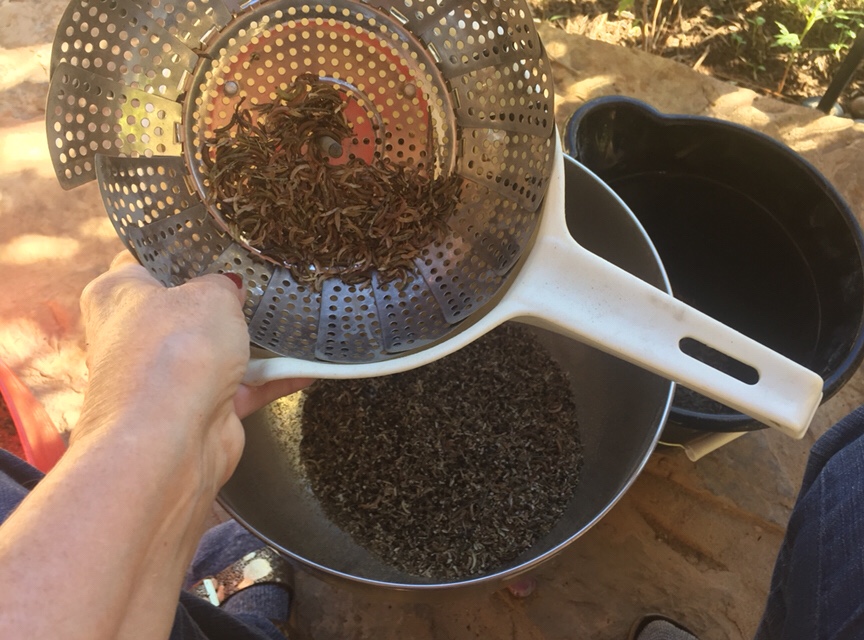
Below you see my processing station of the dried seeds in my red garden holding bucket. My winnowing silver bowl, my two kitchen strainers with appropriate hole size, a trash bucket for hulls and my faithful molcajete for breaking the pods for seed extraction.
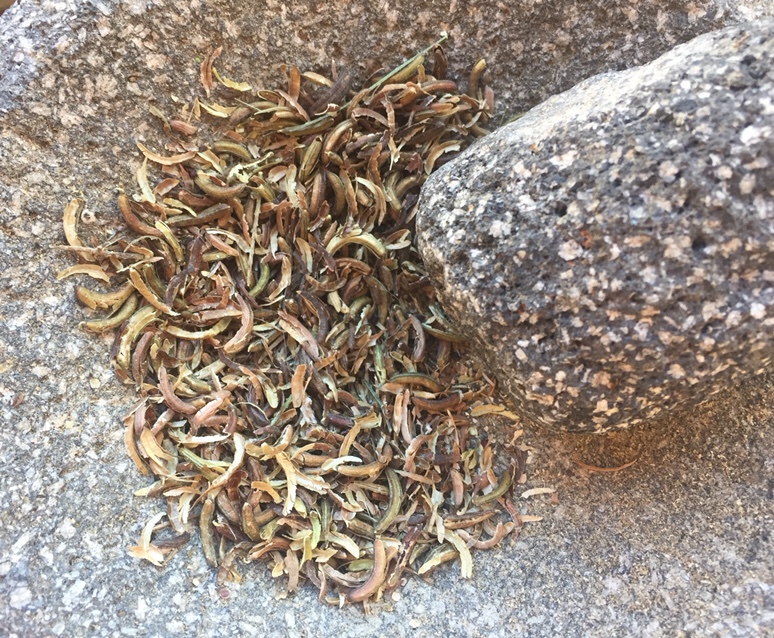
When the pods are dry they crack much easier when pressure is lightly applied by the molcajete grinding stone to break the bond.
The lightly crushed pods are put thru the two sieve process and manually stirred to release the seeds. Husks go into the black bucket for one last look for more seeds.
The seed harvest is set aside to winnow in the winds to cull out the smaller husks and chaff. If you pick over your starting seed pods and cull the green immature pods your final effort will result in a good seed harvest for next year’s use. This is not a high tech process, just time and patience that gets you in position for next year’s planting.

 Next up I will plant my Indigofera Suffruticosa seeds. I’ll throw Cota and Hopi Sunflowers into the mix this year also. Maybe I can beat the birds to the seeds for dye this year.


You must be logged in to post a comment.