
Please note that this blog post is not to be used with any commercial ventures. If you sell dried indigo, please experiment and write your own instructions. Venders referring to this post have not asked permission to link to this post. This blog is not for their commercial use except for John Marshall’s great book, details below.
July 2018 Newsflash! JOHN Marshall has come out with a new release covering a variety of ways to use your Japanese Indigo. The process described below in my blog is covered in his book, here is a link to my review & where you order his book. Enjoy!
Original post…One of the frustrations of a small producer of indigo is the limited amount available to dye things blue at one time. Of course, one can buy dried indigo powder from India or South America, but when one has stepped firmly over the edge into growing your own Japanese Indigo you look beyond the obvious and want to work within your own garden boundaries. 
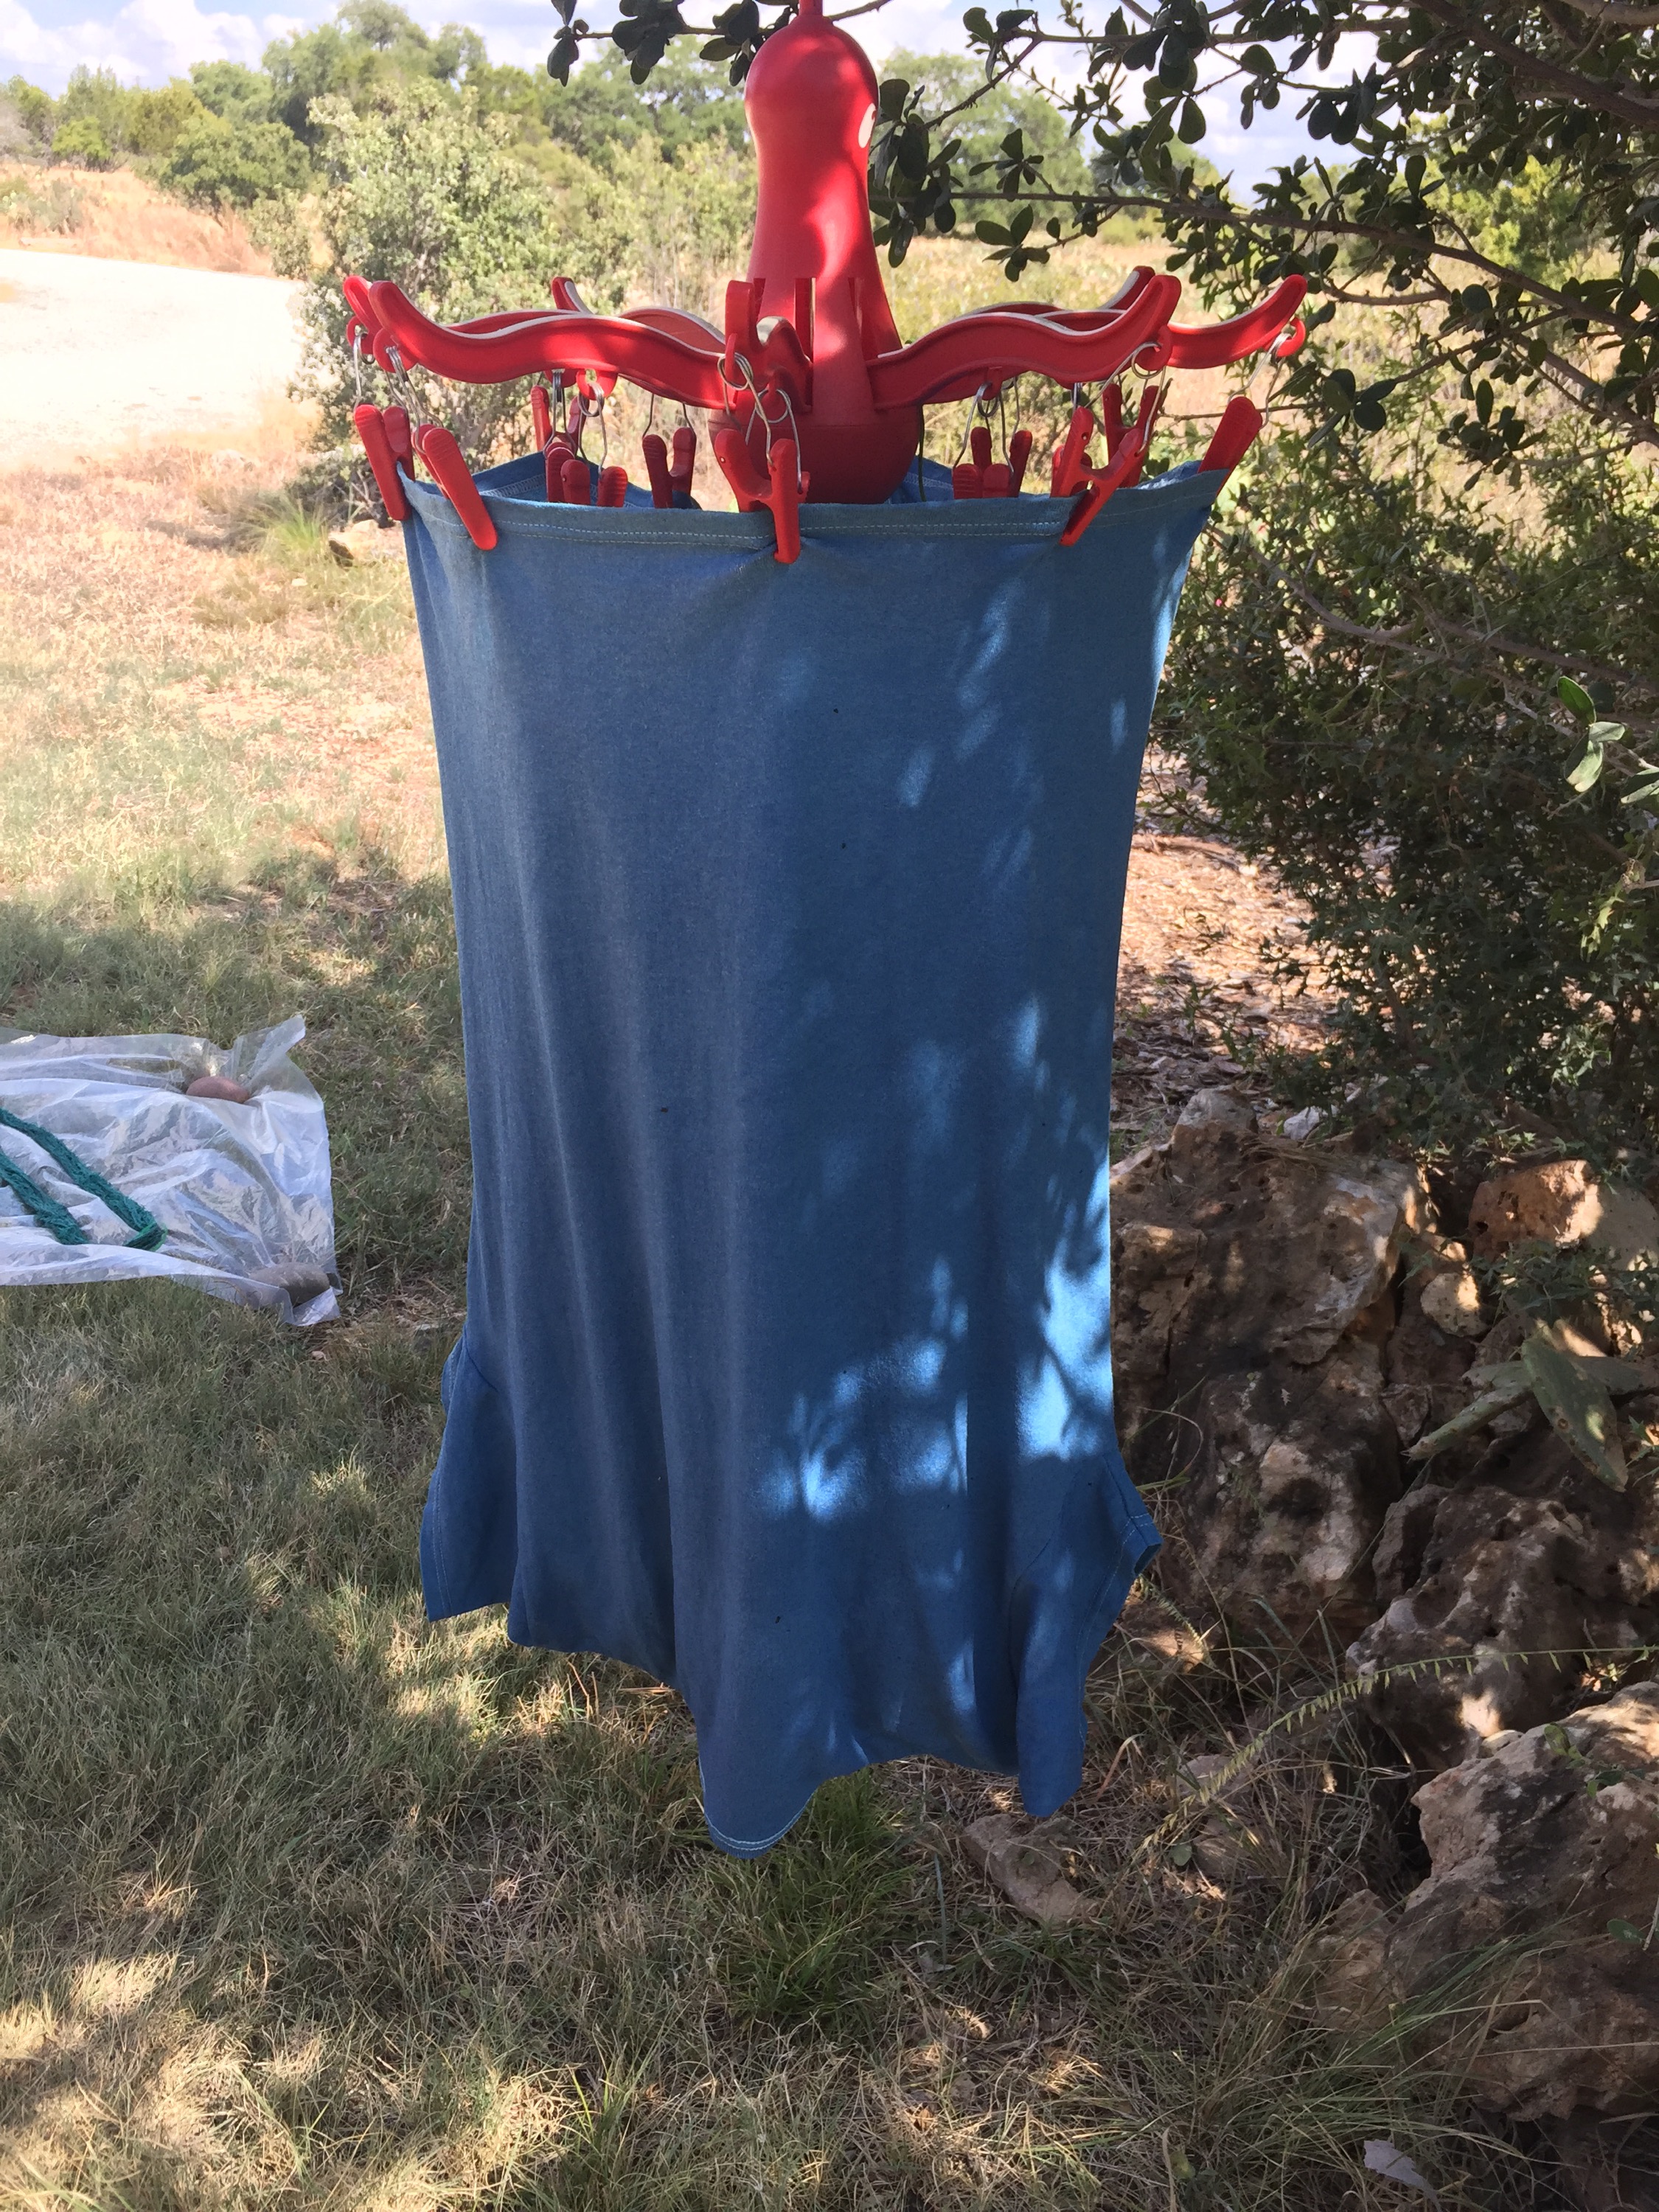
Drying my Japanese Indigo appears to be the solution for me. Below is a photo of my first experiment with 100 grams of dried indigo leaves after neutralizing with vinegar and washing with Orvis. Three articles (1 cotton and 2 silk) were dipped twice each for 5 minutes. The extra skein on the lower left is a blender fresh Japanese Indigo skein left overnight in a fresh batch and is provided just as an example of the different color way you get with another method using your Japanese Indigo.  Consider the fact that I can and will run another batch of dried indigo and continue to dip these items to continue to darken their color. This first test batch I stuck close to John Marshall’s recipe (c-Background below) and kept track of measurements. For those who like #’s, here you go:
- The cotton t-shirt weighed 150 grams
- The scarf weighed 25 grams
- The silk skein weighed in at 48 grams
- Total of 223 grams for total substrate dyed
So the ratio is 100:223 or 1 part dried indigo to about 2 parts substrate. Impressed with the color obtain at that ratio? I am.
This means I can harvest and dry my indigo over the growing season and have my indigo on hand when I have time to enjoy the dye pot process. With the violent weather and winds that we can have in the Texas Hill country it is very attractive to be able to harvest and dry part of your harvest and protect it from unpredictable climate.
Some additional #’s for you, each of my indigo plants have at the beginning of their peak and thru their main growing season 10-12 stalks ready for cutting with an undergrowth of new plants coming up. Remember I am located in Central Texas and irrigate my plants with well water heavy in calcium. Other geographical locations will have different growing conditions. Go ahead, run out and count your plant stalks. I’ll wait! Put in the comments where you are located and what # of stalks your plant is putting out. 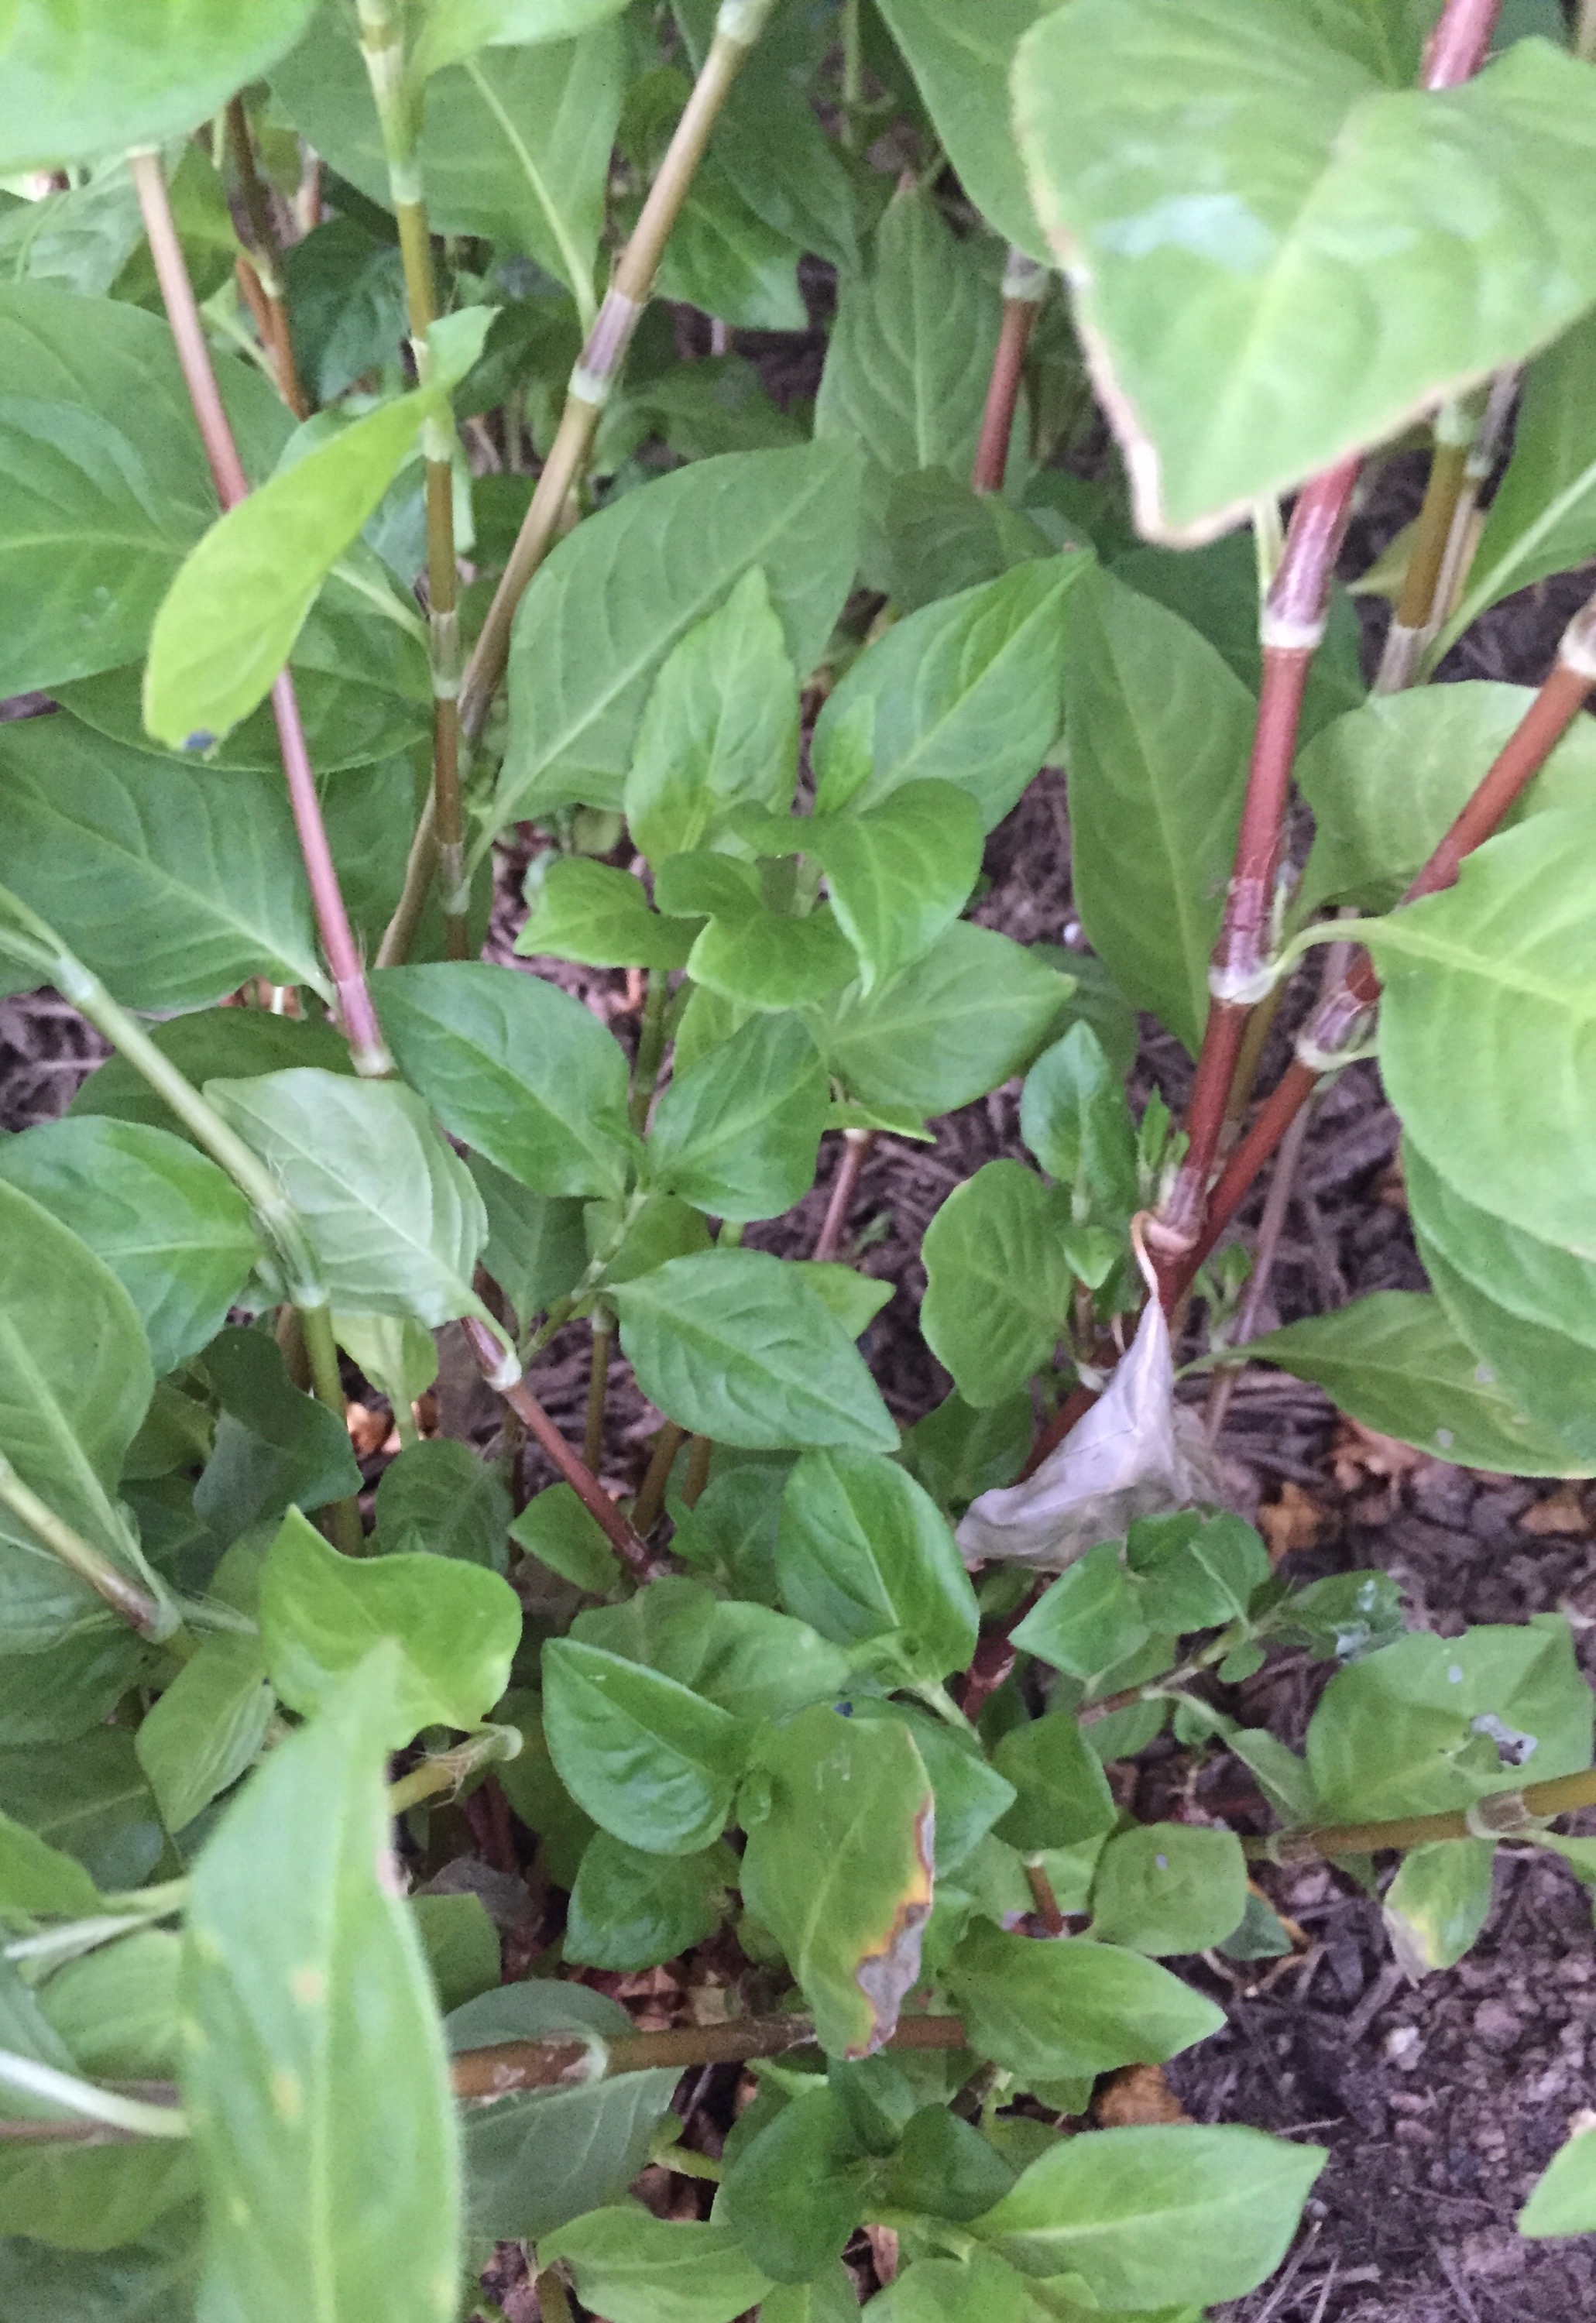 I go thru my Japanese Indigo bed and pick the plant stalks without blossoms for my drying bundles. My bundles usually hold 20-24 stalks for drying. Below are photos of my drying method. I secure my bundles to protect them from the birds and bugs AND the wind. I don’t want an unexpected gust to send my leaves somewhere I cannot retrieve them.
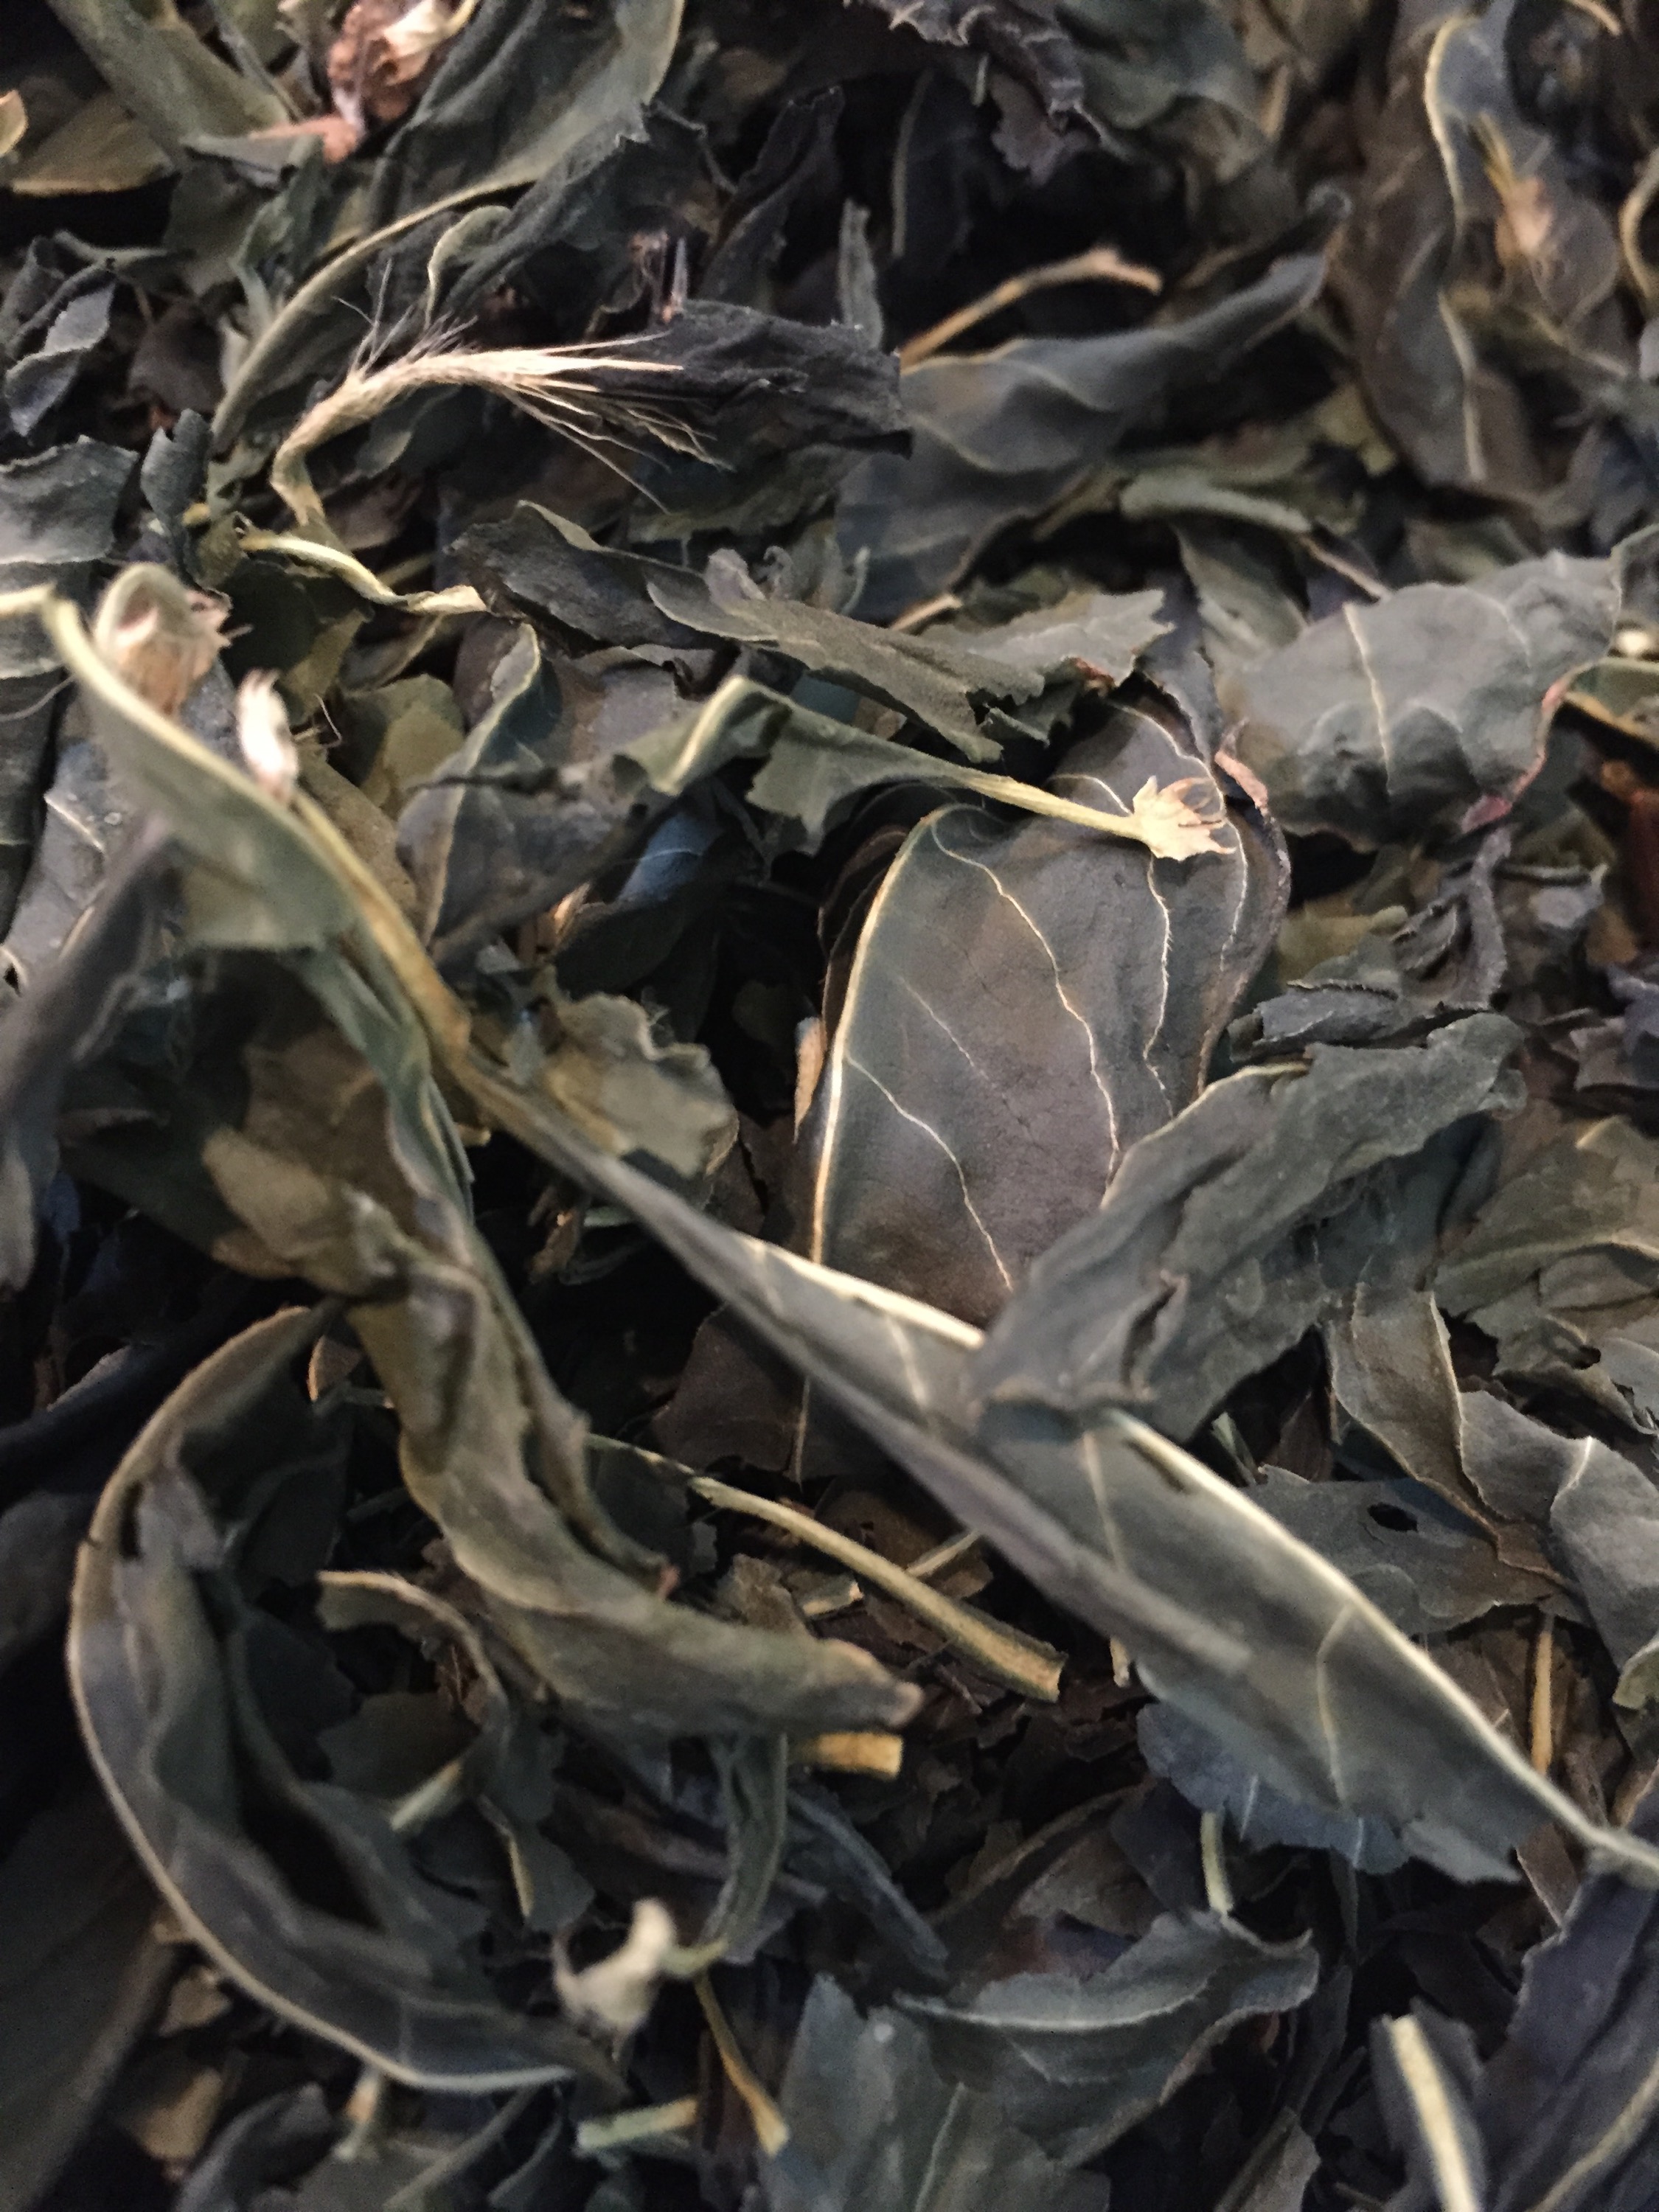
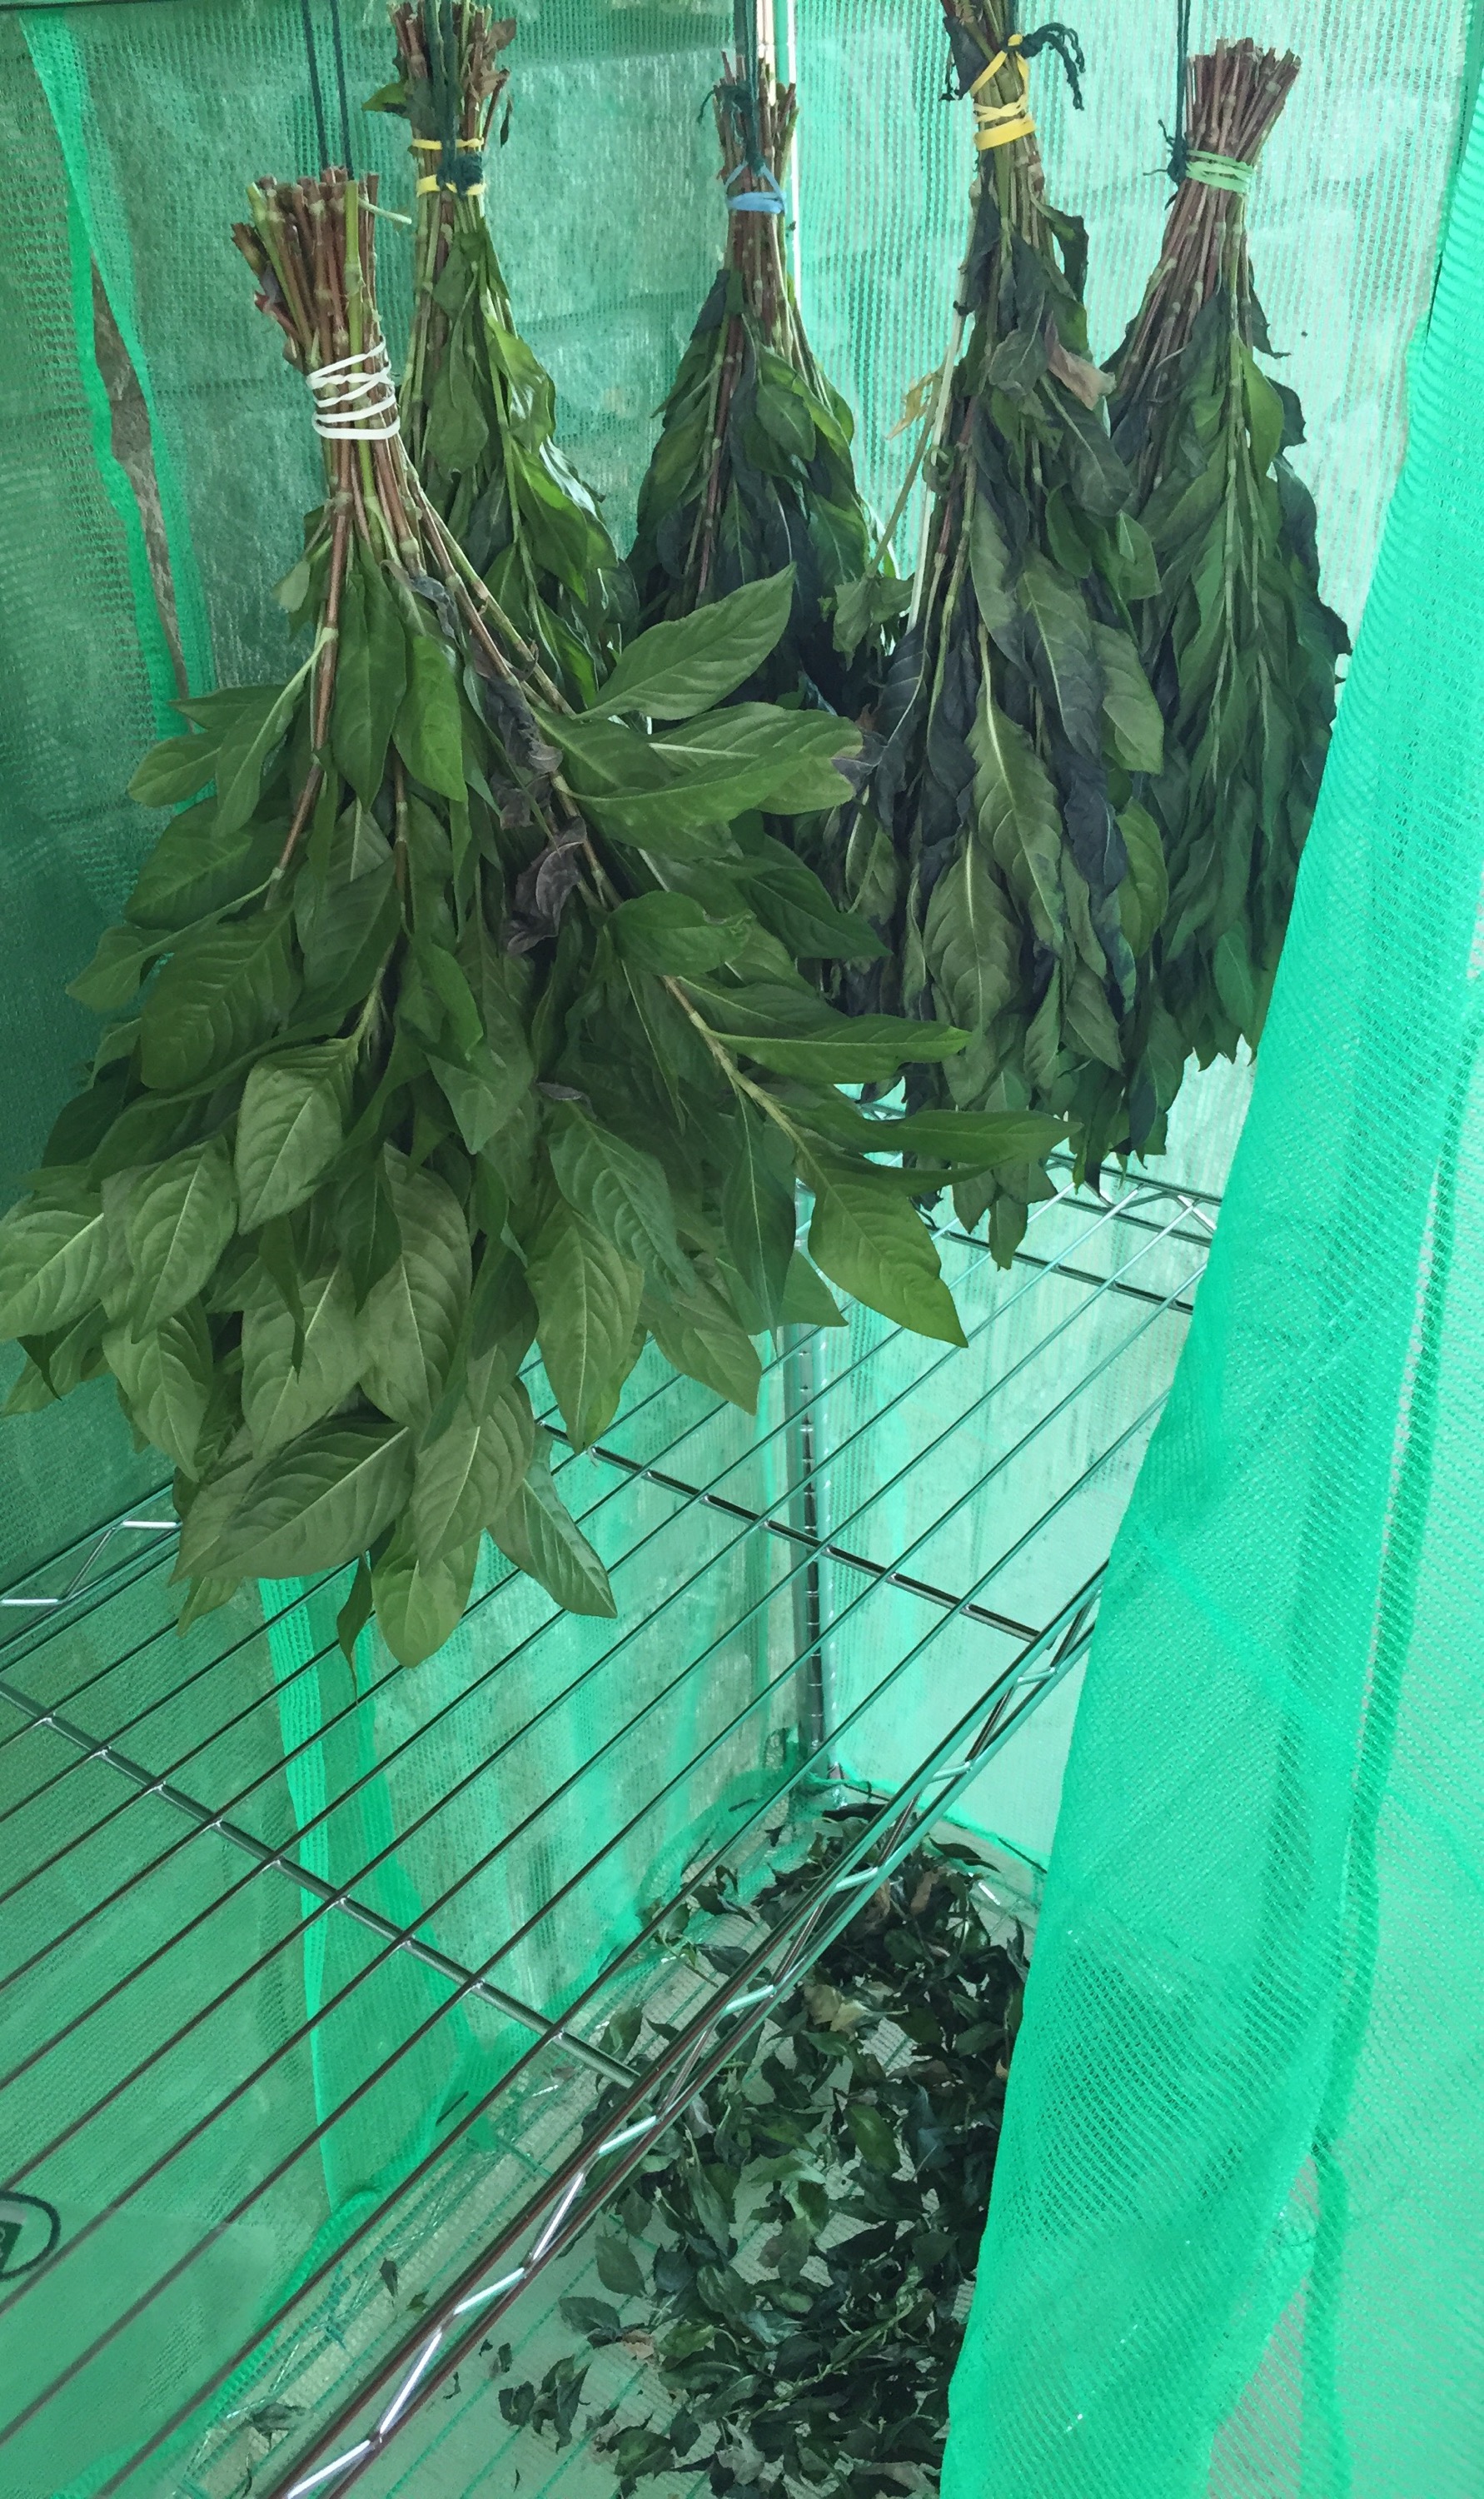 After about three days in my Texas heat the stalks have dried down enough for me to strip them off the stalks and let them continue to dry.
In the interest of providing more #’s for those who want some guidelines here is more data:
- 6 bunches yielded 129 grams dried Japanese Indigo
- 4 bunches yielded 70 grams dried Japanese Indigo
- 2 bunches yielded 37 grams dried Japanese Indigo
As I type 5 more bunches are drying and now that our humidity has dropped after some much needed rain I will go out and continue to create more bunches for drying. 
 I know if you have read this far you are looking for the dried leaf recipe. My source is John Marshall’s limited edition Dyeing with Fresh-Leaf Japanese Indigo (link below in Background). Below is John’s recipe that I modified to use Soda Ash I had on hand rather than the Washing Soda called for in John’s recipe on page 16 of his book. I used the basic assumption that it takes 3 parts washing soda to equal 1 part Soda Ash. I am very grateful that John took the time to put his experience and the translation of different masters into a usable document for indigo dyers.
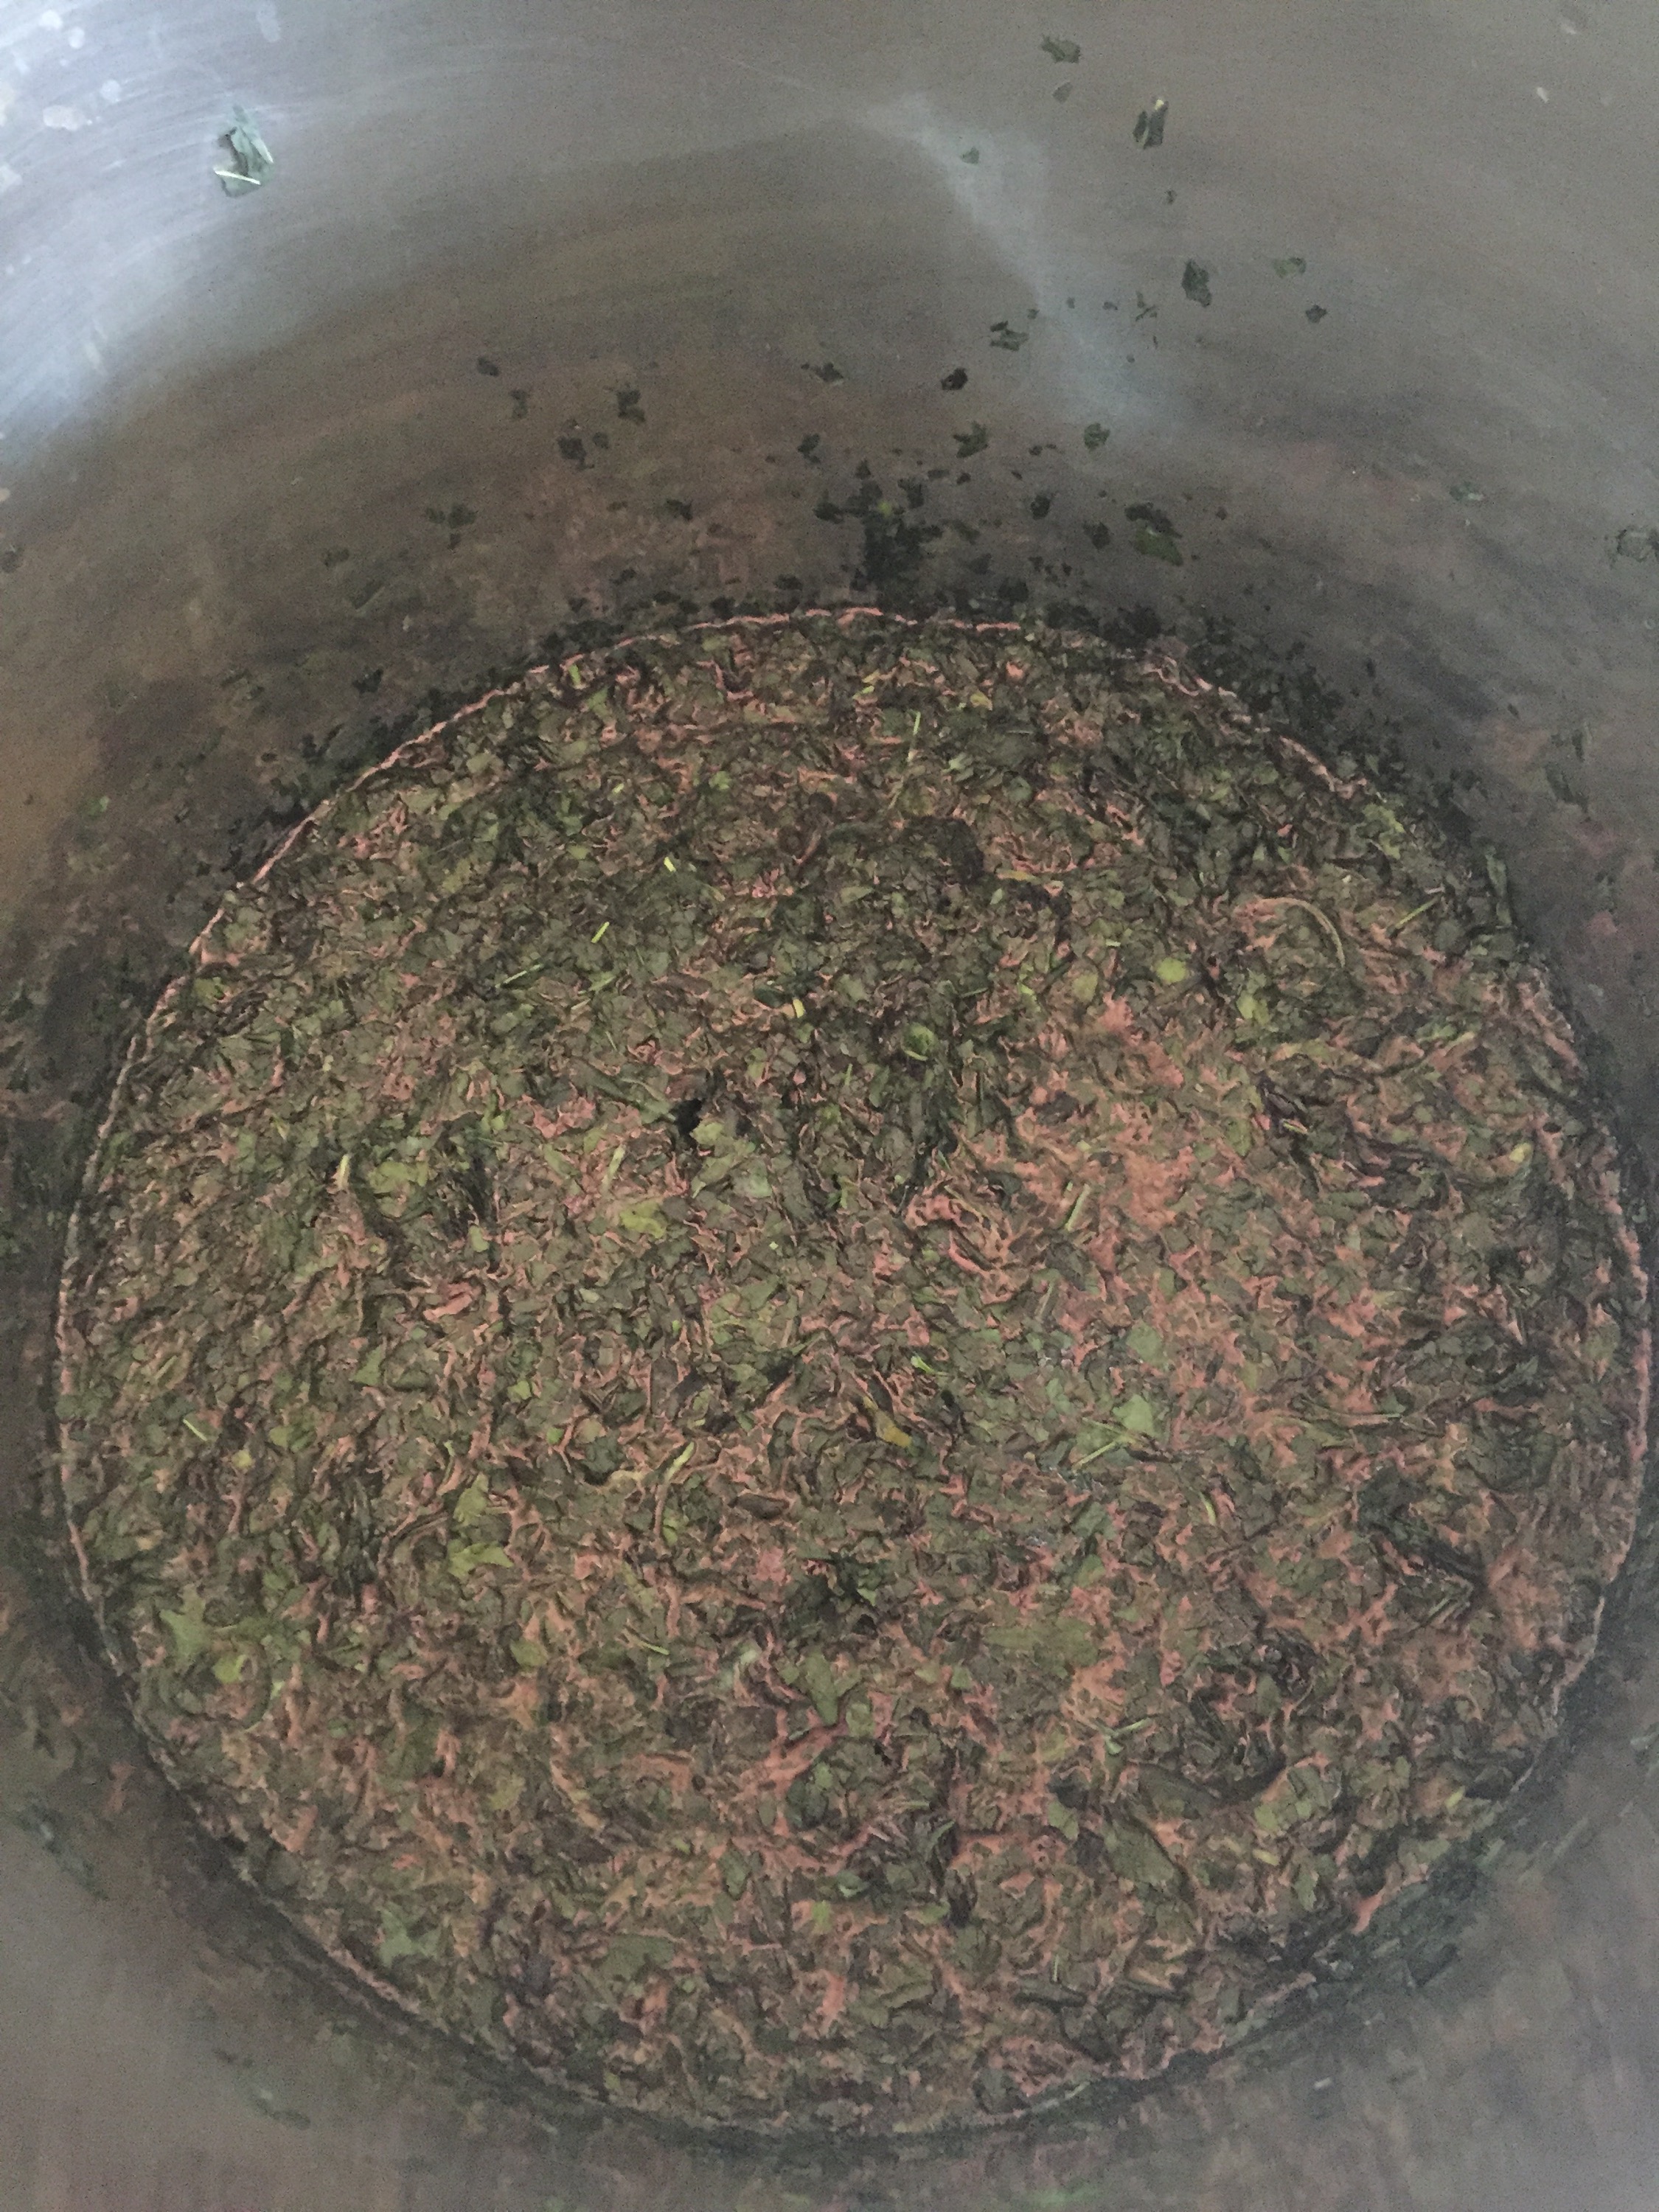
• You simmer the dried leaves for 20 minutes at a slow boil (honestly, I used an active simmer) and pour off the water. The water has a yellow tinge to it. That is the wash of components that will throw off your blue indigo. If you have ever used leftover blender JI leaves for a yellow dye, the water color is similar to that color. Discard the water. 
• After washing the leaves, I added 4 grams of soda ash and 6 grams of thiorea dioxide to 100 grams of dried indigo leaves in about 2 liters of water. I simmer almost to a boil and stirred as it heated. I did not boil. John says to boil. I could not bring myself to do so. I did not have my thermometer handy, the pot sang but I did not allow it to boil. It took about 20 minutes for first indigo glow to show on leaf and water surface.
• Strained the leaves and put the indigo solution into a separate pot.

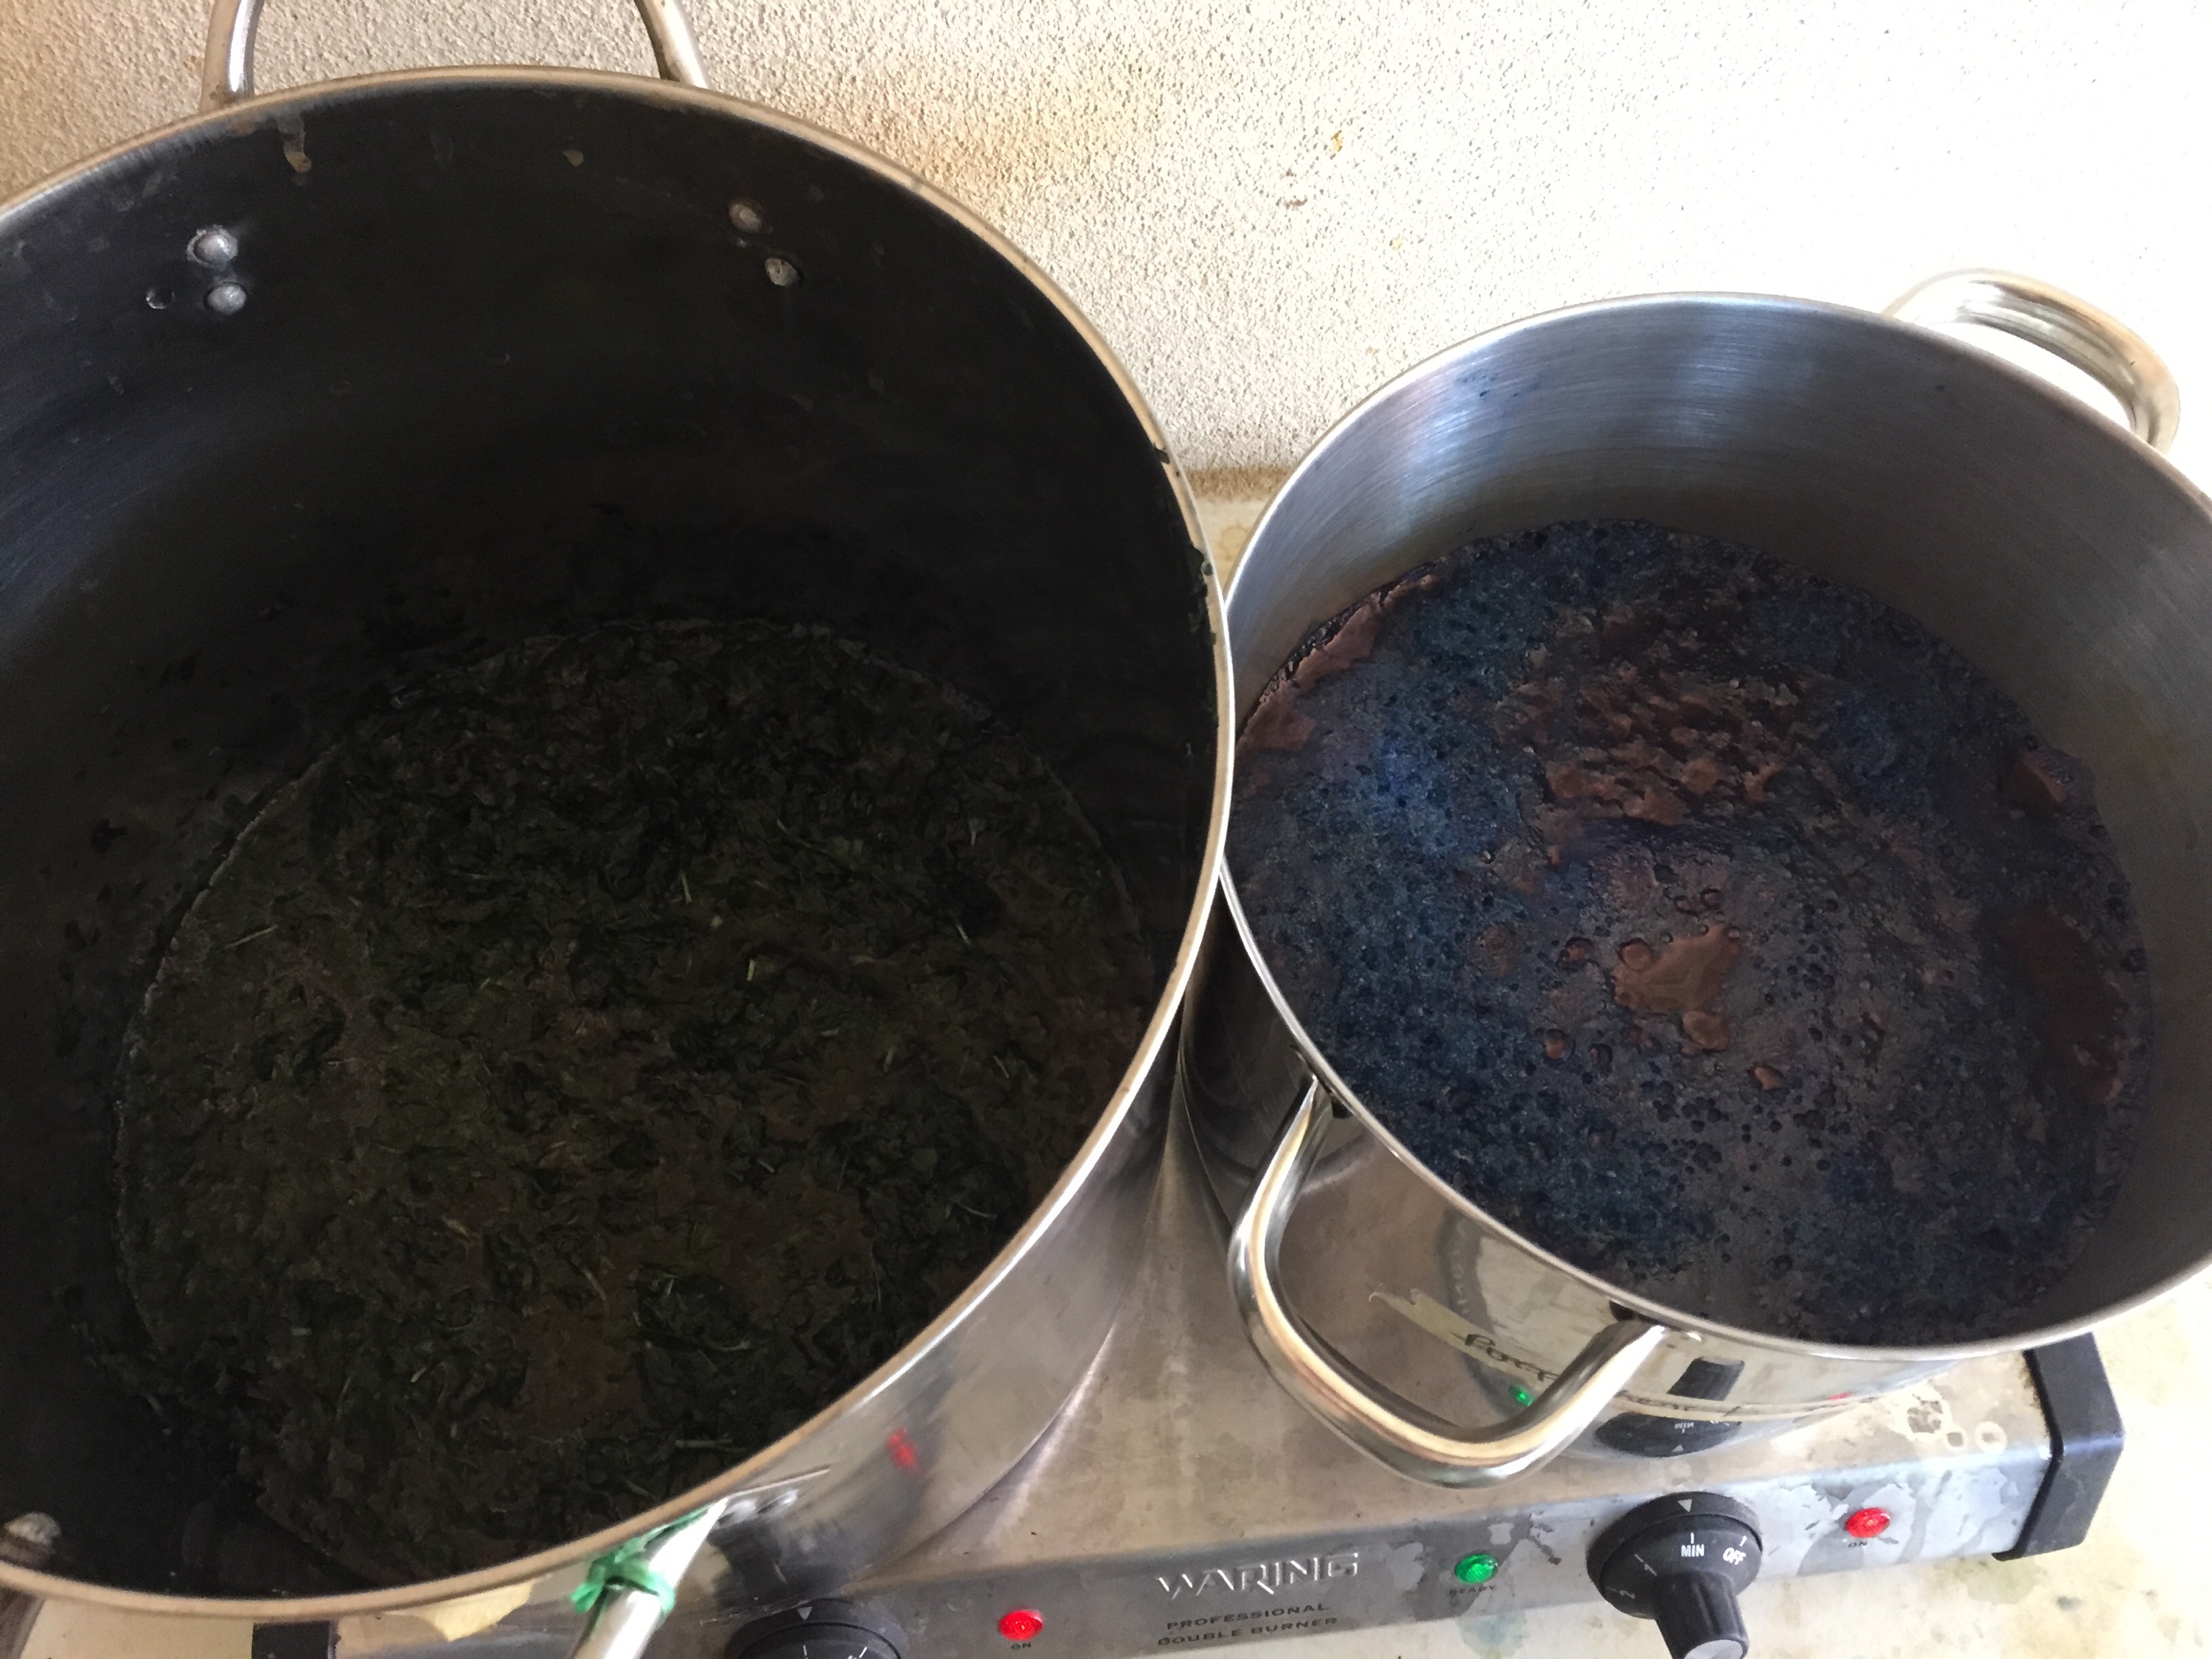
- Went thru the process again but only added 2 grams of Soda Ash and 3 grams of thiorea dioxide to 2 liters of water and added my leaves back in, 20 minutes again.
- Stained the leaves and add the indigo solution into my holding pot.
- And repeated the 2 gram/3 gram step again, 20 minutes again. The indigo released was noticably less in the third extraction. The resulting strained liquid is your indigo dye bath.

I tested the PH of this mixture before adding my substrate and was found it registered at only 9. I was using the paper strips, not a meter. I did expect the PH to be much higher due to the Soda Ash and was not expecting the cotton t-shirt to take the indigo due to the low PH. I was surprised.
My items were submerged at 5 minutes each and allowed to oxidize twice. I kept the pot in the sun and the temp ranged from 100 to 120 degrees as I did my dipping and oxidizing.
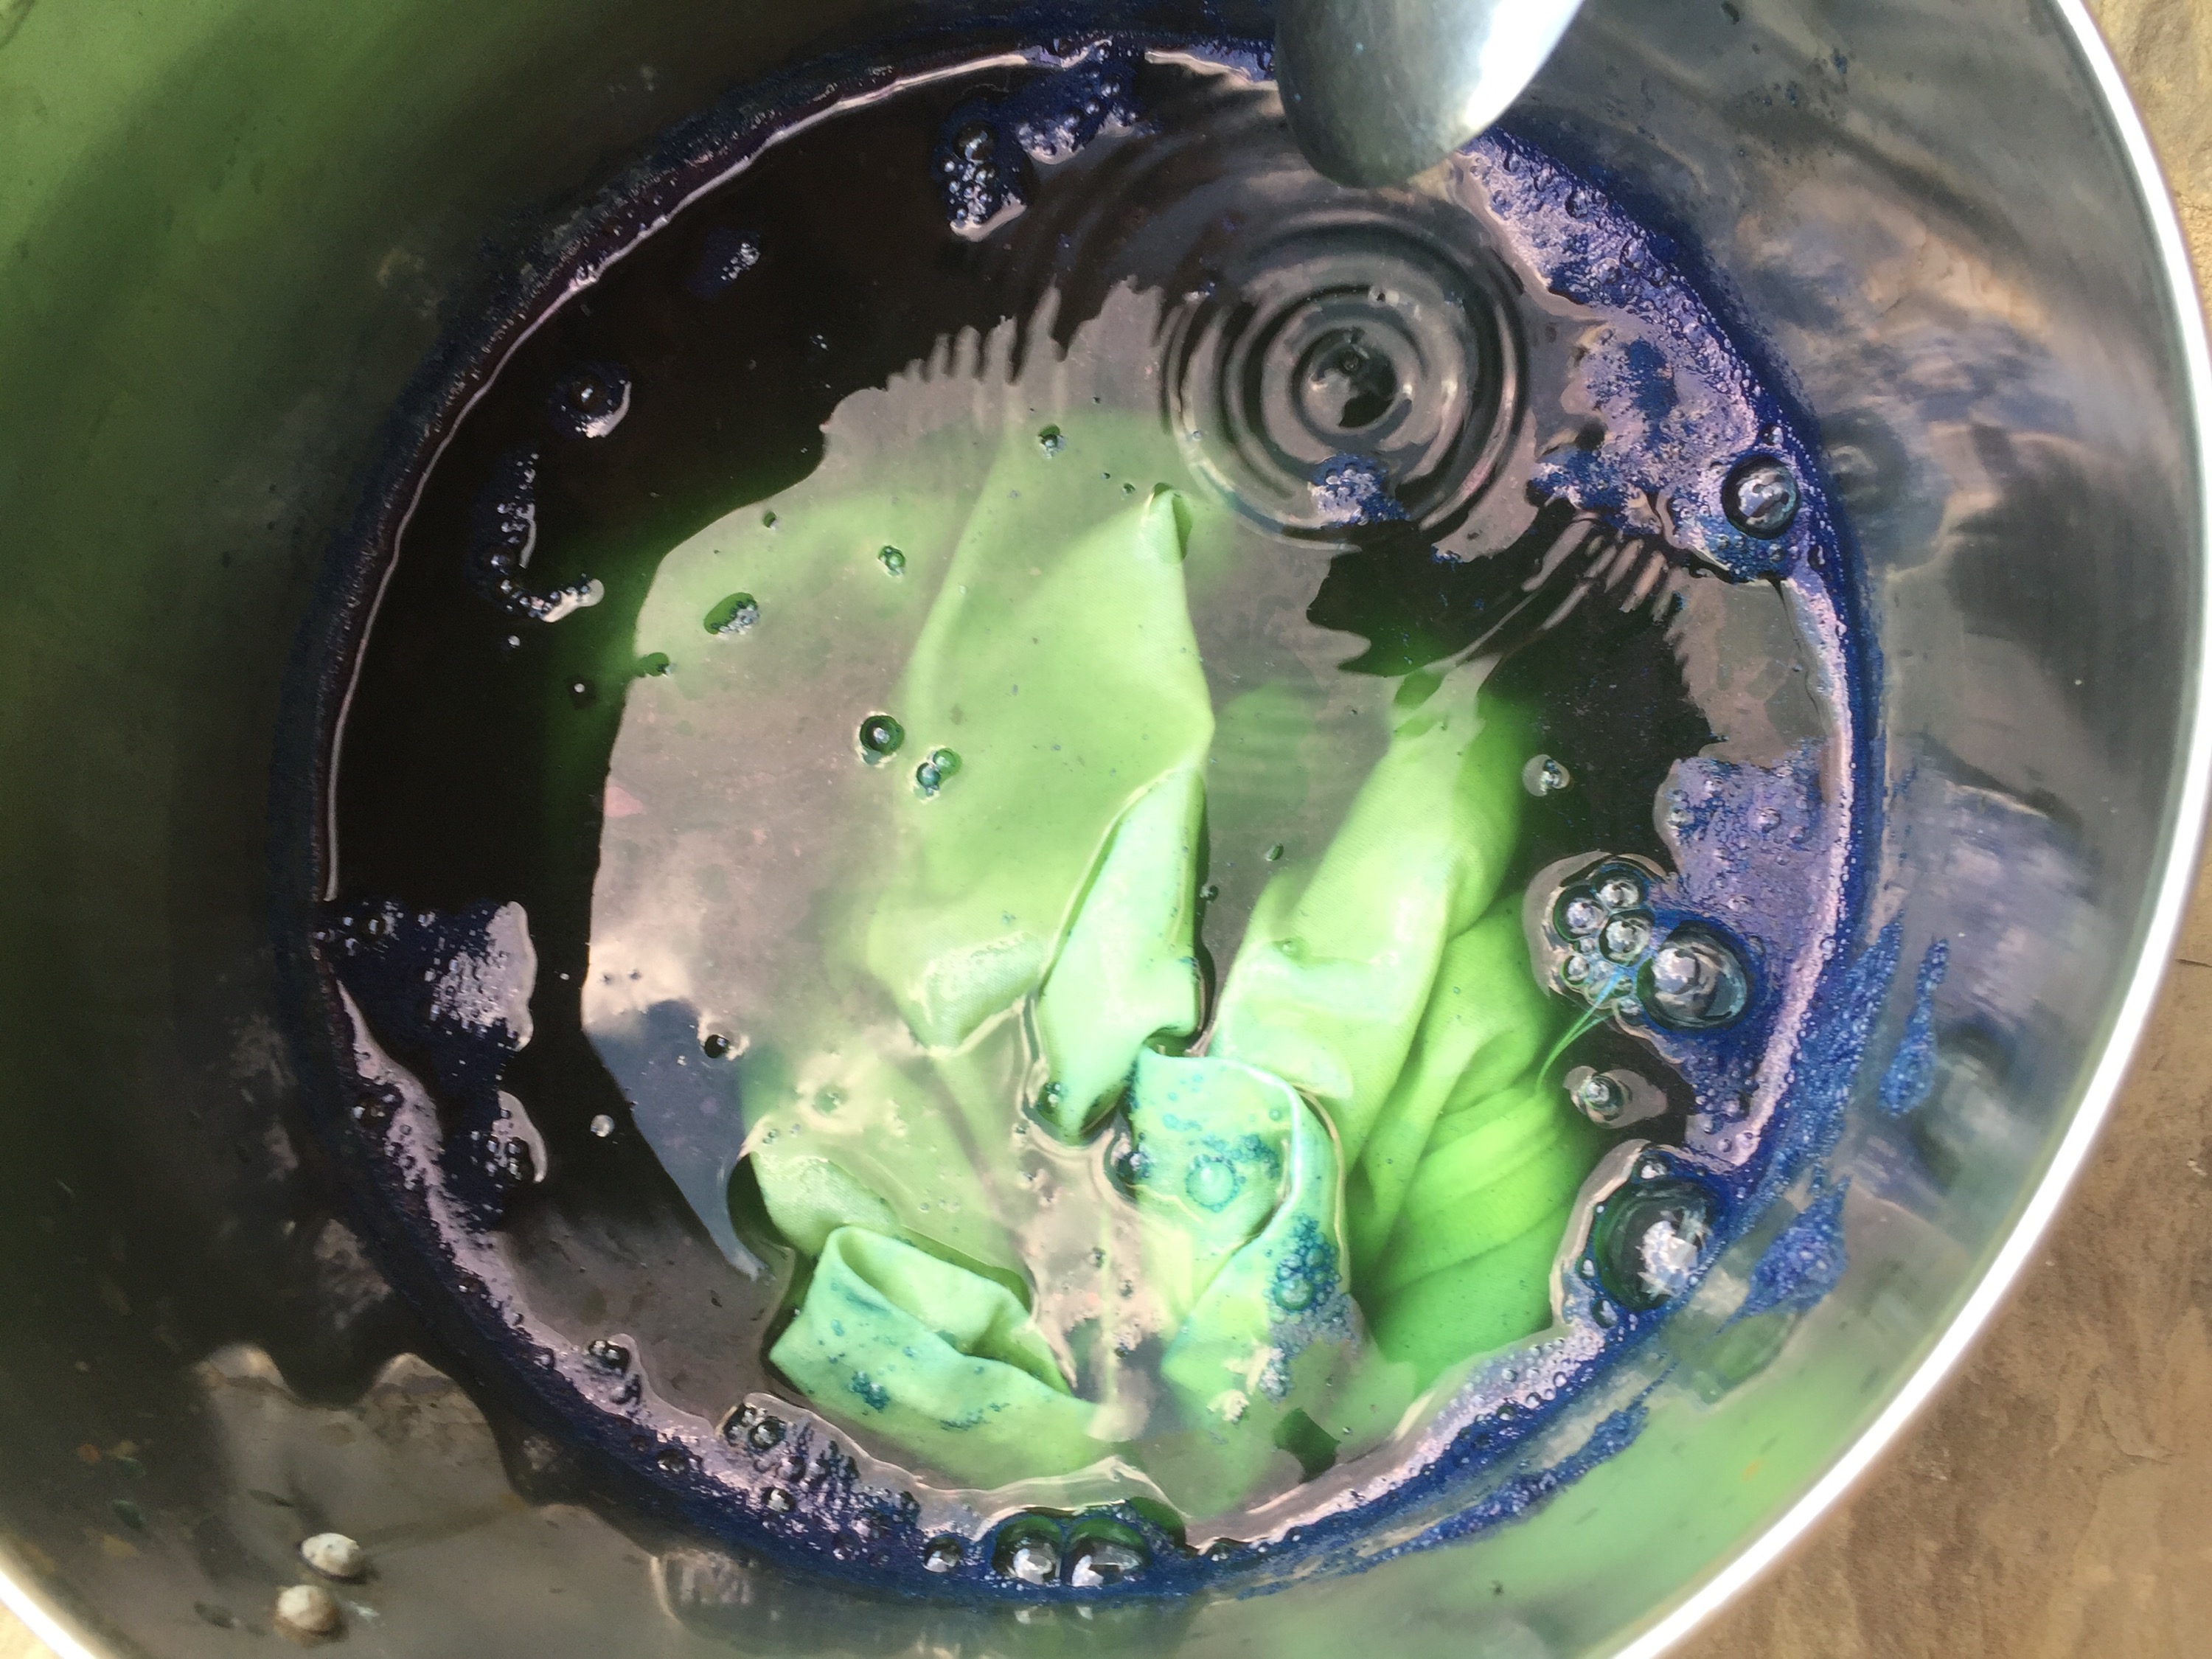

The magic of indigo oxidizing:
About the only negative about this process is I am still using Thiourea Dioxide for the oxygen reducer. I just do not like the smell of Thiourea. I plan to try the fructose/slaked lime method once I am more comfortable with the Thiourea Dioxide results.
Background: I have seen mention of dried indigo in books but no recipes to get me started. Of course I am familiar with the fermented indigo, sukumo, made from dried leaves. Being a small grower I was nowhere near producing the amount needed to get a decent blue. Nor do I have the facilities to ferment over a long period of time with winds and violent temperature swings beyond my control. So either fresh leaf indigo extaction, dried leaves or the traditional purchased indigo powder was the path for me.
When attending an indigo class at John Marshall’s studio he allowed us to look thru his Japanese dye book collection. I do not speak Japanese but I could see tantalizing photos of dried Japanese Indigo. John has been a master working with dyes in surface design over the years with his soymilk mordant and artistic mastery of stencil resist. (Yes, I am a serious fan girl) I asked if he could look thru the recipes and help me figure out a dried leaf path.
His side study along with his stencils has been with Japanese Indigo. He recently took the time to put his thoughts and mastery into a reference book based on his experience and the Japanese dye masters. The dried indigo recipe that I used is sourced from John’ book Dyeing with Fresh Leaf Indigo. His blog has blown up on him. When he reposts a new link I will put it here for you. The book is pricey but has many approaches and recipes and should be considered as a guild resource and brought into a library where folks can benefit.
John has also written about his dried indigo recipe for Turkey Red. It is at the end of his Turkey Red article.
Finally as of July 2018, JOHN has a new book release, click here for more info…
Enjoy, Deb Mc
