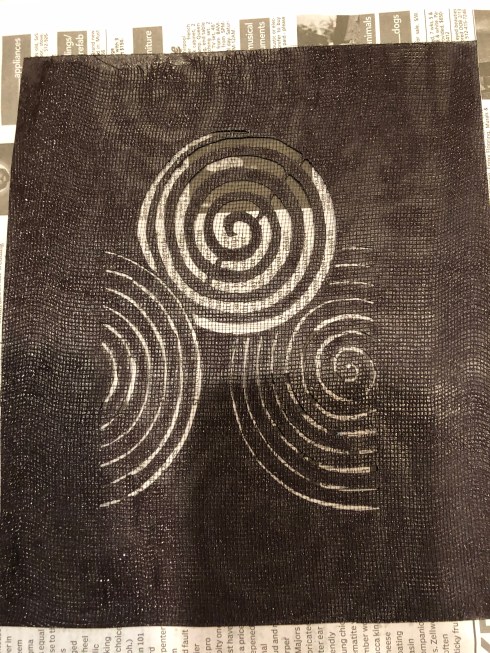
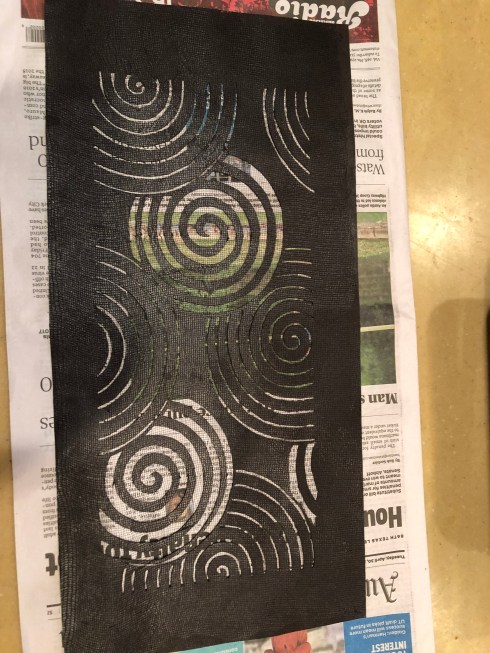
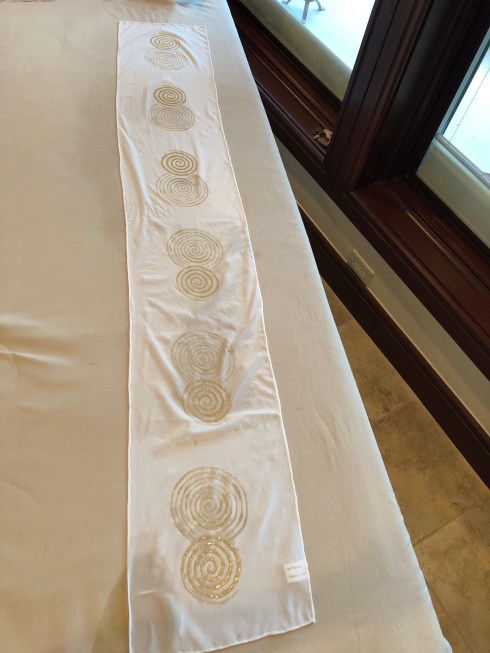
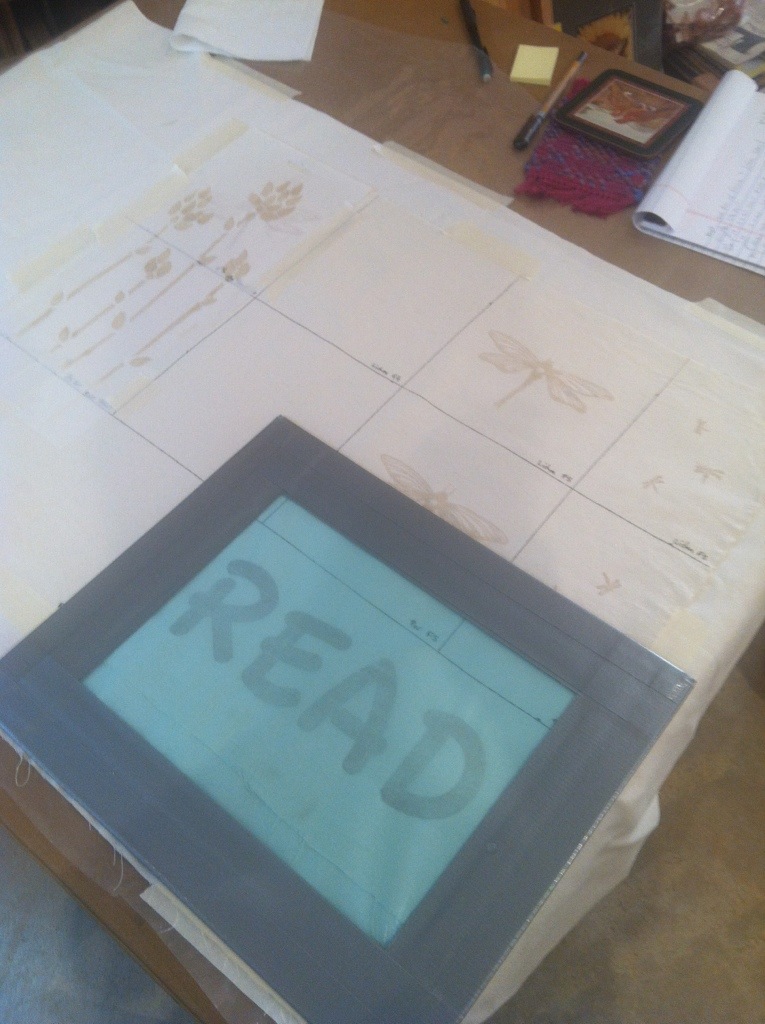
My arm is now well enough to use from my shoulder surgery but not quite up to dye pot or wrangling shuttles. So I’ve had time to puzzle over a Catherine Ellis workshop presented in San Antonio in Feb 2012. I am having a lot of fun but do have some questions. I hope some of my dye blog buddies and dye list mentors will offer some insight. This photo shows you the stenciled iron ferrous print that I did on mordanted silk yardage.
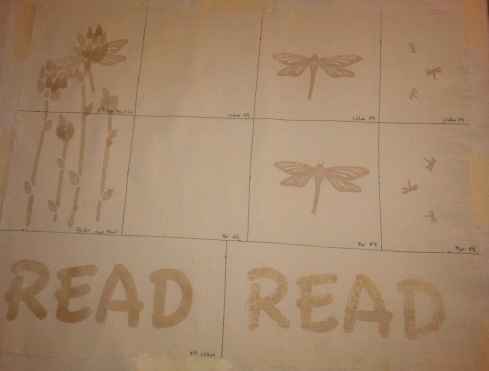
Ferrous sulfate stencil before its trip thru the dye posts
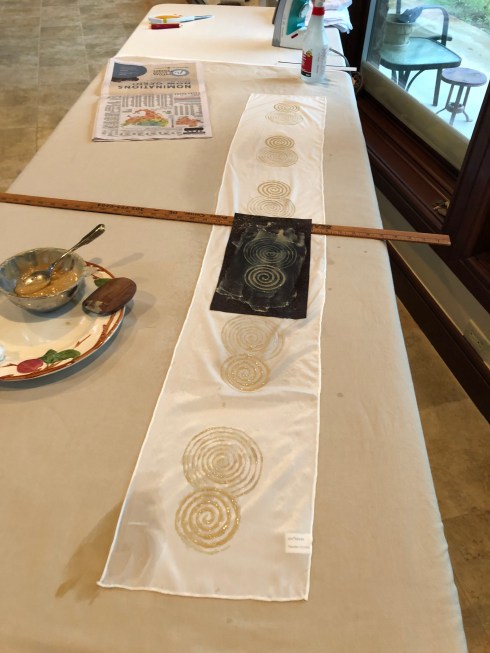
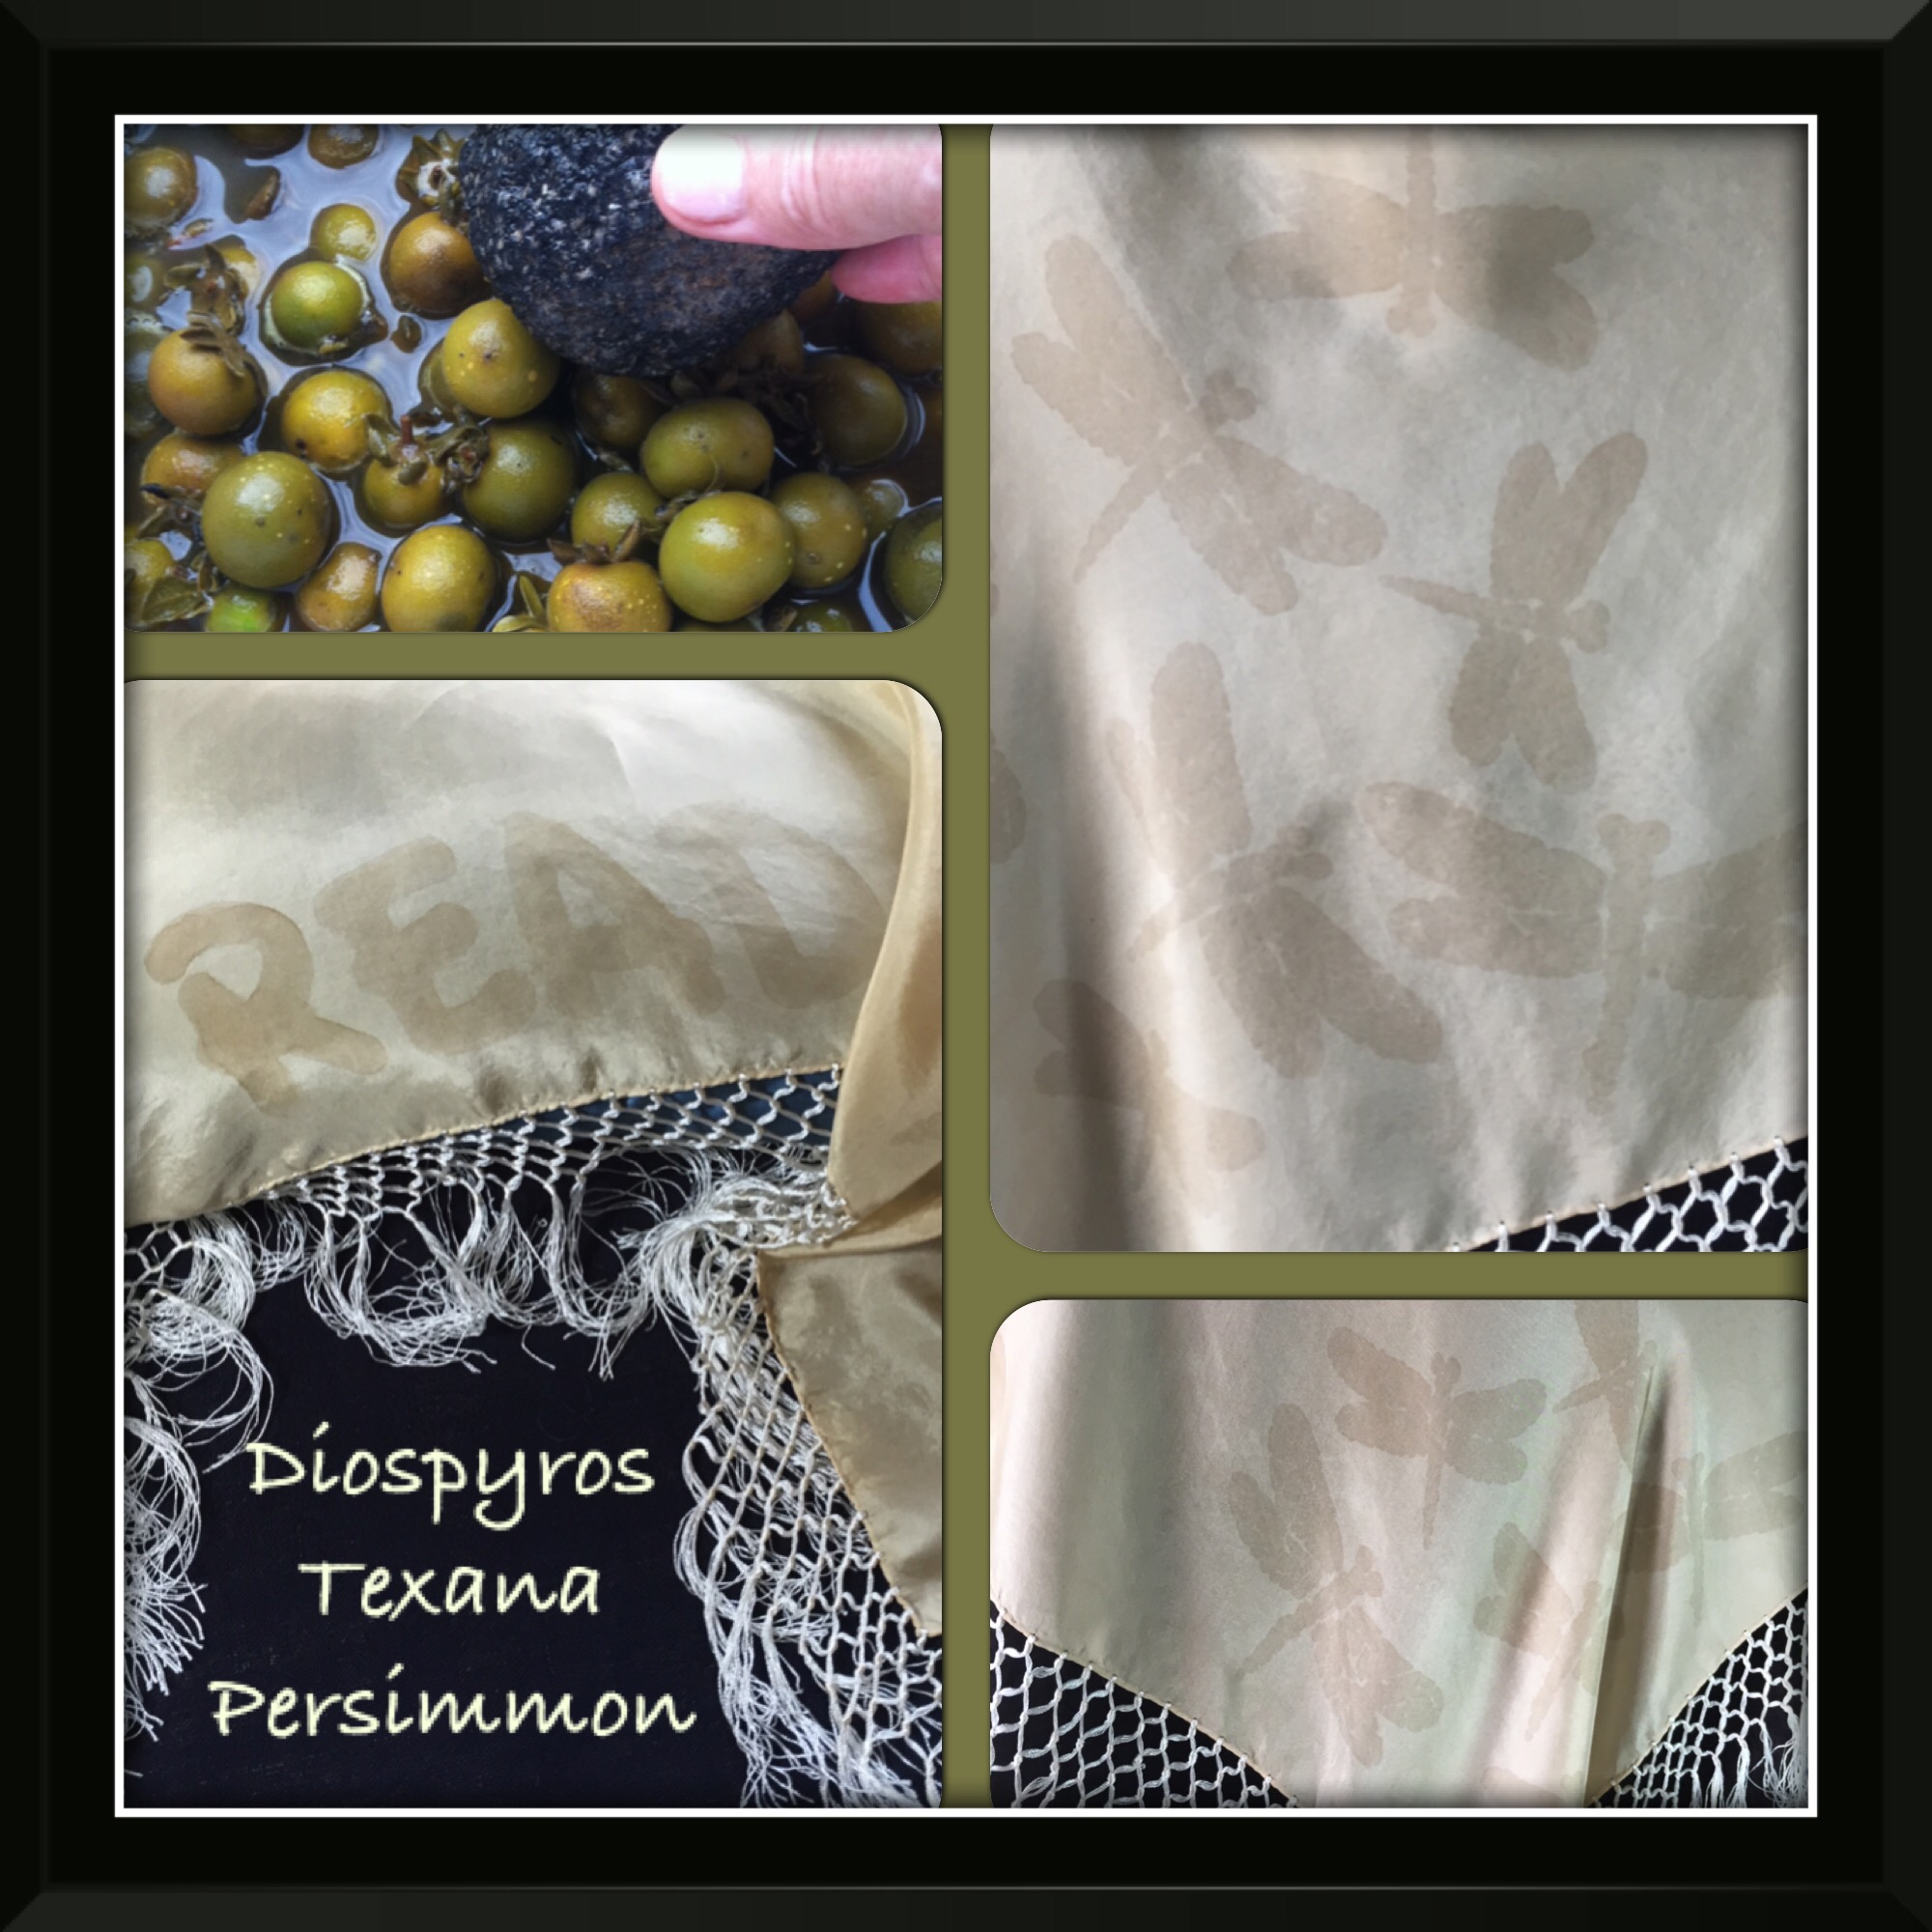
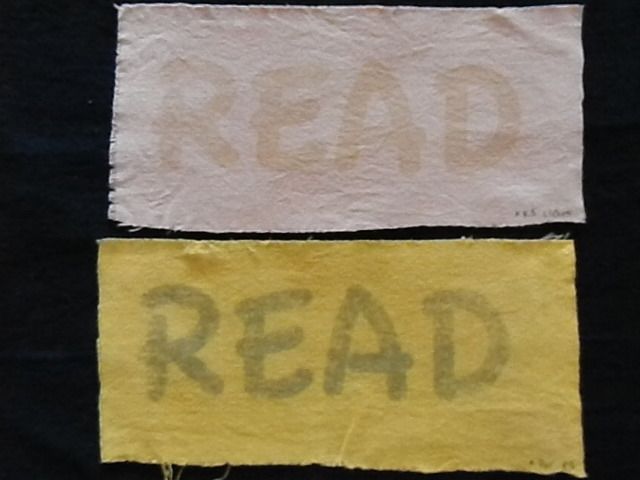
Now here is my puzzle, you’ll see the photo comparison of my persimmon bath to my lichen bath.The big question is why did the iron screen print not hold up to the lichen dye? It did hold up to the persimmon. Here are the pieces after their trip thru the dye bath.
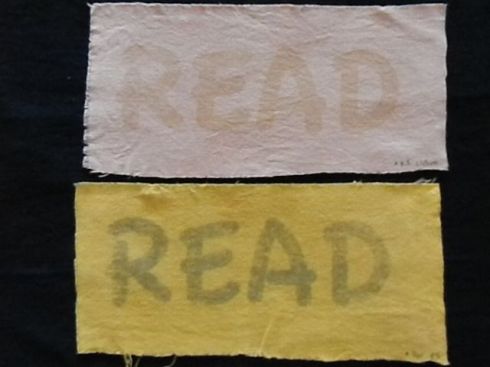
Top is lichen, bottom is persimmon, both with ferrous sulfate print
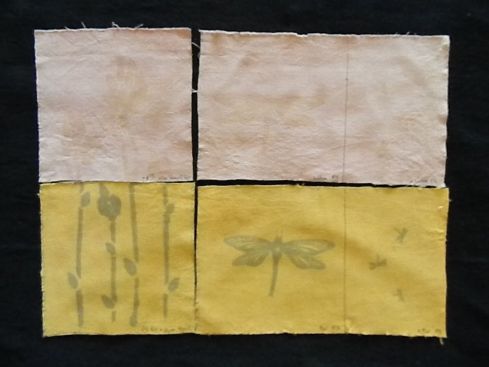
Top is lichen, bottom is persimmon, both with ferrous sulfate print, compare to the screen print above before cold dips
Facts:
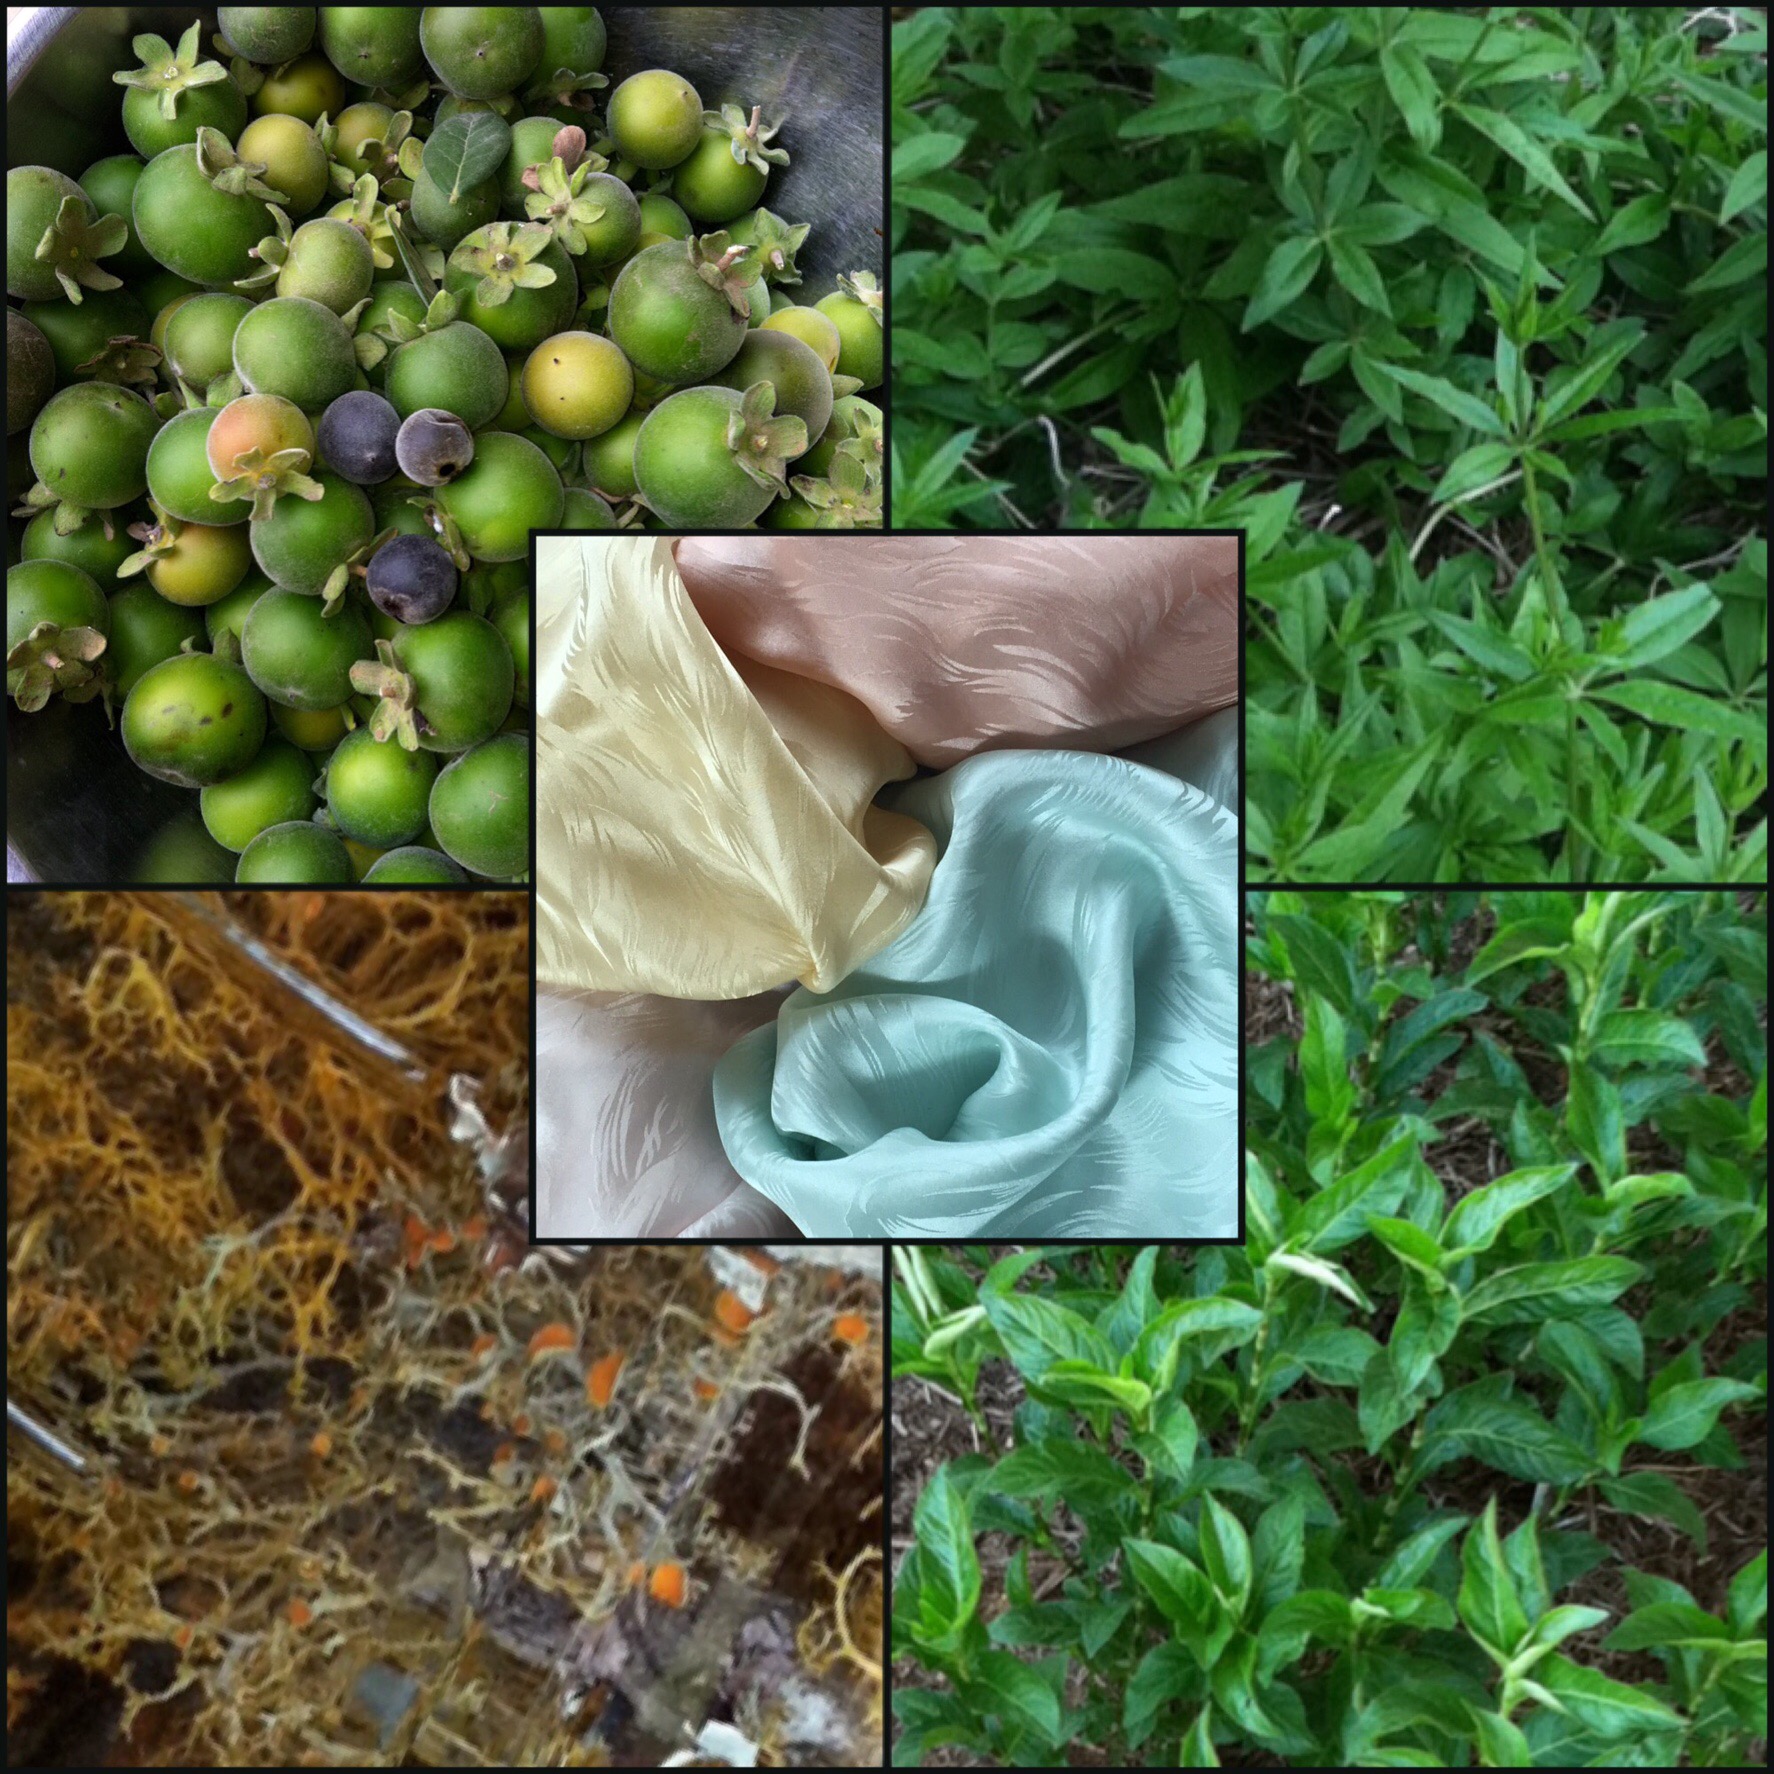
- I am working with my persimmon dye and my lichen dye from here on my property.
- The persimmon is just juice from the persimmon that has been aged and smashed to extract it. (high tech machinery is a sausage stuffer)
- The lichen has soaked in an ammonia and water bath for about 4 months to extract the color.
- The silk I am working with was scoured and PREMORDANTED with alum acetate PRIOR to printing.
- I did so using the Ferrous Acetate mixture straight or diluting it with the persimmon or the lichen.
- After screen printing my samples I dunged them with calcium carbonate, rinsed them and allowed them to dry.
- All samples then took a trip thru either my persimmon or lichen cold baths. My lichen usually is fixed by heat. I used the cold soak just to see what happened.
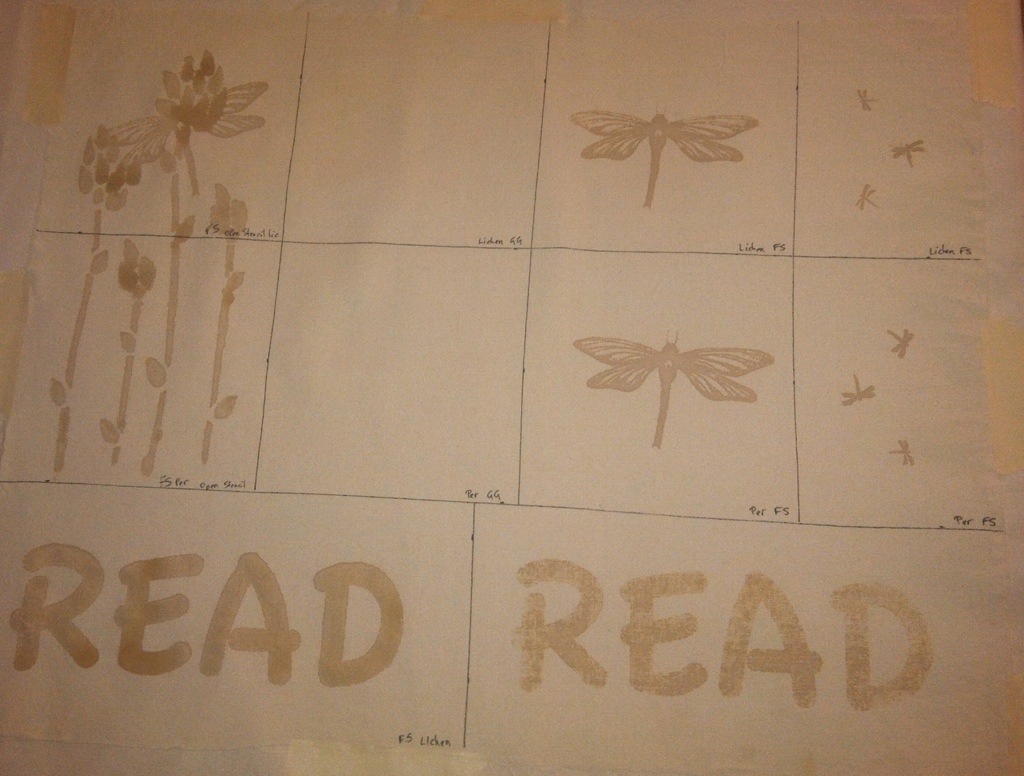
- Both prints of ferrous sulfate were dark prior to entering the dyebath. Silk samples were soaked either 5 minutes or 10 minutes in a cold bath.
On all my lichen samples the 100% ferrous sulfate came out lighter than the persimmon samples. I am mystified.
Do you think the lichen/ammonia mixture impacted the ferrous sulfate. In other words, does ammonia affect iron mordant? It is a very high ph. The smell is strong and the ph is high 1 part ammonia to 3 parts water for the color extraction. Normally when I take it to the dyepot I dilute it with water and put vinegar in to take the ph down. So I have two possible culprits, the ammonia and the vinegar that might have affected the ferrous print.
Overall the printing is fun, I am a strict novice on applying stencils or any other surface design but it is a fun journey to think in that direction with natural dyes. Of course I could make this all the more easier if I would use the natural dye extracts but since I can get these two colors (lichen and persimmon) from my valley I am running out the possibilities with them for now.
Obviously the persimmon is a strong candidate for more experimentation along with an indigo over dye.
The other issue is to put the lichen thru a heat process to ensure that the lichen color deepens and stays. I have no problem with skeins taking the lichen under a heat method. Screen printing appears to need a different approach for my lichen brew. Any brain biscuits would be welcome!


You must be logged in to post a comment.