Archive | Madder Root RSS feed for this section

Madder Root Harvest 2020

26 Mar

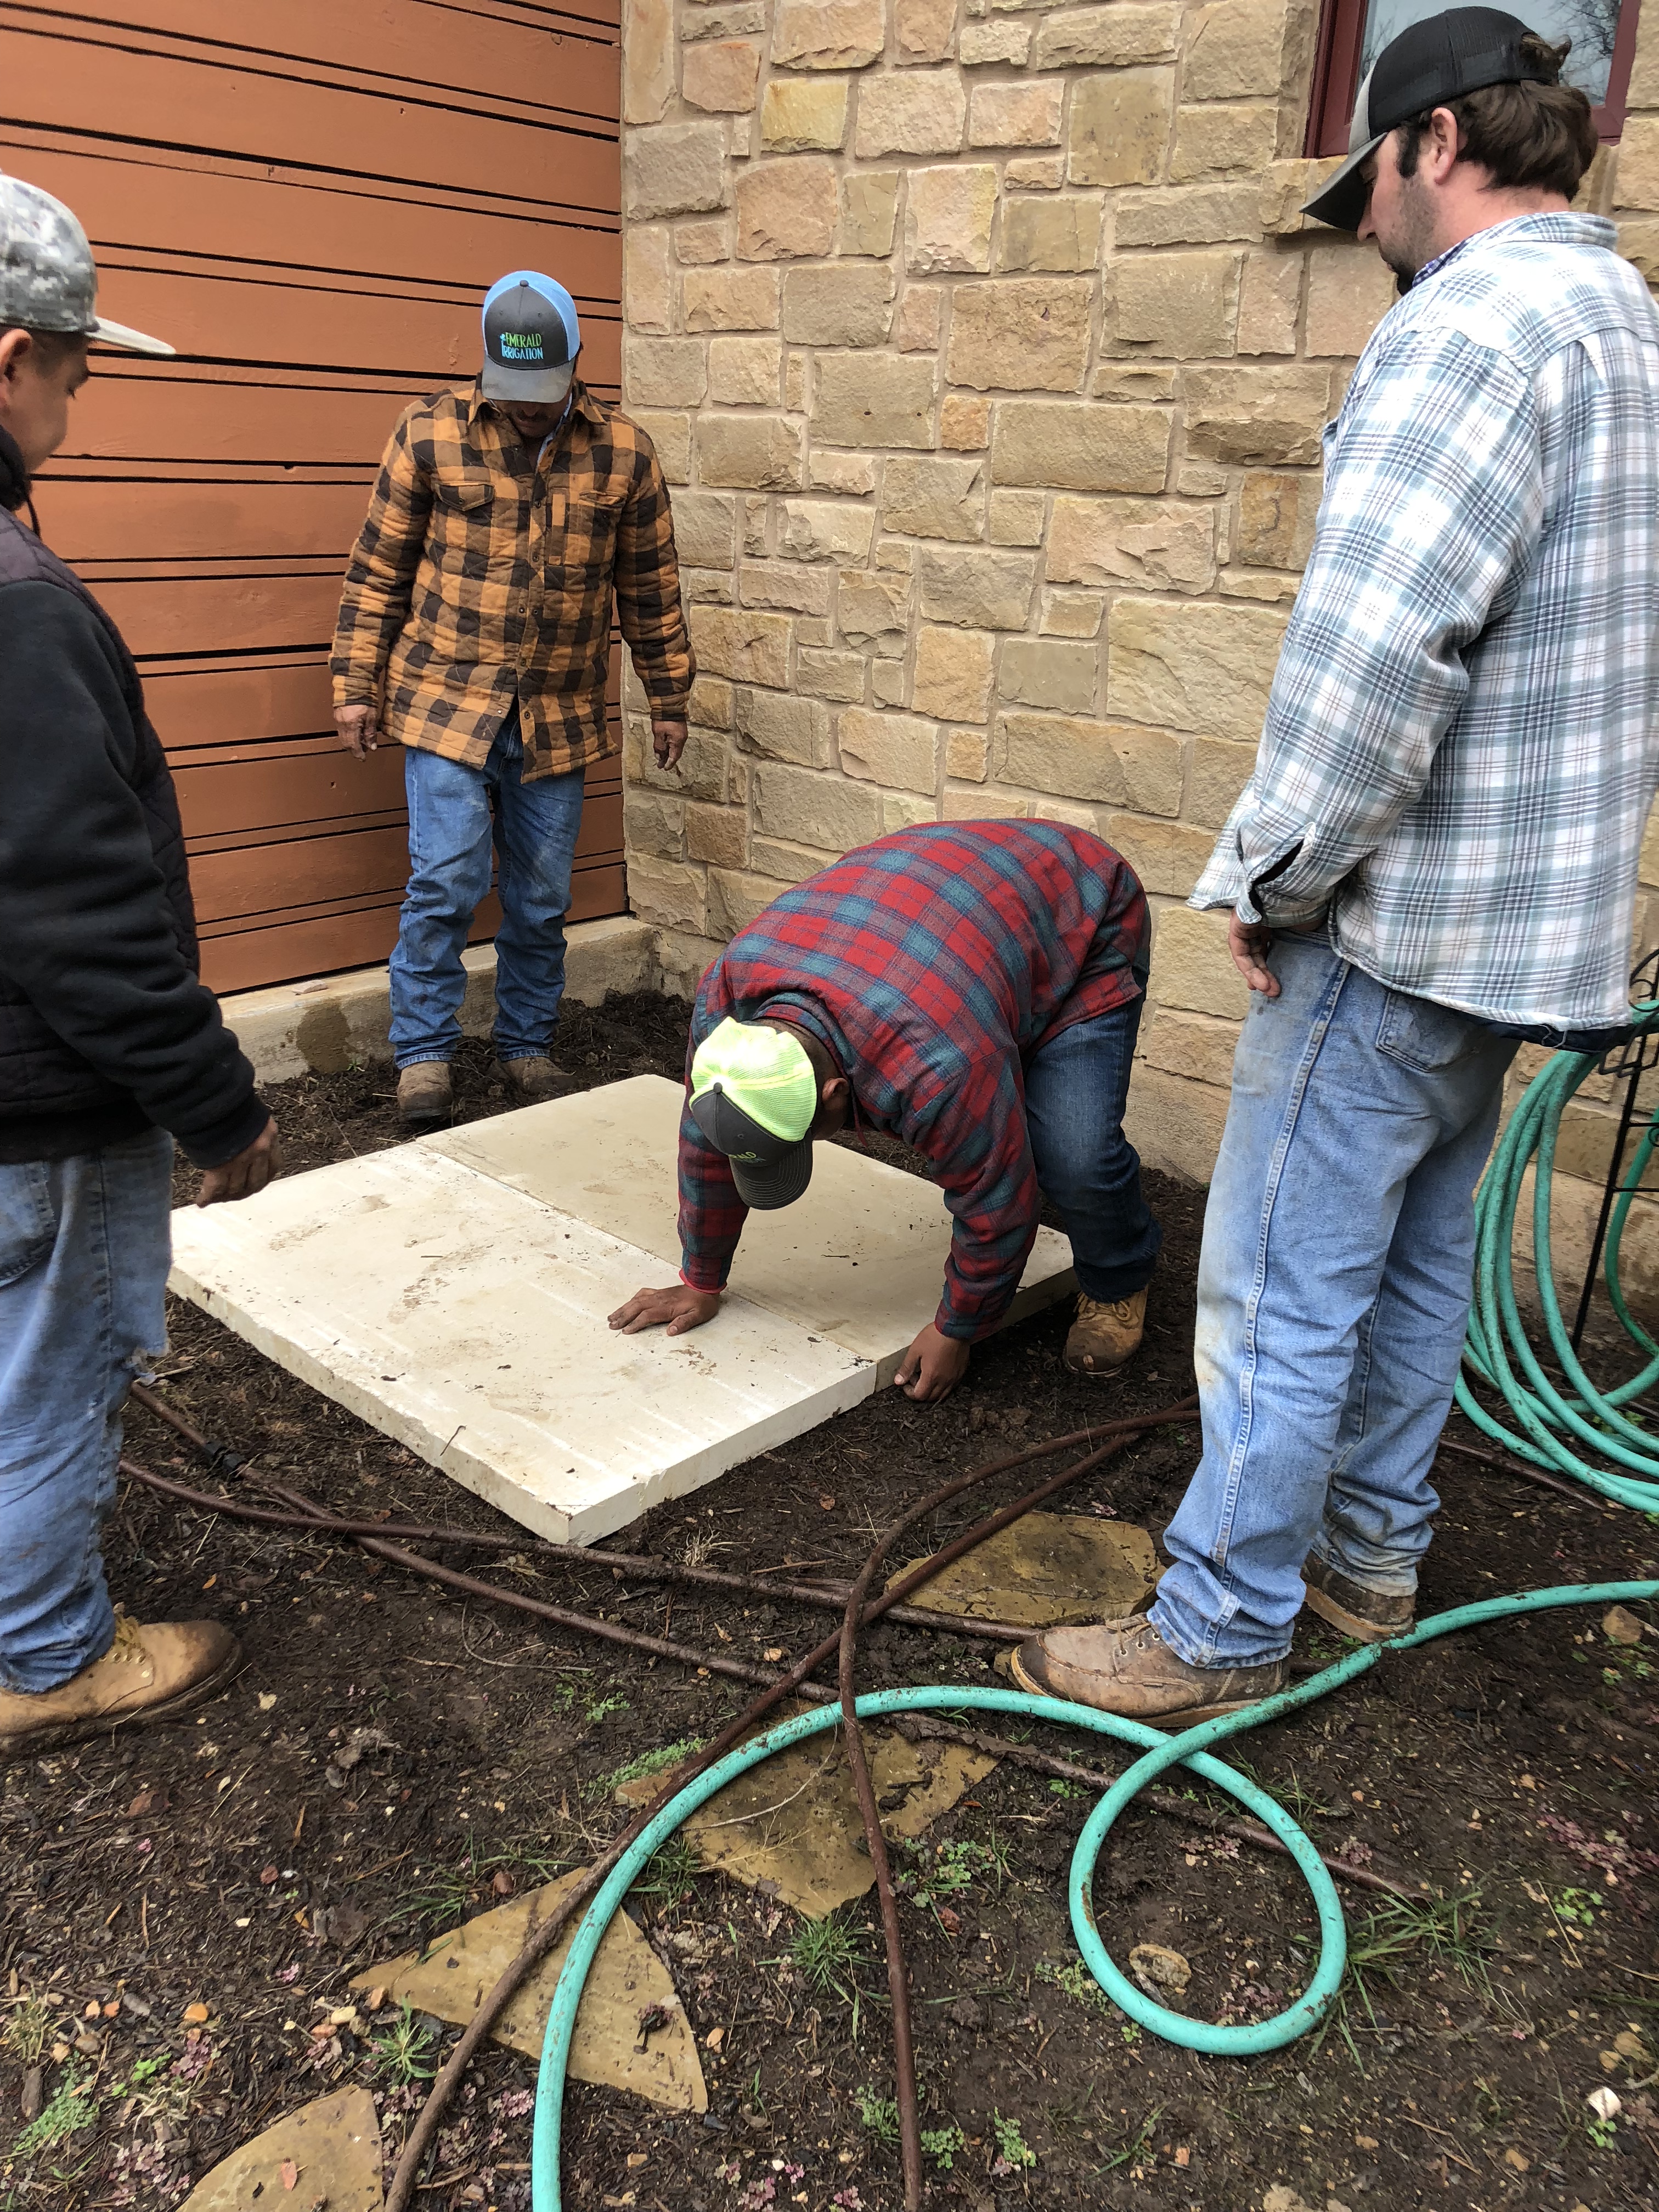
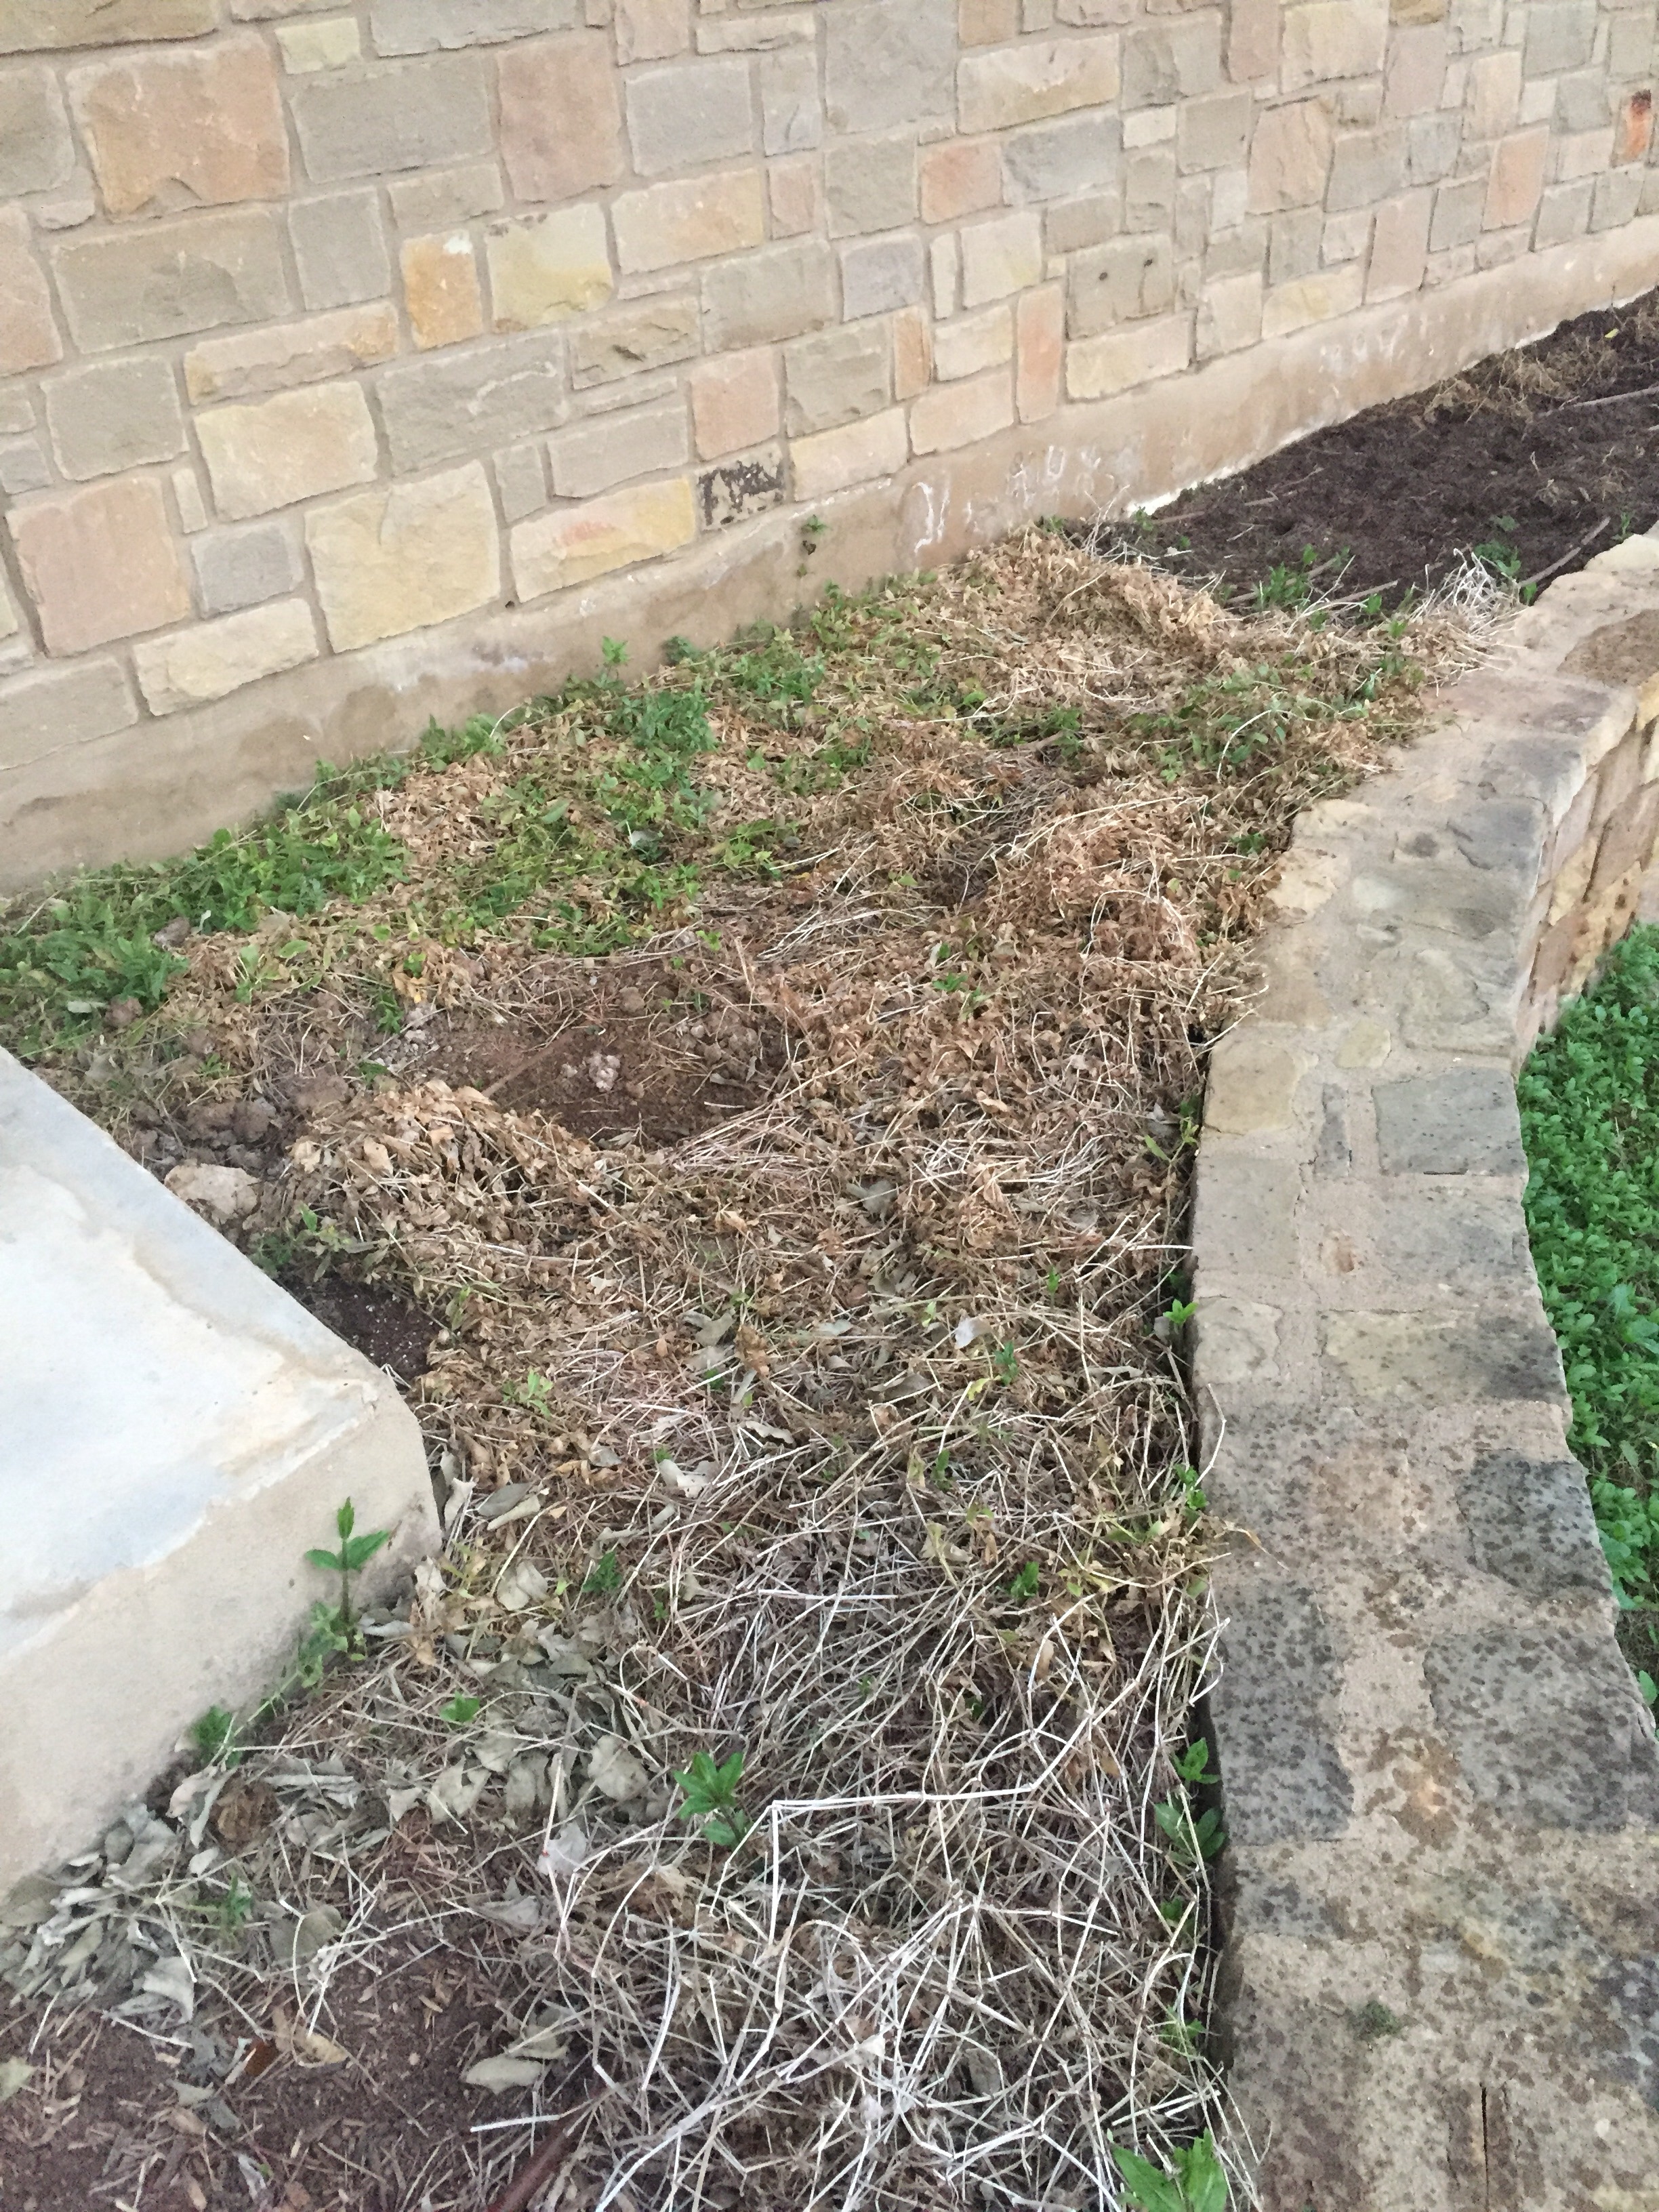
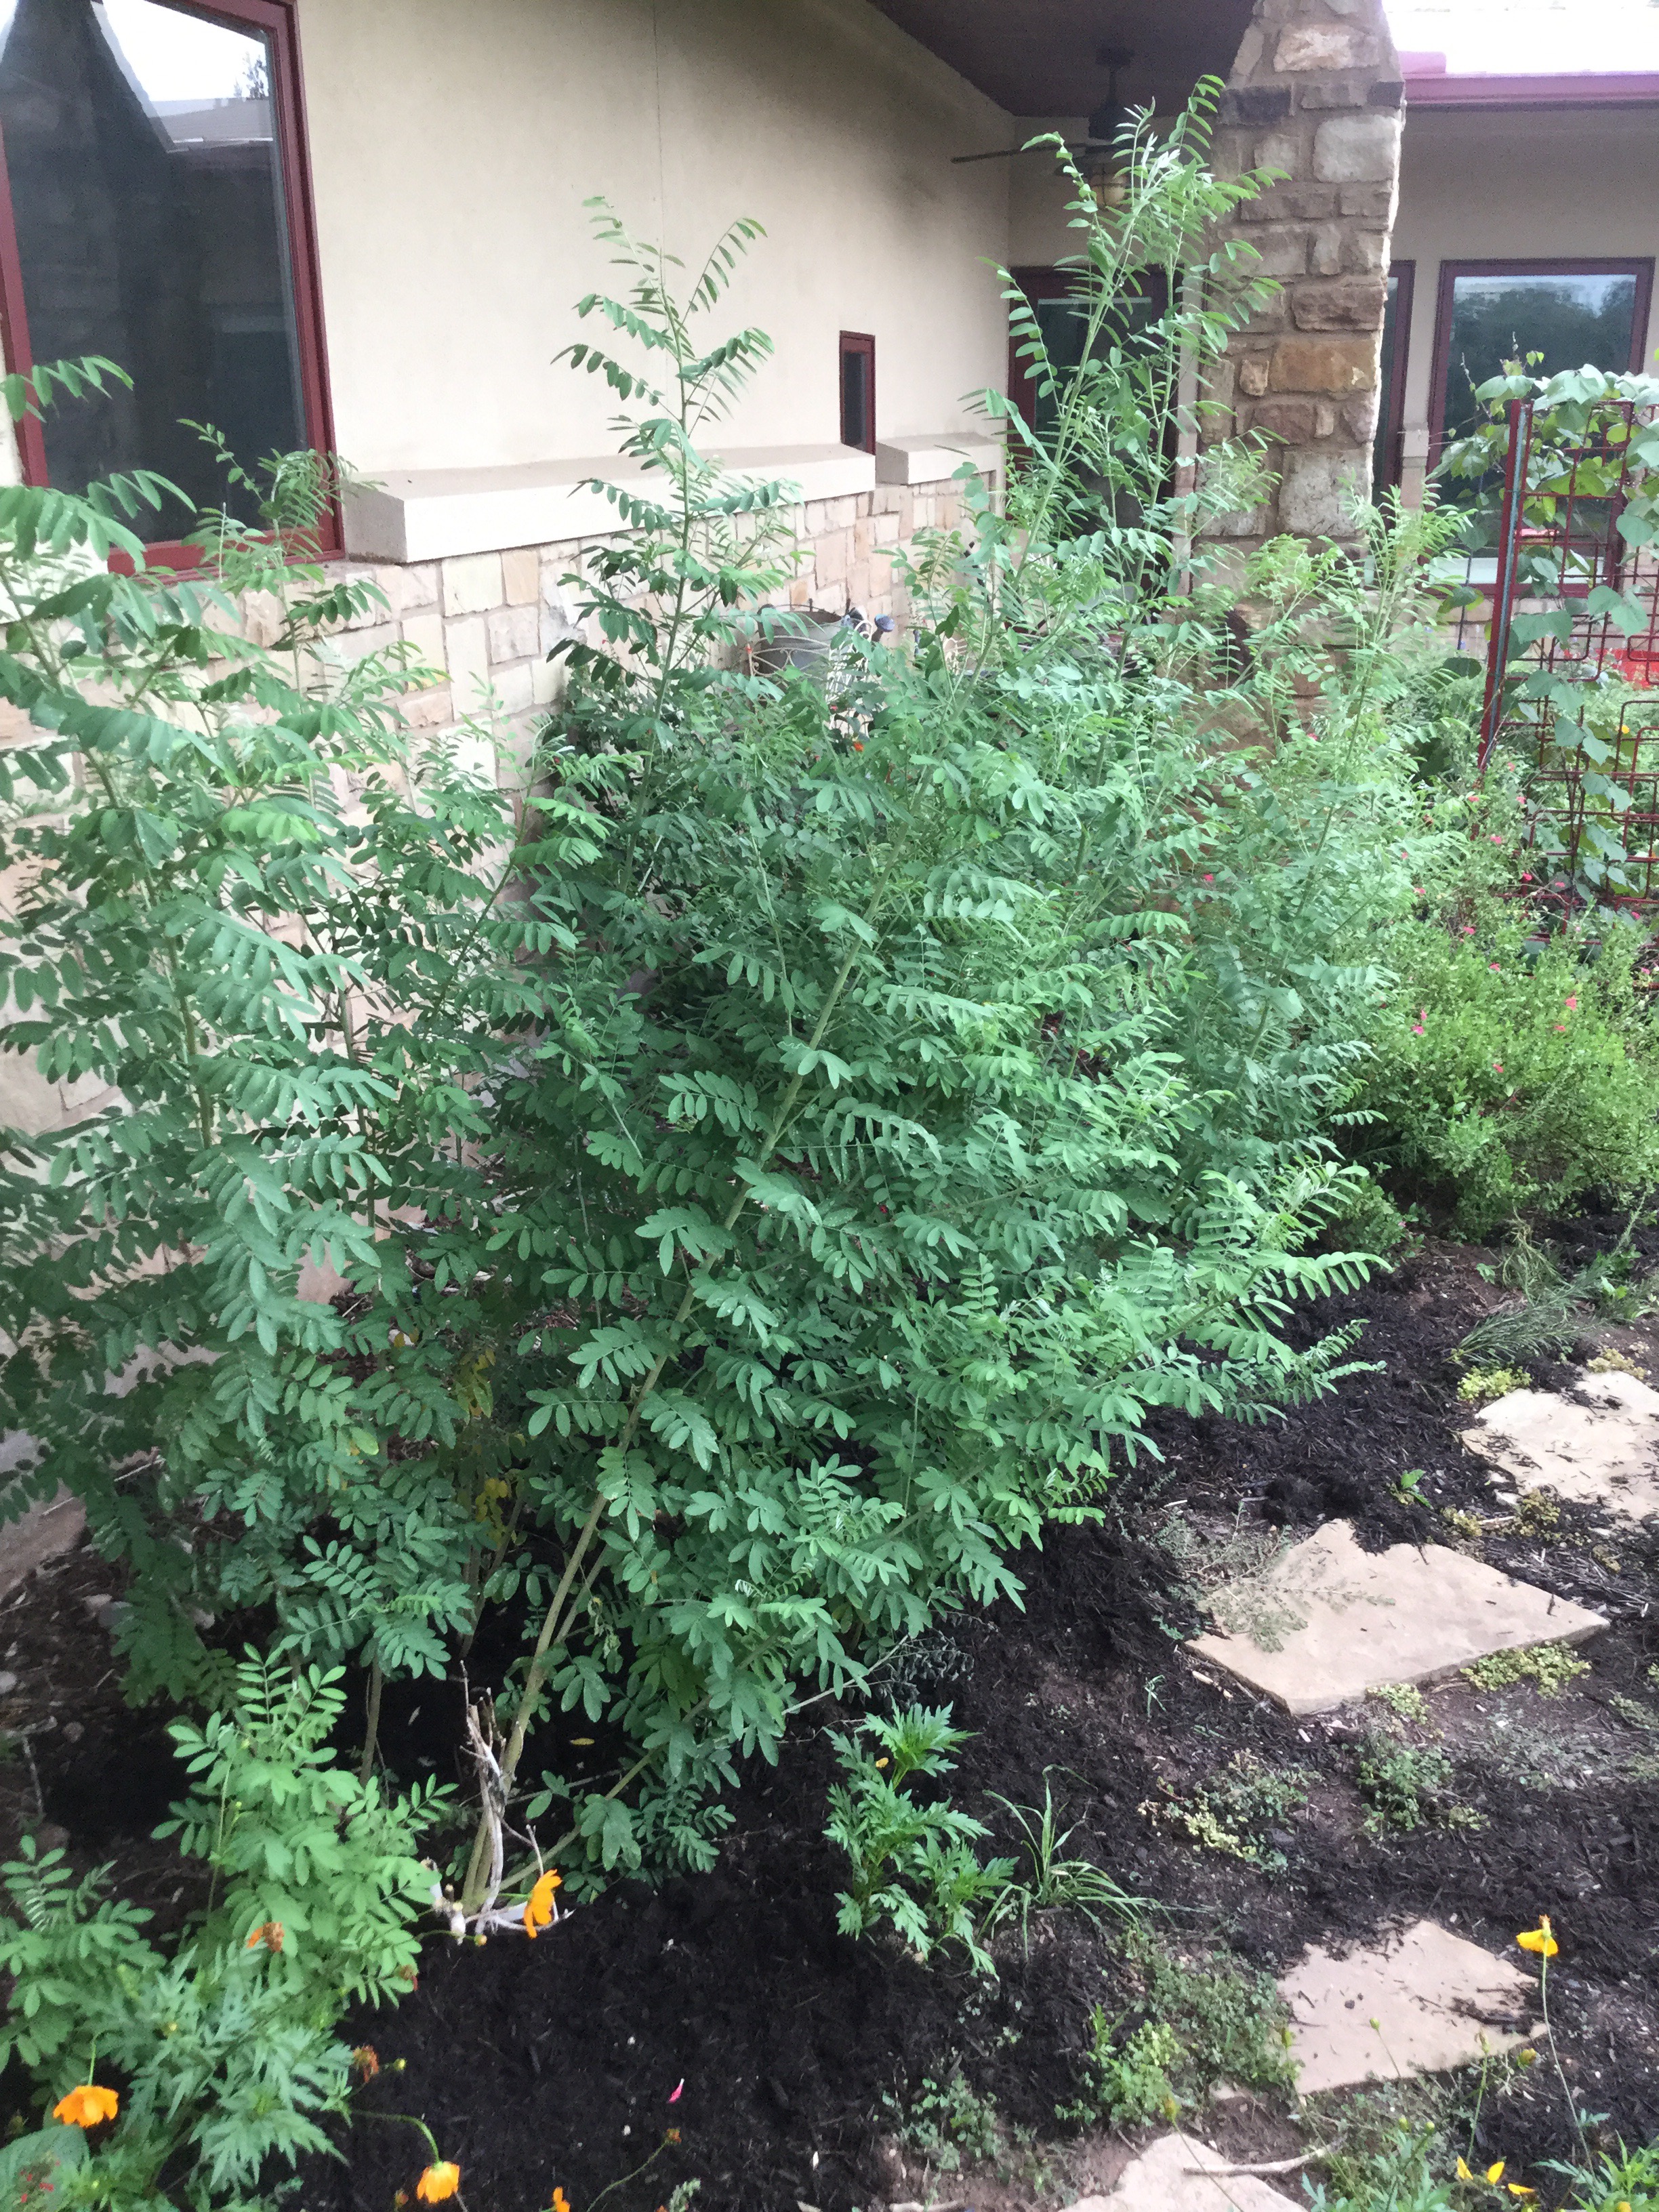
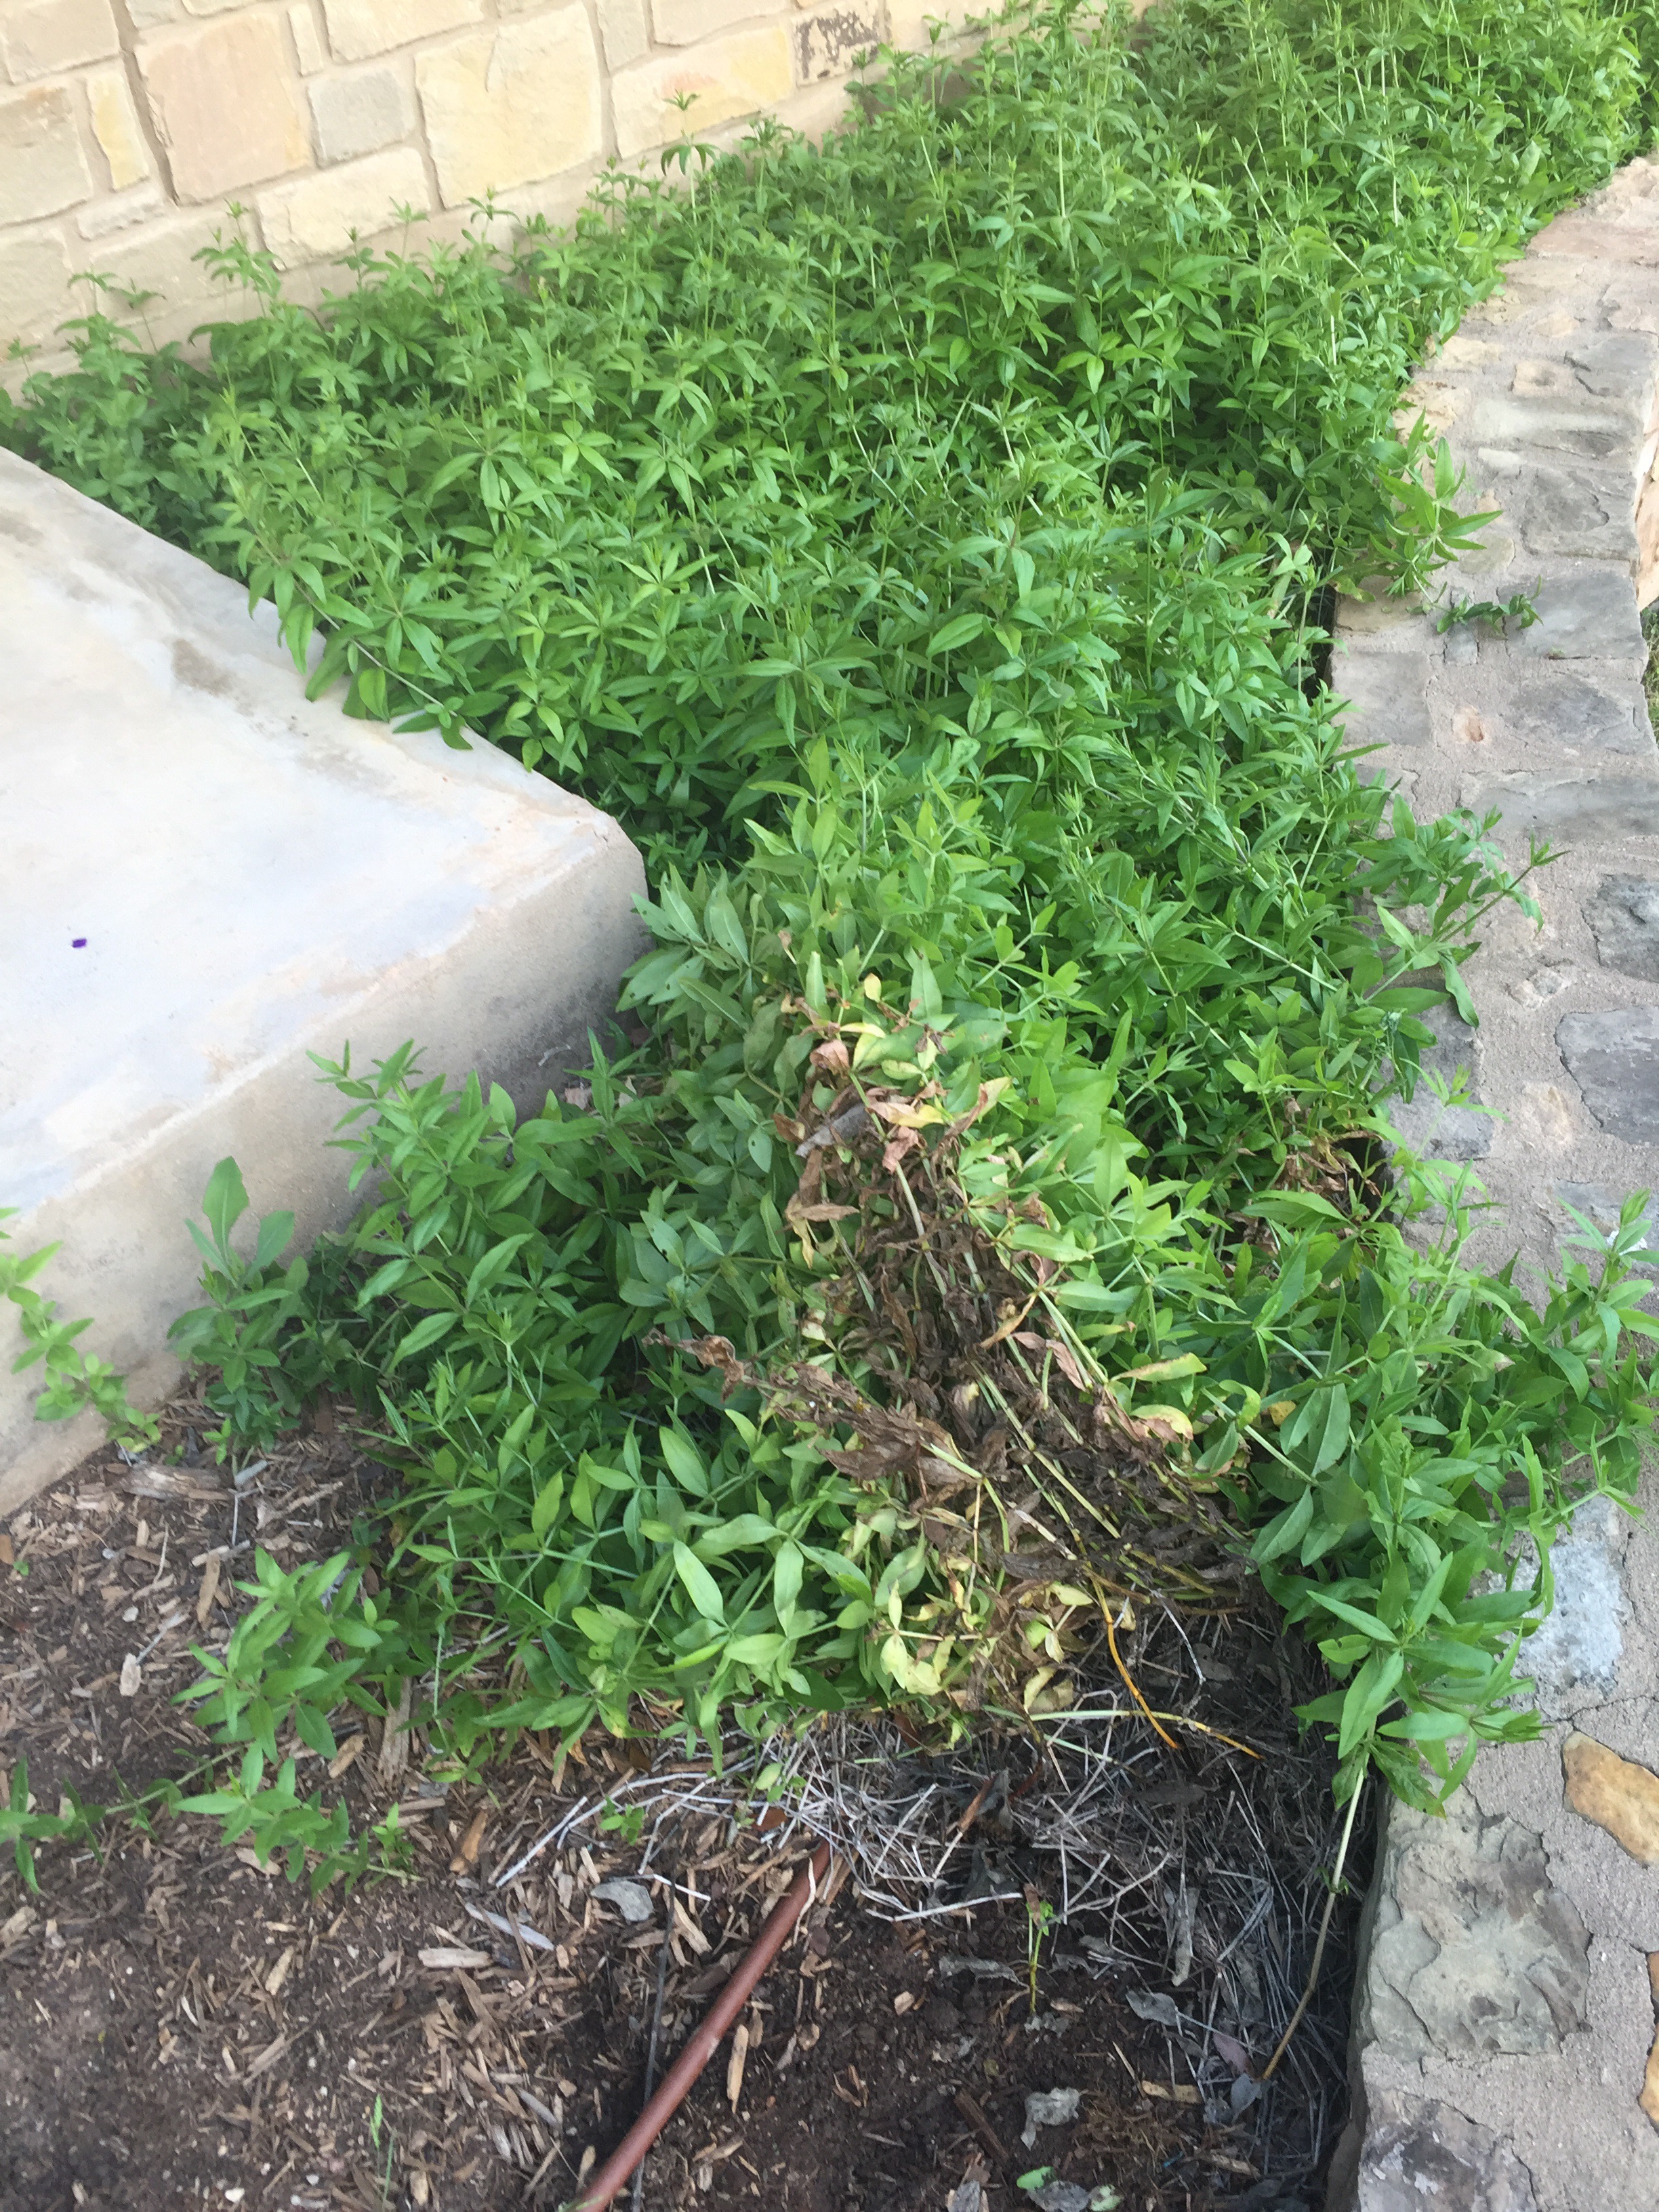
It’s been 5 years since I dug my madder root bed. It is time. With the self isolation in the world today one has time to dig. This is day 3 of my digging. Since my back surgury I have learned to pace myself. I thought I would record the dig/clean steps for others.

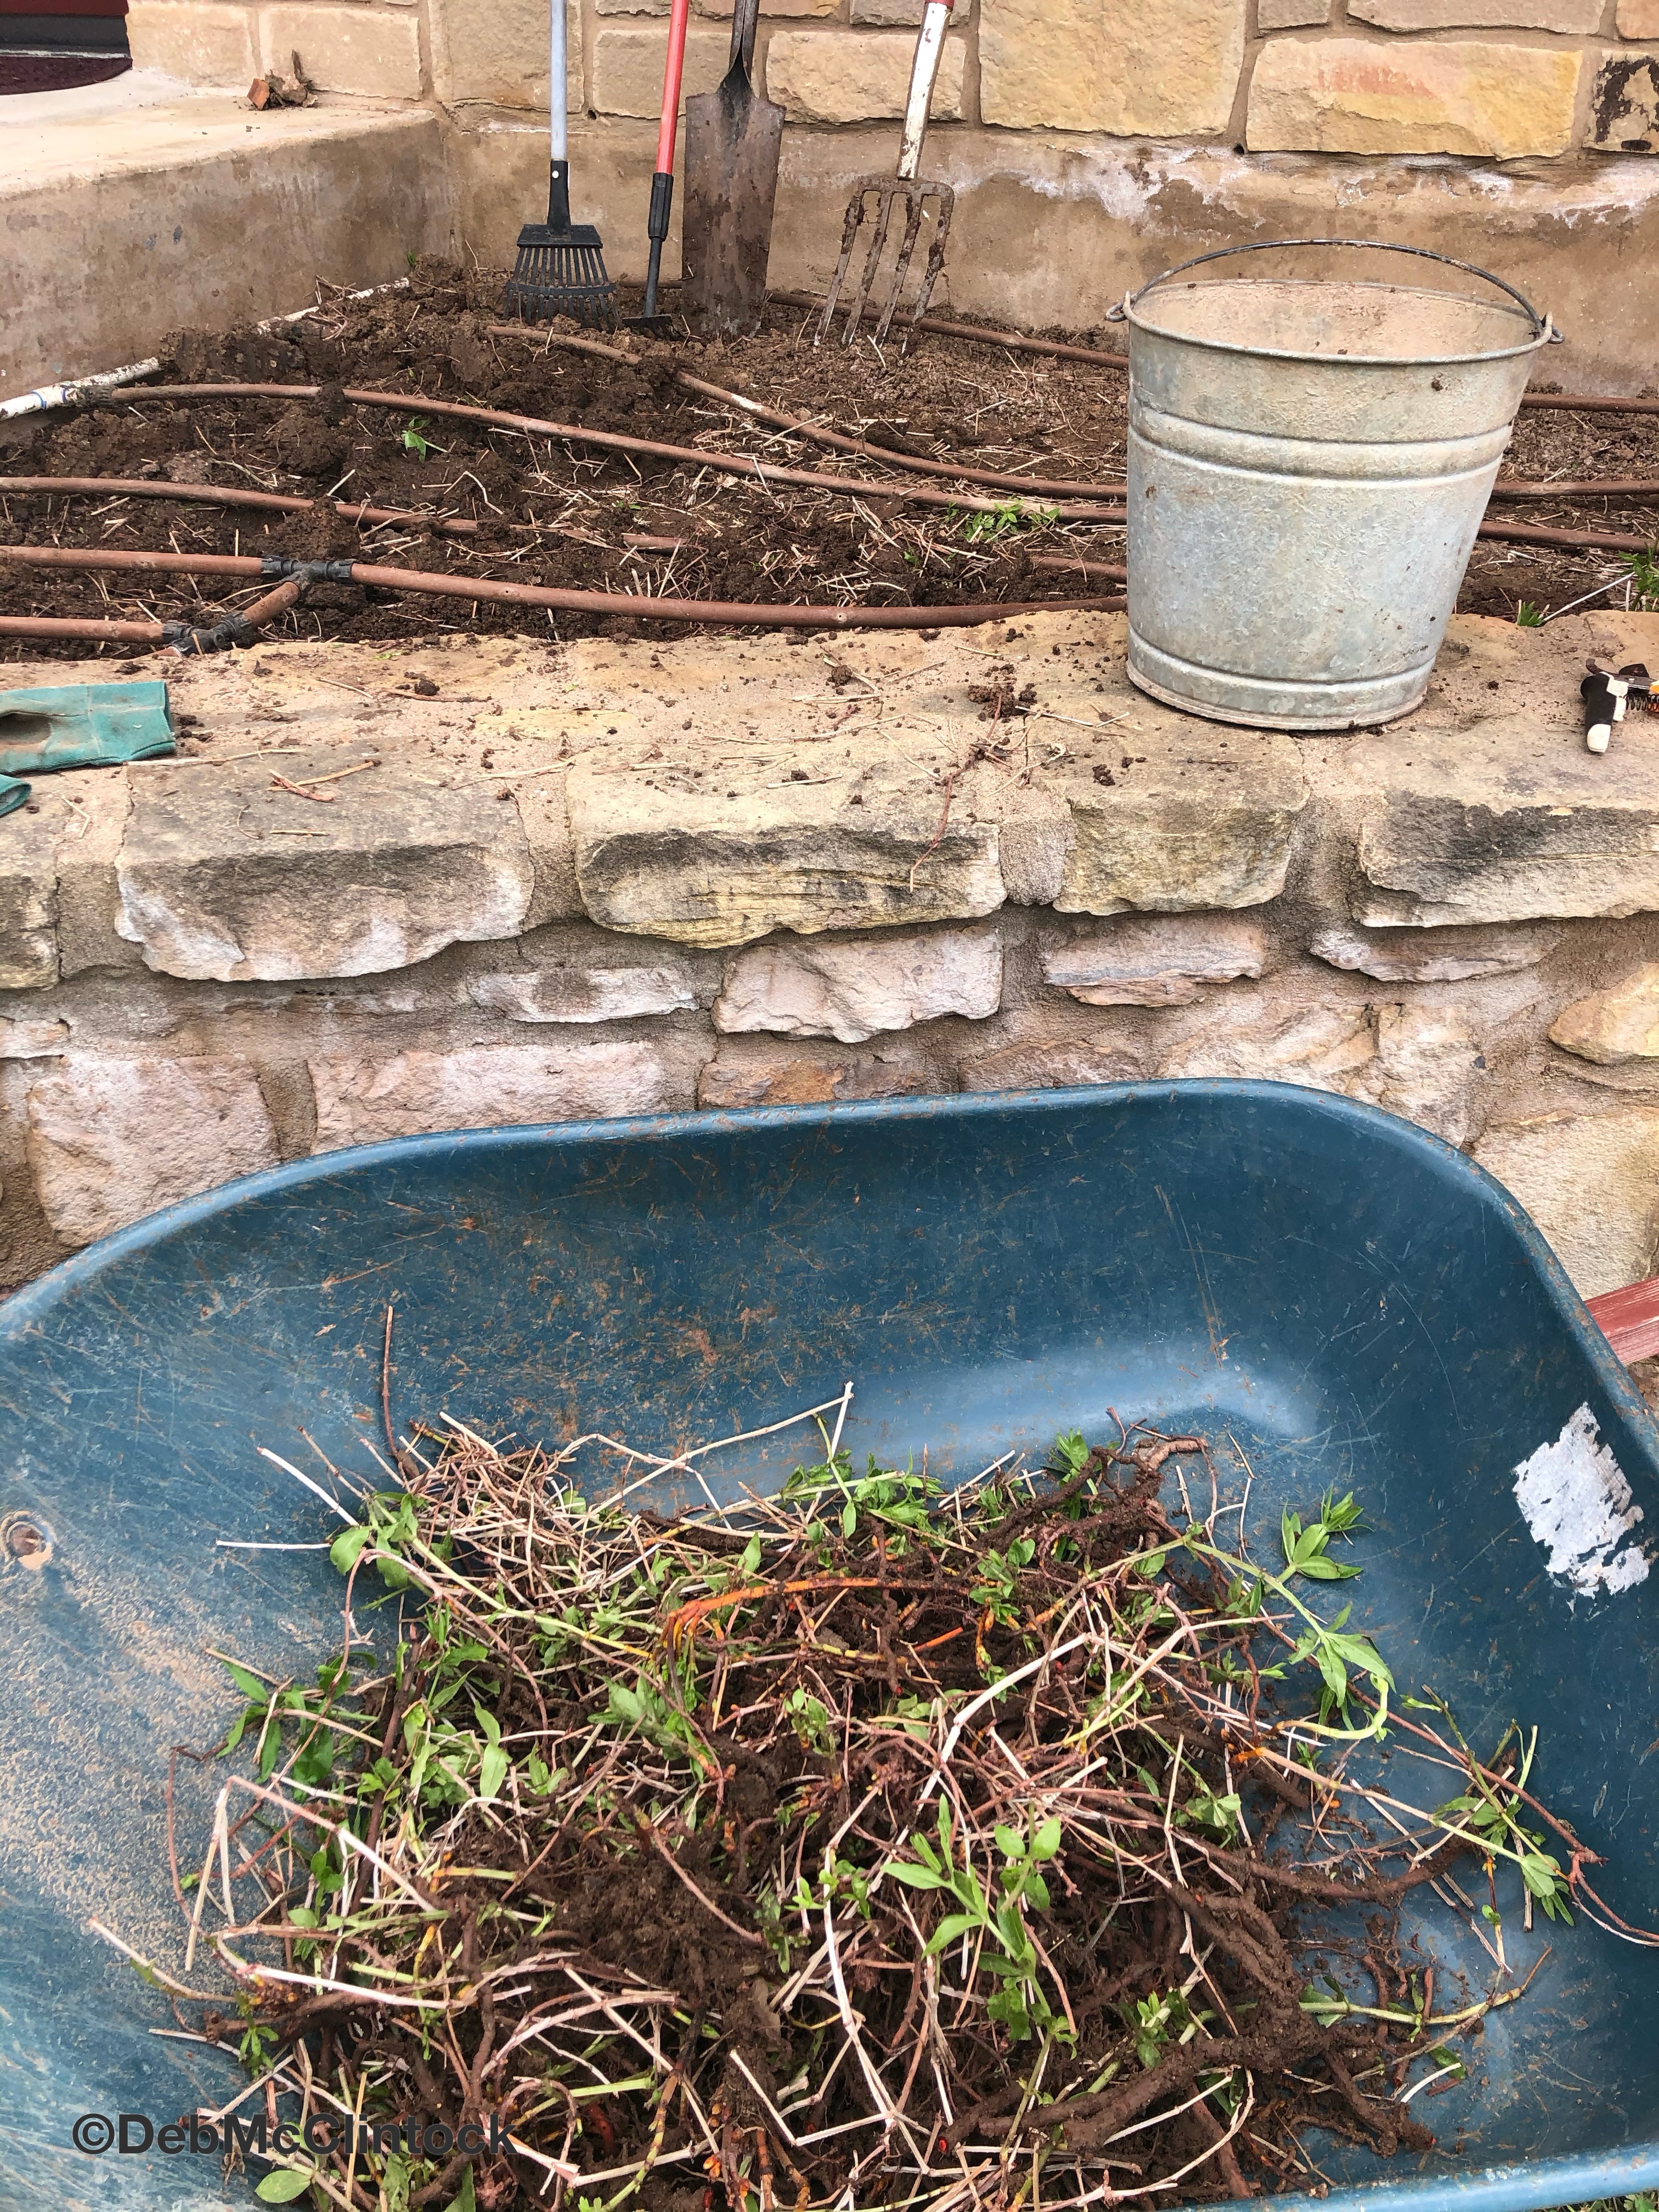
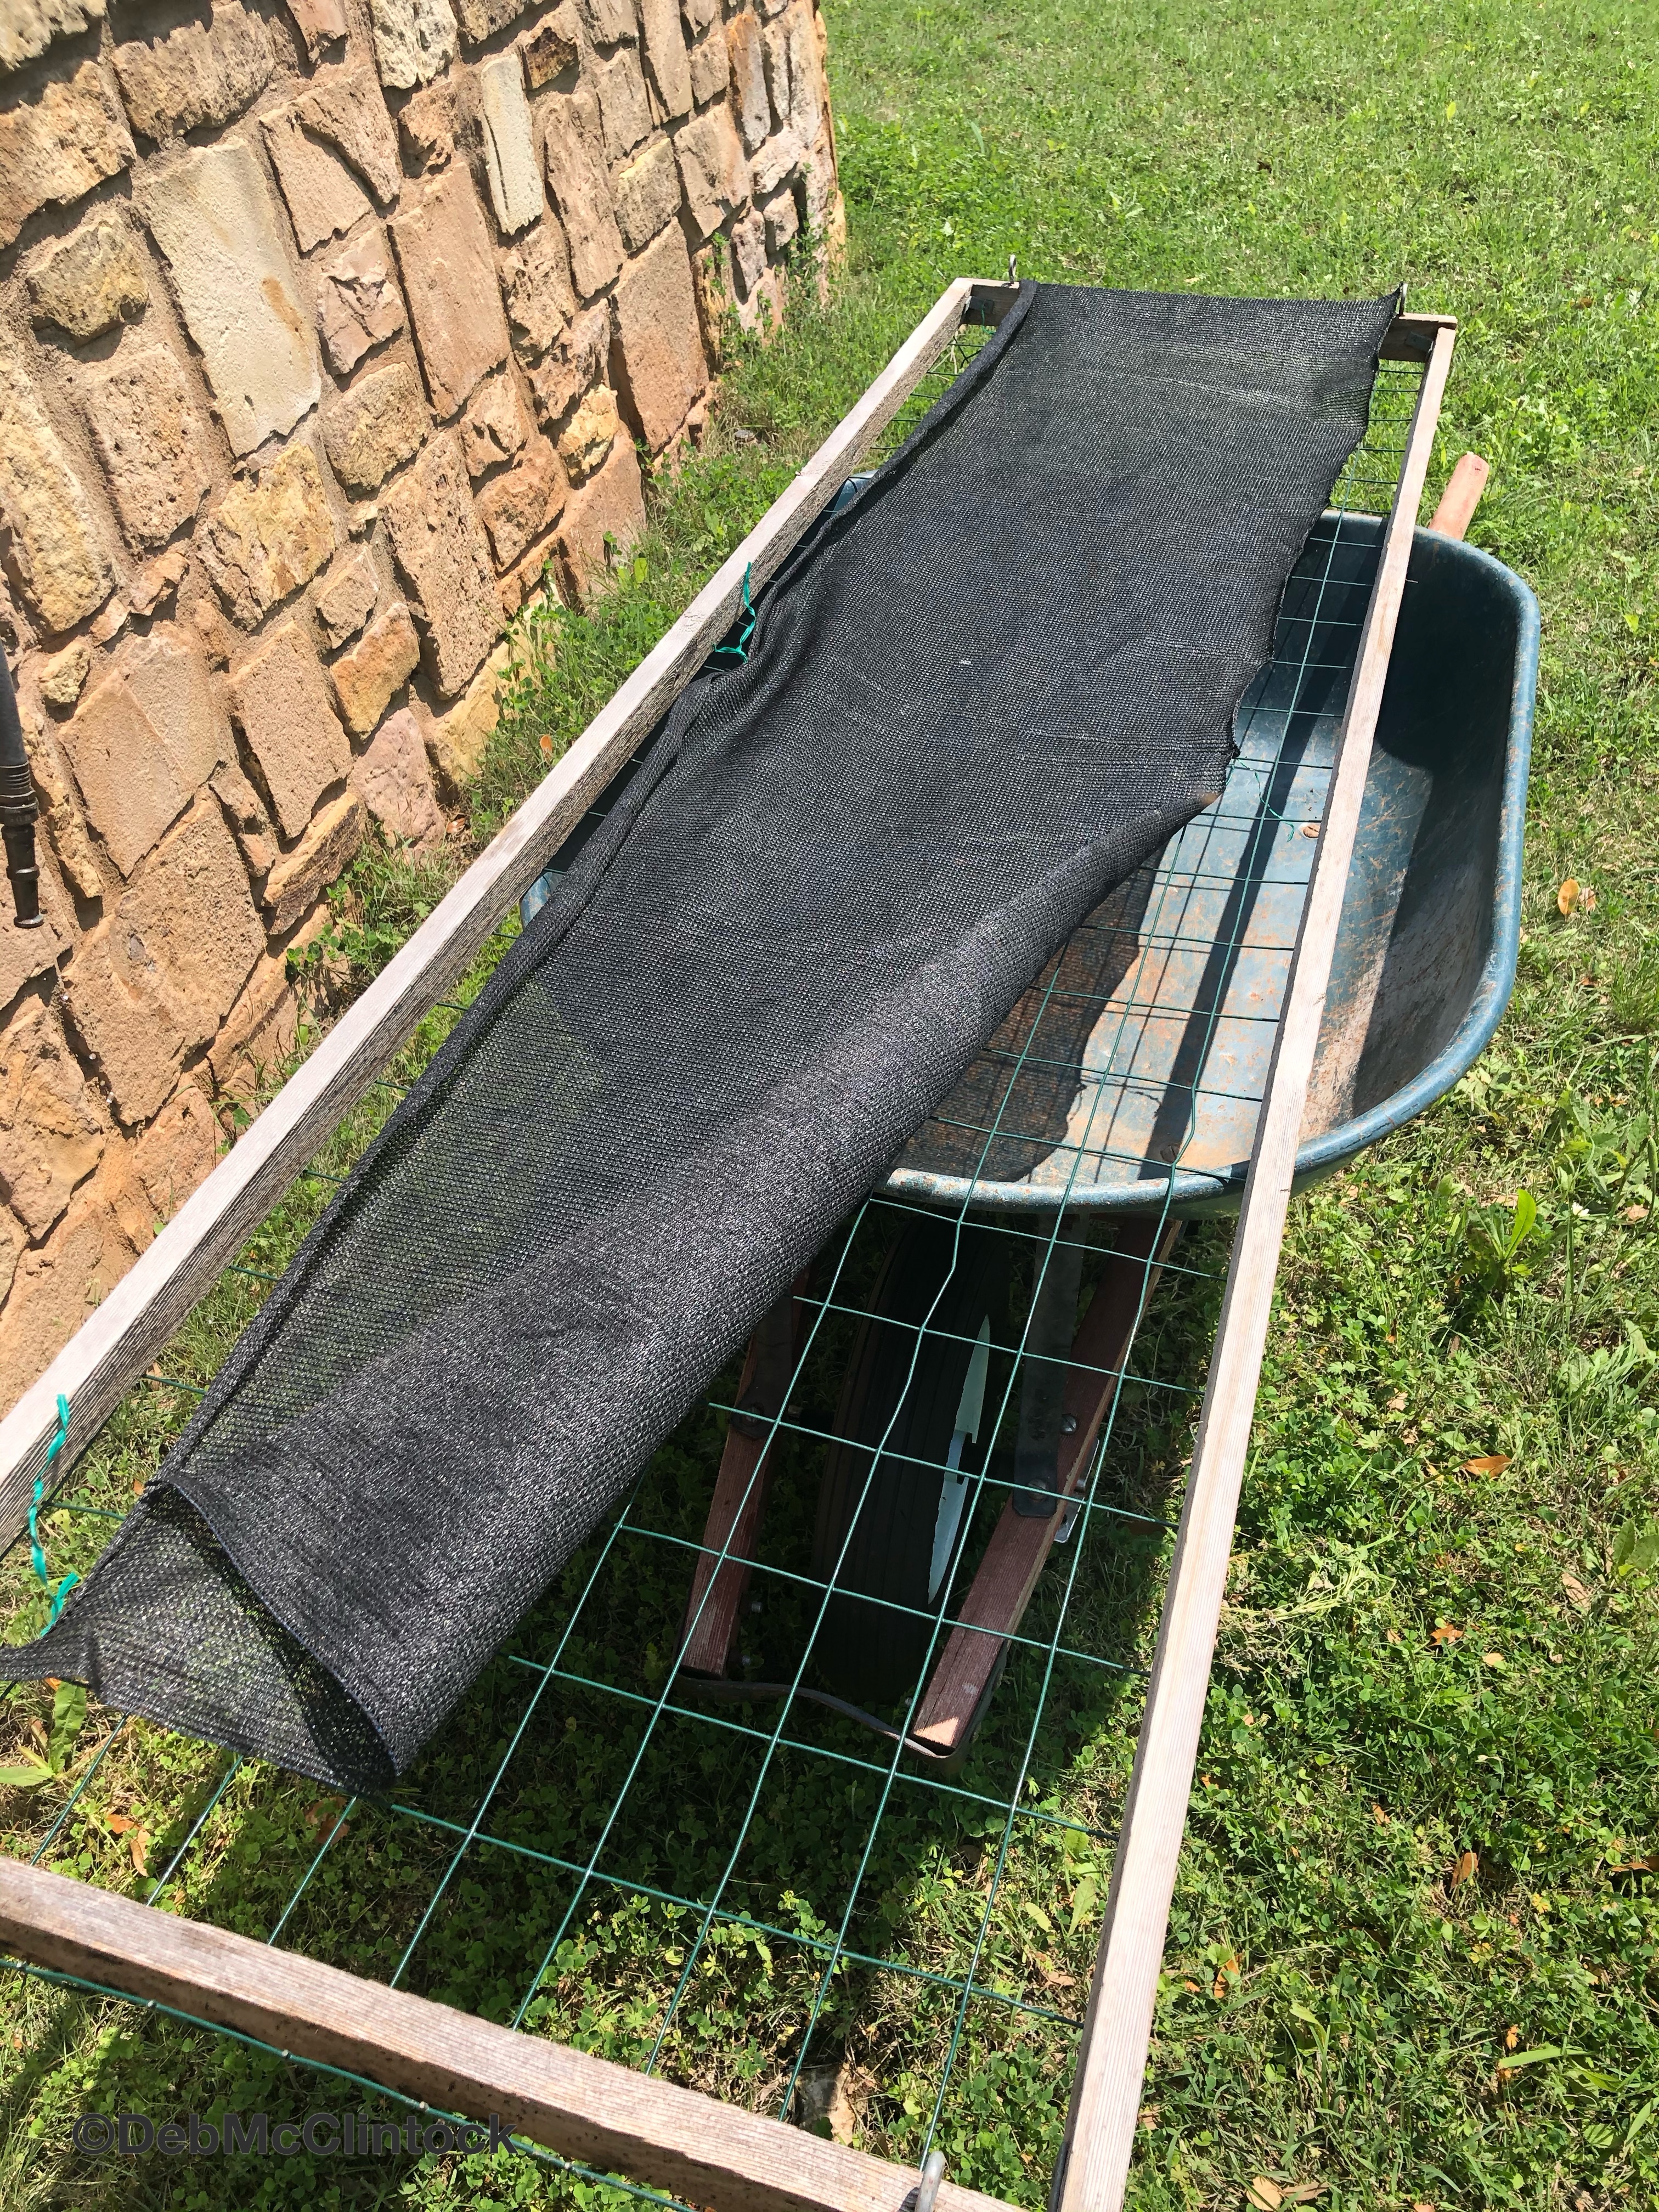
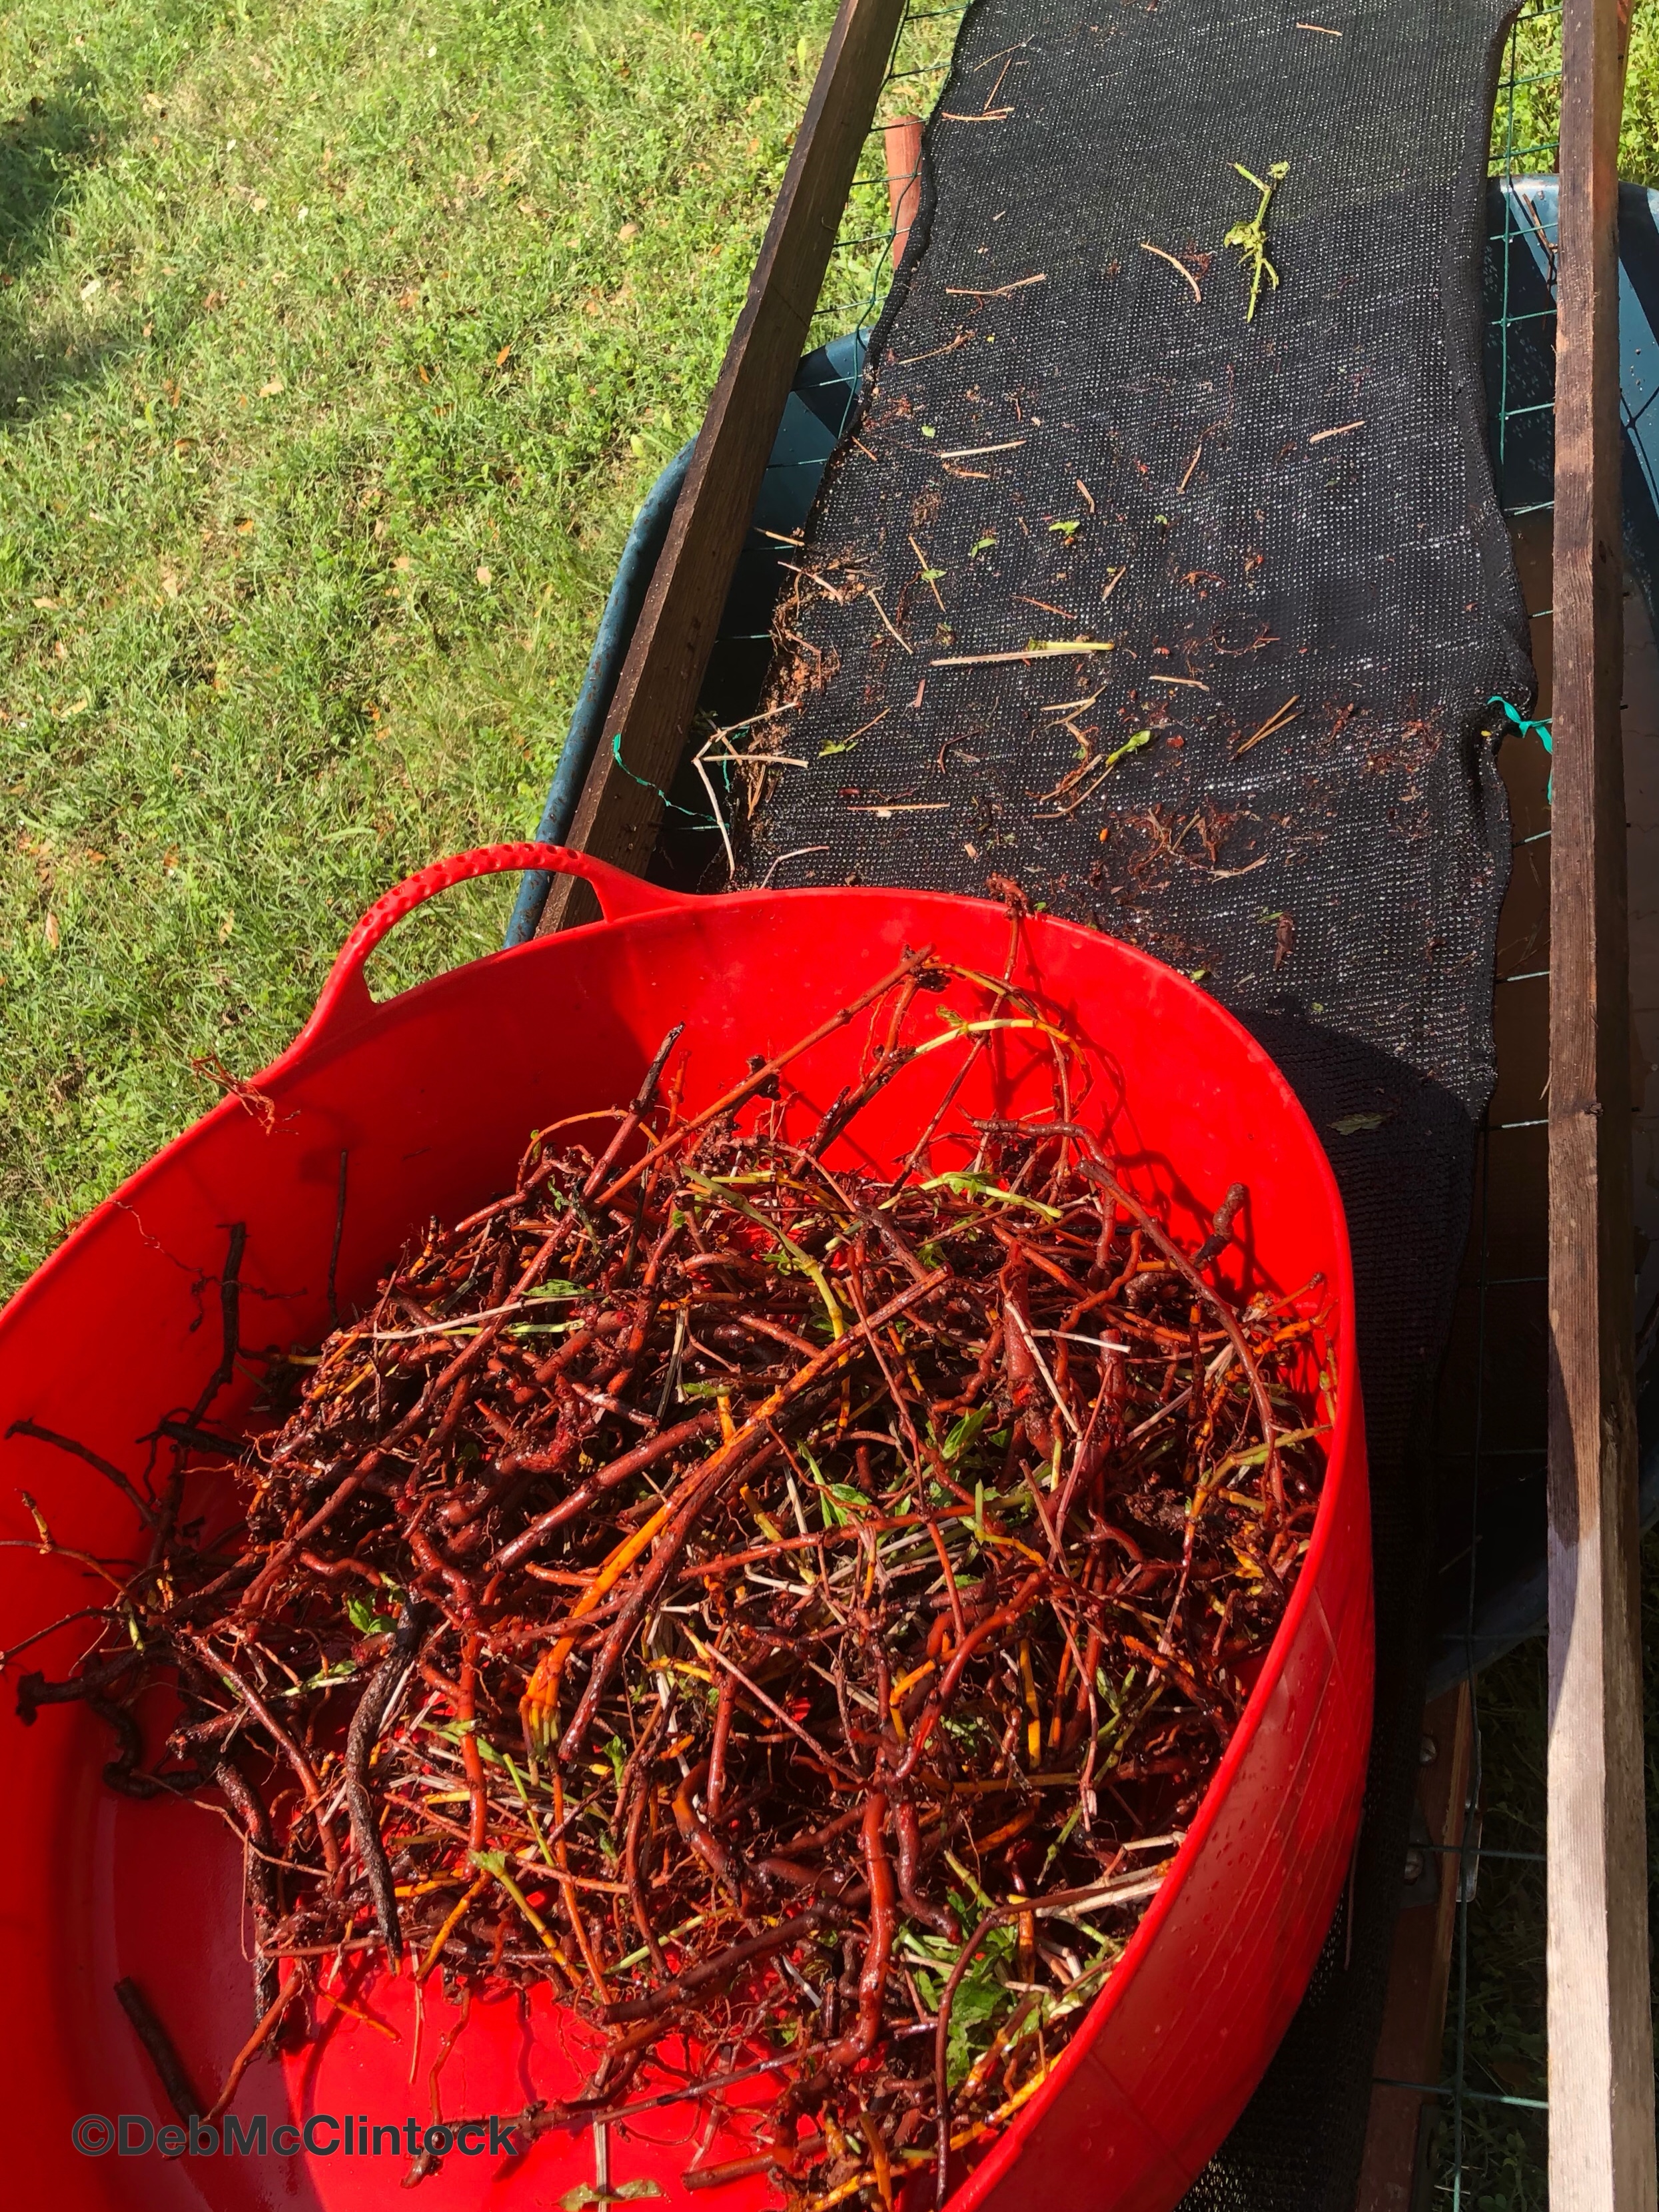
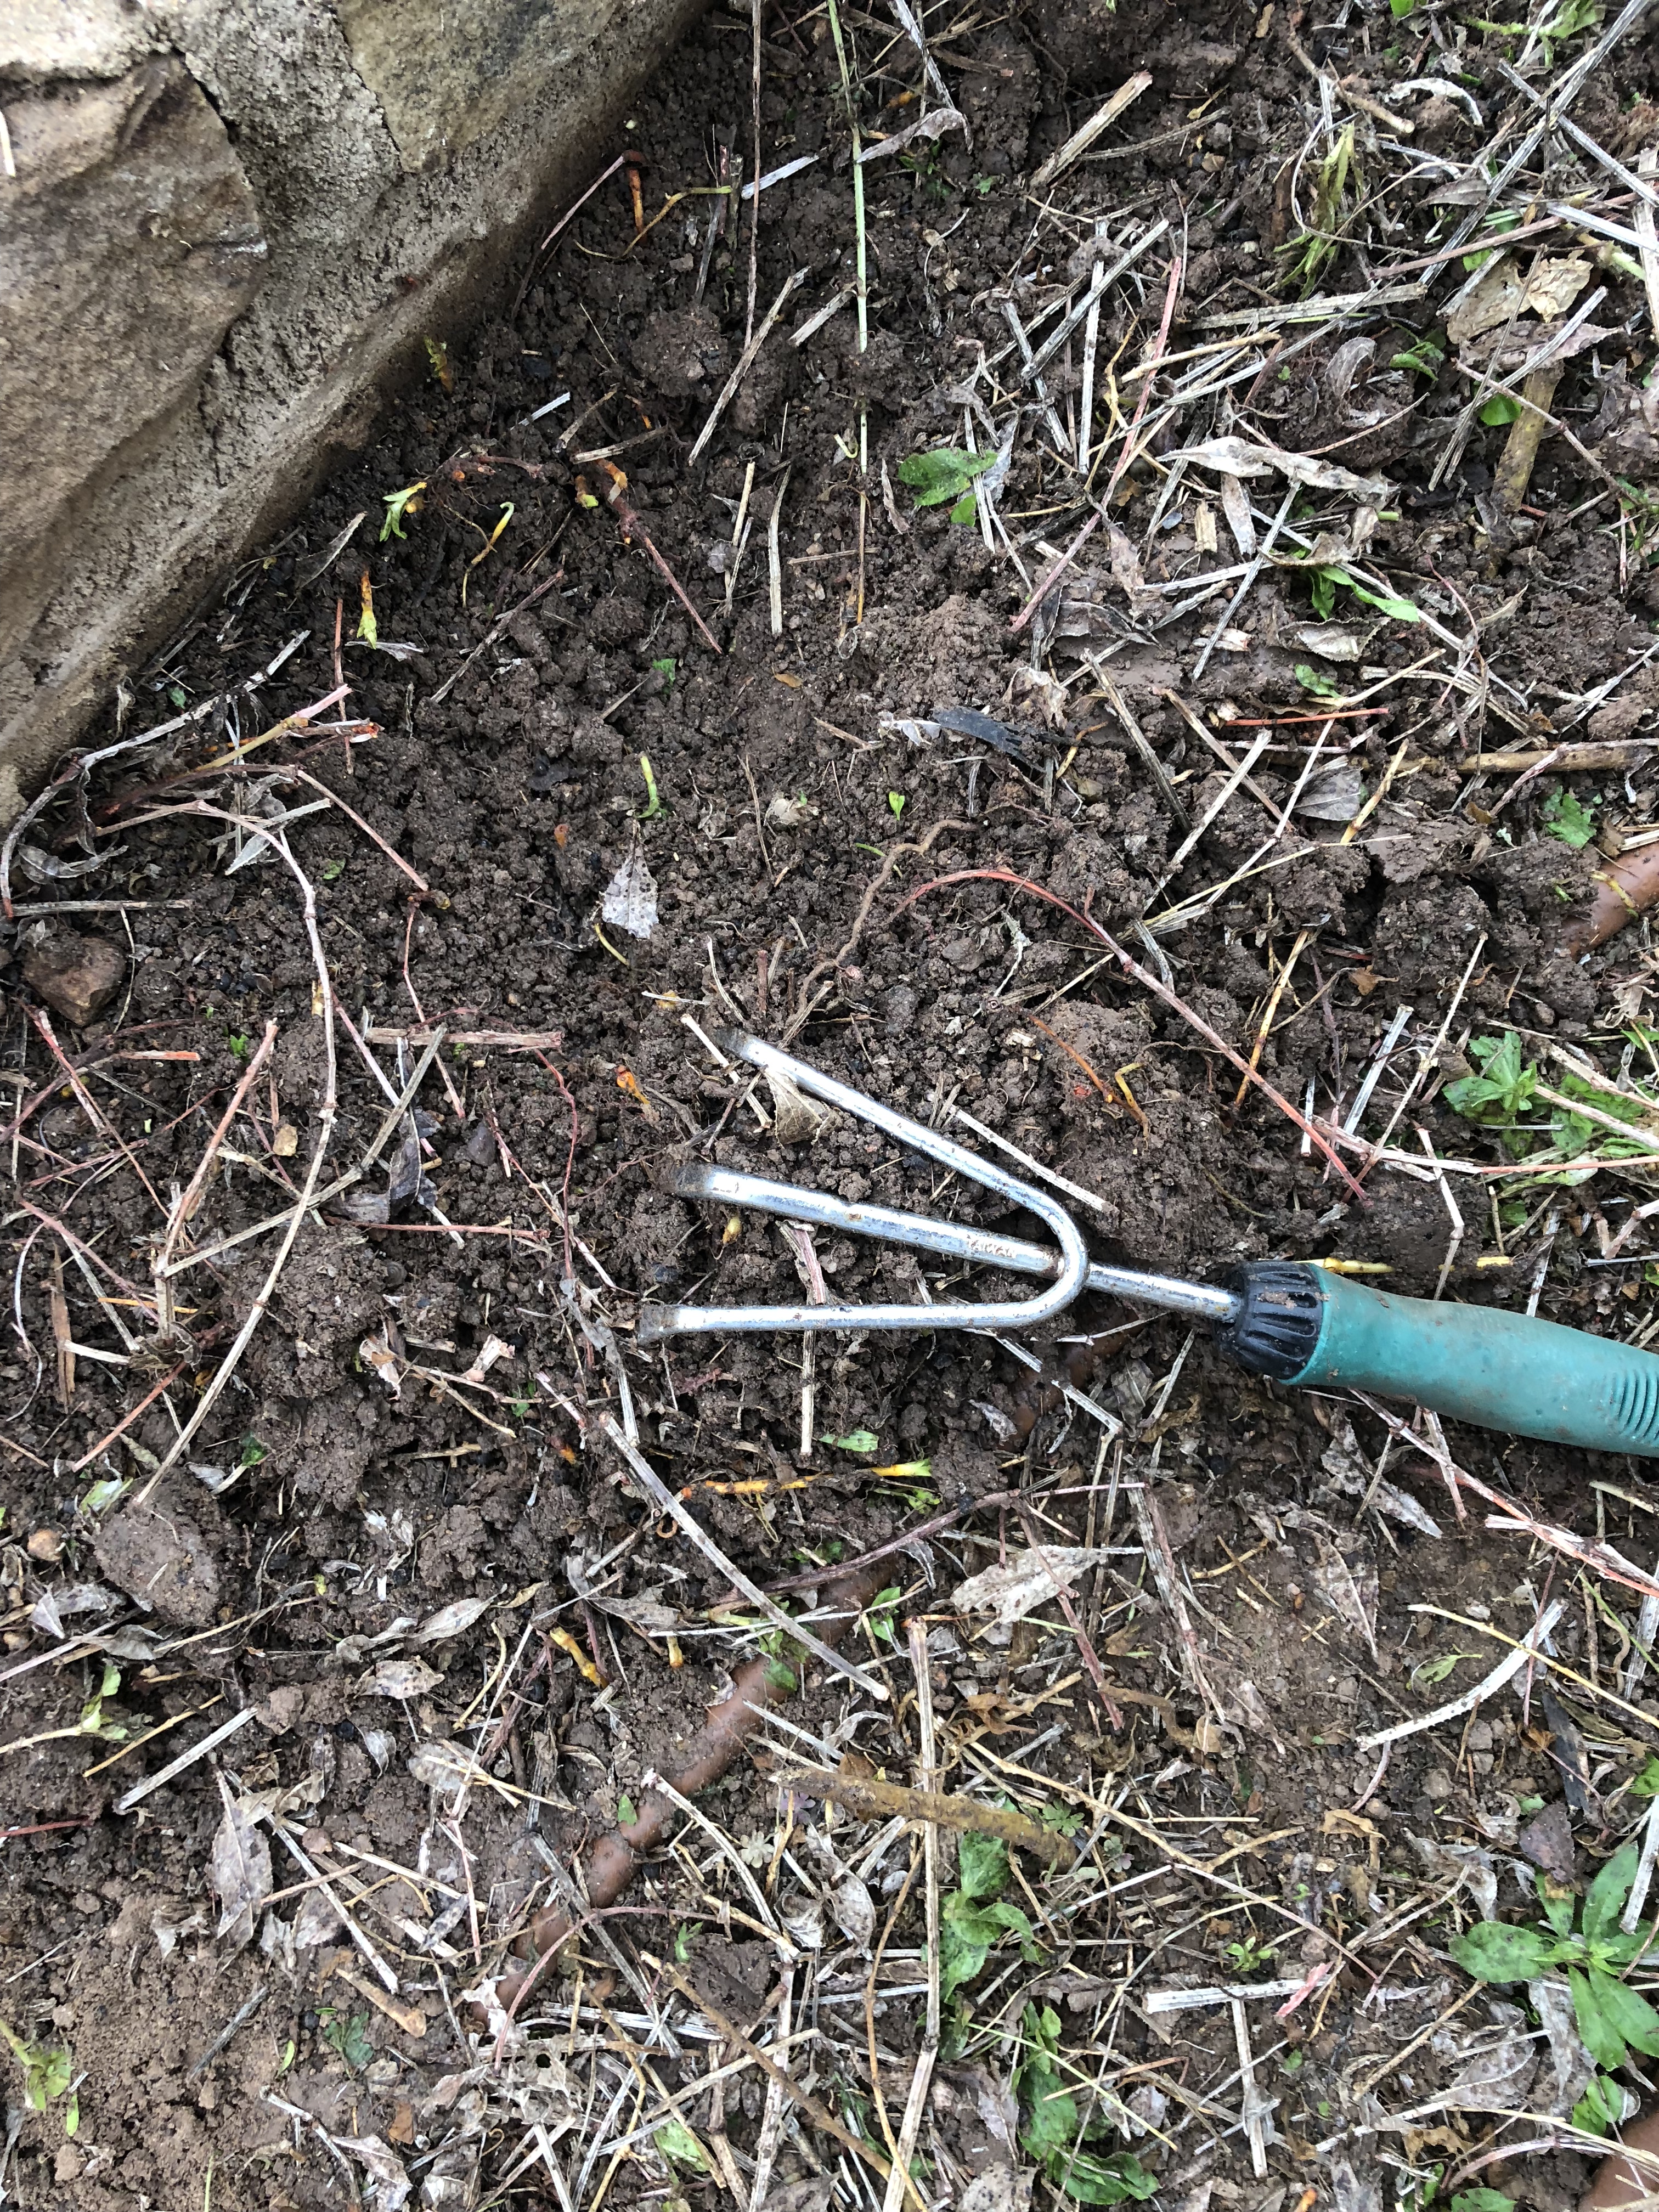
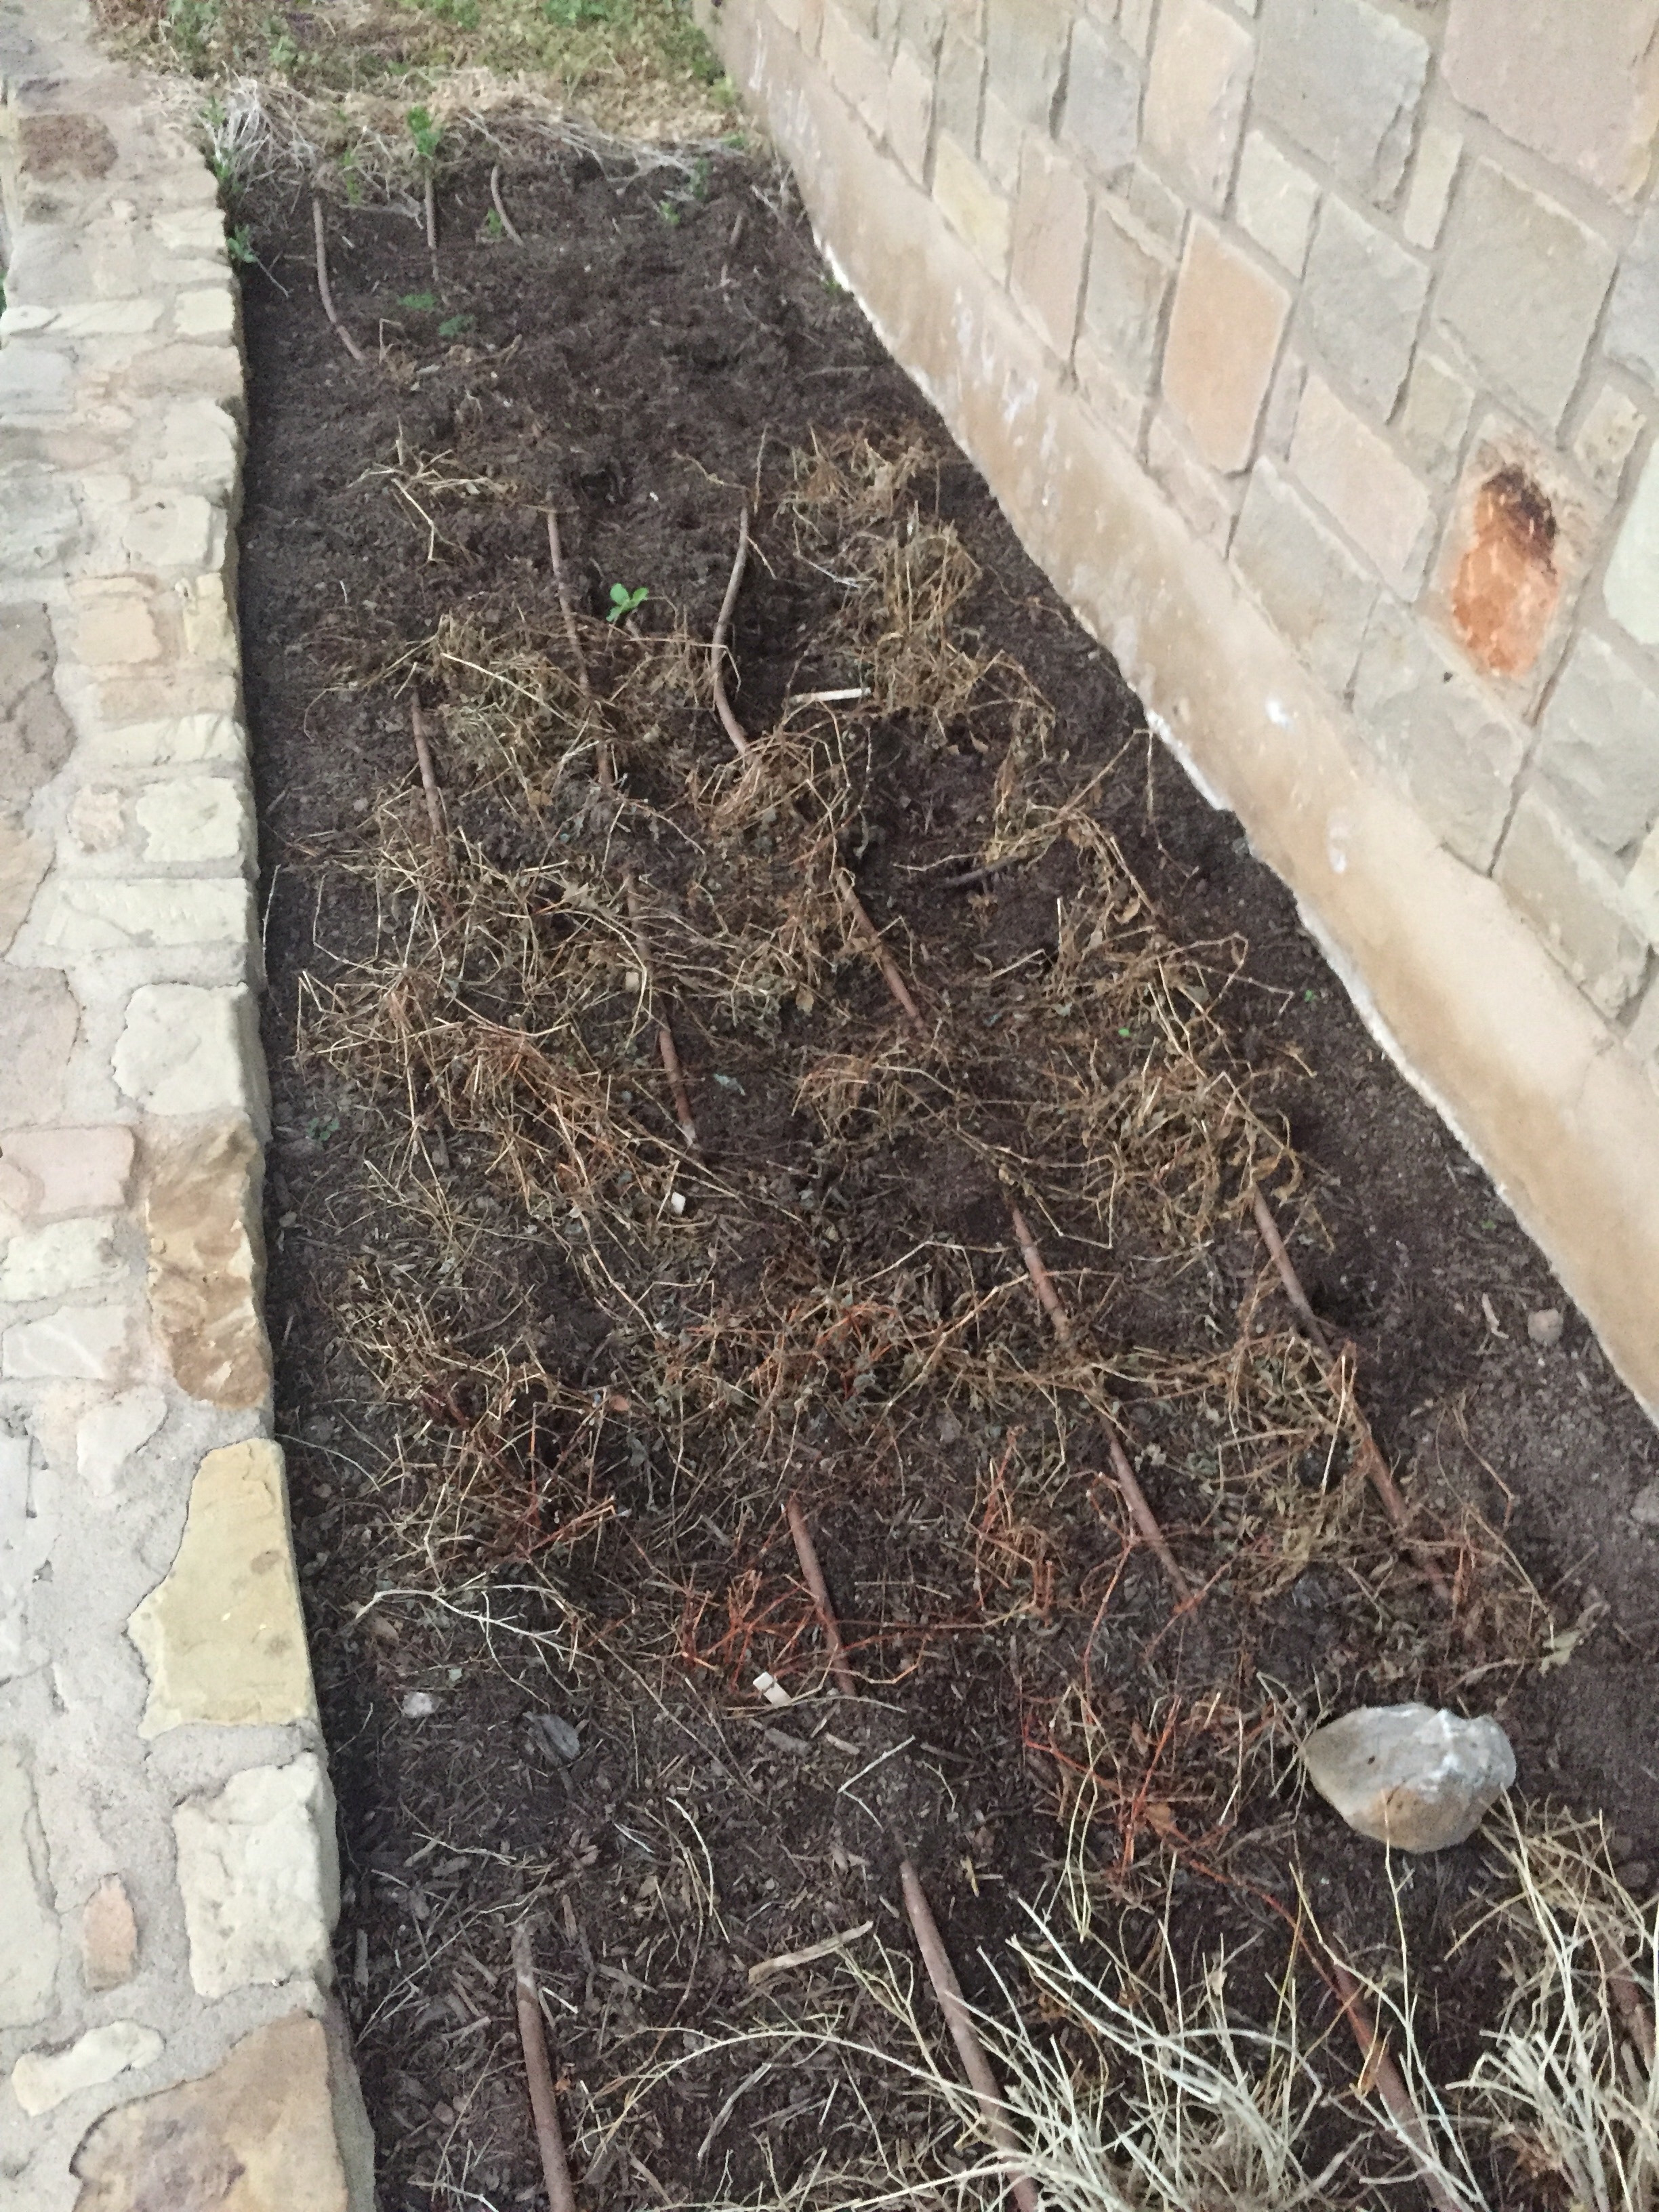
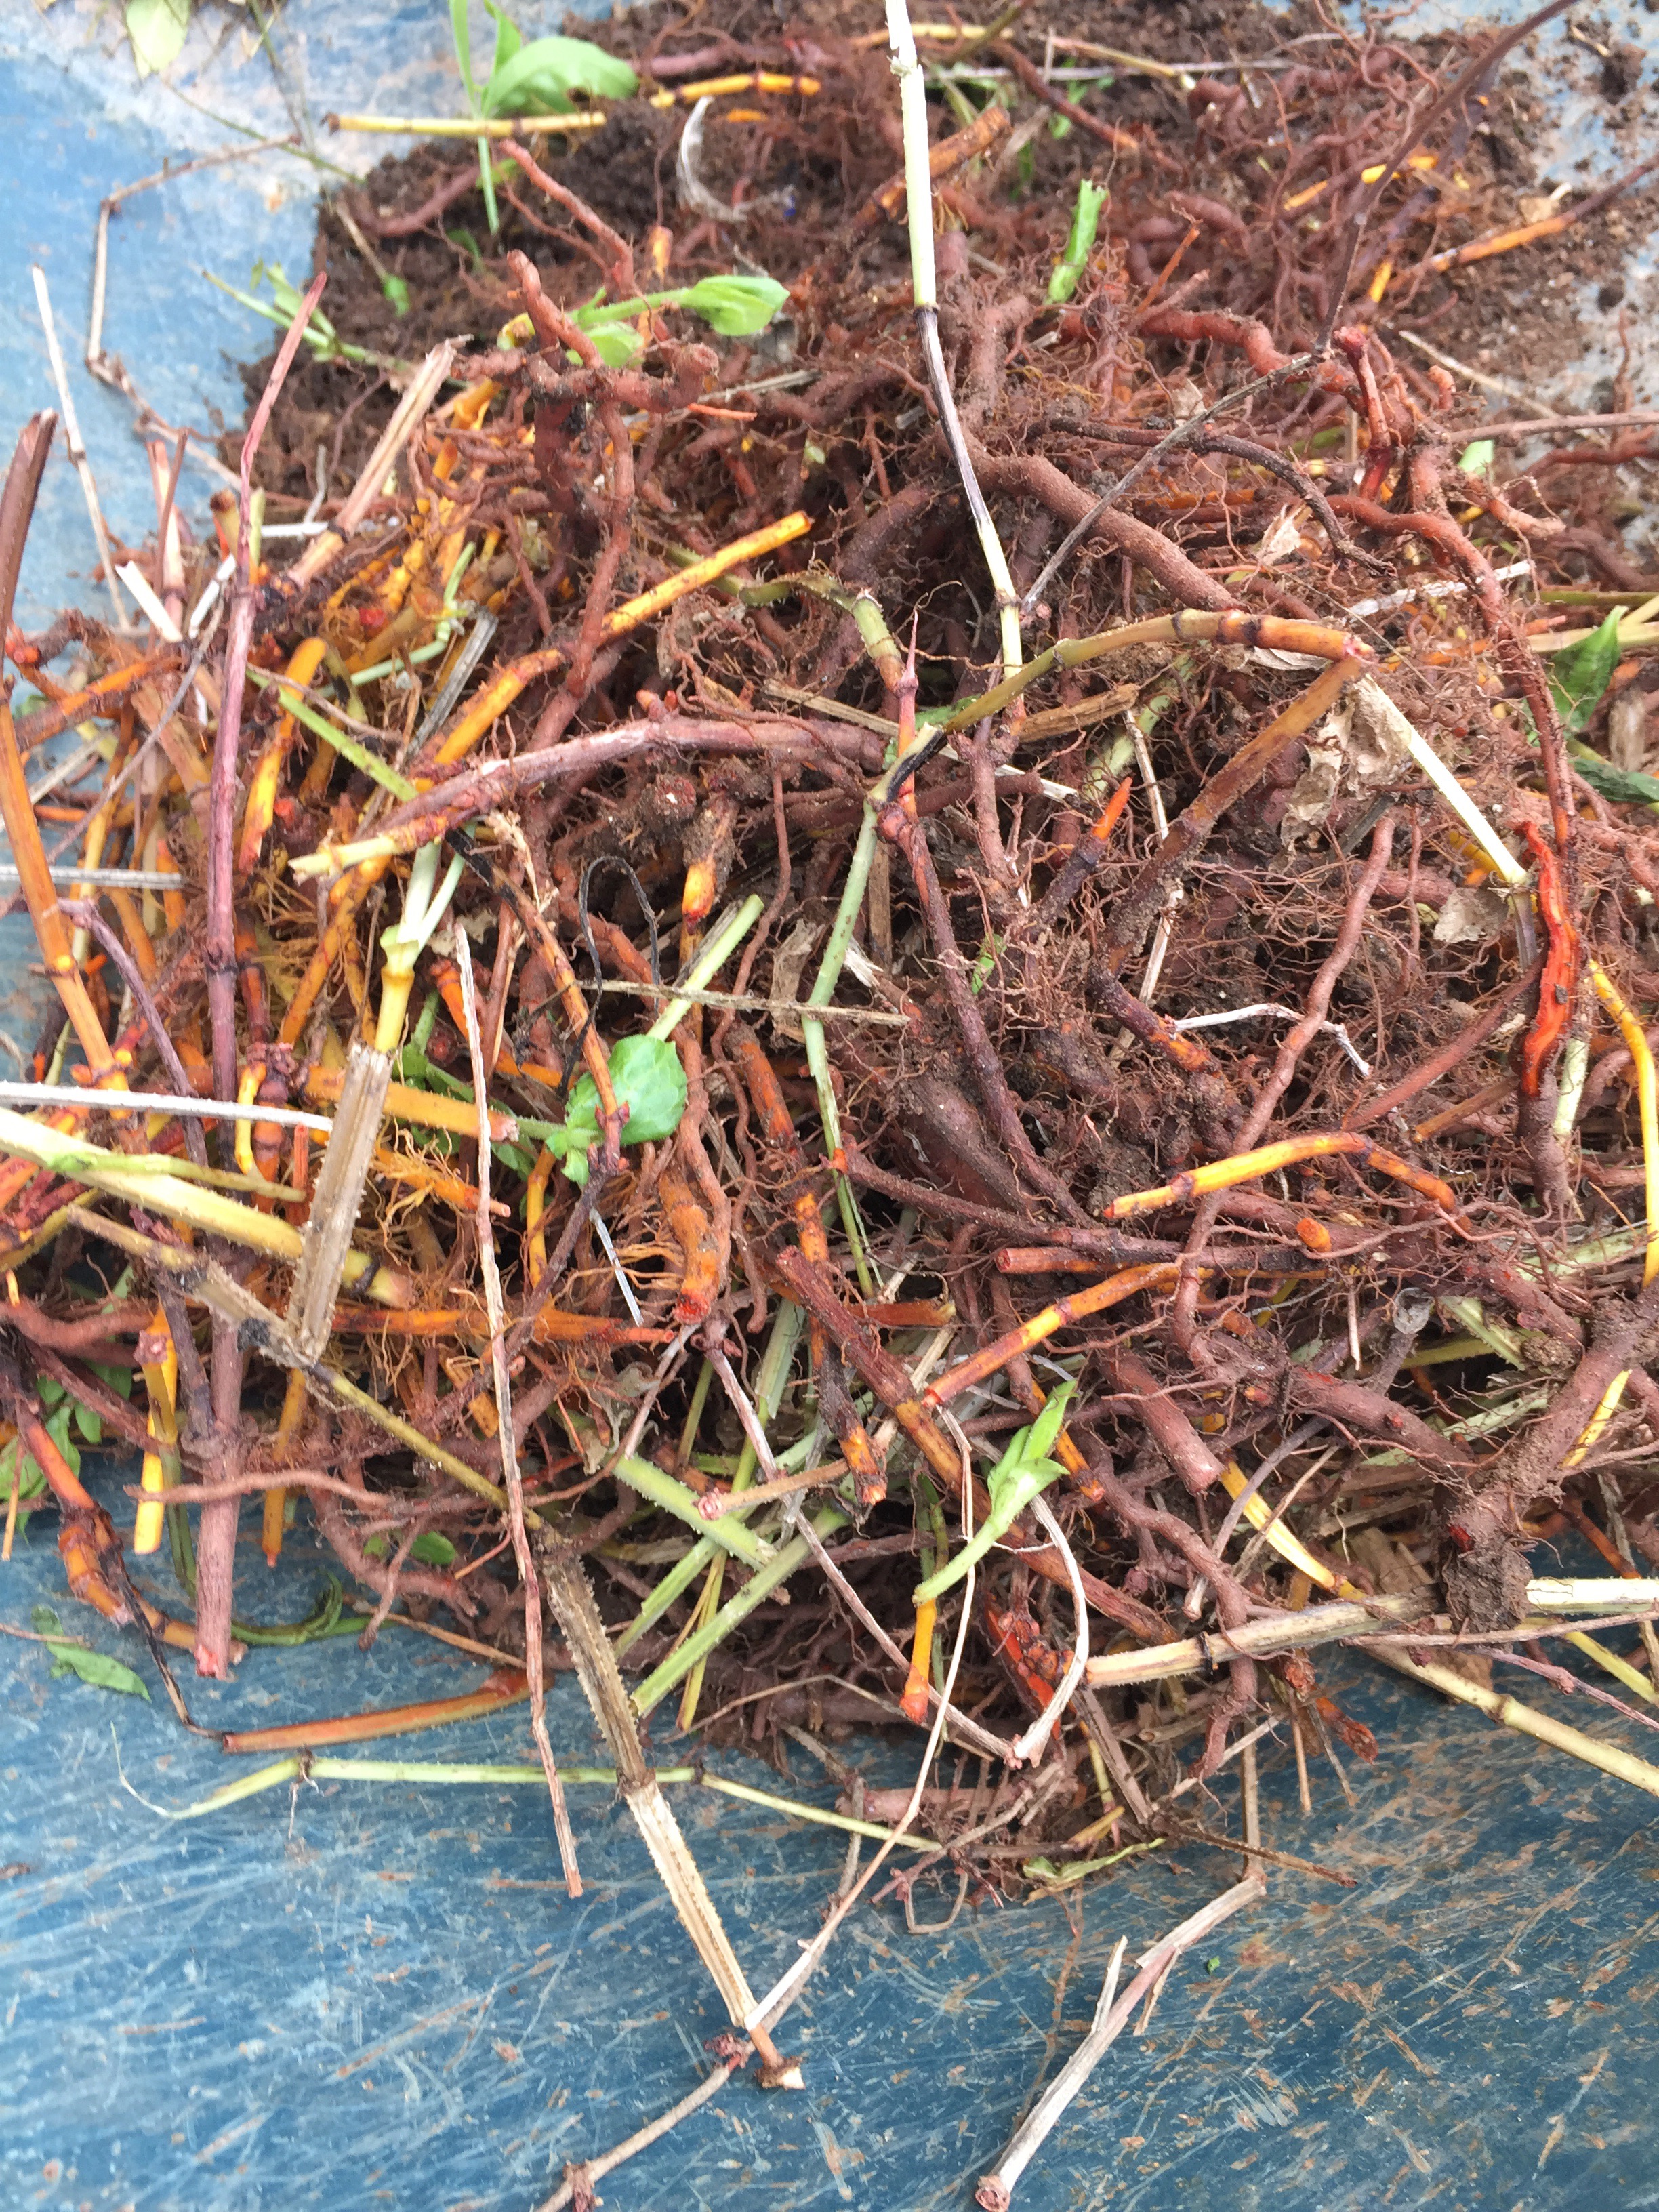
Equipment is pitch fork, shovel, buckets(lots of buckets), wheelbarrow and screens for washing and drying. Below you see my equipment and this morning’s harvest before cleaning.

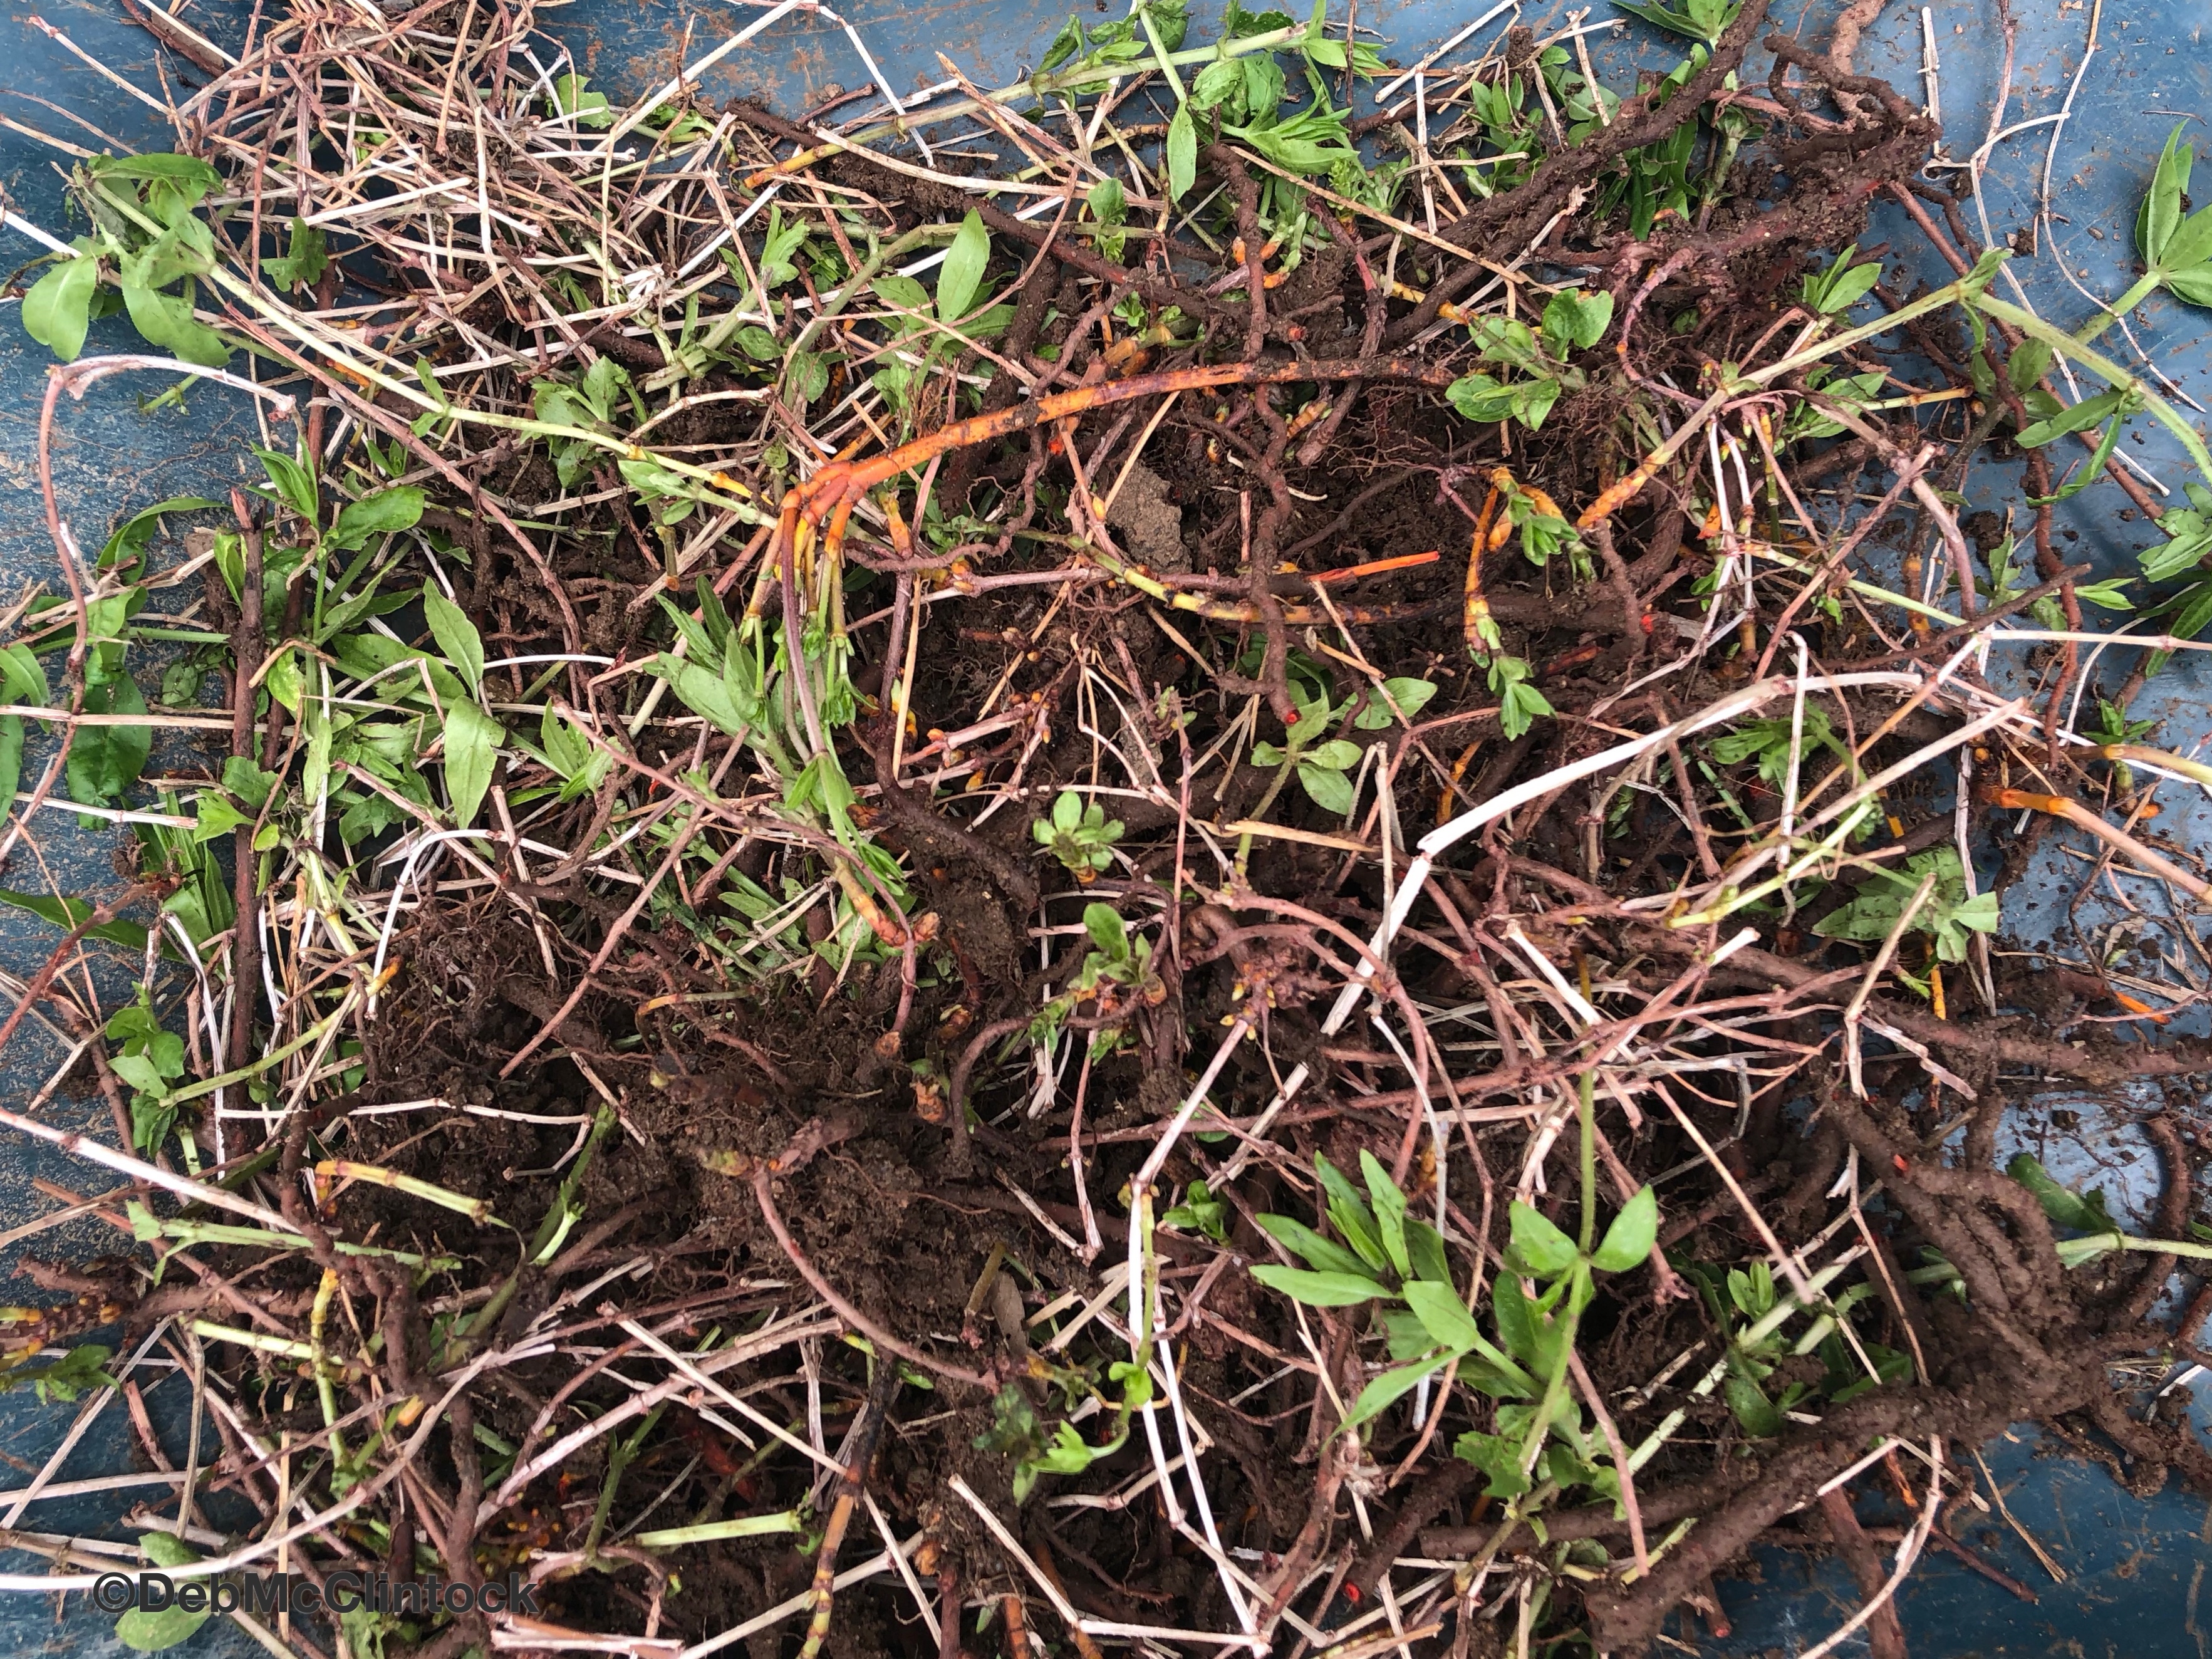
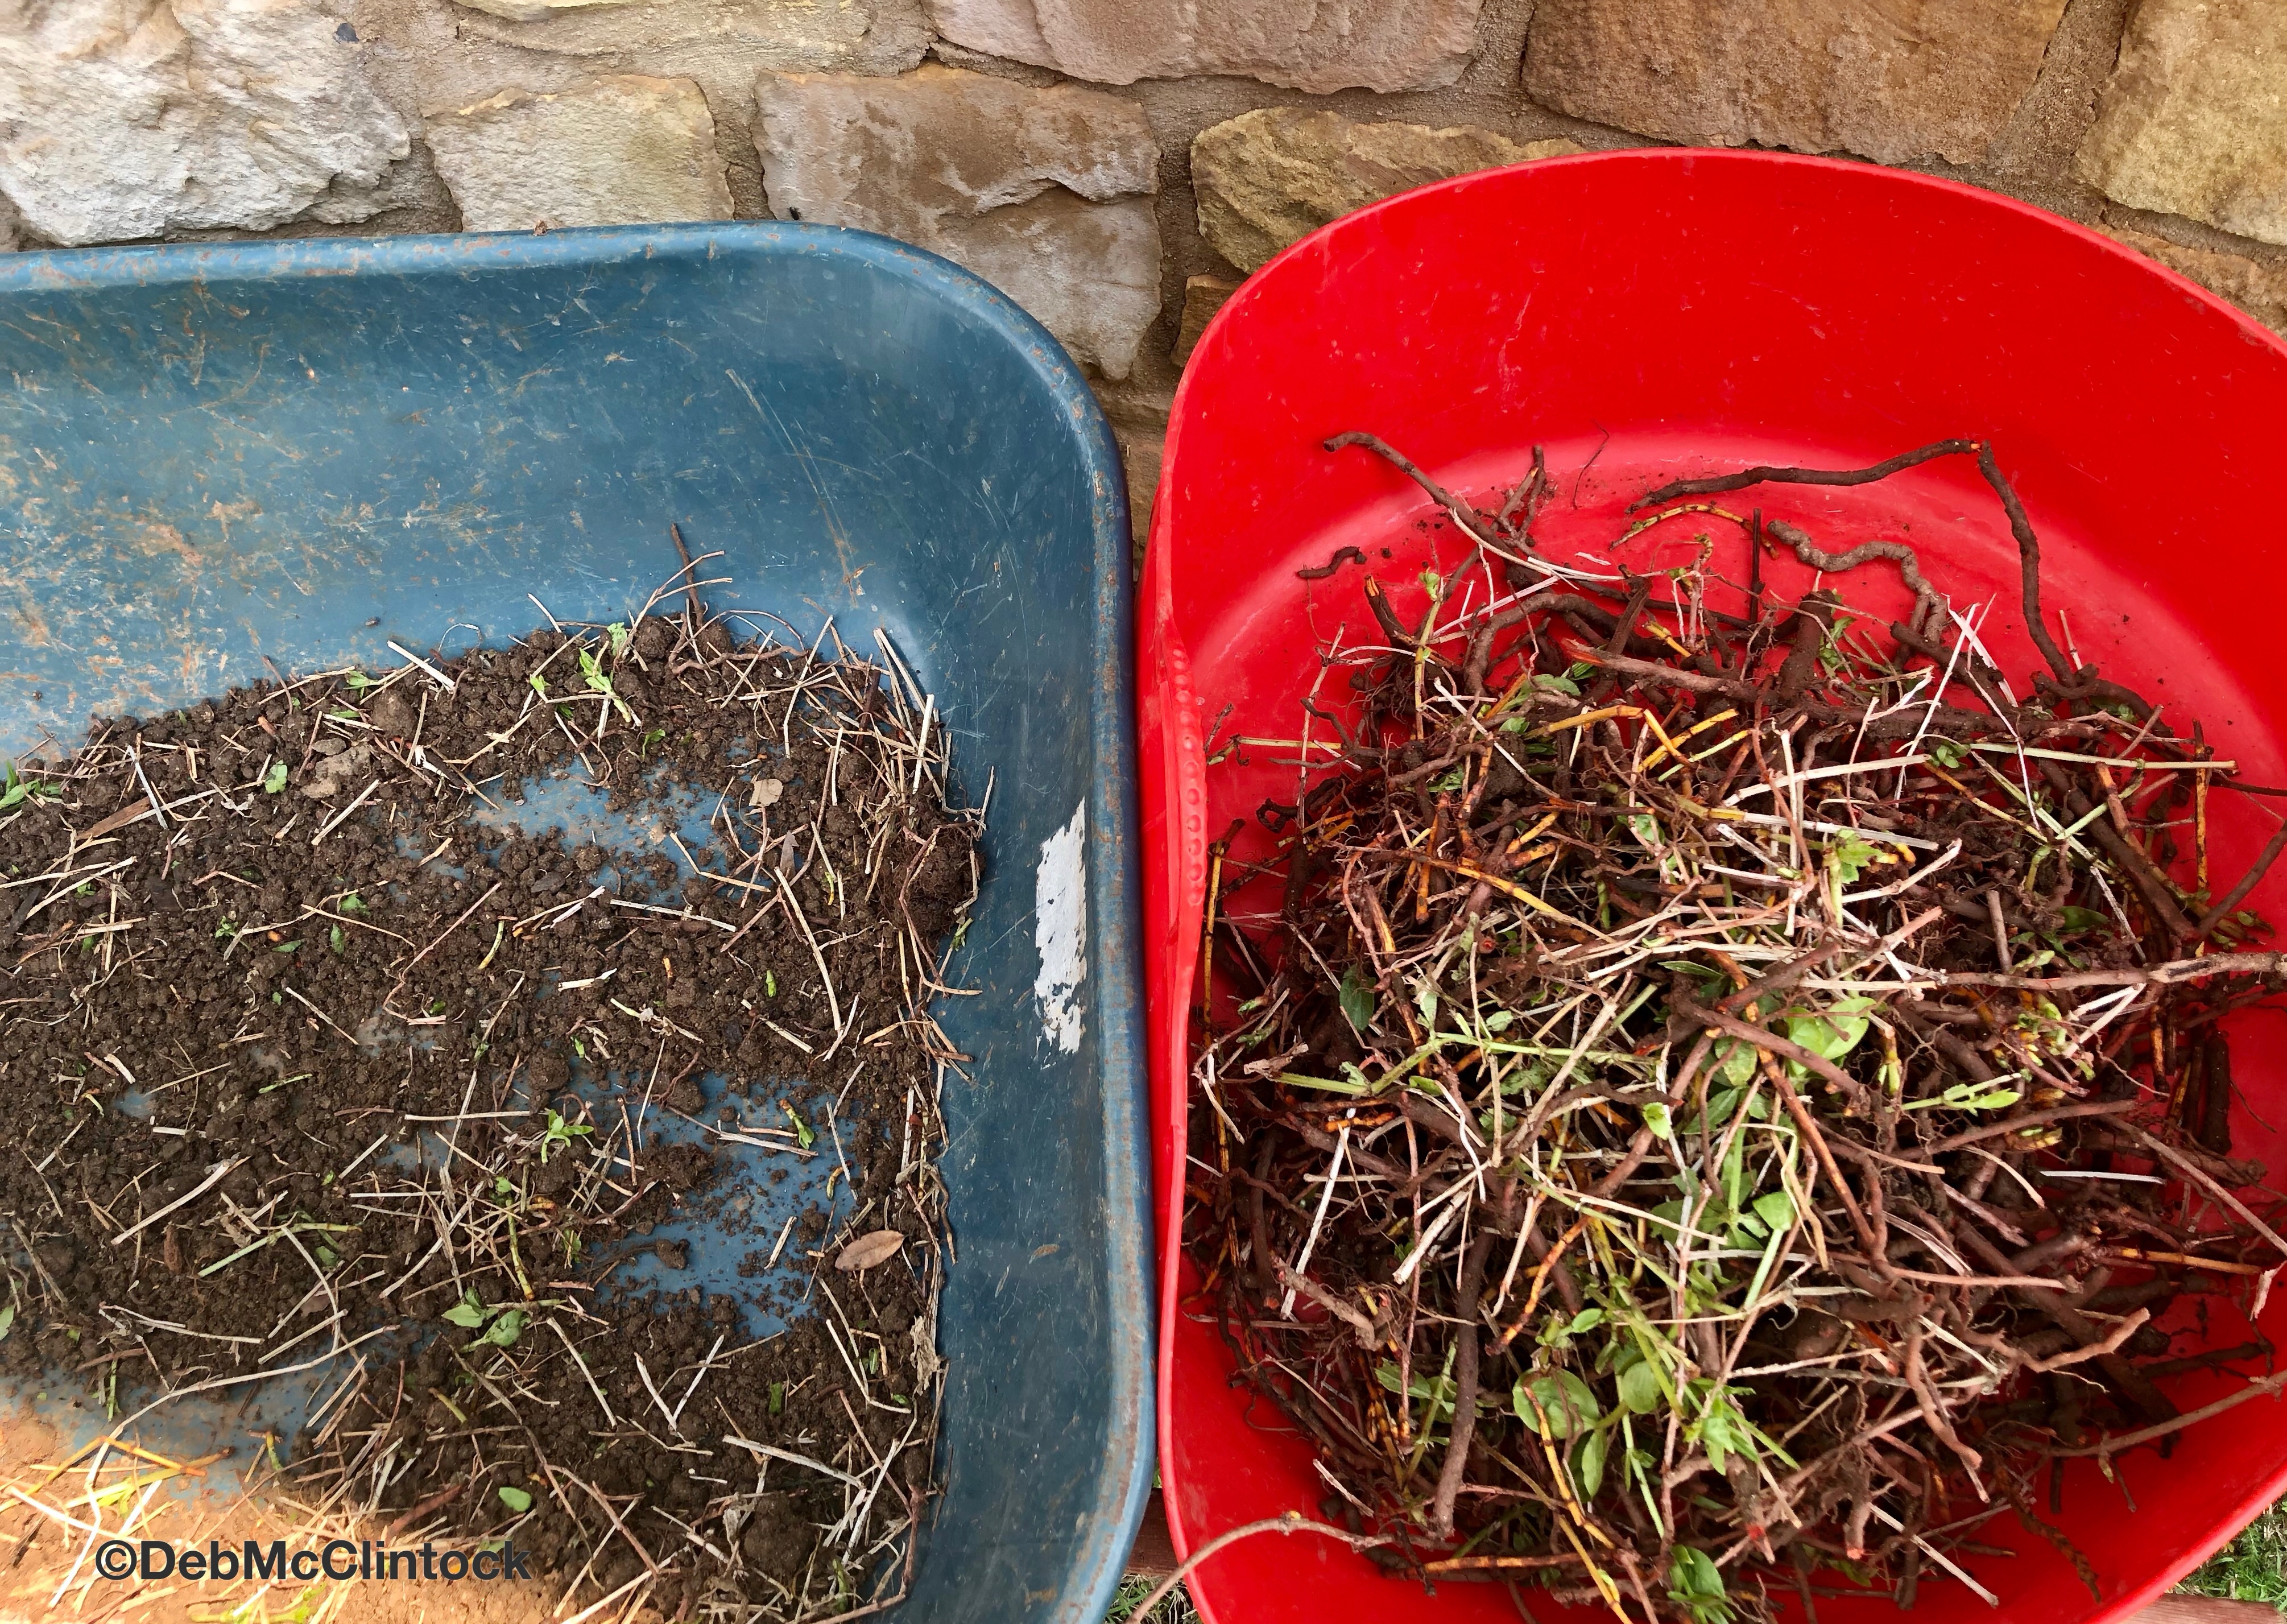
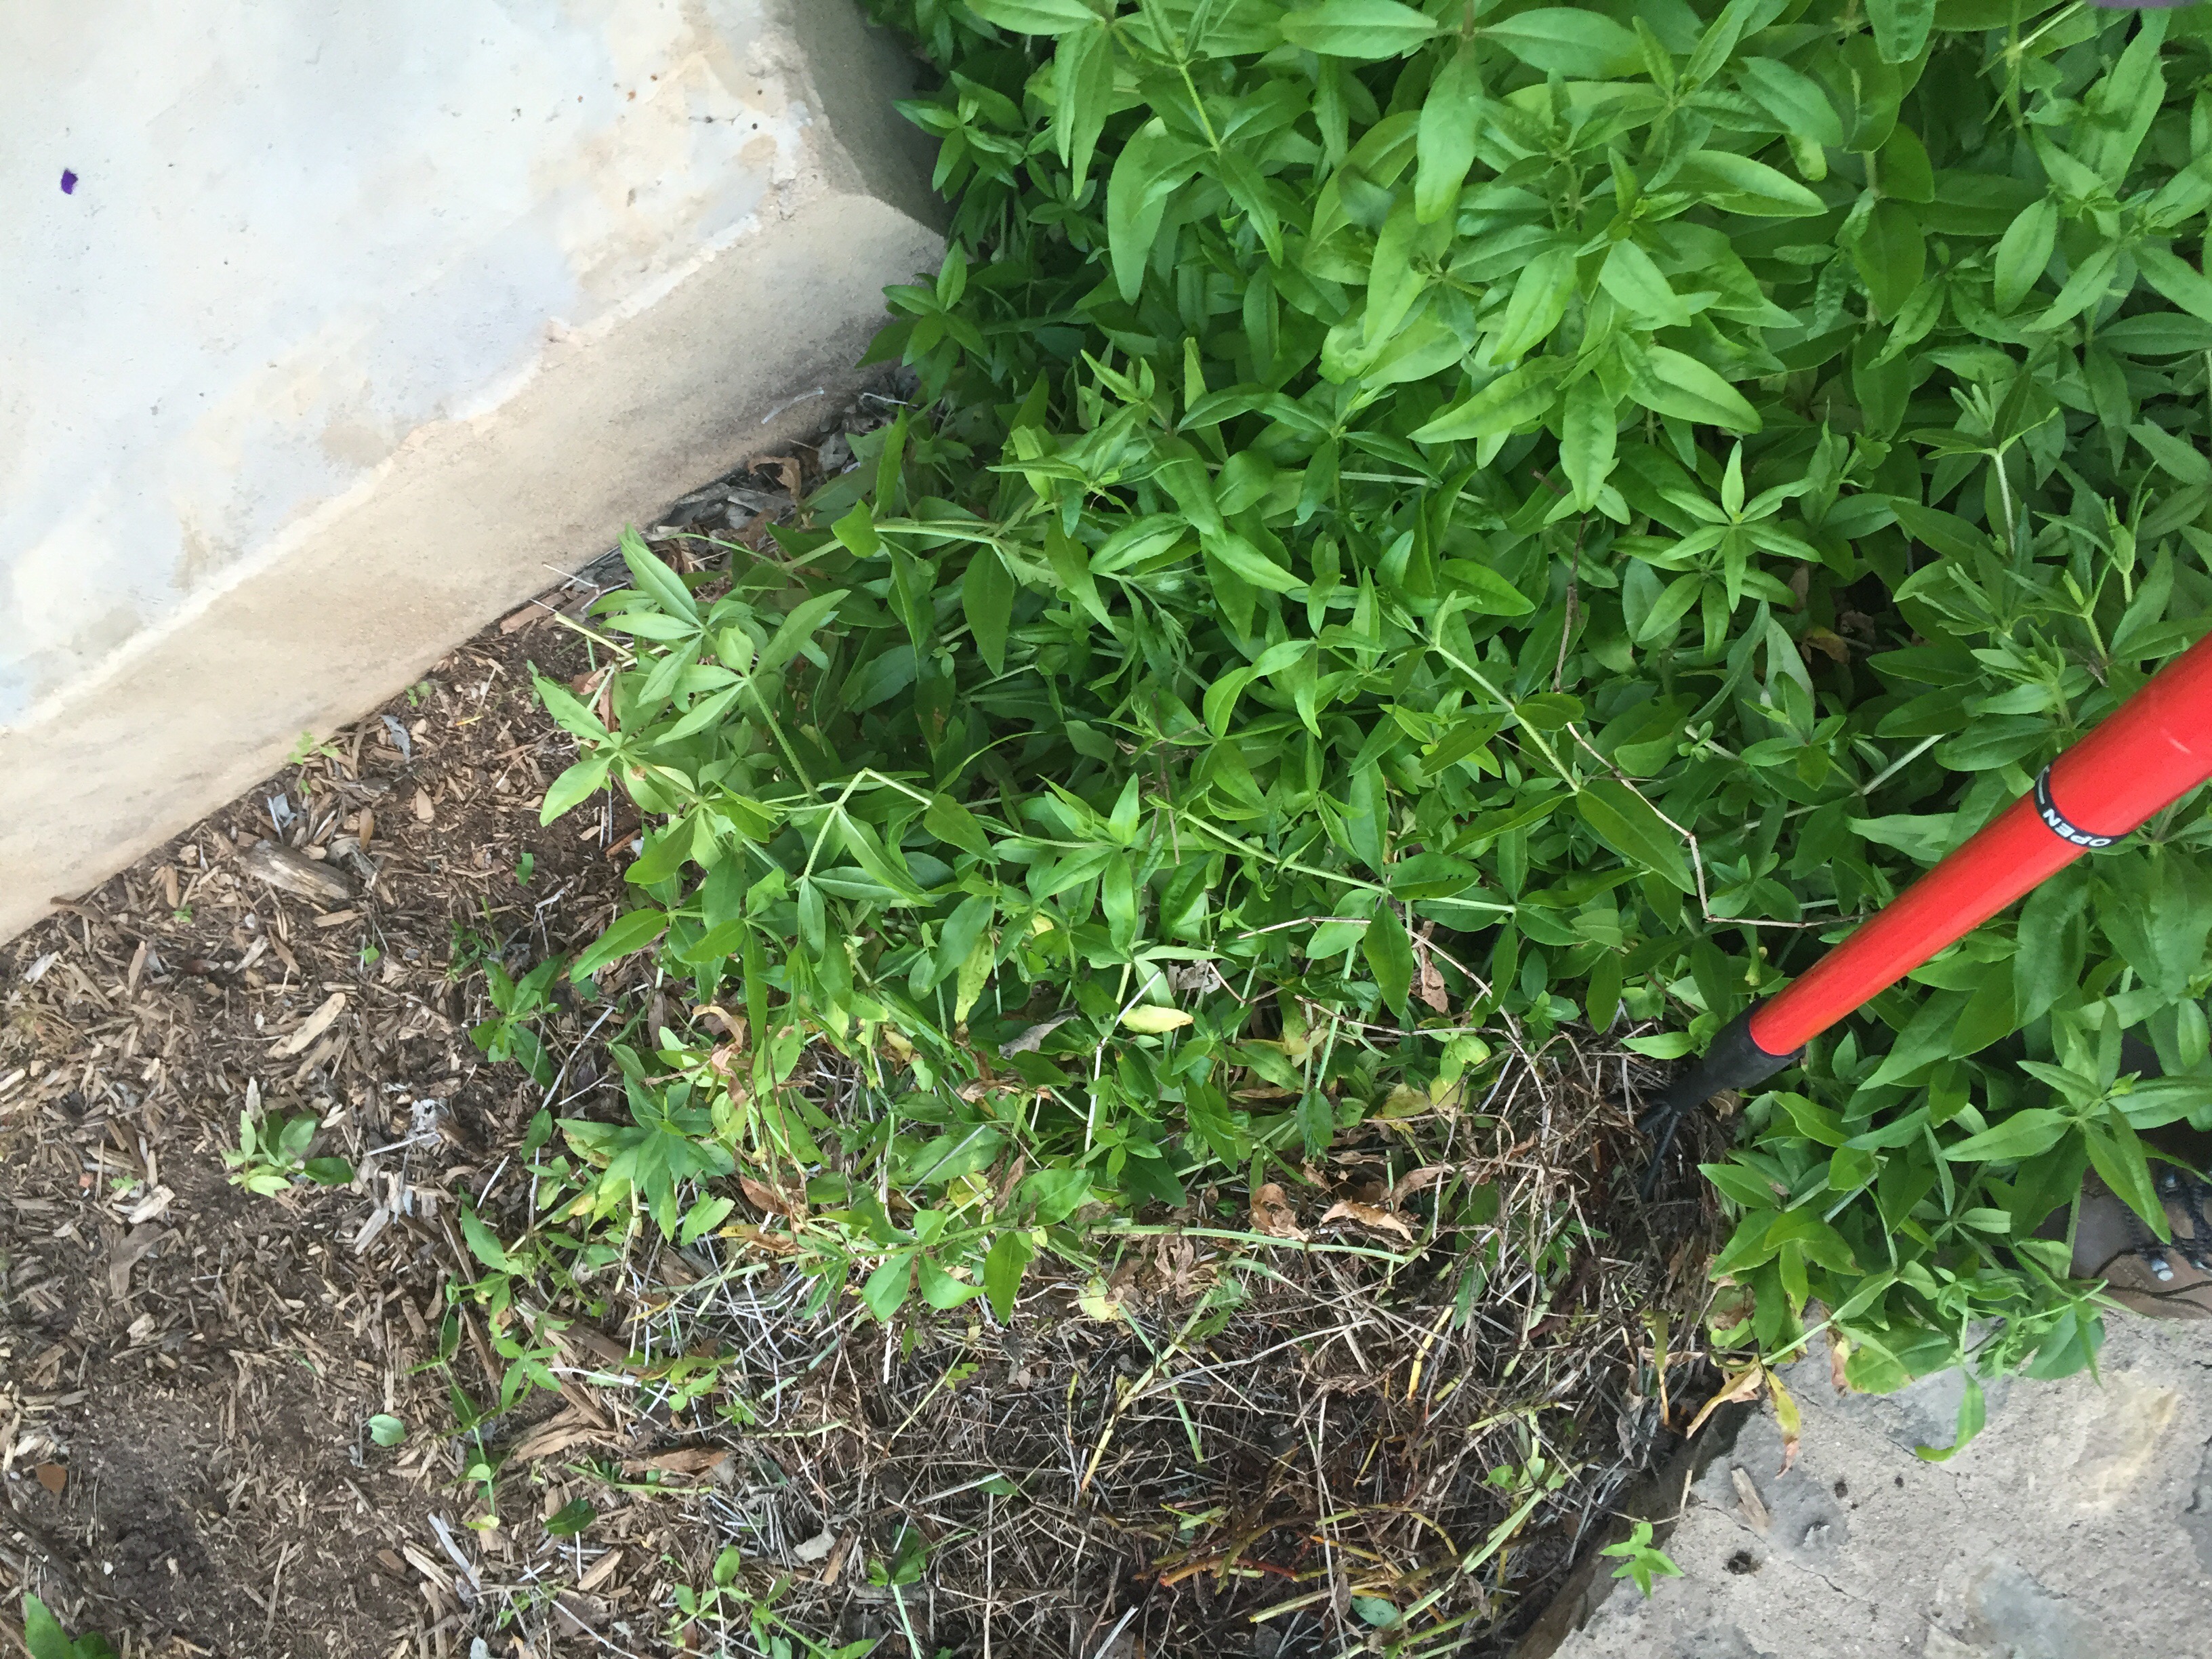
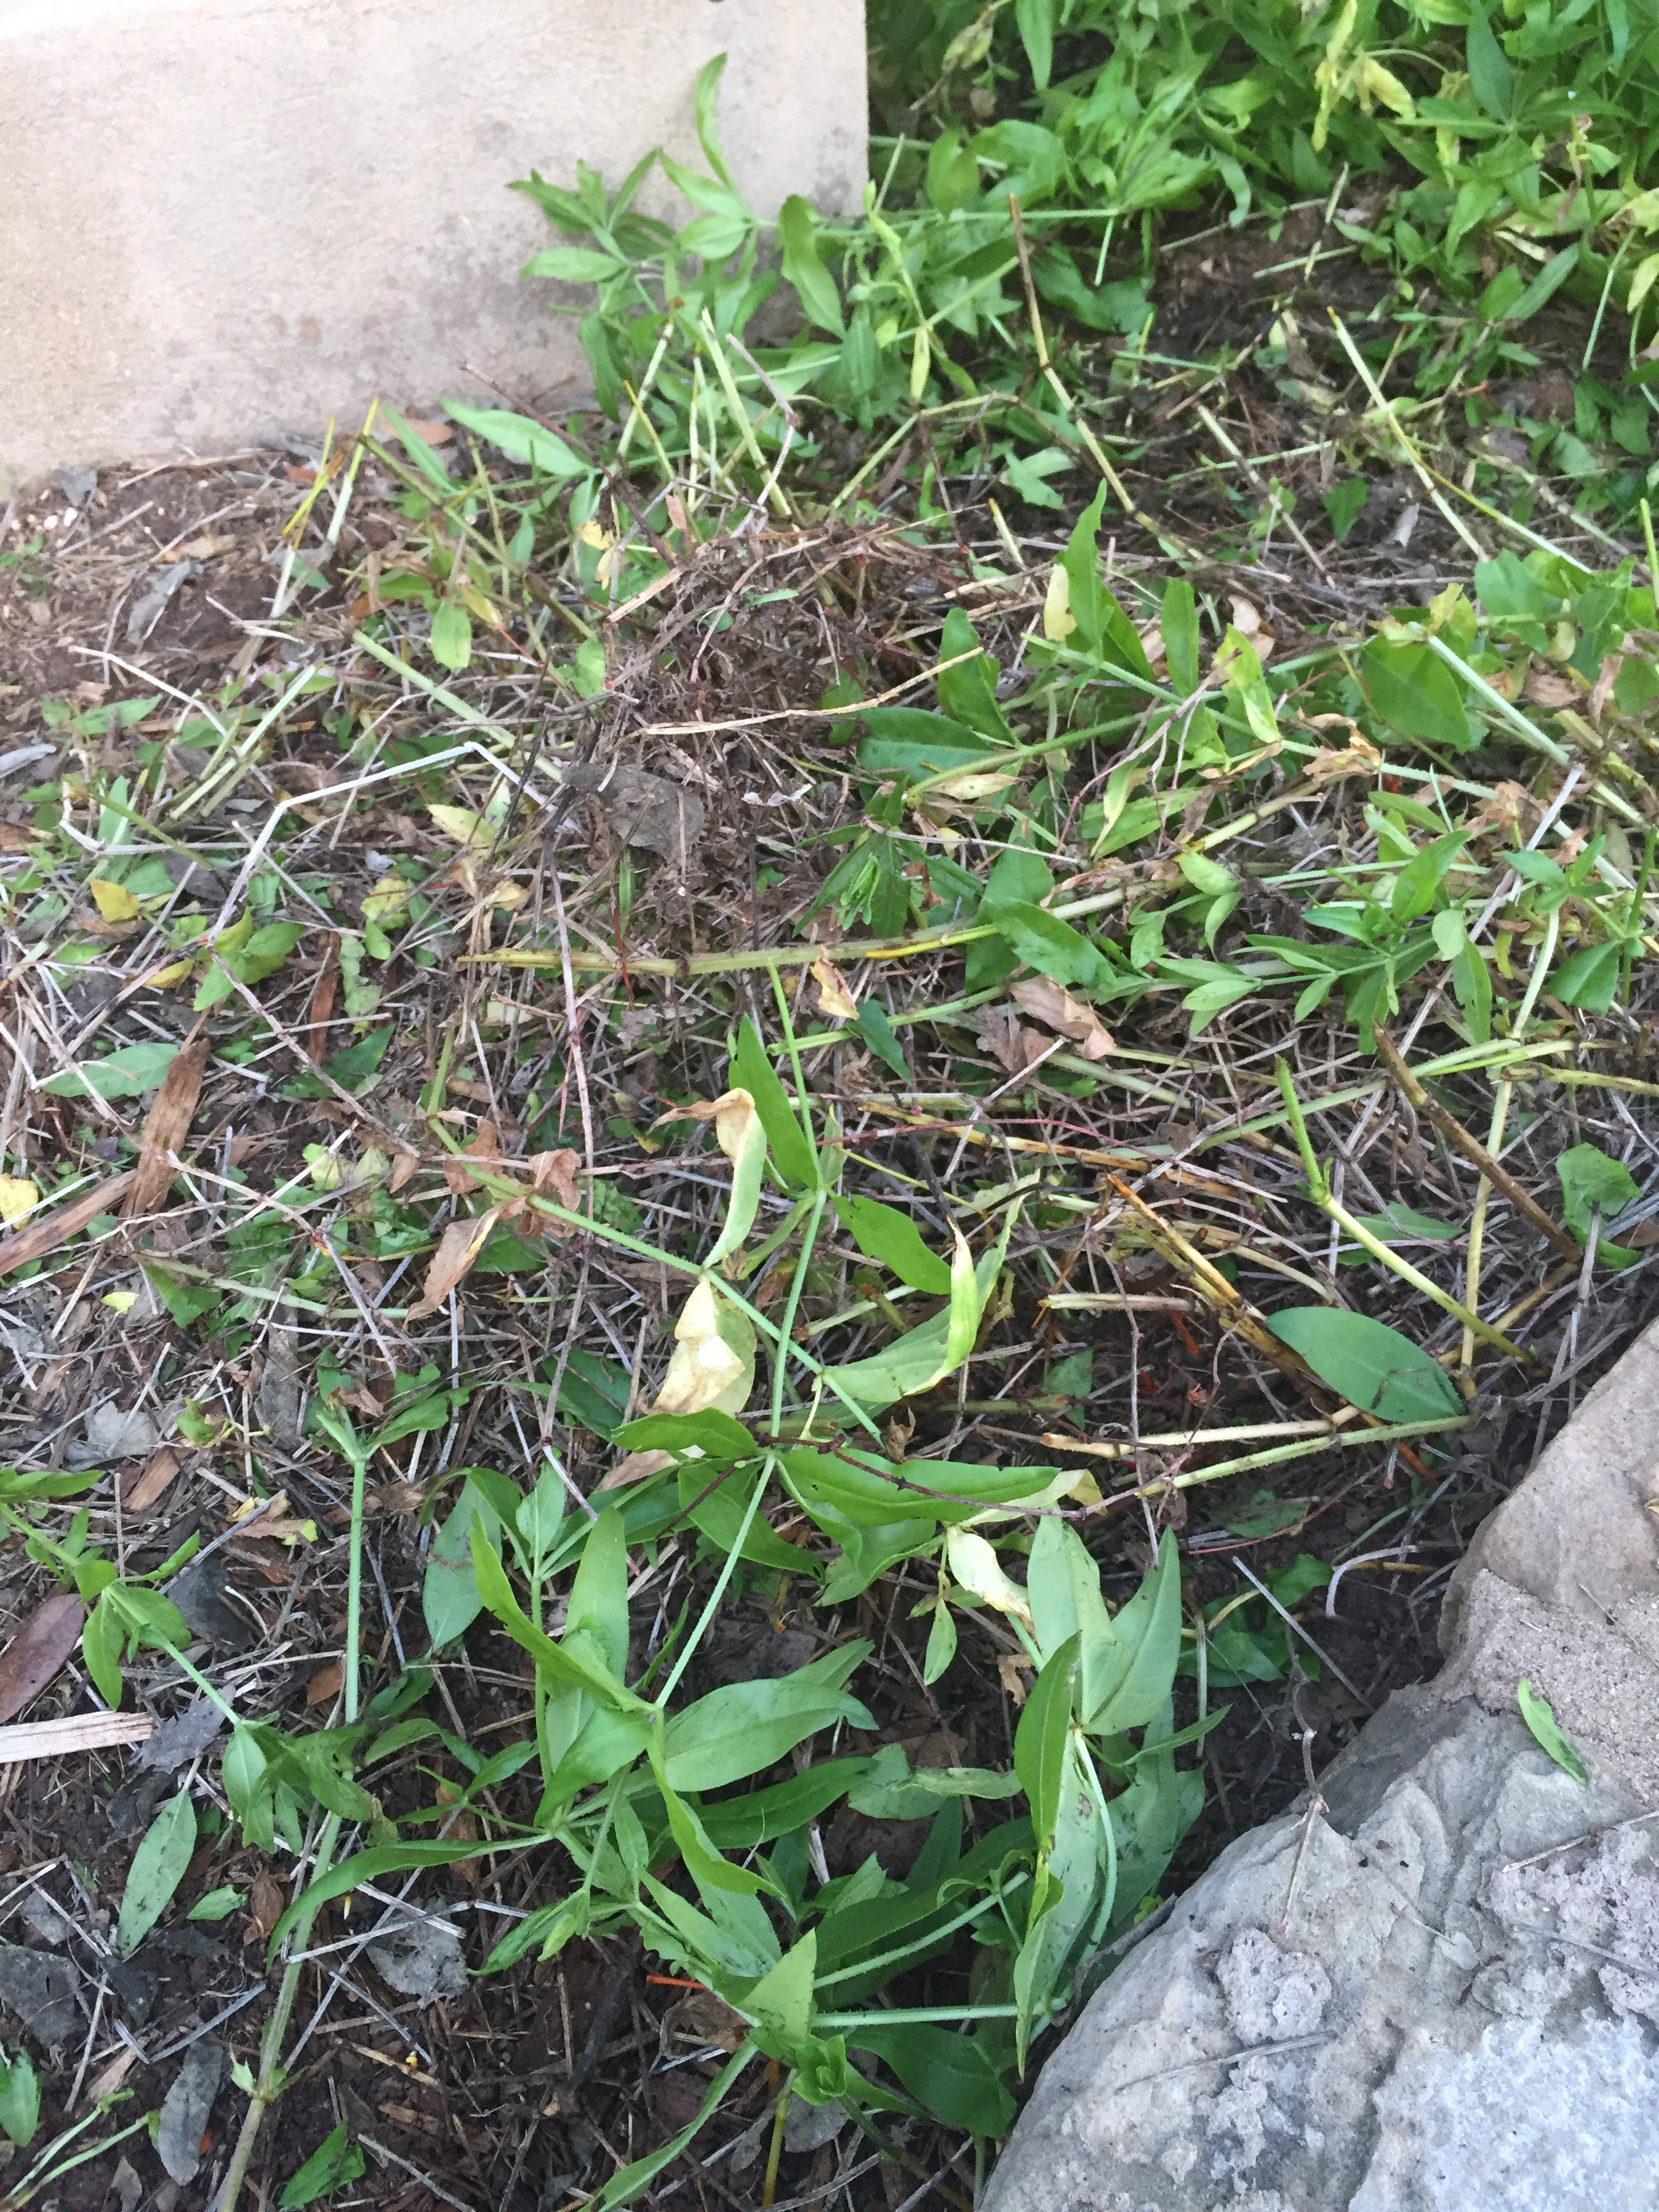
After the fun of digging and wrestling with the irrigation equipment you deal with dirt before it becomes mud. I move the roots from my wheelbarrow to a bucket, shaking out the dirt and trimming the green tips away. Shaking out the dirt means less mud to deal with later down the line.

I have some garden frames and screens I repurpose every couple of years when I harvest. Below is my frame set up by my water source. I set the sun screen fabric on my garden frames and use it to keep my madder in place as I rinse more dirt off. The madder is moved to another bucket for a 2nd rinse. Of course, these rinse waters are put on meadow plants and other areas outside the irrigation system.

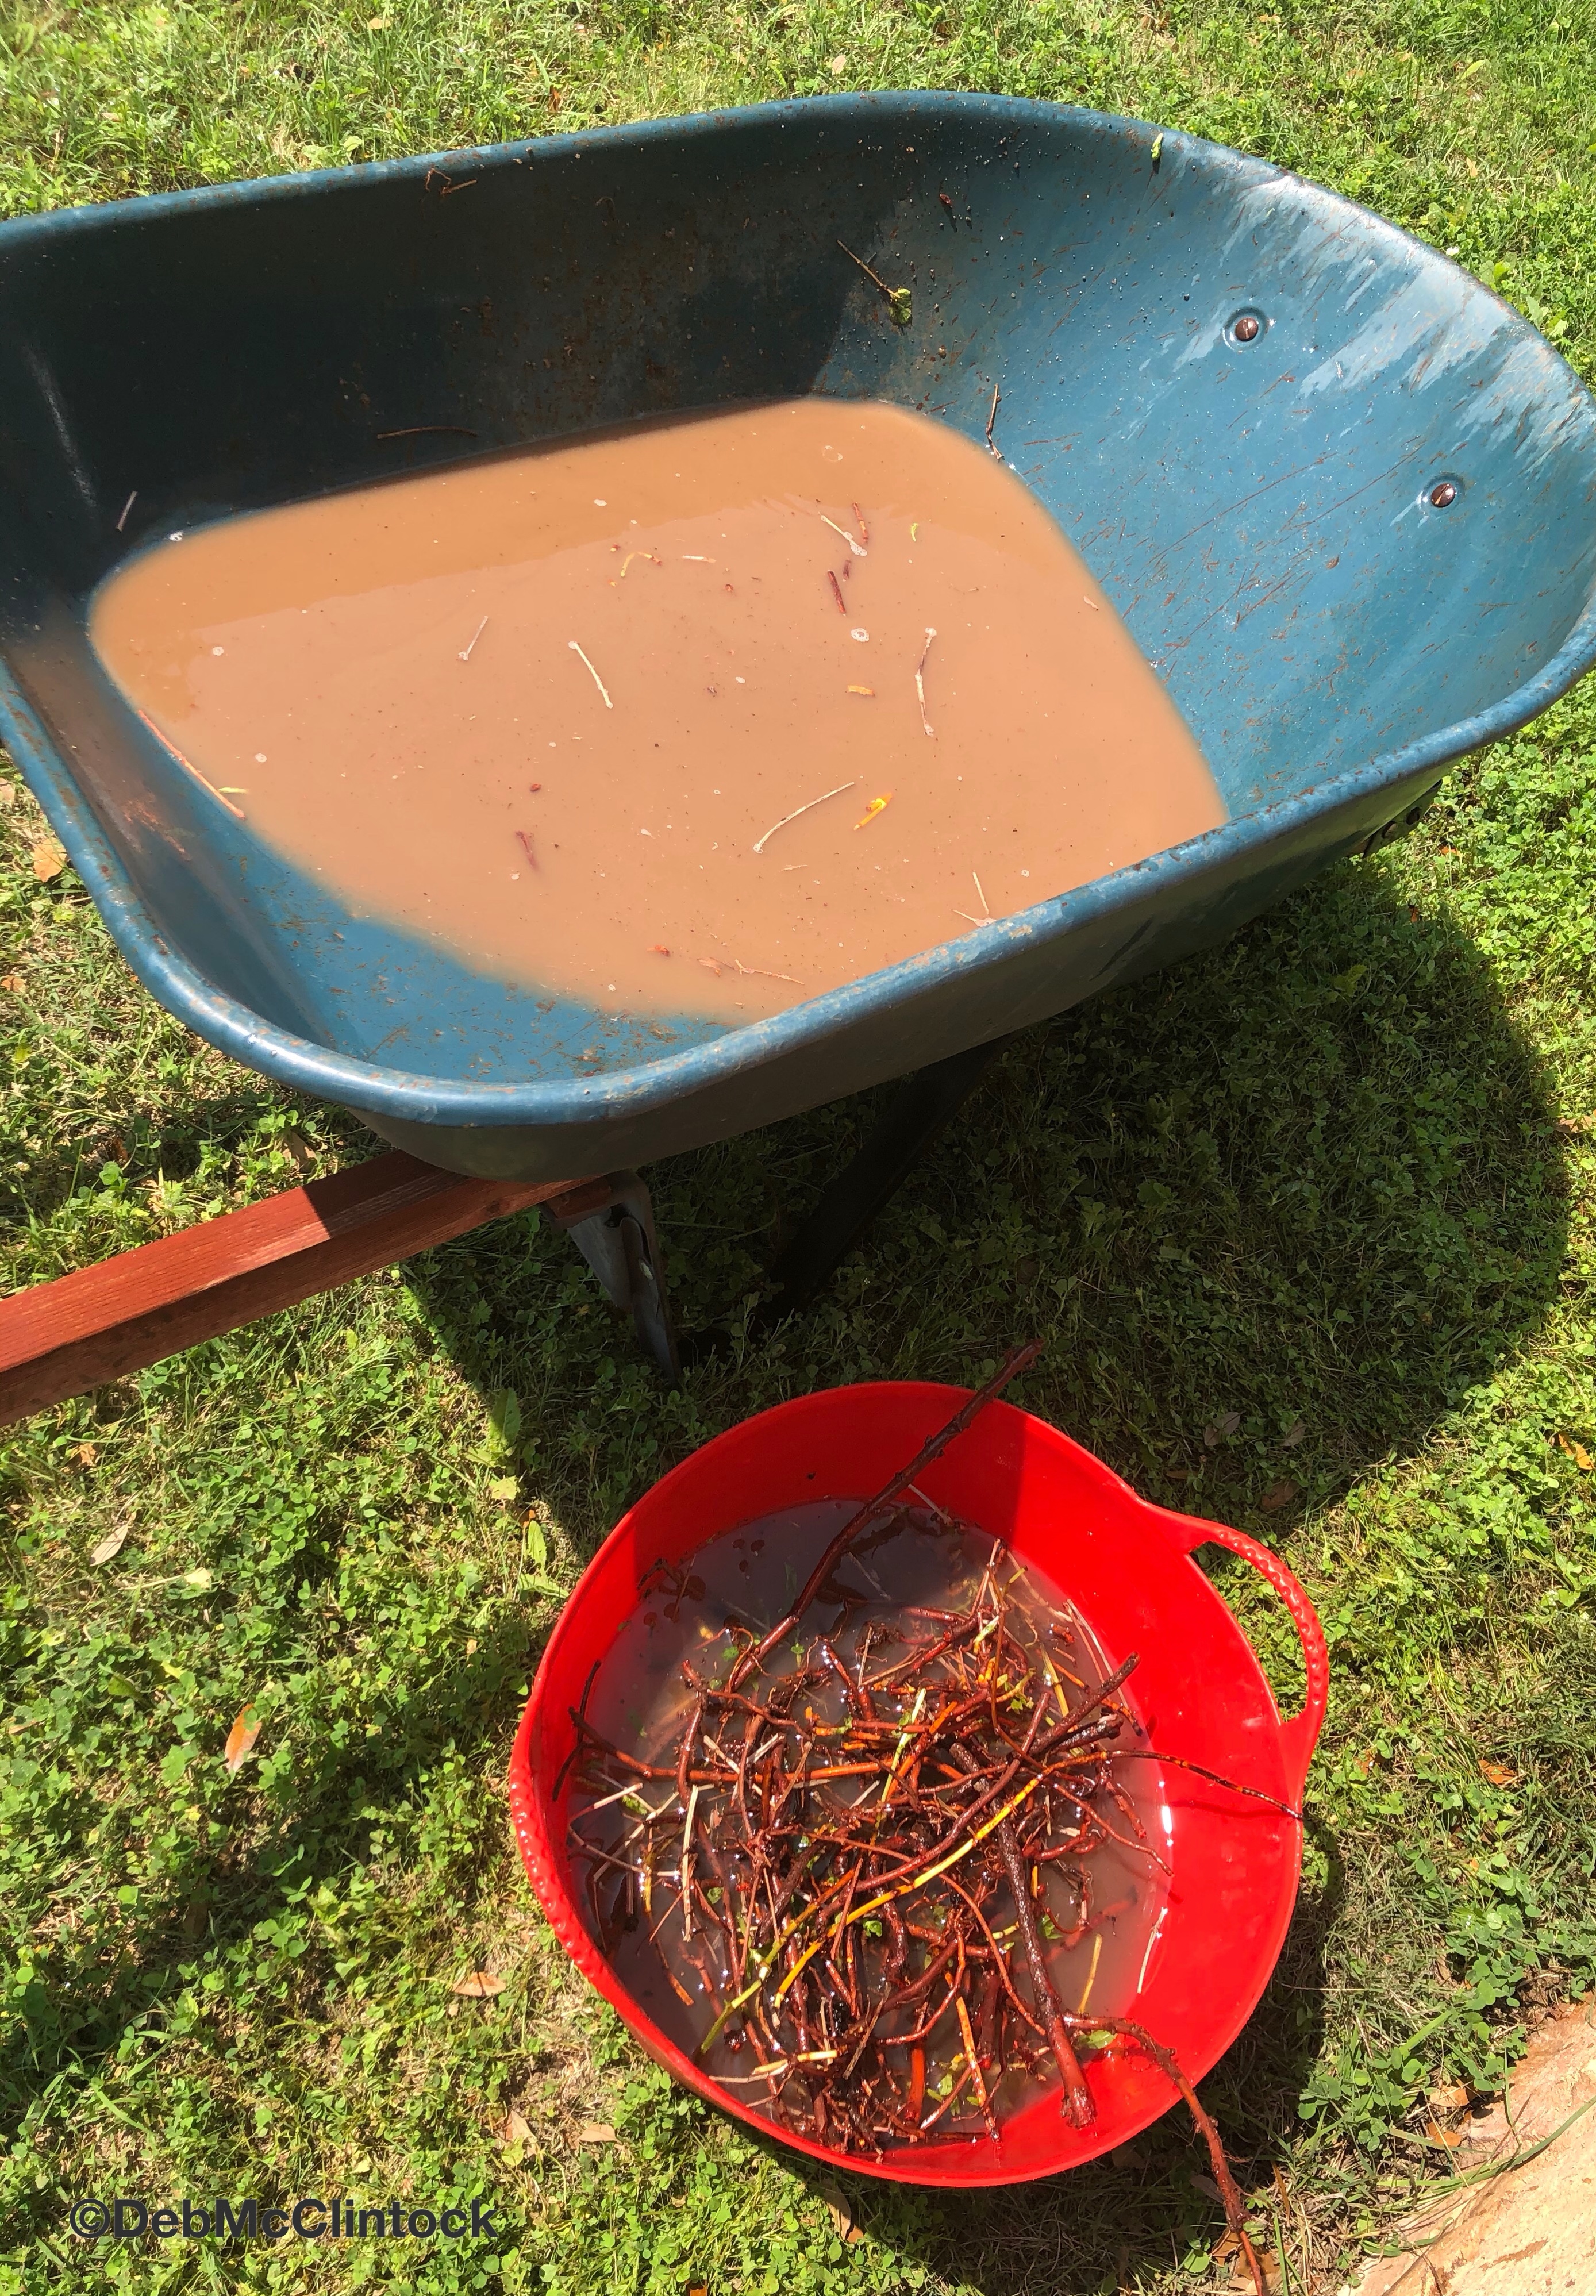
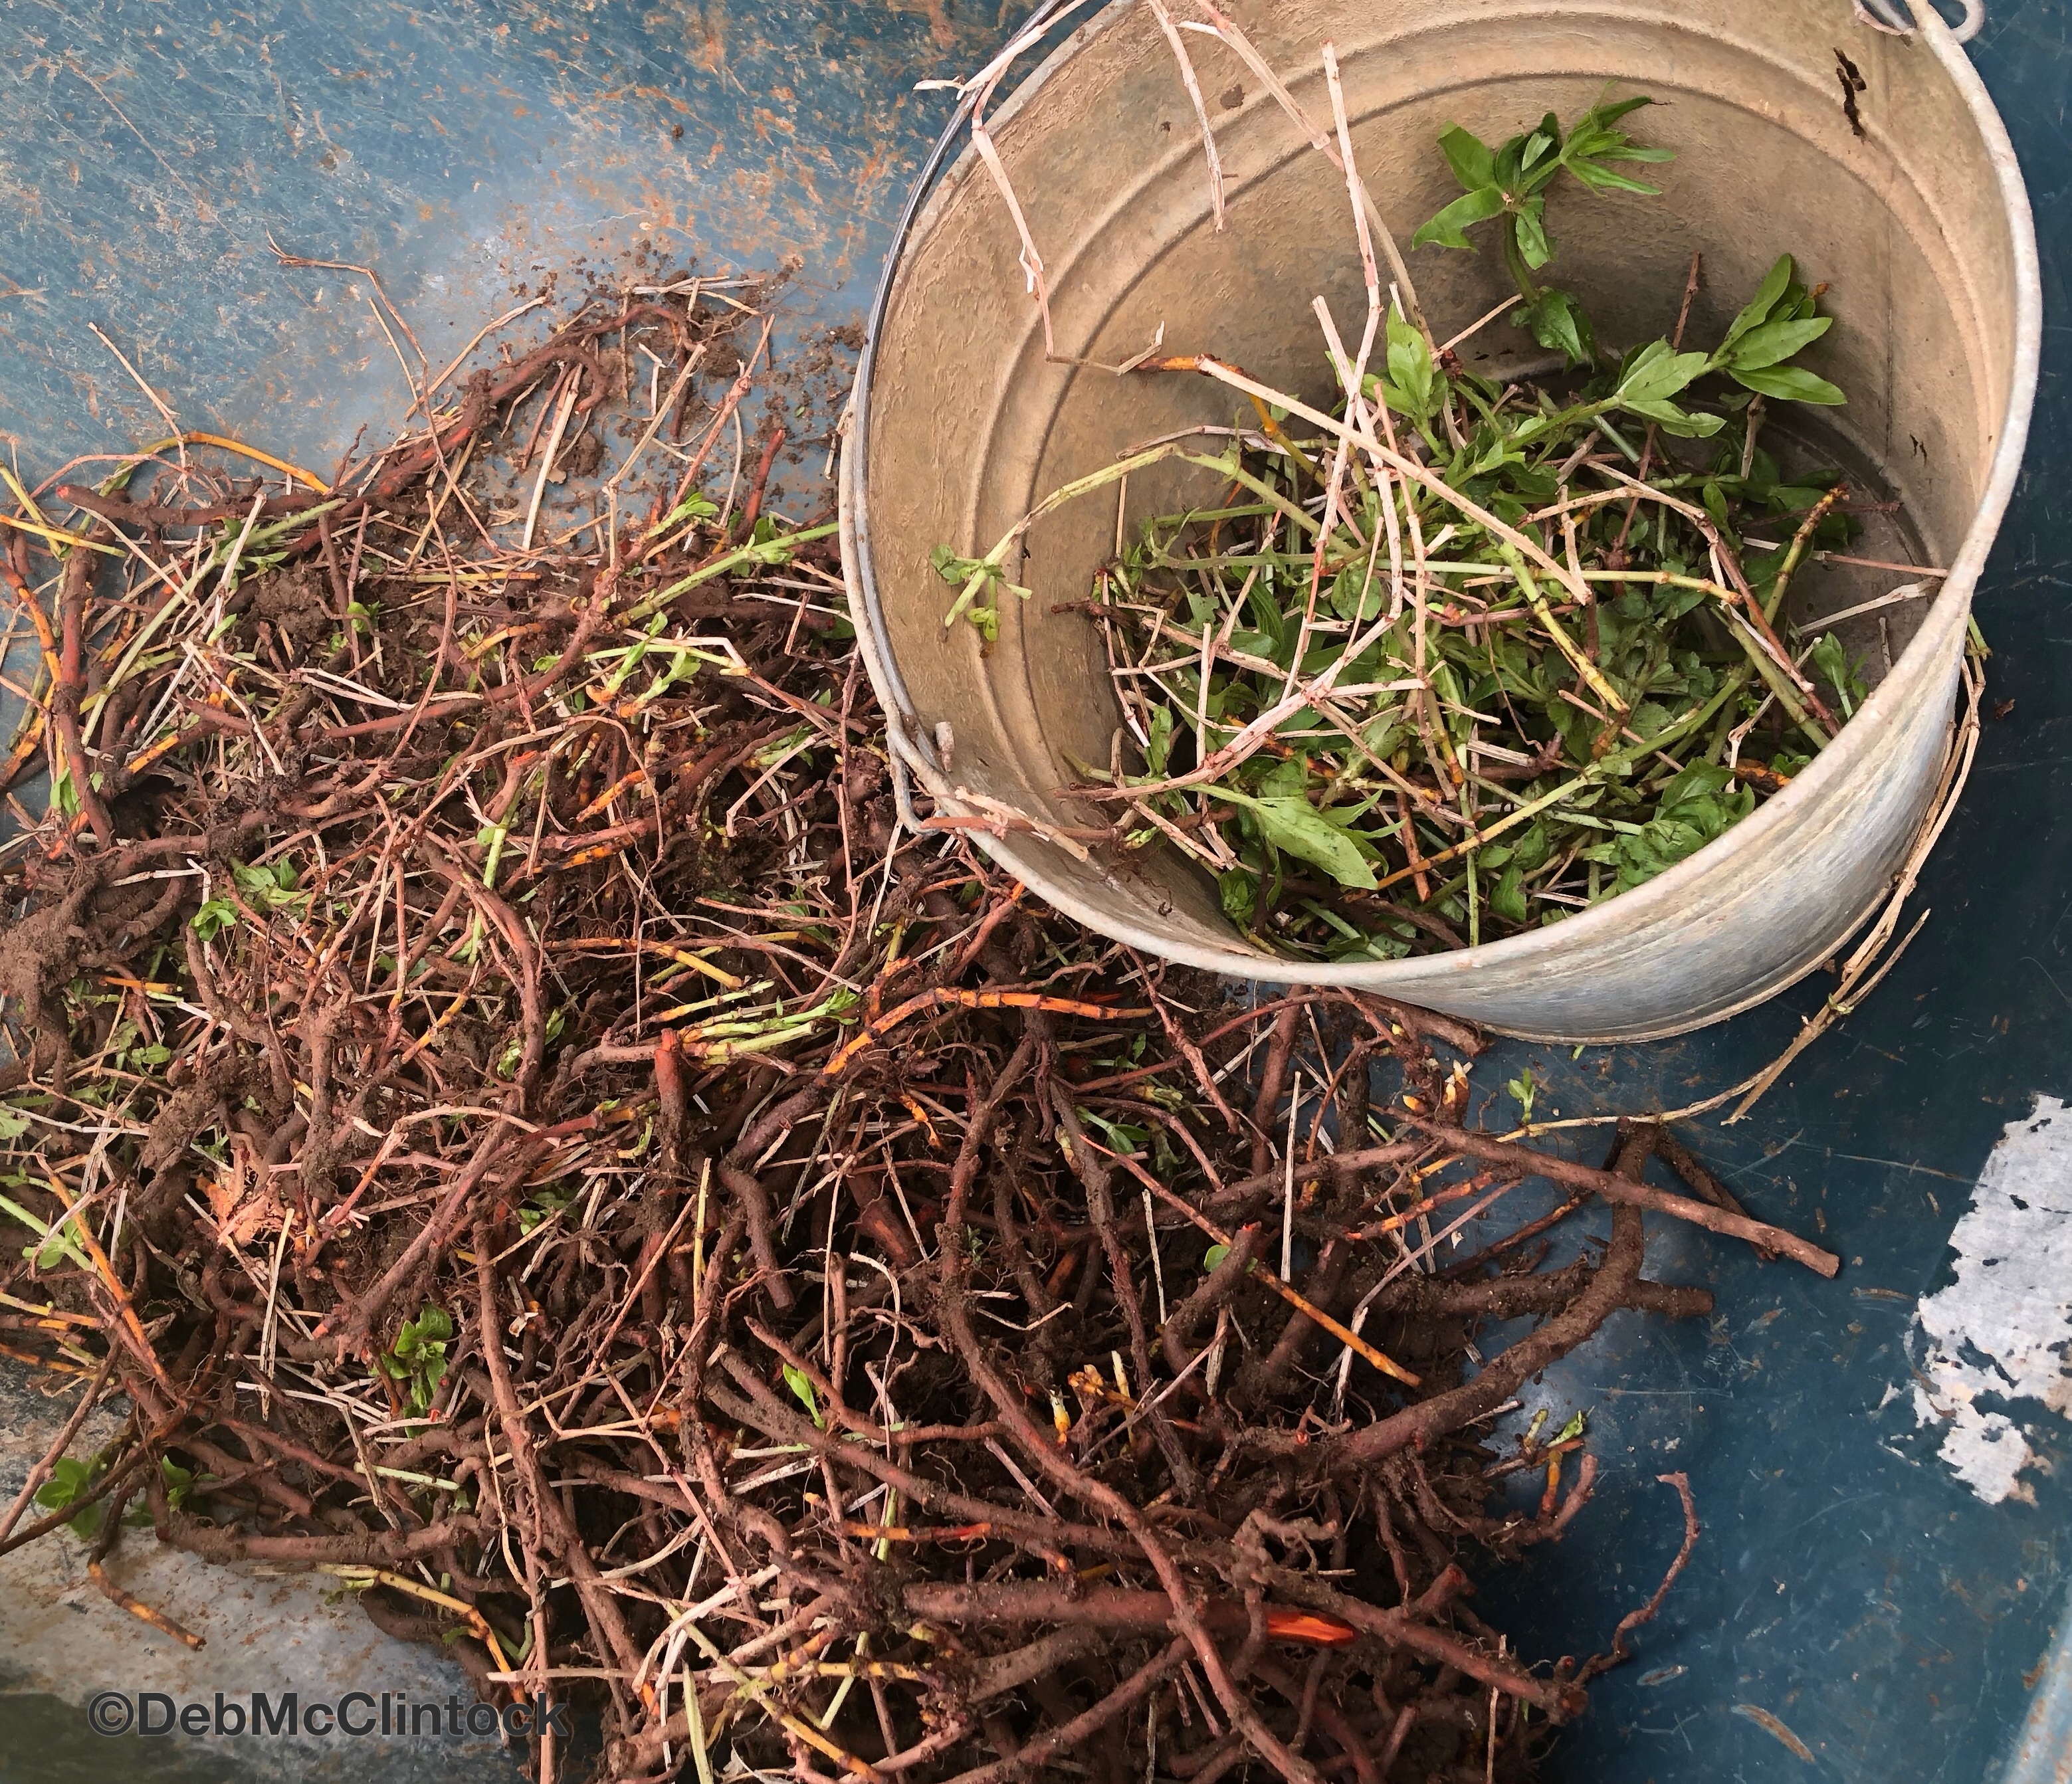
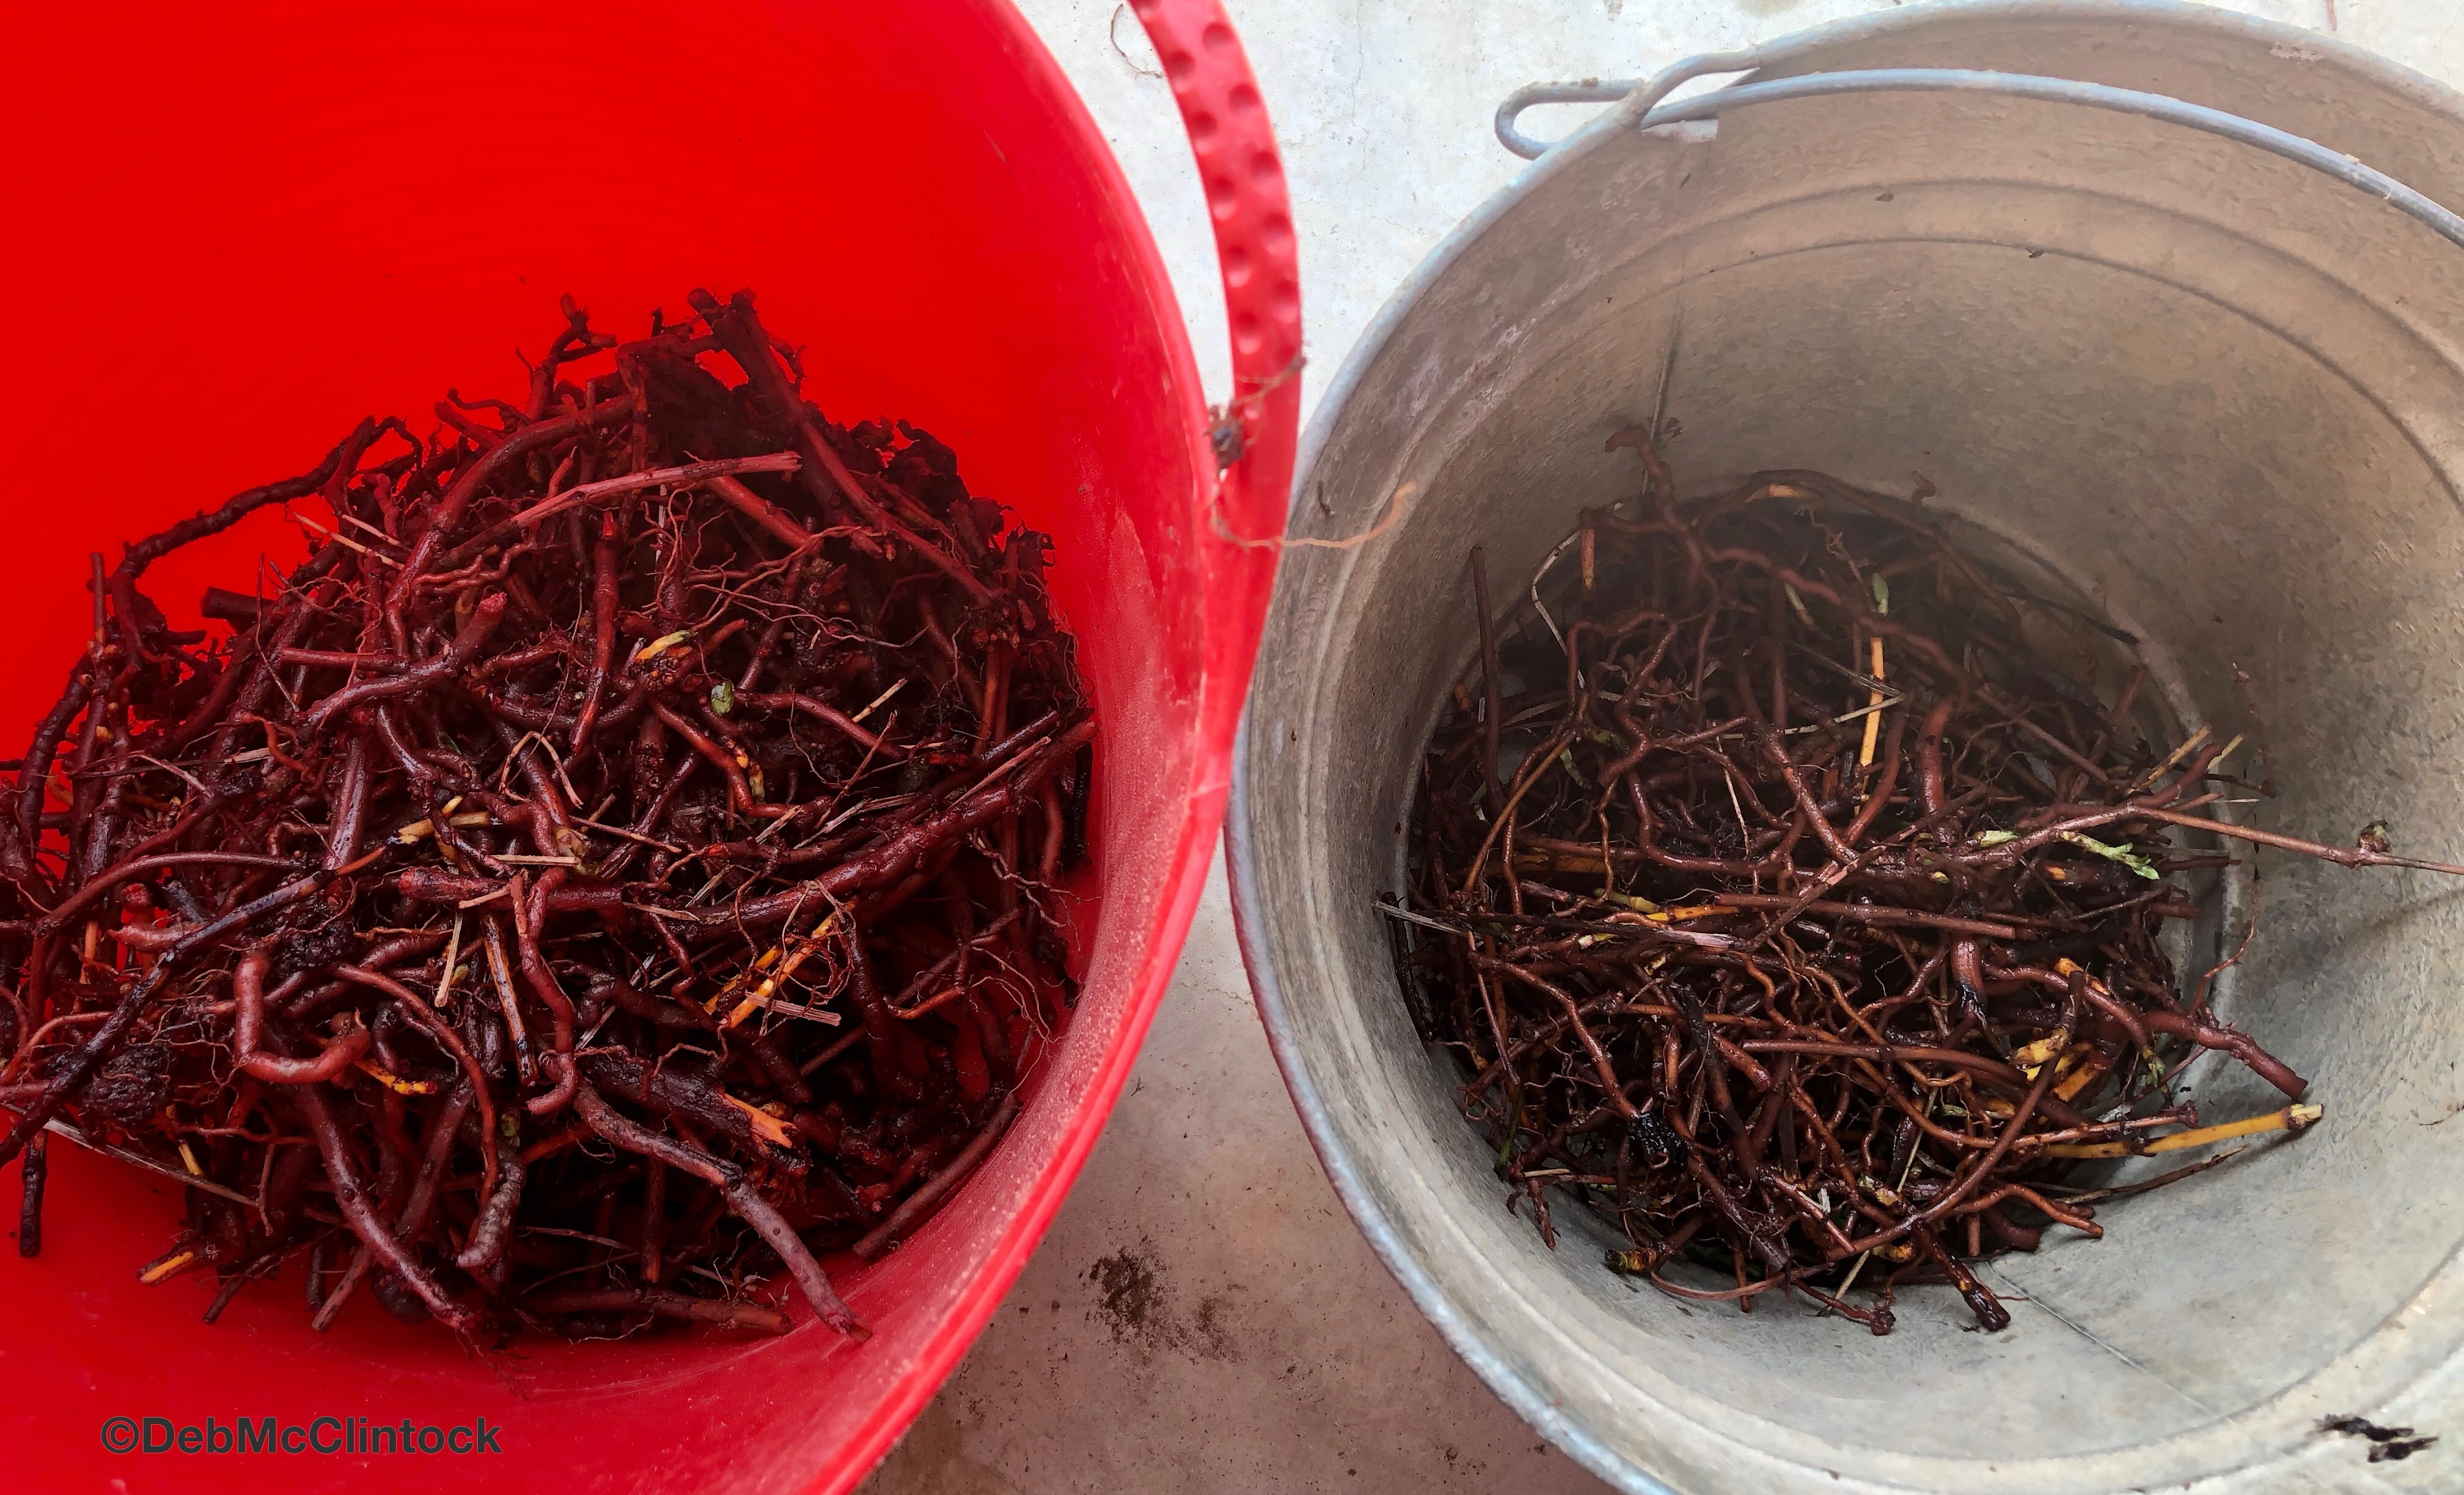
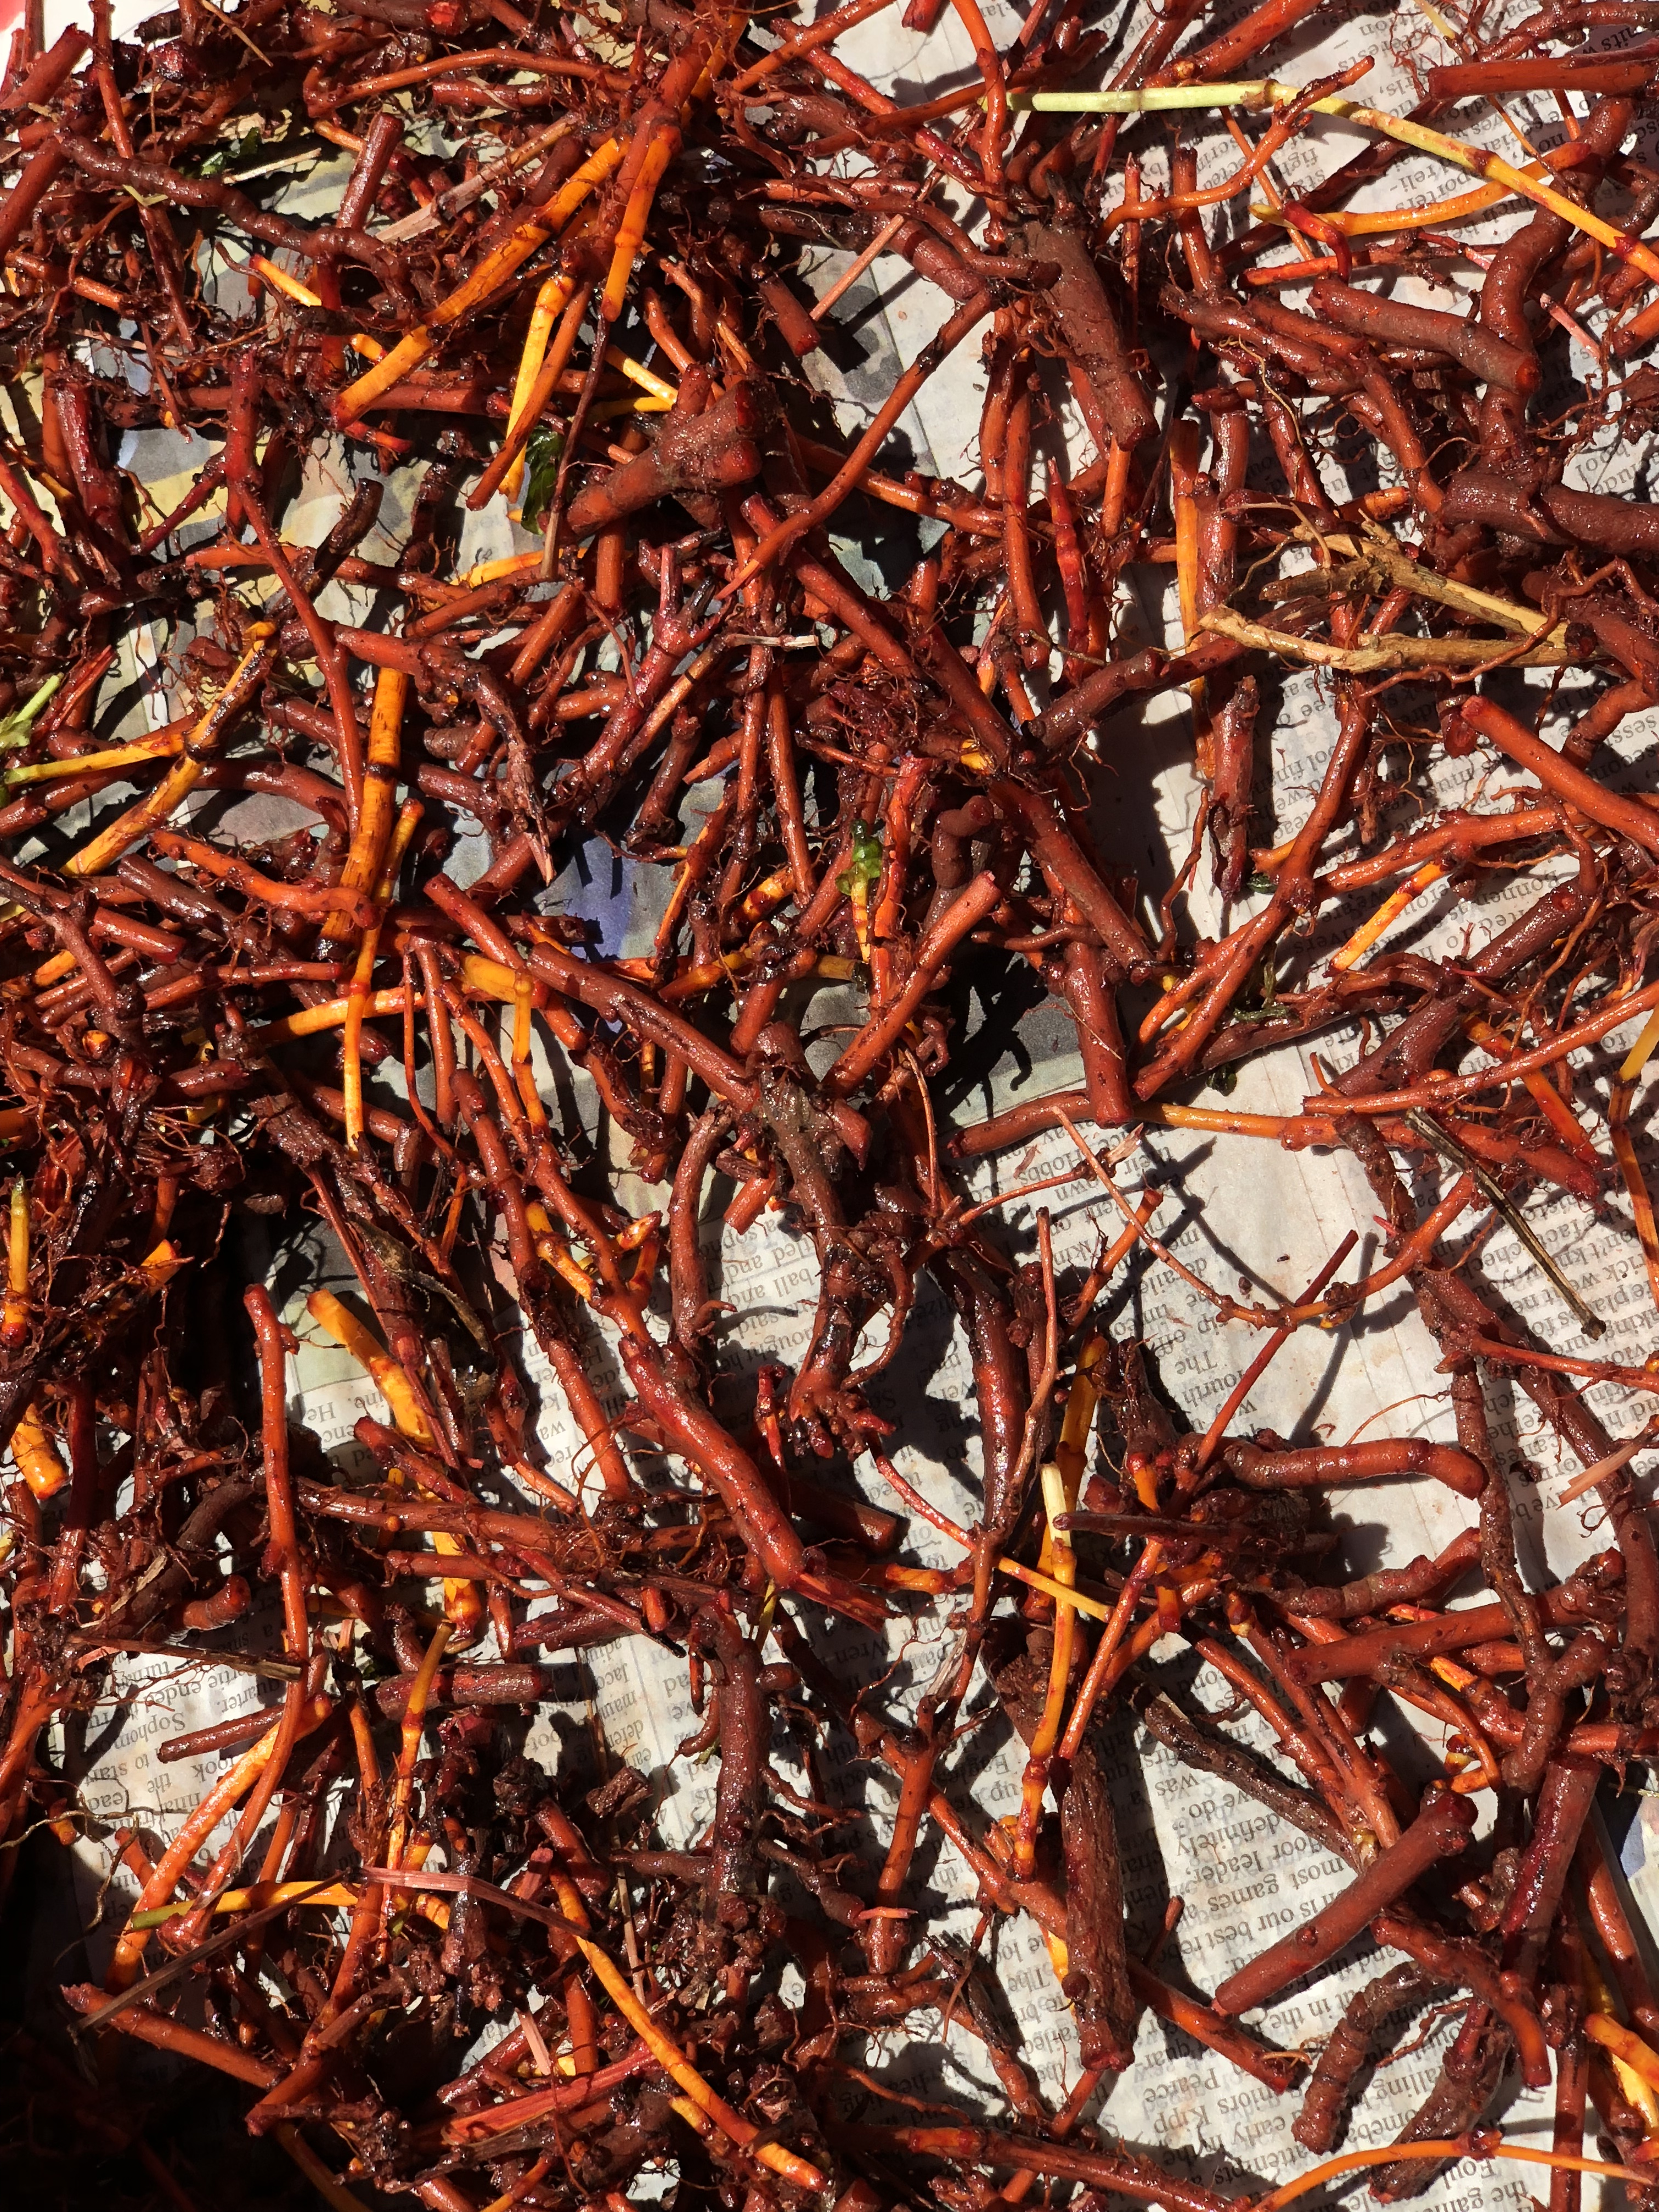
After getting rid of the muck I rinse a final time and start sorting and final trimming. I end up with 3 buckets of goods. The greens get dumped back into the madder garden. As I trim, I separate out the large roots from the younger, more immature roots. My plan is to run comparison baths to show the depth of shade in the young versus the older roots.
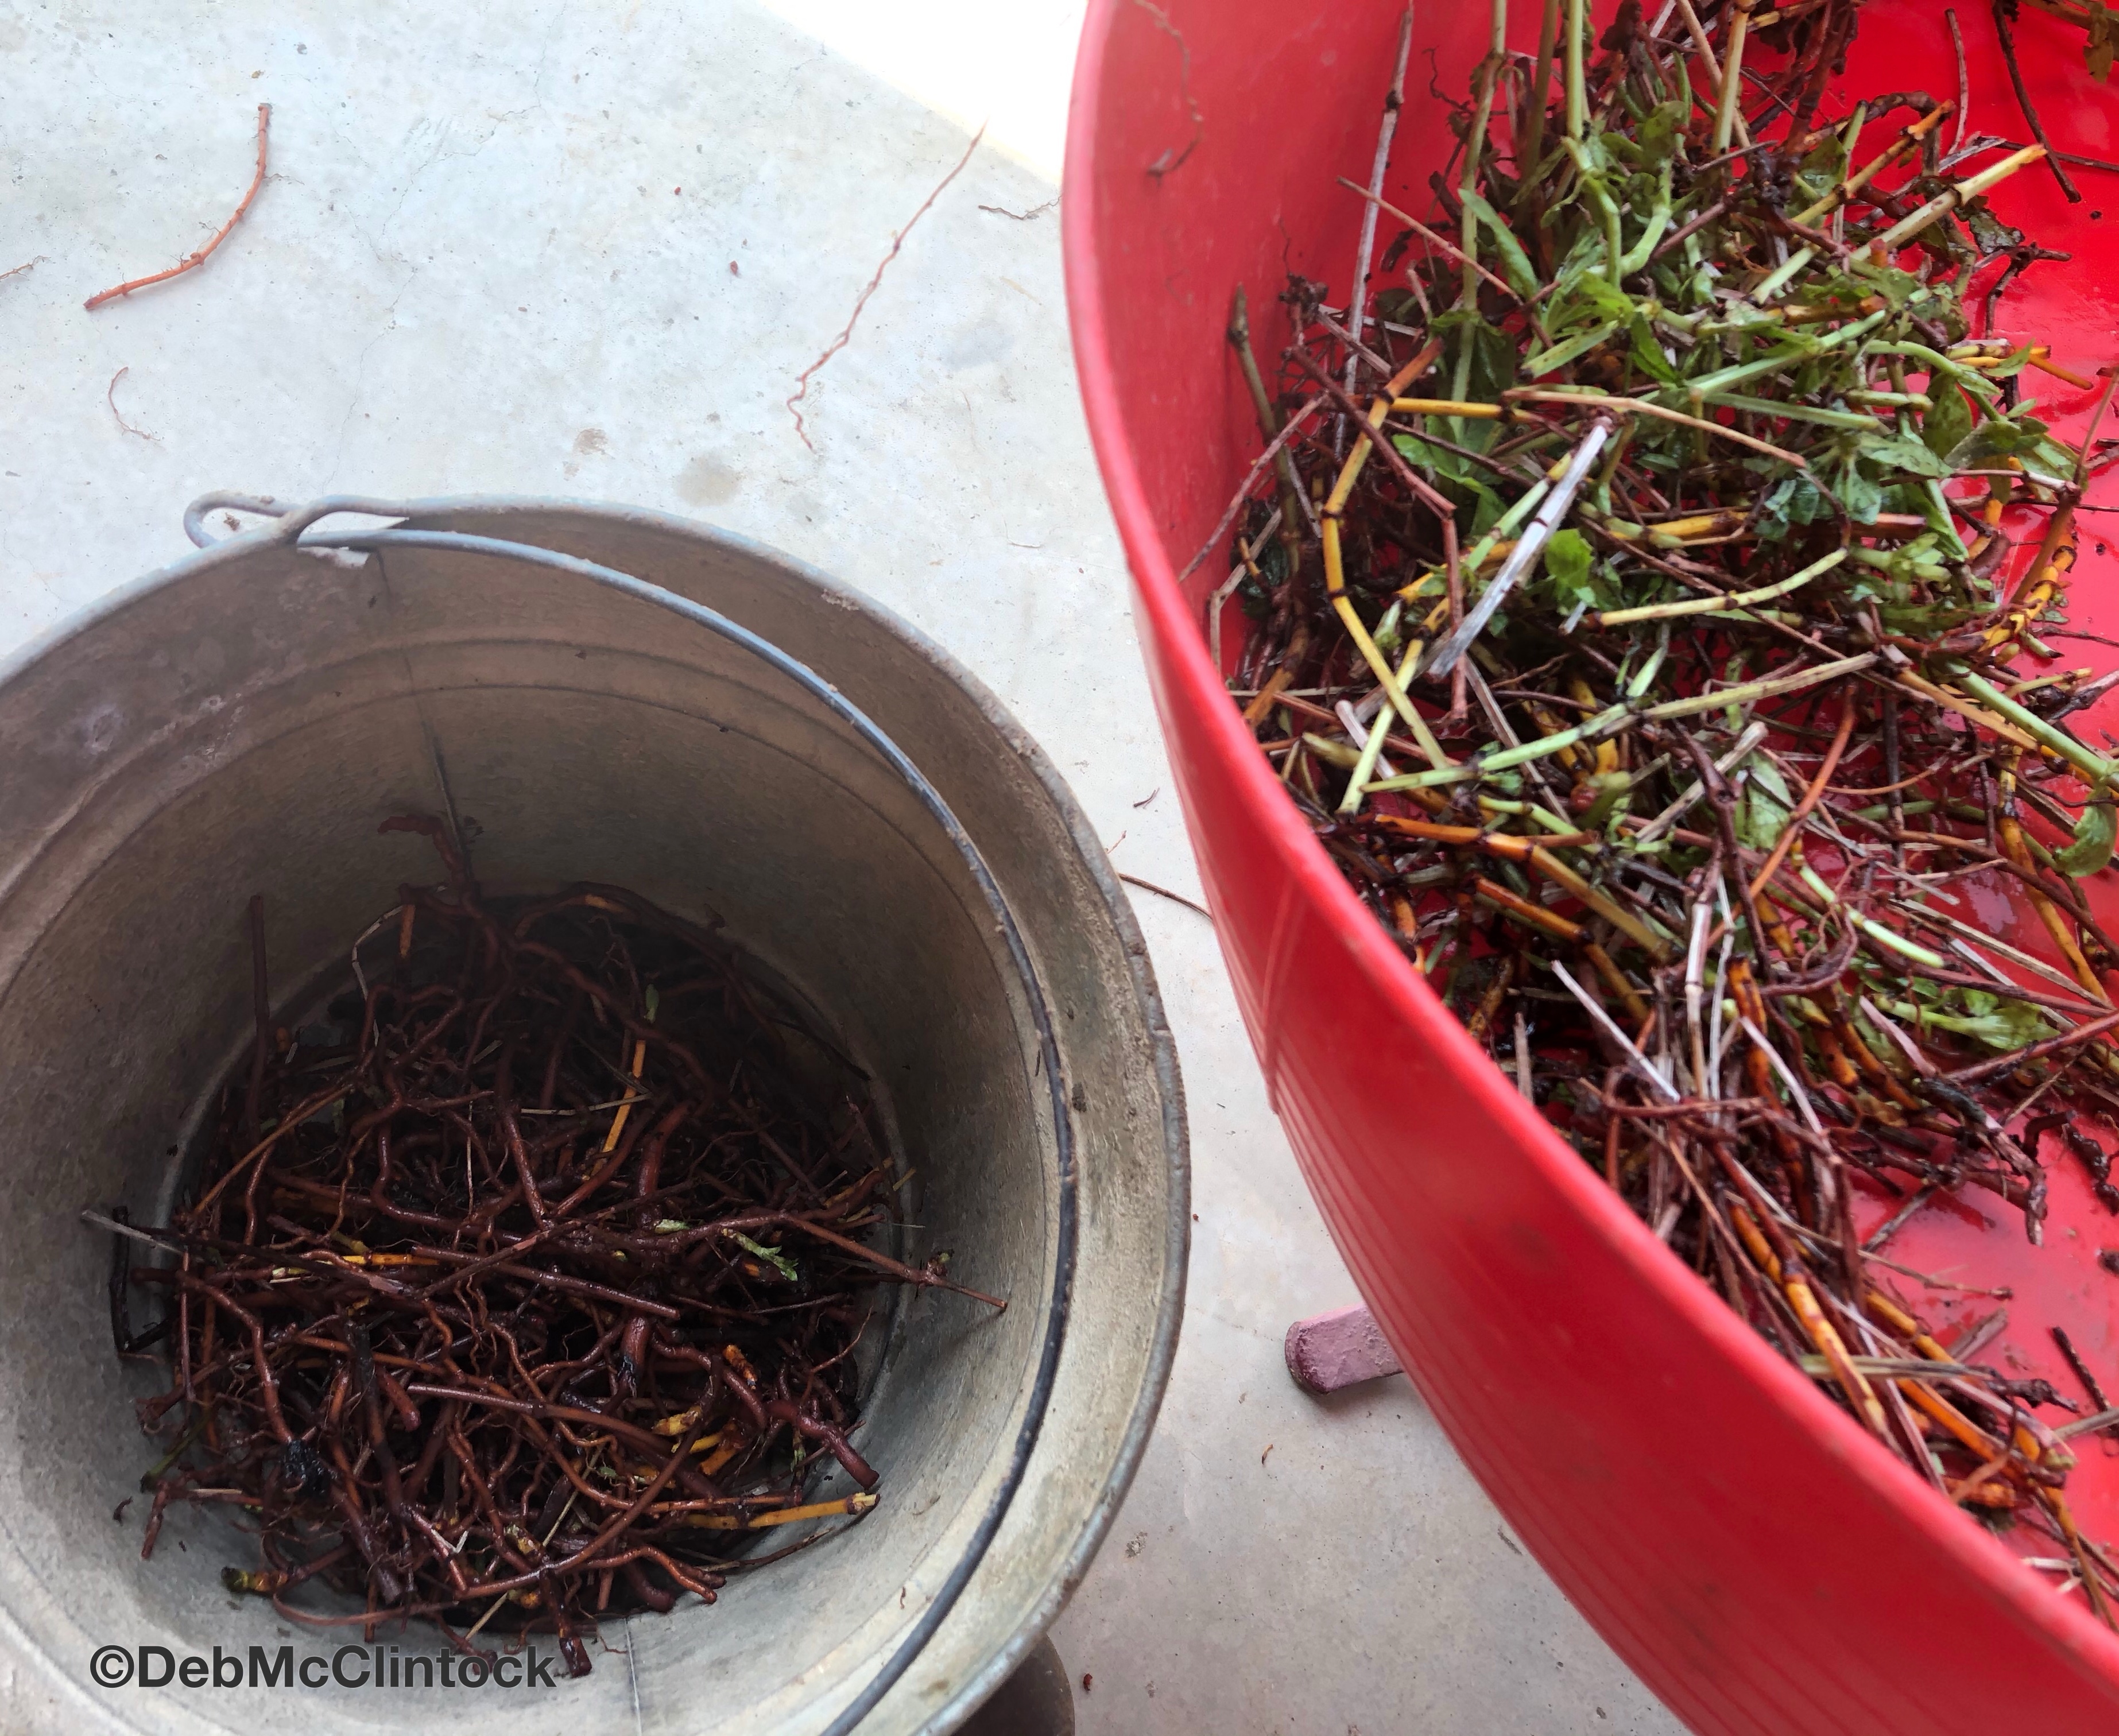
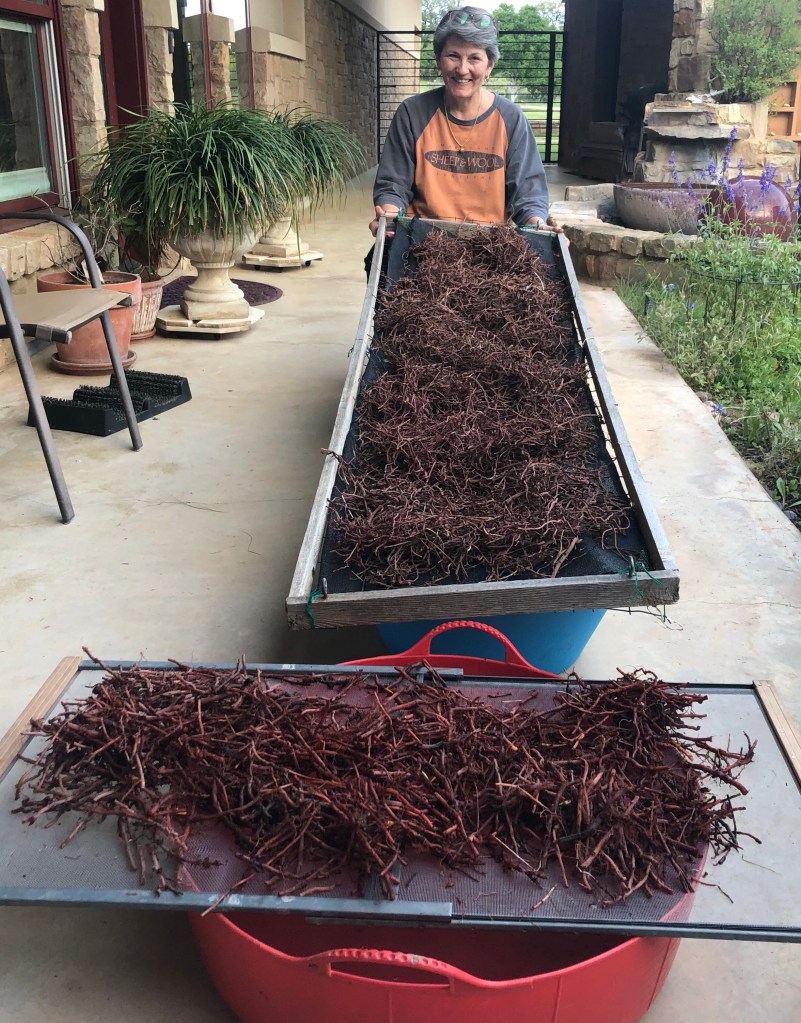
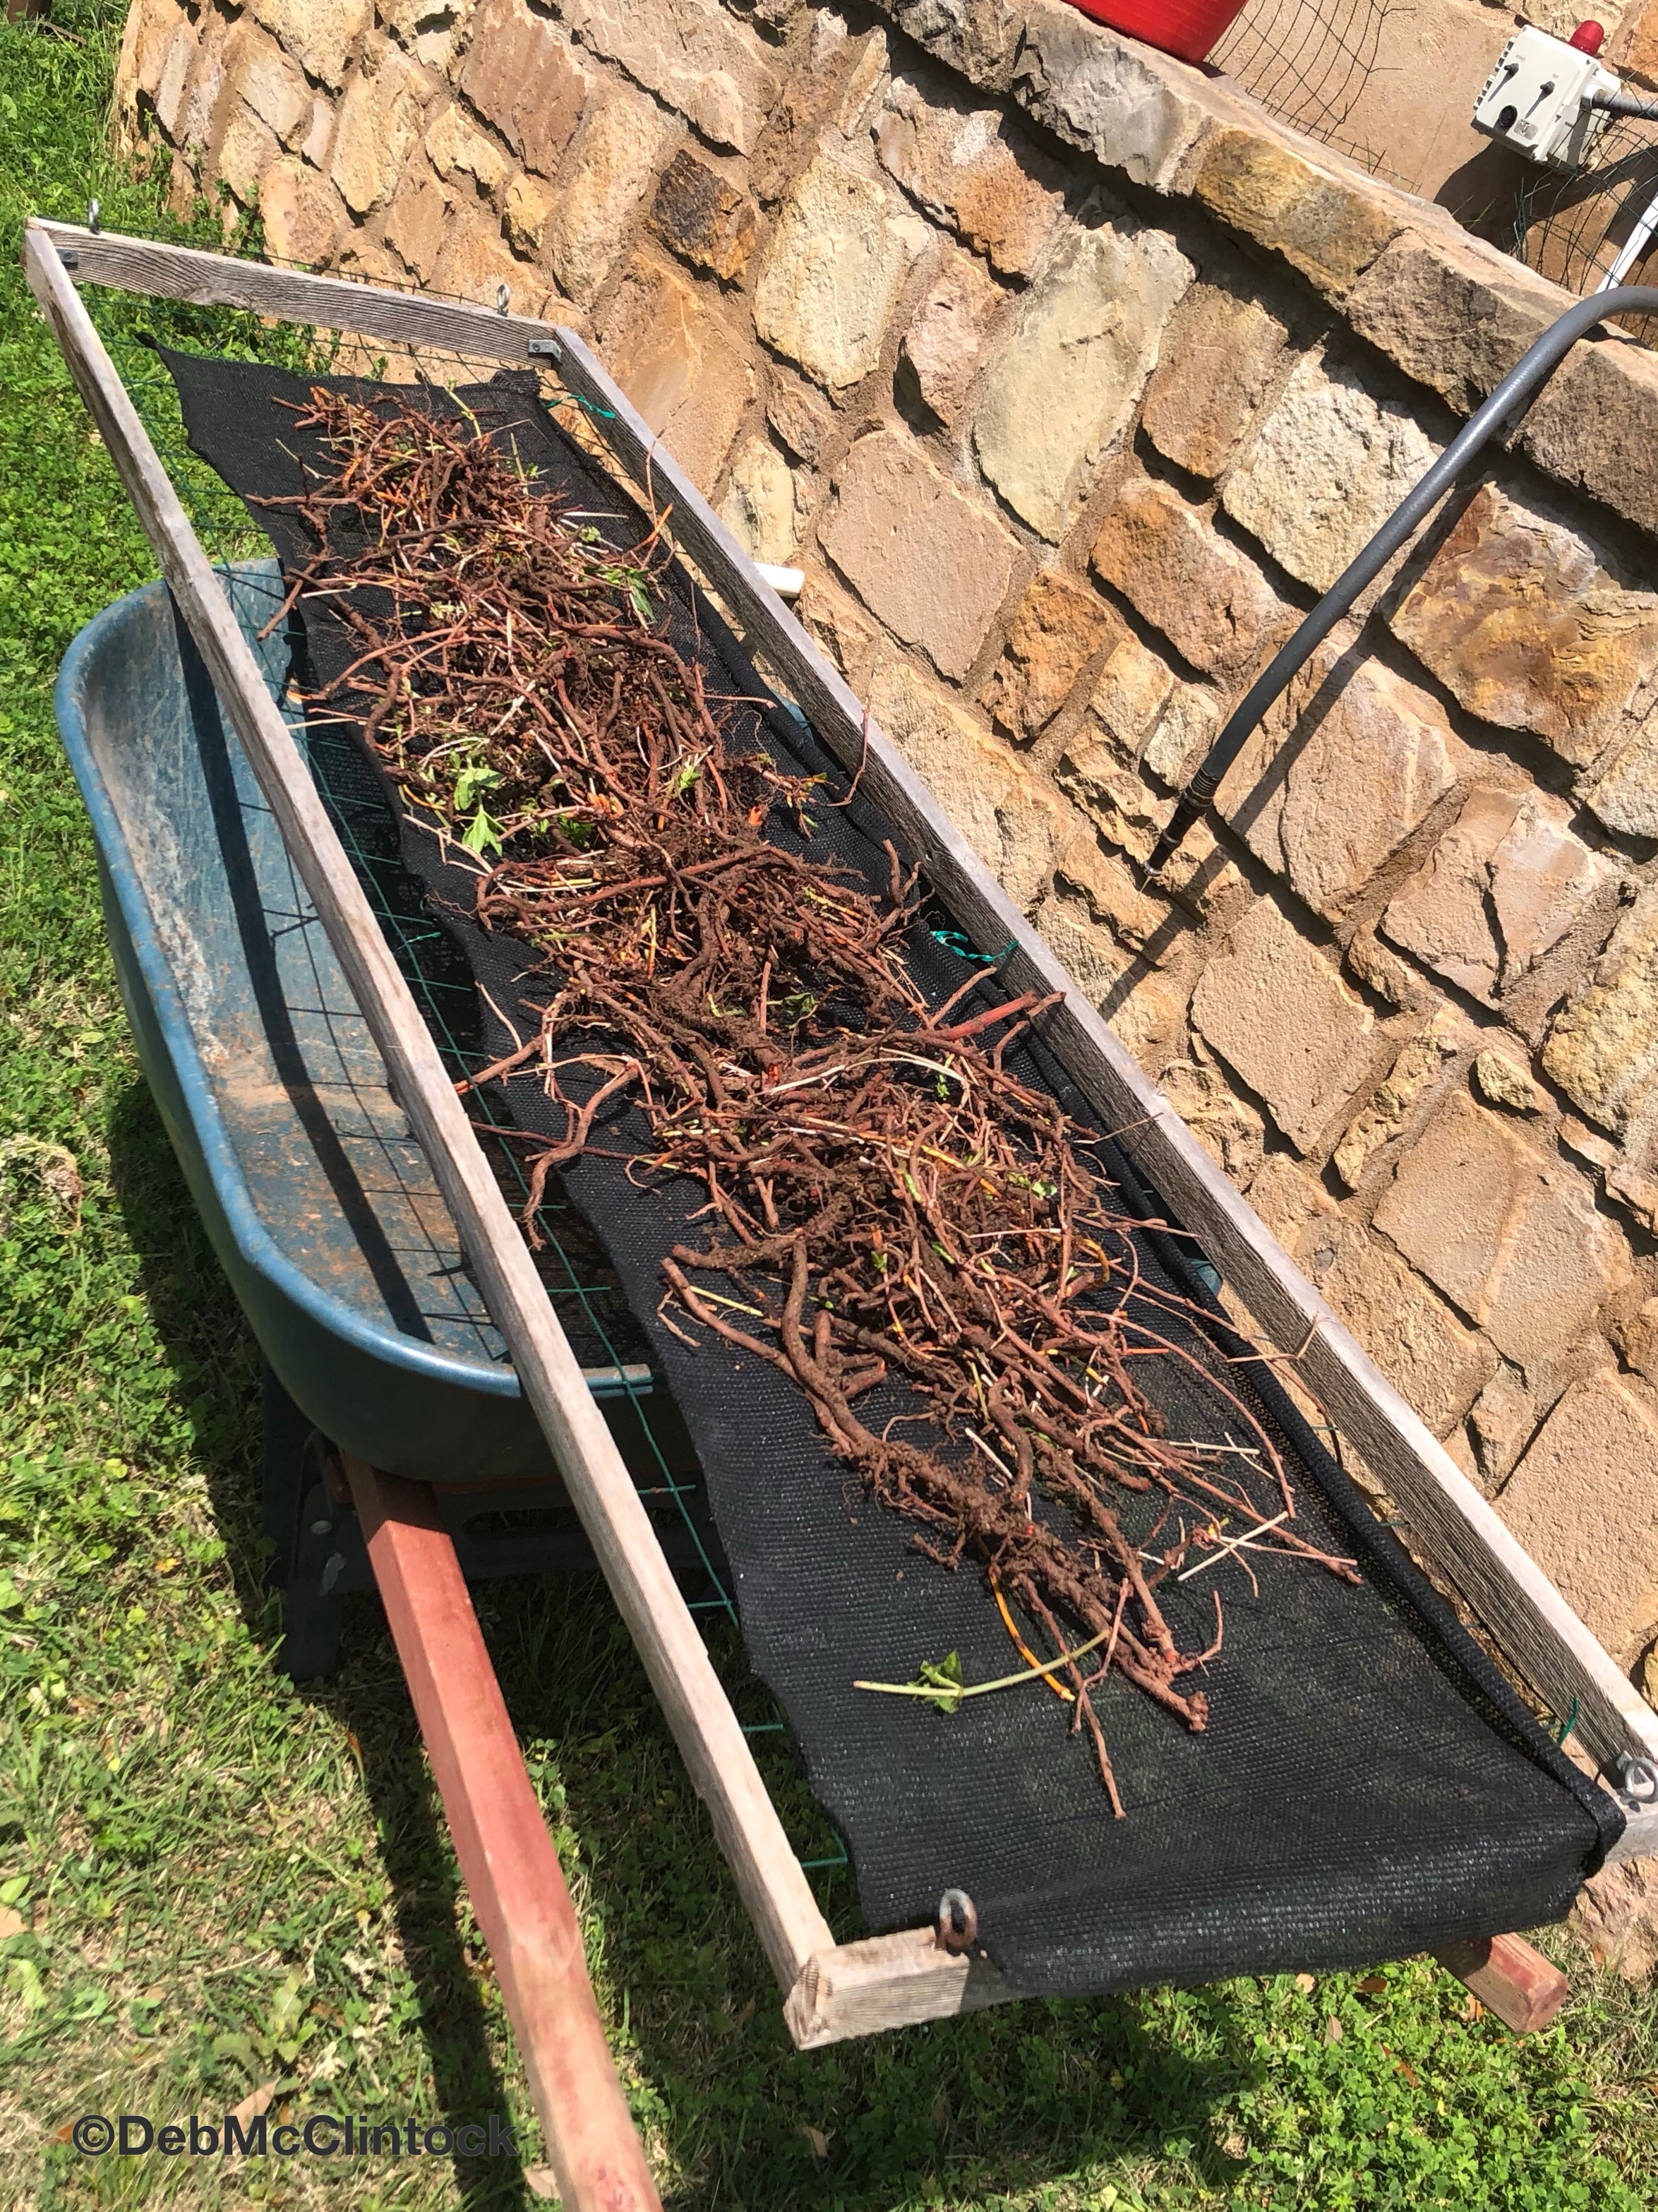
Finally, I put the sorted roots out to dry. It is important to dry the roots with good circulation so mold does not set in. I do cover this screen and the harvest with another screen to protect it from winds and nibblers.

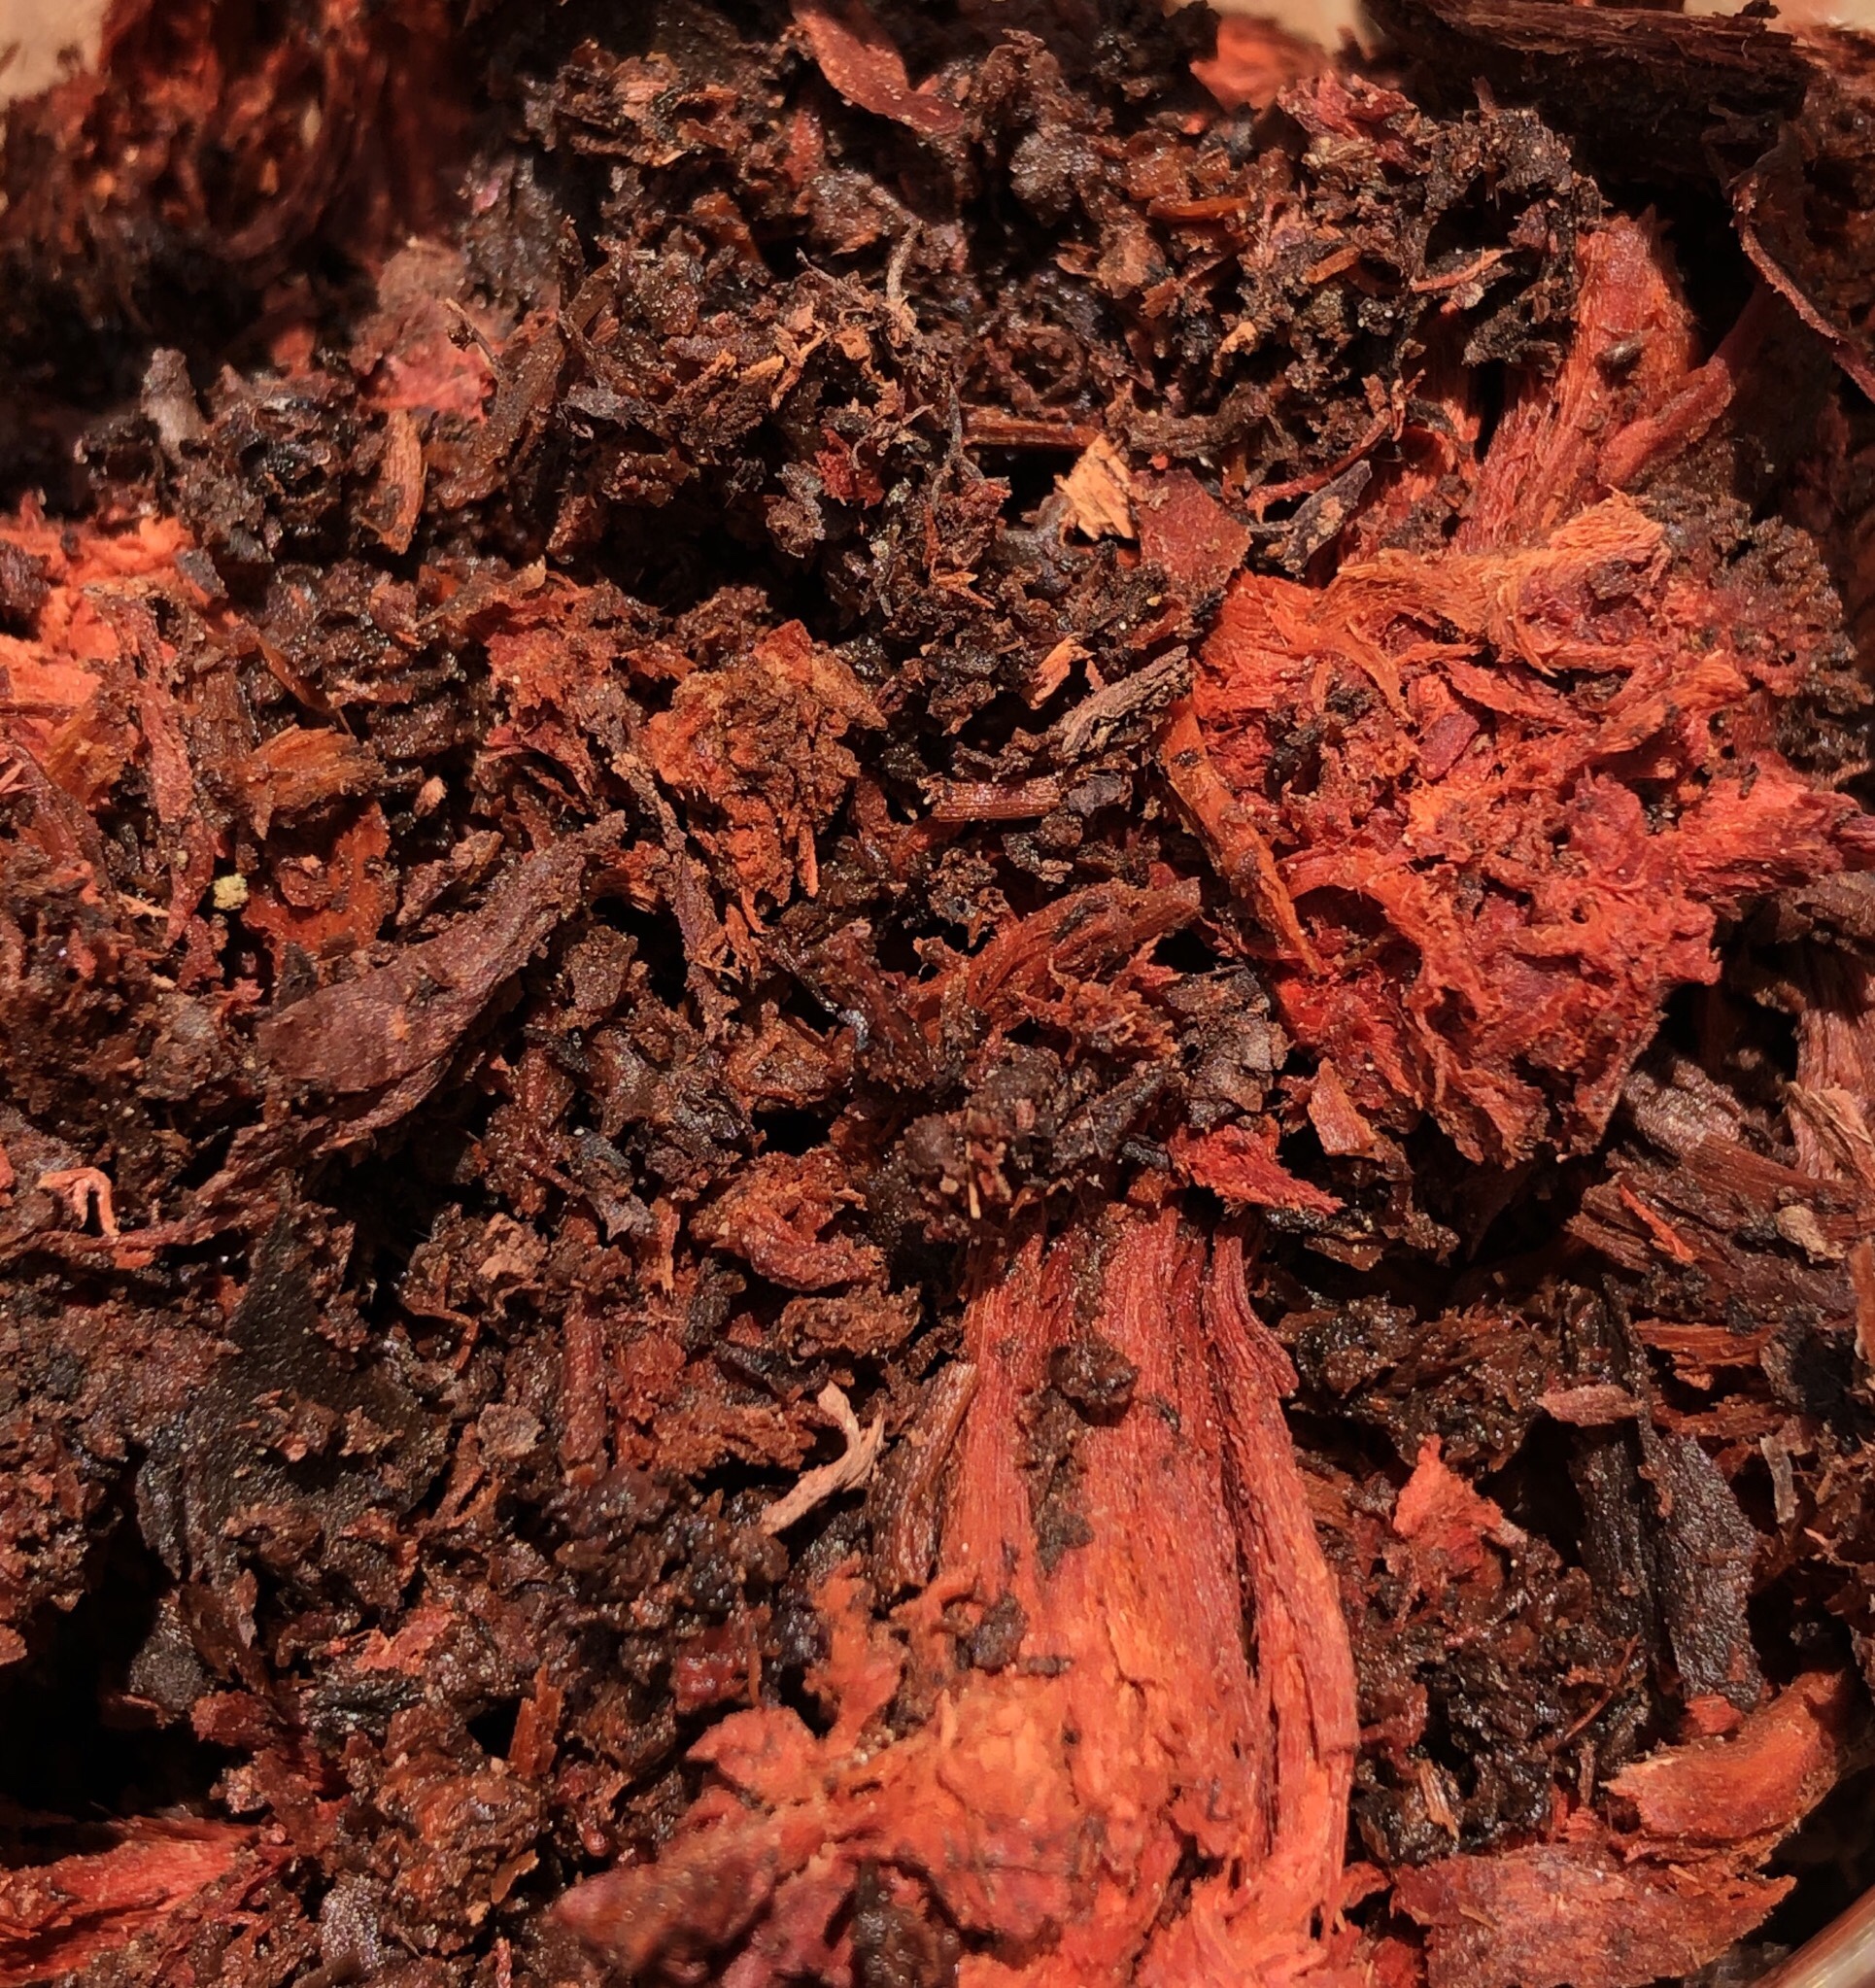
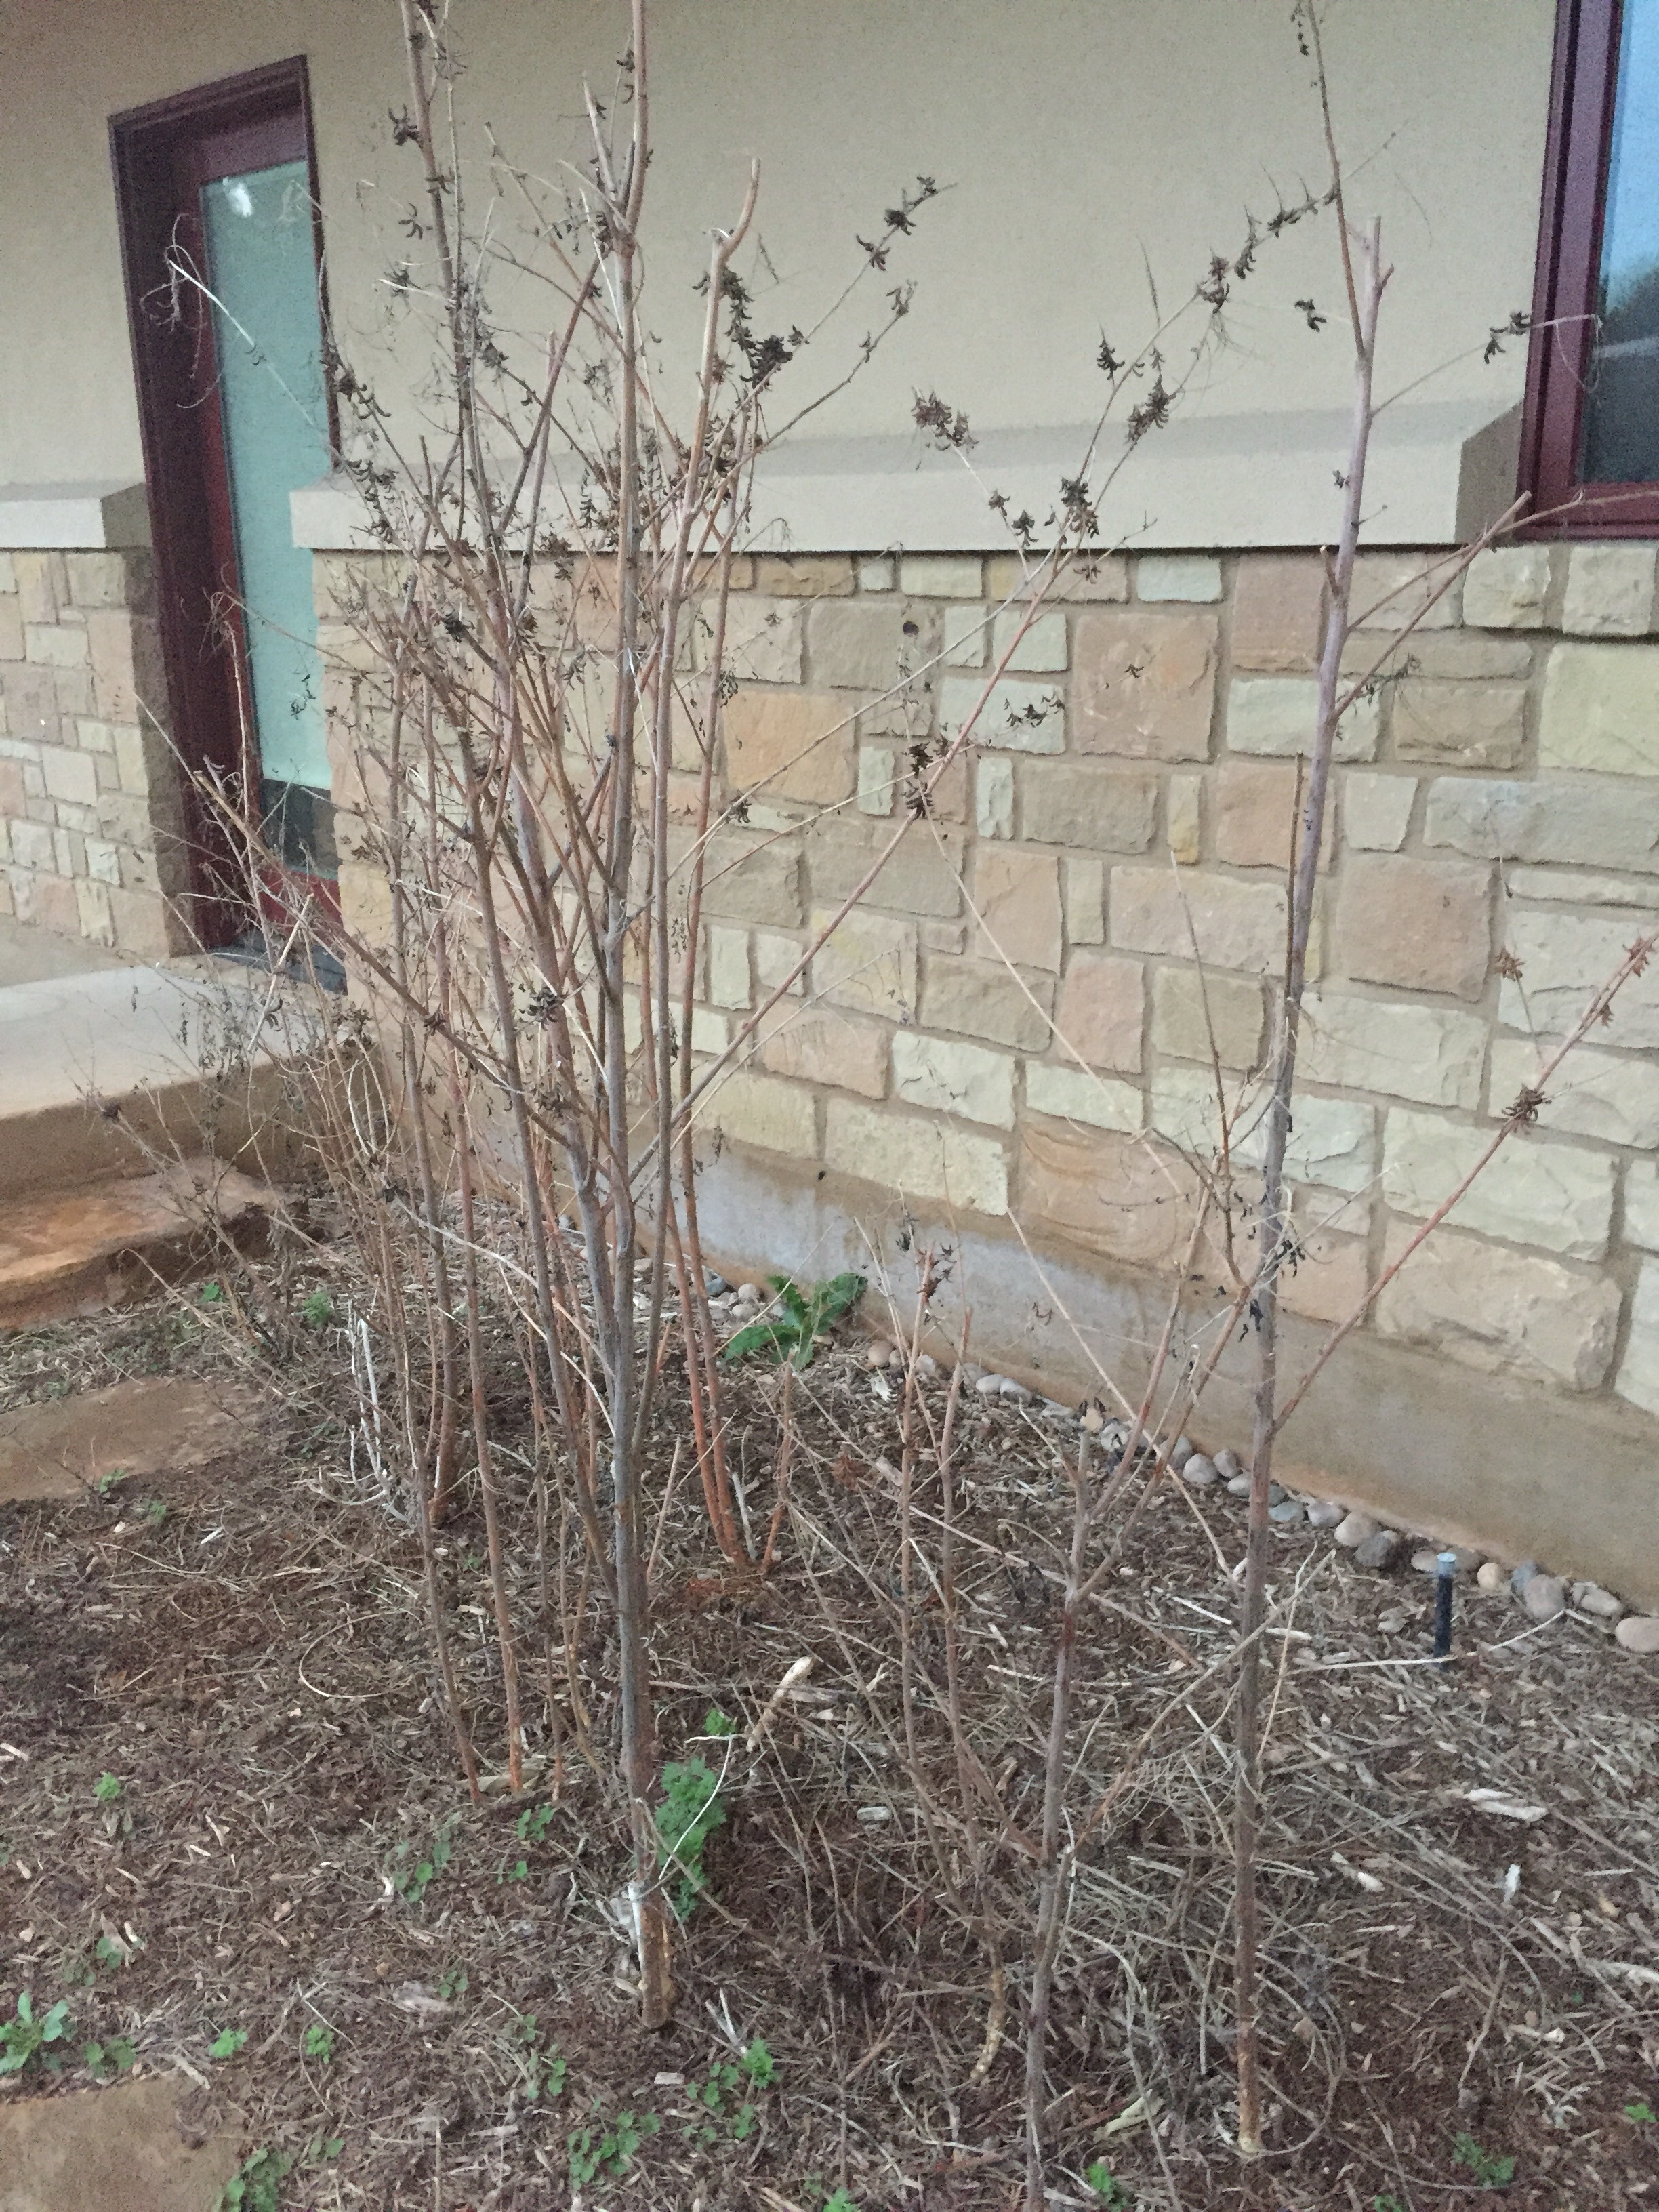
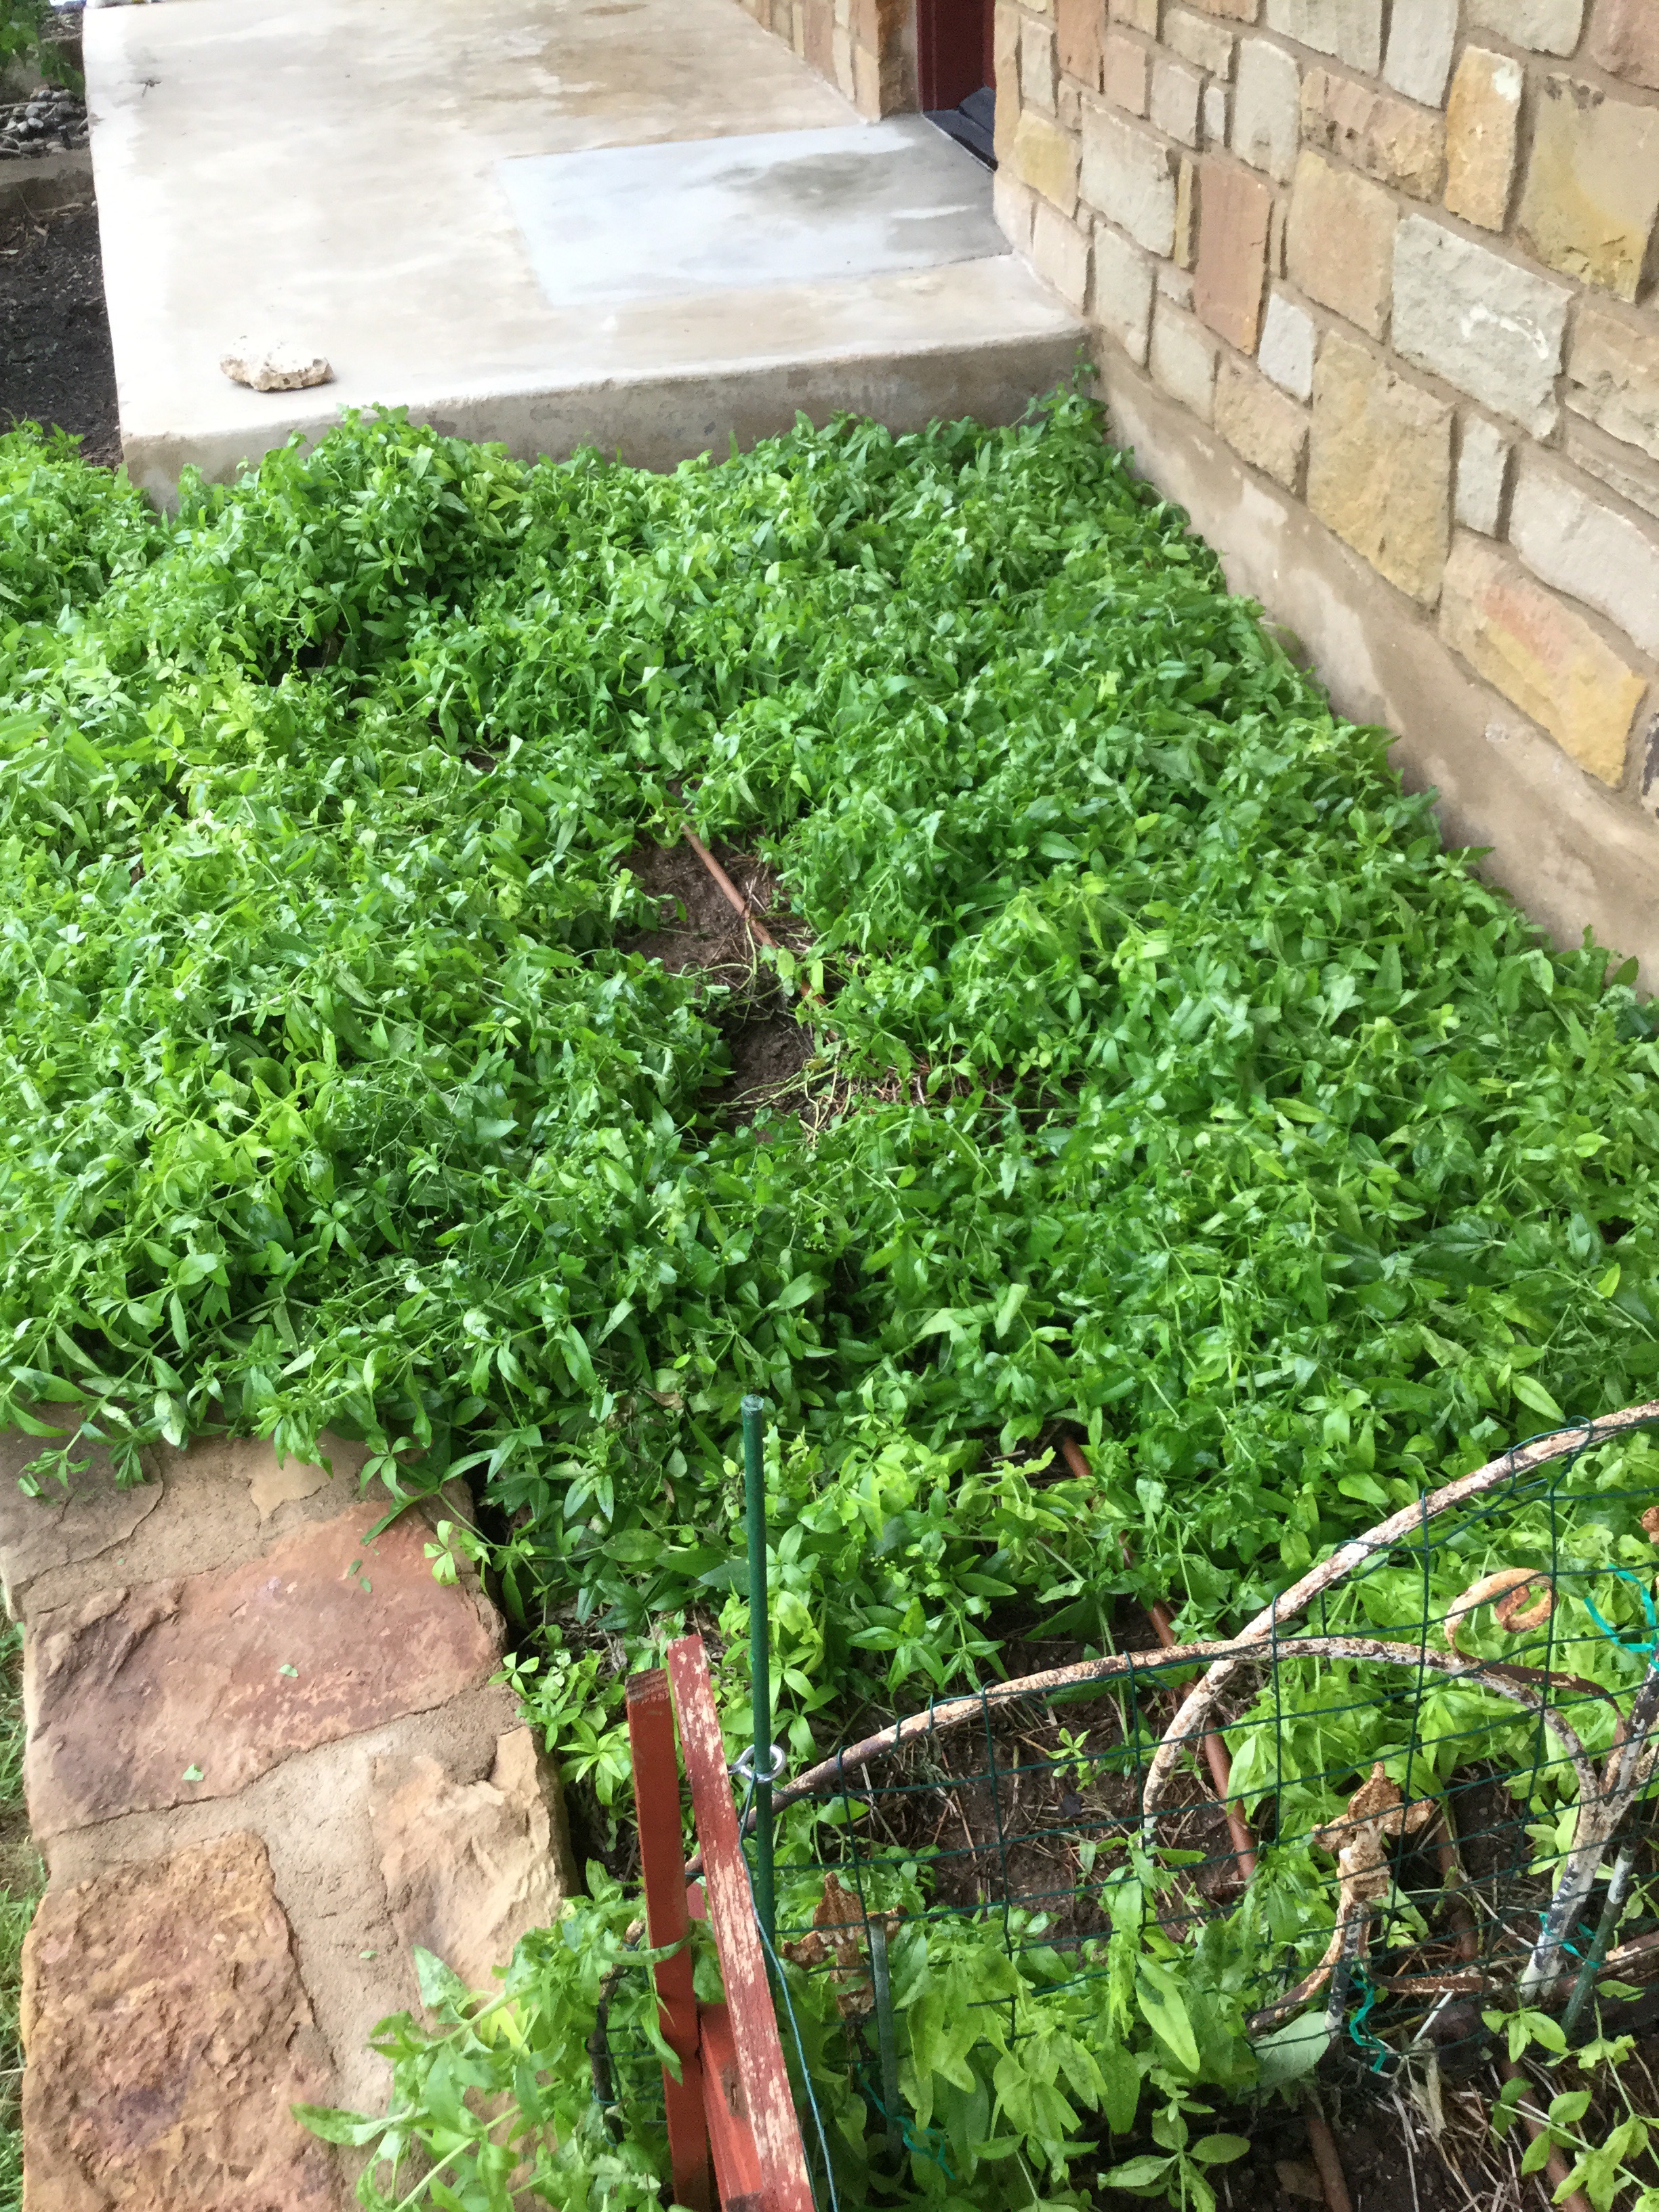
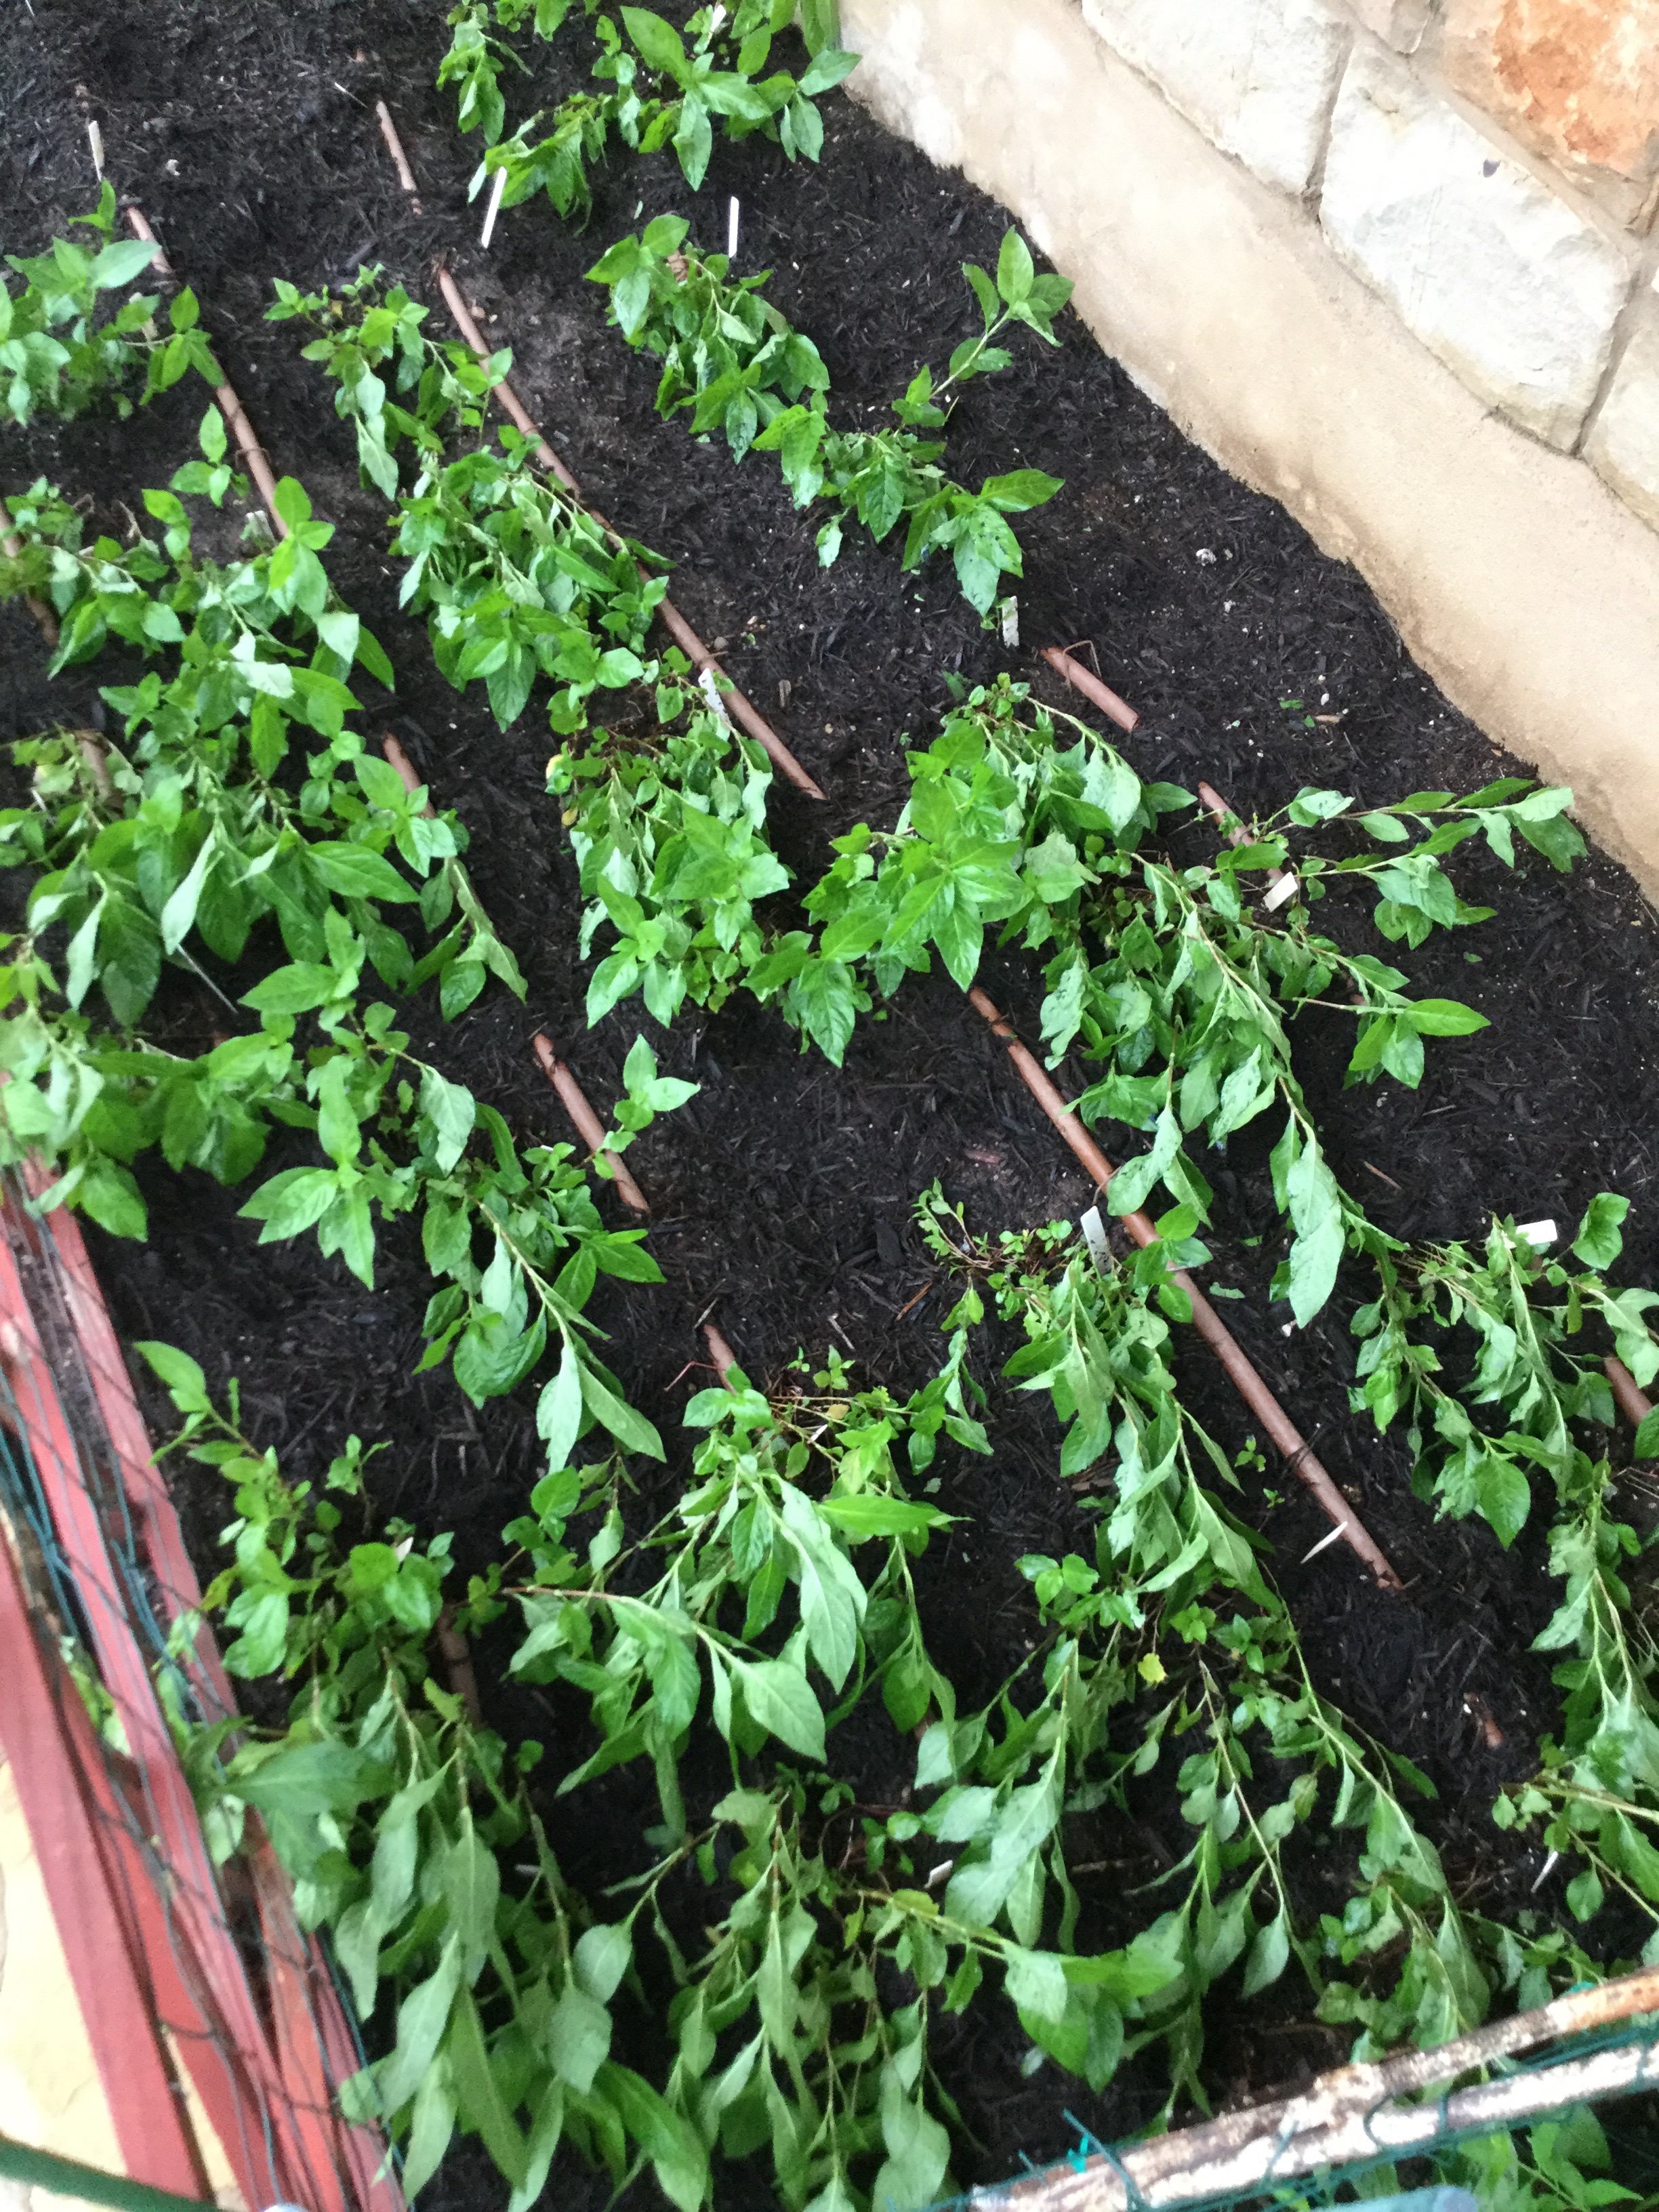
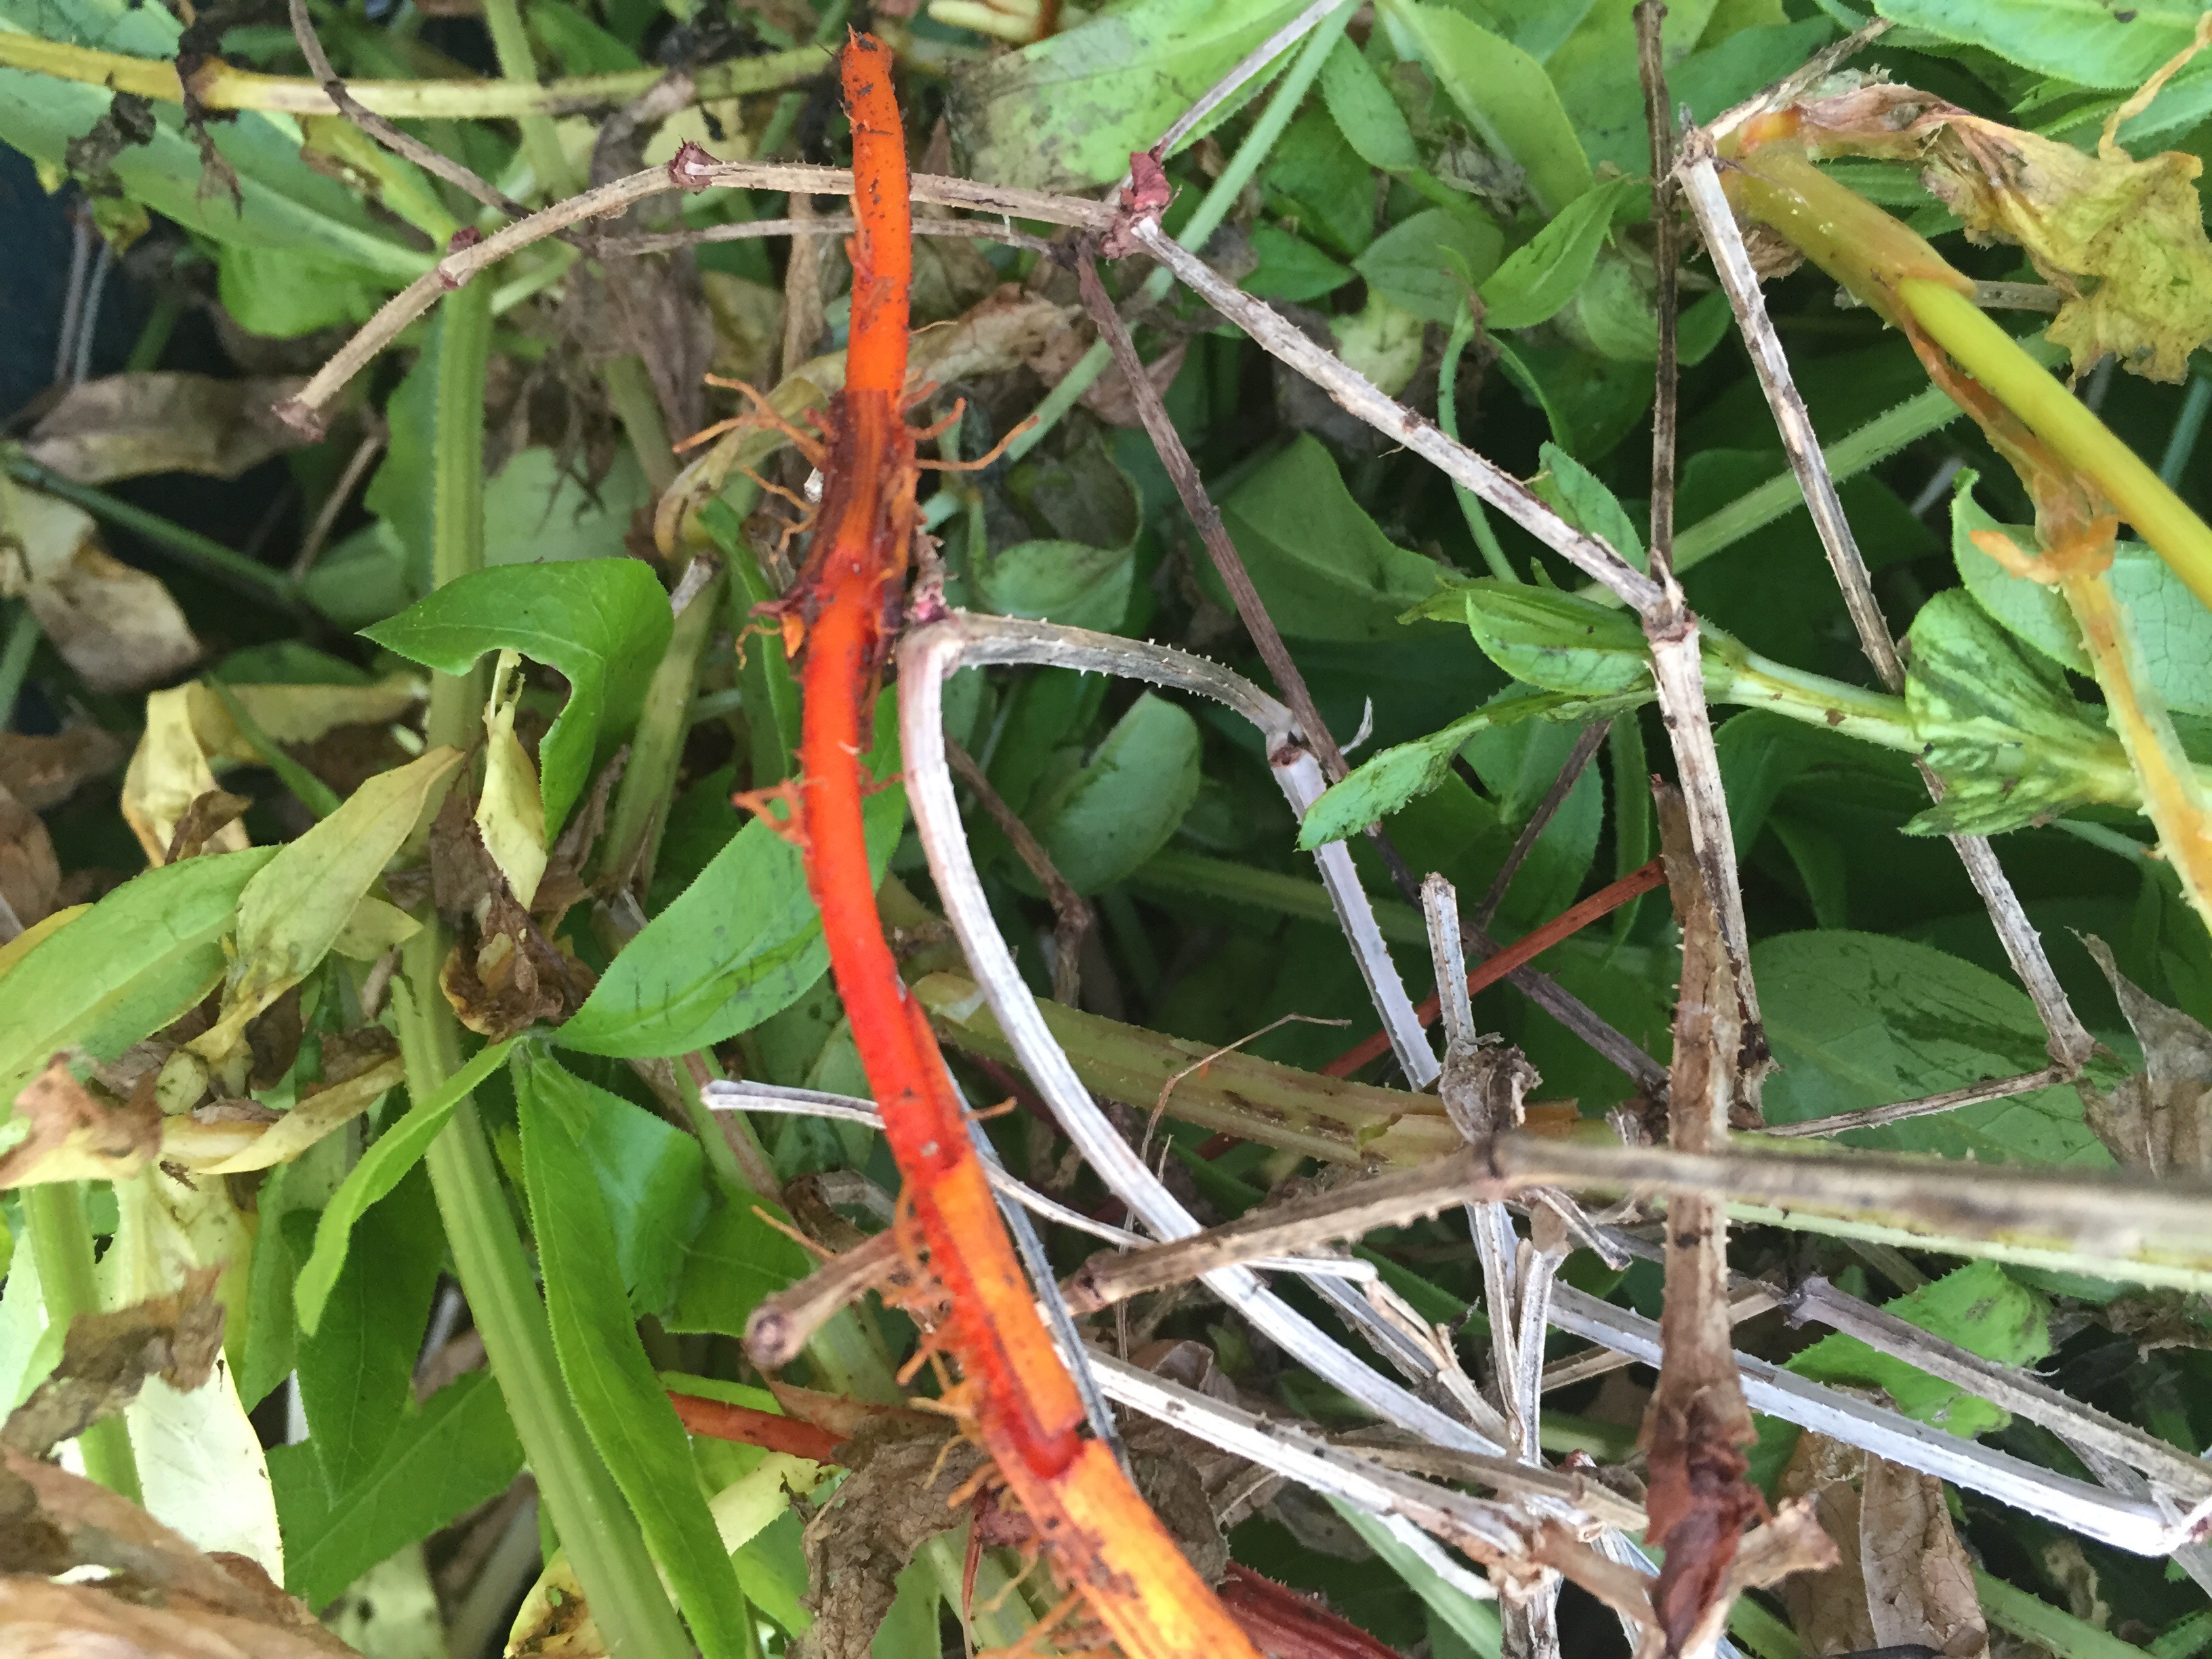
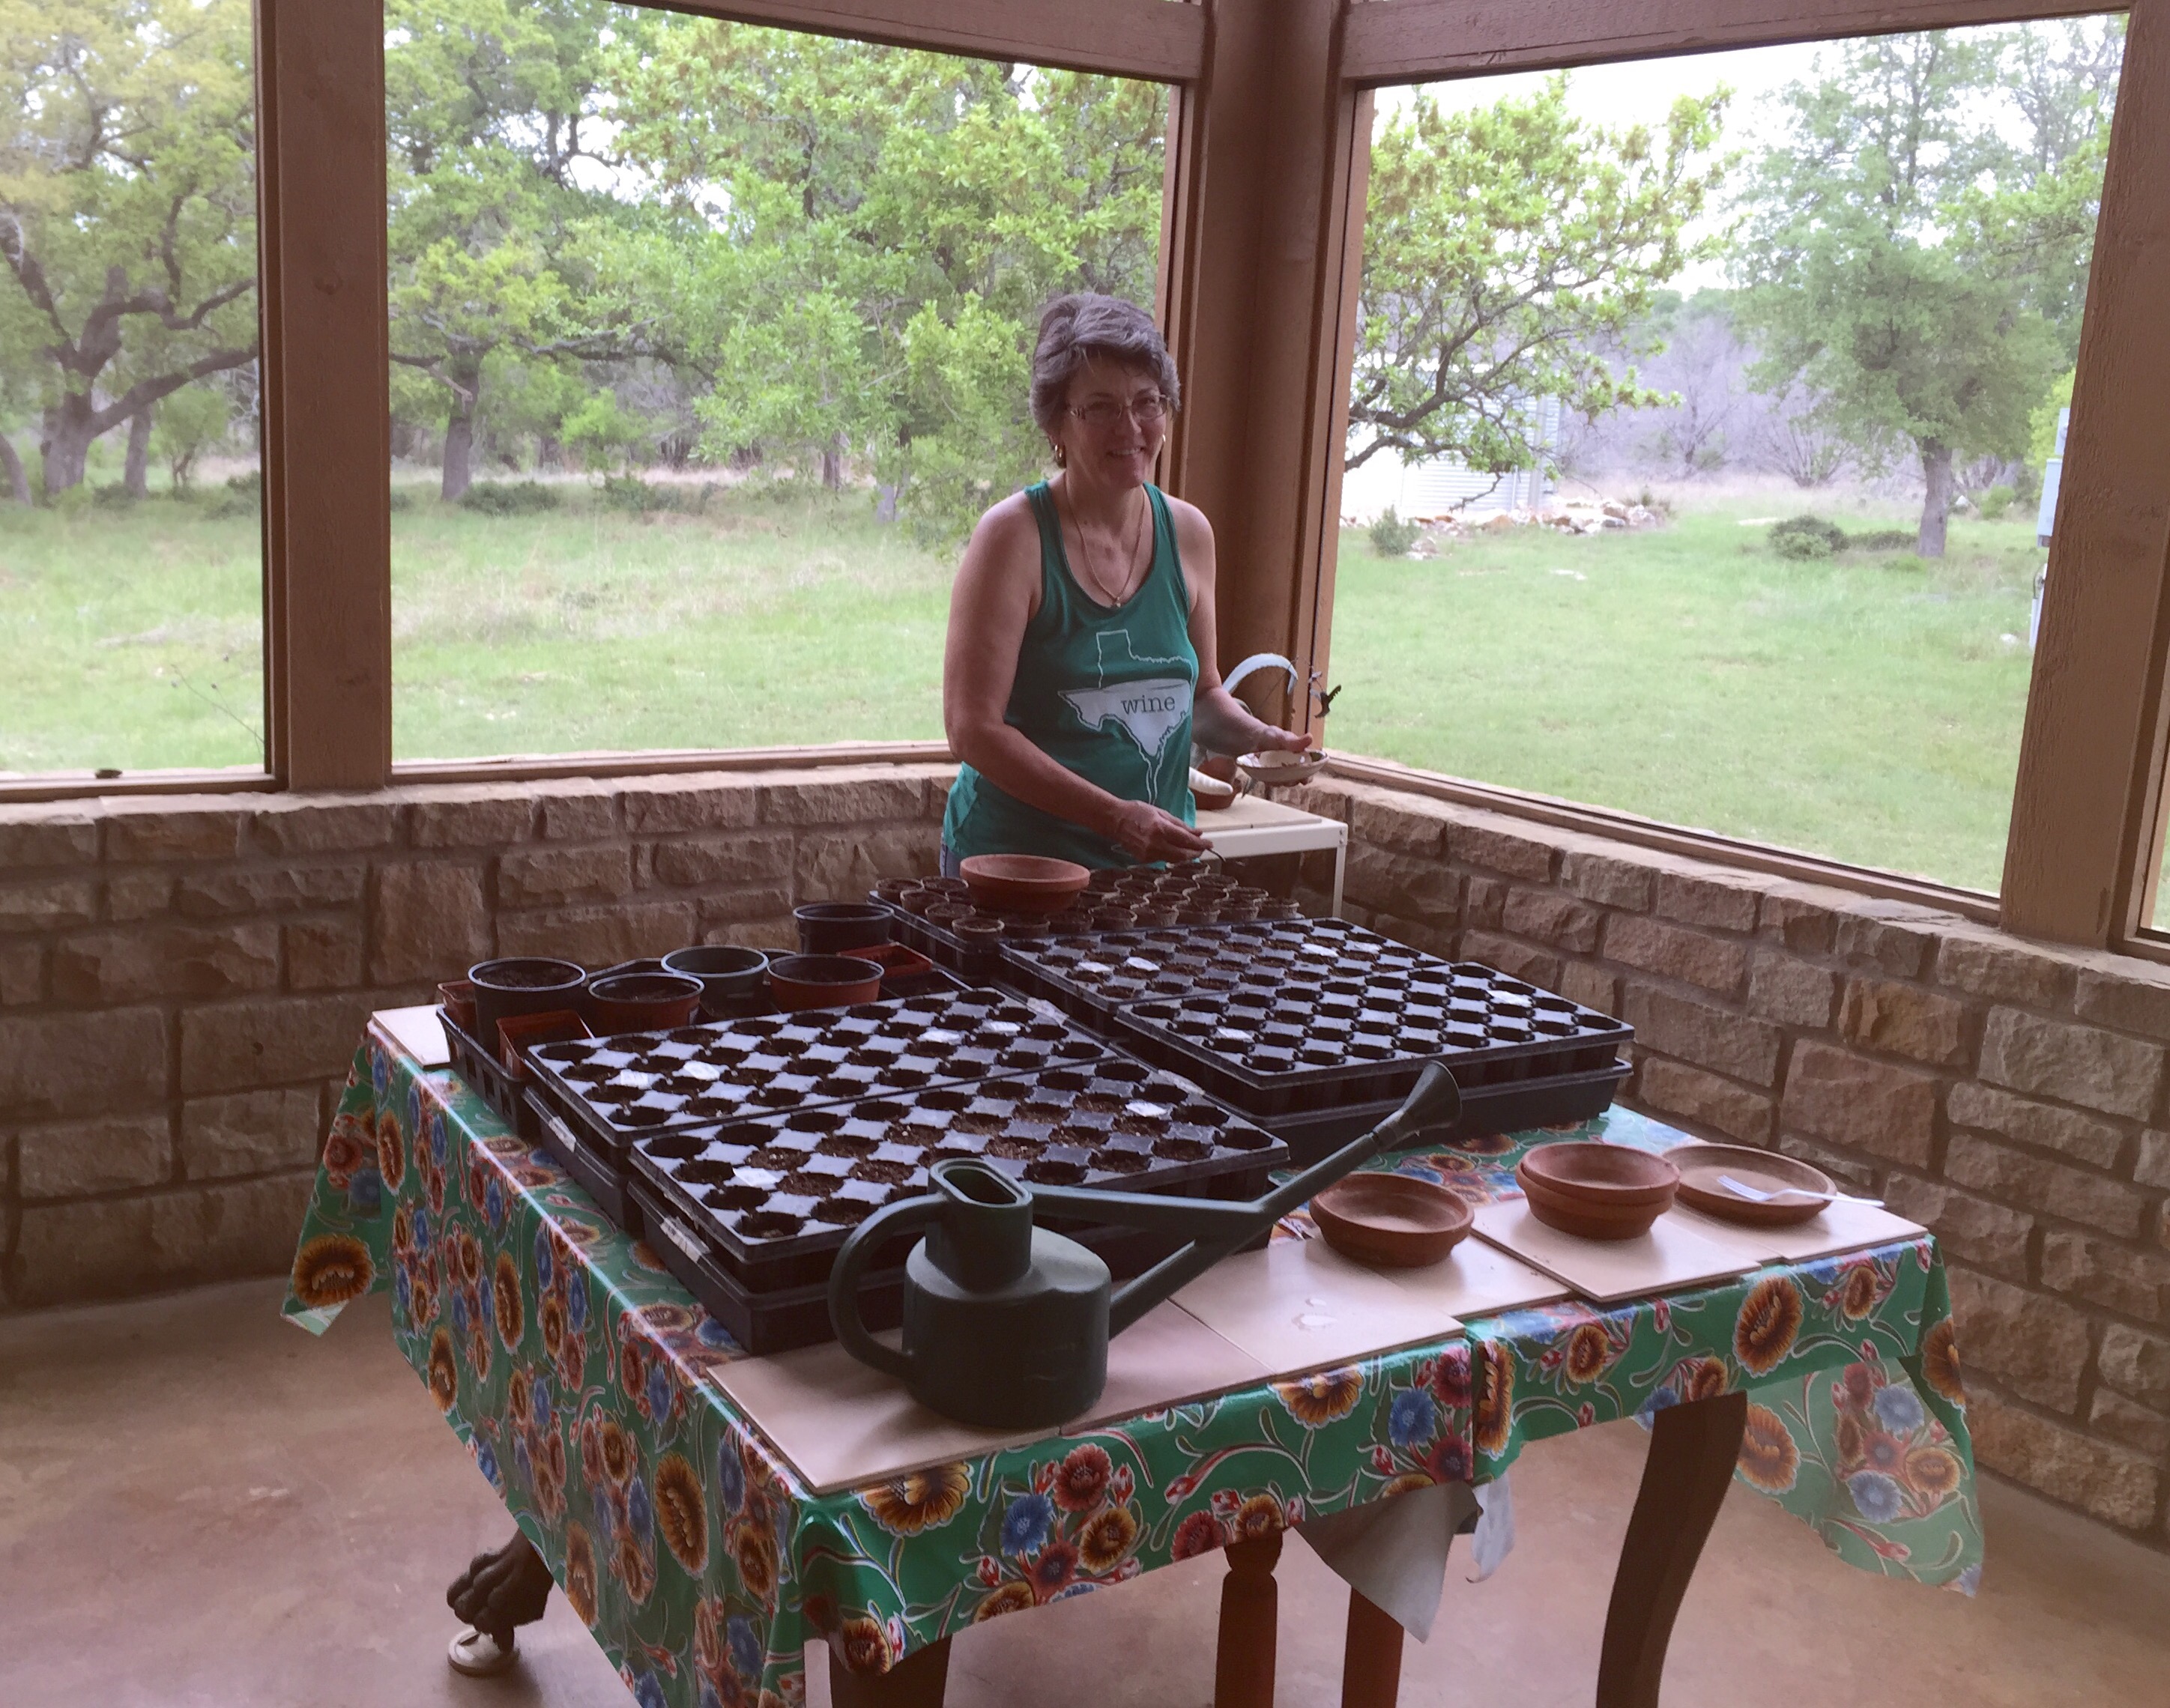
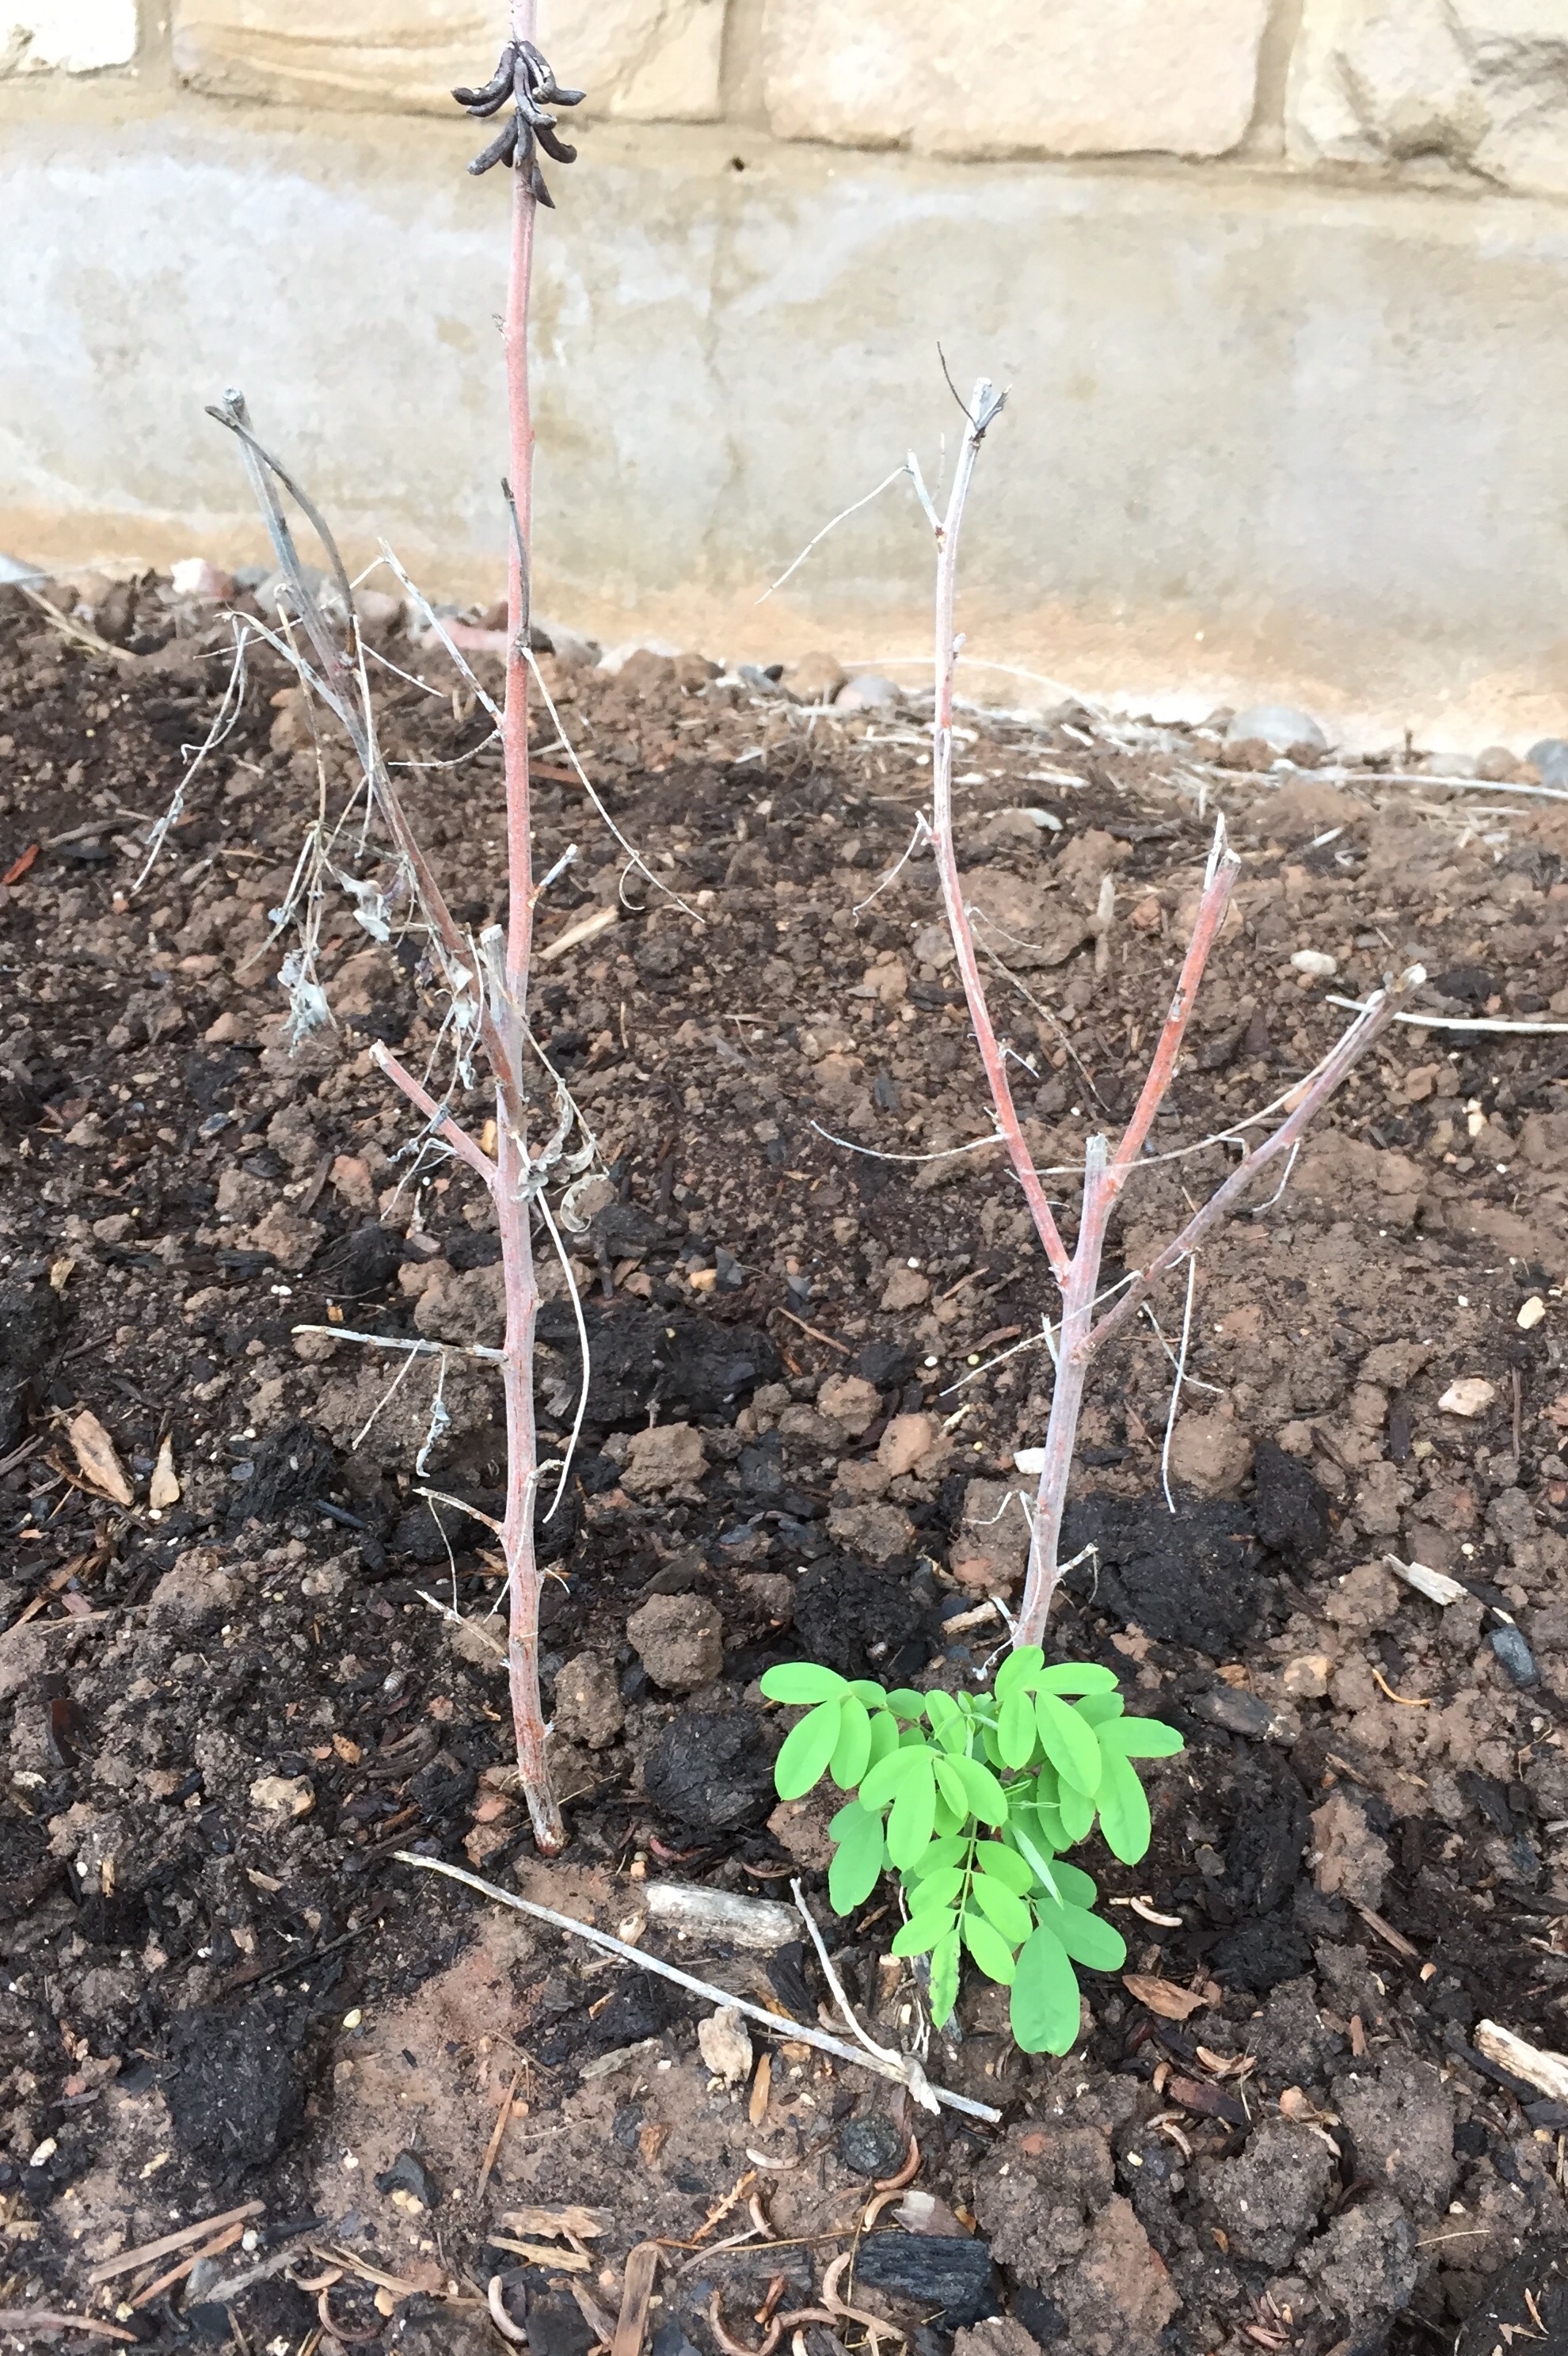
Finally, I post this older photo to remind me and you why I grow & dig this root.

Take care & wash your hands! Deb Mc

Elder care vs Dyepot

17 Sep

So many things on deck but I have to wait to finish them. Mom fractured her hip last Thursday and I have definitely been redirected in my explorations & write up of results. But as I sit here in the elder care eddy of life I thought I’d post pictures of what is in the pipeline and will get written about.

My effort for black without iron gave me some promising directions…the skeins wait patiently.

My time poring thru John Marshall’s library gave me more info on pulling the yellows early from a madder root bath. The roots & rice are having a party in my absence in the sun. Note my drawstring color.

My experiments at John’s indigo explorations with dried Japanese indigo leaves, fructose and lime gave me the green blue one gets from blender indigo.

Finally my pull from the Indigofera Suffruticosa waits patiently. Hopefully it is separating as we wait.

I am remembering why drying indigo leaves was so attractive to me. I pick, dry and hold them for when I have time to play.

Off to mom stuff.

Winter Garden Chores

12 Jan

Temps here in Texas are just weird this season. Japanese Indigo seeds are sprouting early. Never have they sprouted in January.

Madder root are poking new shoots out rather than going dormant. Mid-January is just not the time for this dye plant behavior.

Being the weather opportunist I had Emerald Landscape local folks out to pull a large perennial flower bed which was past its prime, weed & layout a pad for an indigo pot work area. More to come on this pot install journey later.

After 10 years here our rosemary had gotten old and overgrown and needed to be pulled. Since John & I have also gotten older as well the day of garden muscle help was most welcome.

Since I did not have to wrestle rosemary bushes out of the ground I used this wet day to trim back madder root away from acanthus bushes and save the roots for dyeing. I hate to toss red roots. The gardeners think I am nuts.

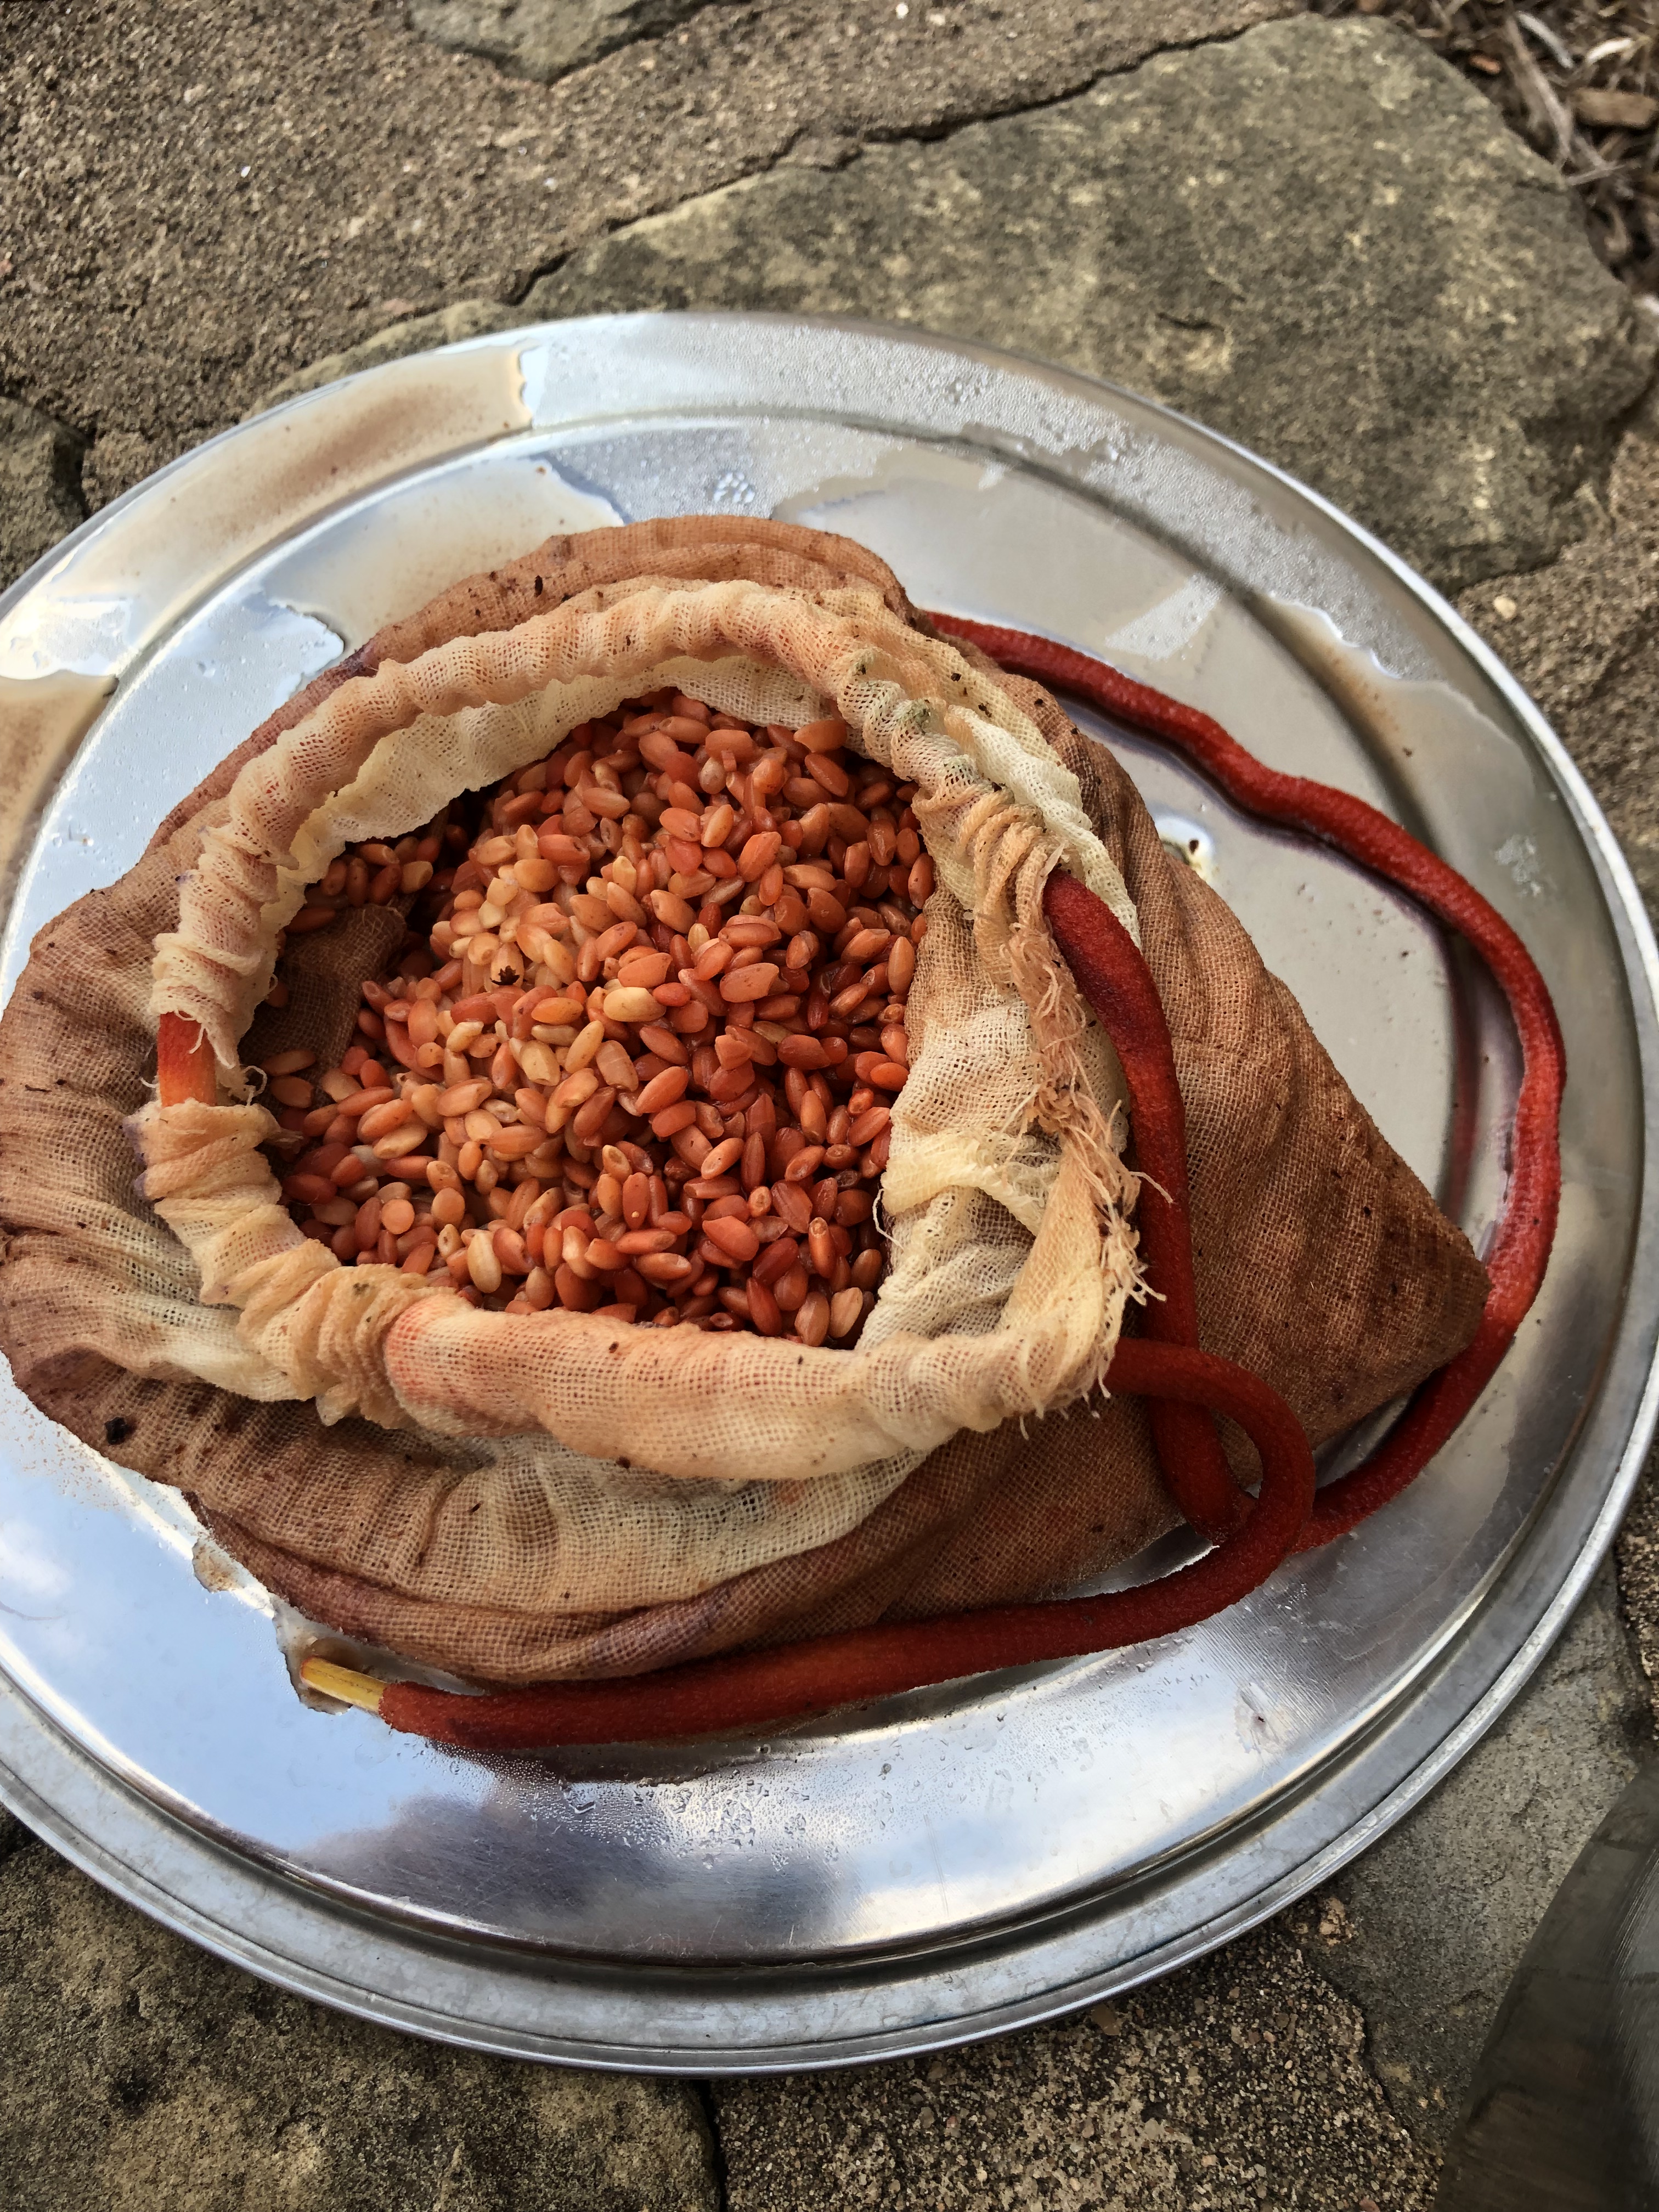
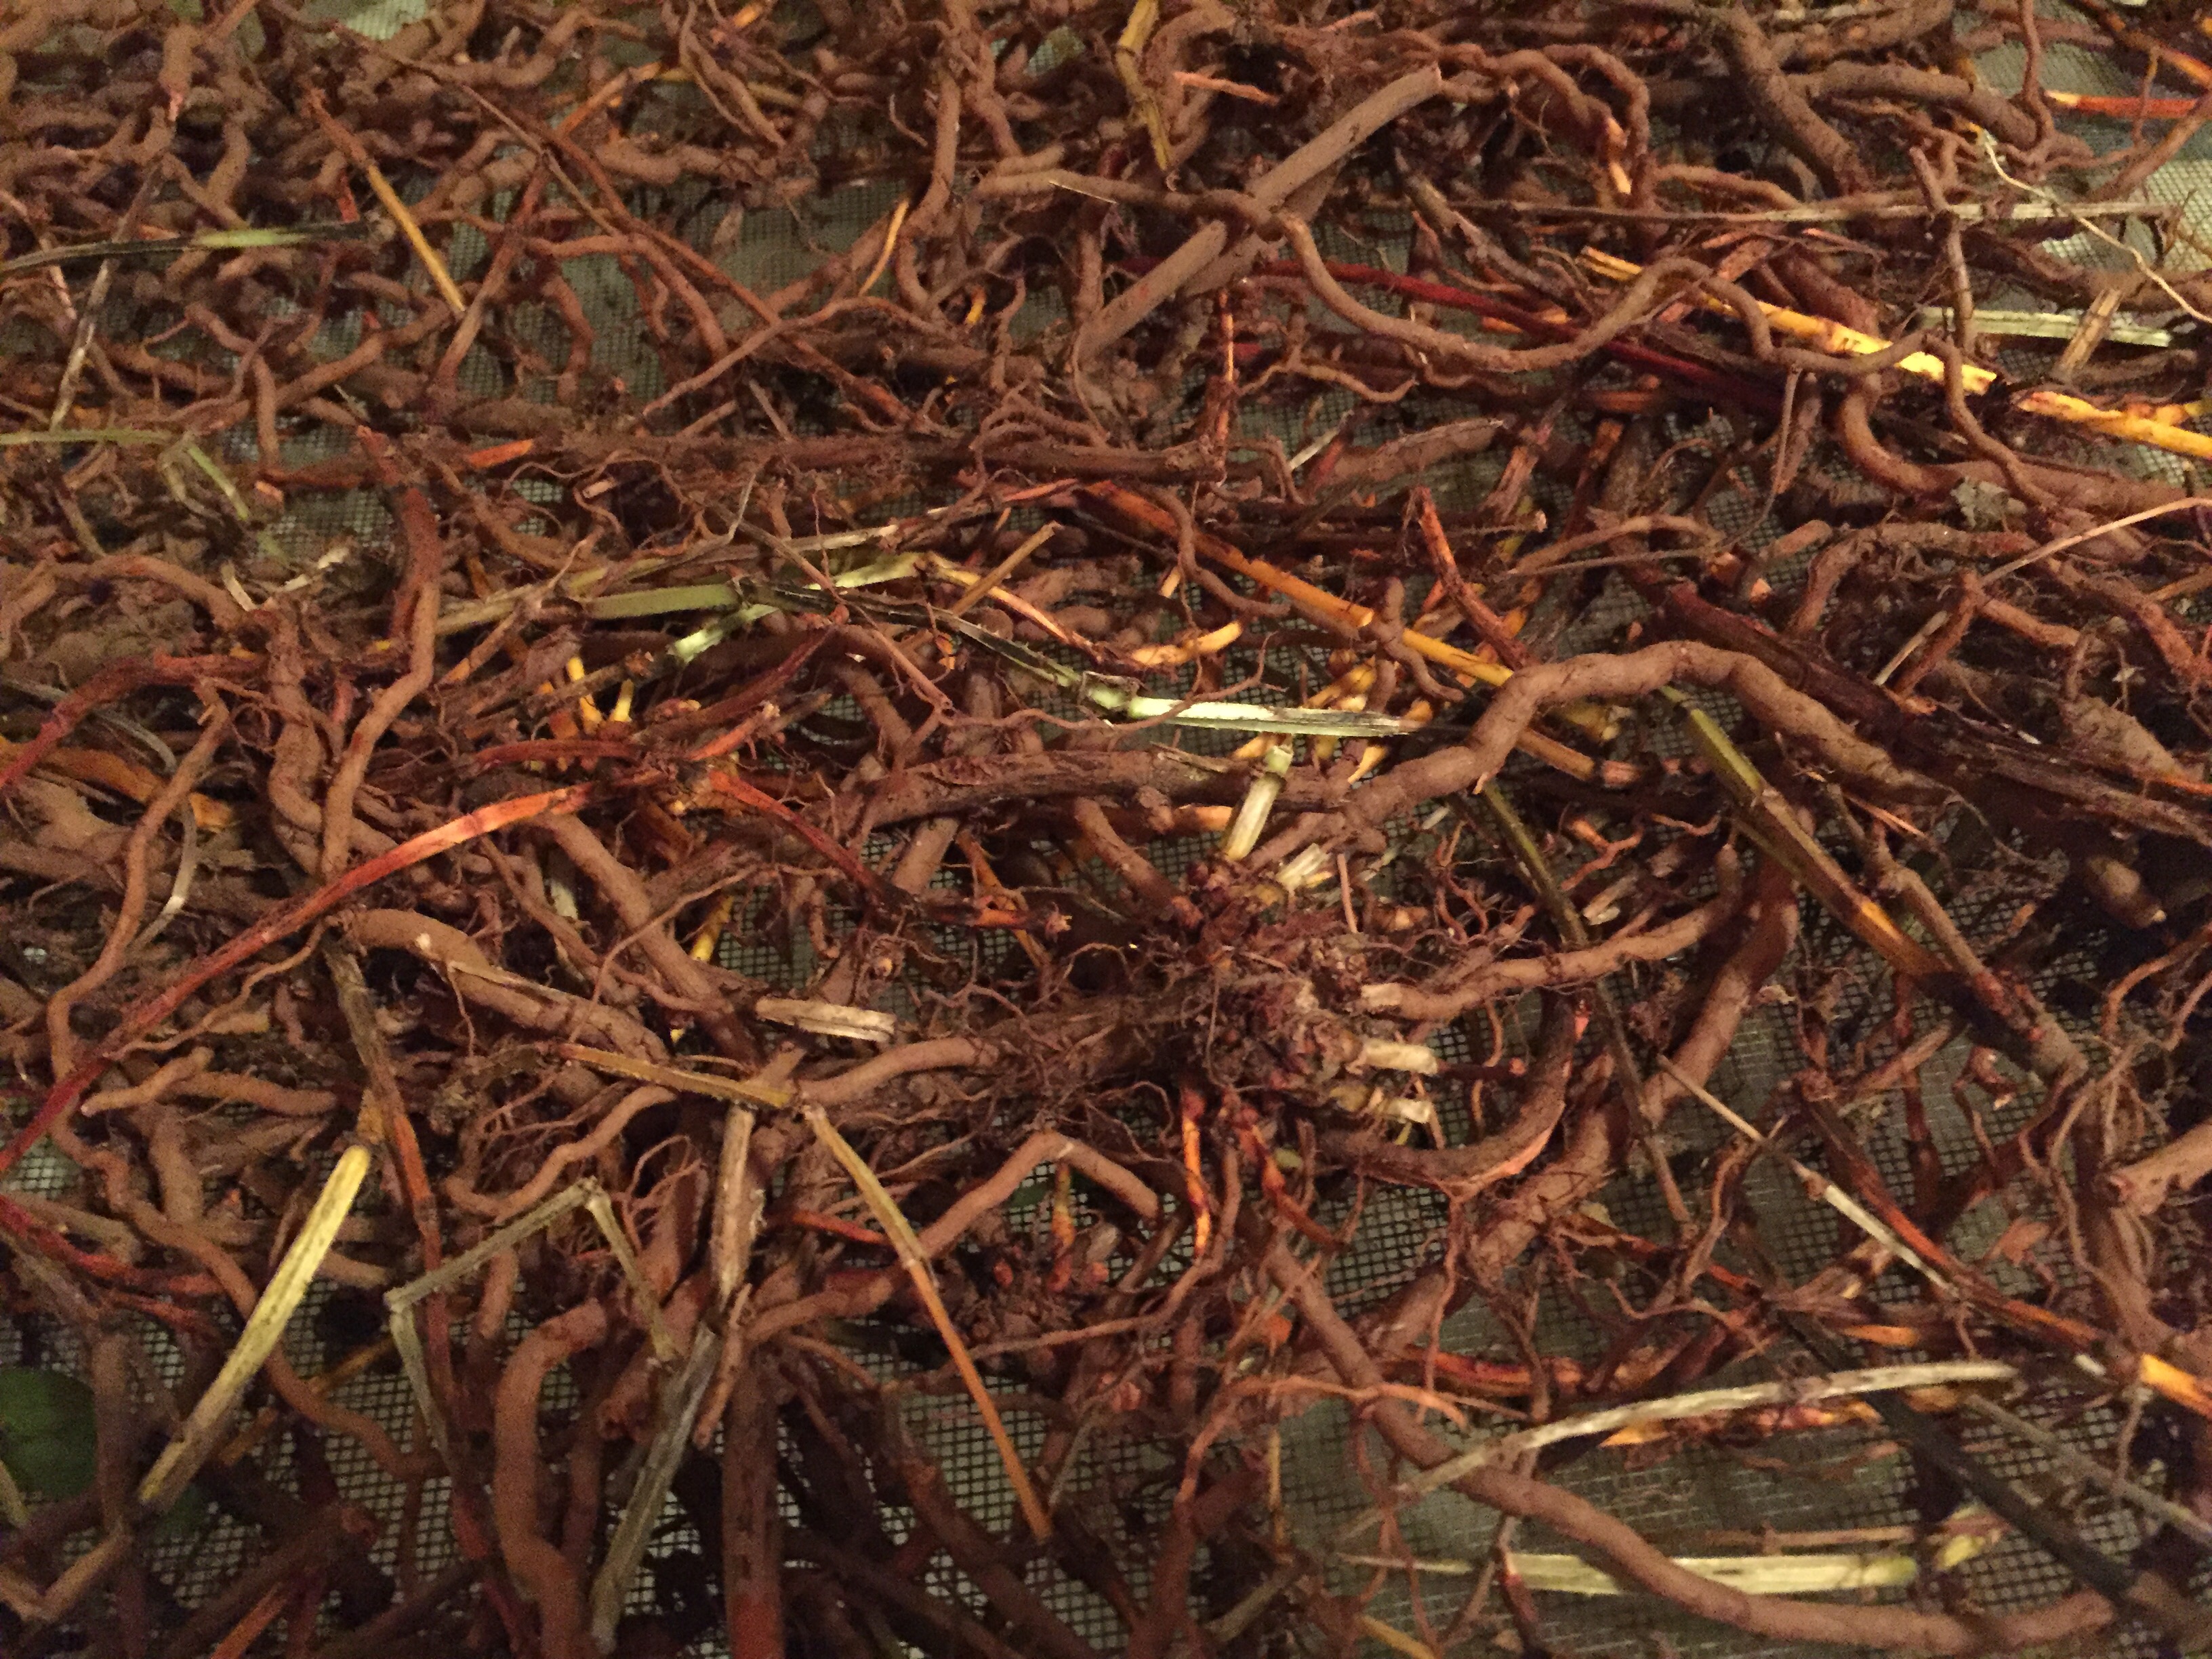
Here are the roots after cleaning. I will let them dry for a couple of days and then cut them smaller for further drying.

The garden bed is now prepped for the 3 year root harvest. It has been 4 years since the last harvest. More to come on this harvest later. Where’s my pitchfork?

Sharing a Texas Winter Dye Garden

25 Feb

Today I hosted 3 UT Art Graduate students and showed them the winter dye garden. Even though all outside was frozen or dormant there was plenty of color in the studio to show them. It was a fun 3 hours of give and take and seeing the art world thru their eyes.

The indigo suffruticosa is cut back and dormant but the seed pods were beautiful.

The madder root bed was frozen back but we weeded and looked at the roots gleaming with color.

The Japanese Indigo beds lay fallow waiting for their early spring turning of the soil. Some frozen indigo leaves showed their true colors.

Dye Garden Storm casualties

24 Jul

Some walking wounded plants in the dye garden. We had a severe thunderstorm roll thru this afternoon. Fortunately no hail but wicked NW winds at about 40-50 mph. Hopefully the madder and Japanese indigo will raise their heads with the sun tomorrow. The indigo suffrucitosa did ok as it is sheltered from the winds. I Imagine I will be drying some Japanese indigo earlier than planned if the stems broke.

Madder root blow over, not bad grown for roots so just need to keep alive.

Sad Japanese Indigo, I hope it pulls thru as I don't have much.

Indigo Suffrucitosa still standing!

Madder root bed cleanup

28 Apr

The first qtr of 2016 has been an amazing wet season. Plants & weeds have been very happy. The madder root bed took an unauthorized leap into adjoining garden beds.

 I tore out the top green foliage and did some pitchfork work to move pesky roots that ran along the irrigation line.


I was doing my best to ignore the red root glimmers but I succumbed and took time to separate out the roots that showed dye potential.

I pulled out the pitchfork and dug deeper. Even though they are not 3 year roots, I suspect I’ll get a decent salmon out of the root yield.


Roots are drying now and the bed is now clear for my indigo seedlings. I will report on the color obtained on silk using the “young”  madder root.

Madder Exhaust Pigment Precipatation

11 Jun

Meanwhile, I am pulling pigment from my madder exhaust pots. Remember the solar dyeingUsing recipes in the book Natural Colorants for dyeing and lake pigments I am continuing to pull color out of the madder exhaust pot to store for future use.

Remember the soy milk painting on silk? Not exciting color from my lichen and weld on the left but the technique worked. The brighter color on the left yielded from Daniel Smith watercolor pigment.

This is why I am continuing to pull color. It’s all about using the color in my valley to create. One just has to be patient.

This particular formula used the dyestuff solution, potassium carbonate and potash alum. When dissolved and stirred into the exhaust in the proper order it pulls the dye molecules and drops out of the water.

    You then pour and then filter out the water and either store the extraction in wet or dry form. You can then circle back & reuse your color.

   This separation process takes a few days as you “wash” your precip and refilter it again. In my case I’ve used it to paint on silk scarves or on warps with soy milk. I’ve seen mention of other dyers using citric acid to use for immersion skein baths but I have not done so. And of course, painters reconstitute with linseed oil and other concoctions for painting. To each their own!

 Thanks to Glenna, Donna or Diane, one of you pointed me to this book to move further into the rabbit hole of storing pigment using this book and other class notes from Michael Garcia & Catherine Ellis. Truly a dye brain trust I am grateful to be able to access. One does tend to mutter over the dyepot and it is good to have company in the journey.

Madder Solar Run #1 Recap

21 May

For a first run at madder solar color things were not bad….I got the orange and reddish oranges but no deep red.  But the good news is there is more madder to experiment with.  Let me be clear, I am very happy with the range I got from my skeins in the first round.  There was a disappointment.  Although I had flame tested a fiber, it tricked me into thinking it was silk.  I used this yarn in the first pull of color expecting glorious deep color, the wet skeins promised it.  The earlier madder harvest & prep journey is posted here.

image

But after rinsing and drying the color was much paler than expected.  Both the 3 year and 6 year first solar dye pull yielded exactly the same pale color.  Beautiful, but not what the pot promised.

image

I think the substrate I thought was silk was really rayon.  Why?  Remember that I had set aside the first soak/rinse water that had the tannins from the bark in it?  Frugal dyer that I am, I had the same substrate skein set aside that was a Hopi Sunflower color fail.  In other words, the seeds were so old, my dye skein appeared a faint beige.  So it begged to be over dyed.  What better candidate for over dyeing?  Below left is what tannin yielded.  It is the left hand skein in the photo below….deeper and more vibrant color.  The rayon (cellulose fiber) used the tannin in the roots and the seeds as a mordant that allowed it to grab more color.  Sigh, I am going to set aside all the prepped skeins that I MORDANTED with alum sulfate and redo them with alum acetate in order to get the color to strike the rayon.  OR alternatively, I can just hold on to these skeins and use them for indigo and persimmon dips, those substative dyes know no substrate boundaries.

image

Well, the dye pot still had exhaust in it and I still had the roots at hand.  So I combined the roots and simmered them again on a heat source (skipping the solar part) and put in some KNOWN wool to see what color would yield.  The wool gave hope that color was still available for use and that future pots promised a better future.  The tiny skein below the wool was a sample skein that I mordanted again to check I had not perhaps forgotten to mordant the skeins.  It rode alongside the wool in the depot.  Nope, color still would not strike.  Rayon, Deb, accept it!

image

Since I had two healthy exhaust pots left after this run I looked around for some likely candidates for over dyeing since my prepped silk skeins were impostors.  I had some small silk skeins of different dyestuff that begged to be over dyed.

If I were a perfect dyer photographer the labels would read clearly.  But in summary I over dyed a series of tannin based beiges.  Sorry,  in no particular order these skeins were Lichen pulled with DNA, Water soaked oak gall, Lichen pulled with soda ash, green persimmon, lichen extracted with ammonia, Oak bark in water soak, and acorn exhaust.  All of these combined will make a great drall scarf.  I have plenty of color choices to combine.

So, in summary, the color extracted beautifully from the roots in the solar dye.  The next round will be a heat pull to compare the 3 and 6 year roots.  At this point the colors I got between the 3 year and 6 year madder root were not that different but because of the substrate snafu, I am holding judgement until I complete another color run.

image

Don’t let mold keep you from your color!

16 Apr

Upon occasion holding temps outside hit a range when mold will grow. My batch of 6 year first rinse developed a nice mold coating over the past week before I could get to it.
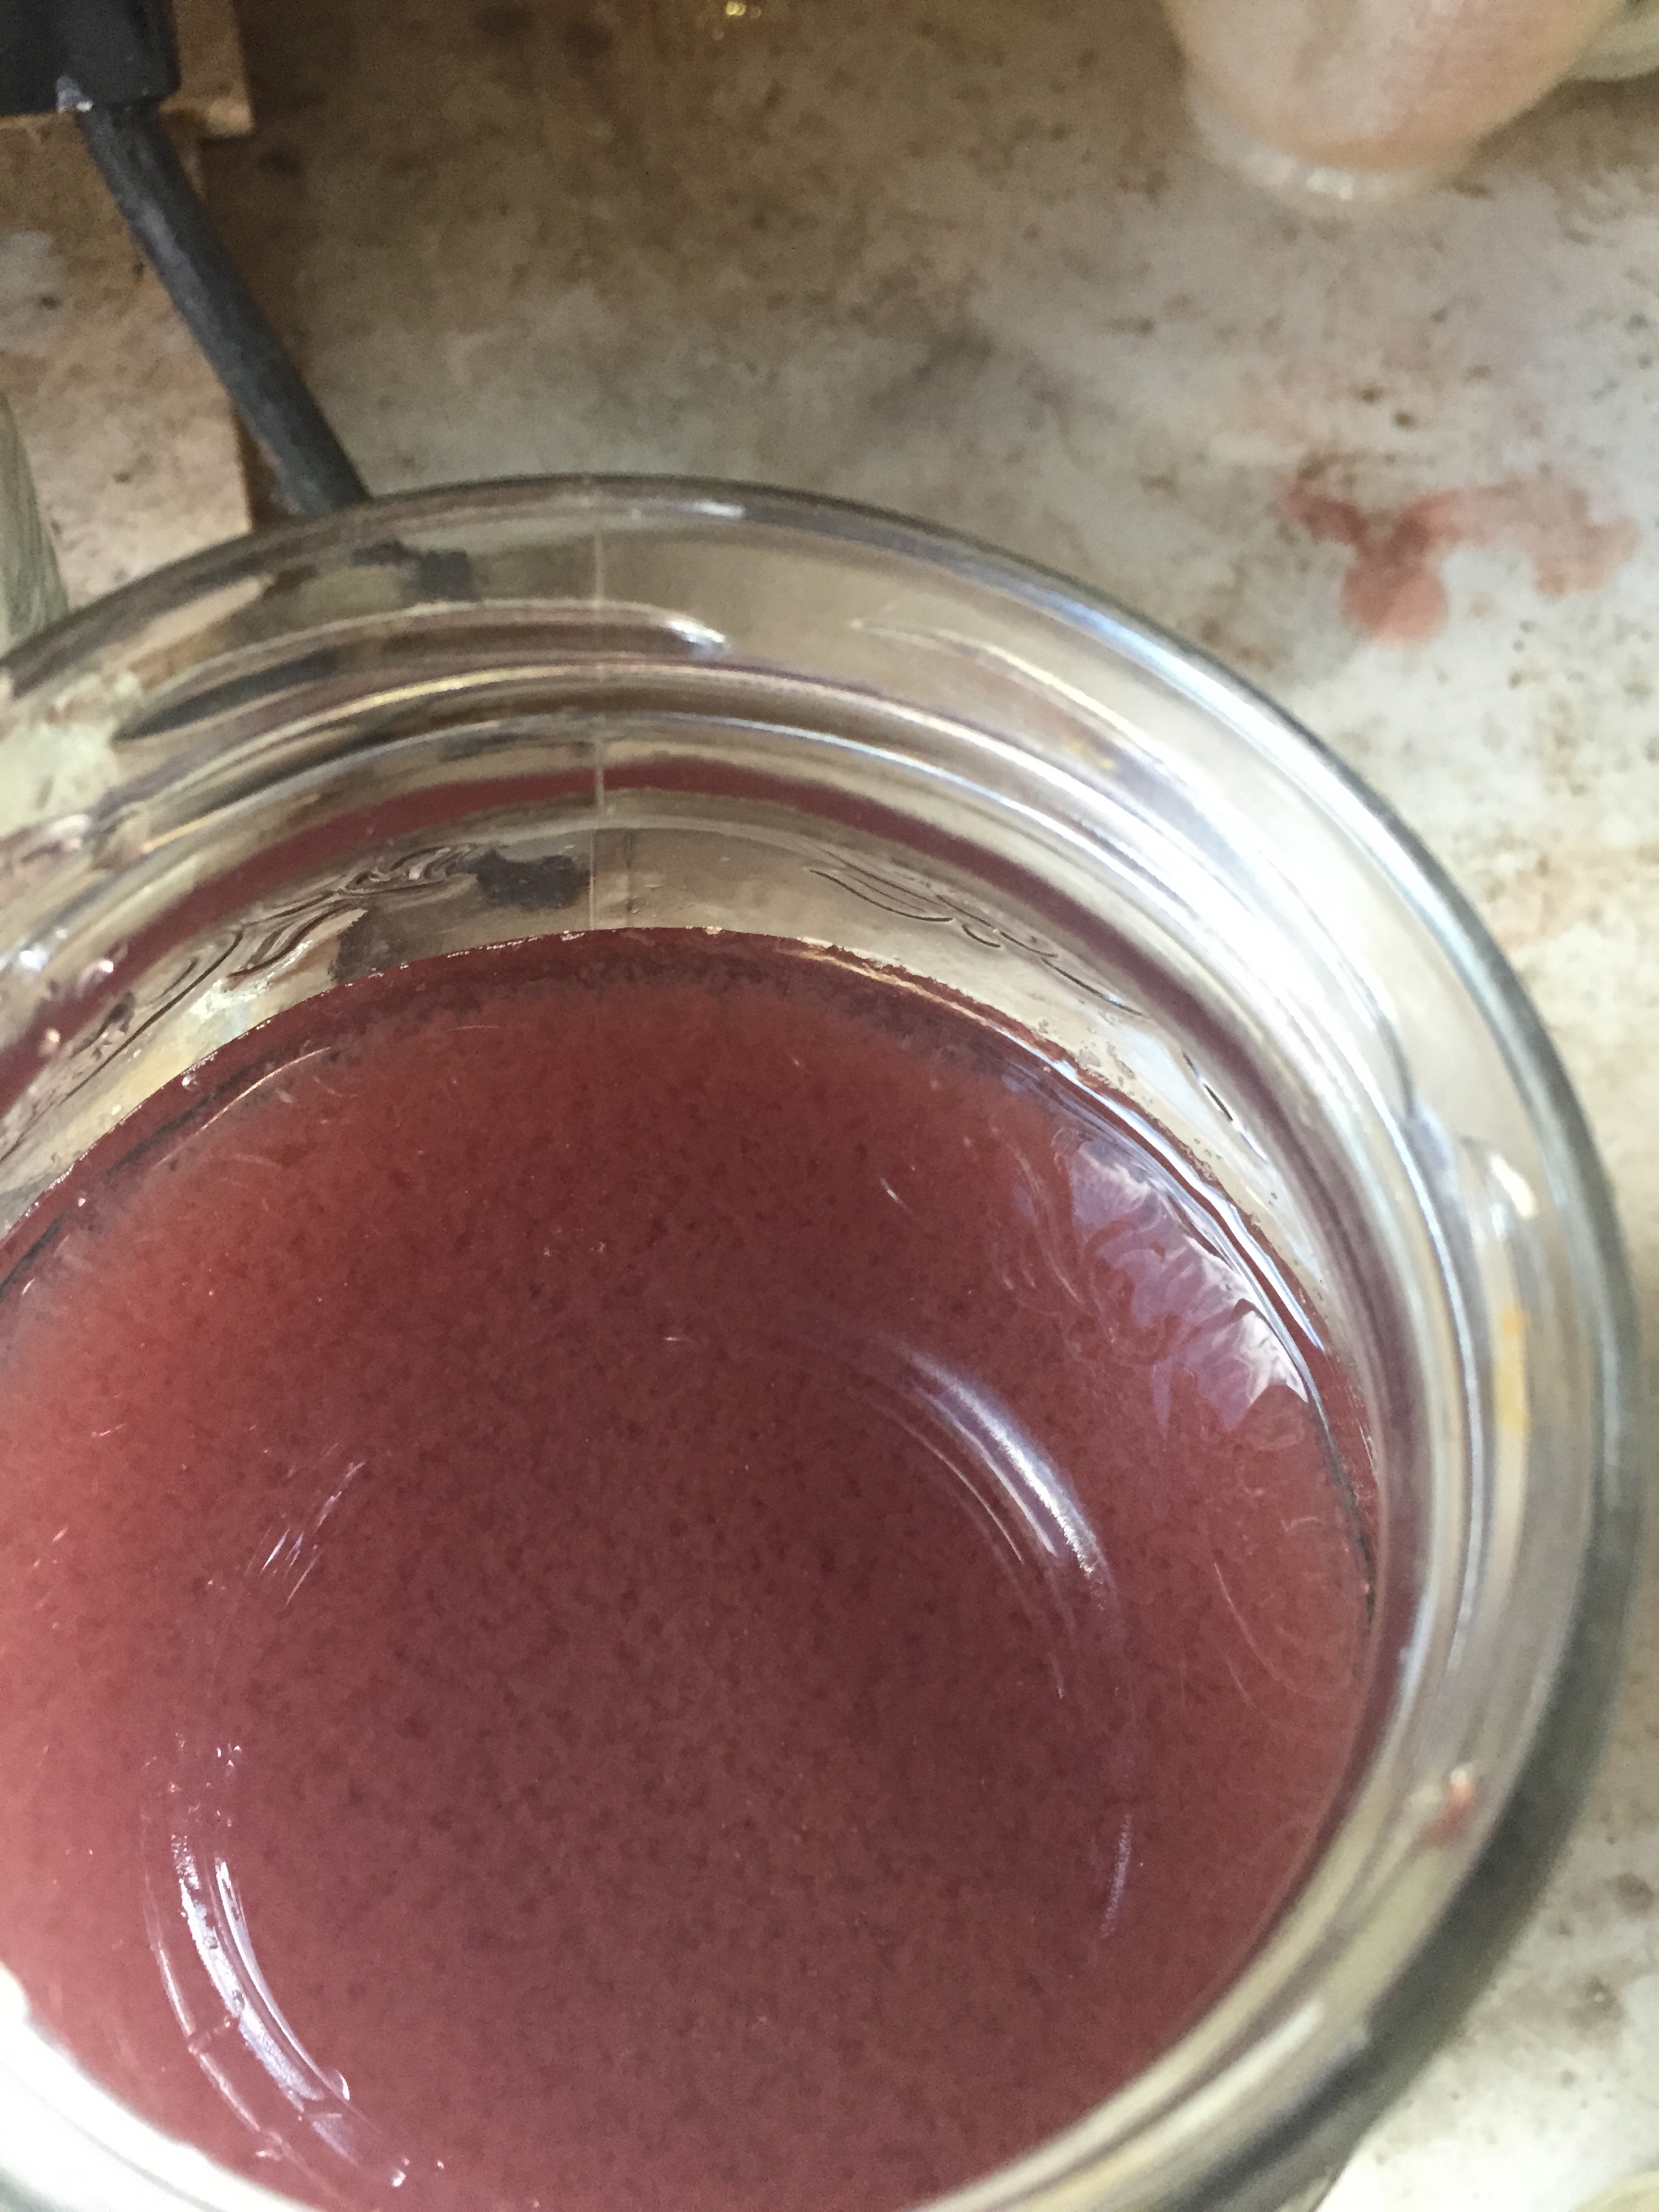
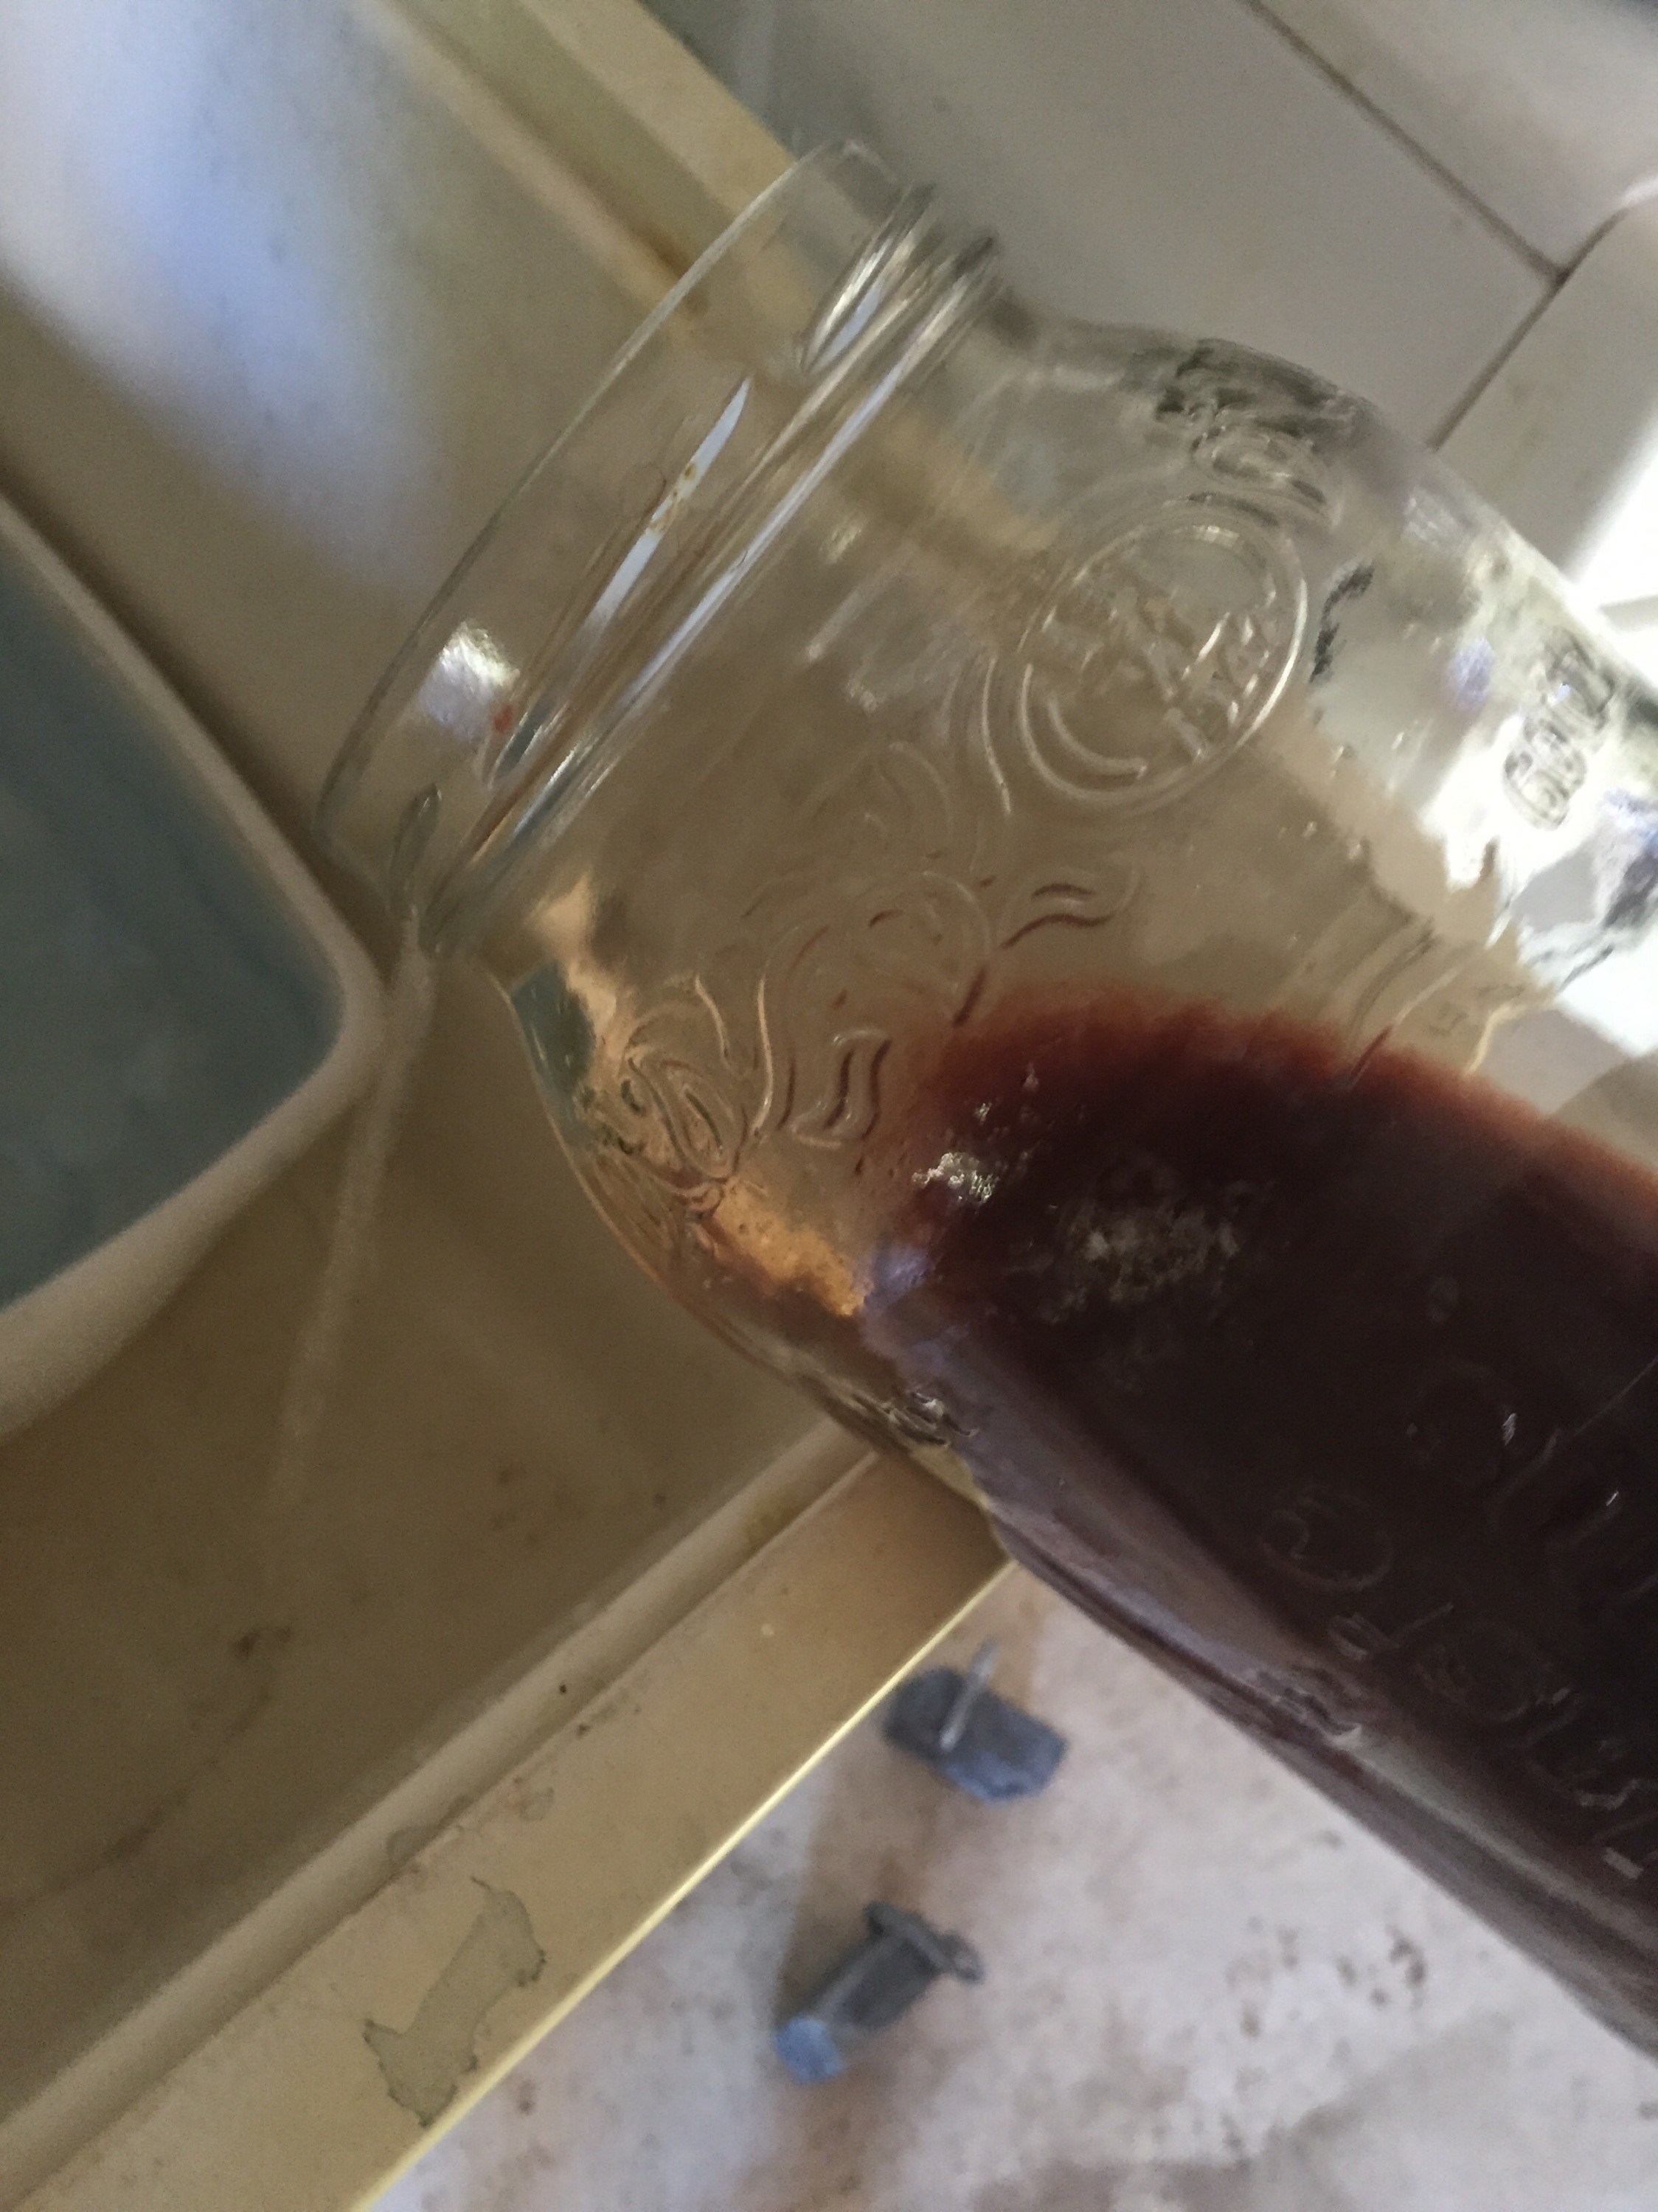
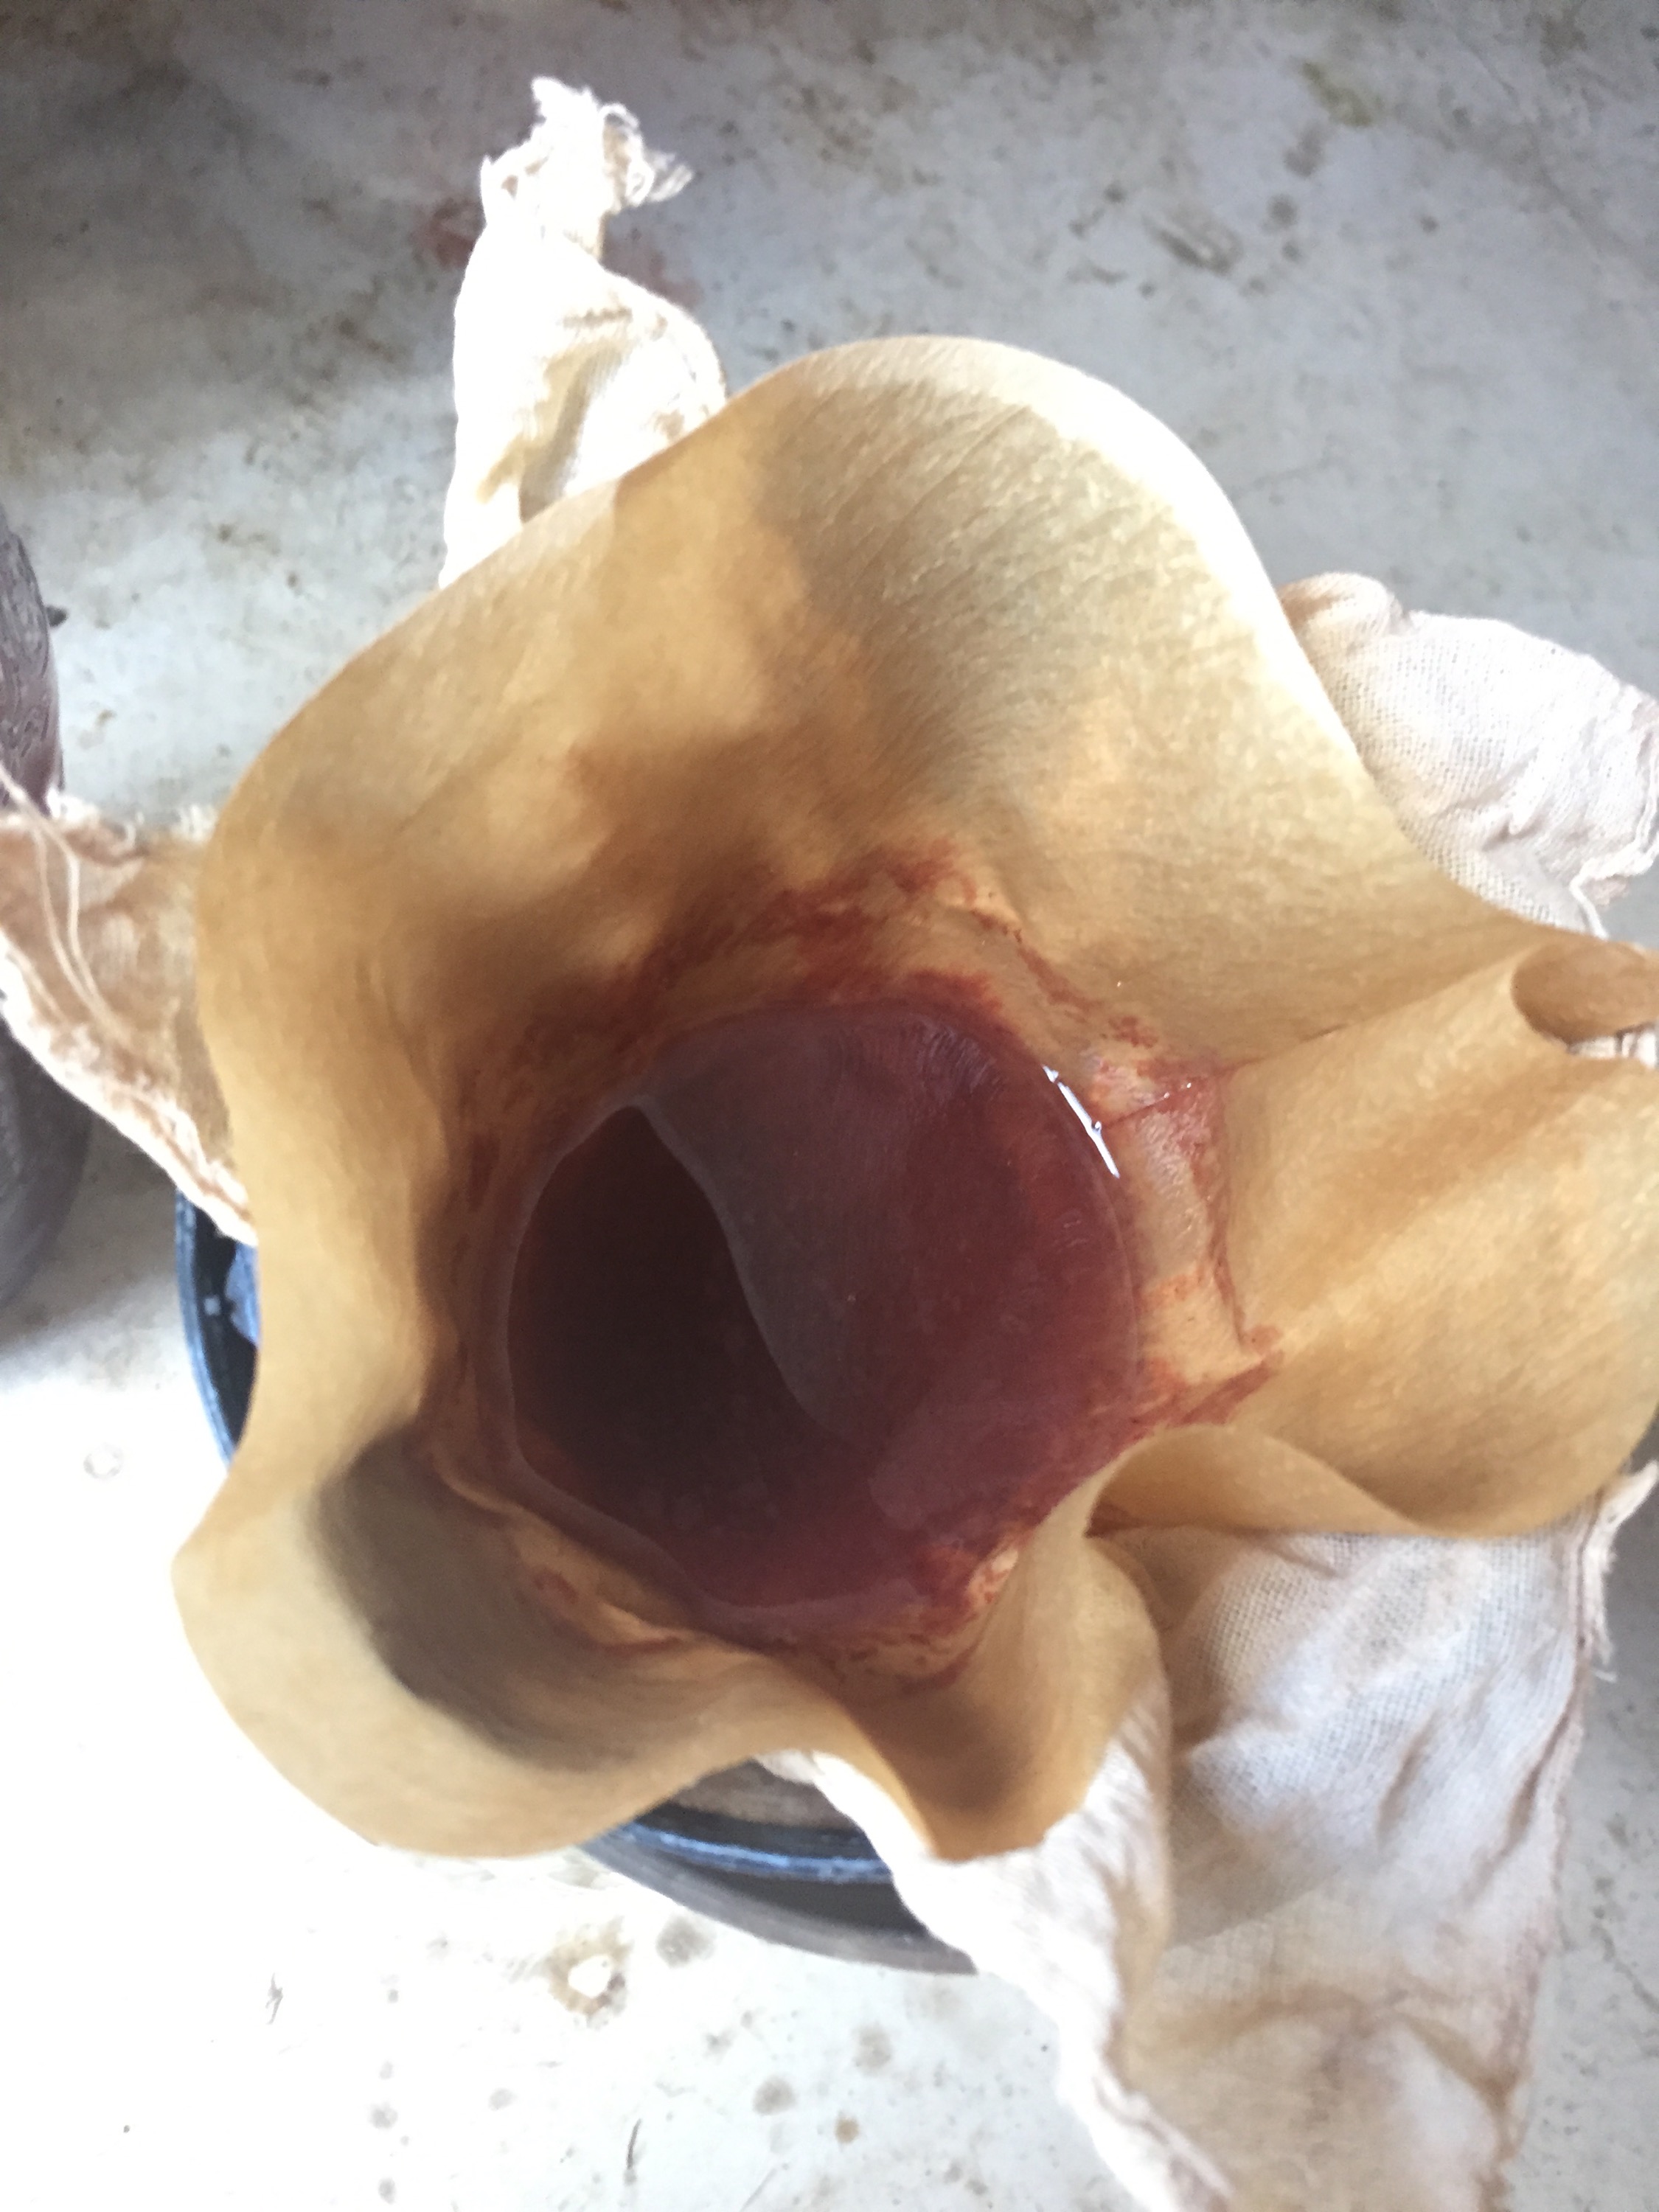
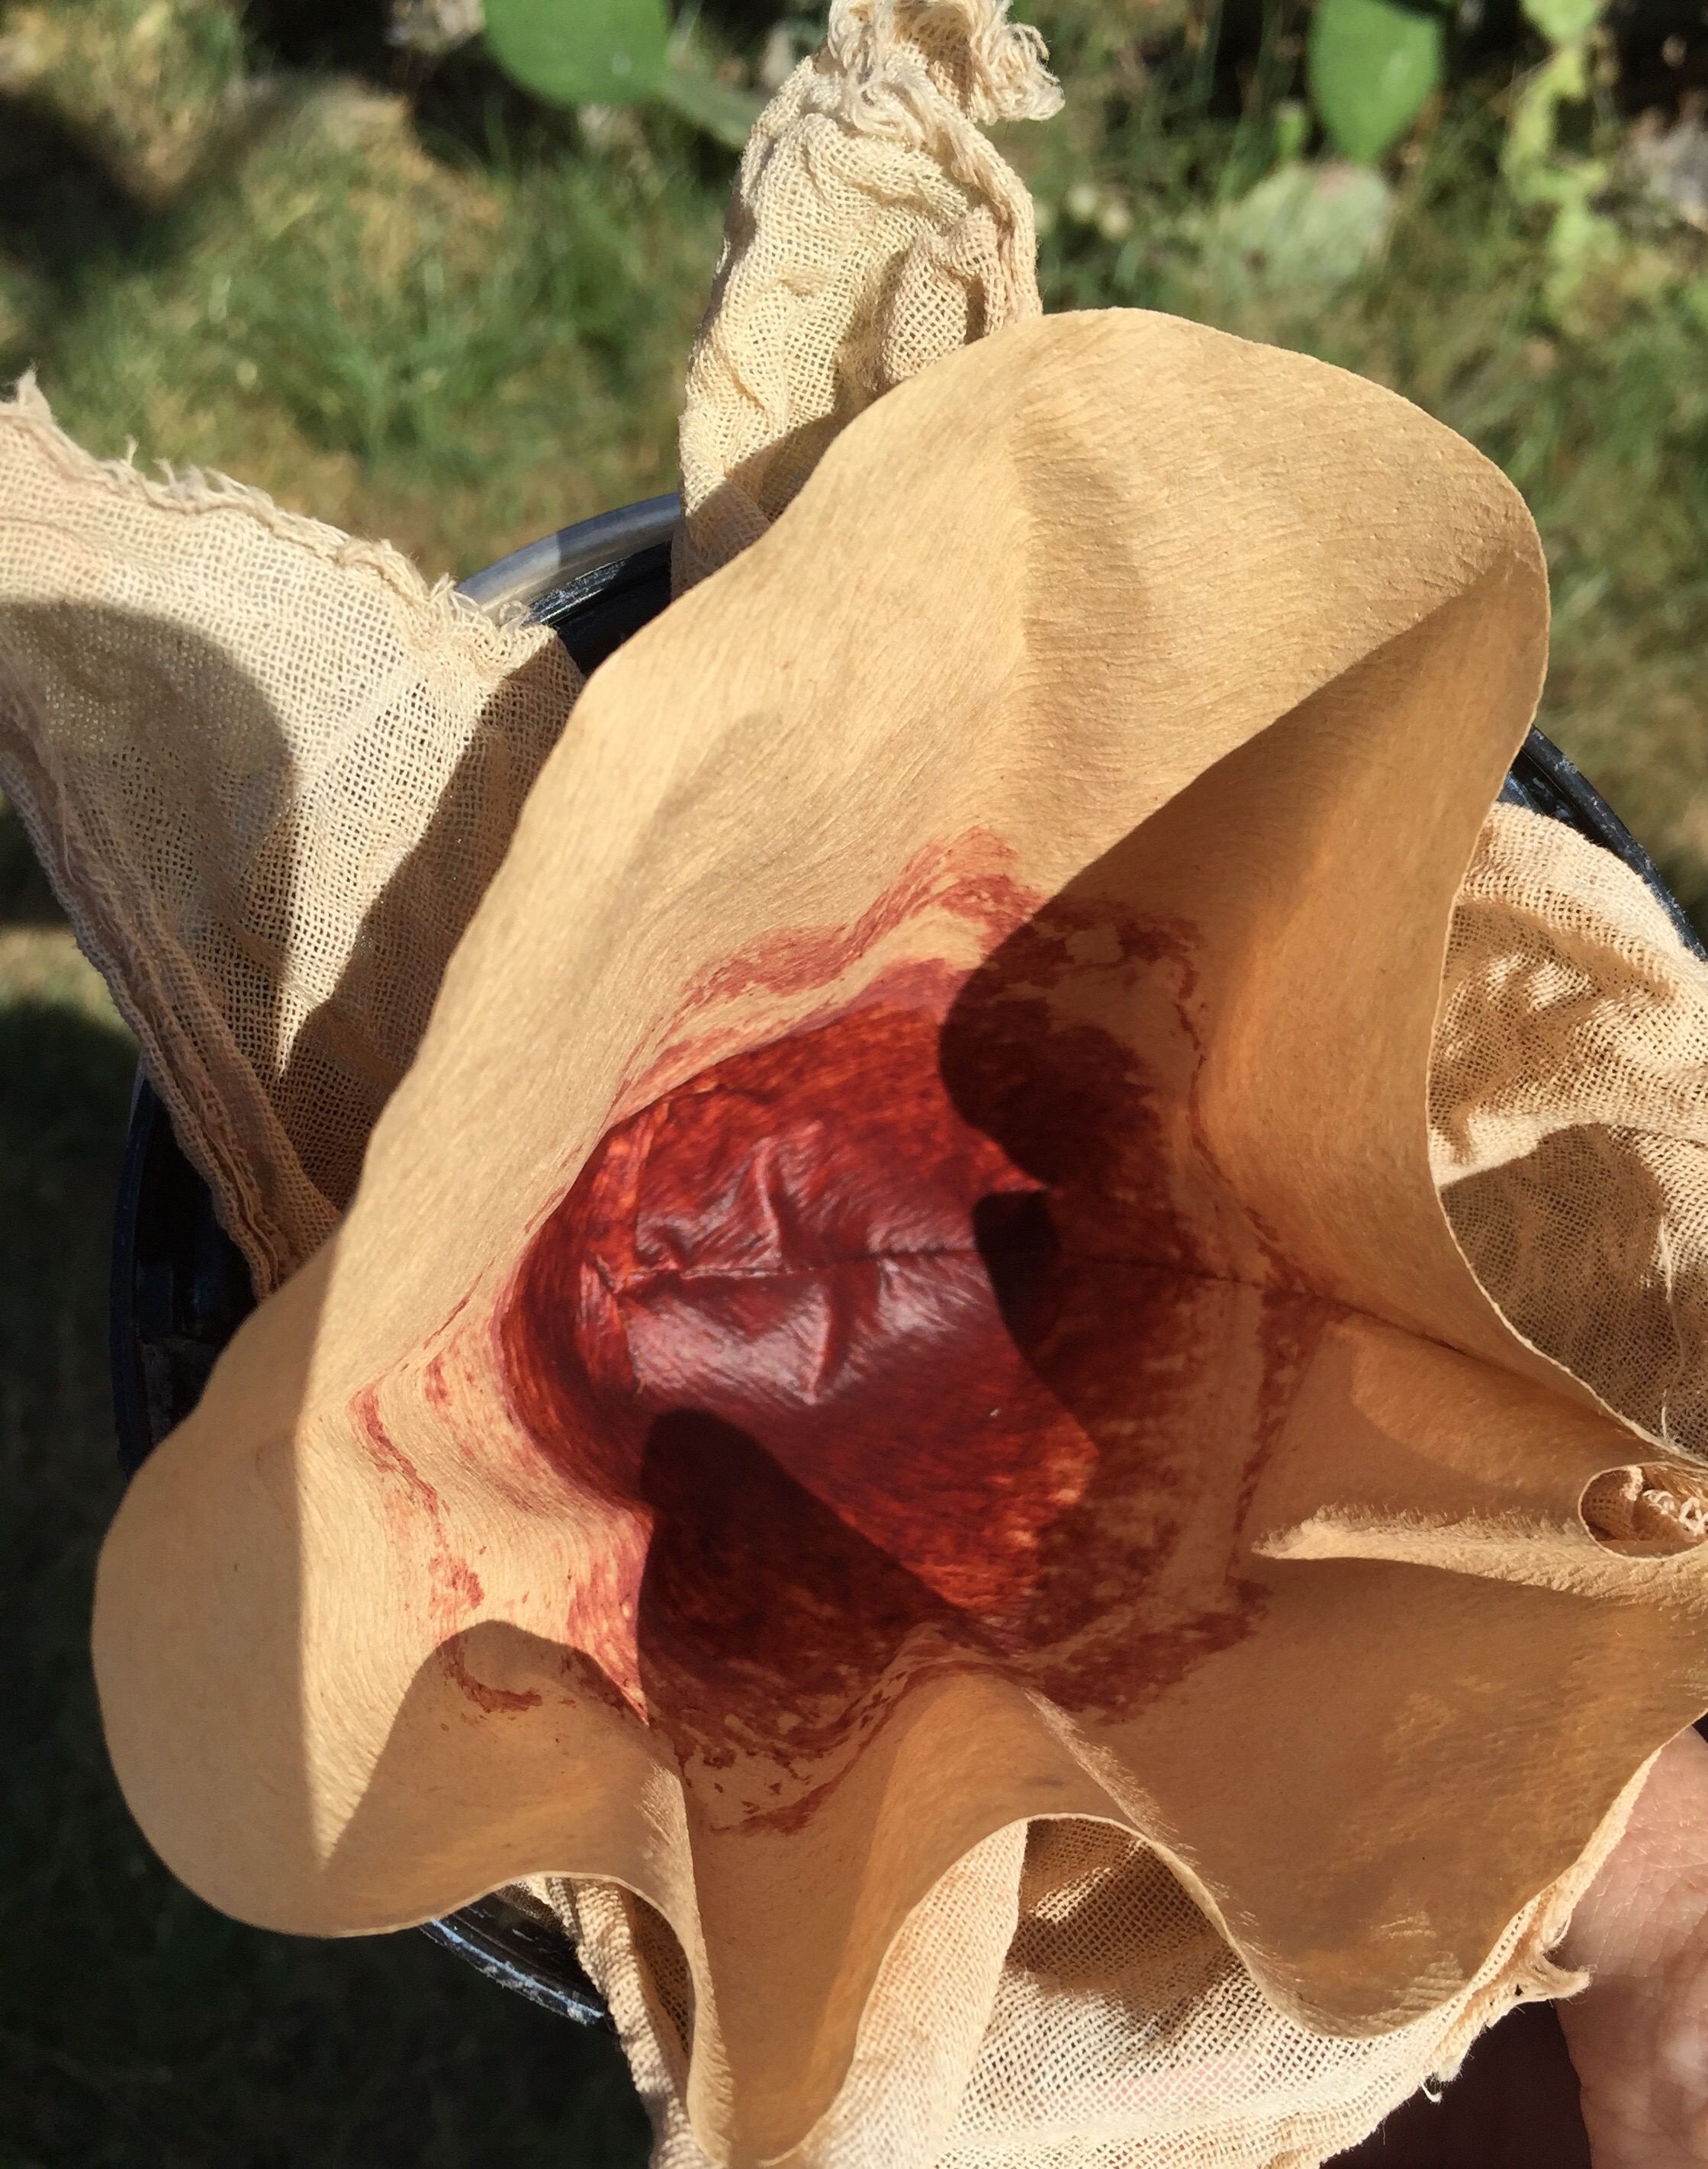
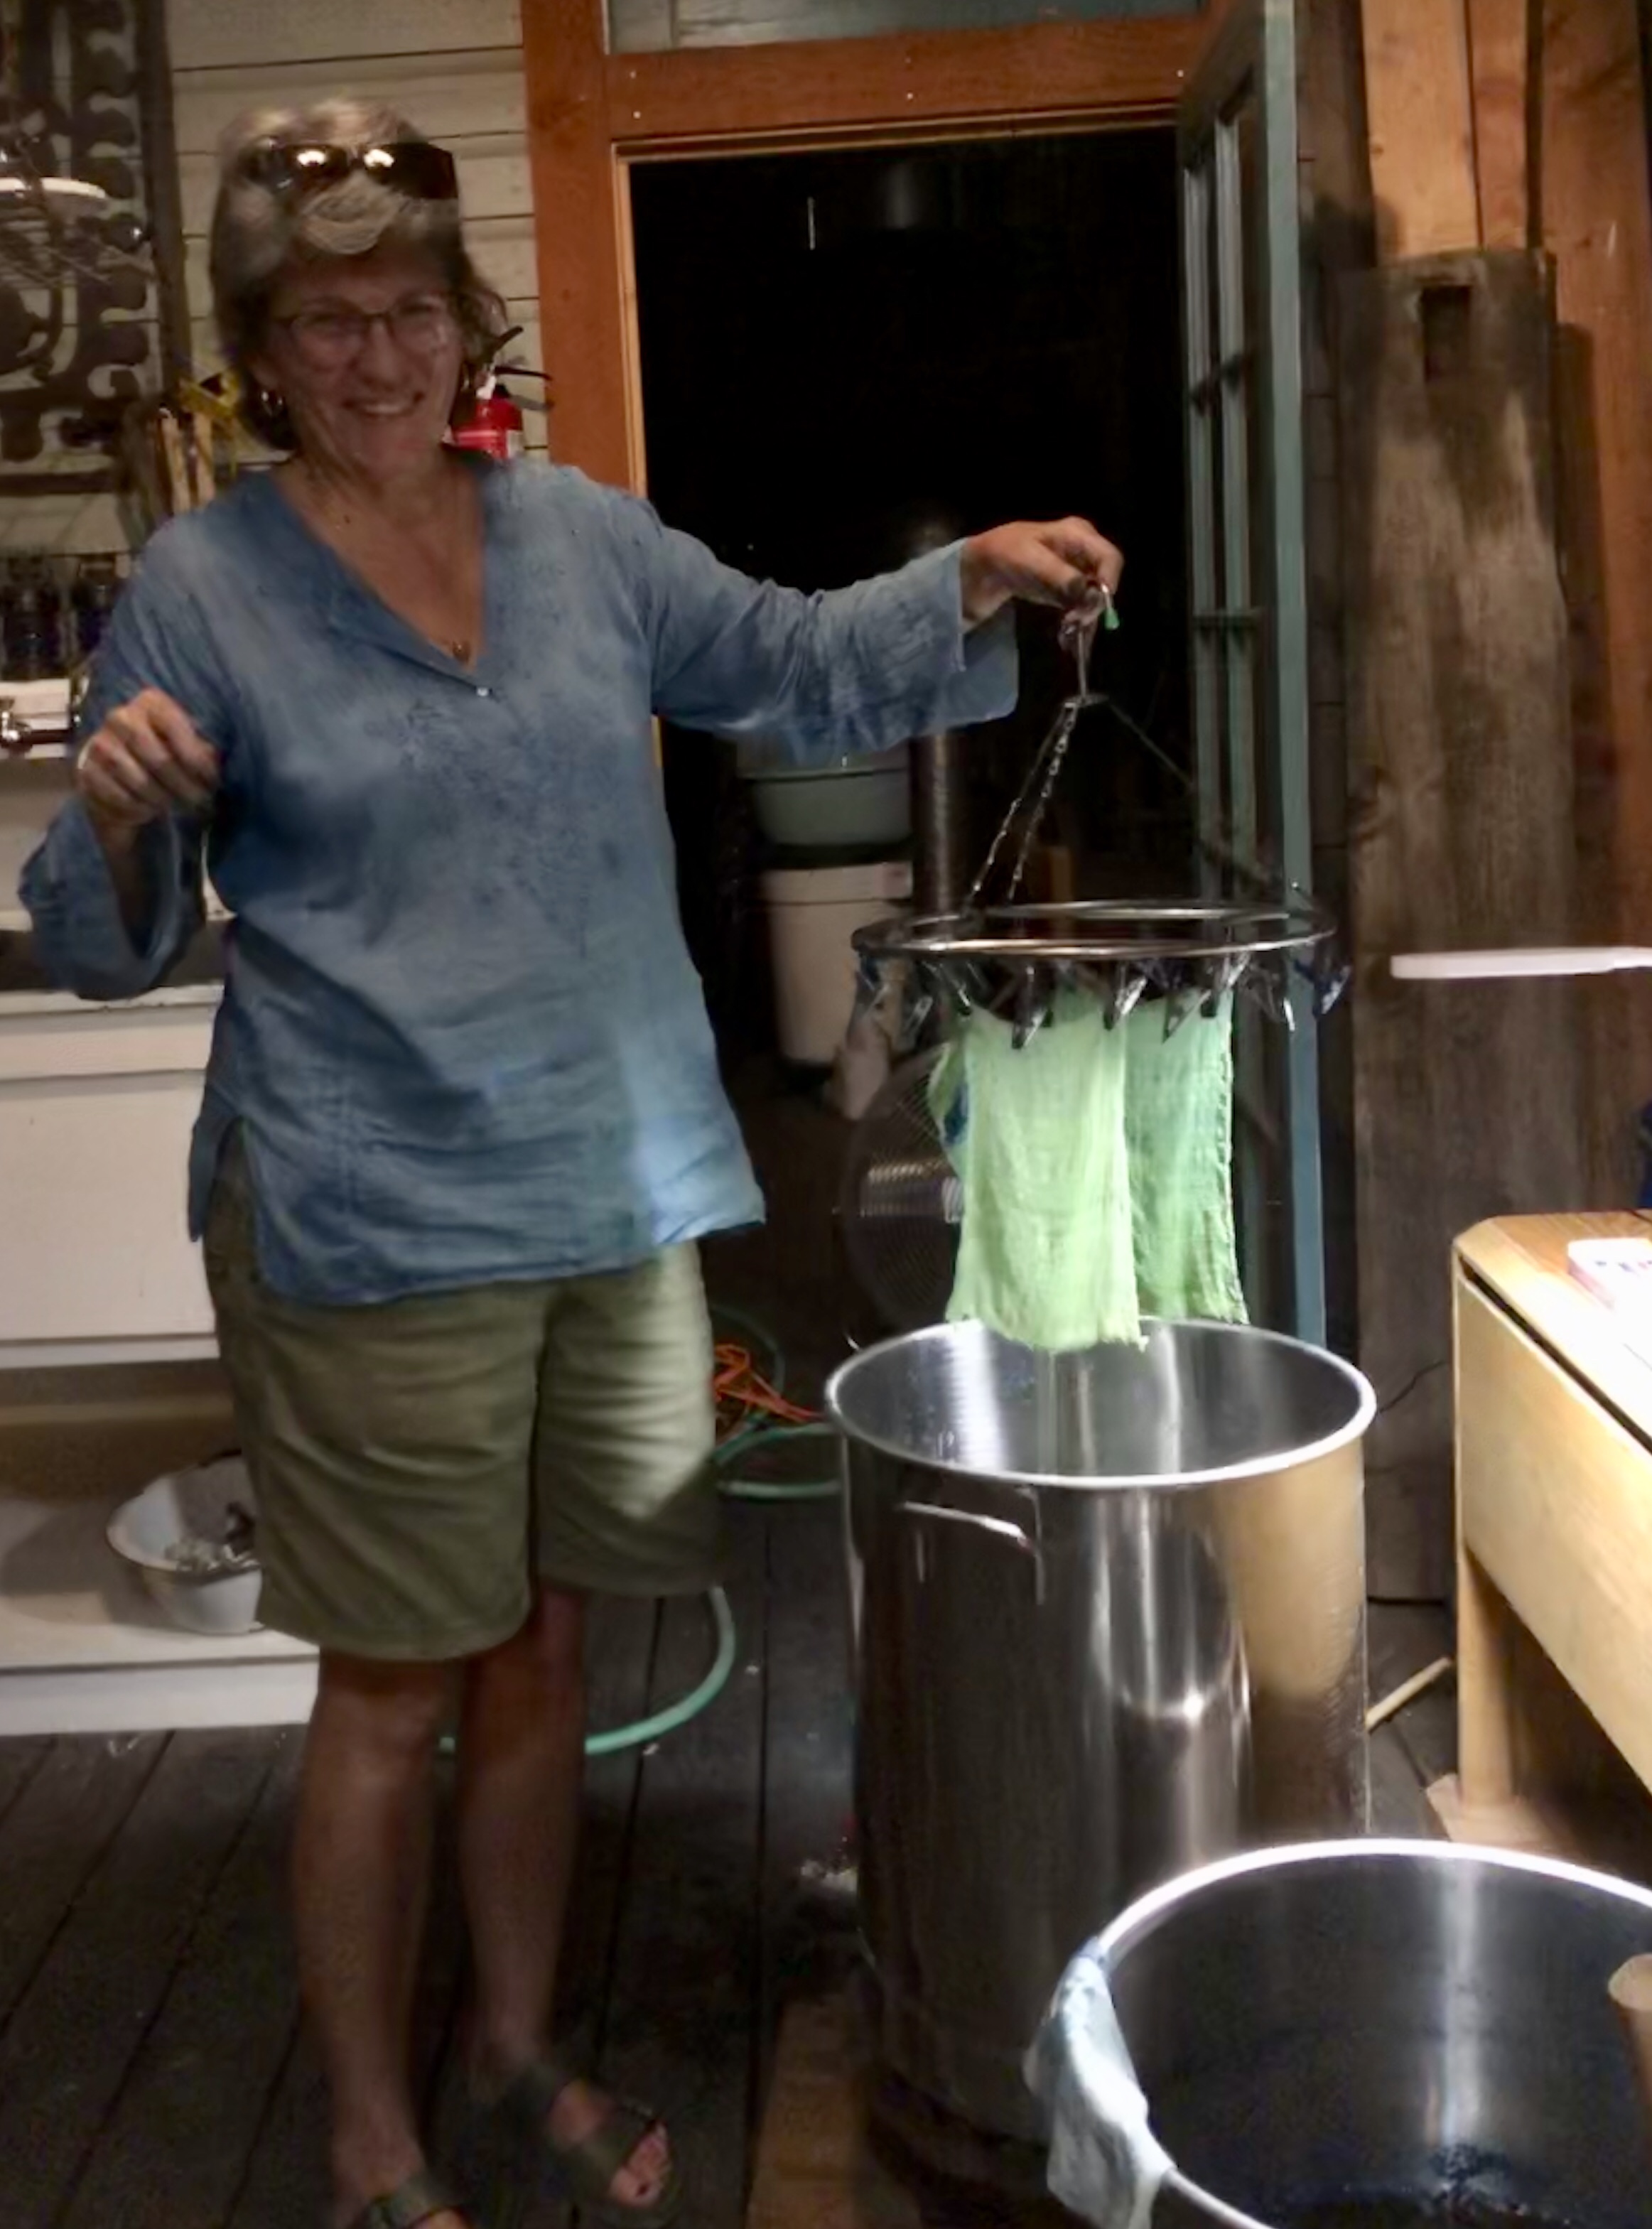
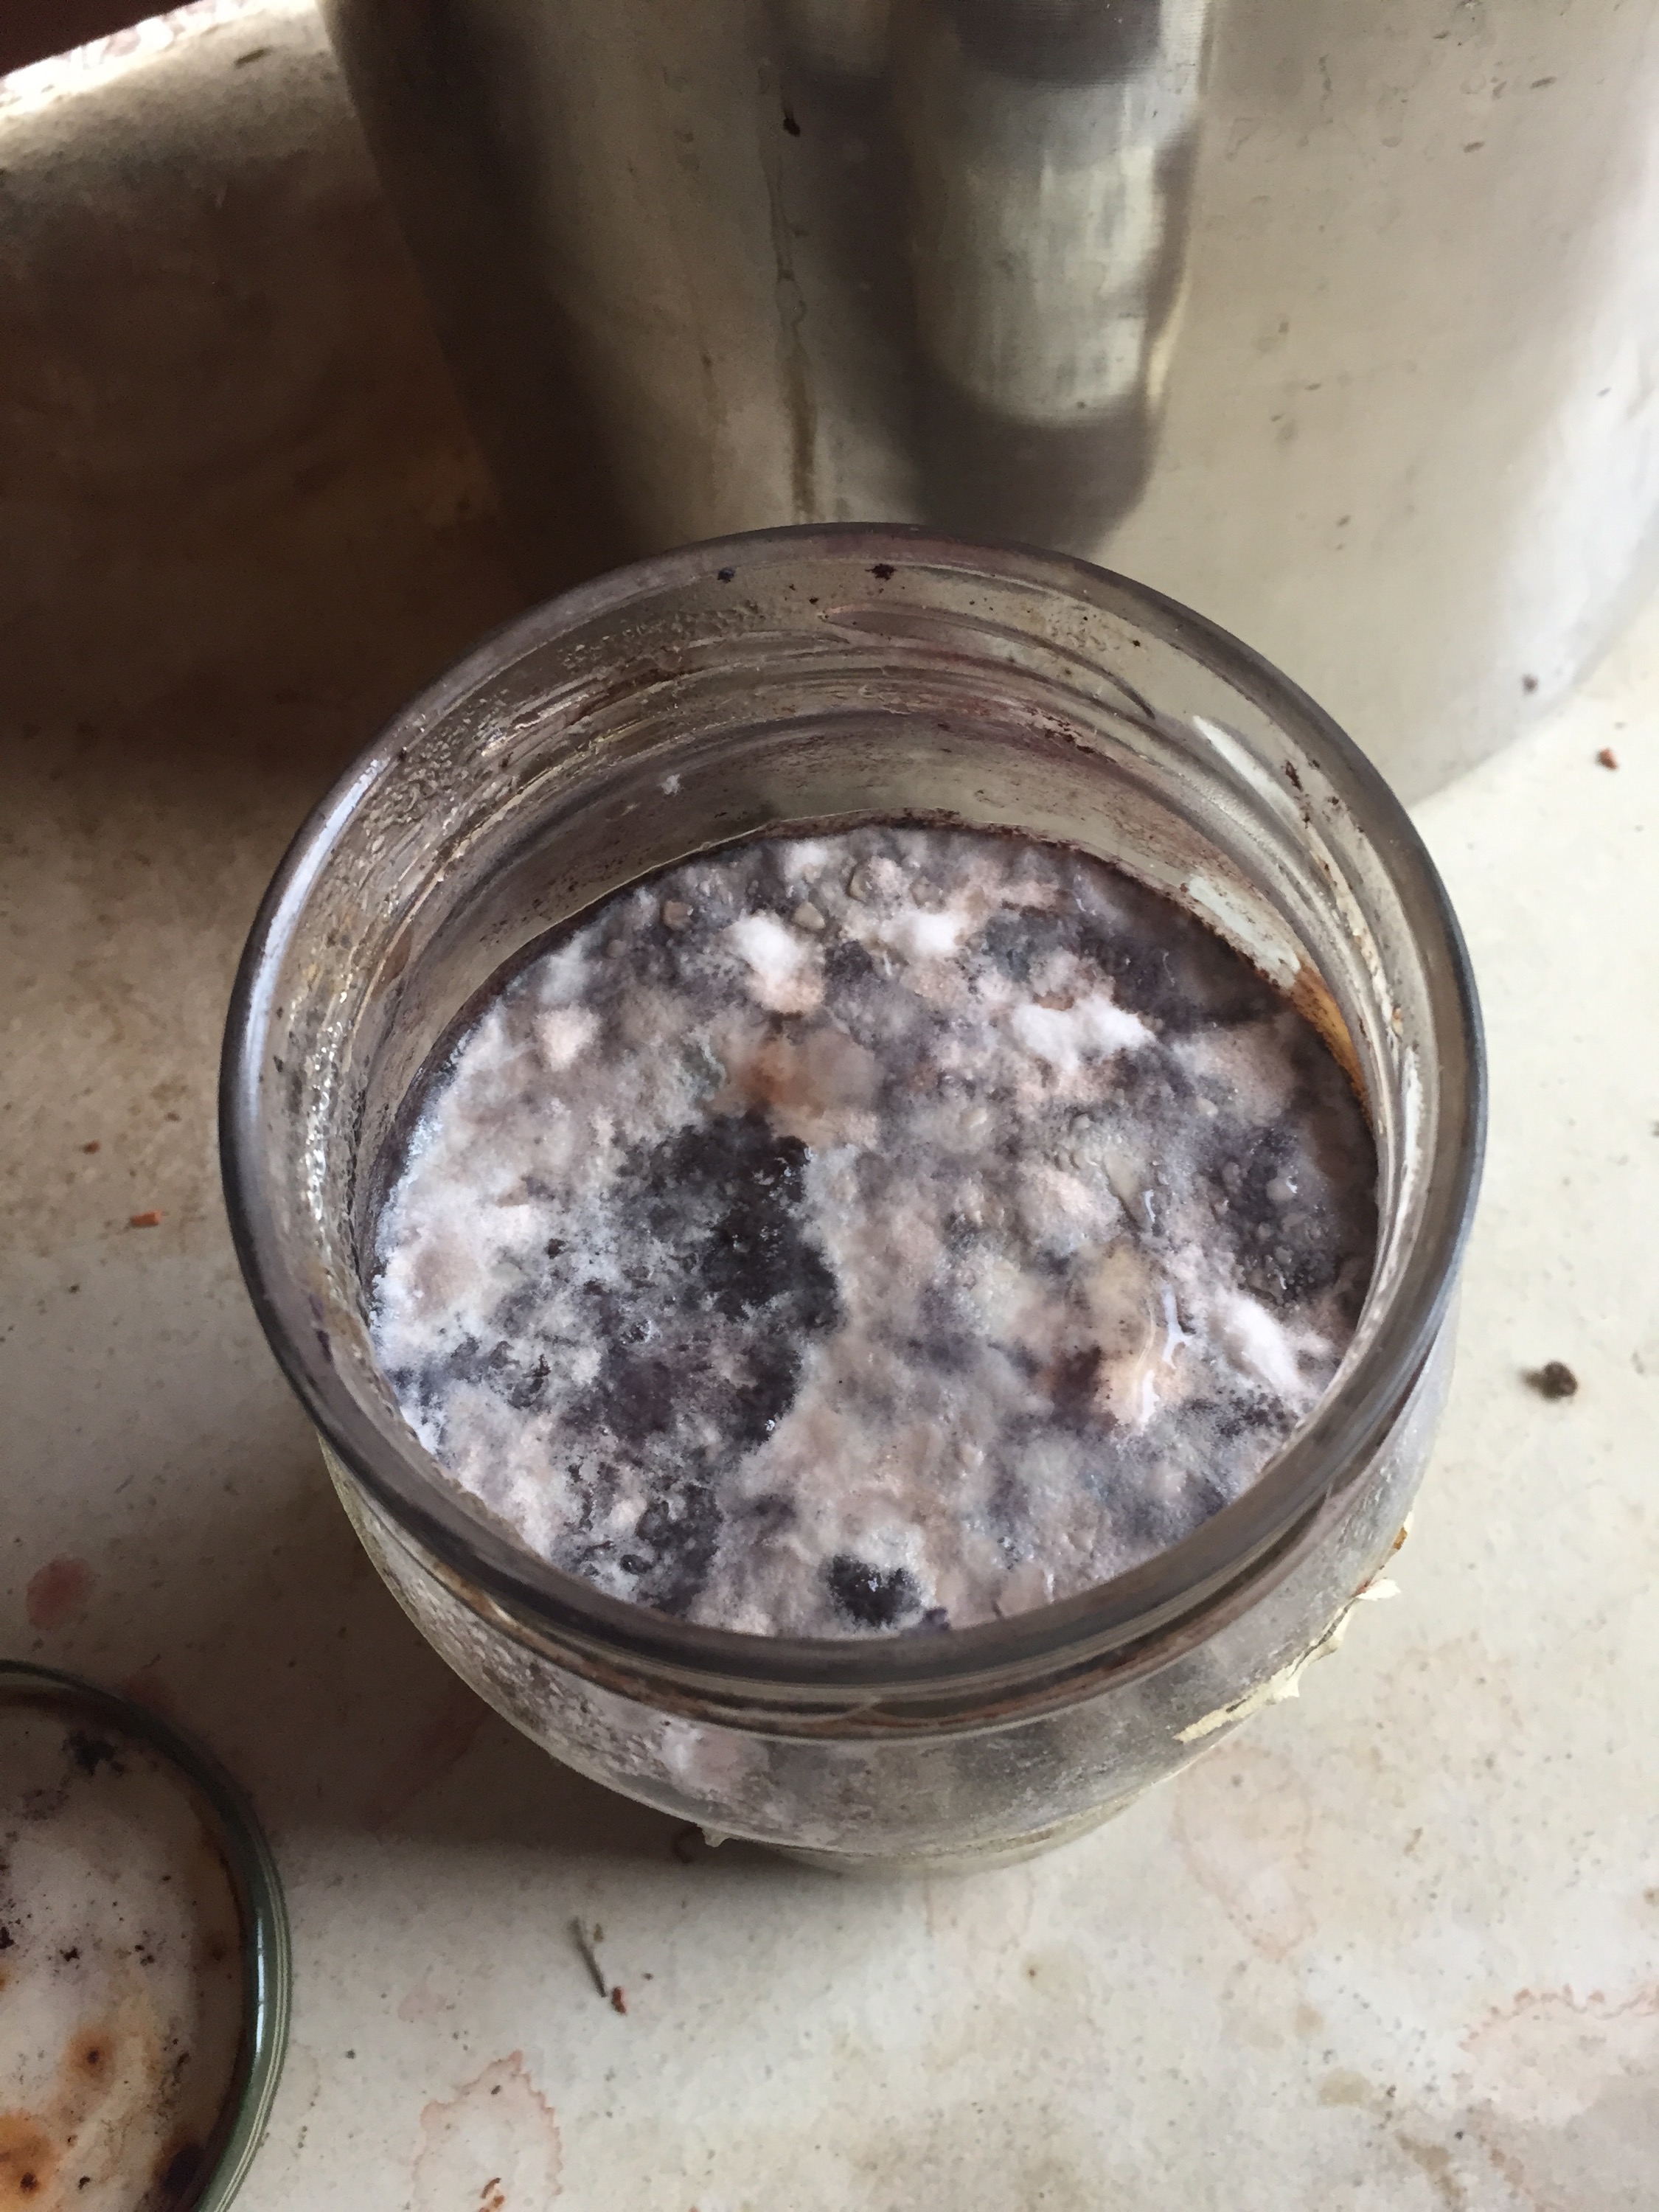
Of course you can strain or float the mold head so you can pour off the dyestock. Below I am pouring off and floating the mold. You can pull it off with a rag or let a filter capture it. Purely personal choice…..and your yuck tolerance level.

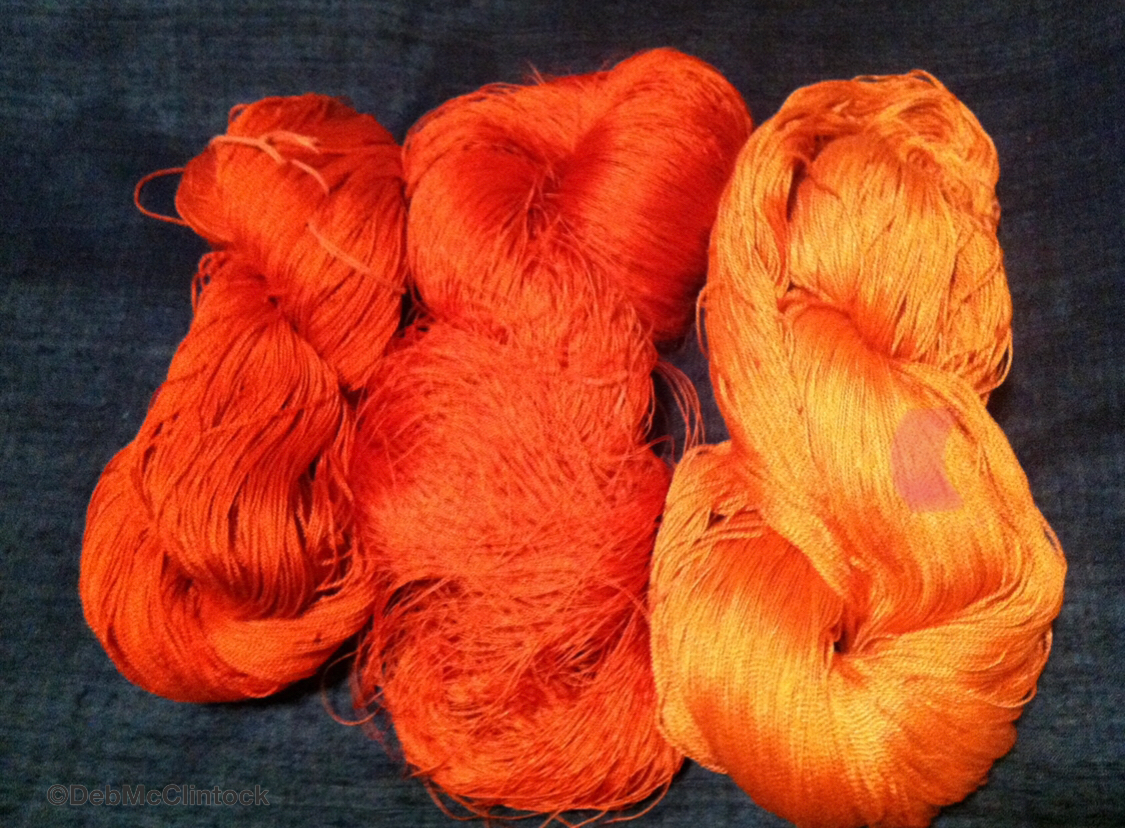
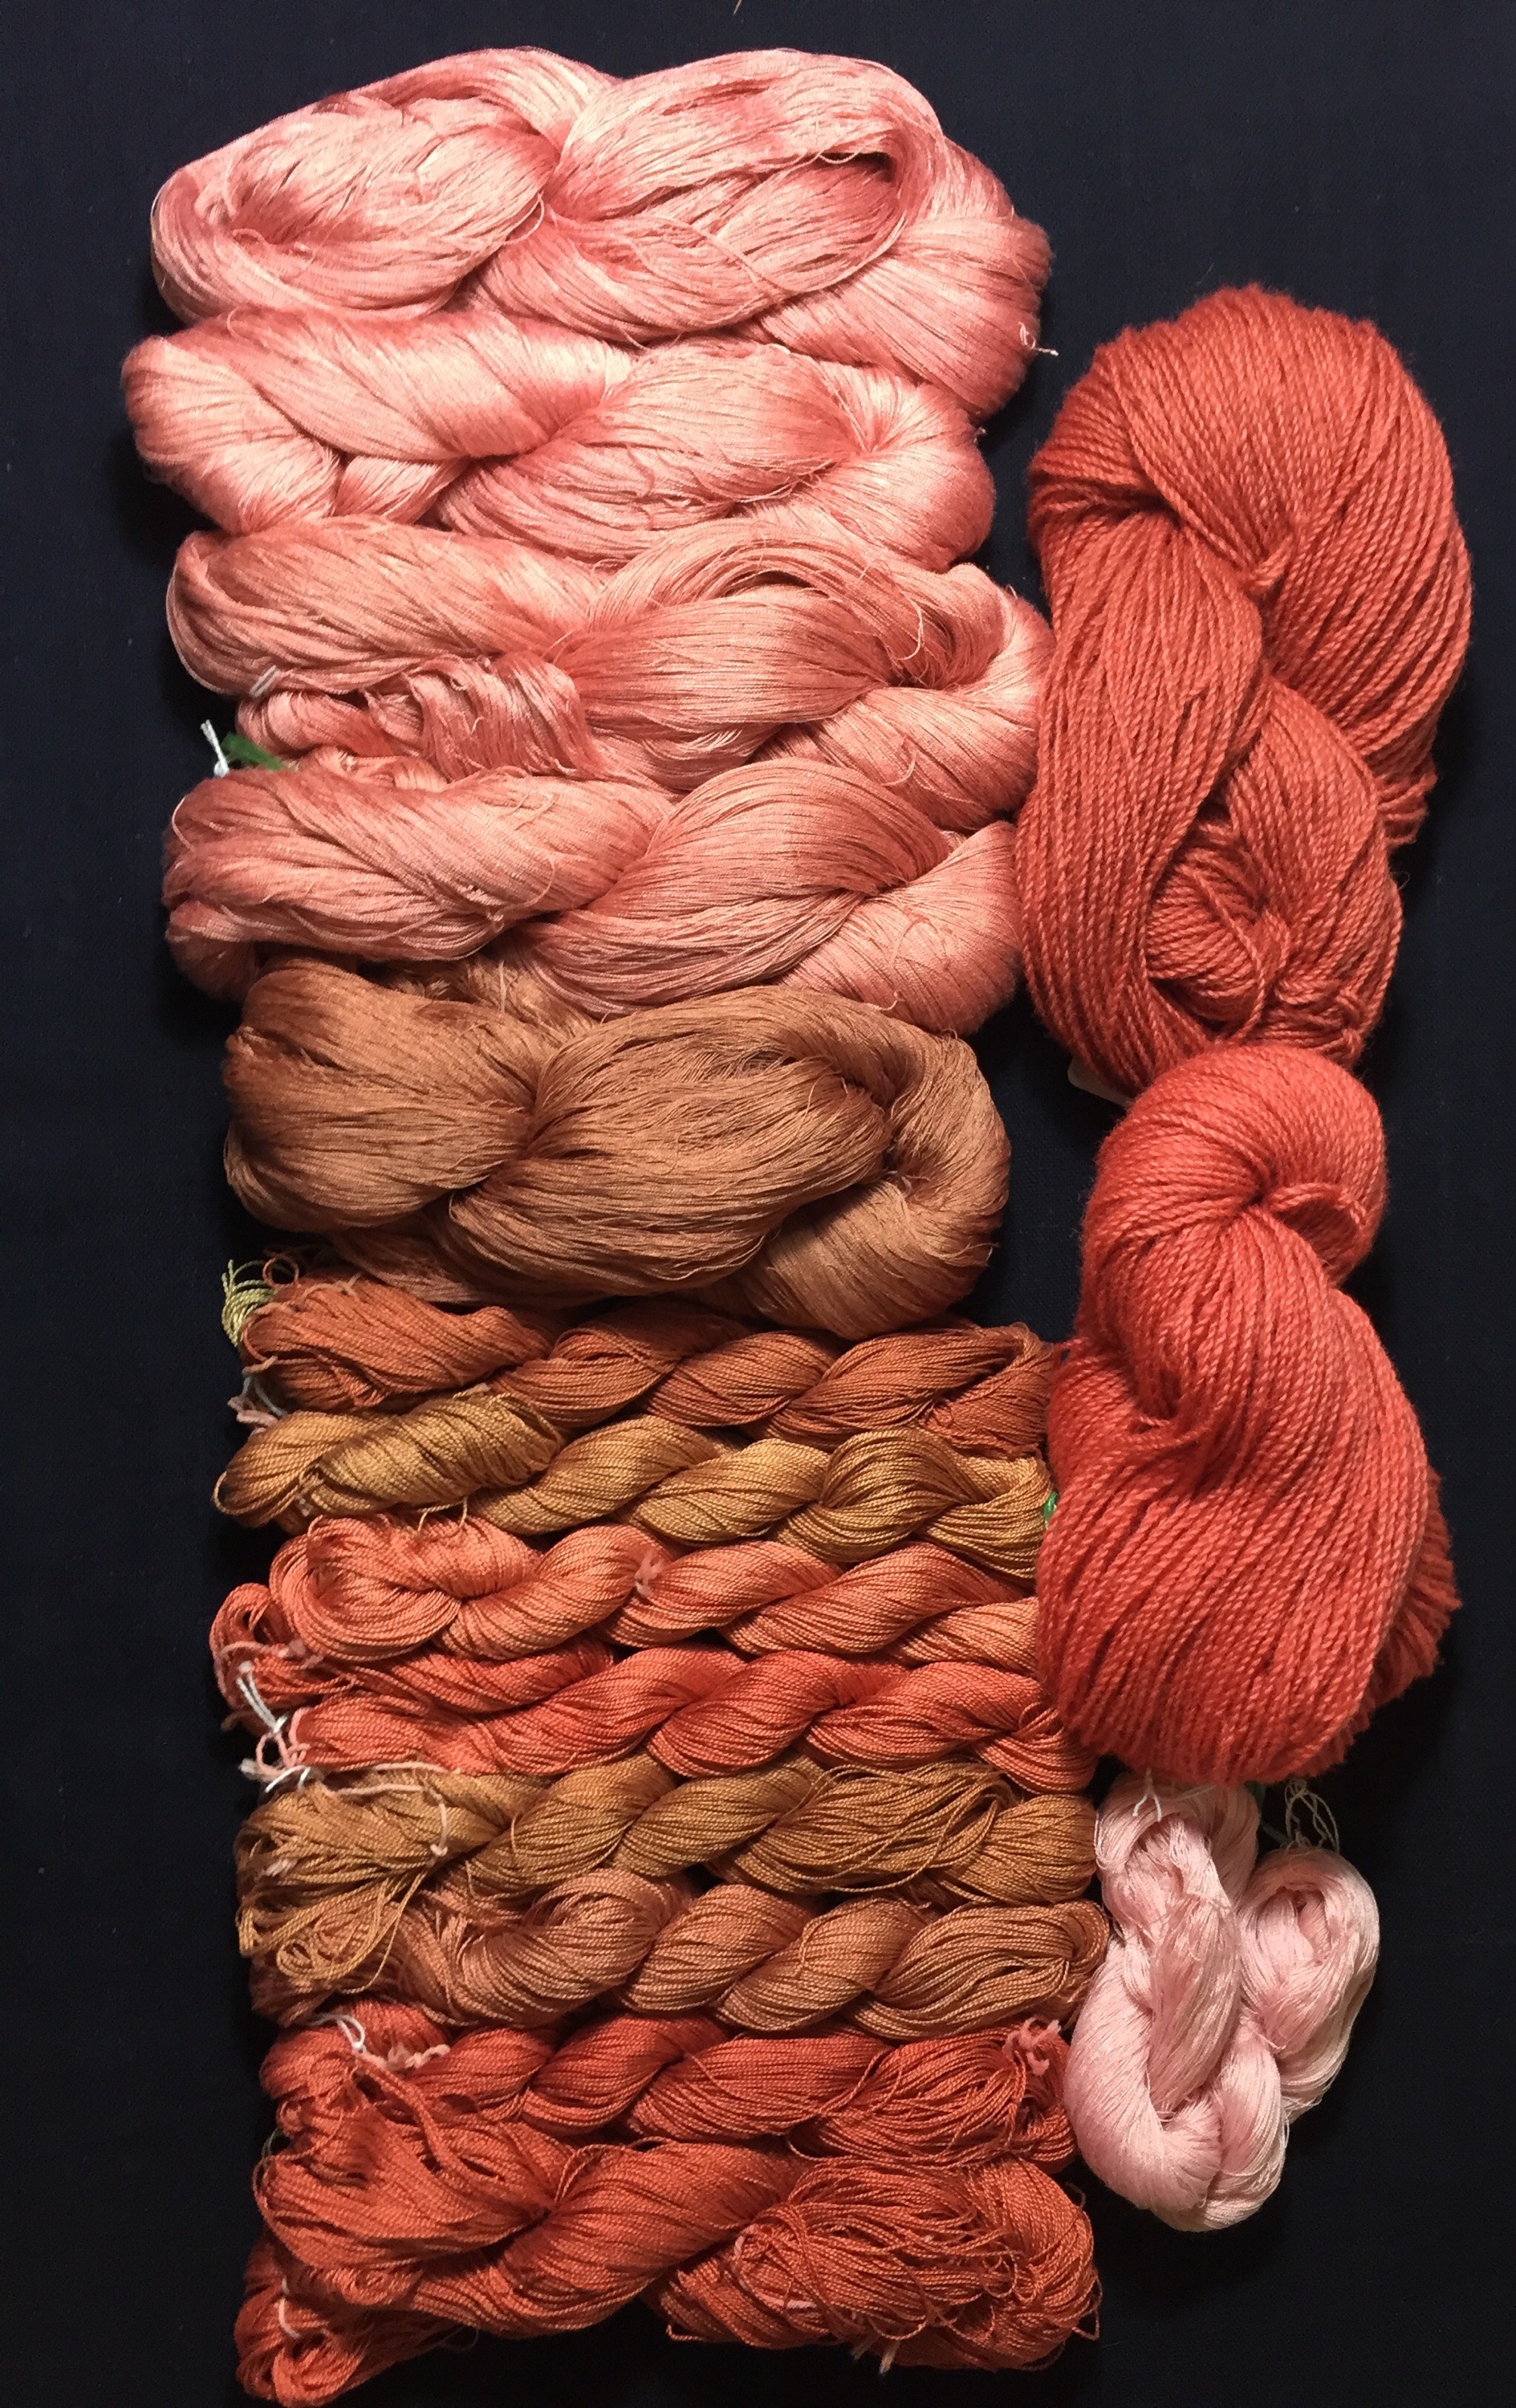
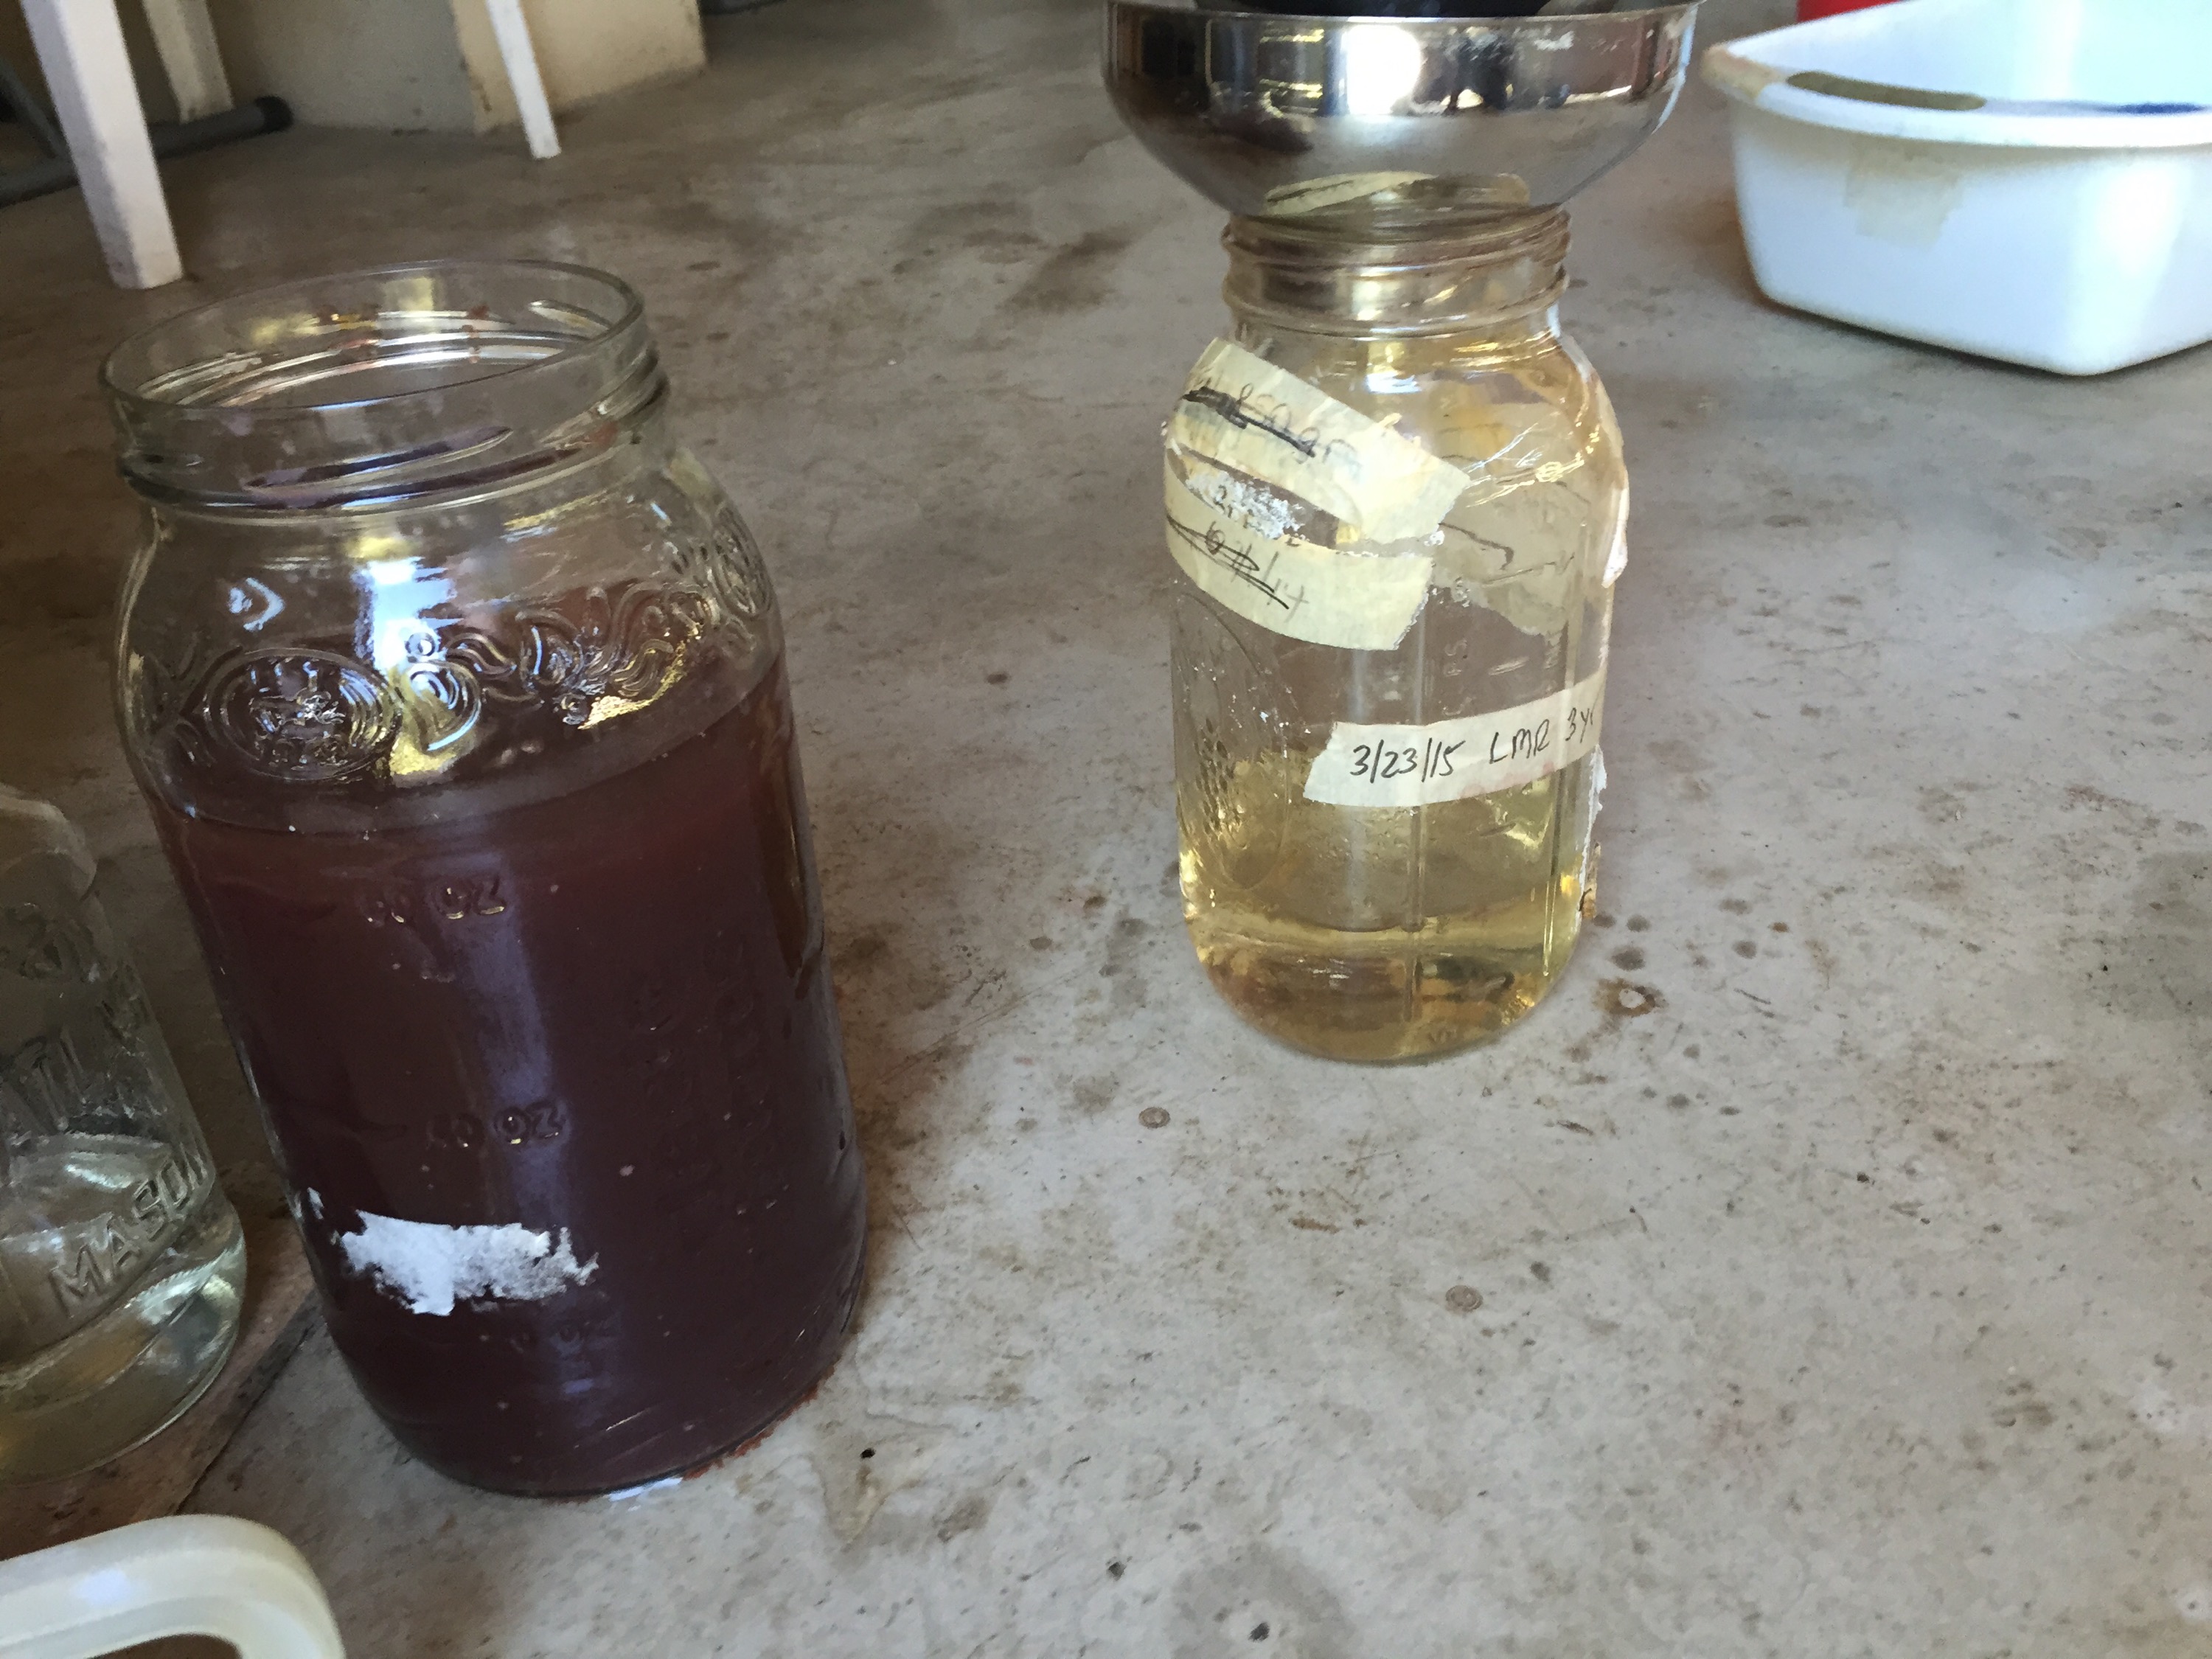
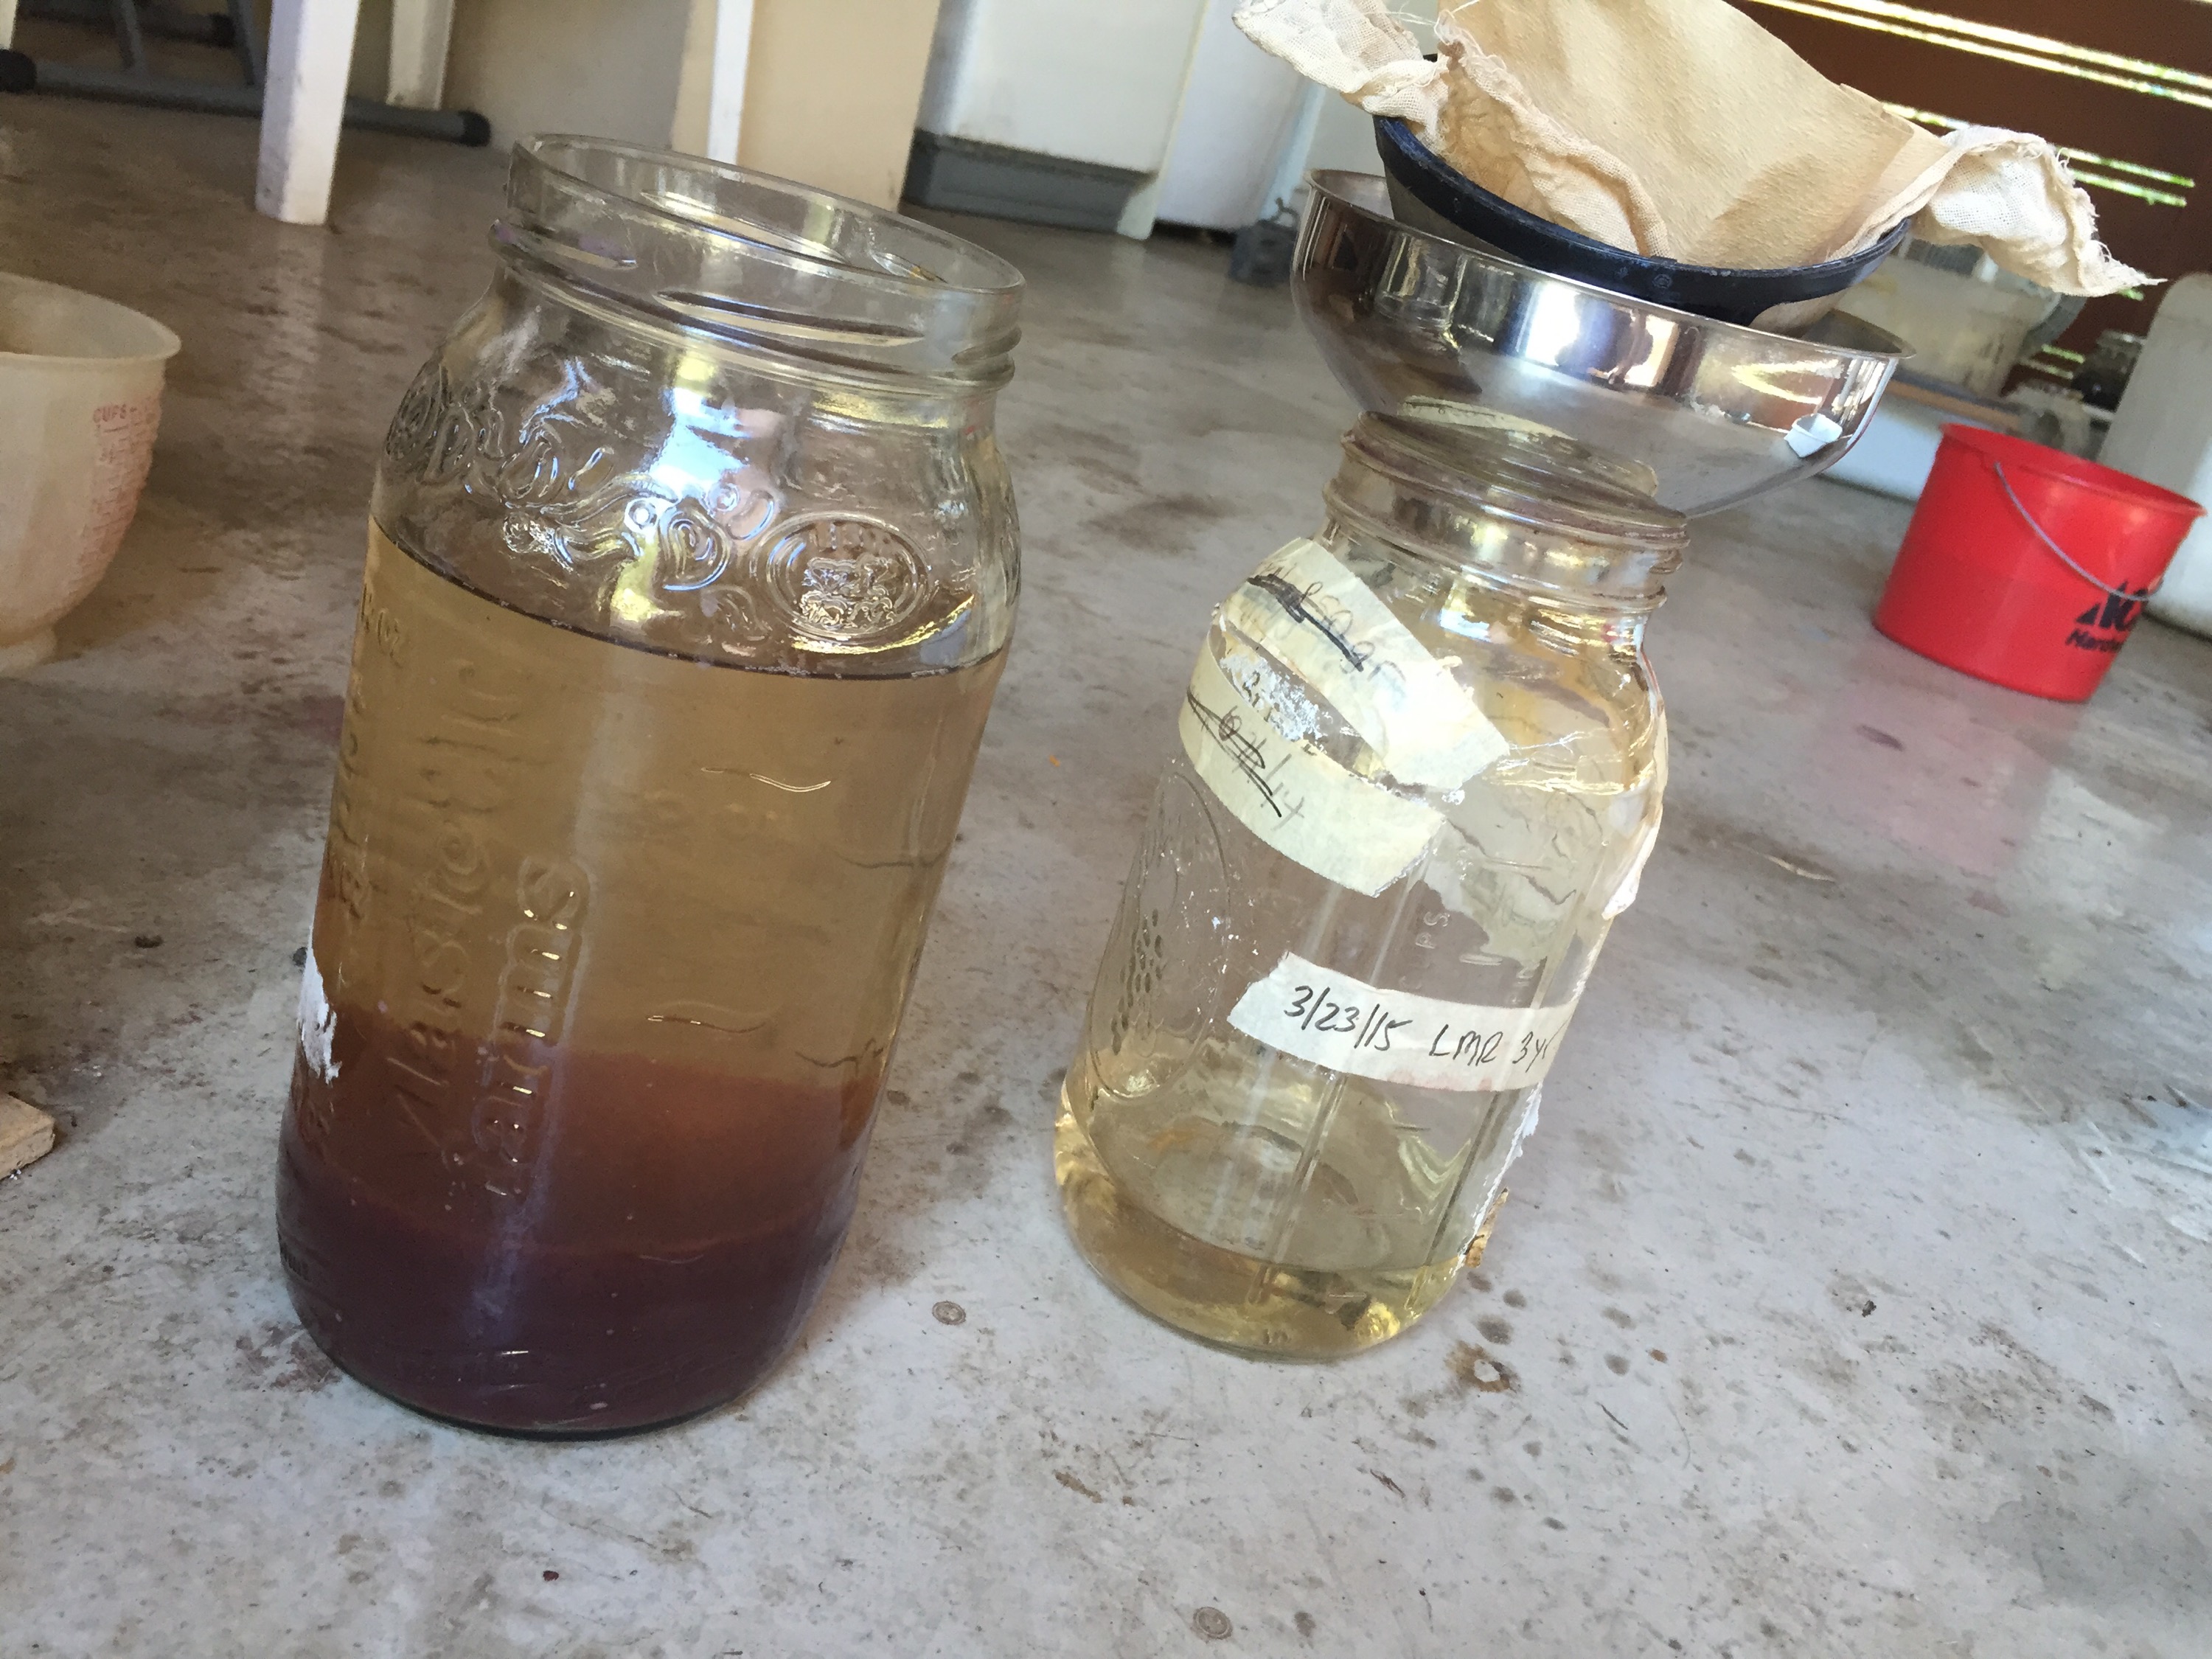
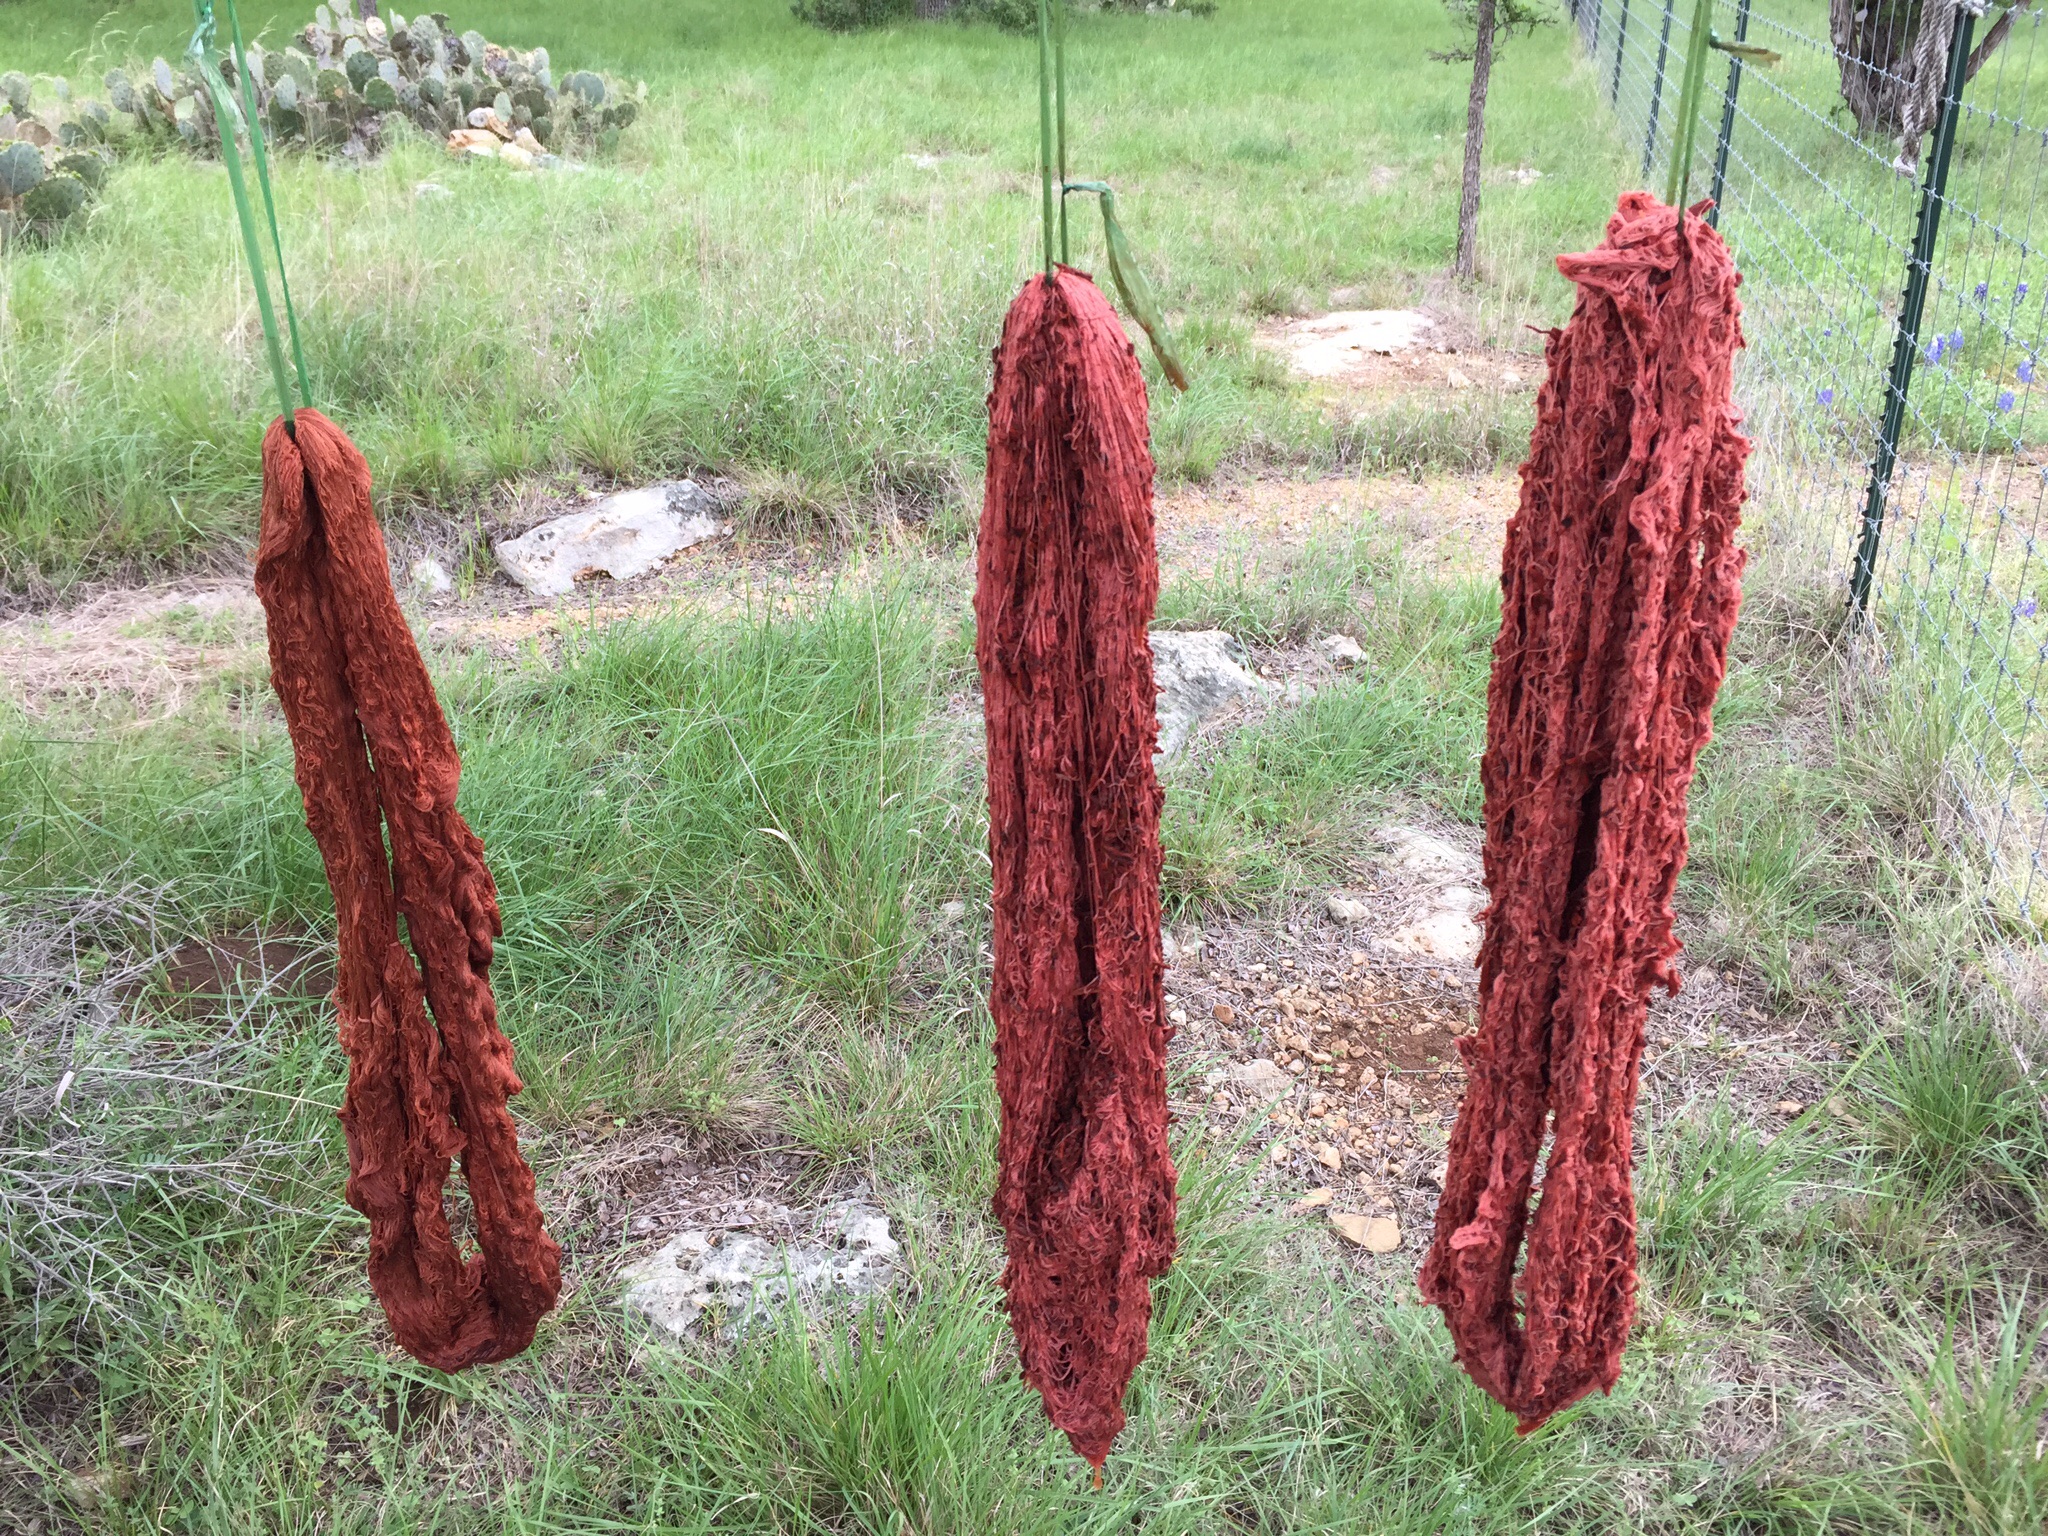
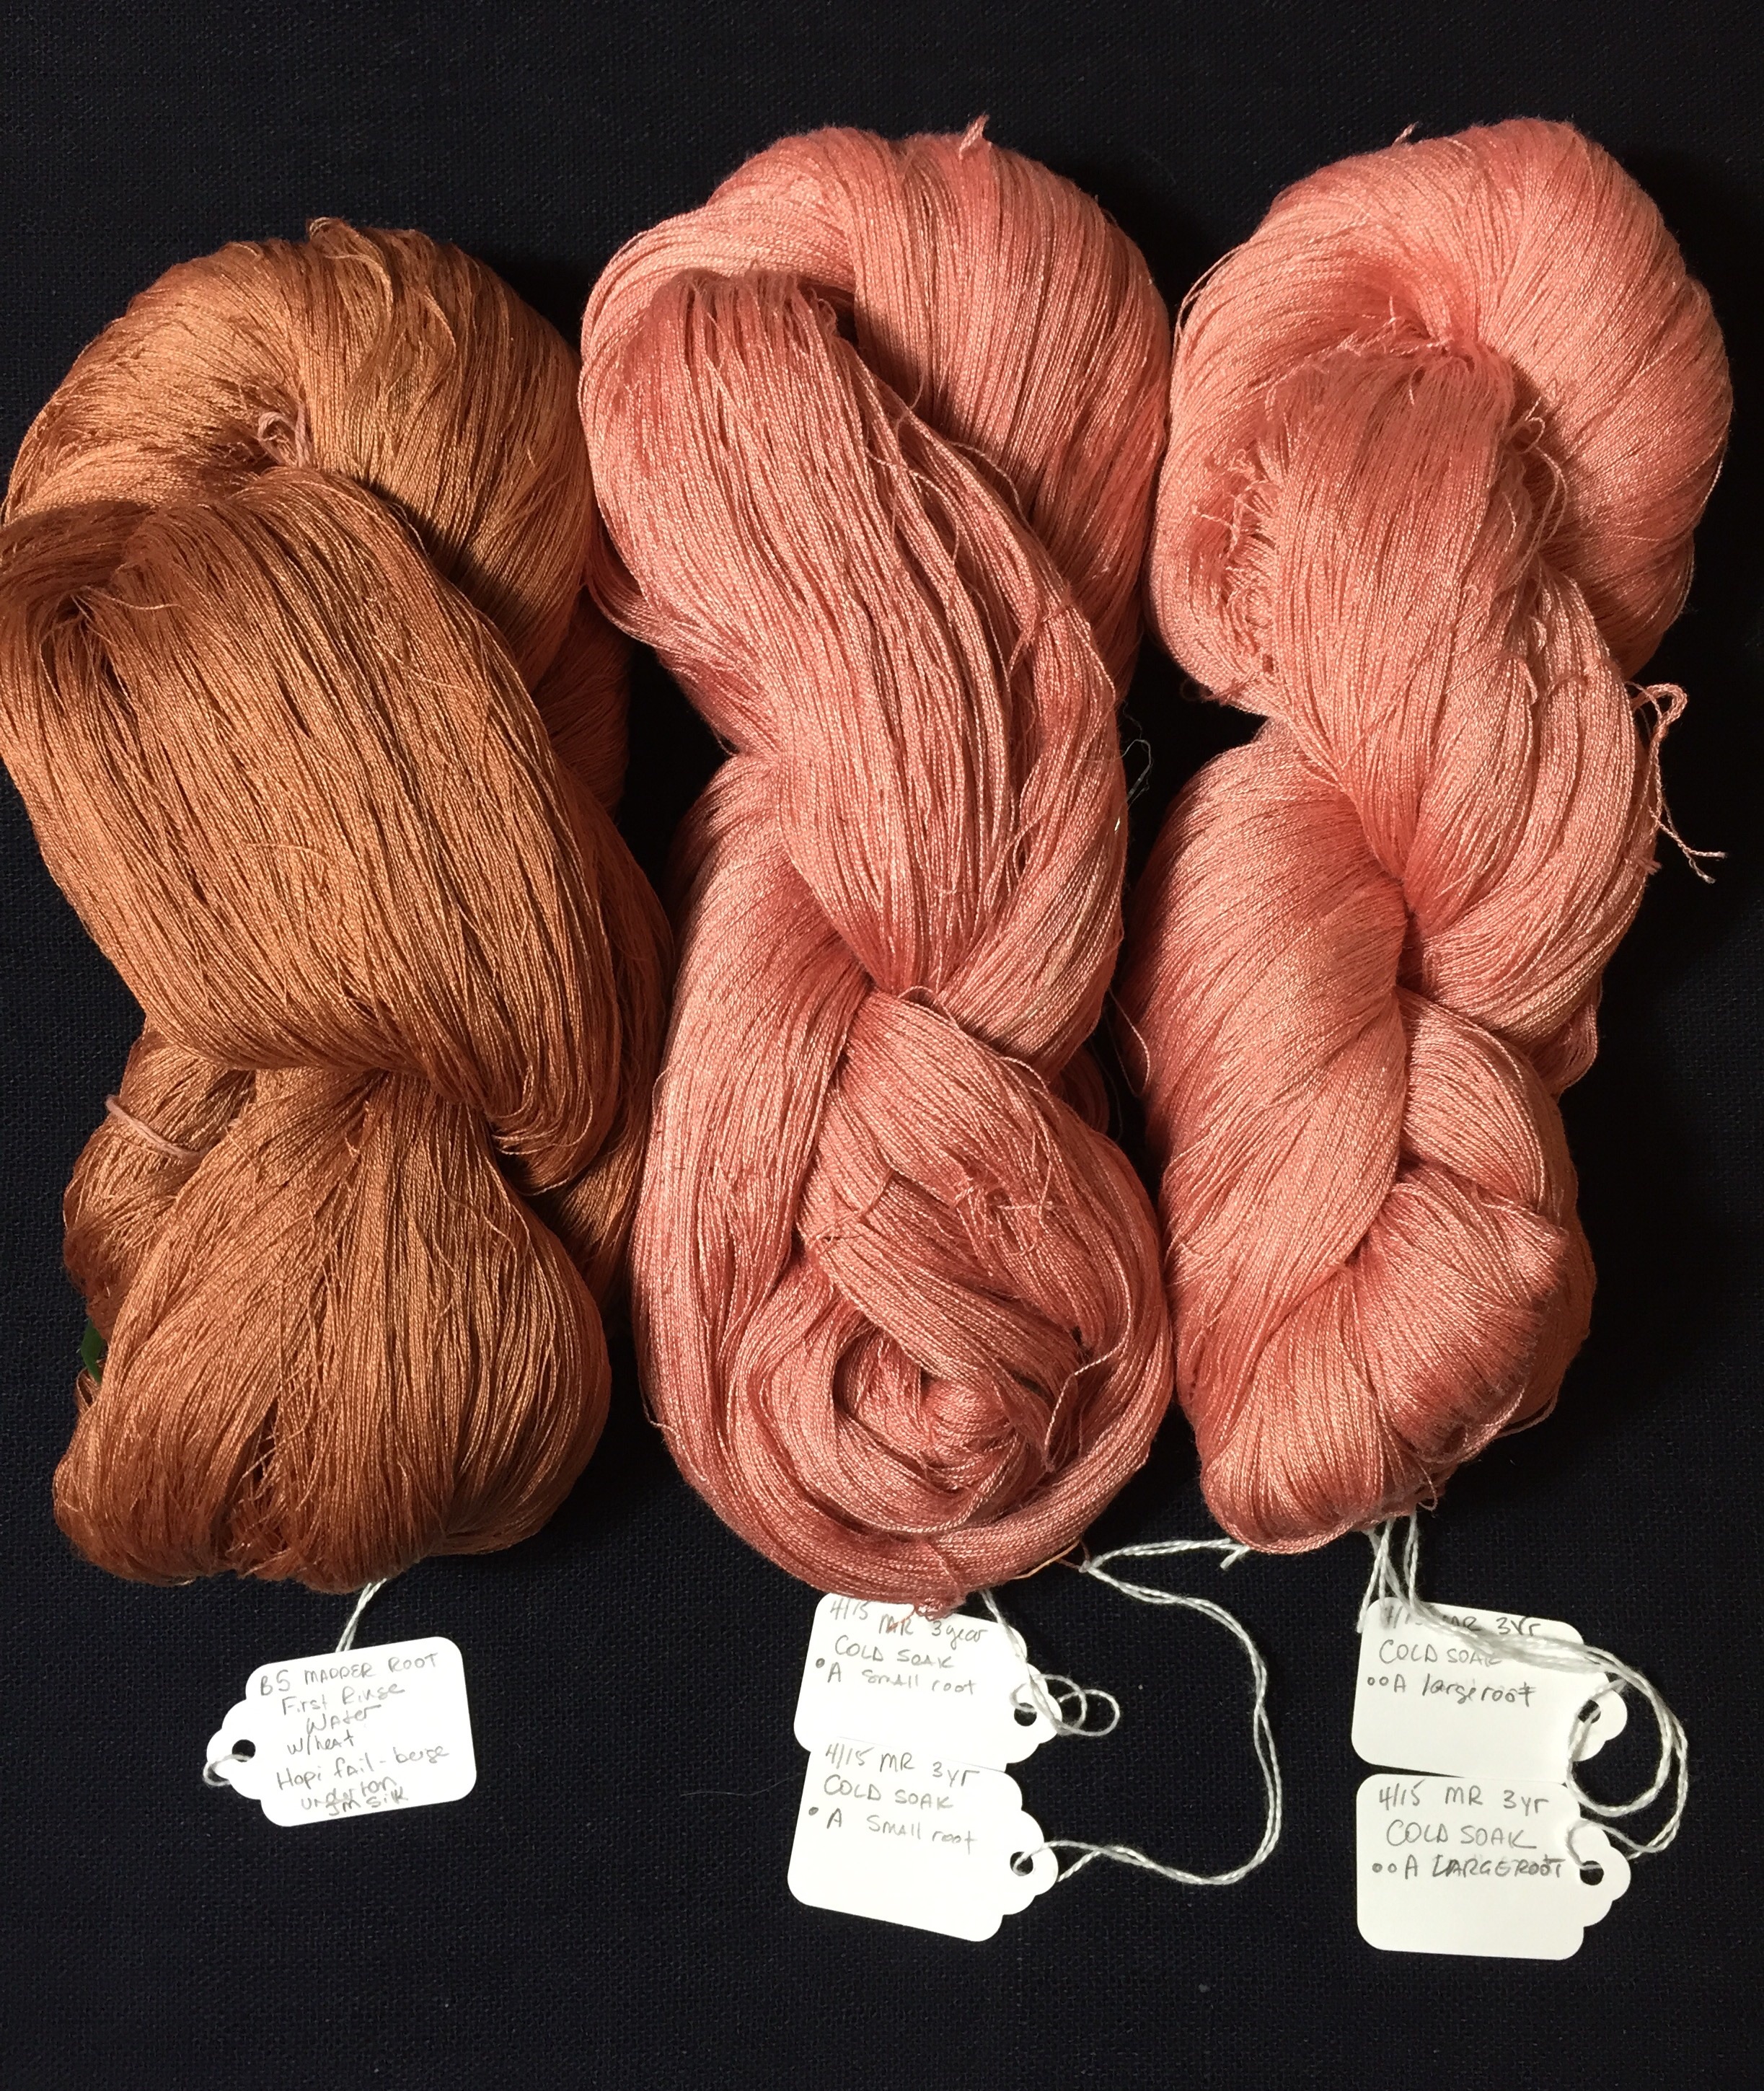
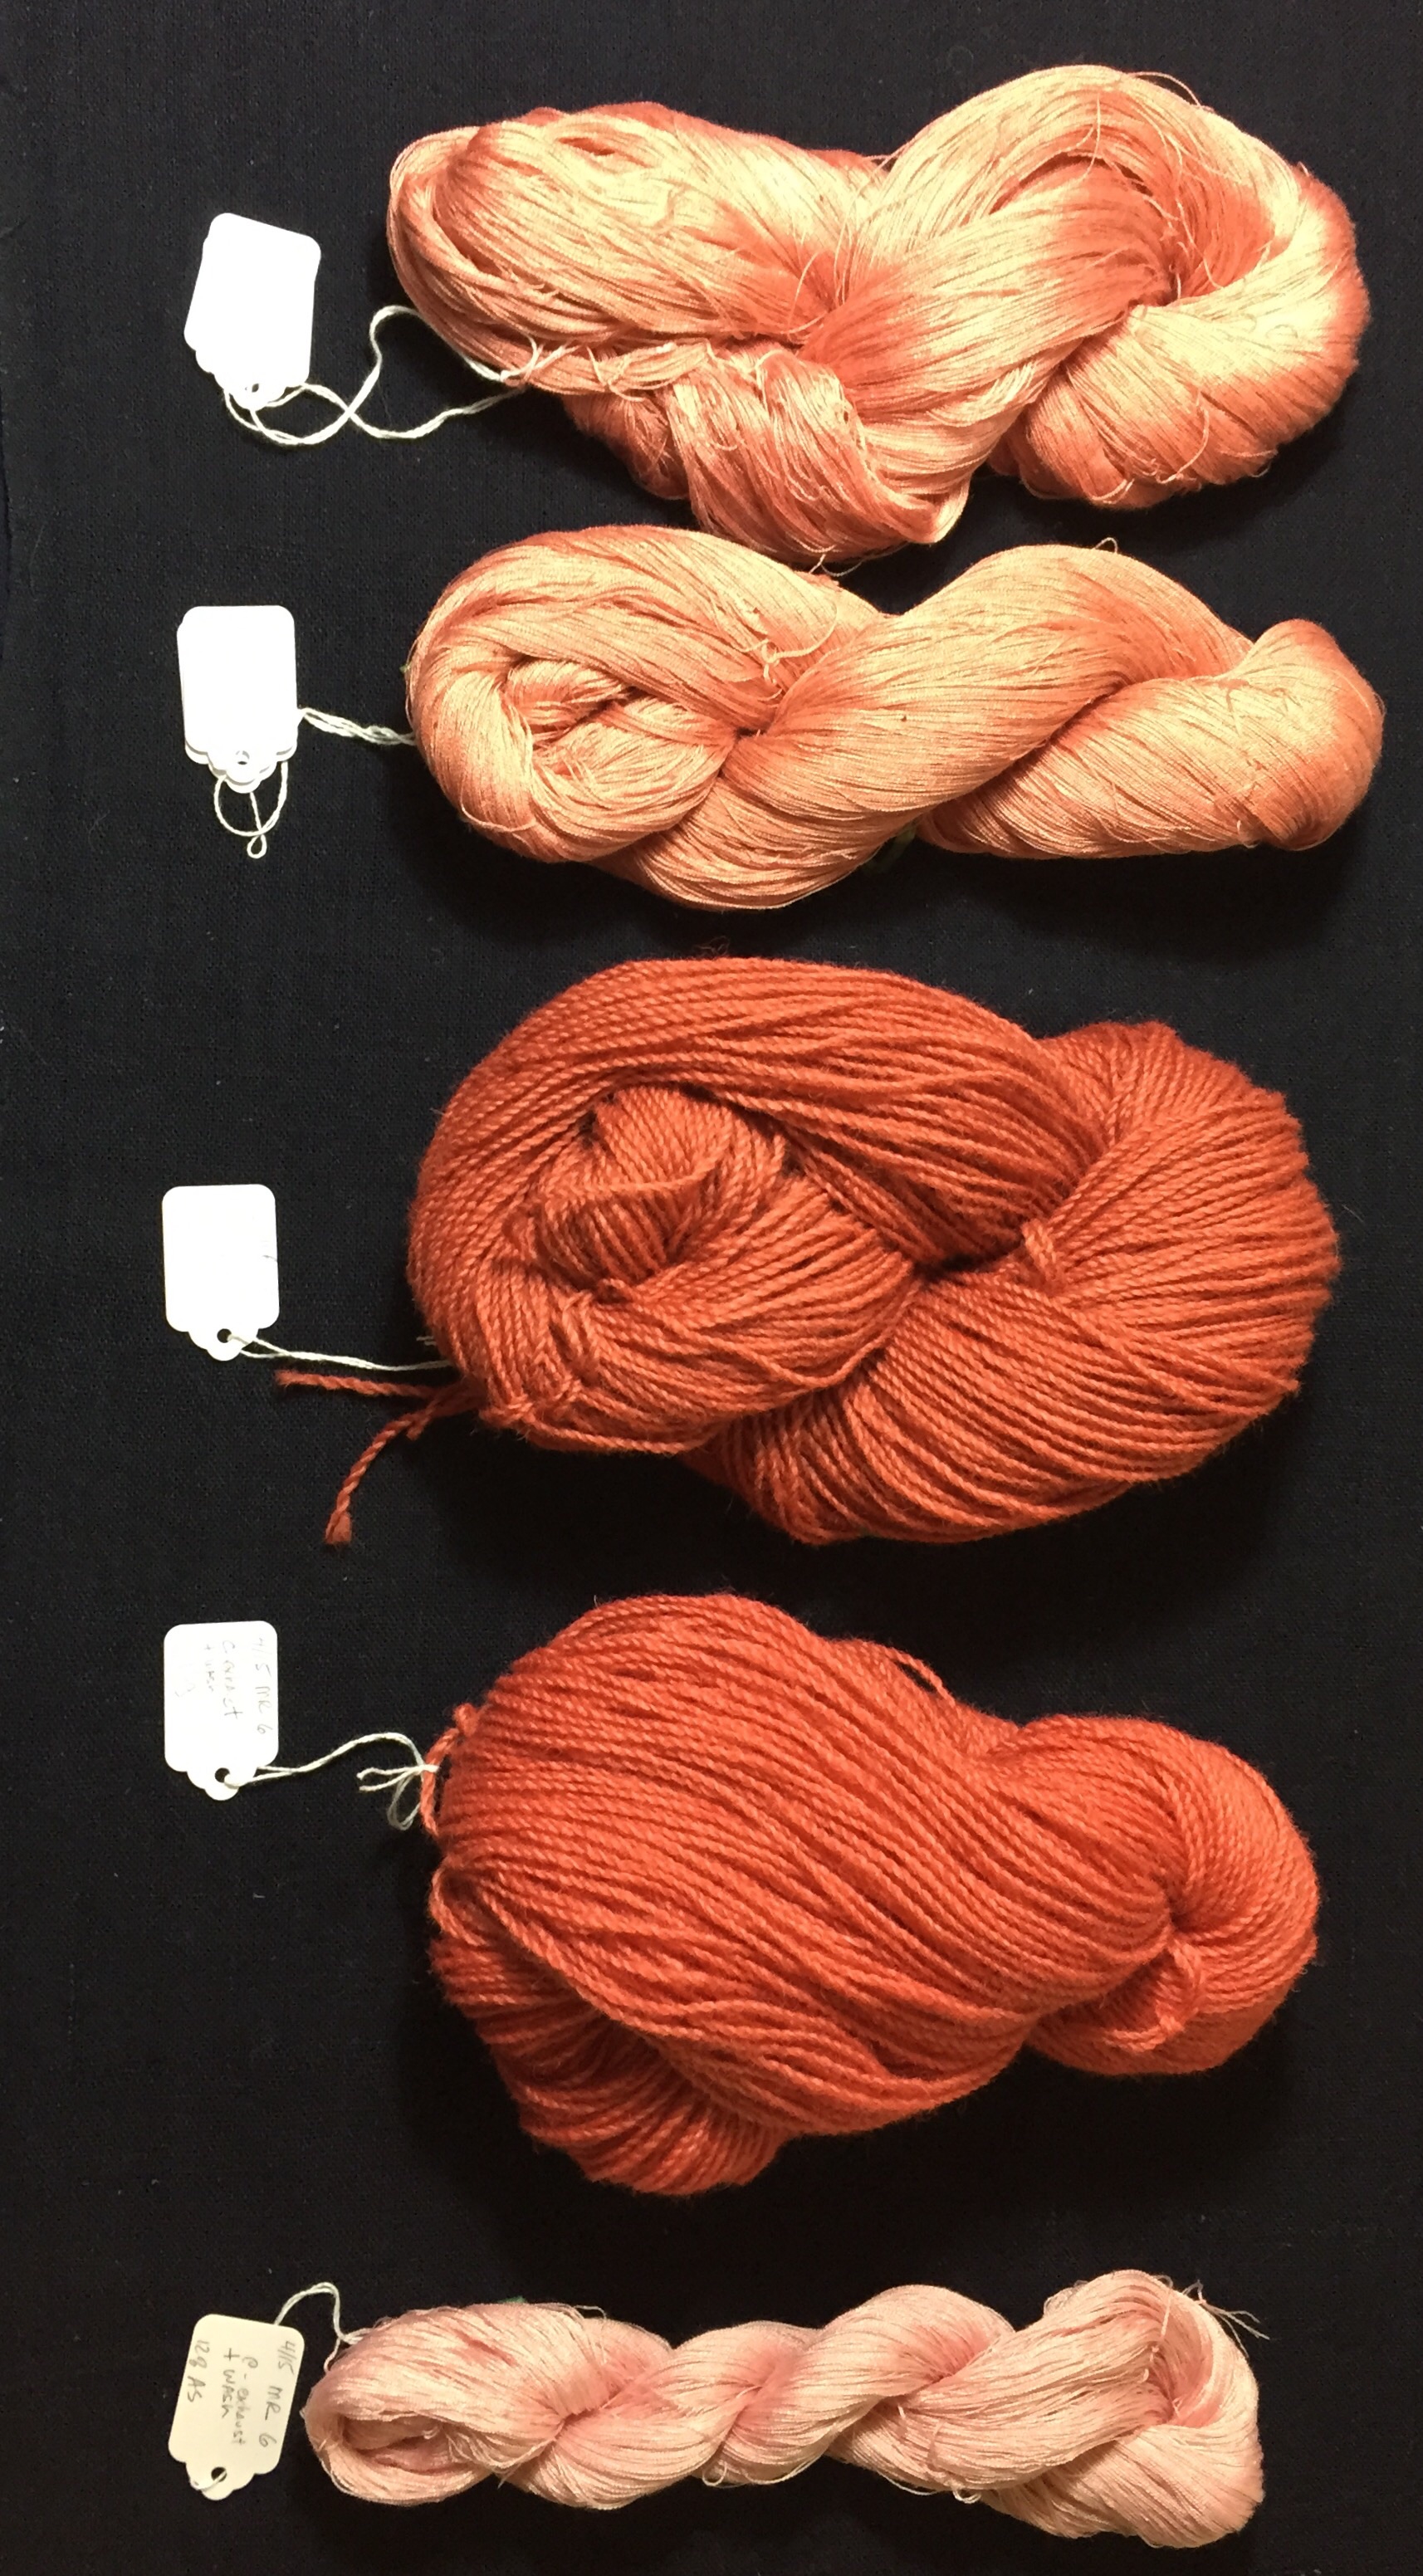
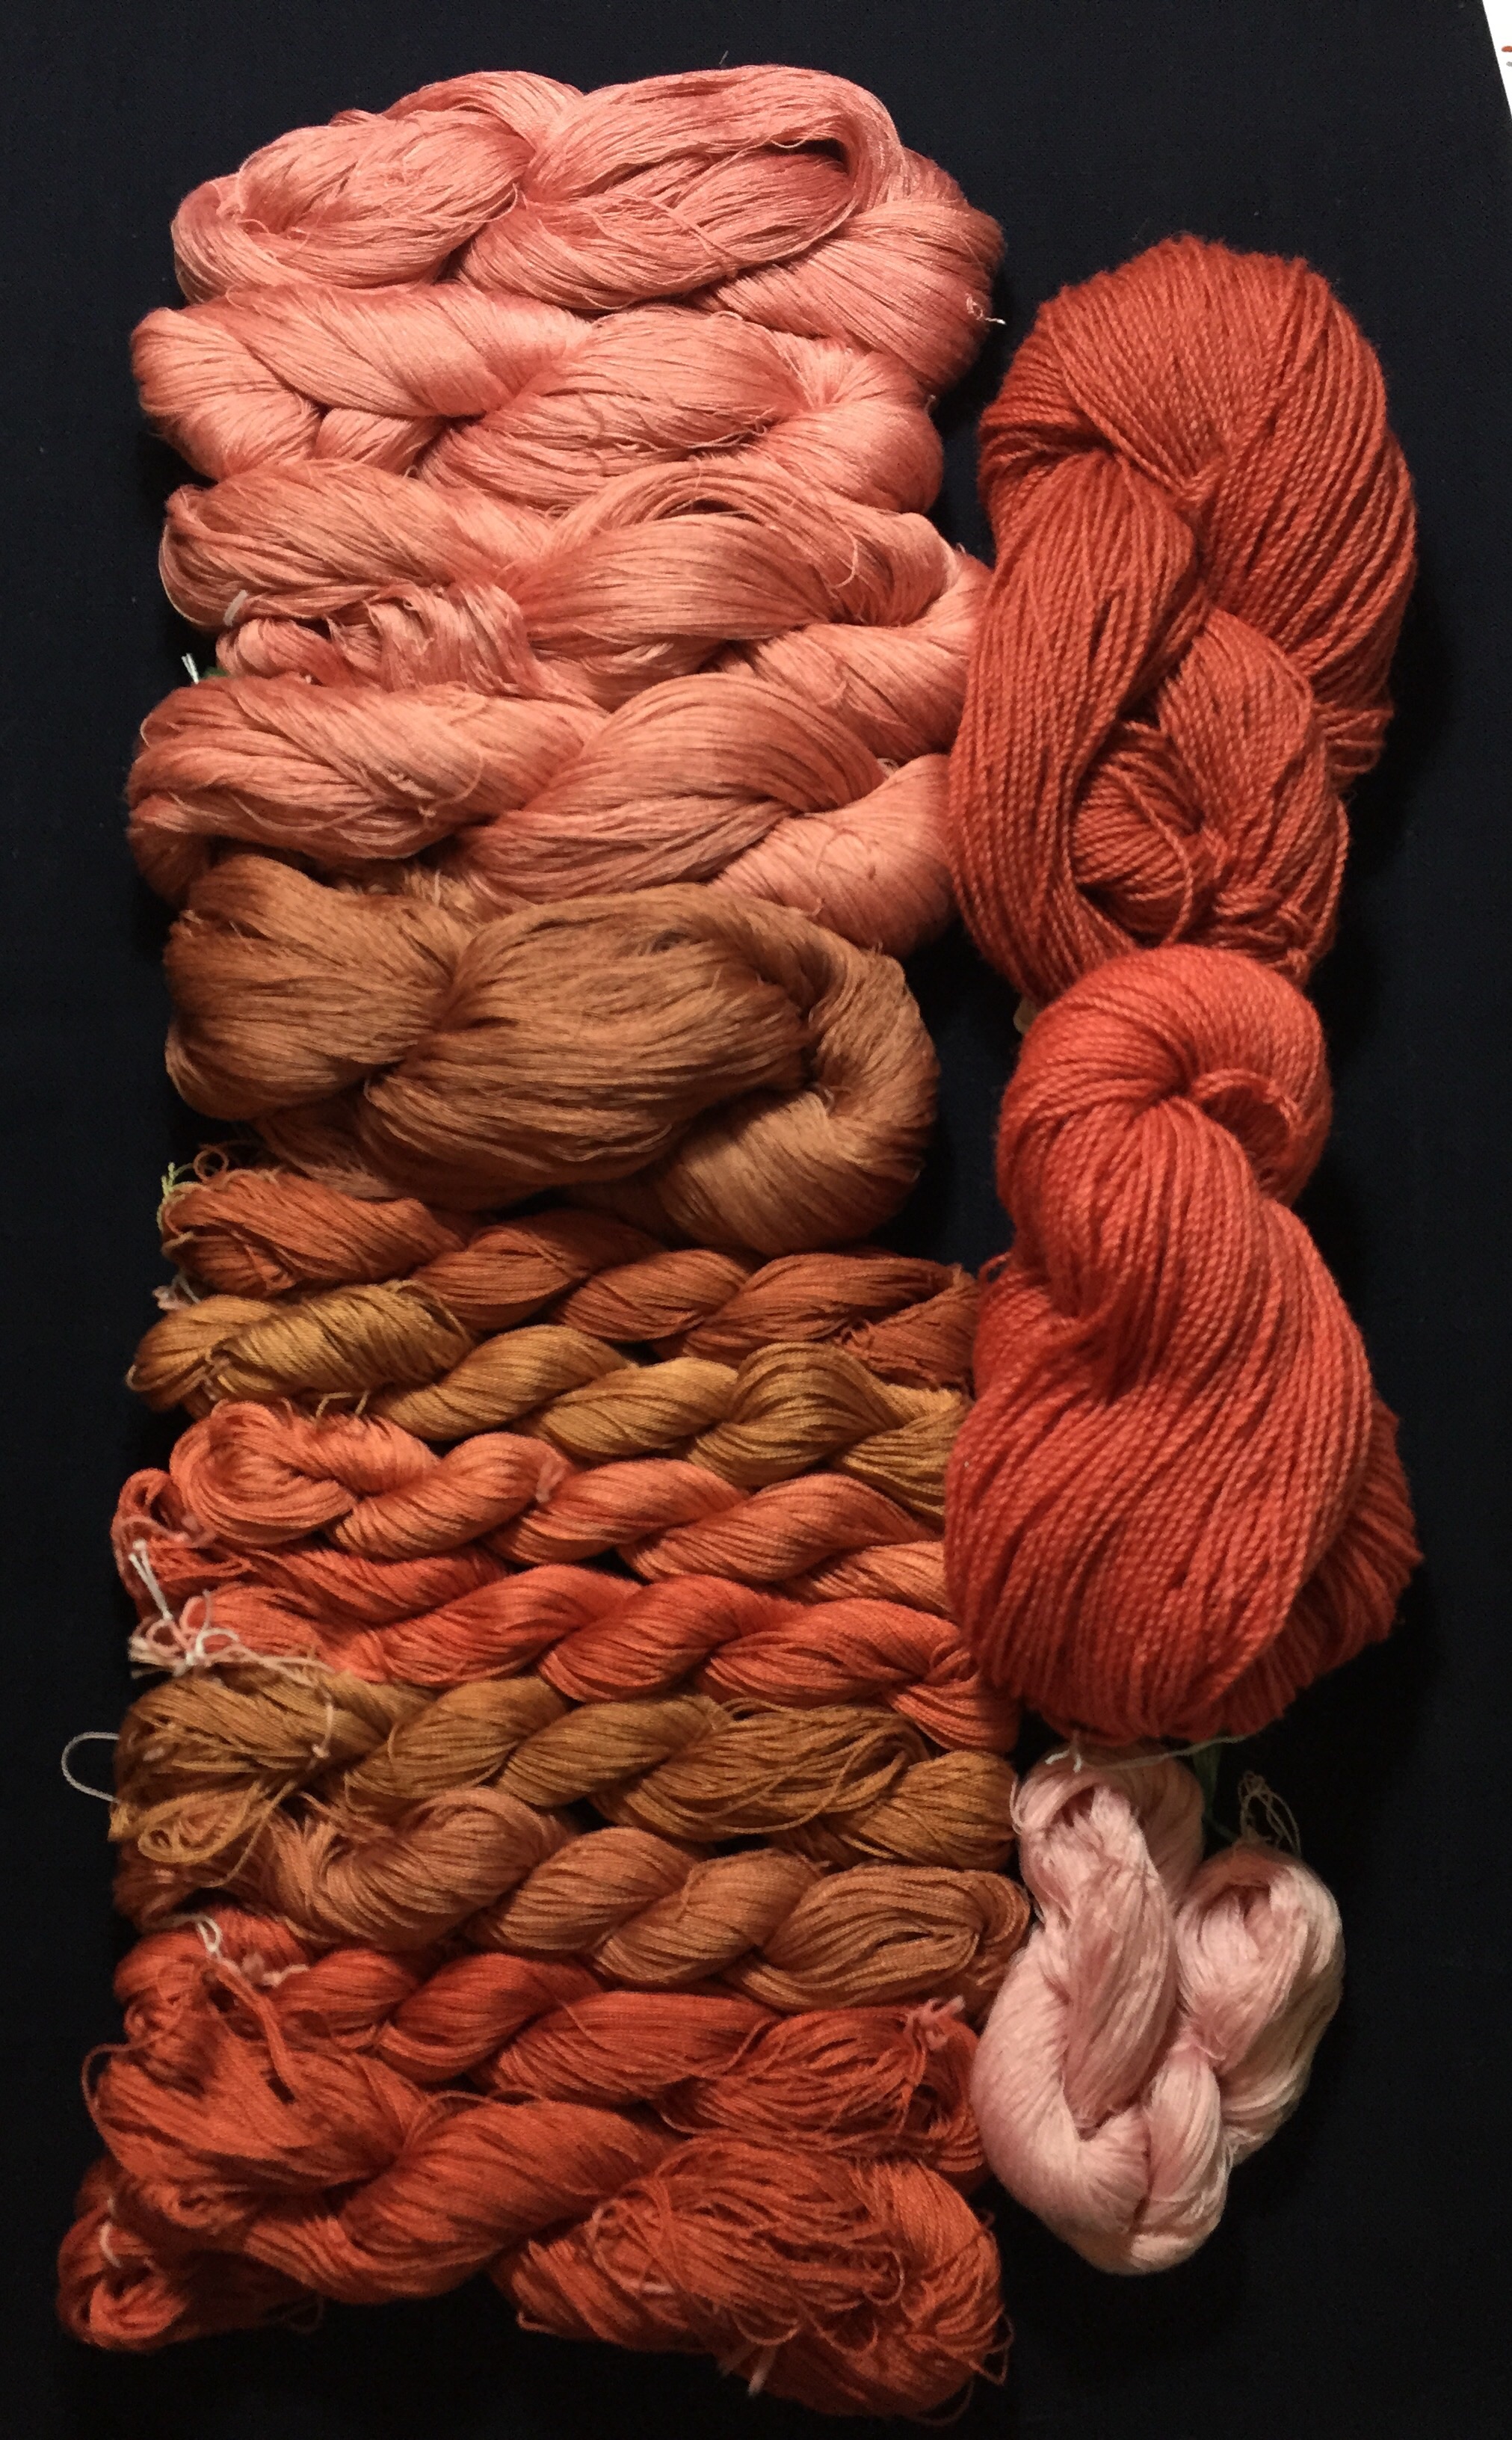
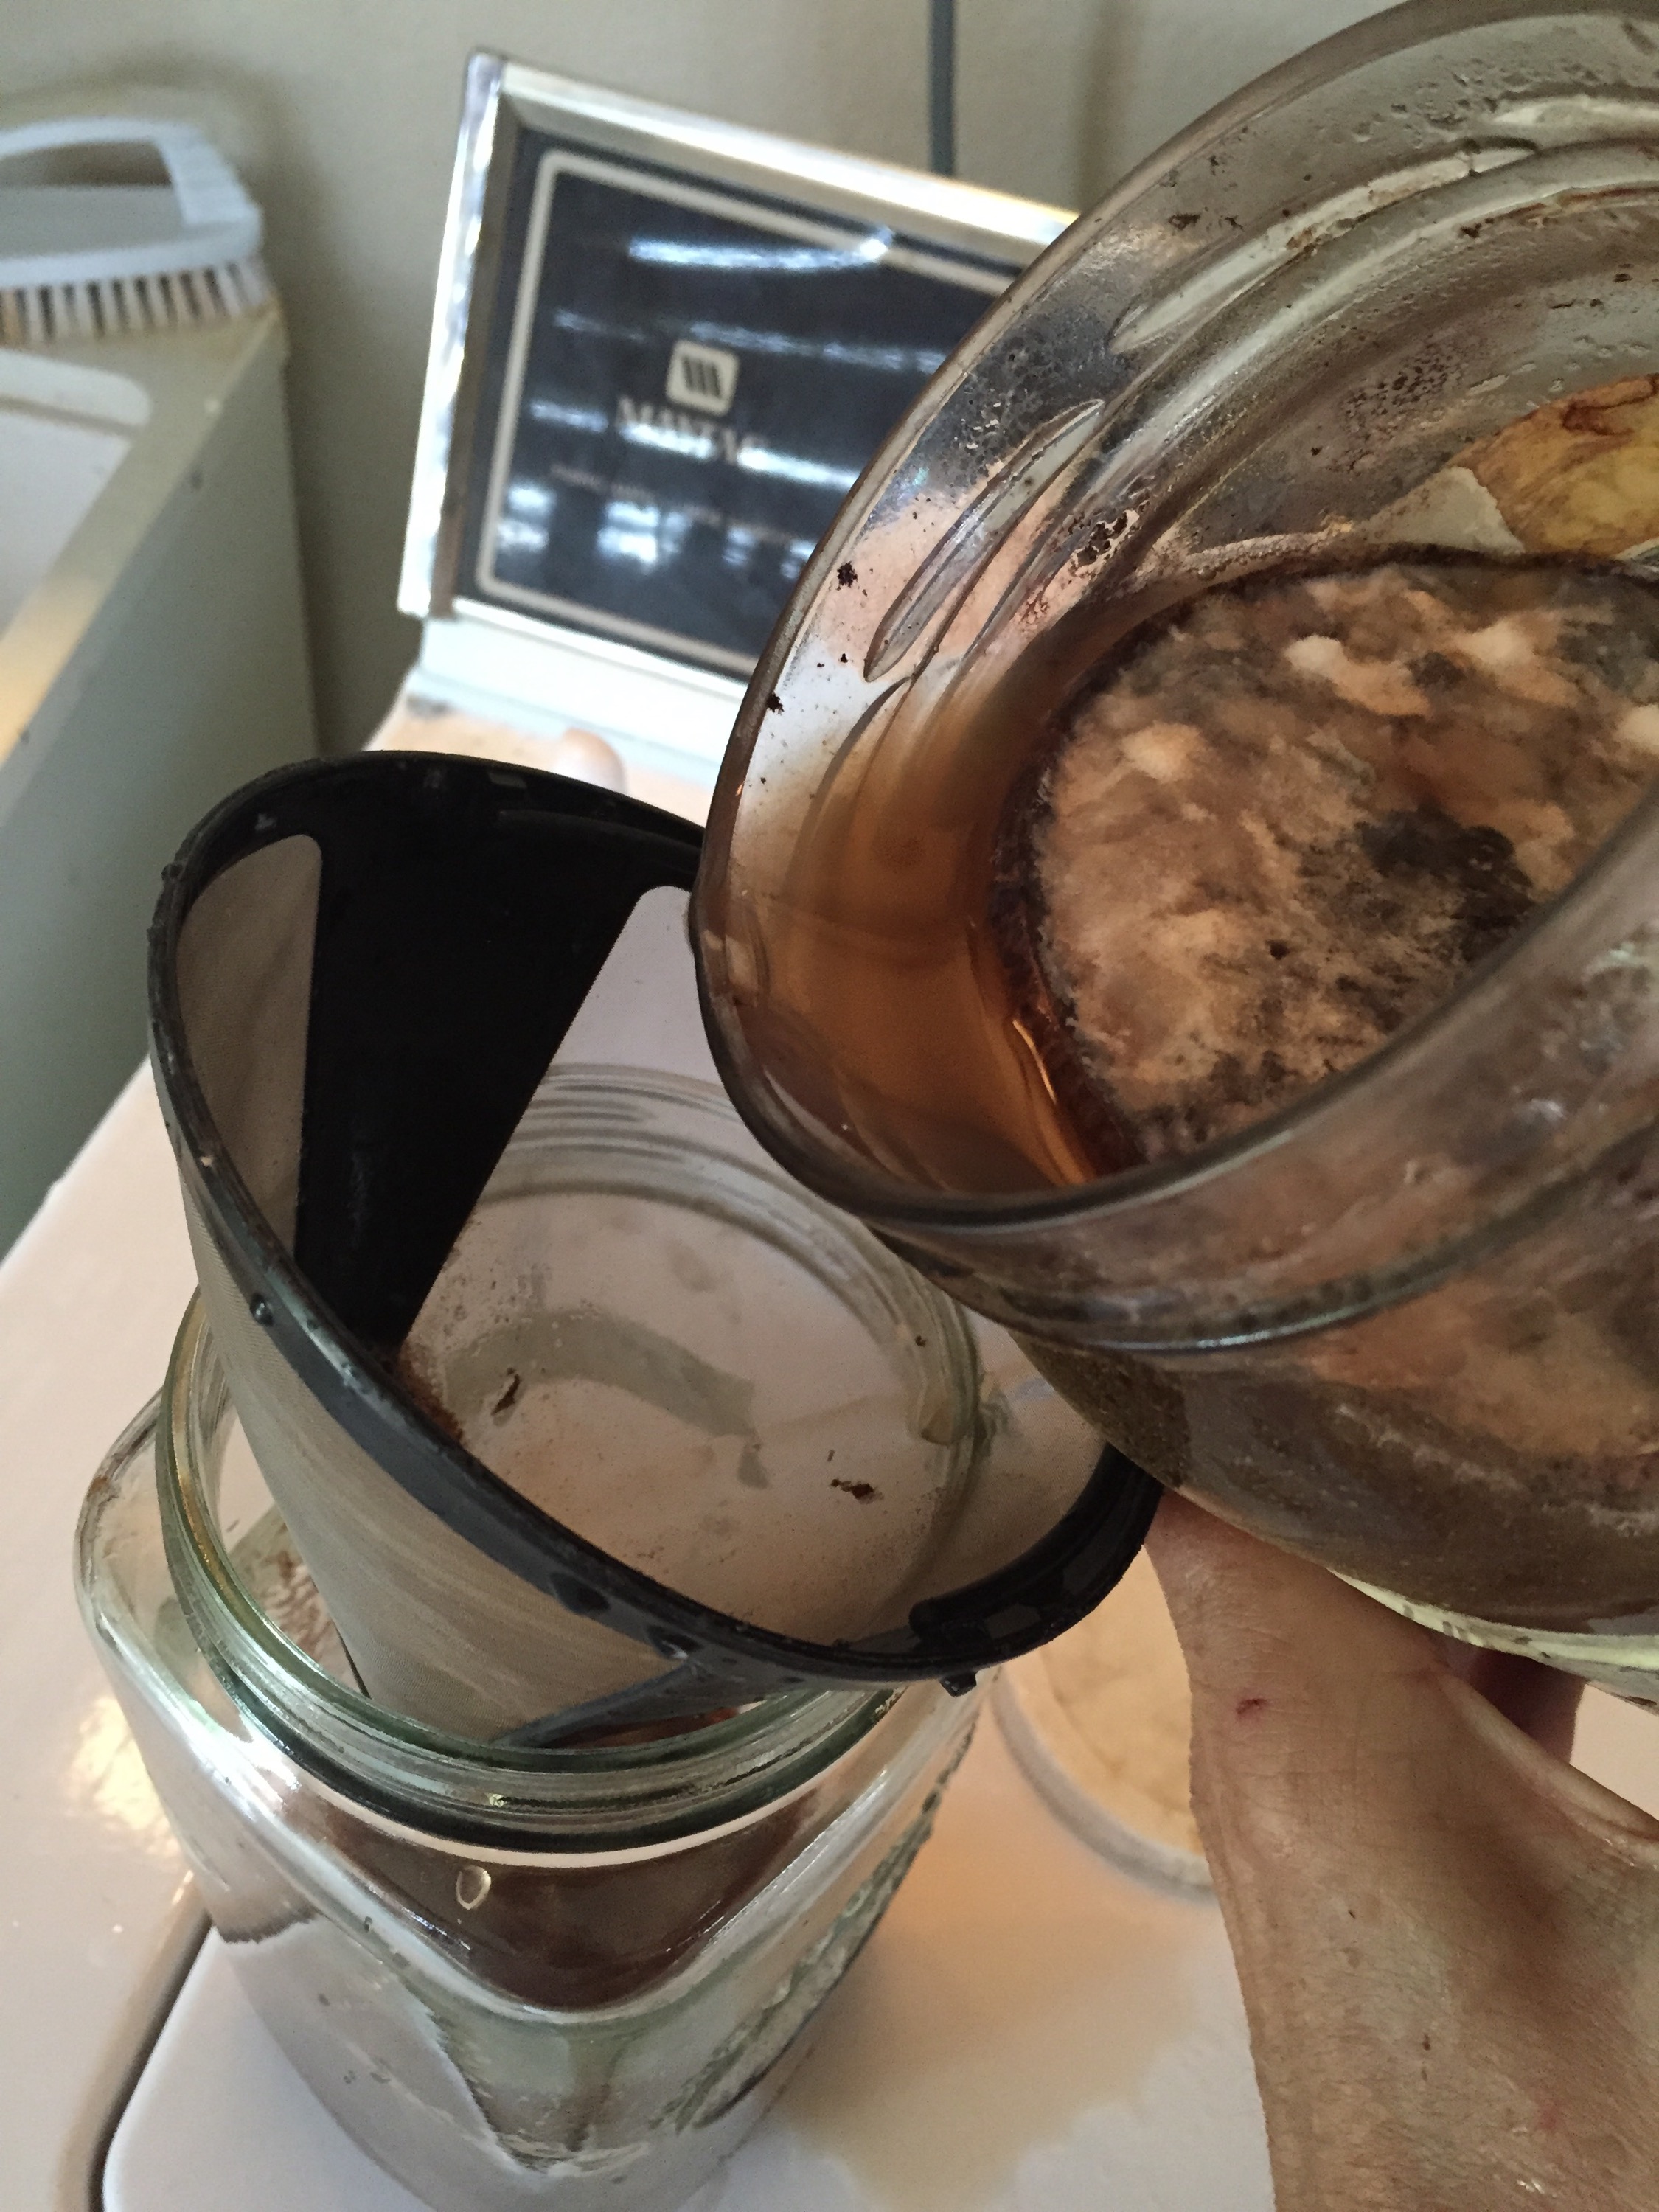
The color on the right below is what the 6 year madder 1st rinse that had the mold growth yielded on my wool. The middle skein is a disappointment, more on that substratein another entry. The white skein on the left was just added. All three are going back into the 6 year exhaust pot to see what color shows up. 

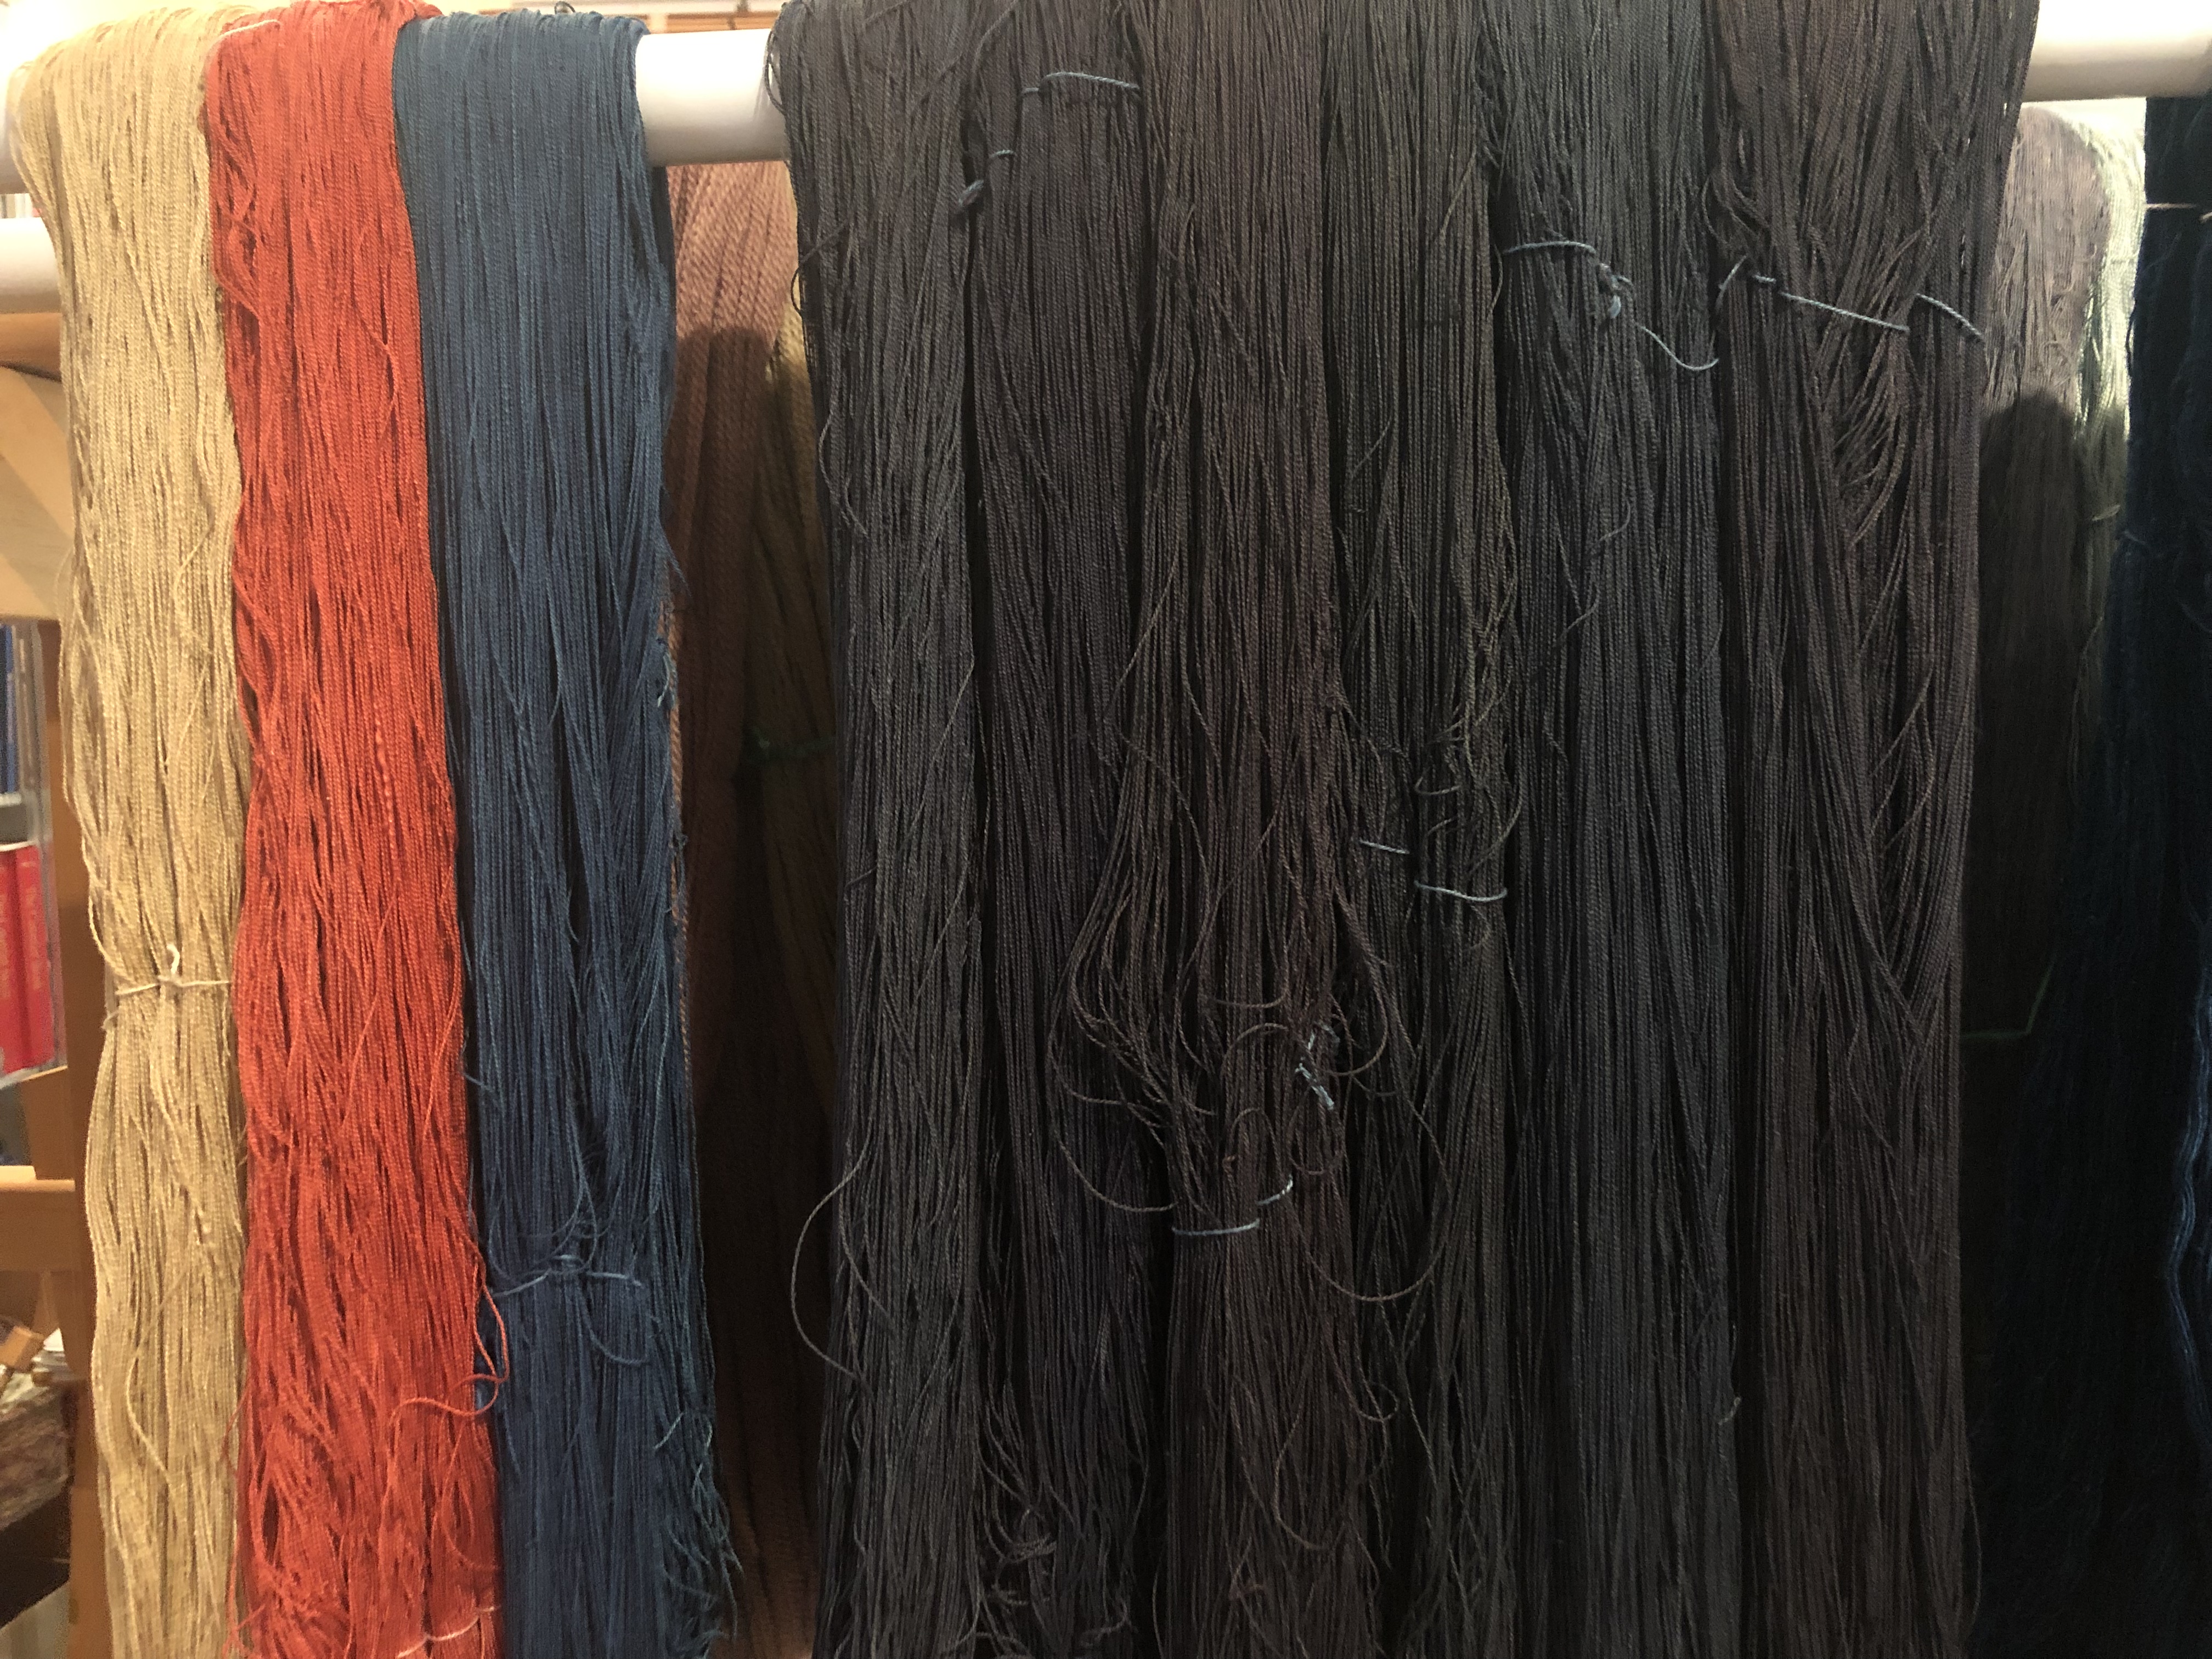
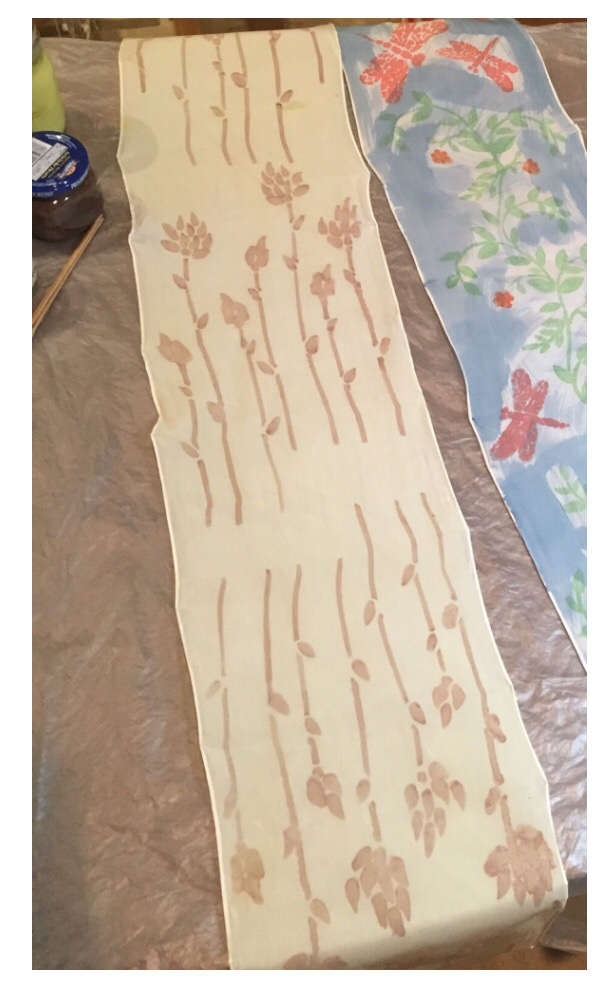
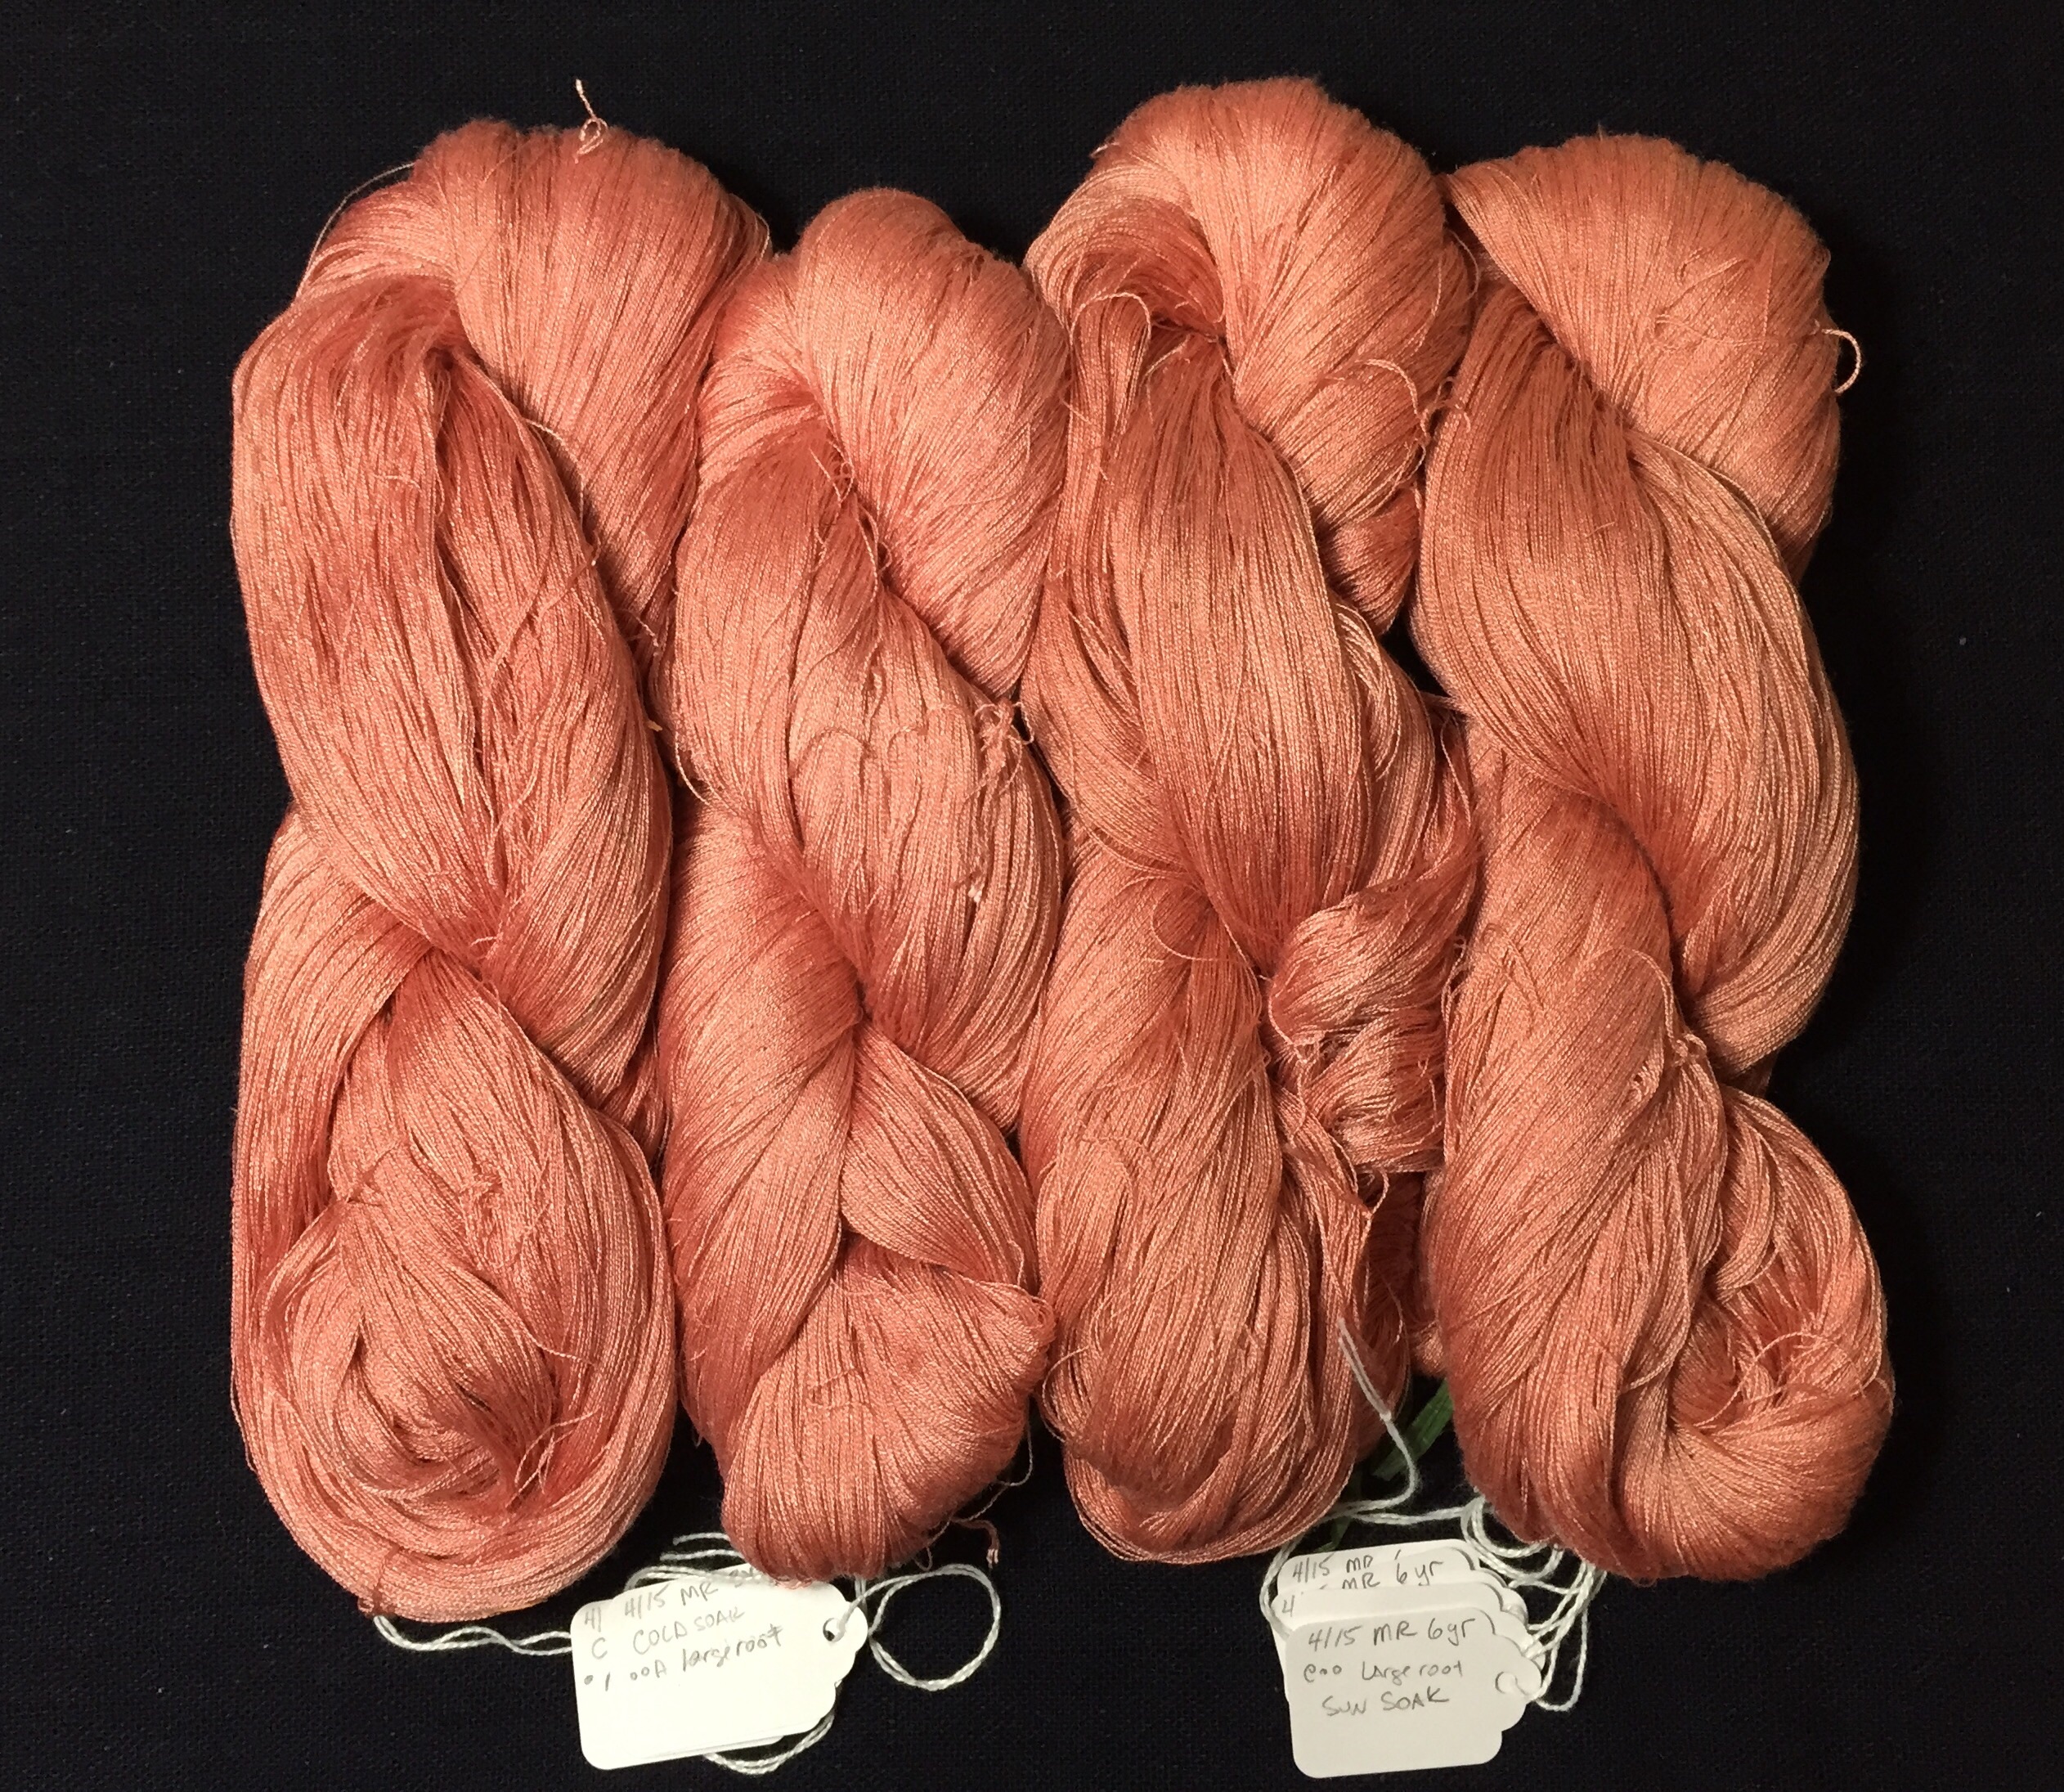
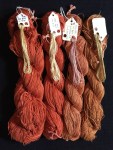
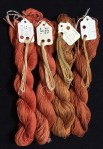
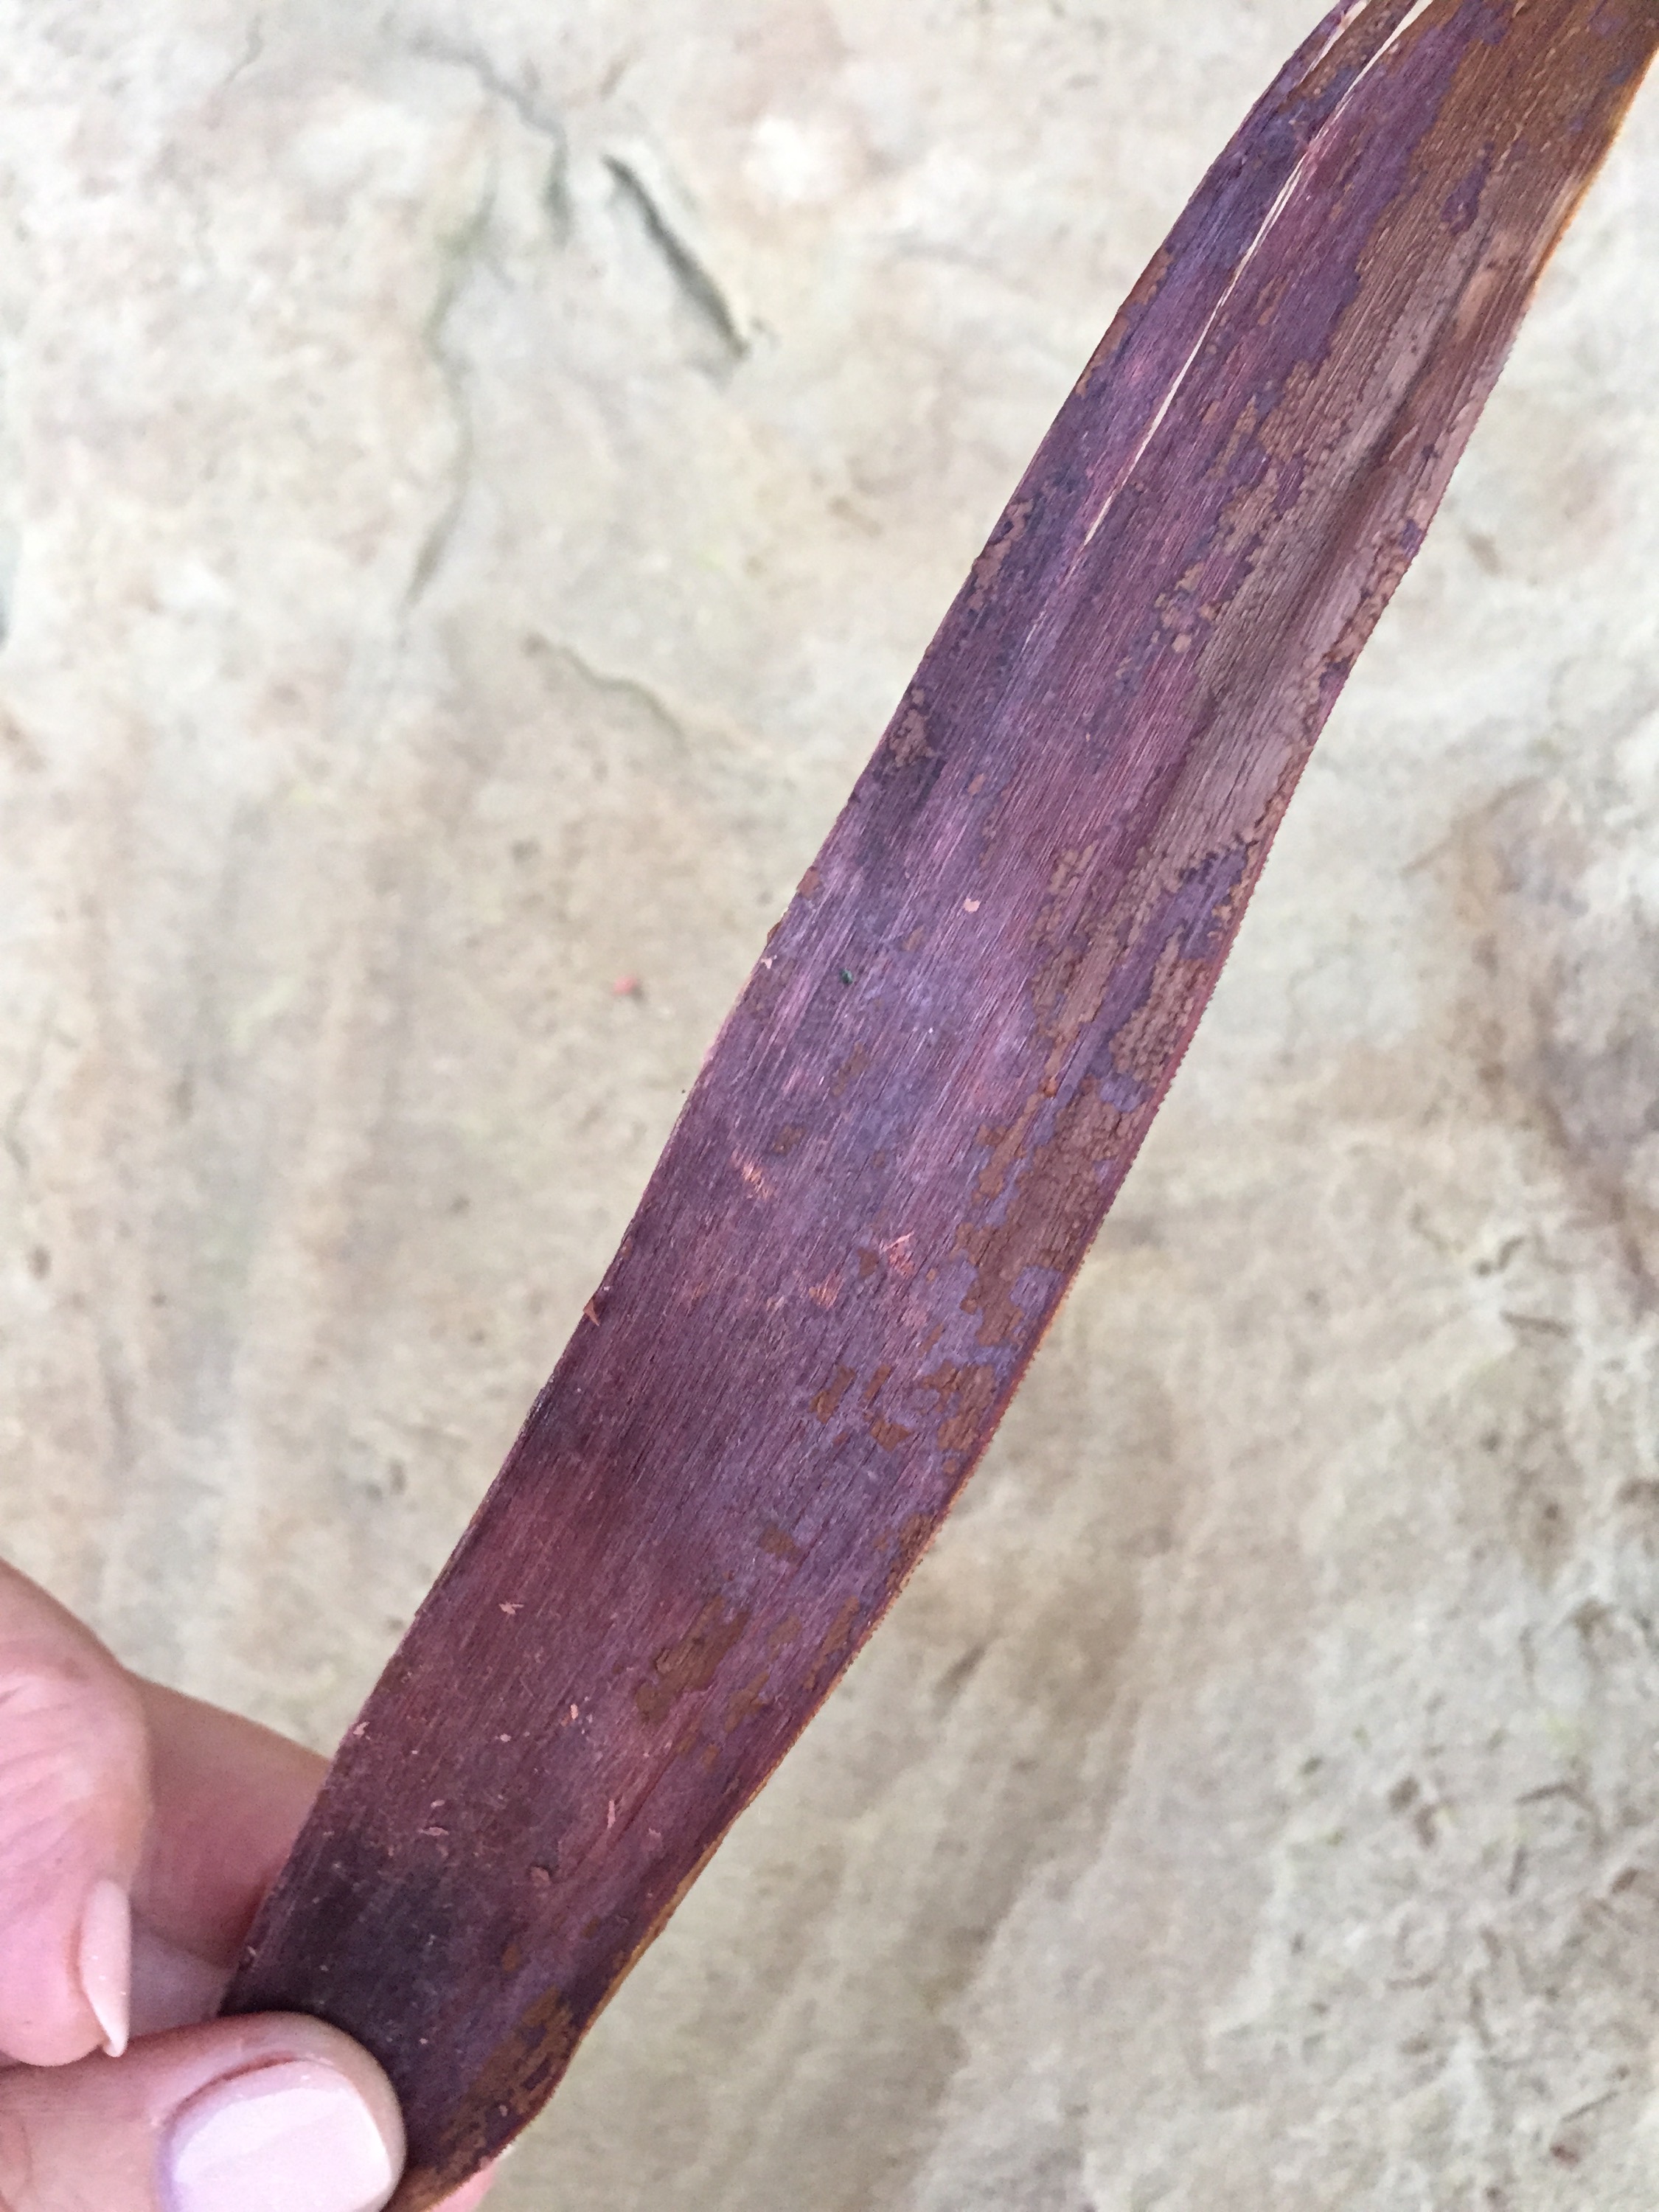
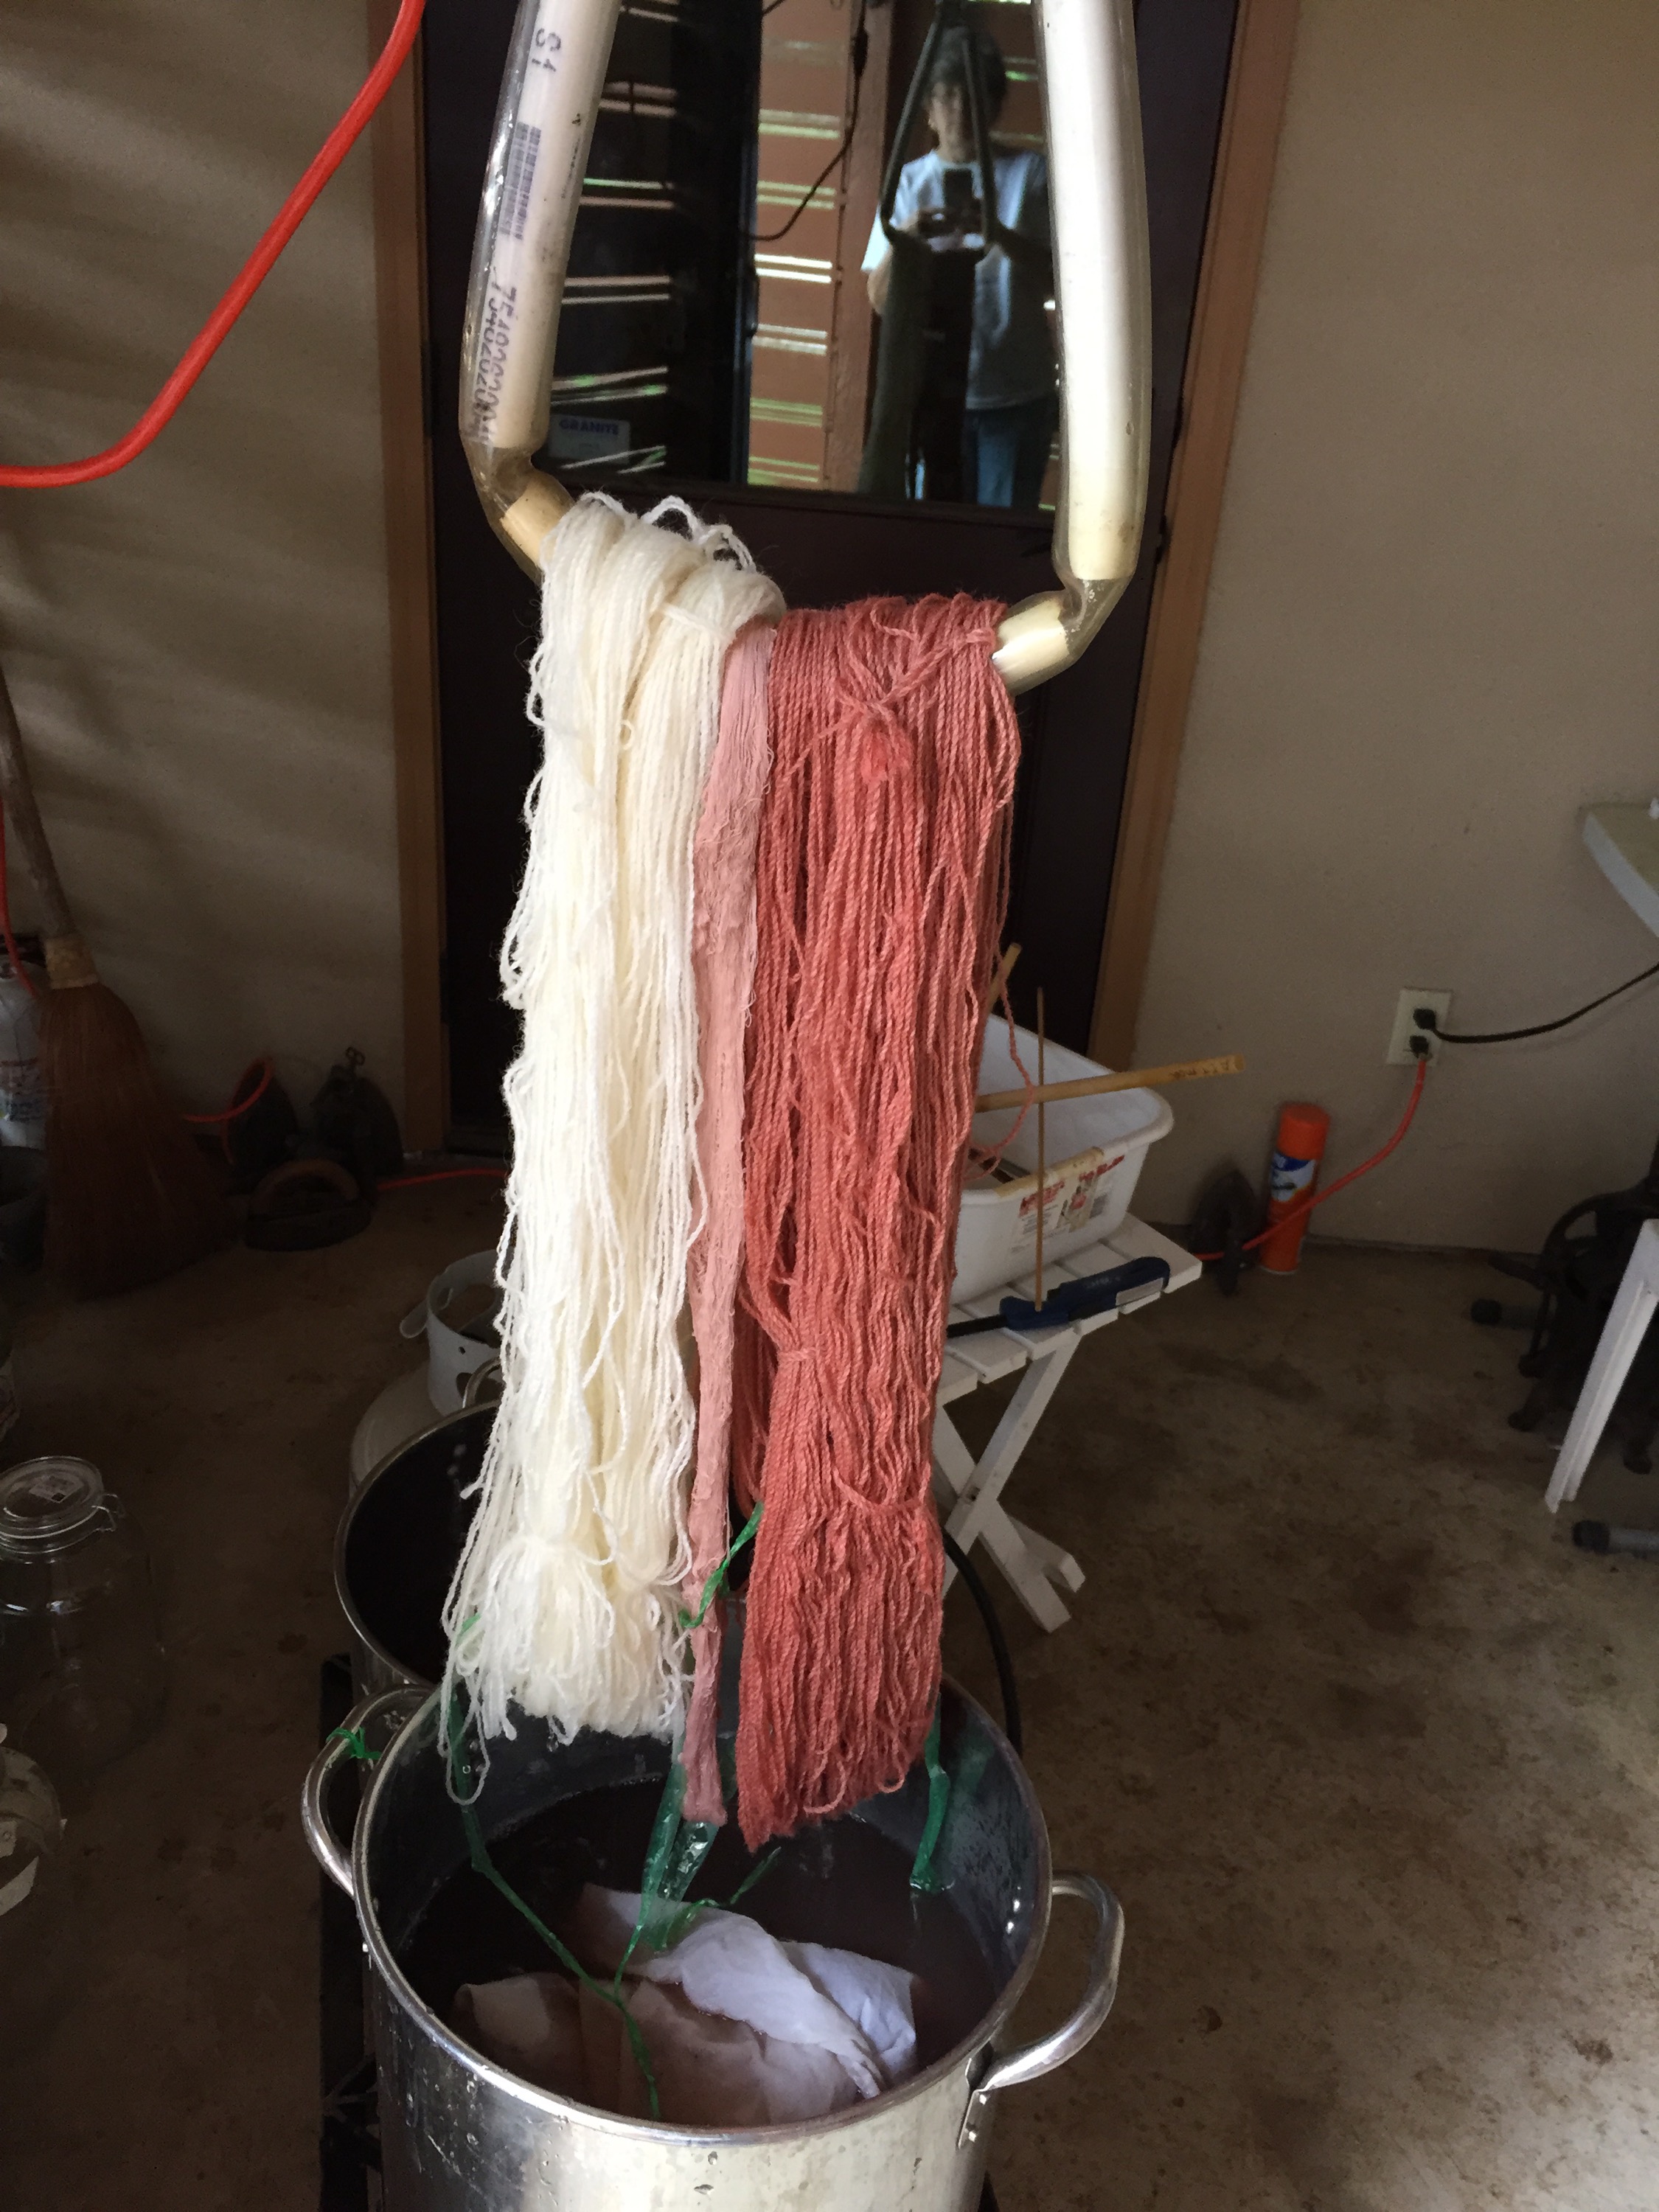
Besides the disappointing yarn, I have some tannin silks to show, here’s a preview of the colors that were overdyed. What do you think madder root did to these colors?  
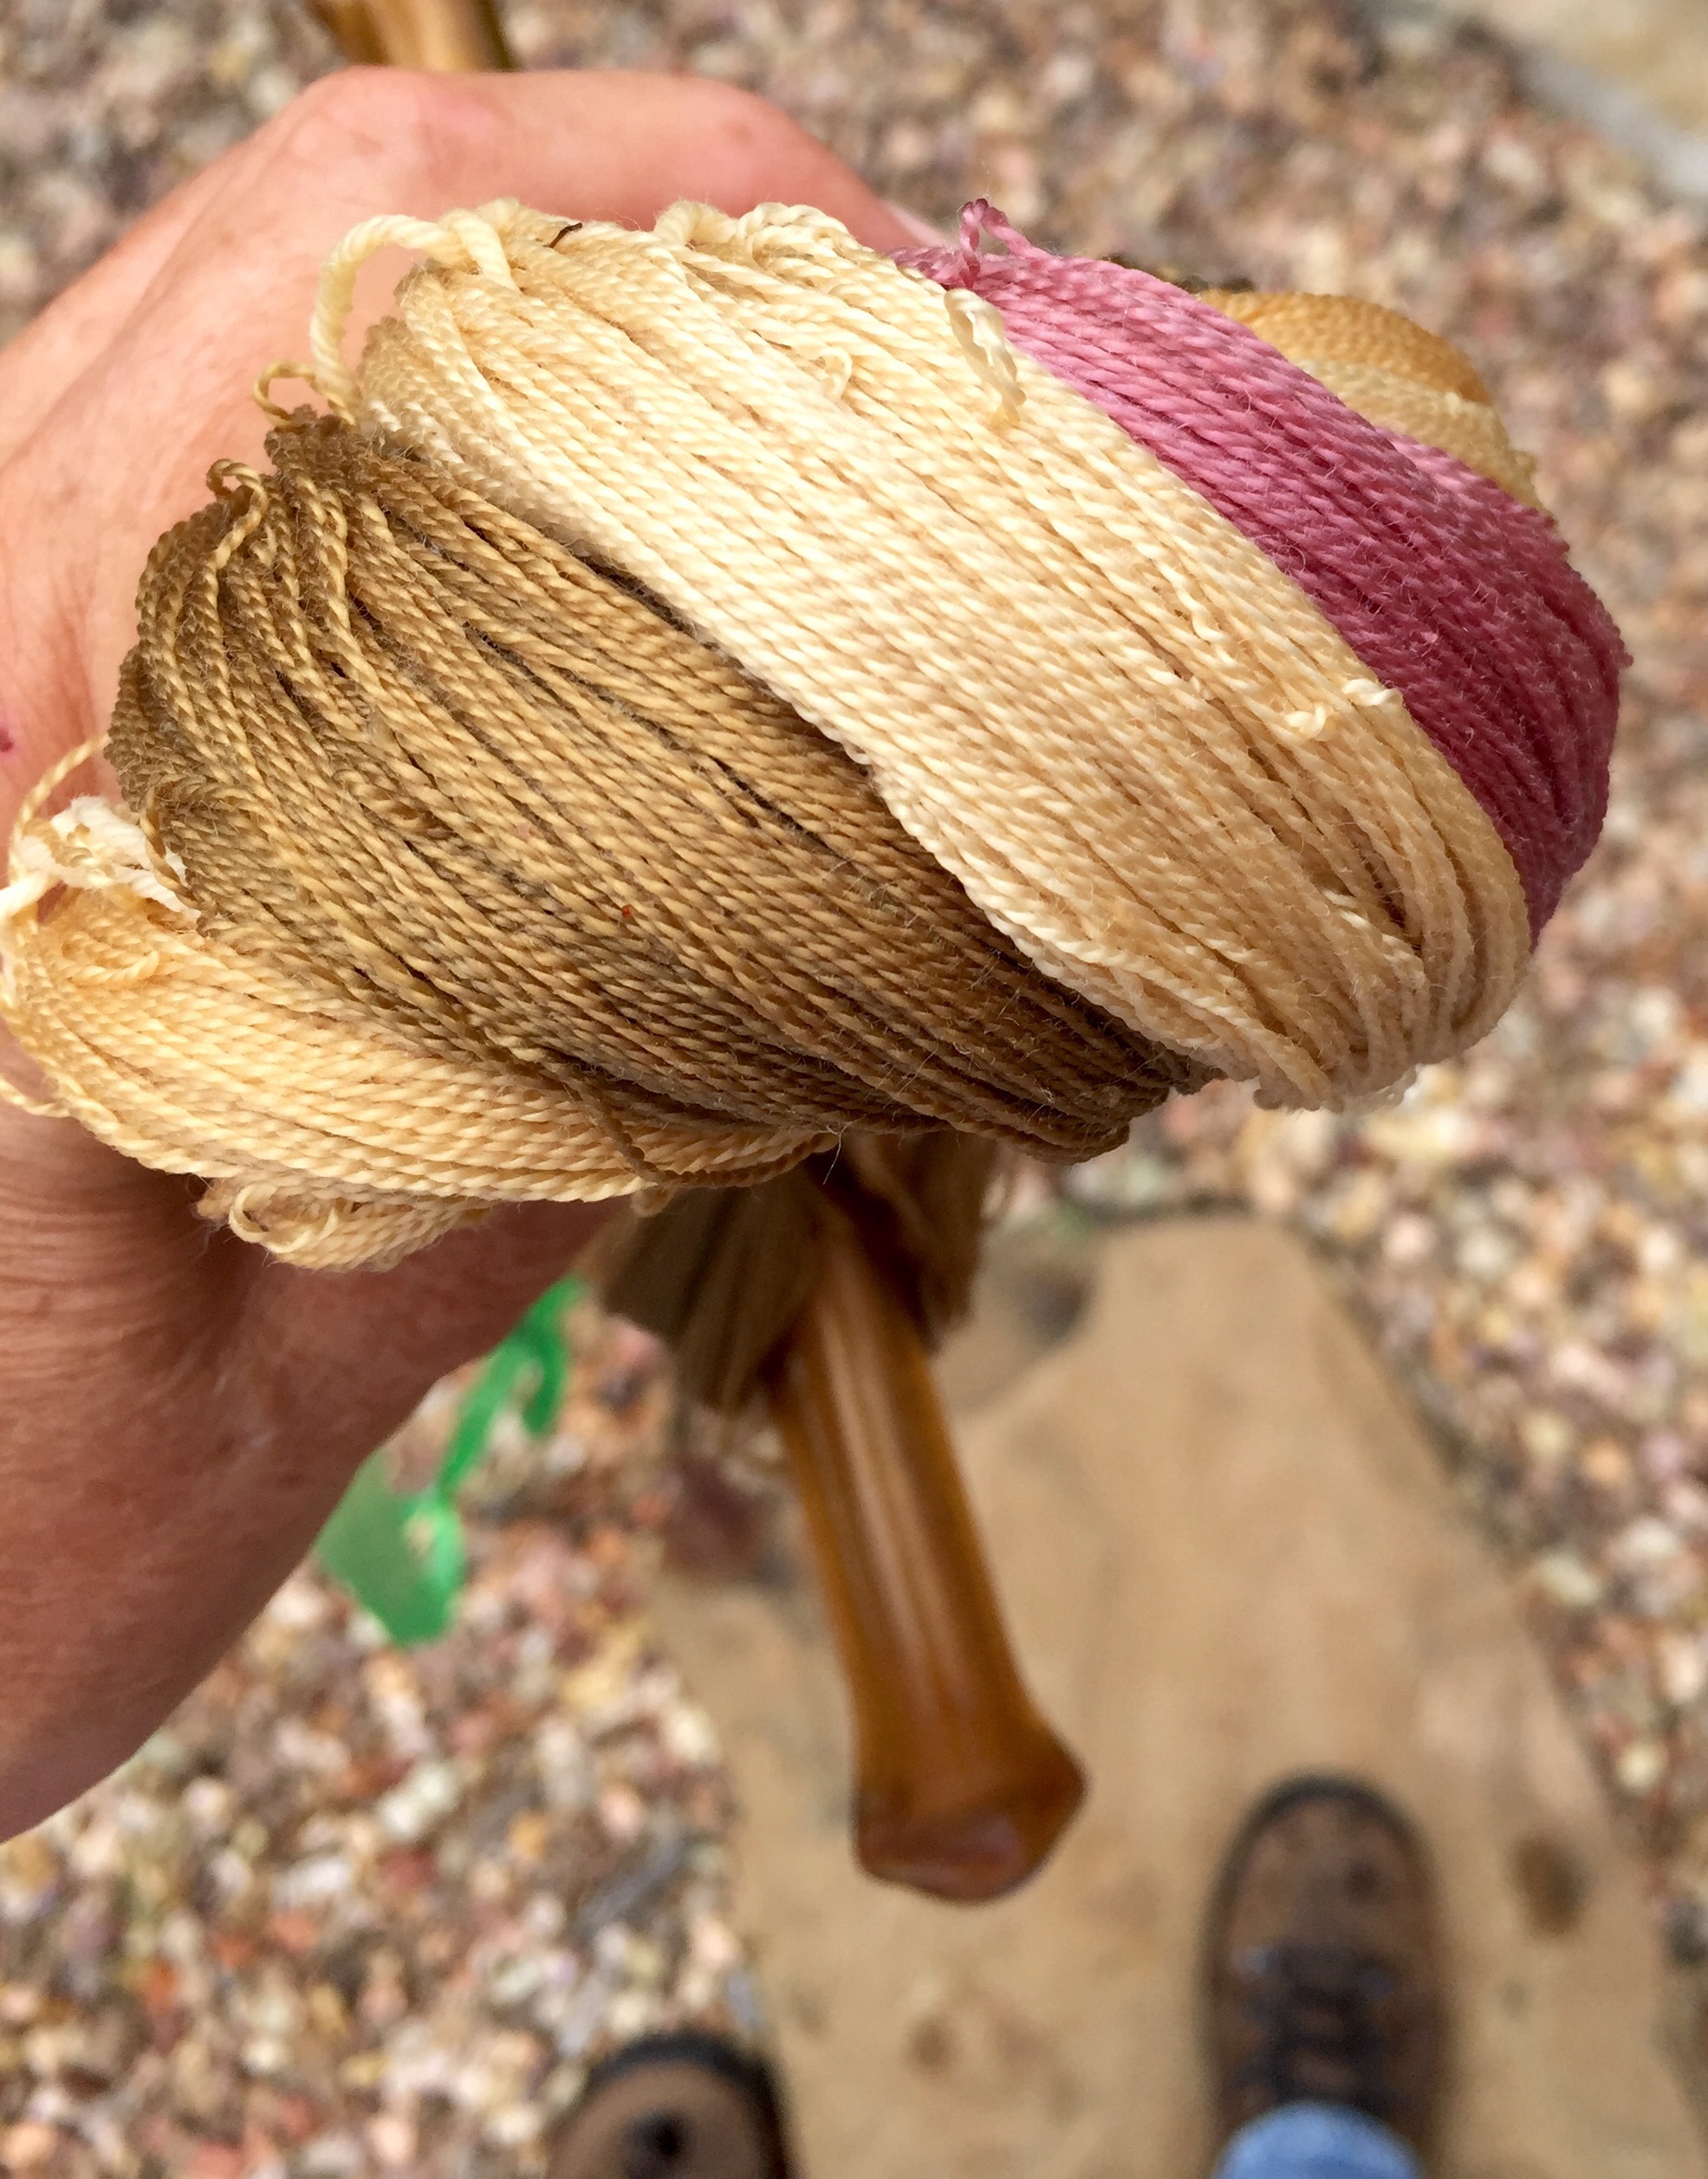
Prepping  indigo seeds while madder silk soaks

8 Apr

While the silk sun soaks in the 6 year madder root I am prepping my indigo seedings.  

One fends off crickets and raccoons early on in the season with seedlings so I am trying a safe start on Harley’s sun porch. We’ll see how that works out. 

I am prepping indigofera suffruticosa seeds, second generation from Donna Hardy’s South Carolina seeds. 

http://www.seaislandindigo.net/about/

Some of the plants left out in the terrace garden to overwinter are even putting out new growth. I have hopes that if they are protected from the north winter winds I can get them do their perennial thing.

http://www.cabi.org/isc/mobile/datasheet/28611


In addition, I am prepping Japanese Indigo or polygonum tinctorium seeds. These come from John Marshall and I am grateful to have them. I had total crop failure last year due to an irrigation dripline failing me mid-season in May. Due to family illness & death I could not save the plants so I’ll start a new seedbank this year. Not to mention a blue color source. John had written a nice indigo overview about the different indigo sprcies here:

http://johnmarshall.to/blog/2015/01/23/just-what-is-indigo/

And for guilds, he has written a nice guild to dyeing with Japanese Indigo, info here….

http://johnmarshall.to/blog/2015/02/05/dyeing-with-fresh-leaf-indigo-limited-edition-2/

I’ll finish with a intriguing yucca madder test piece. As I “walk” my cat here in the Texas Hill Country I’ve been scraping yucca to see if it can be separated for thread.  I had a piece handy and tossed it into a madder exhaust bath and it picked up the color beautifully….


Not sure what direction this will go but it is percolating…. 

%d bloggers like this: