Archive | March, 2015

3 year madder showing its colors!

31 Mar

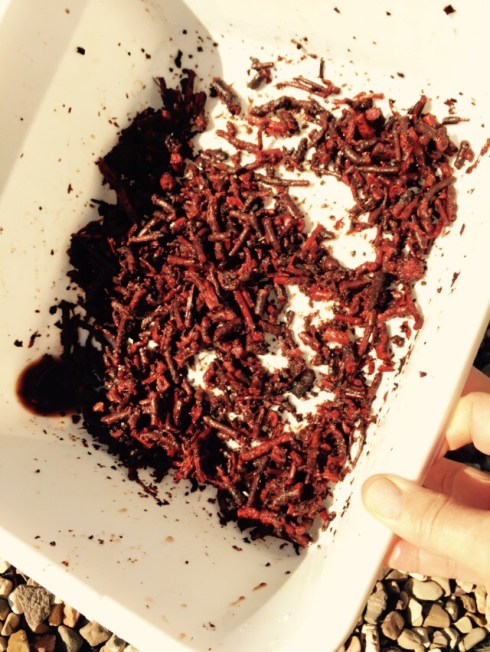
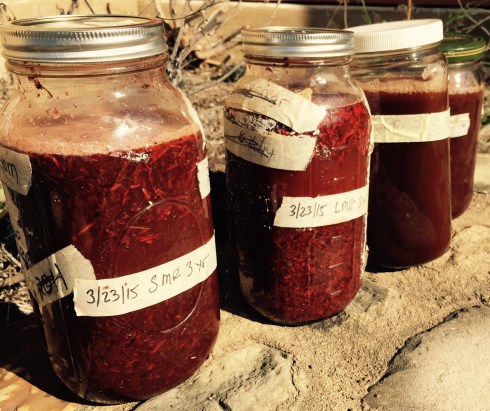
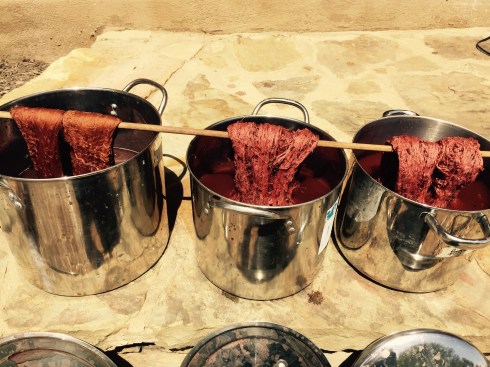
About a week ago I put aside 2 batches of 3 year madder root (small & large) to “cold” soak in our 80 degree spring weather here in the Texas Hill Country. Actually the water heats to about 100 degrees Fahrenheit. I checked it not trusting stone/sun overheating potential! If you overheat madder root the red  breaks to a brown. Not desirable if one is trying for a red tone.

Yesterday I put 100 grms (3.5 oz) of silk in my batches.  Below is the result after 24 hours in the “cold” soak. 

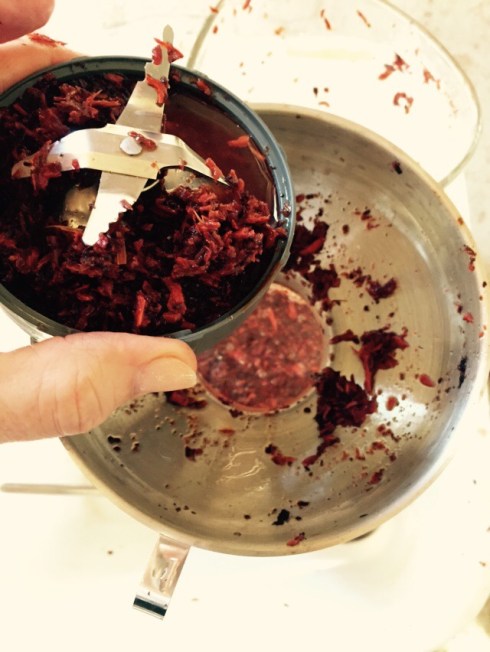
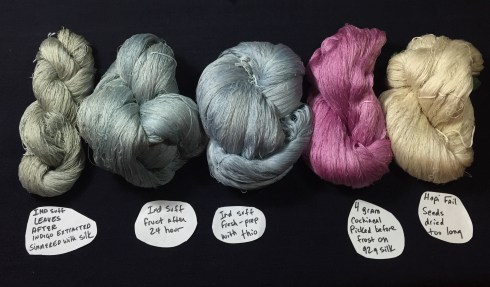
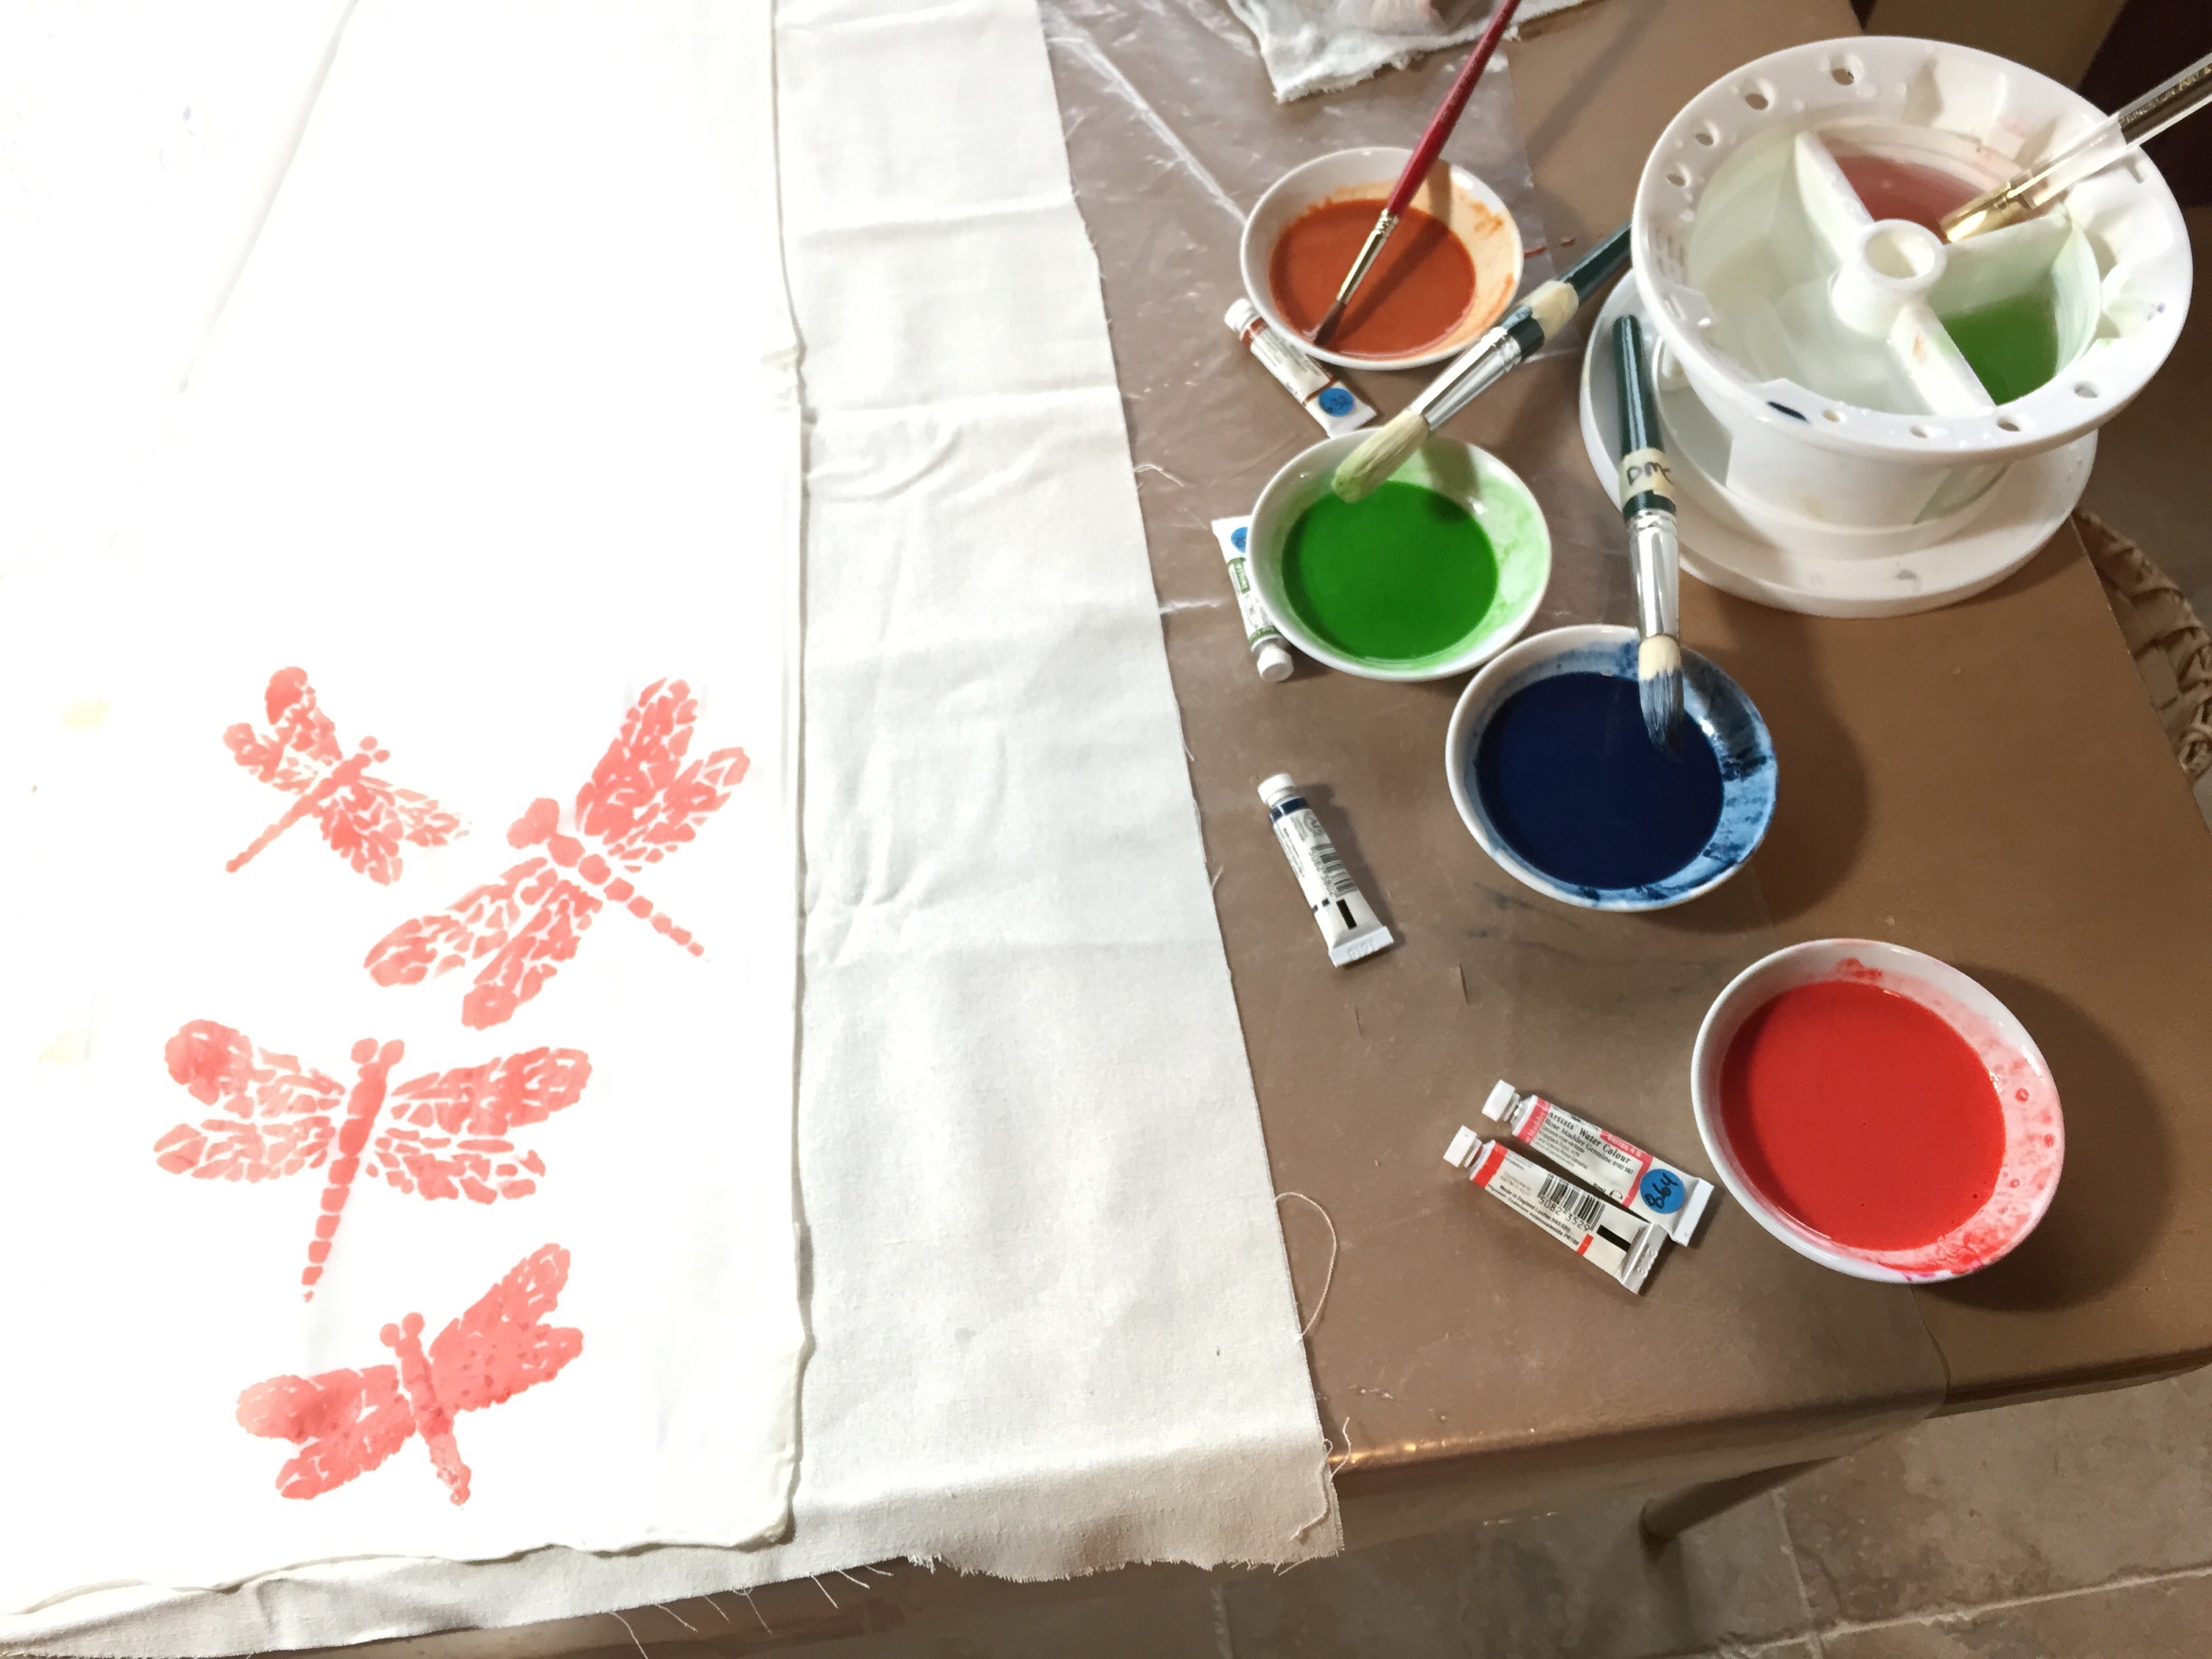
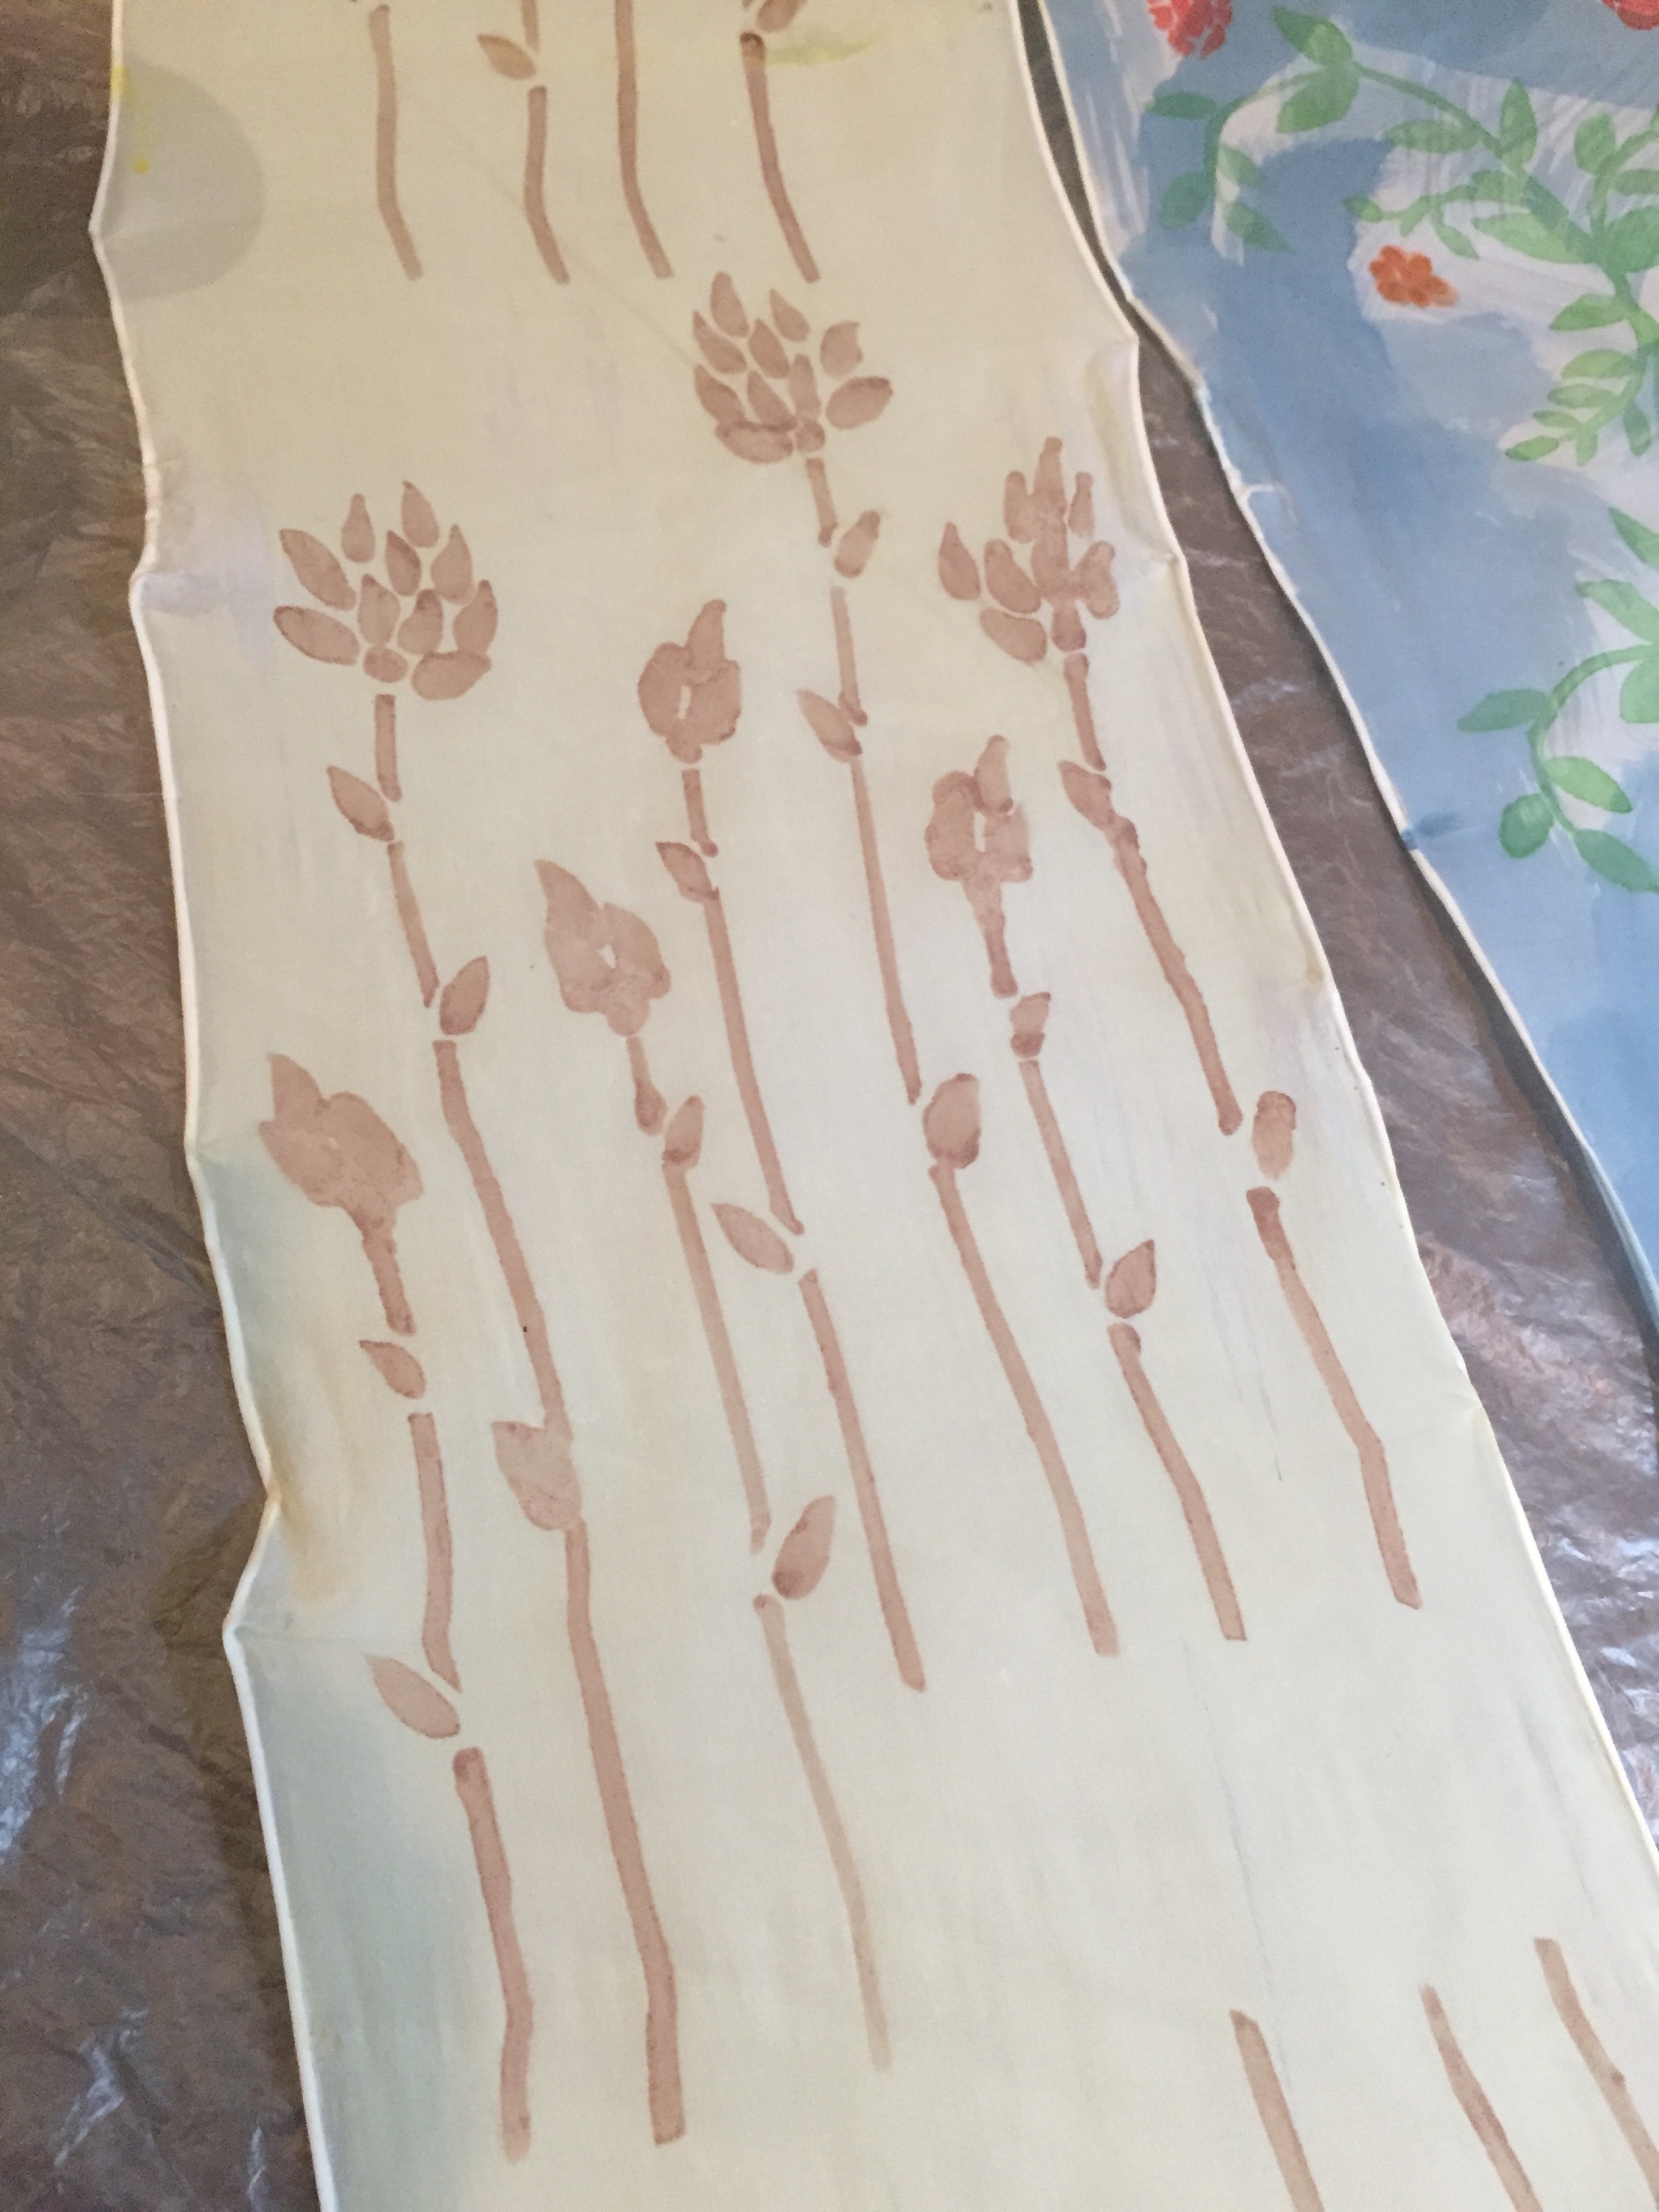
  The one on the left below is the first & second wash water of the roots before pulverizing the root for the final soak.  As expected it pushes more to a muddy yellow orange.  This is my Hopi fail silk that needed another color. This will do!

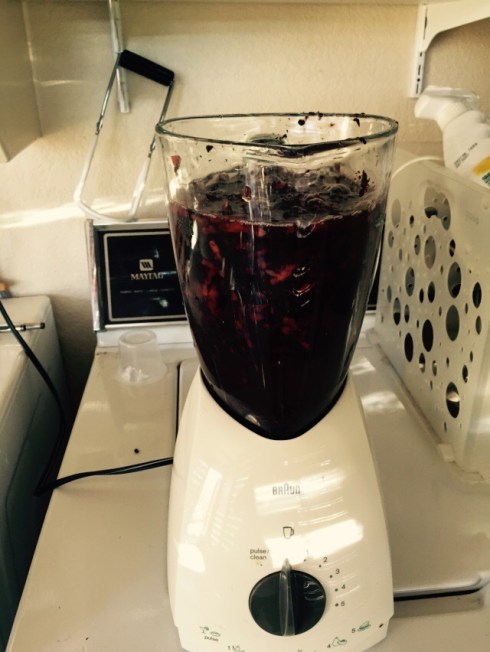
 The next two below are the large & small roots which soaked in the sun for a week before I added the silk. There is no discernable difference at this point in color between the large or small root. I expect I won’t see any difference until they are rinsed and dried.

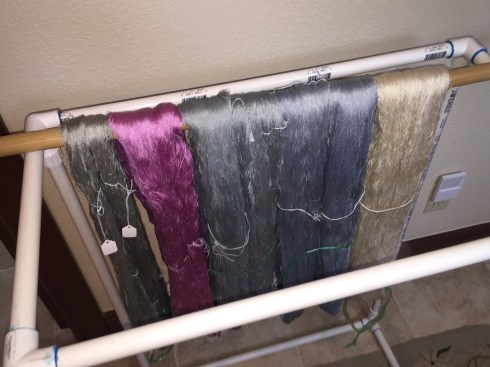
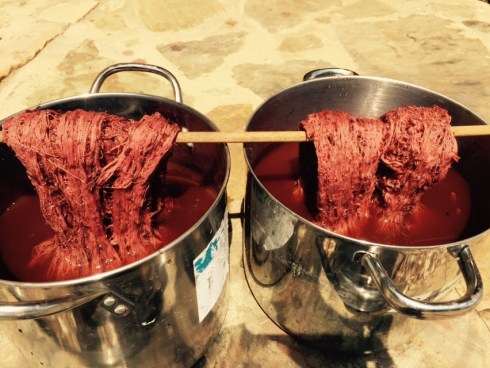
 These skeins go back into the dyepot and will hang out in the sun for a couple more days to see what depth of color I can achieve.  When fiber is wet it is usually a couple shades lighter when dried.  I won’t leave them too long as I don’t want to weaken the silk.

I expect the madder root to shake out easily as the skeins dry. This is one of the beauties of silk. I am curious if I will get any spotting, literature says no, but I am dubious.  Time will tell!

Prepping madder for cold dye

24 Mar

Well, prepping madder root for cold soak is sorta a misnomer in 80 degree Texas spring weather. But I’ll stick with a Tx cold soak.

I took 100 grams (3.5oz) each of my 3 year large root & 3 year small root madder vintages and soaked them in 4 cups of water in the sun yesterday and overnight. Result was softened roots with the dirt and skin loosened.

I strained off the first 4 cups of water, set it aside and cut the larger roots with scissors so they would not jam my blender.  Then into the blender with 4 more cups of water.

The first blend water was poured off again and reserved with the overnight soak water. You could see the dirt and skin that had loosened.

Into the blender one more time on high and the roots were pulverized for more soaking. Pouring off the soak water and the first blend water will, I hope, keep the brown accents out of my red.

The madder slurry was poured back into the holding jar with its water and set out to sun simmer again for a couple of sun days until I am ready to add my silk.

Now, you can bet after this effort that I cringed when I lost some of my dye stock on the floor by pouring too fast. Grrr, breath and go slow, the madder has already taken 6 years to grow. What is my hurry?

I repeated the process with another batch of my 3 year small root vintage and reserved the wash water again.

So now, the 3 &year small and large roots are solar heating for age color comparisons.  The wash pull is waiting for me to do something with it. Hmmmm, pull pigment or dye silk, choices exist.

note: edited 3/20 to reflect batches processed were 3 year large root and small root…100 Grams each!

Labels, Timing & Focus

9 Mar

Just a moment of thankfulness…that I am neurotic about marking my skeins with knots and making notes so I know which skein was submitted to what process. I also prep labels with the date mordanted and knots represented by dots so I may look at the label after the dye pot frenzy is done and add the dye process.  I usually have a plan written down so I don’t vear off in another direction while at the dye pot.

In November, between the holidays, I processed the last of my fresh indigo in a fructose and a traditional thio pot AND used my fresh cochineal AND tried to salvage my Hopi seeds AND mordanted some silk skeins. Skein craziness arises as one rinses and dries the skeins.  Wet skeins all look alike. Trust me, once you are done with the dye process you are happy to wash the pots, clean up the dye area for the winter season, rinse the skeins and walk away and let them dry.

It is March now…I am returning to the skeins and matching labels, pot notes and skeins. Yikes, confusion reigns until you match the dots on the labels to the skein knots and dye pot notes. How did I get this color?

Success!!  Now I need to reel some of this off and weave!  I worked on understanding lampas this Jan/Feb on my playcation with weaving friends so I do have focus and a goal.


Soy milk, watercolor & pigment

1 Mar

Today I finally got to play with my soy milk, watercolors & natural dye pigment. These ideas came from the Japanese Katazome tradition taught by John Marshall. John covers the basics here on his web page.

My friend, Marge, helped me figure out my support frame. Once that puzzle was conquered we sized test scarves with soy milk. We let the scarves cure for a couple of days and after Marge left I got to do some color play.

IMG_7602
The watercolors mixed nicely with the soy milk. I do need to work on my brush work and stencil skills.

IMG_7600

IMG_7603

My pigments that I precipitated with calcium hydroxide were definitely not as bright as the watercolors. The lichen oxidized from purple to brown during the precipitation. The weld exhaust was….well, exhausted. I got a nice yellow back wash but not weld yellow.

IMG_7626

The pieces are drying and tomorrow I will mount them on their frame and give them their final coat of soy before I set them aside to cure. Once cured they will get a hand wash and steam pressing and I’ll see how each method, natural dye precipitation and watercolors work with soy. I am happy with the possibilities!

IMG_7623

%d bloggers like this: