Archive | Weld RSS feed for this section

Weld in the Texas Hill Country – Drip Irrigation

16 Mar

After two years I can plant my weld. Here’s hoping the seeds are still viable. Thank you to my California dye buddy for the seeds.

In the Texas Hill Country I have to be thoughtful with the seed placement by the drip system. Weld is going in now since I know from when I last grew it in this terrace bed weld is one of the first plants to mature. By the time June’s heat cranks up this bed will be up and done for the season. Here’s hoping for germination!

In the dye garden

25 May

Today was spent trimming and planting…

Trimmed back the indigo suffruticosa and put it in a fructose bath to sun soak, more to come on that…I already see blue, just need the sun to kick in.


Planted my Japanese indigo


We’ll see how the madder root & the indigo suffruticosa share space! 

Looking elsewhere in the garden my cota or Navajo Tea is struggling back after an irrigation line failure…

And my weld is almost ready to cut for yellow dyeing, it too suffered from irrigation line failure.

And finally the Texas Persimmons are coming on line! 

So with red (madder root), gold (persimmon), bright yellow (weld), orange (cota) and blue (indigos) how can I be bored at the dye pot this summer? I will be on the elusive search for a black by overdyeing some of these colors. Always a lesson in acceptance! 

Soy milk, watercolor & pigment

1 Mar

Today I finally got to play with my soy milk, watercolors & natural dye pigment. These ideas came from the Japanese Katazome tradition taught by John Marshall. John covers the basics here on his web page.

My friend, Marge, helped me figure out my support frame. Once that puzzle was conquered we sized test scarves with soy milk. We let the scarves cure for a couple of days and after Marge left I got to do some color play.

IMG_7602
The watercolors mixed nicely with the soy milk. I do need to work on my brush work and stencil skills.

IMG_7600

IMG_7603

My pigments that I precipitated with calcium hydroxide were definitely not as bright as the watercolors. The lichen oxidized from purple to brown during the precipitation. The weld exhaust was….well, exhausted. I got a nice yellow back wash but not weld yellow.

IMG_7626

The pieces are drying and tomorrow I will mount them on their frame and give them their final coat of soy before I set them aside to cure. Once cured they will get a hand wash and steam pressing and I’ll see how each method, natural dye precipitation and watercolors work with soy. I am happy with the possibilities!

IMG_7623

Image

Lichen, Persimmon Vintages and fresh Weld results

23 Jul

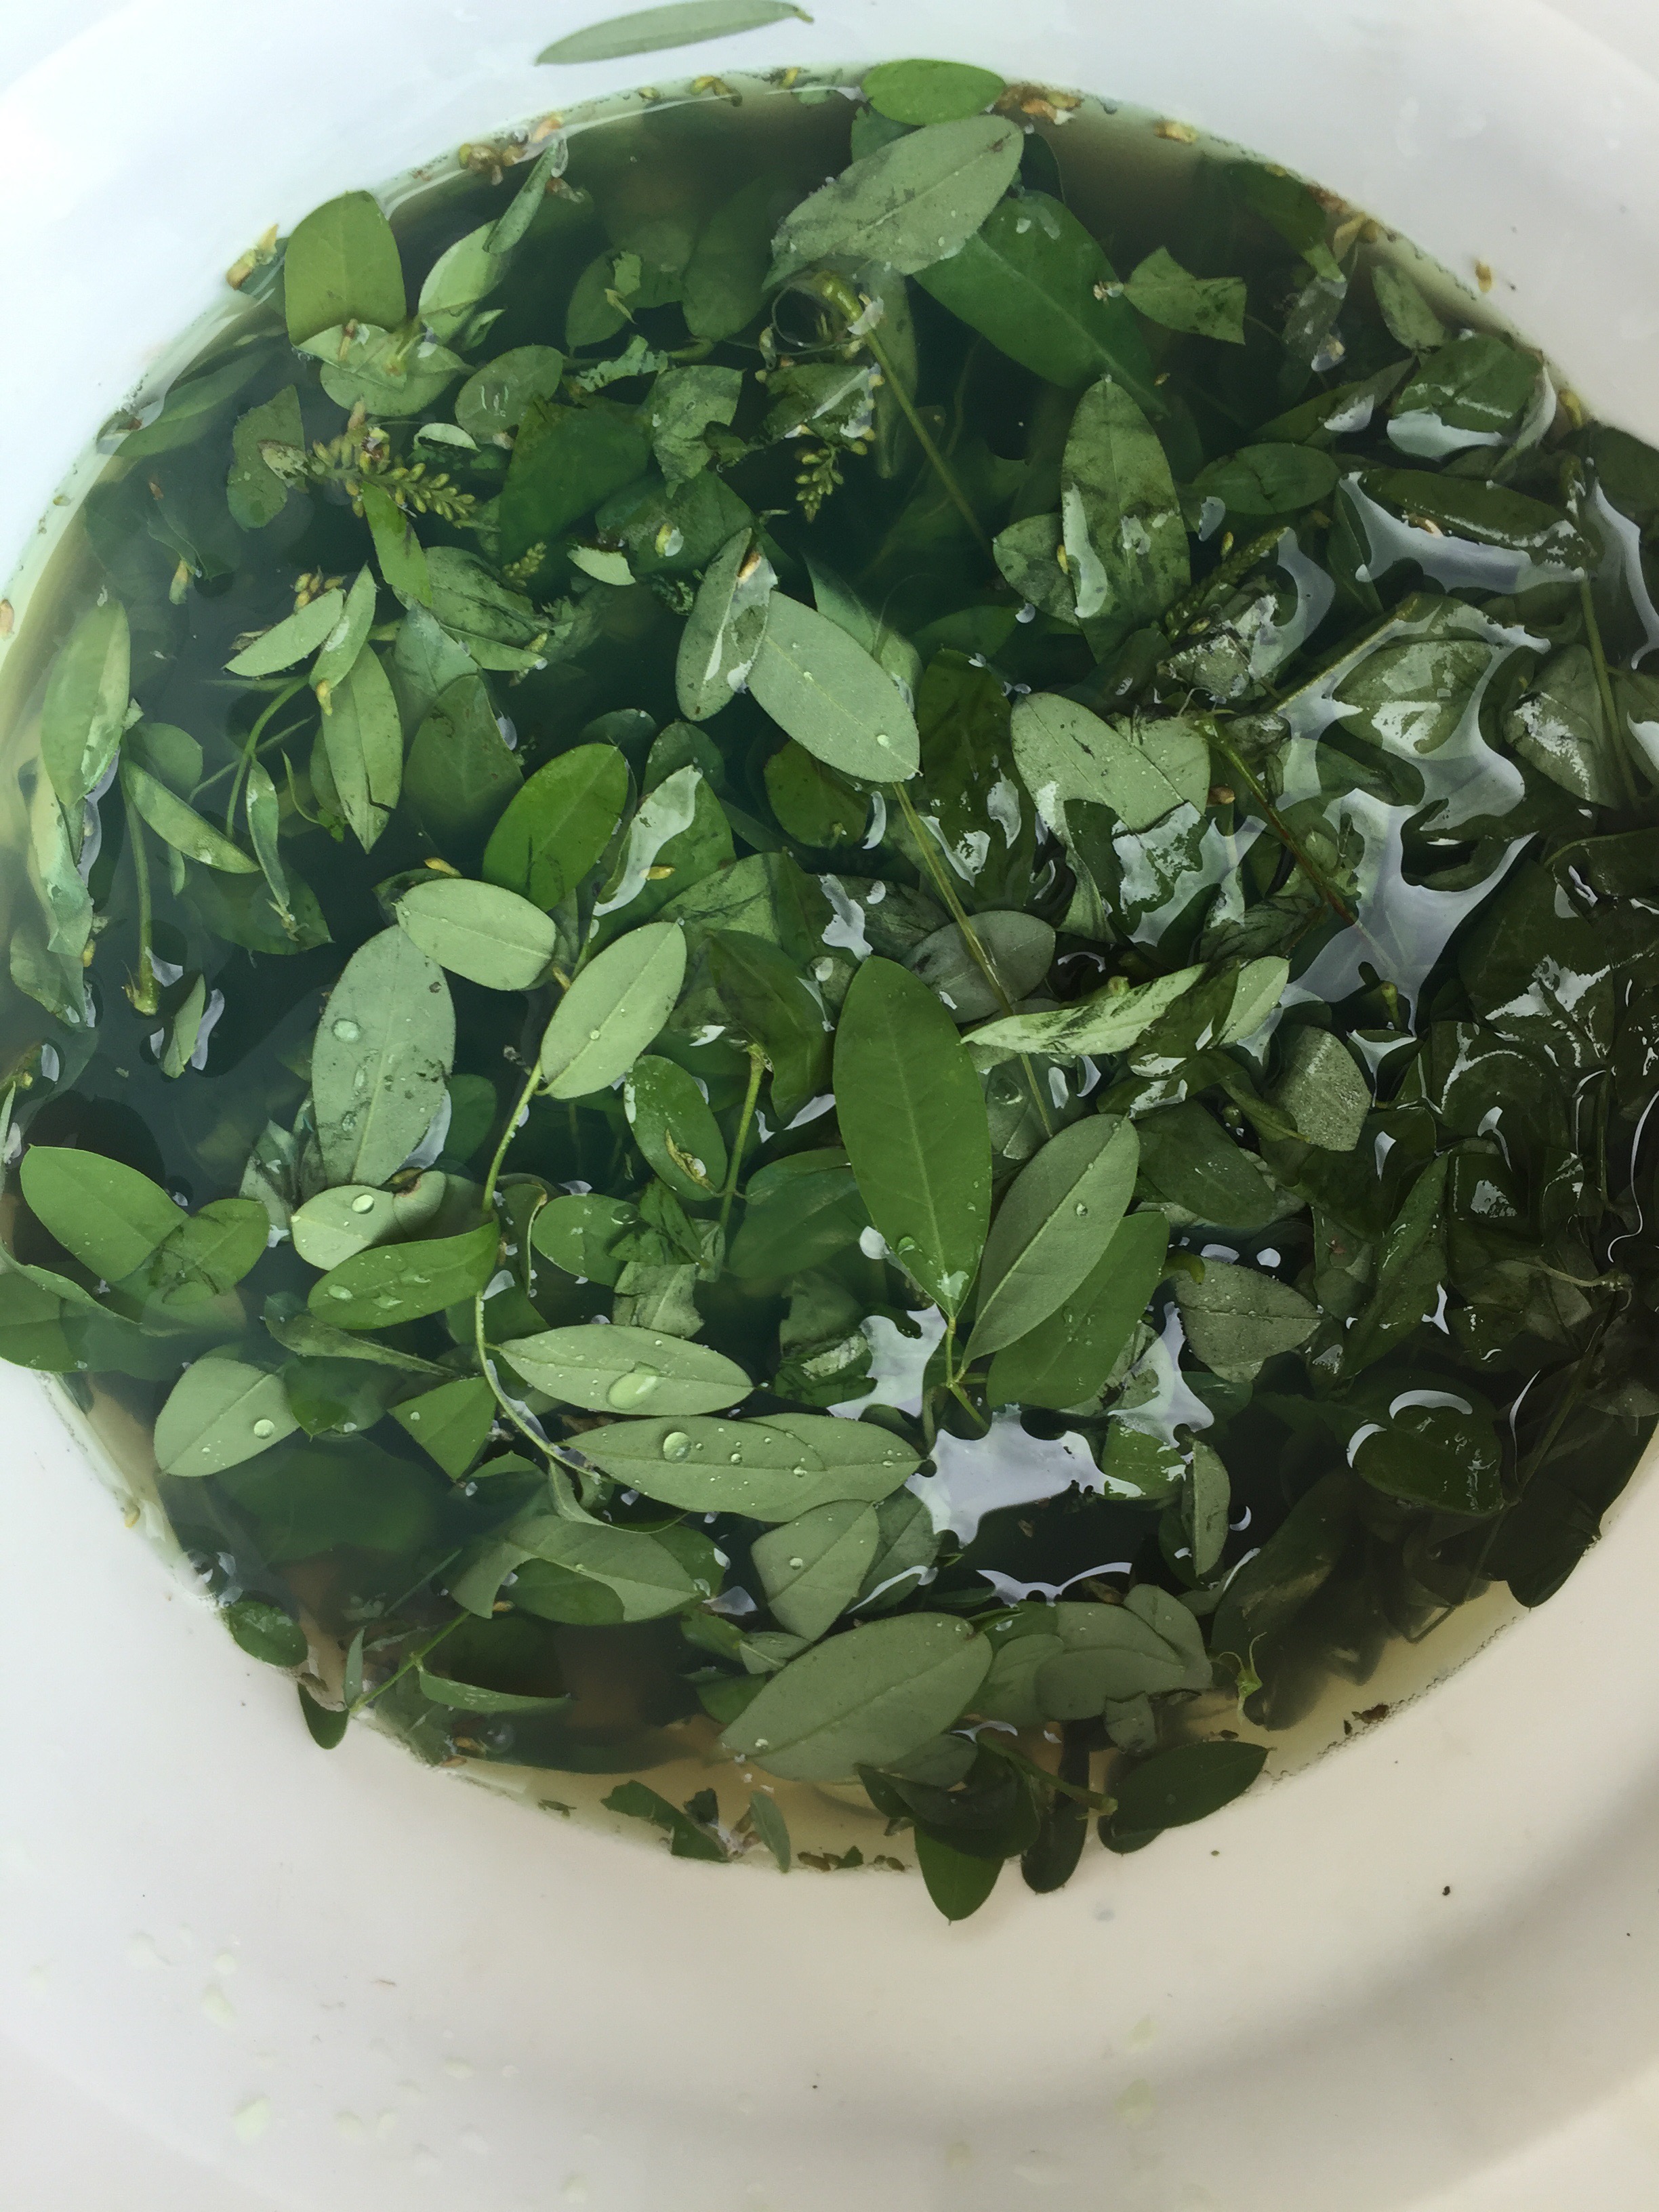
I am a little late posting my results but better late than never!  May I add that it was not the smartest practice for me to run lichen (purple) and yellow (persimmon and weld) baths at the same time.  I had to be way more obsessive with my pot washing to ensure I did not mix the two colors on my skeins.  I’ve also decide I like running one substrate at a time.  The two type silks and wools work easily in the dye bath but they required different lifting and processing.  That is because I was doing some clean up overdyeing and dyeing some stash busters.  I’ll be more orderly in the future!
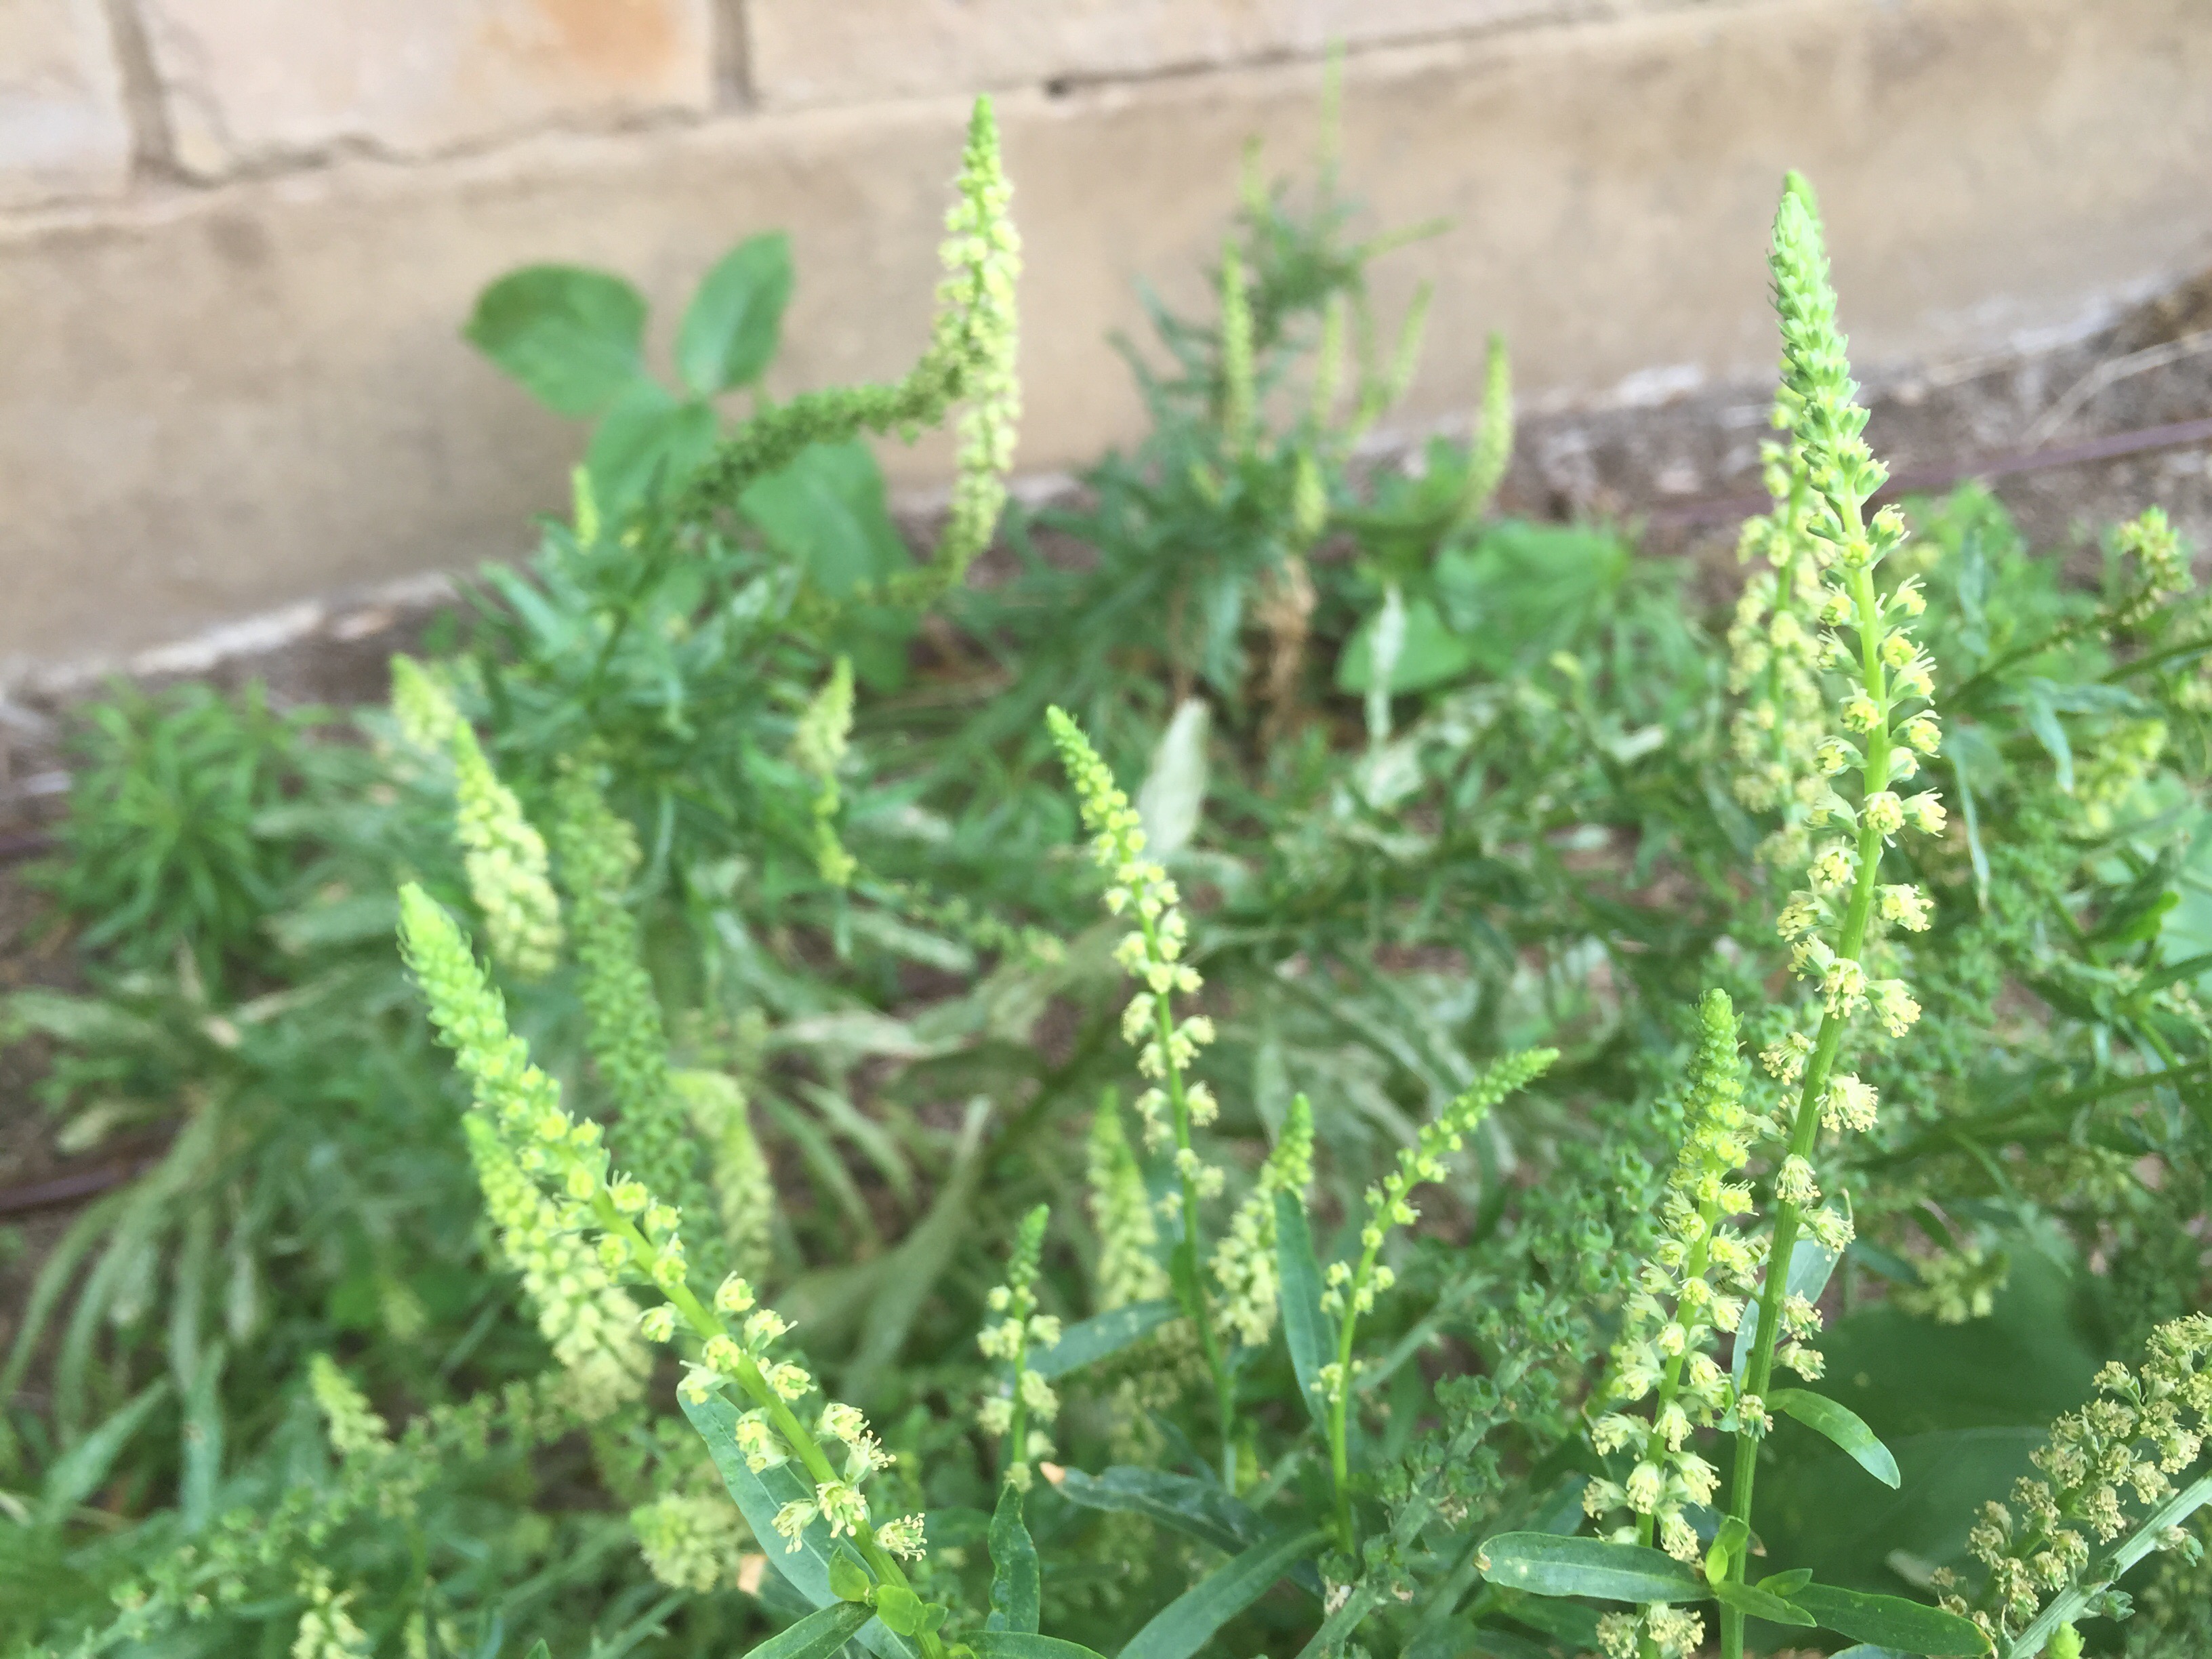
Lichen Over dye

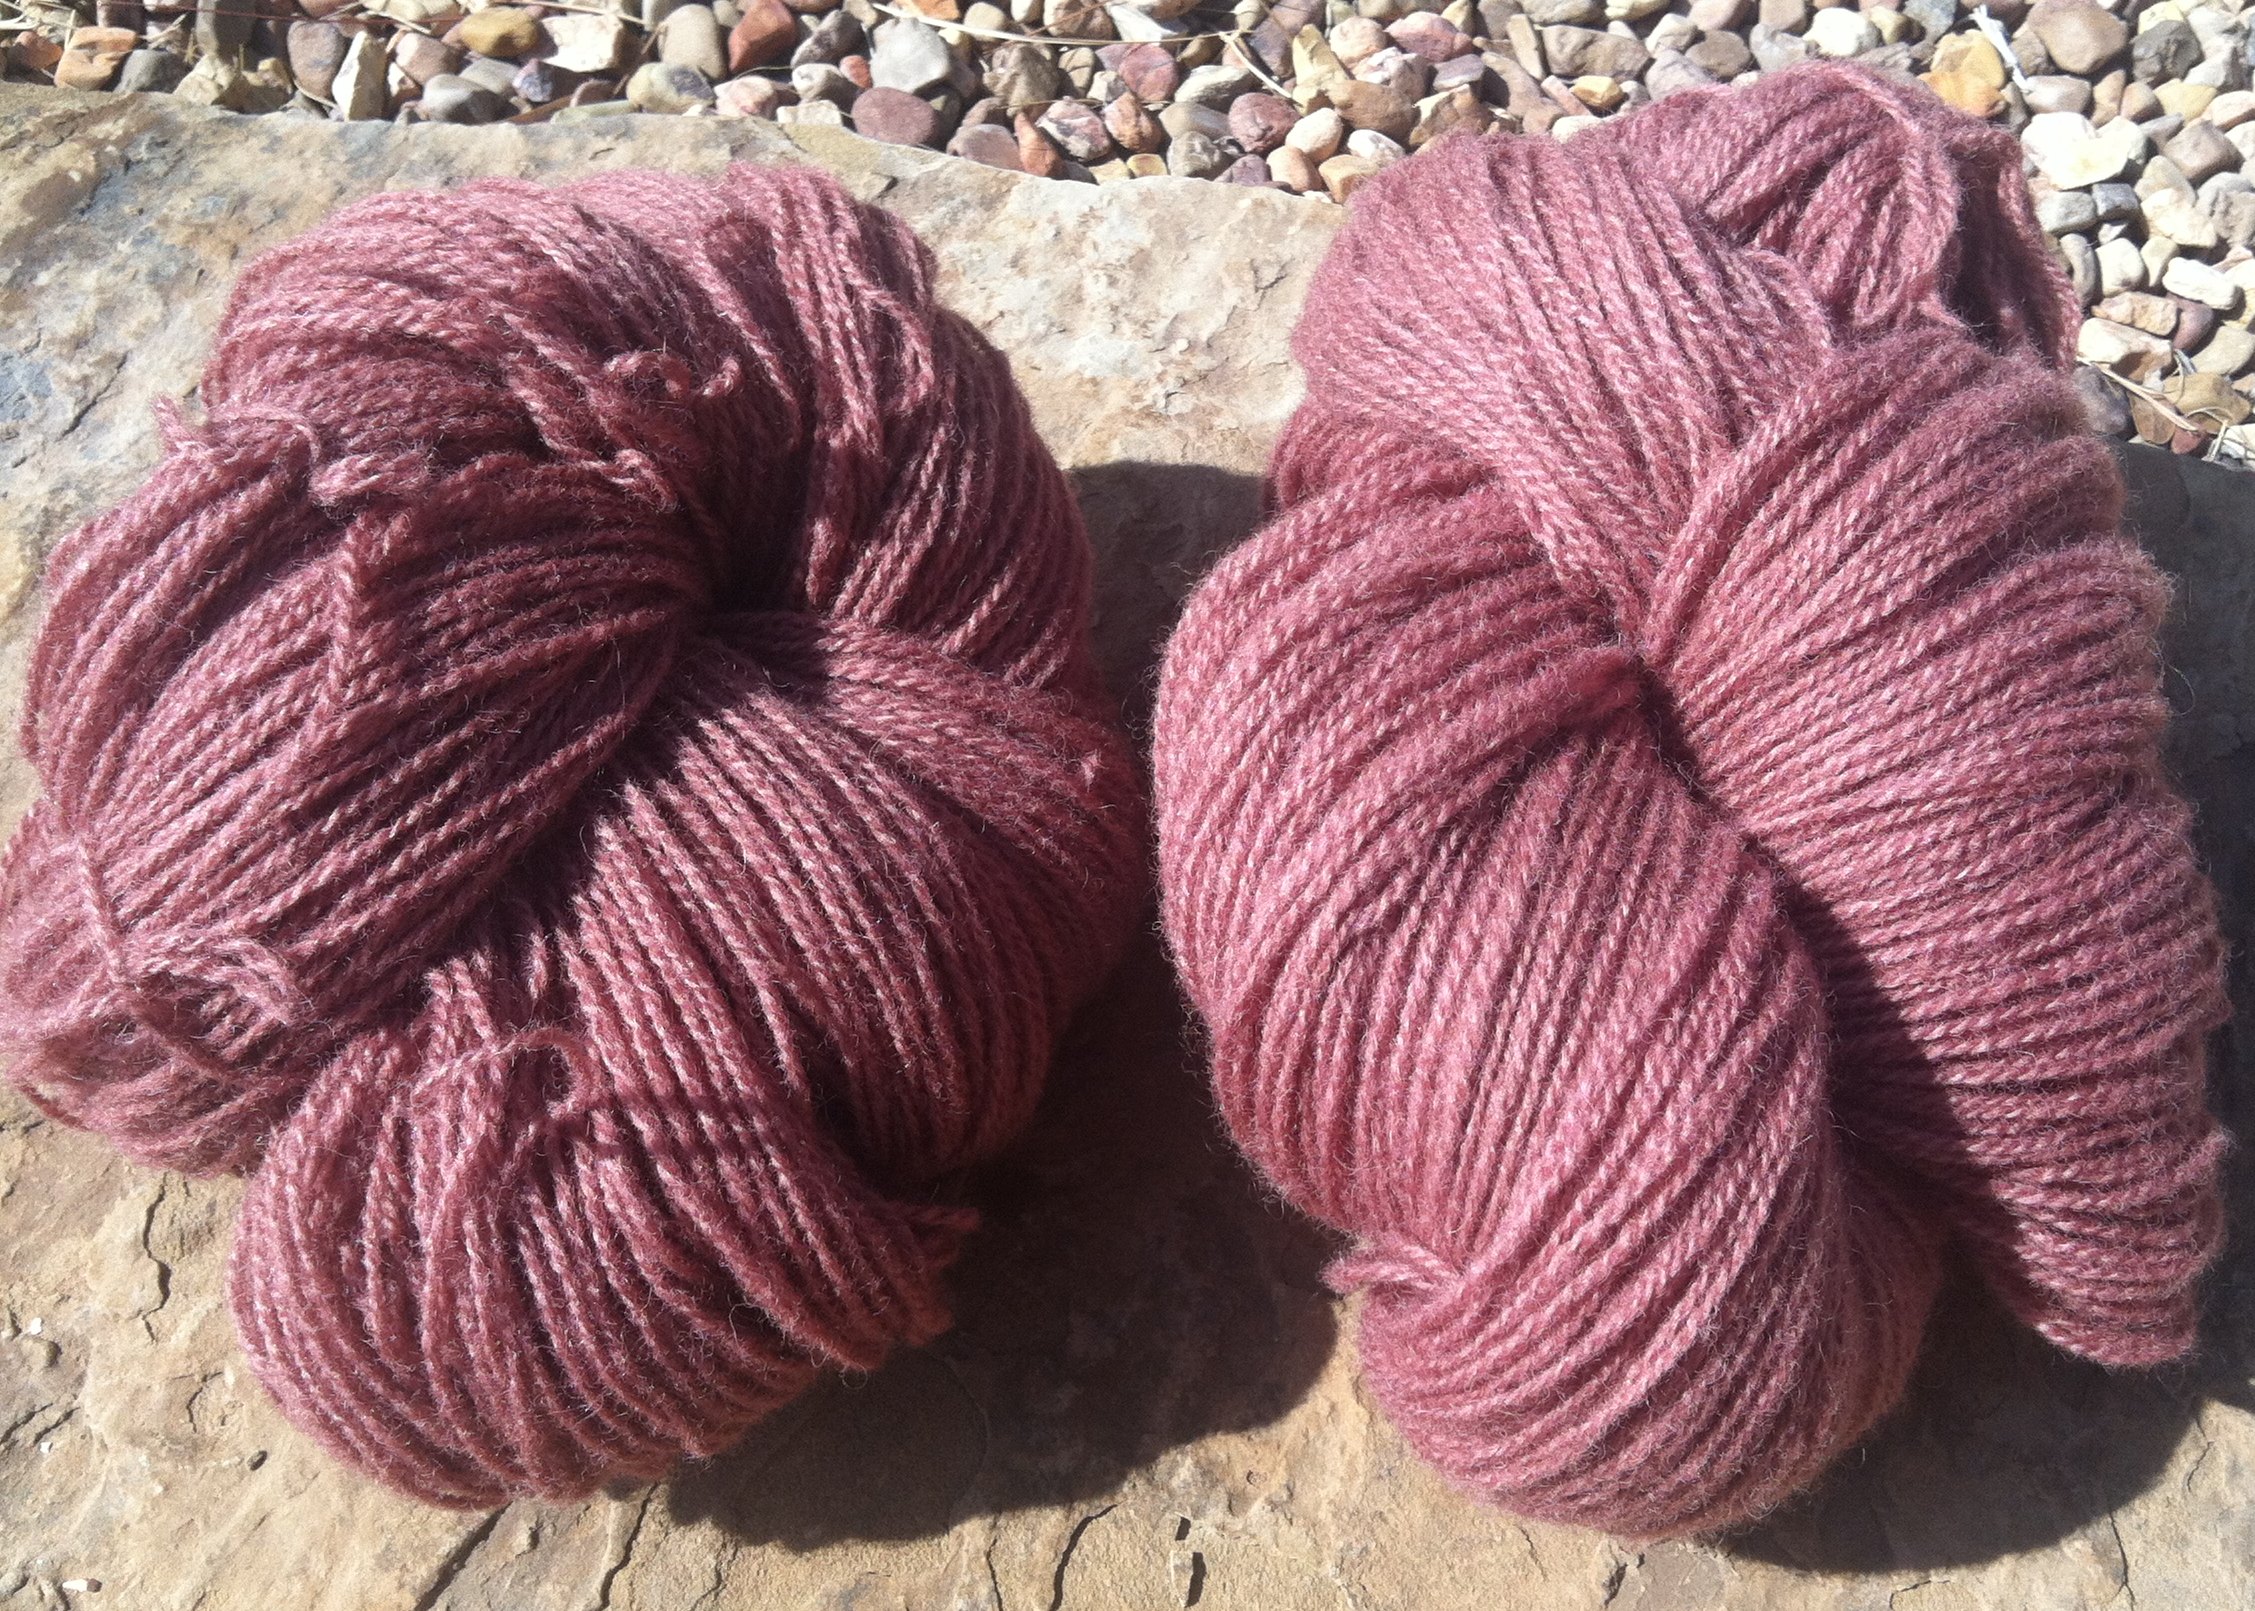
This wool was over dyed with my lichen (some leftover 2nd & 3rd exhausts).

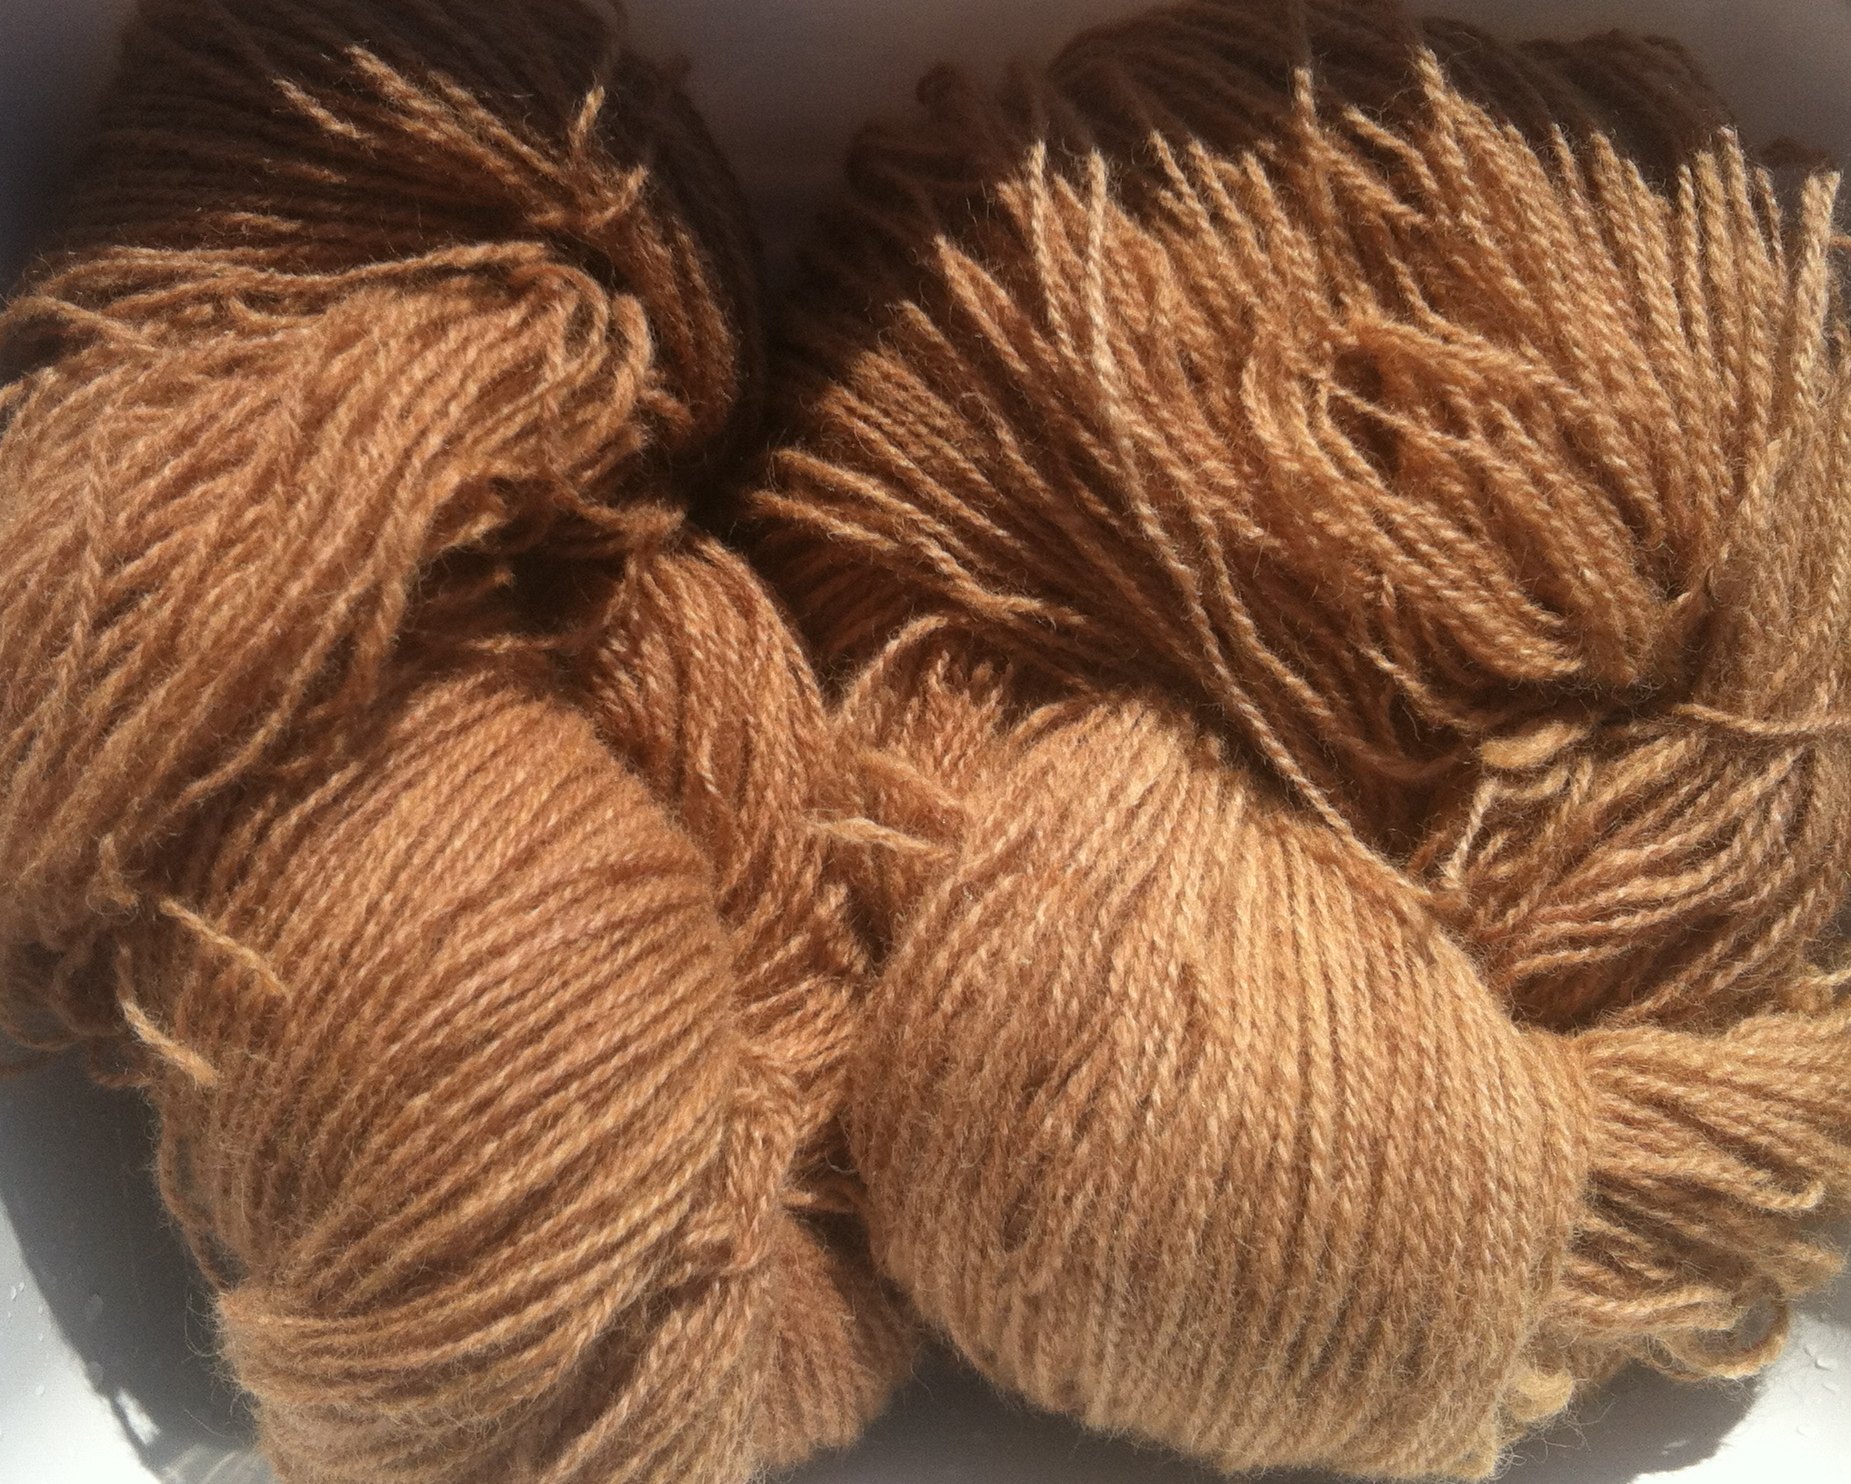
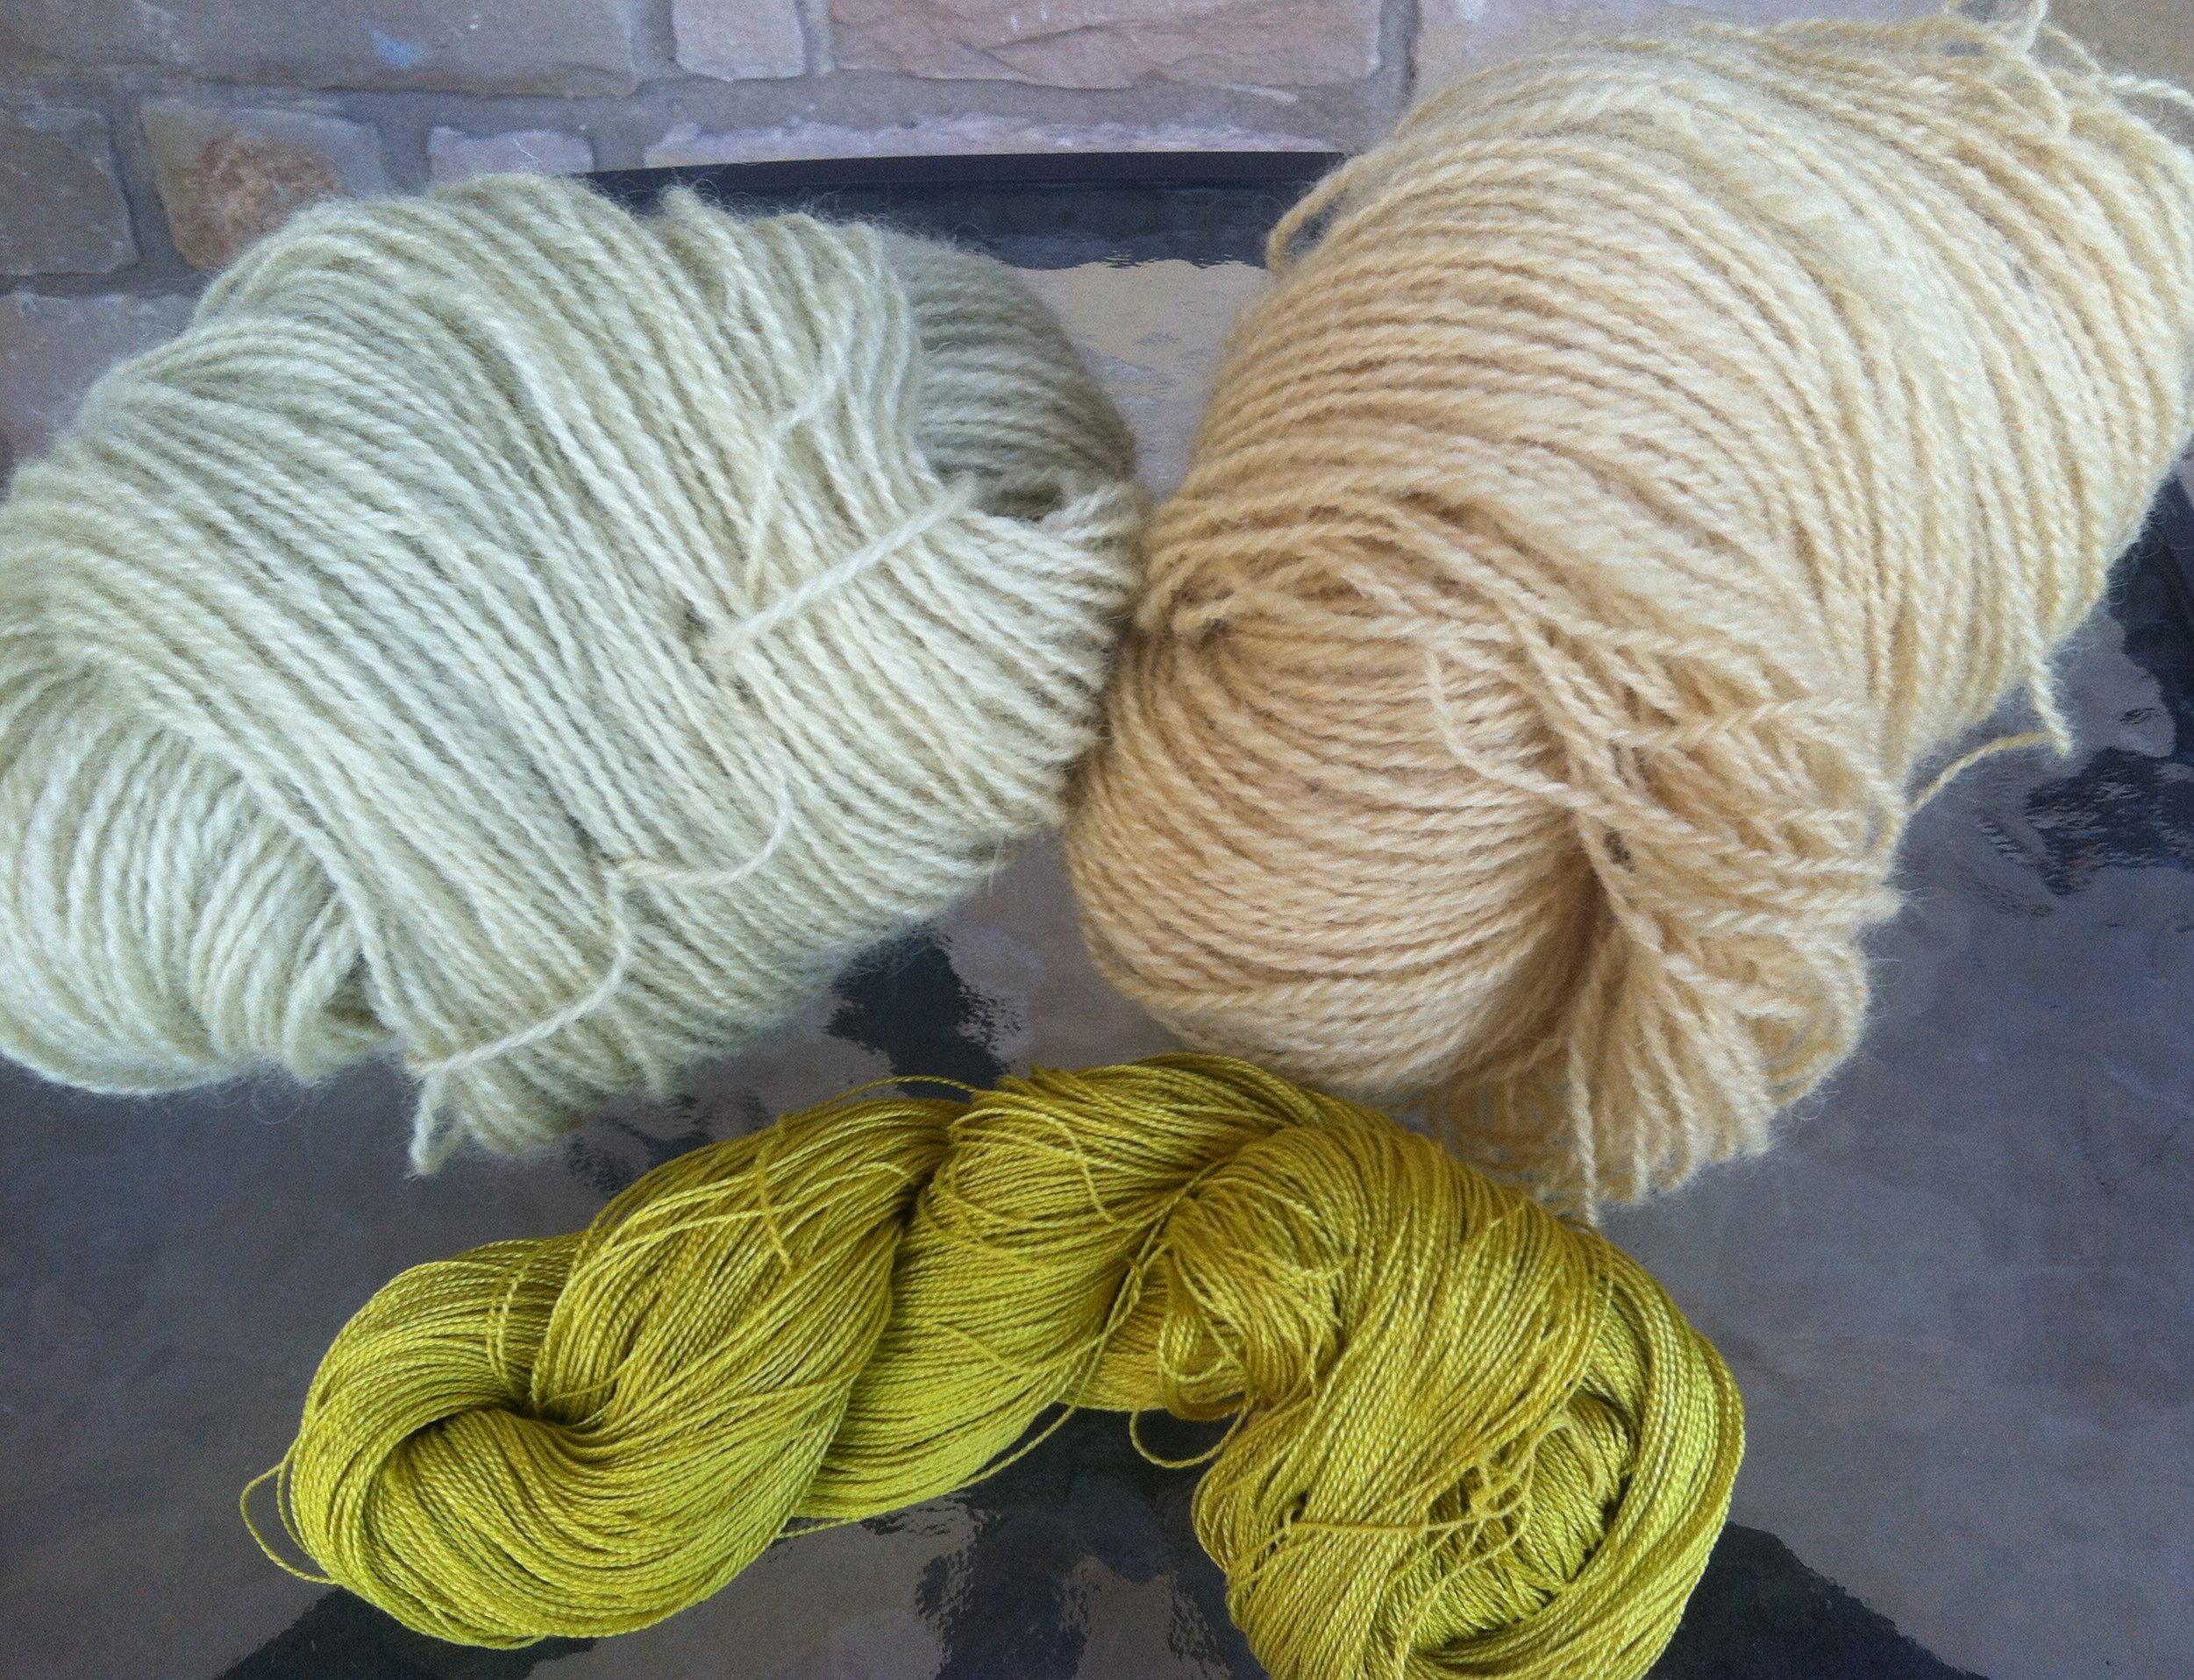
The first photo is some easter cedar which was a nice golden beige but I wanted to see what the lichen would do over the beige.

The lower photo is what I got with the lichen over dye. Nice,one really cannot see the yellow beige shining thru the purple lichen.  This is going into my rug planning.

IMG_1279

IMG_1403

Easter cedar over dyed with lichen

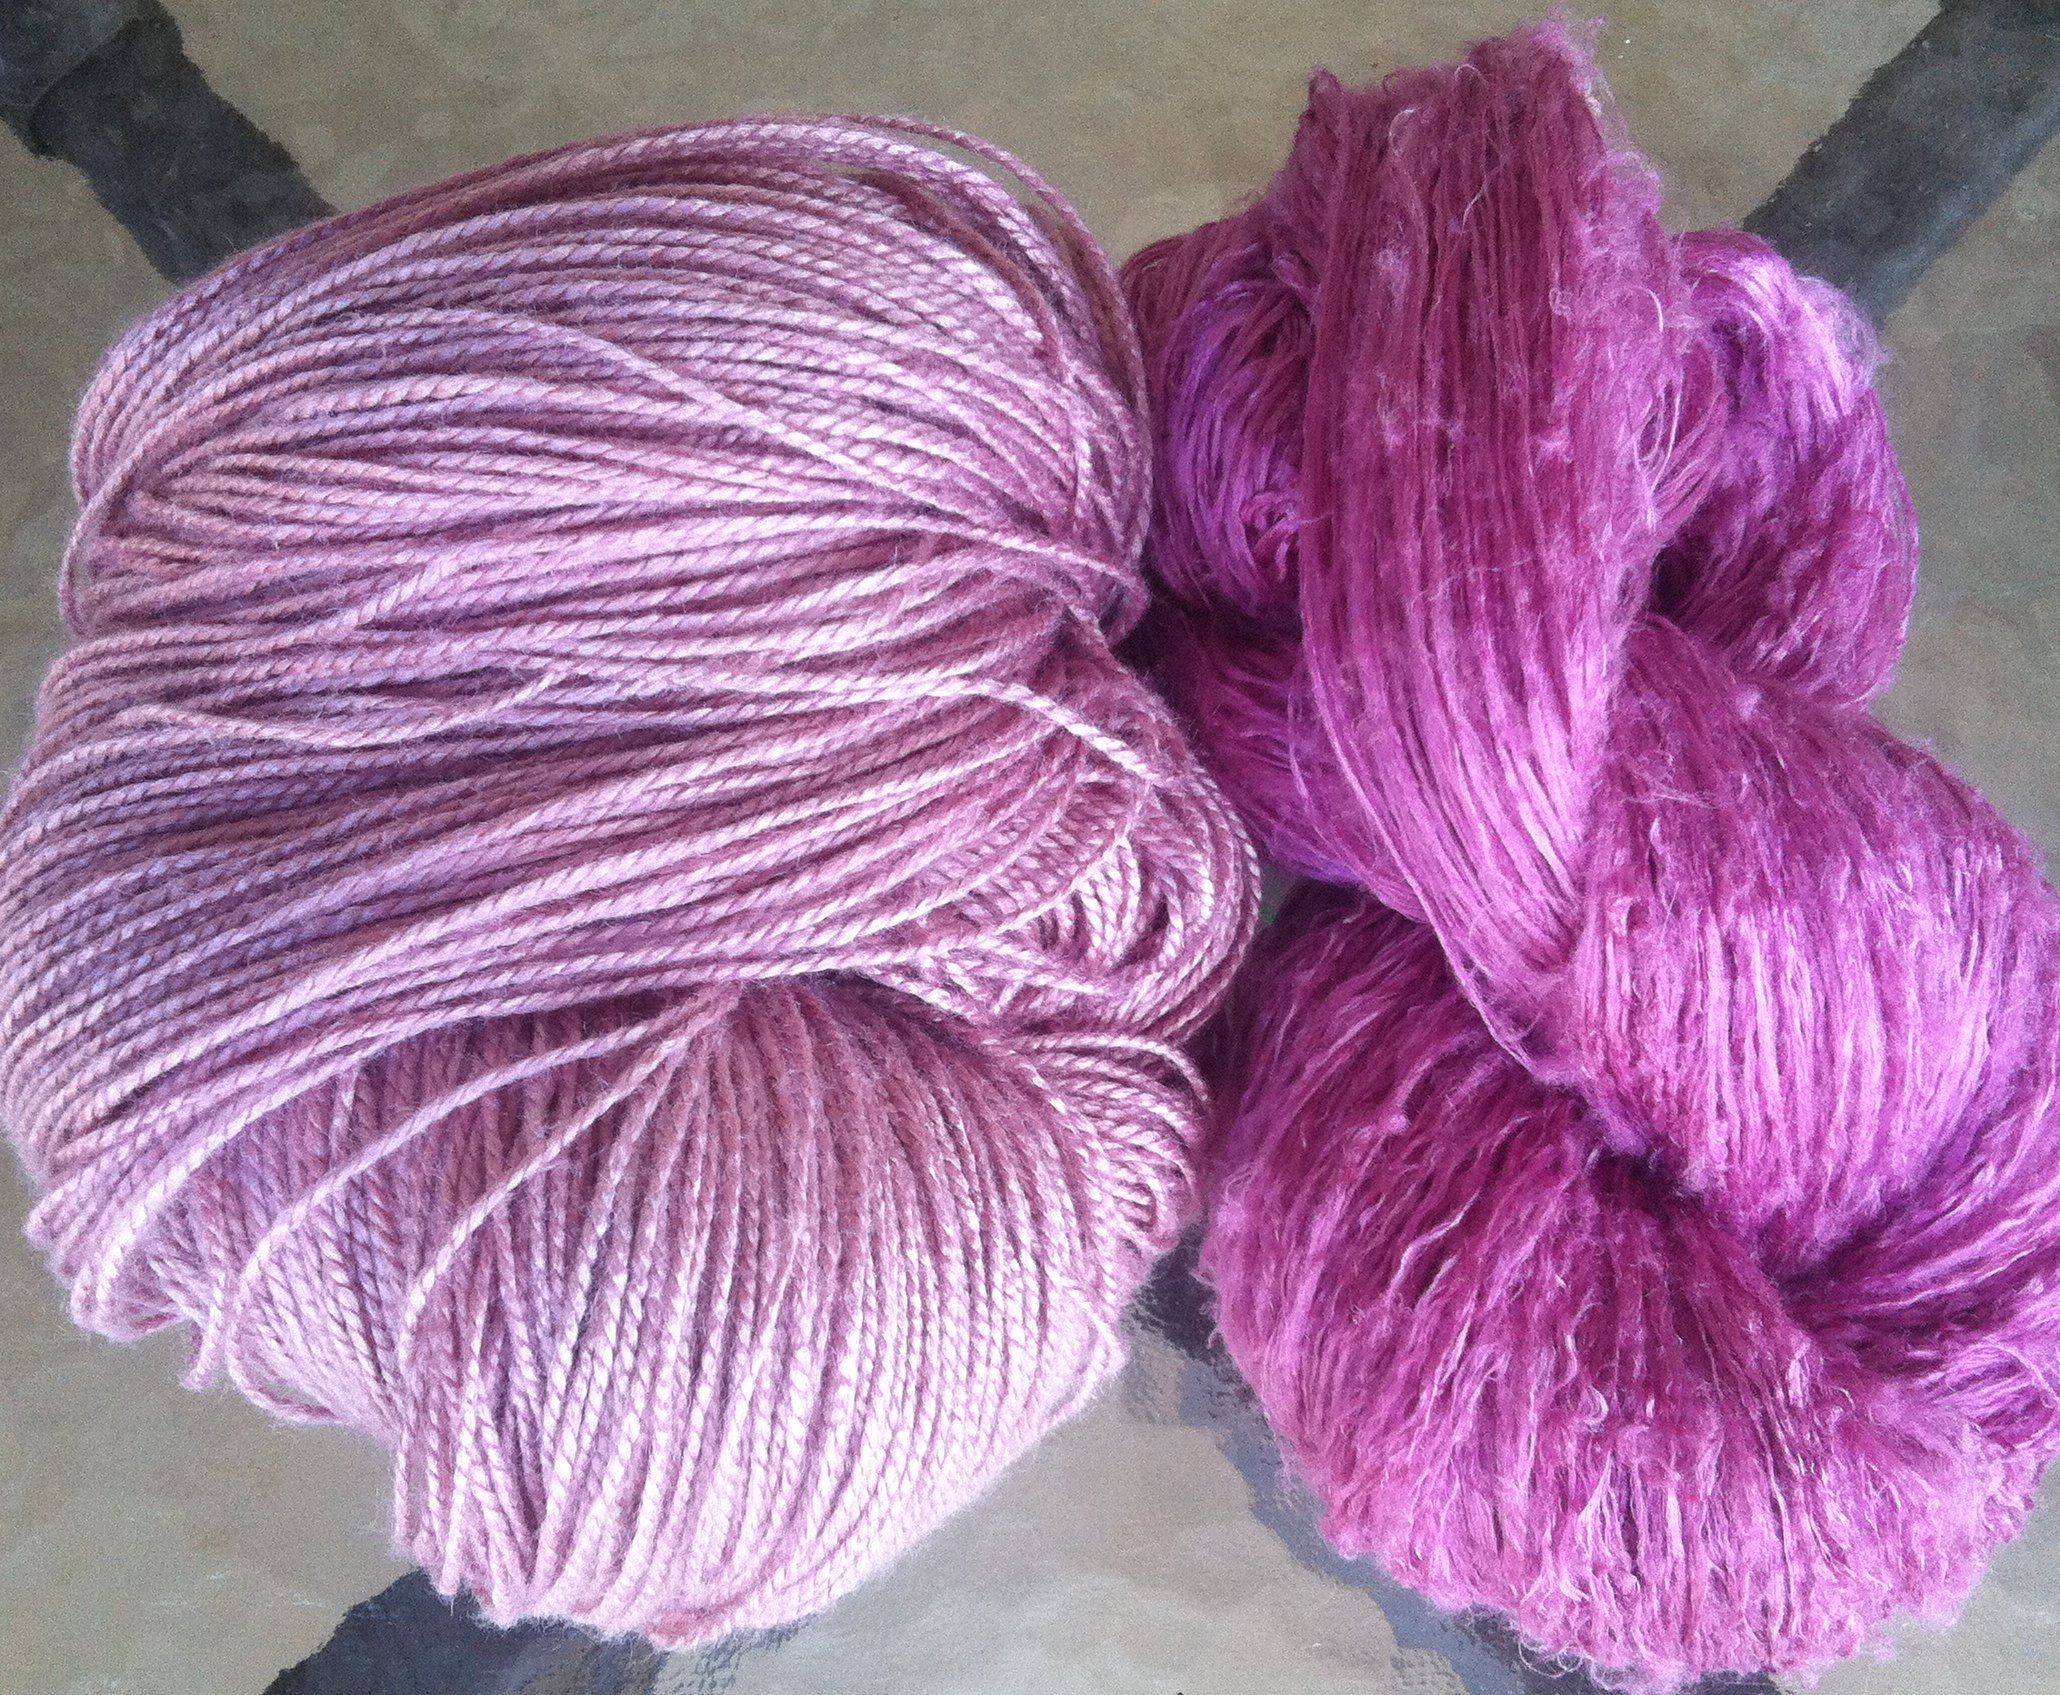
In the meantime, I had some silk that I had degummed Rapenzul from Henry’s Attic and some Habu silk.  They both took the 1st exhaust lichen in a very BRIGHT way!  The raw silk really took on a bubble gum pink which is startling to me.  I’m trying to get use to it but I’m thinking an iron overbath might make it more bearable for me.  Or maybe indigo…..it is almost time to do the first indigo harvest…..
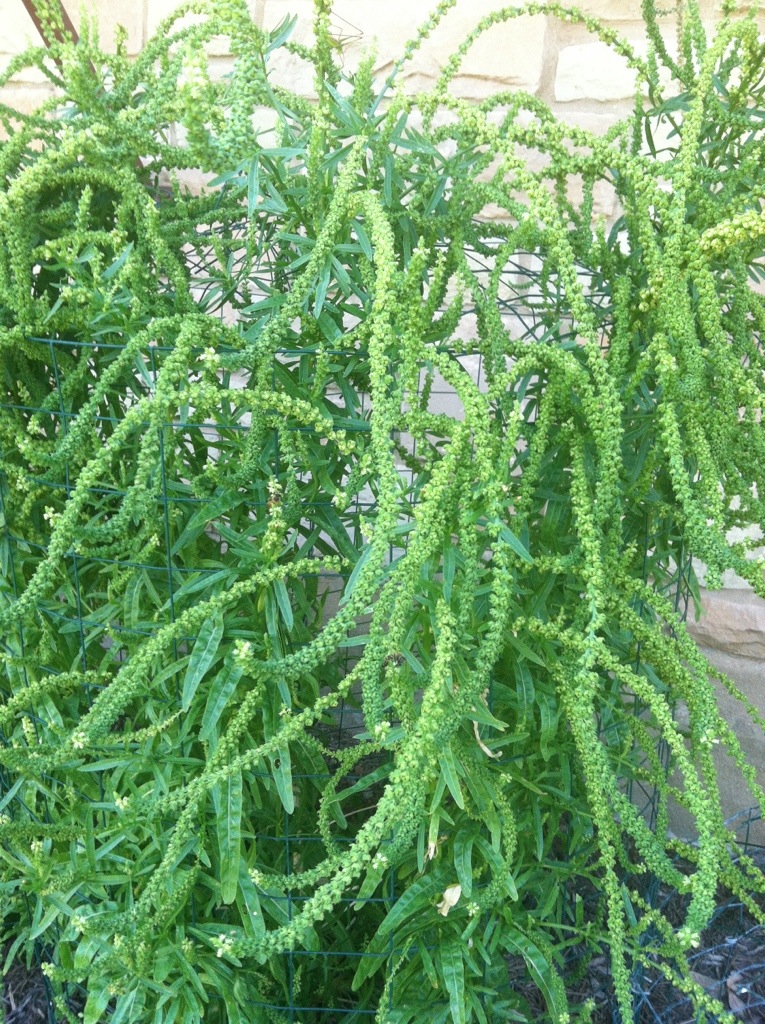
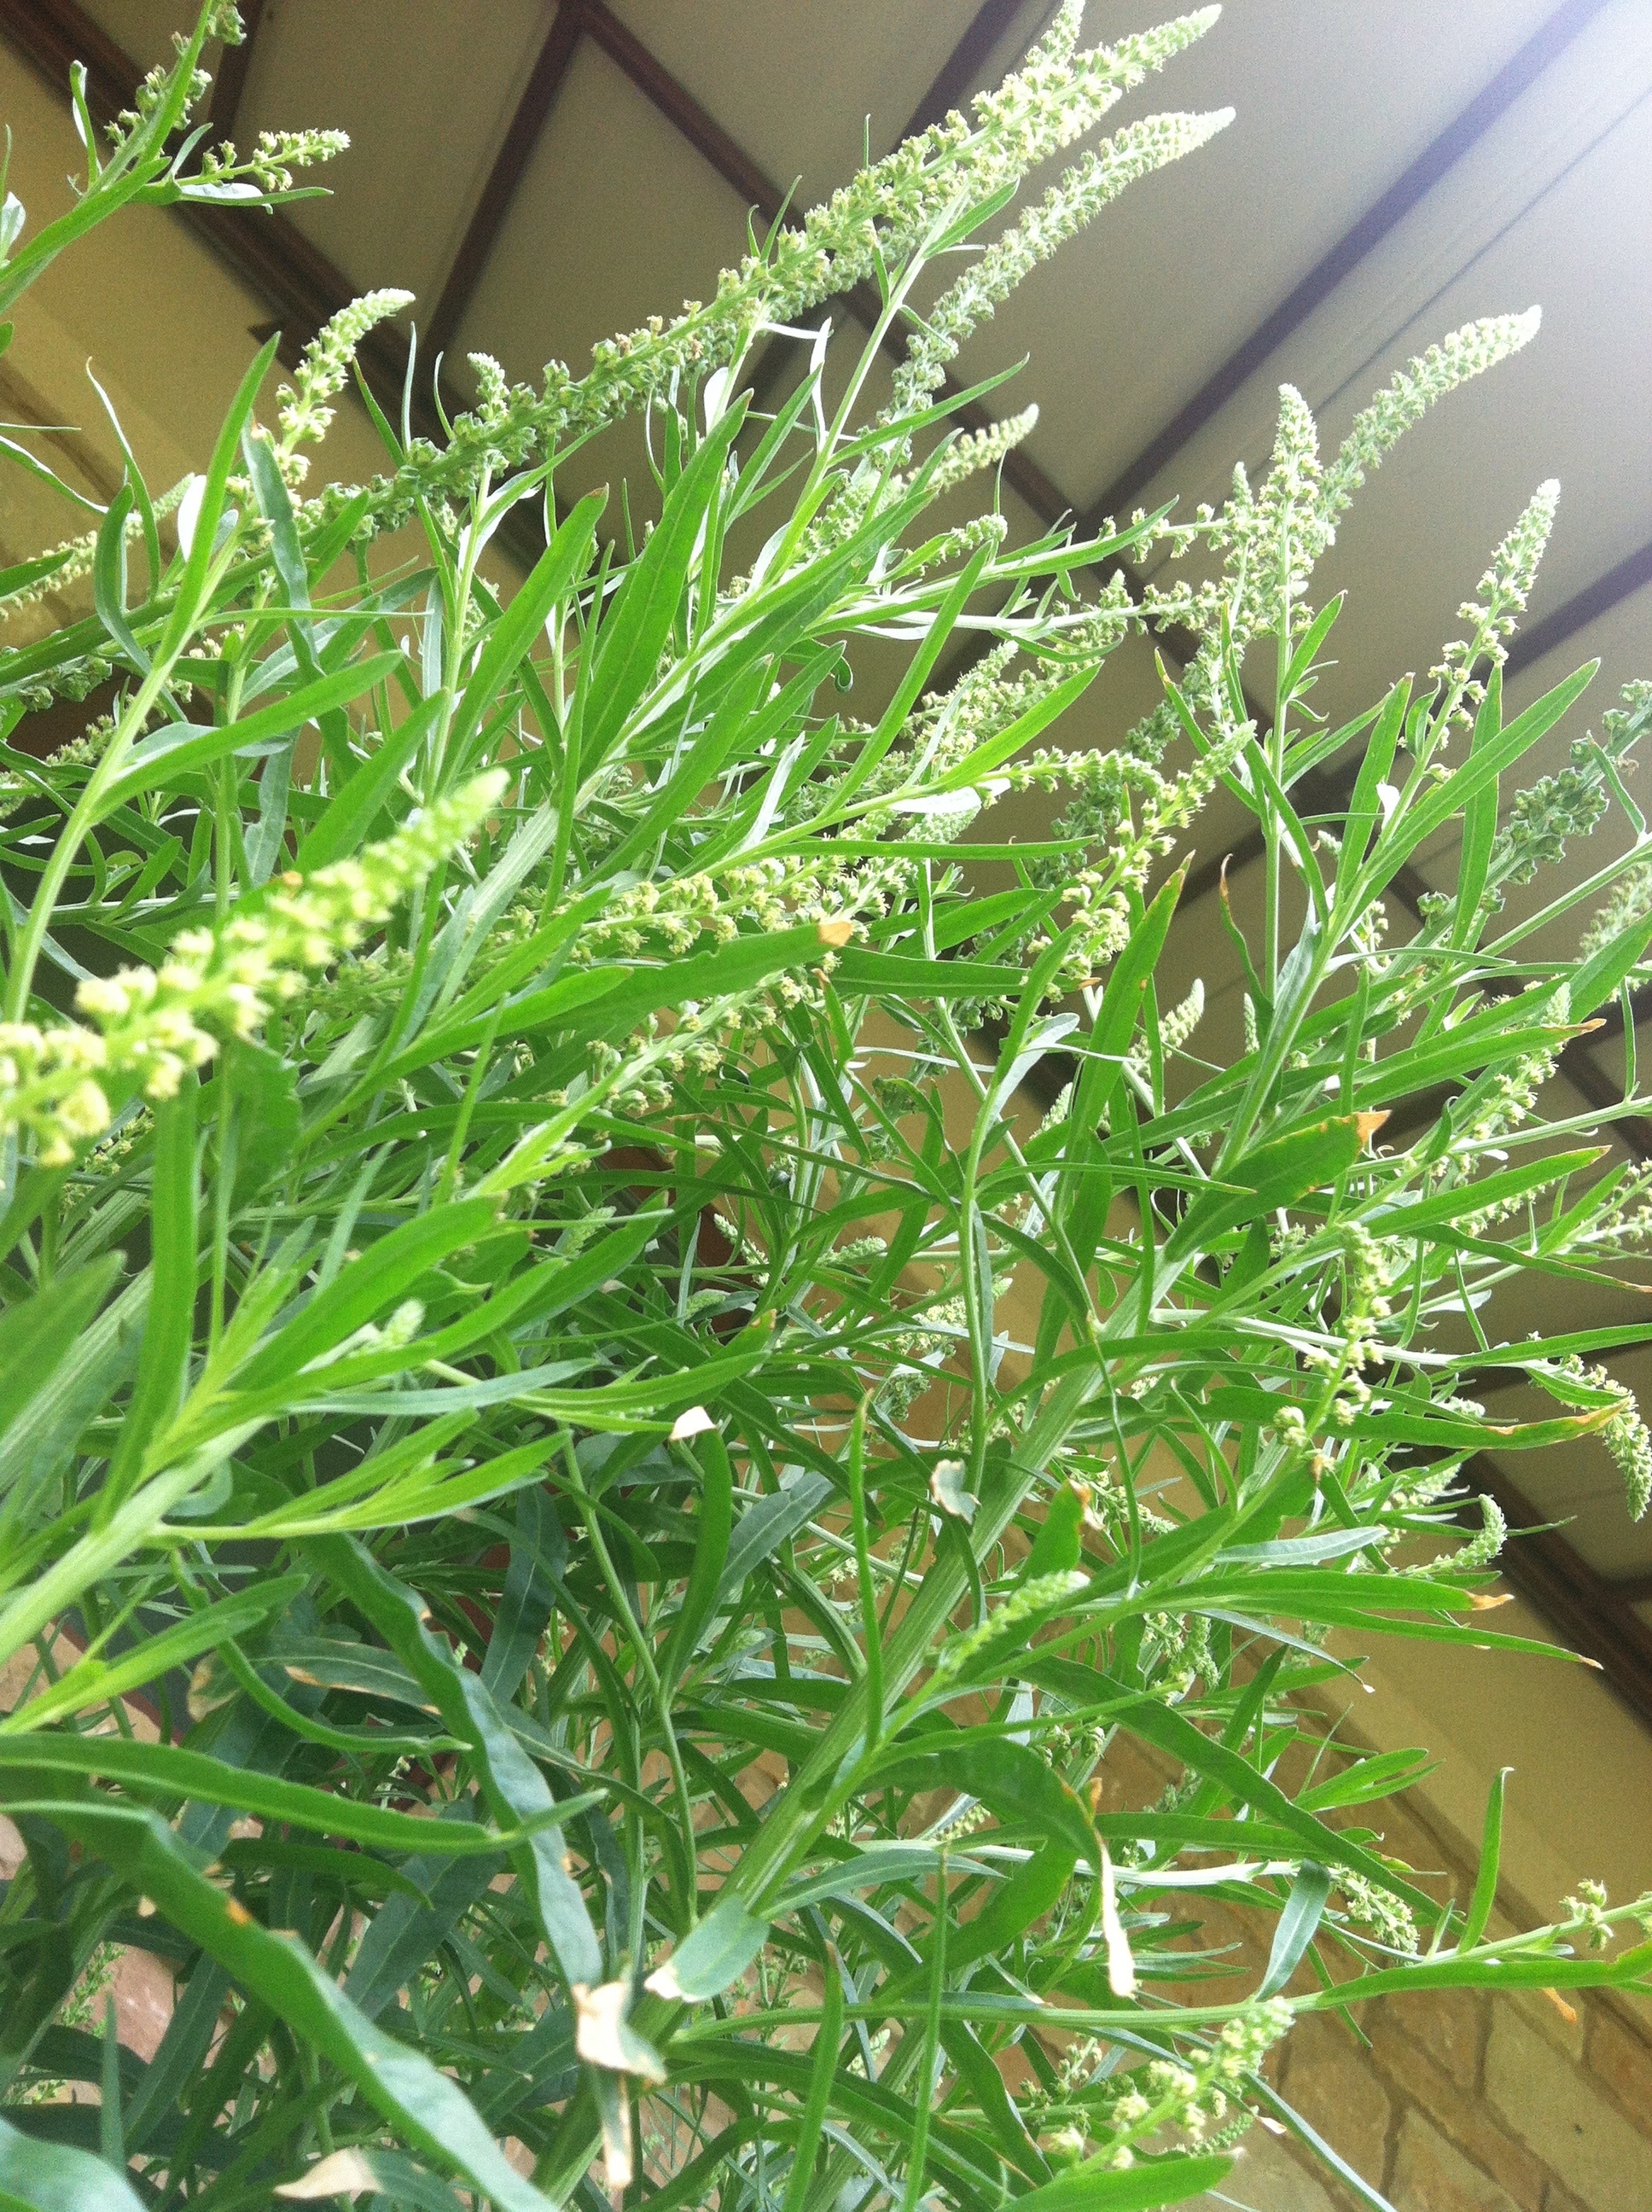
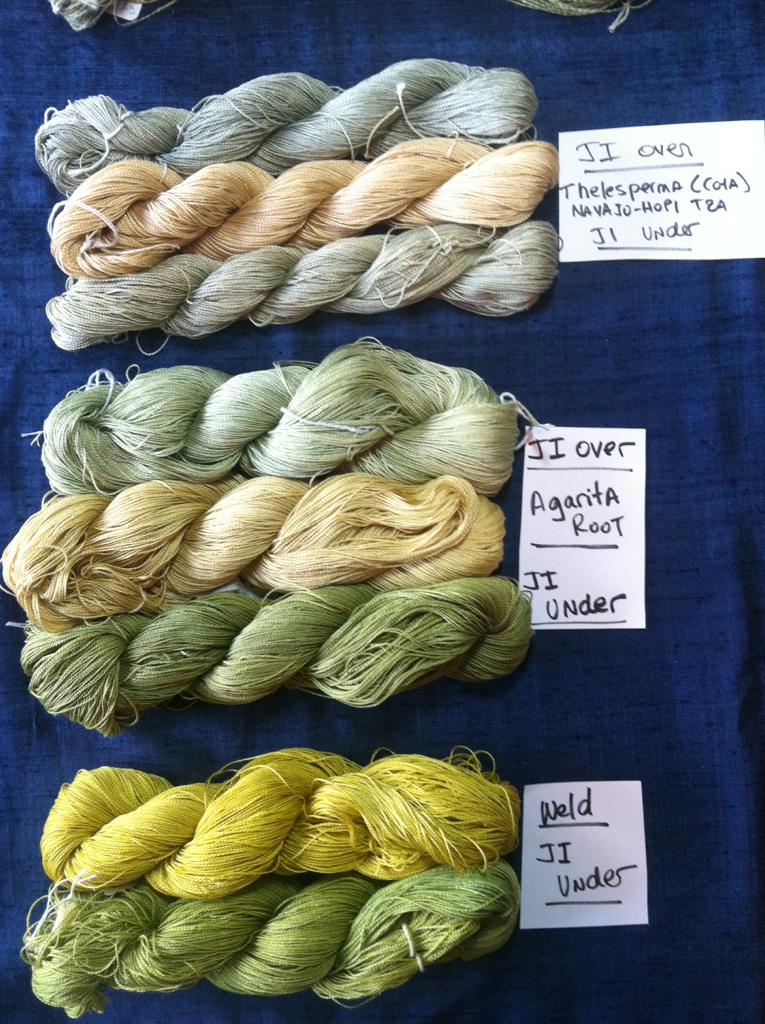
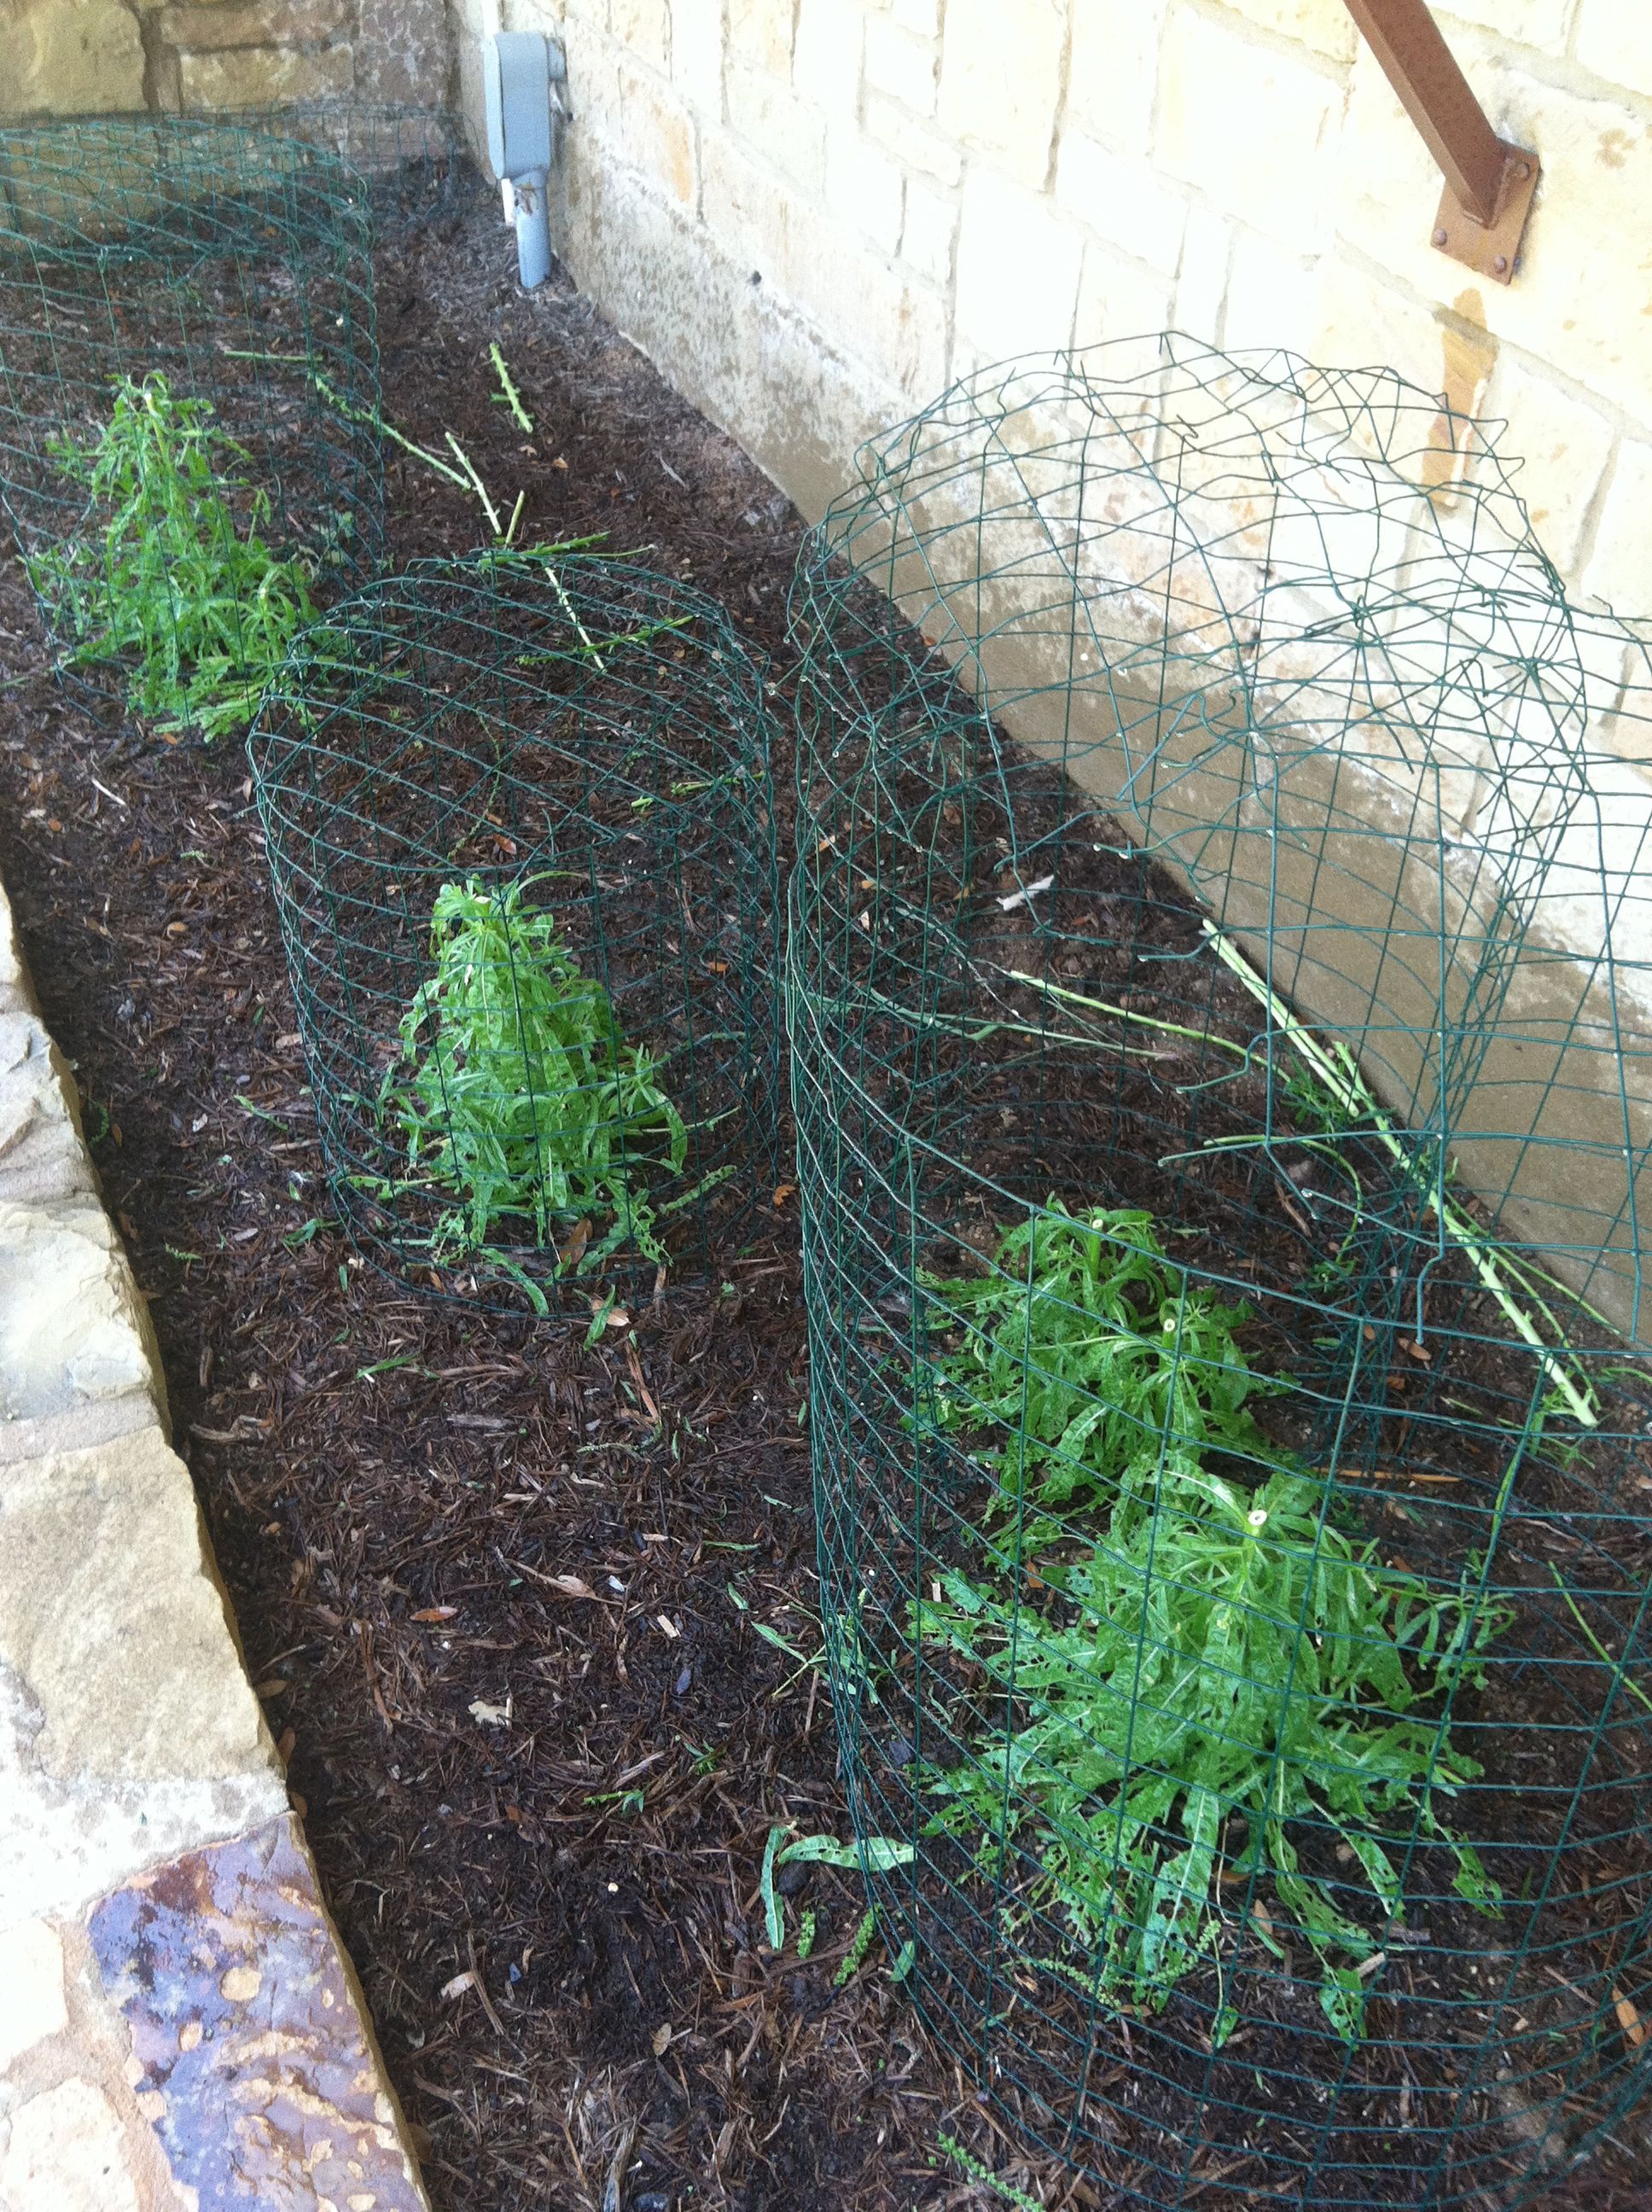
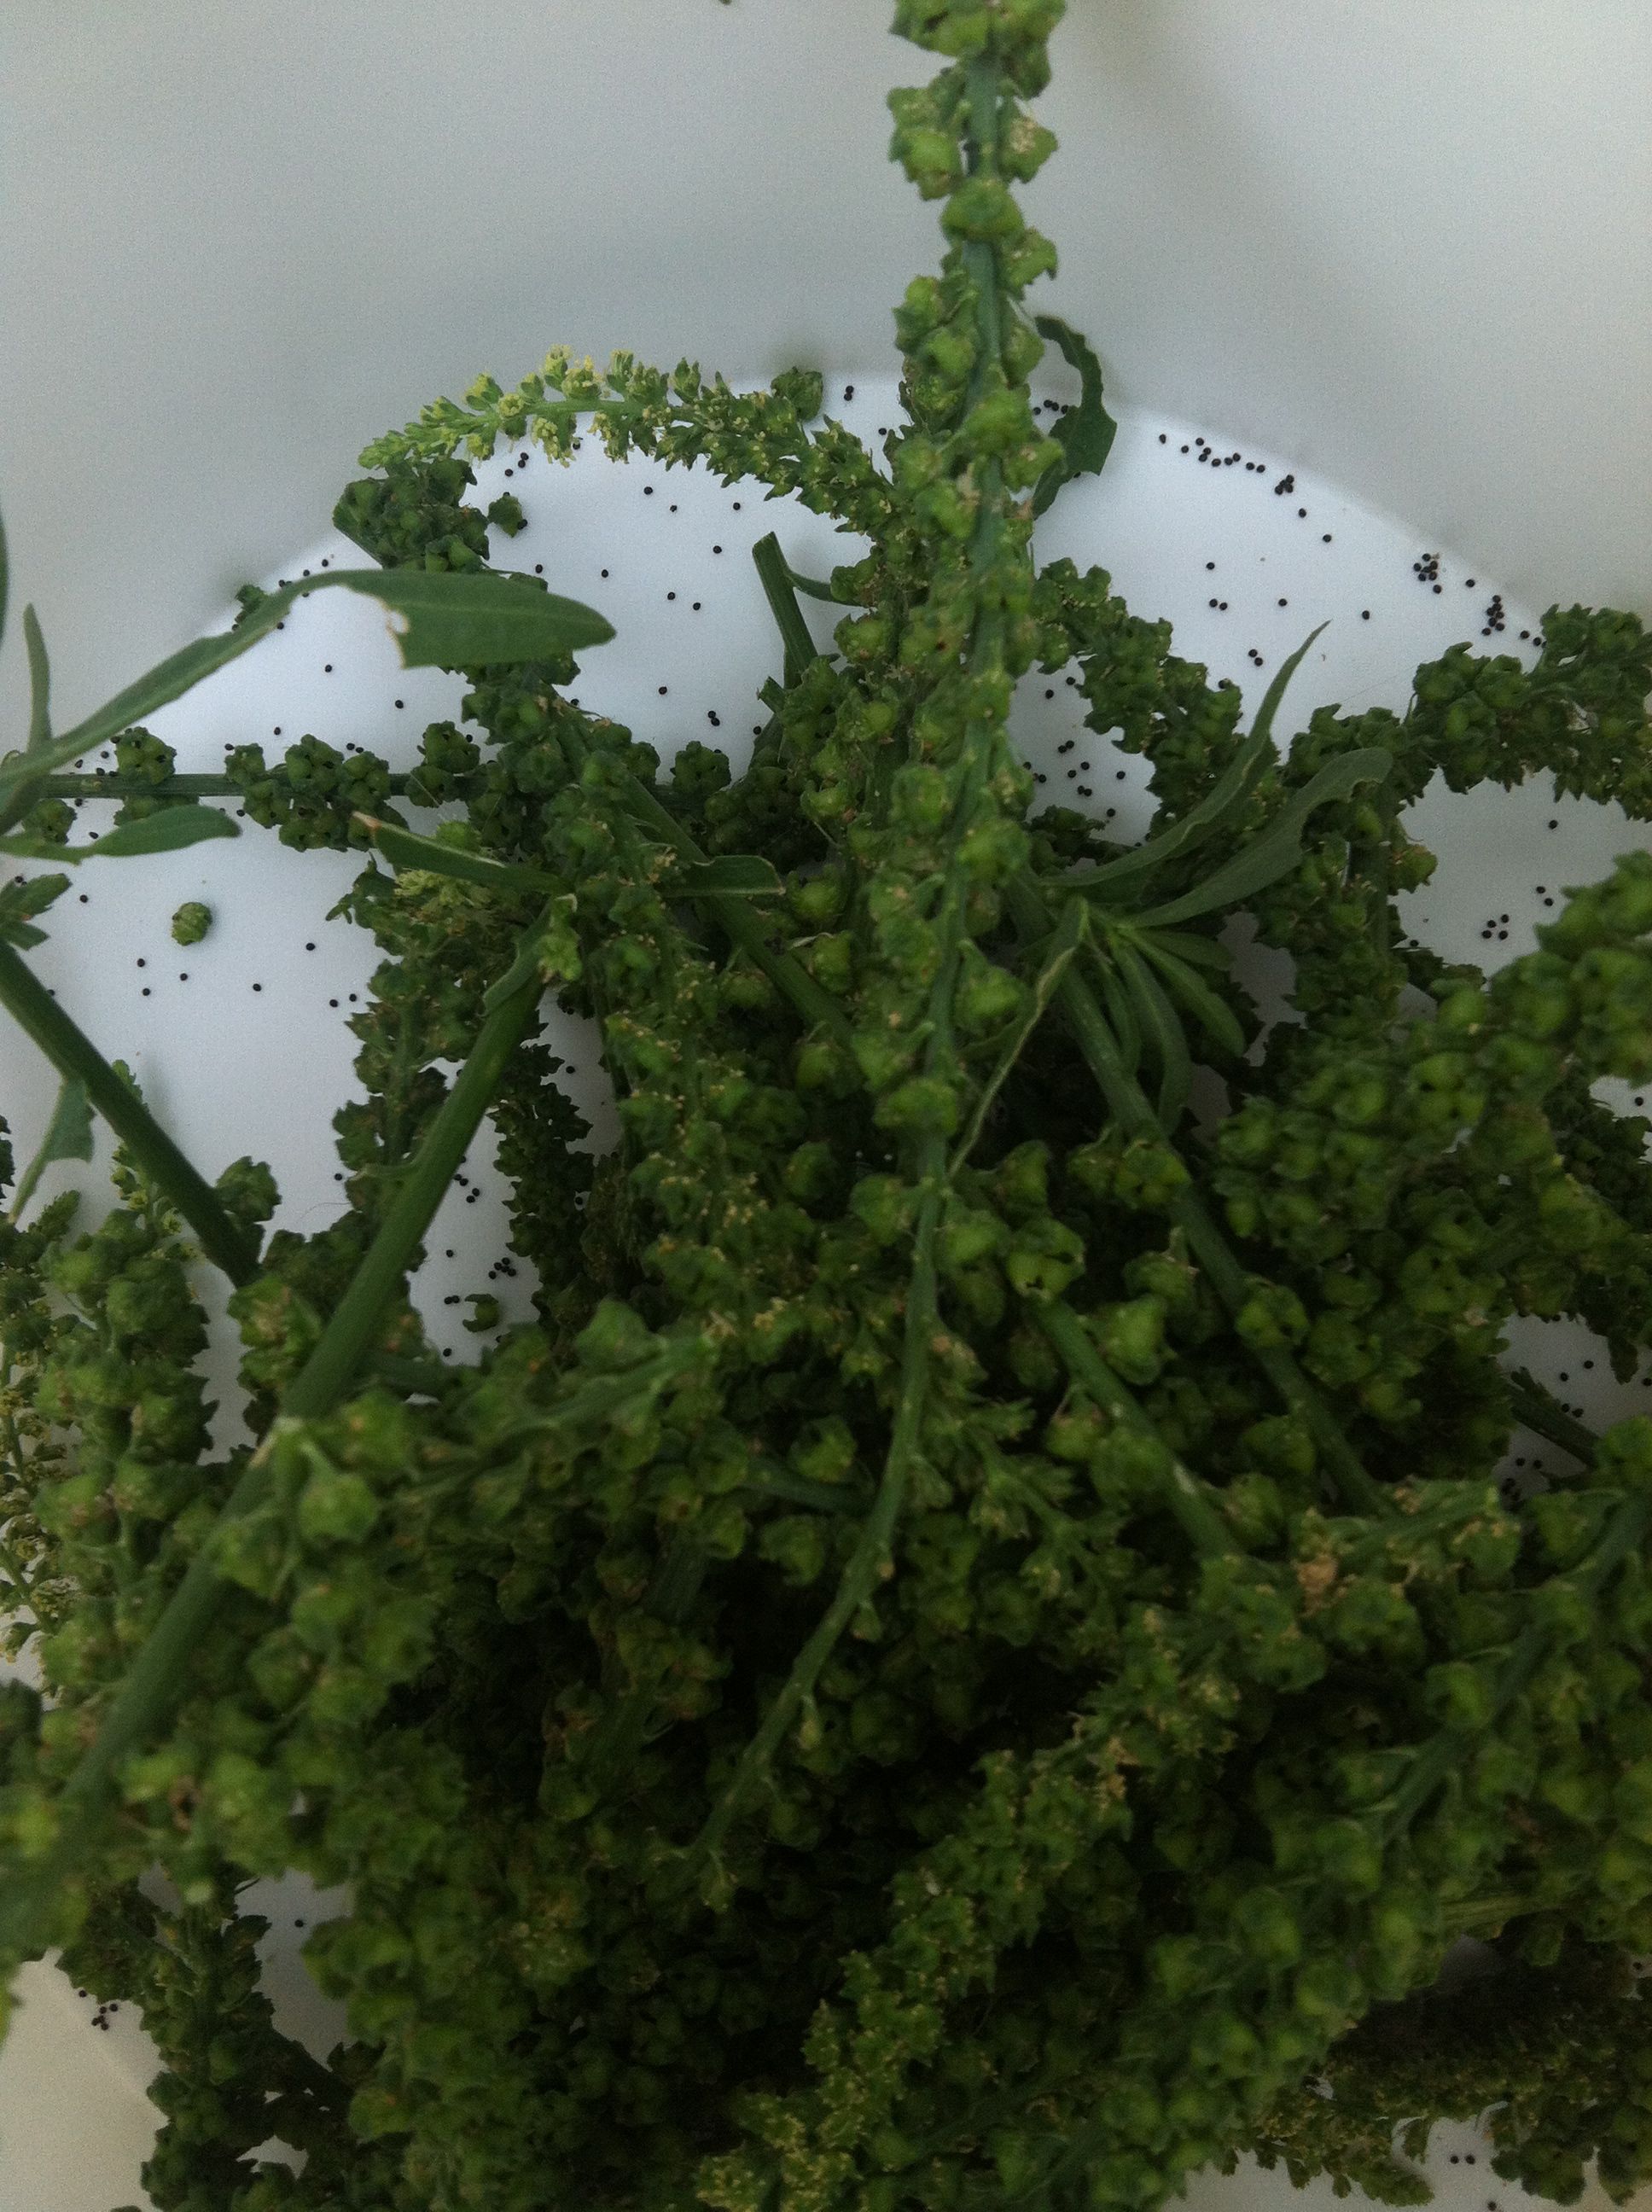
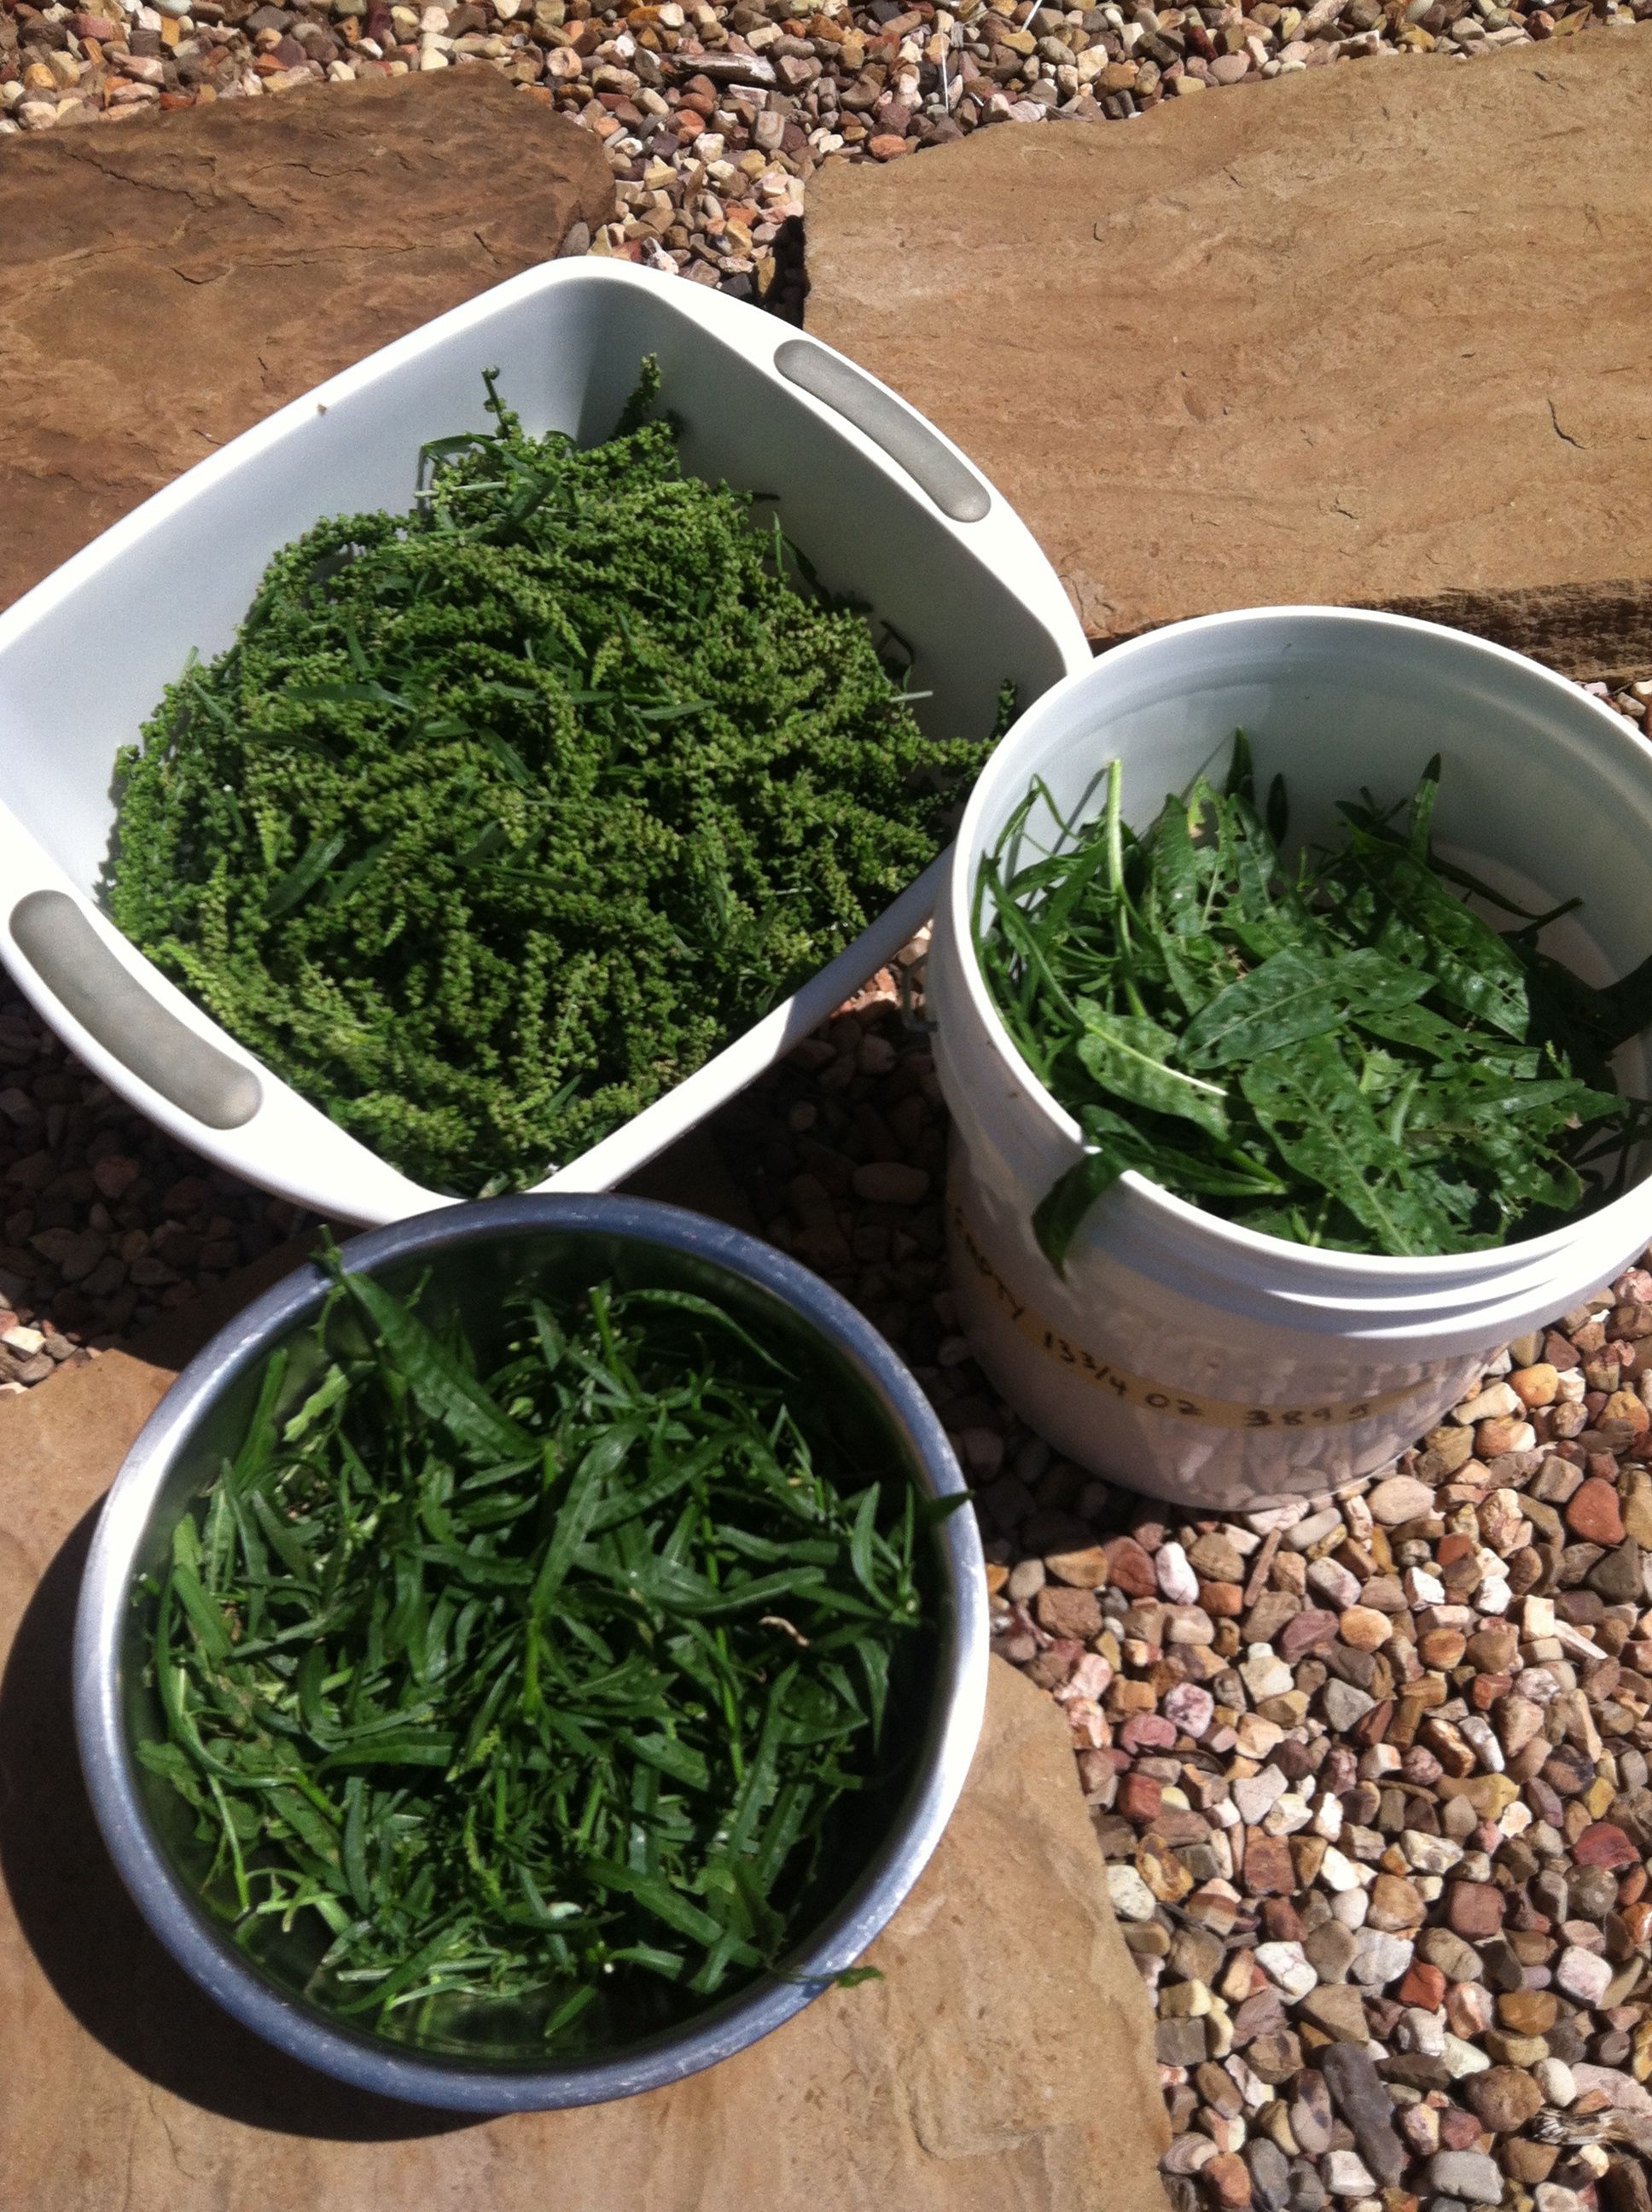
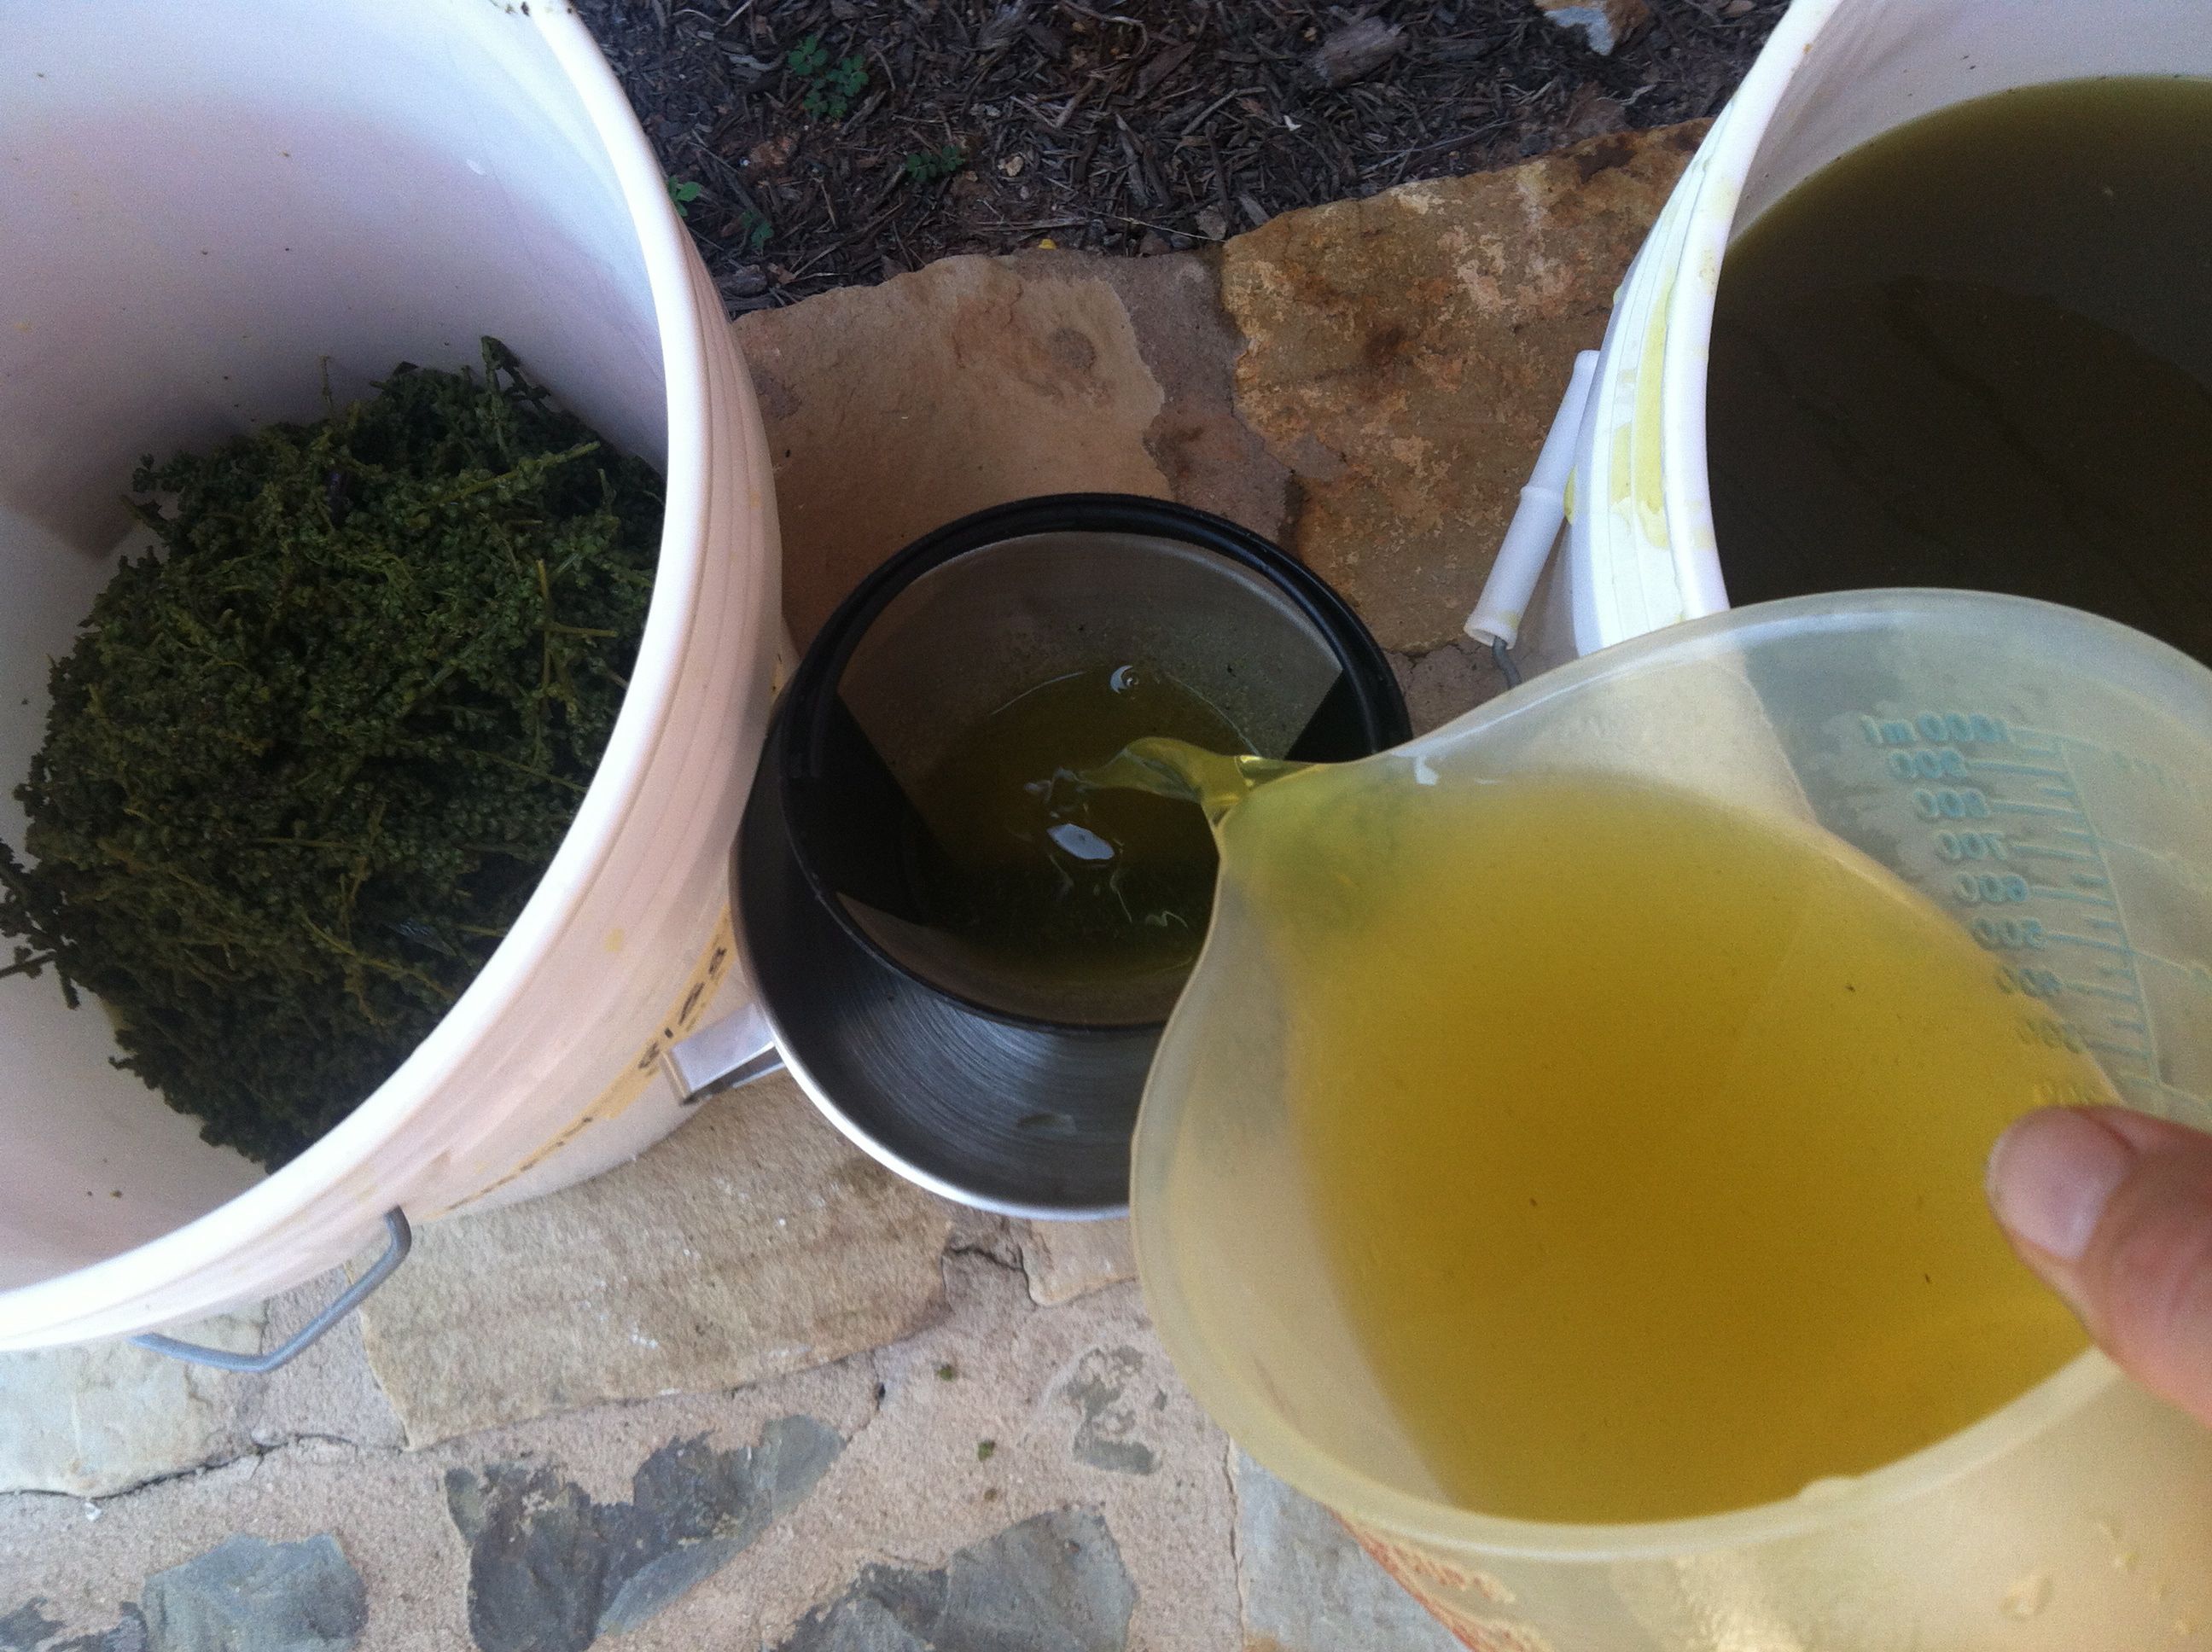
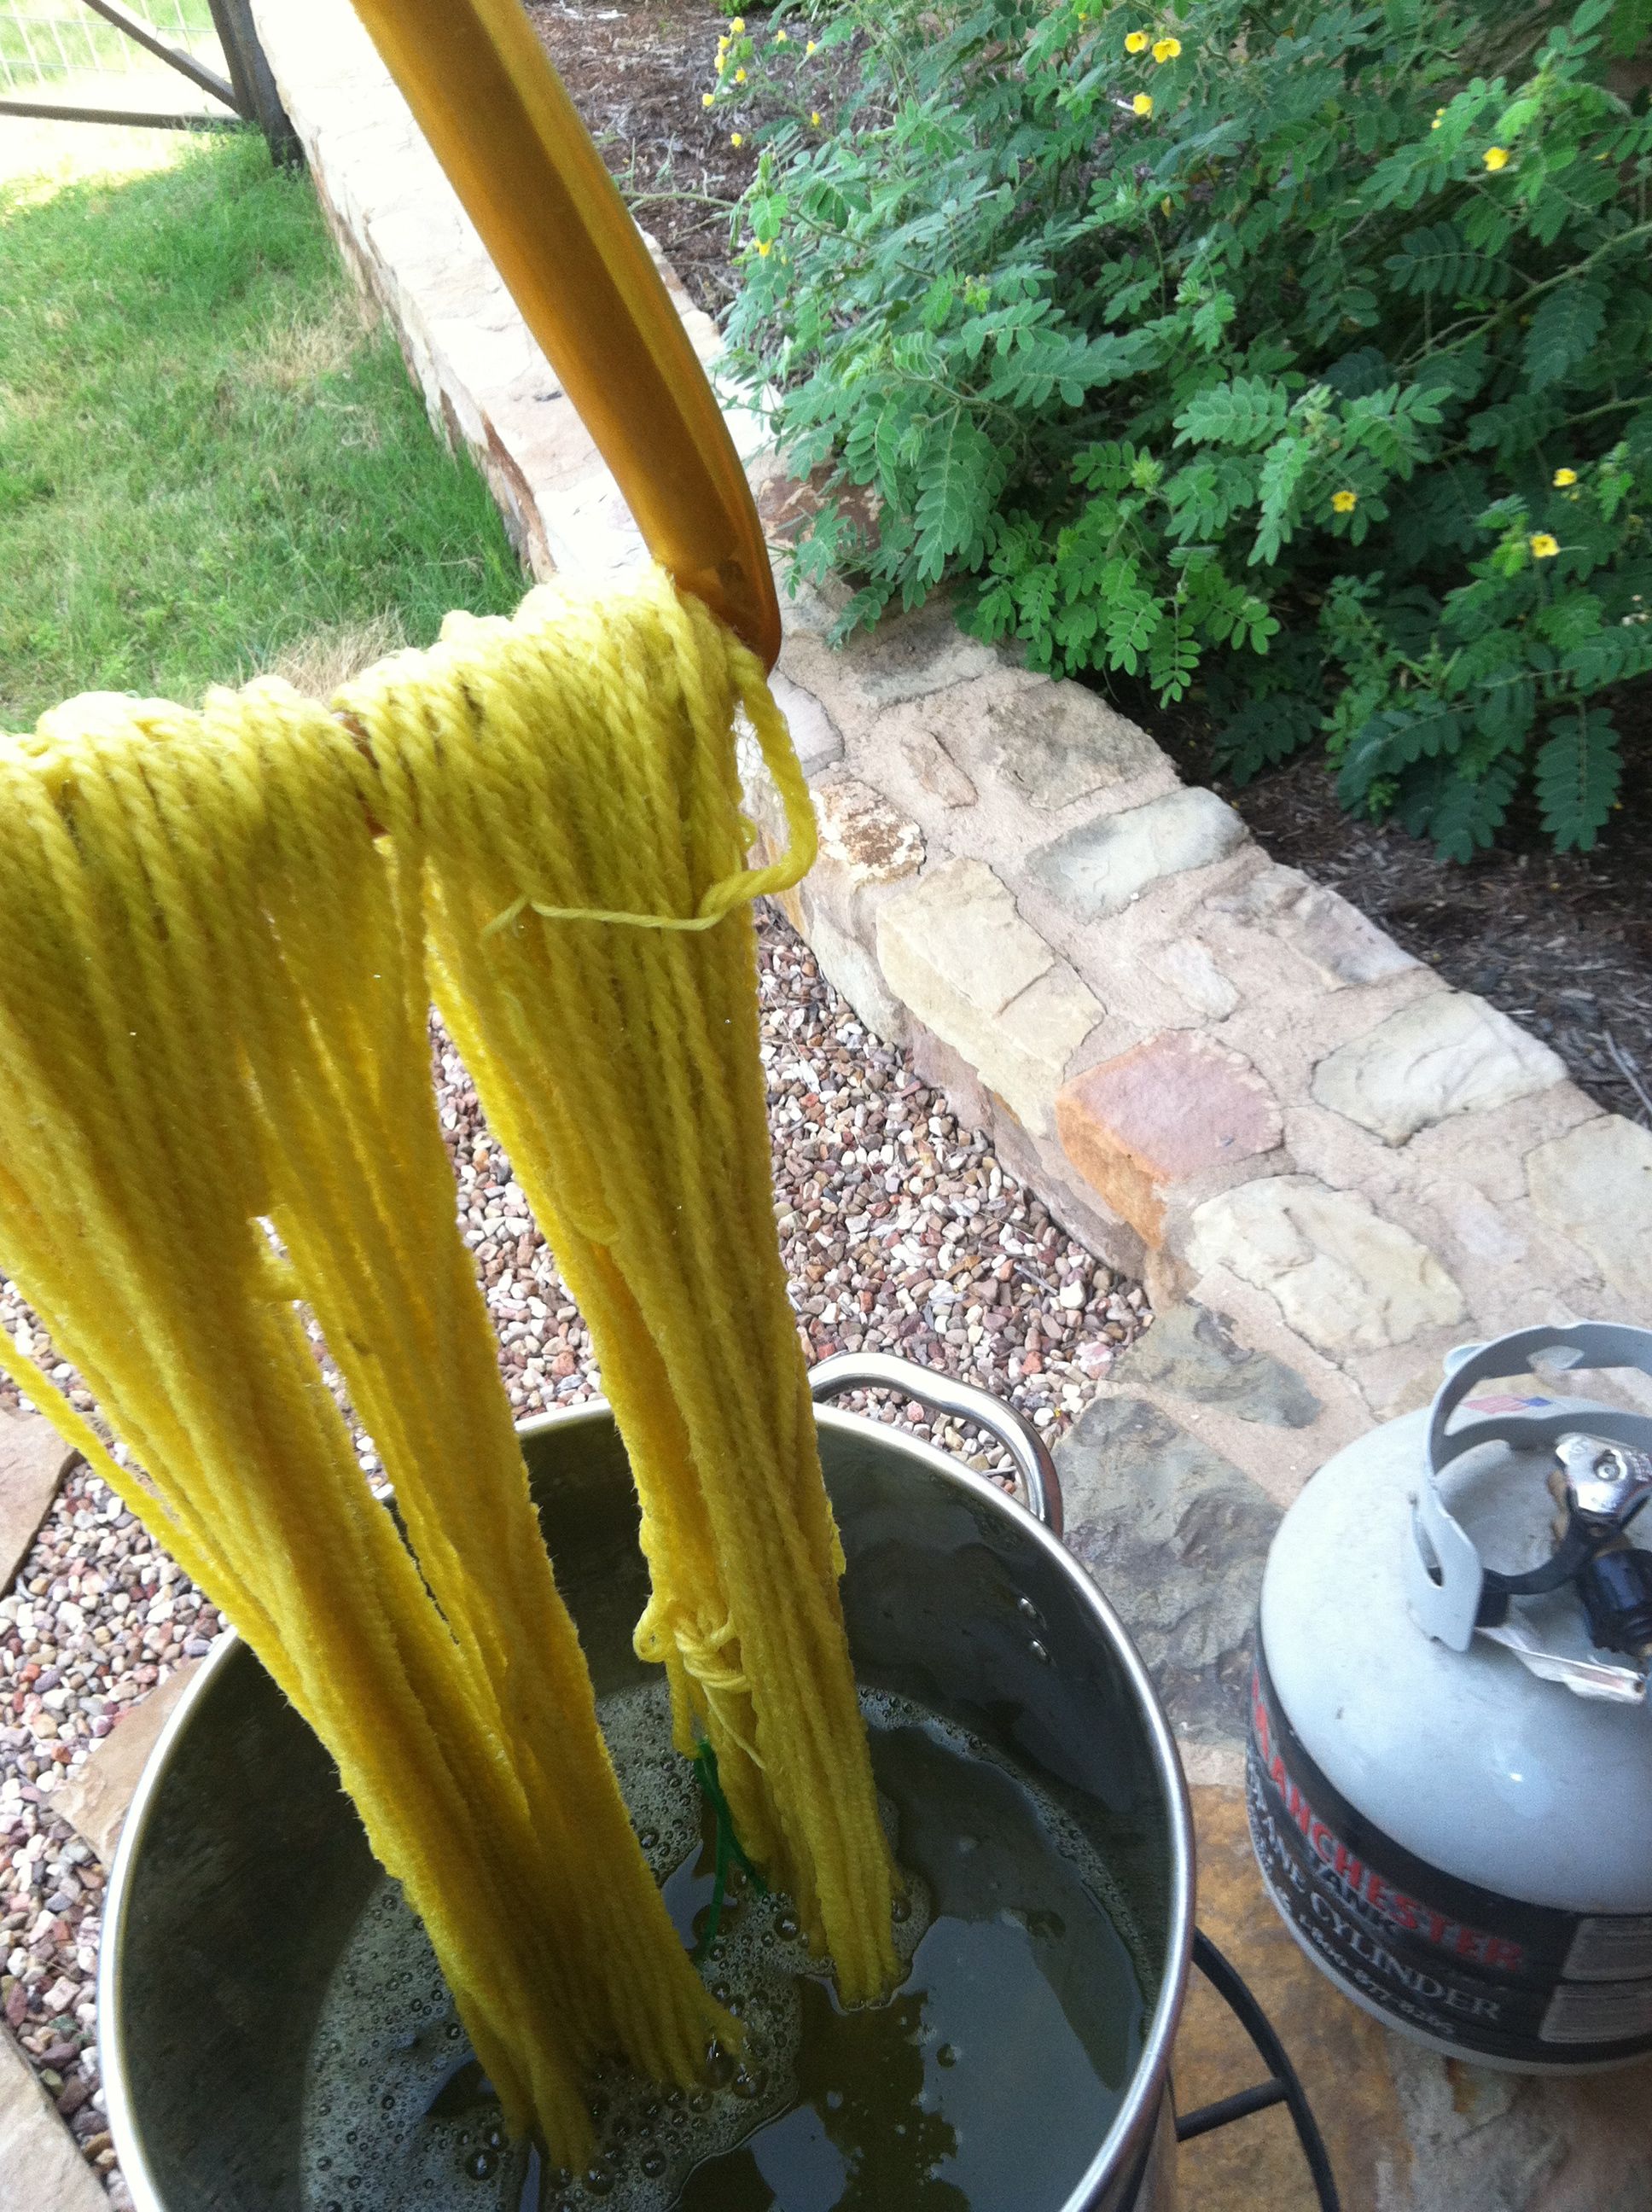
IMG_1406

Weld

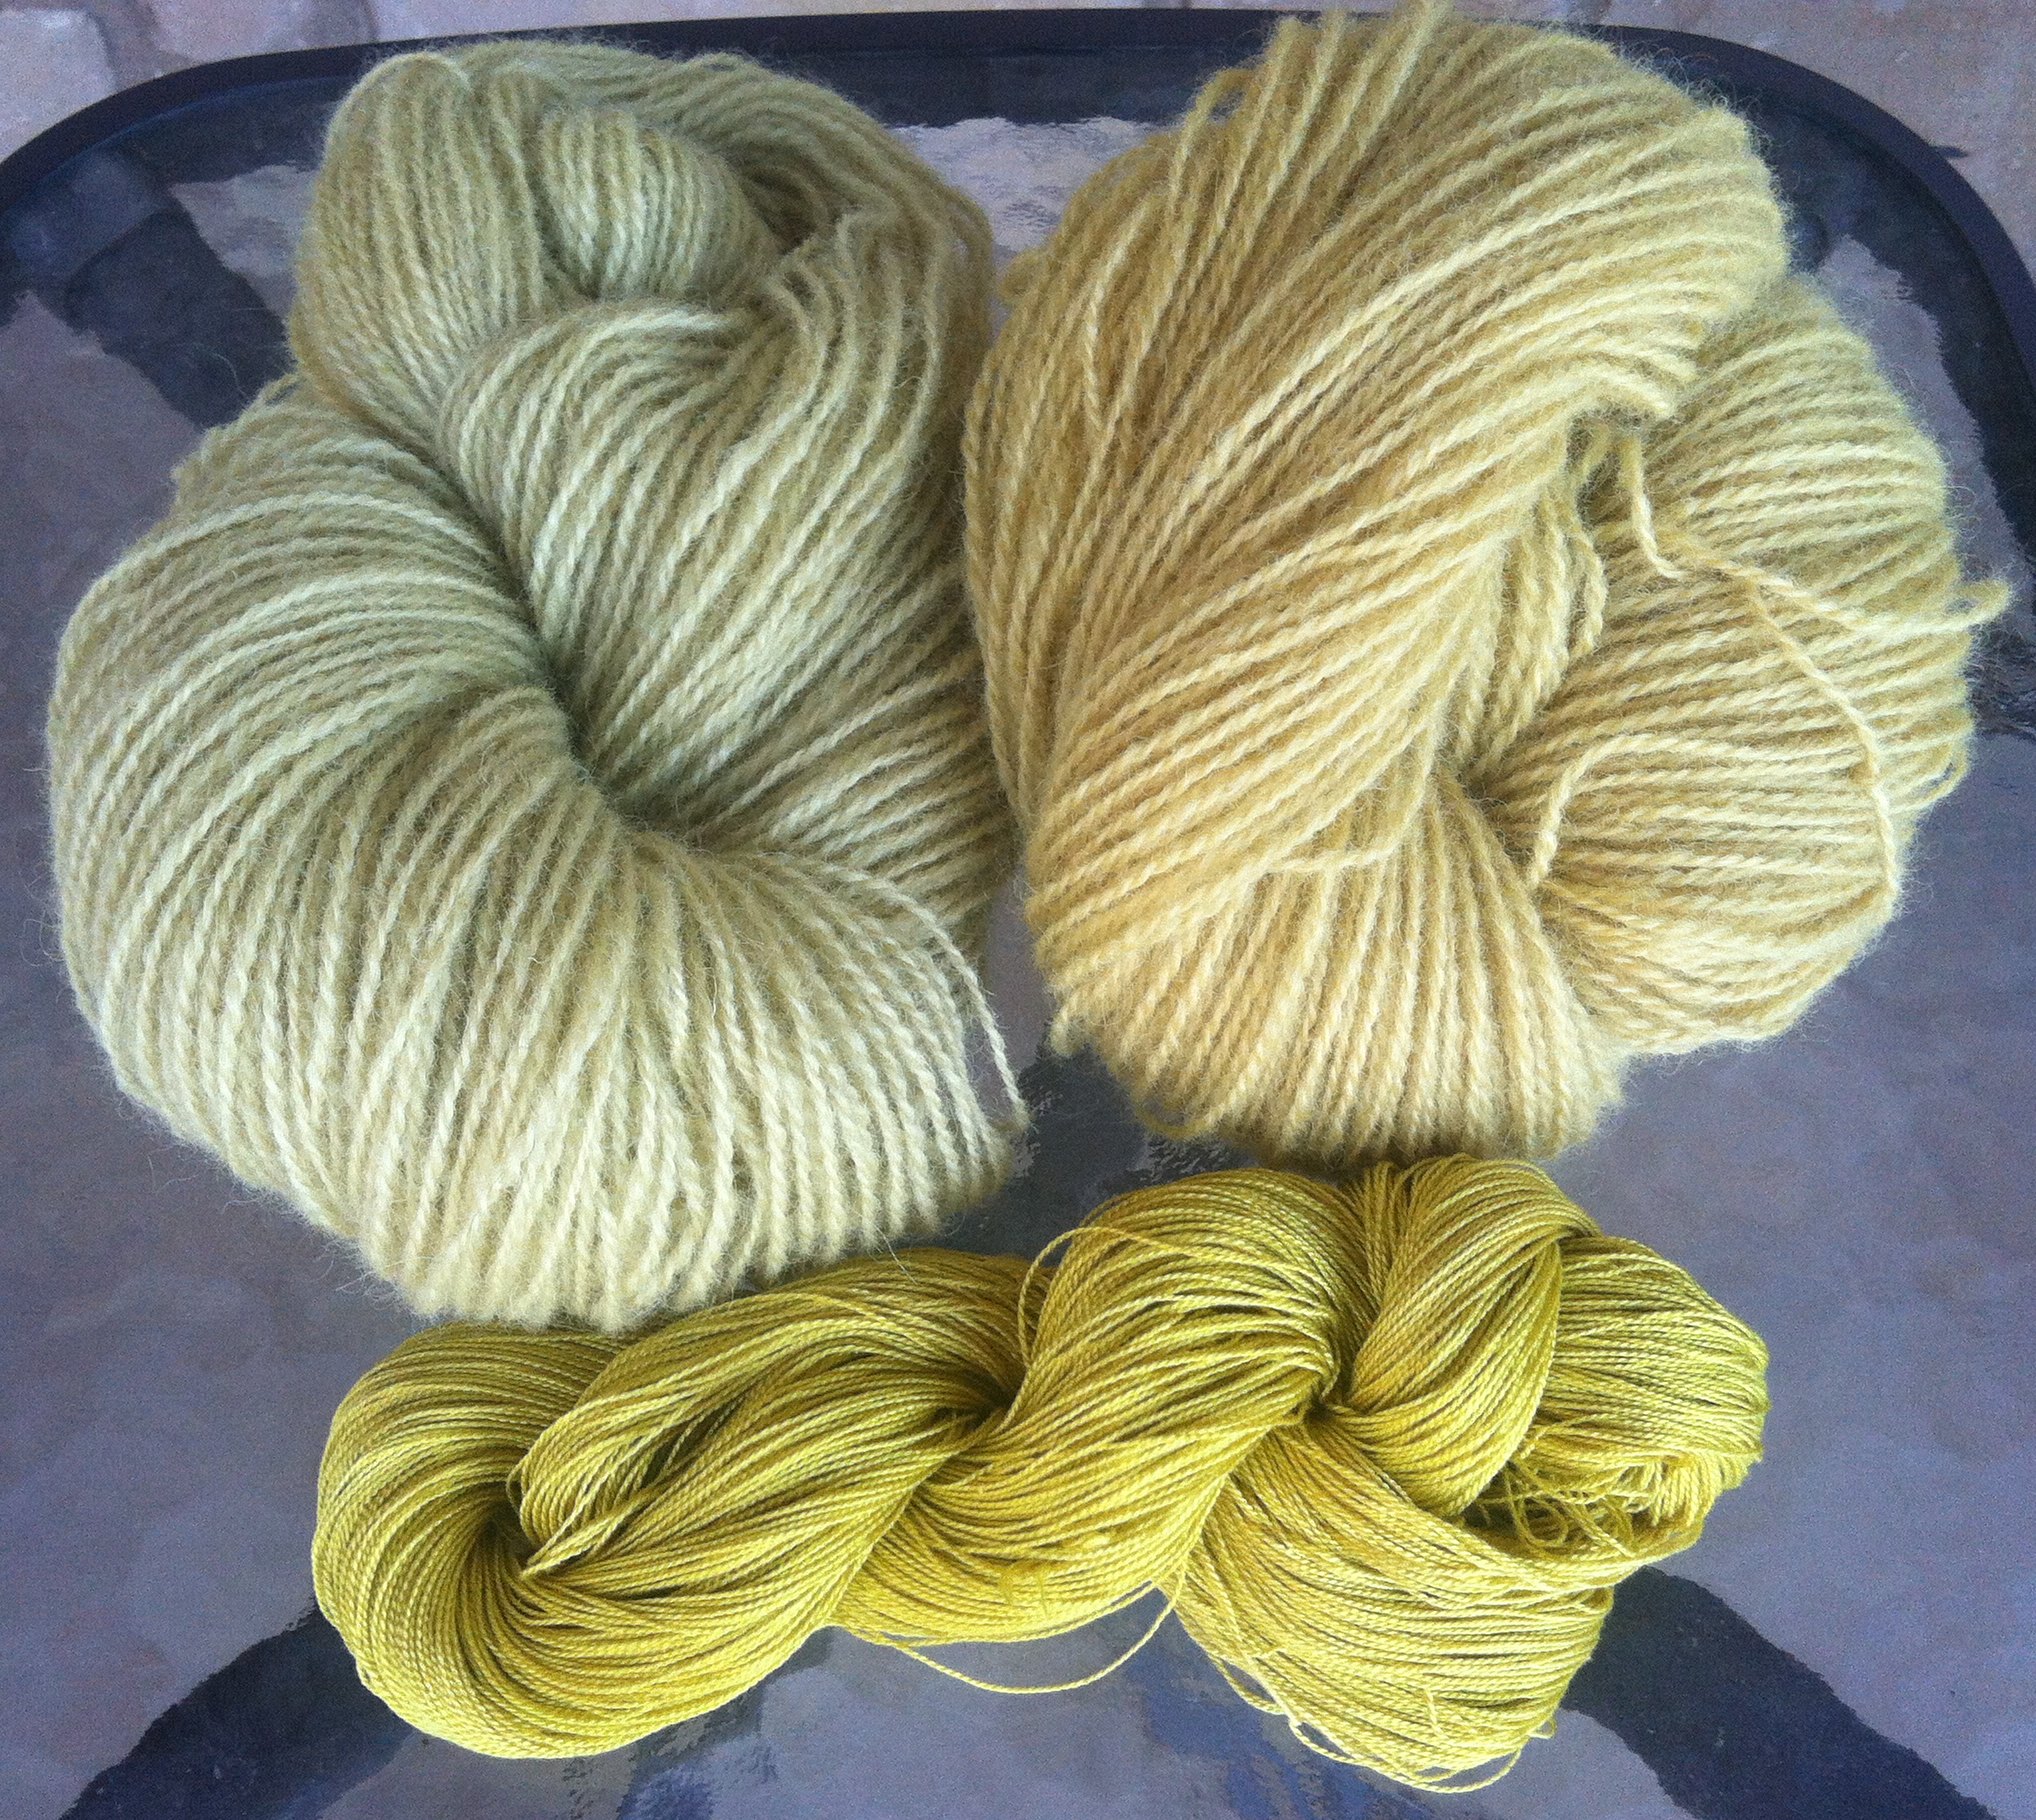
I tried my fresh weld and got a much fainter yellow on my wools than I got on my silk last year.  So I pulled my dried leaves from last year and cut much more fresh weld and redyed the wools.  Can you see the difference?  Both took on a much deeper yellow.  Still not as bright in comparison to last year’s vibrant yellow on the silk!  These large skeins will be broken down and dipped in indigo to create some greens.


IMG_1391IMG_1402

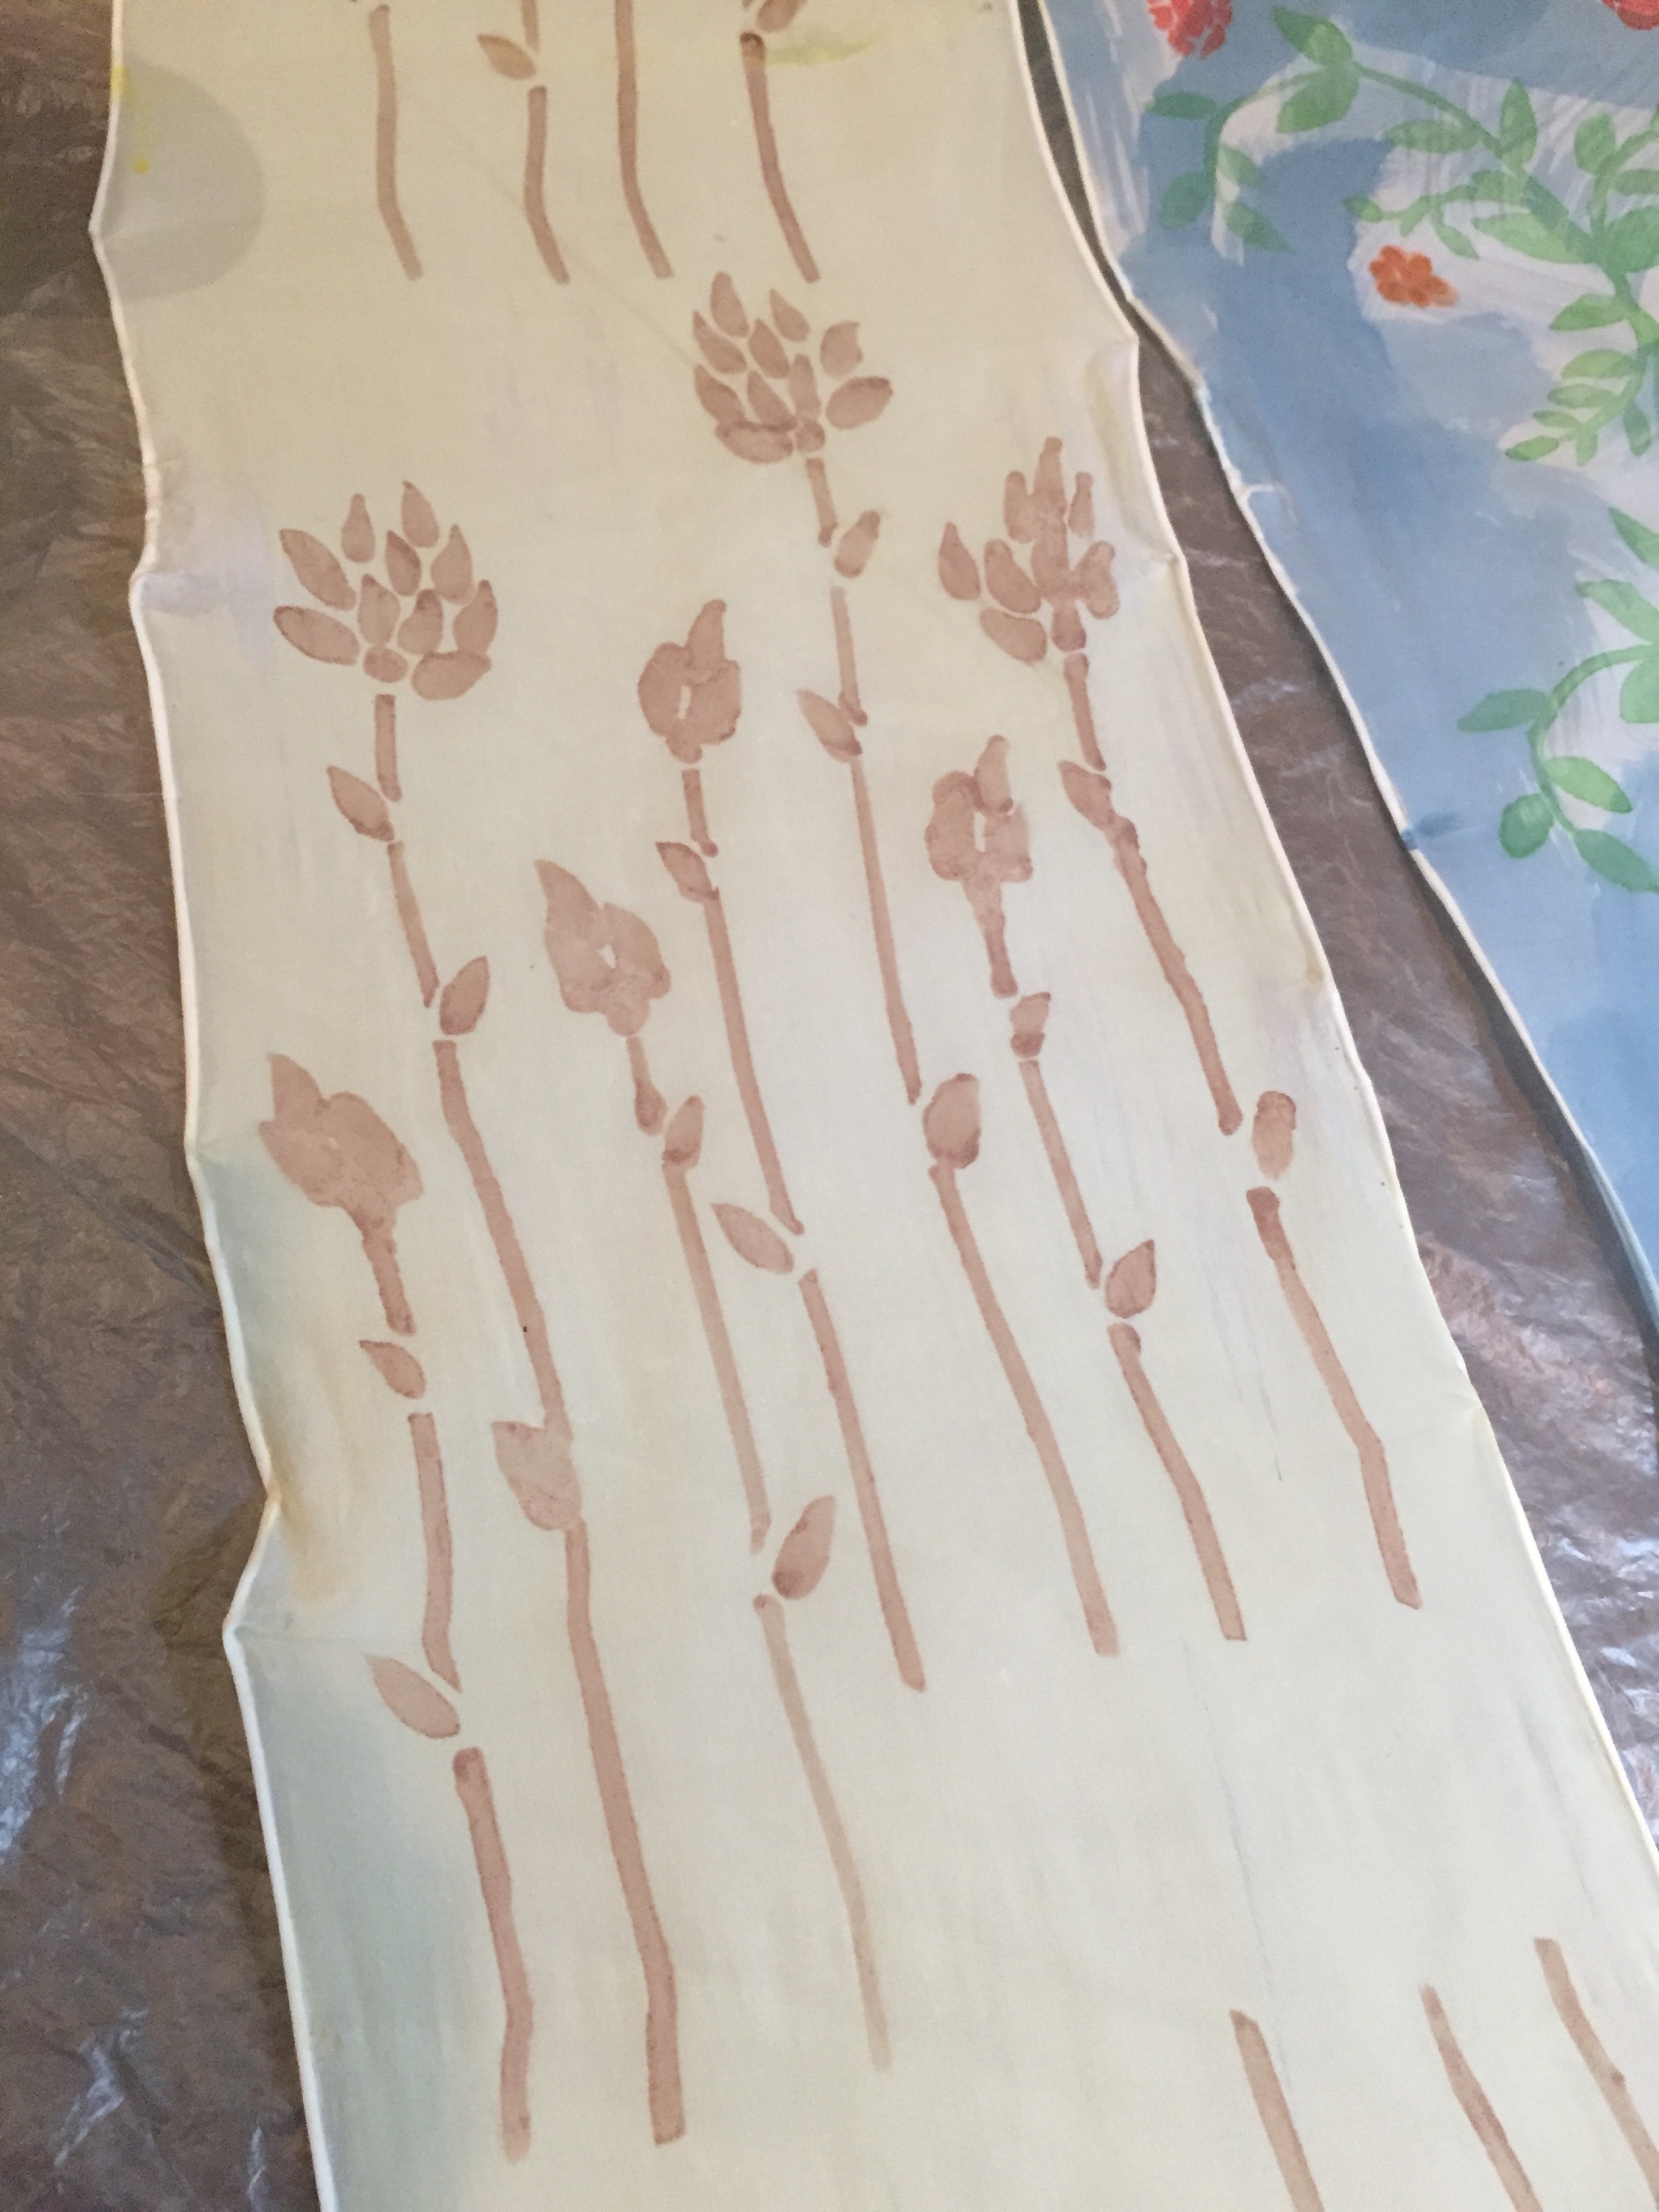
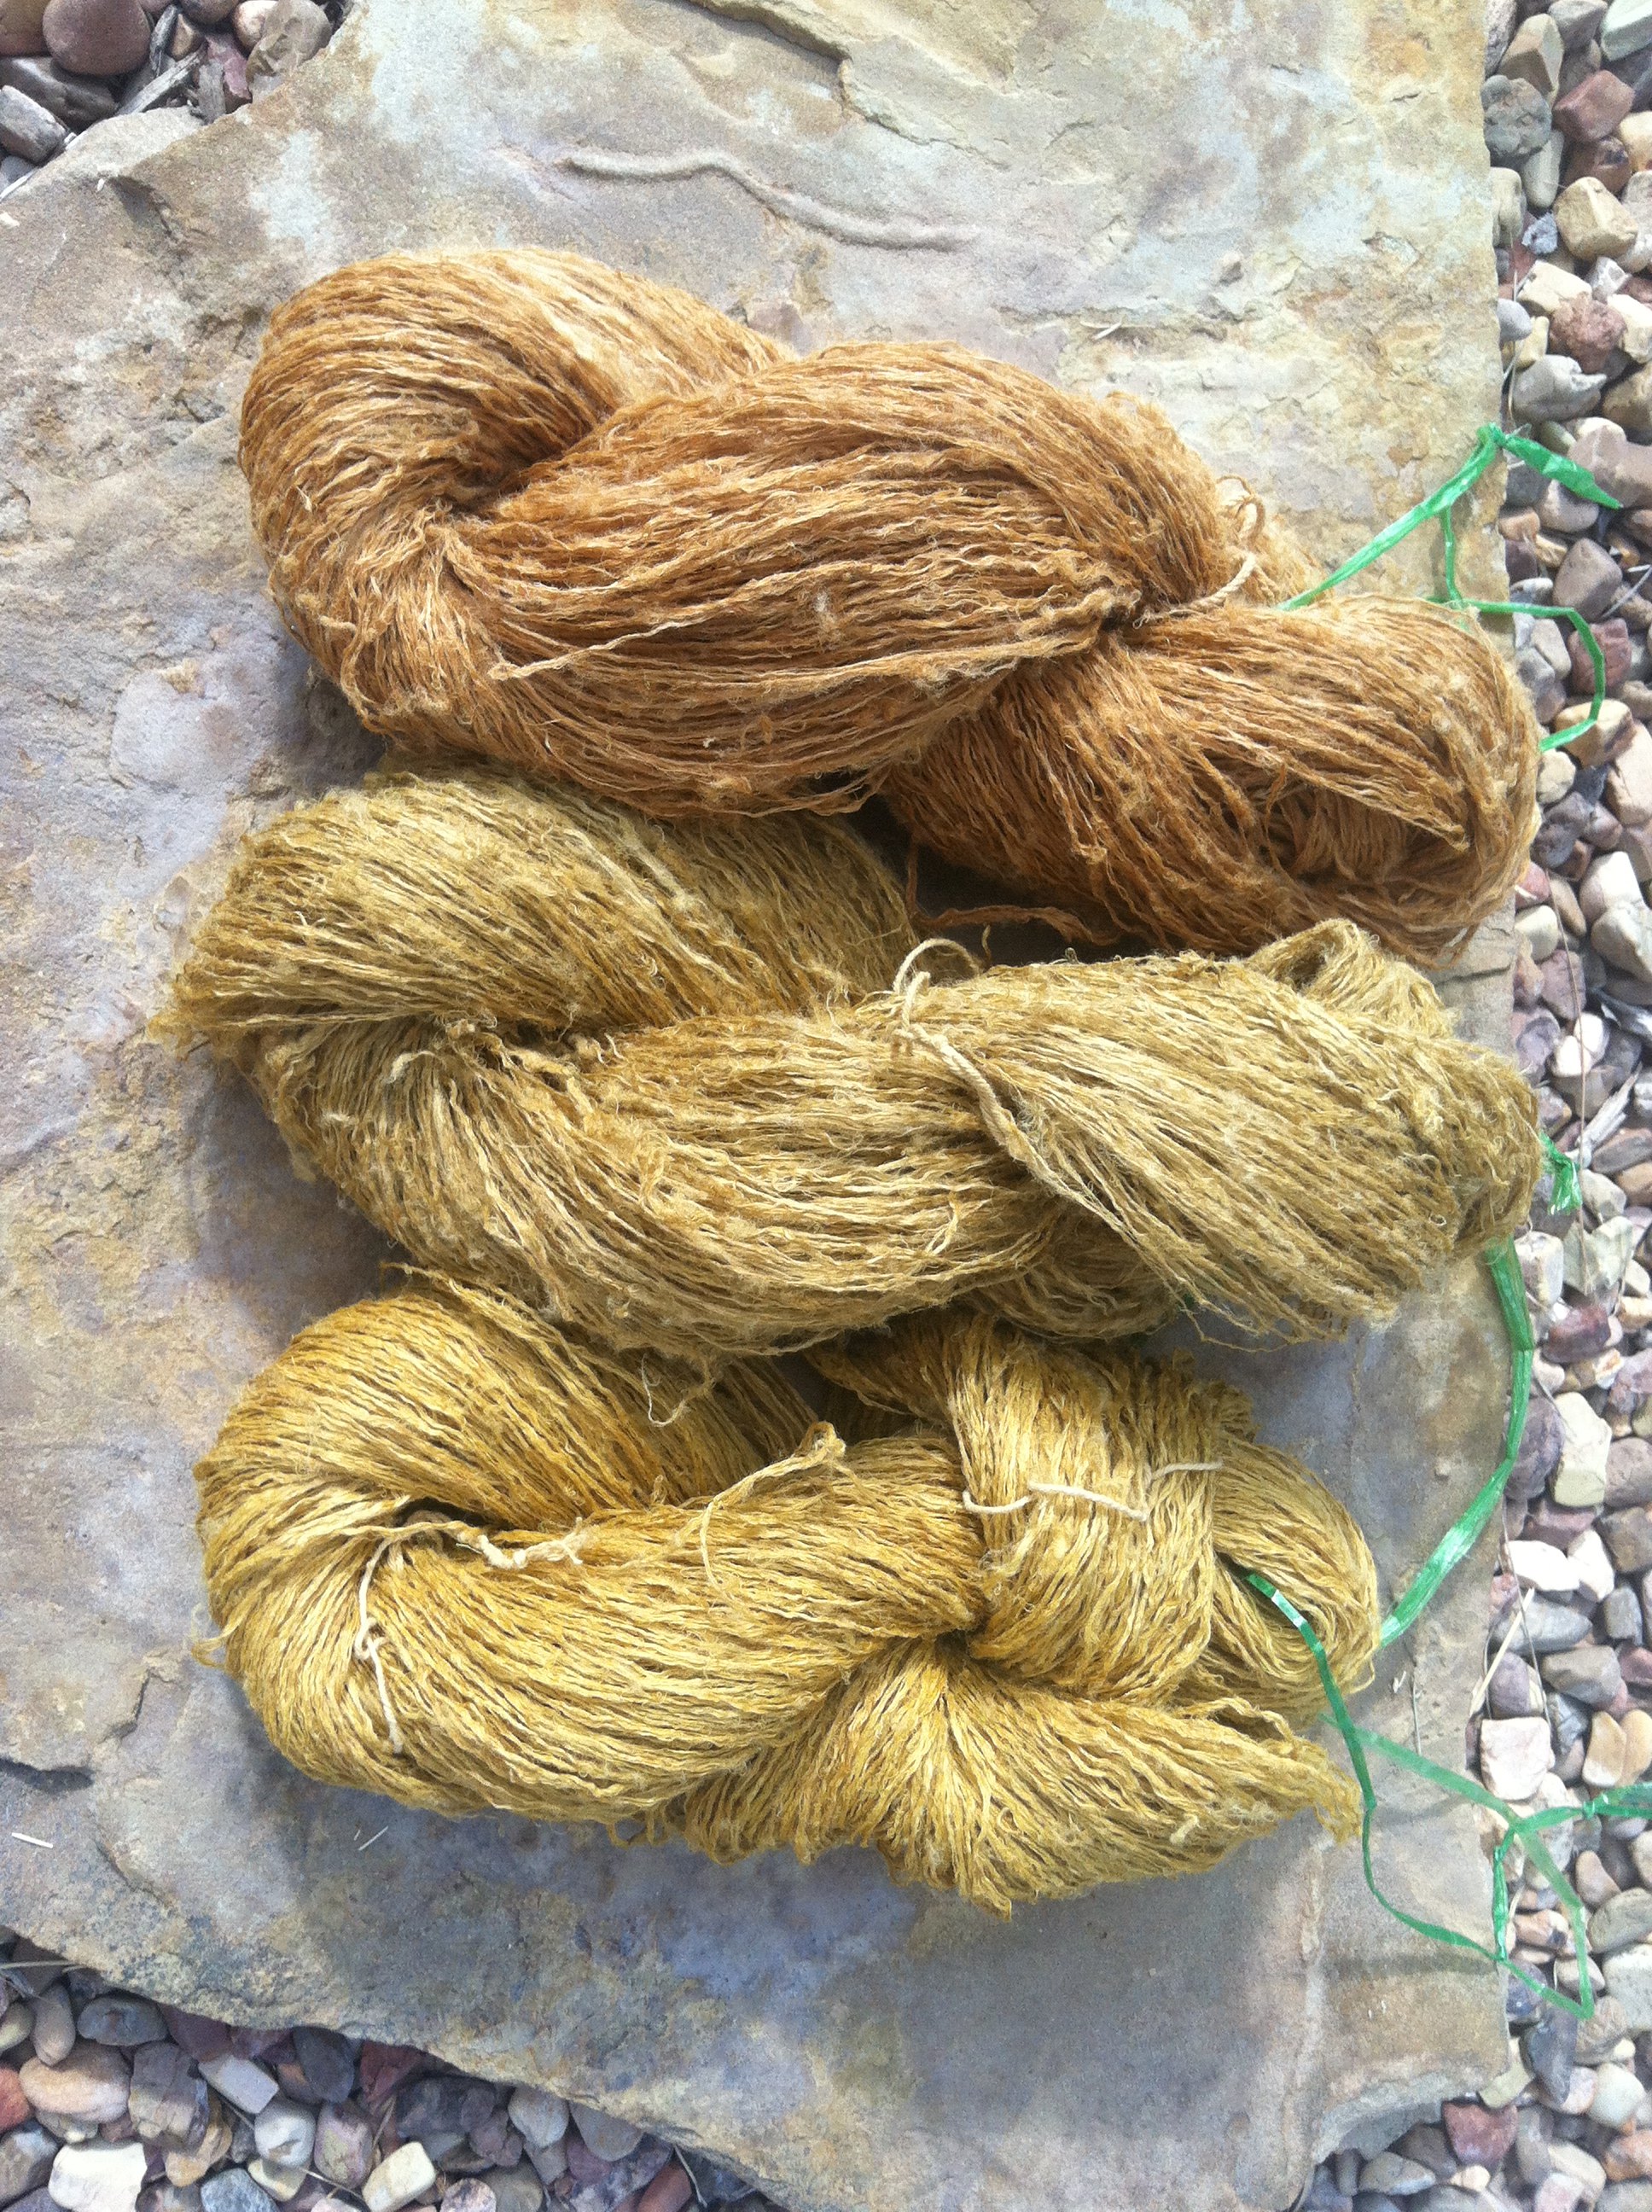
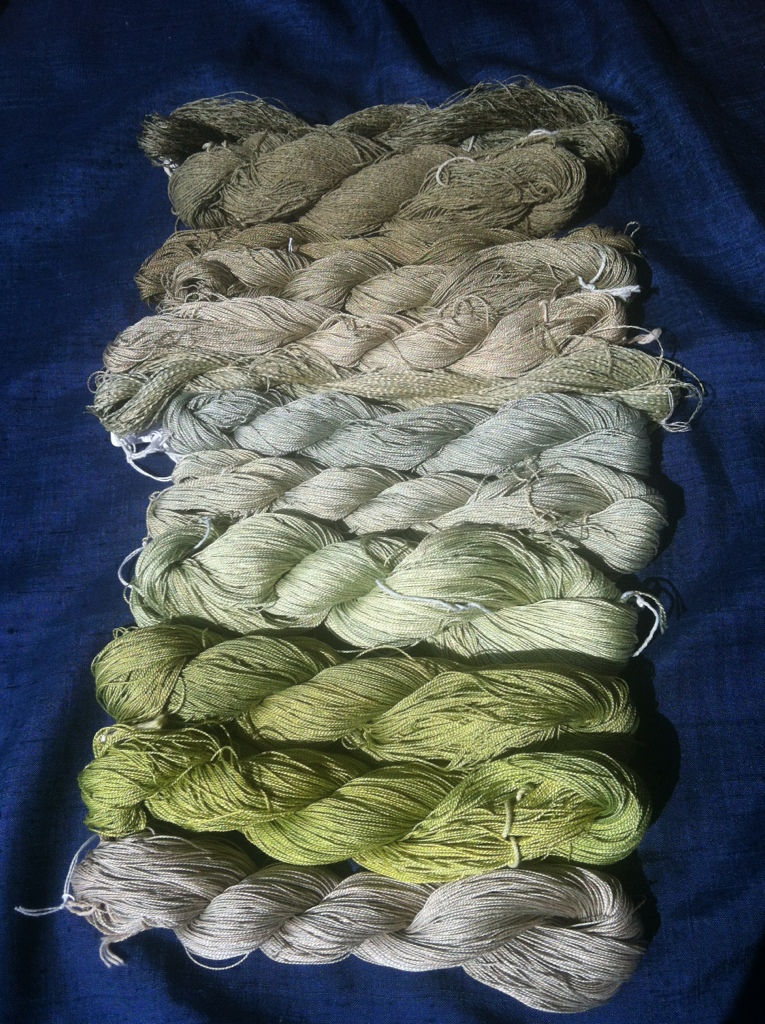
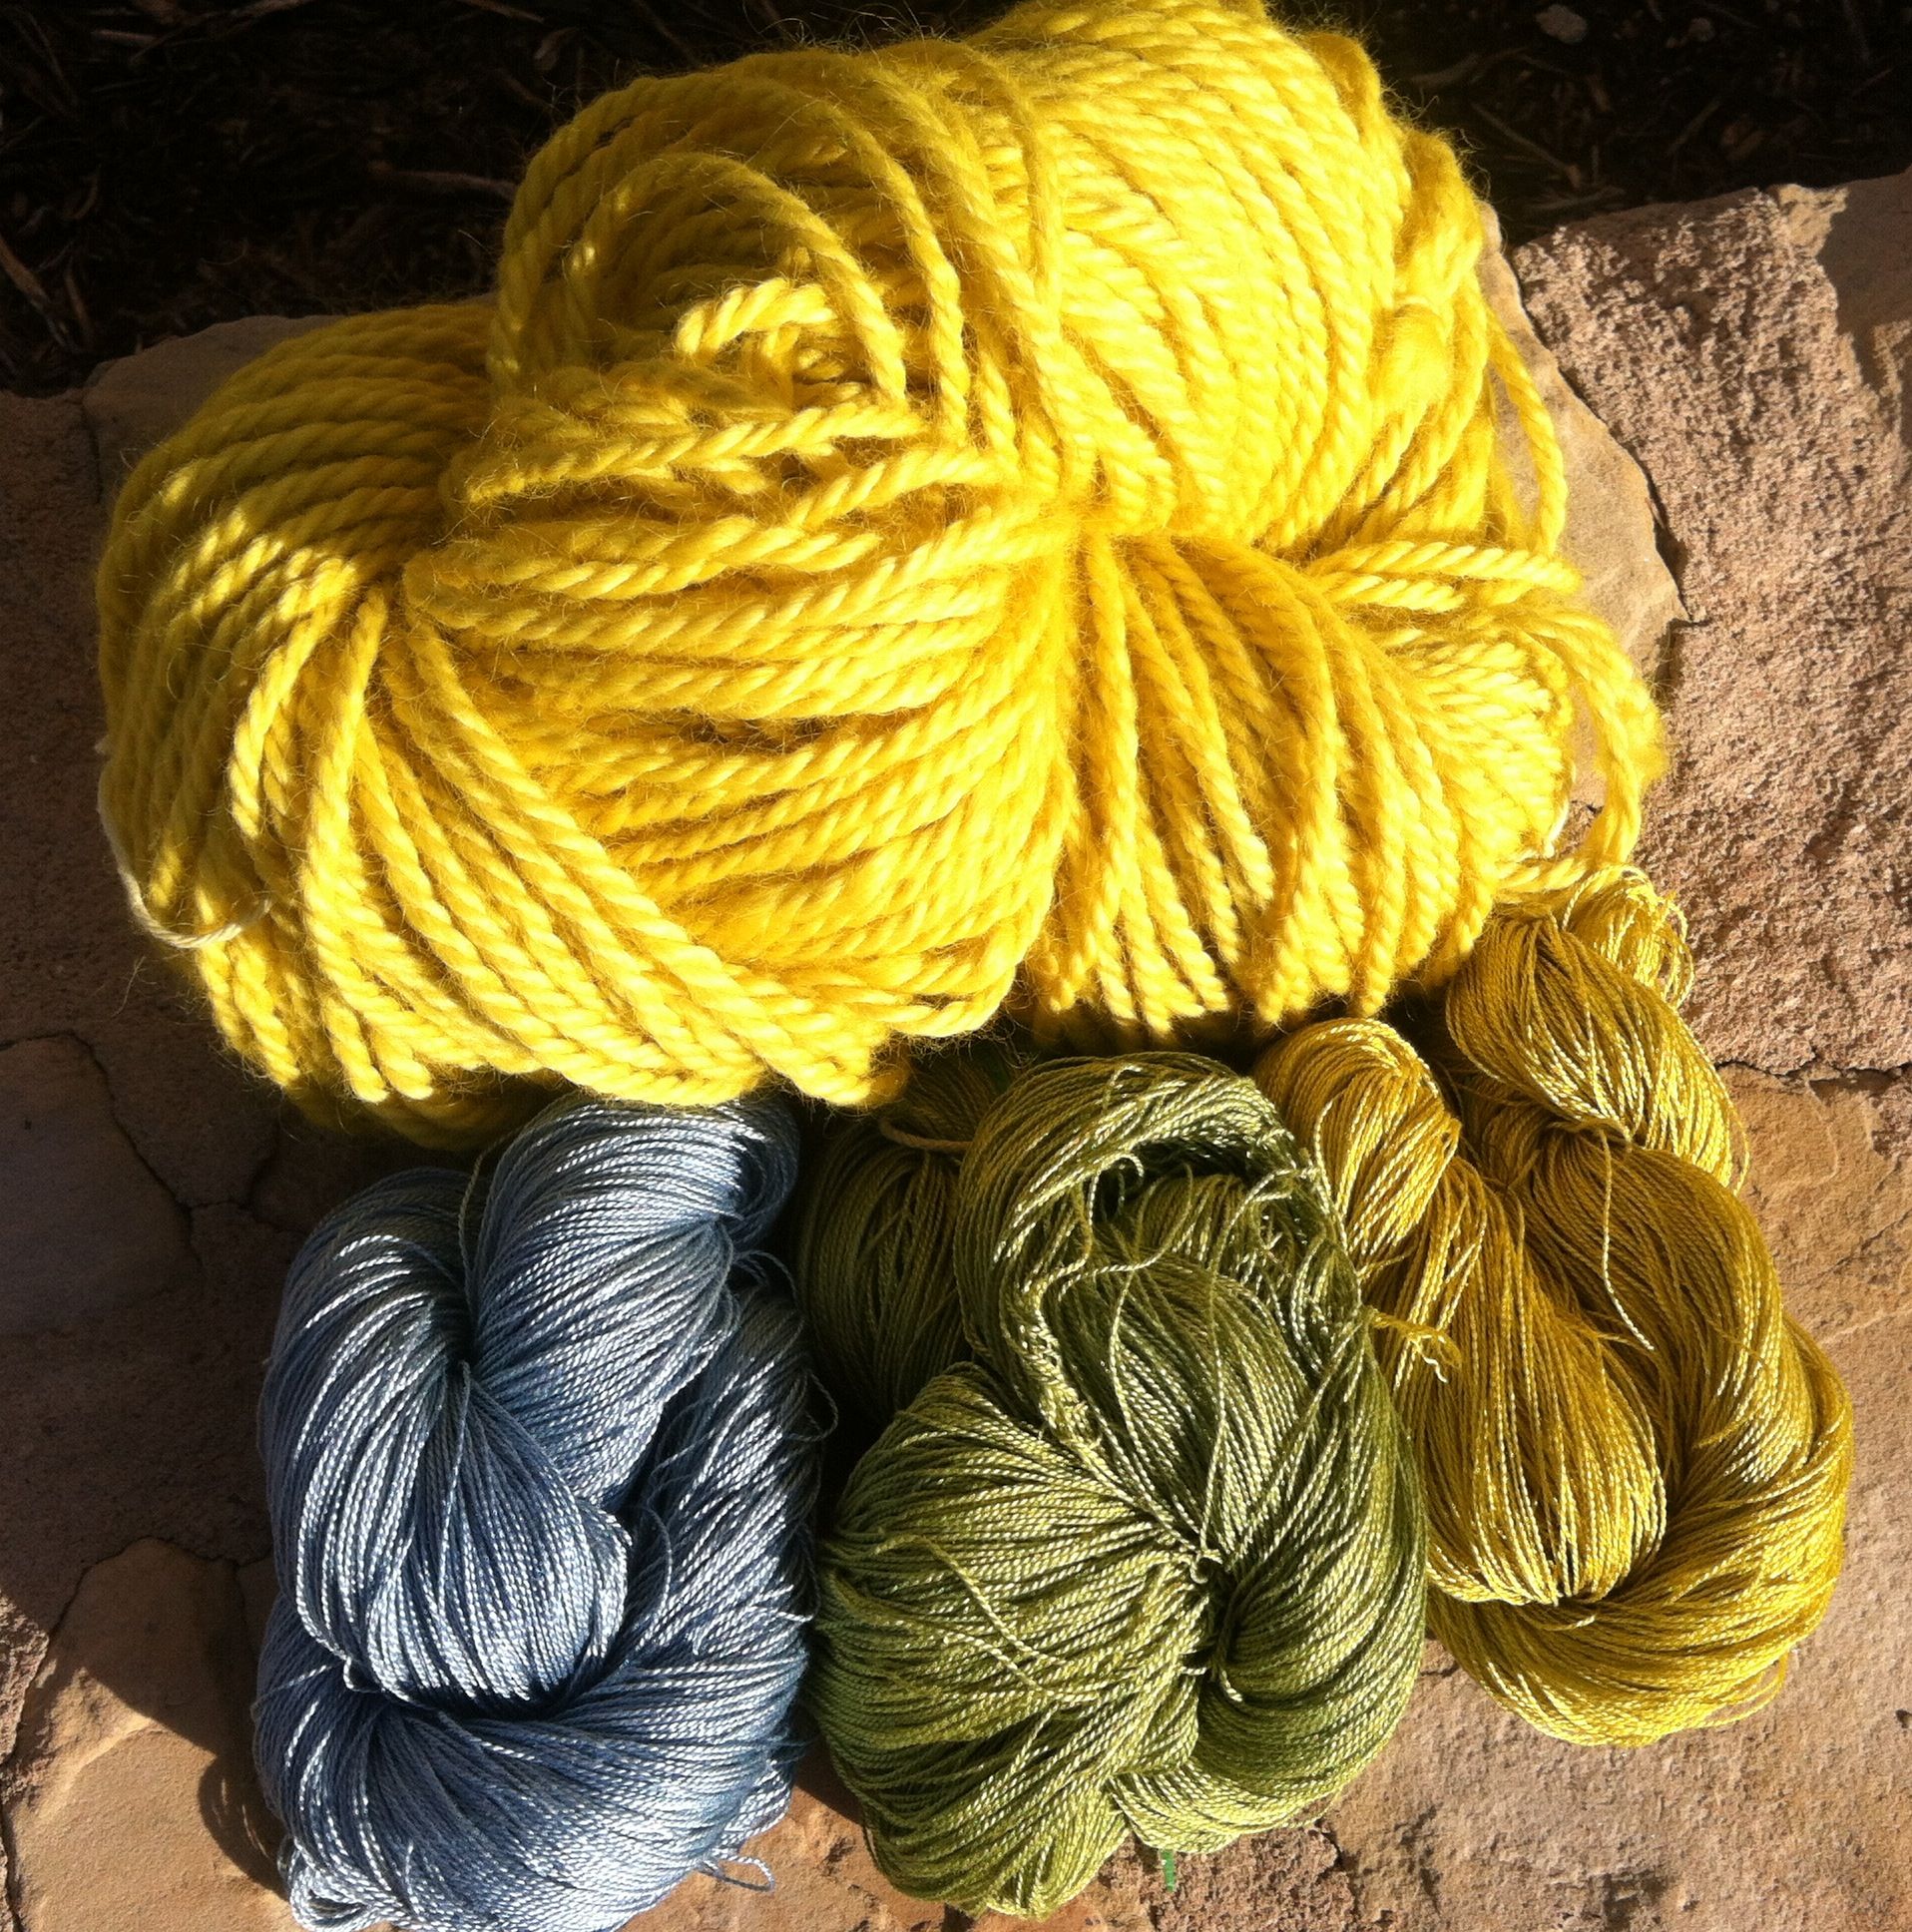
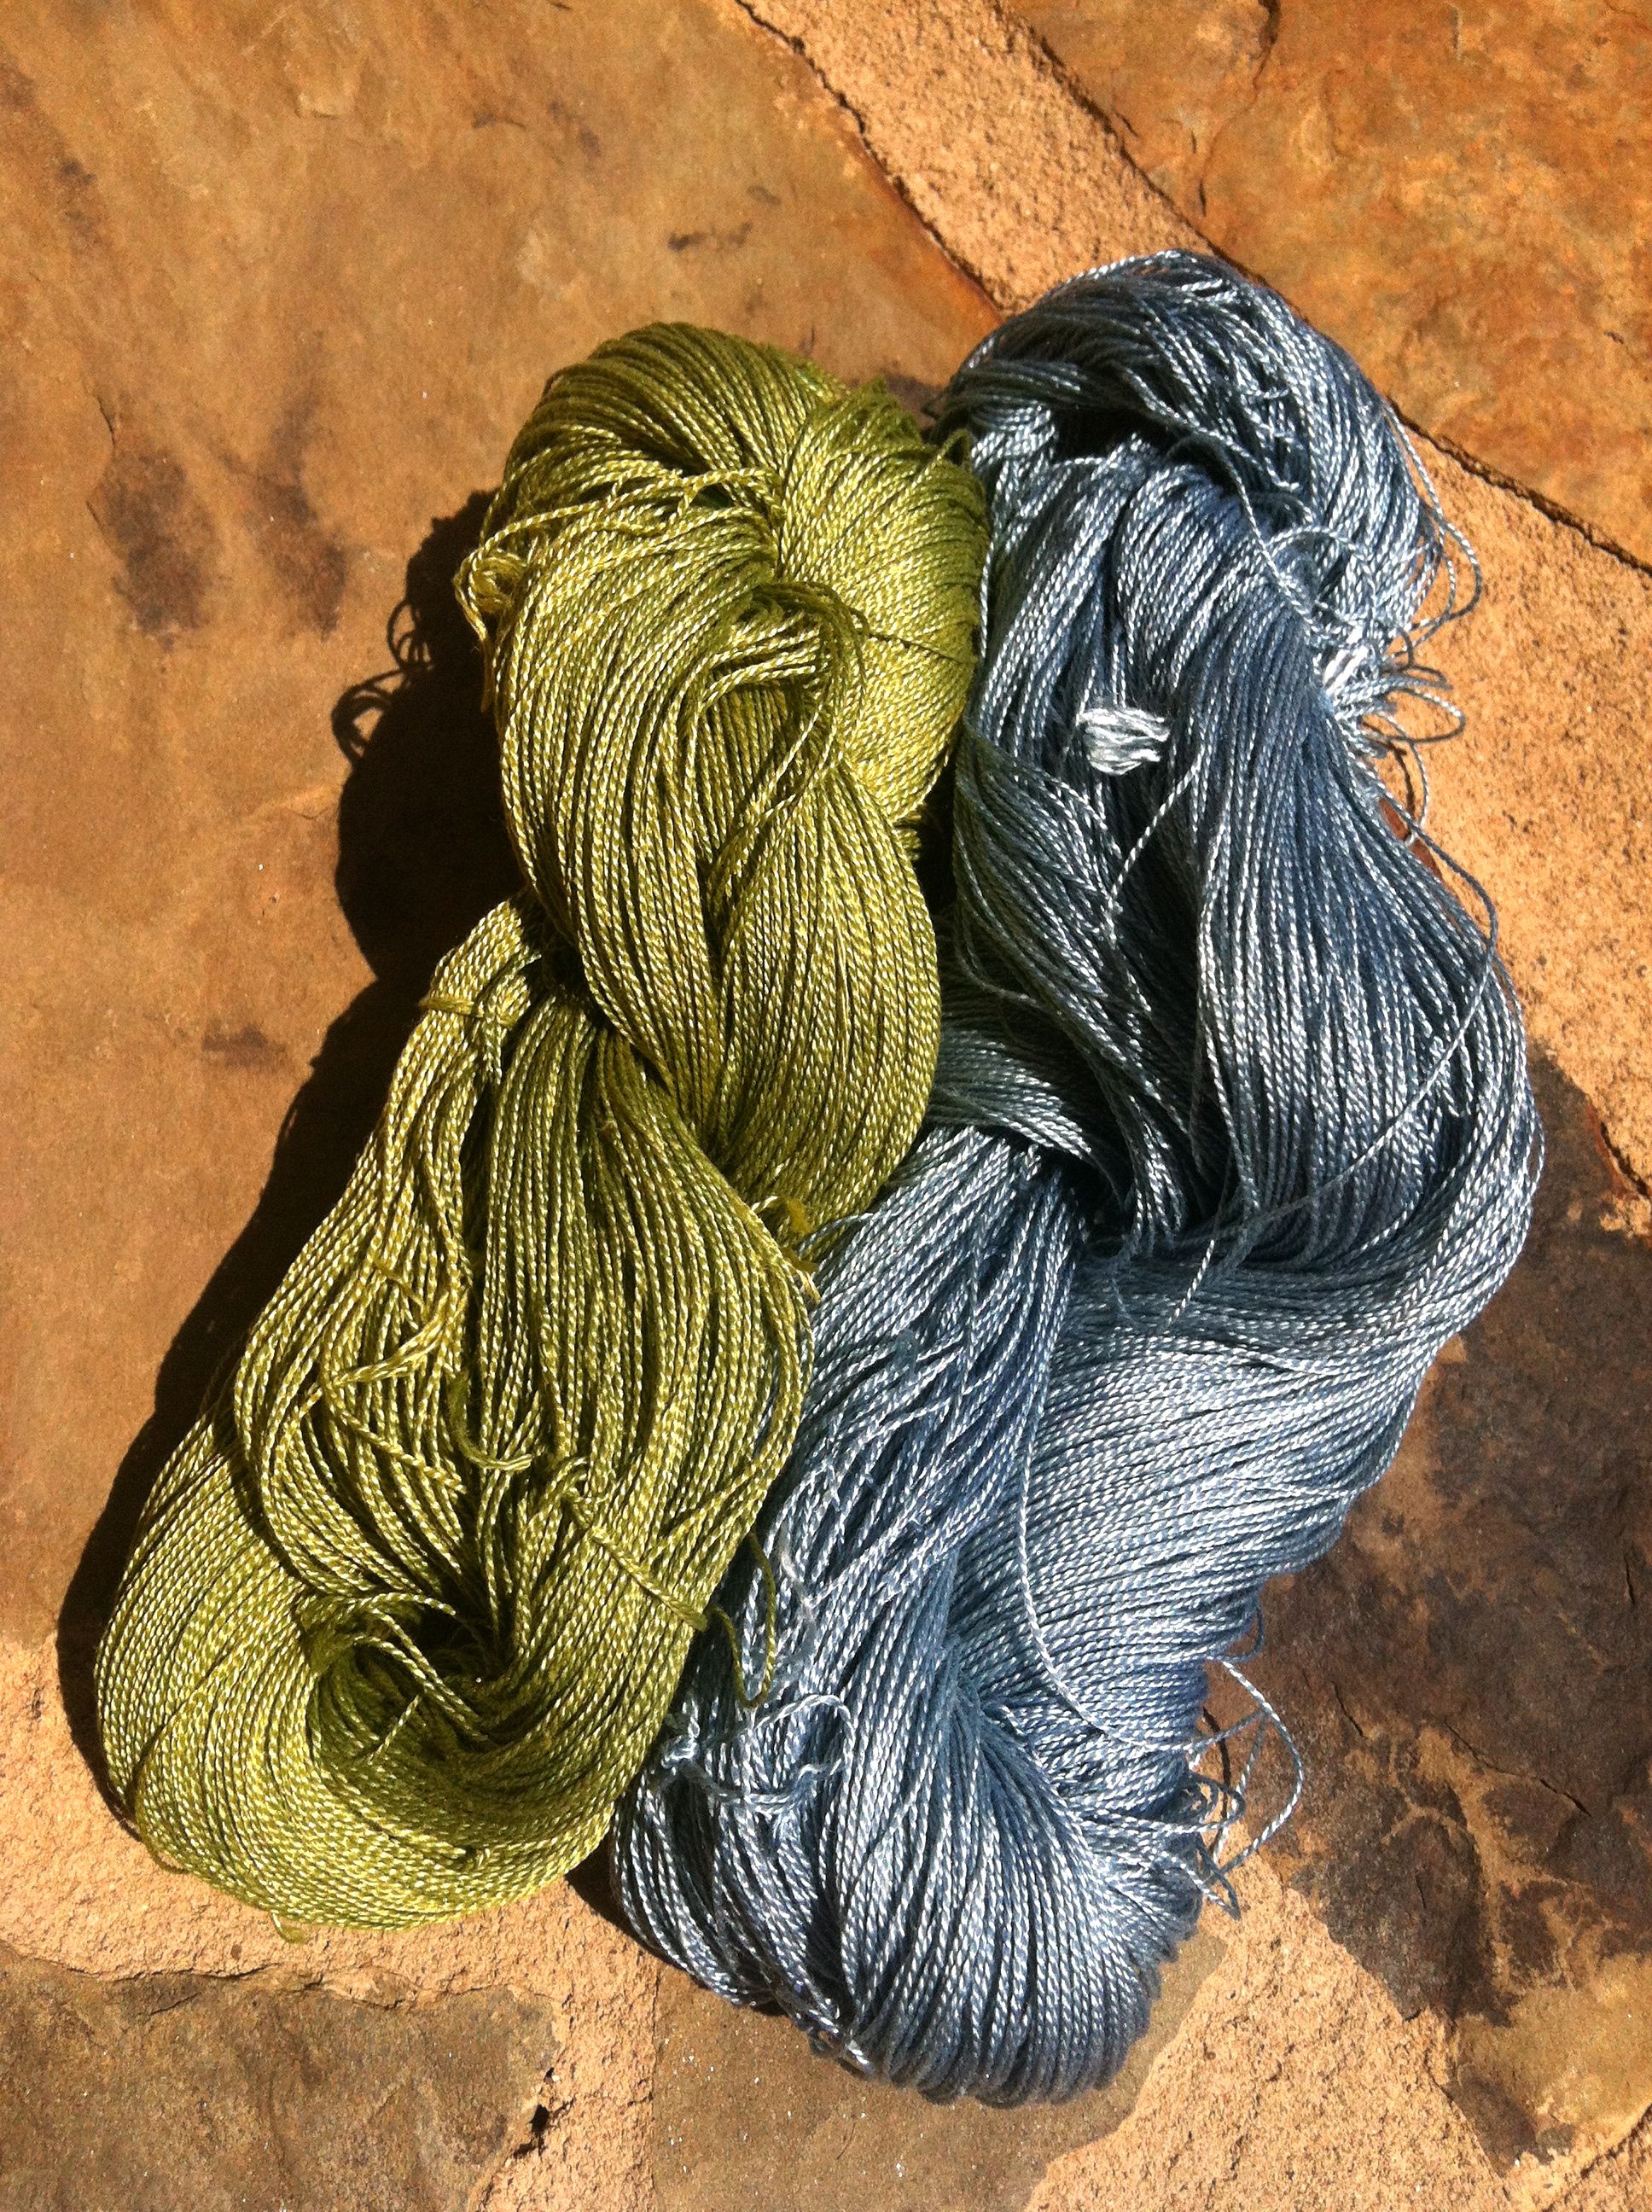
Cold Persimmon Dips with some Vintage varieties!

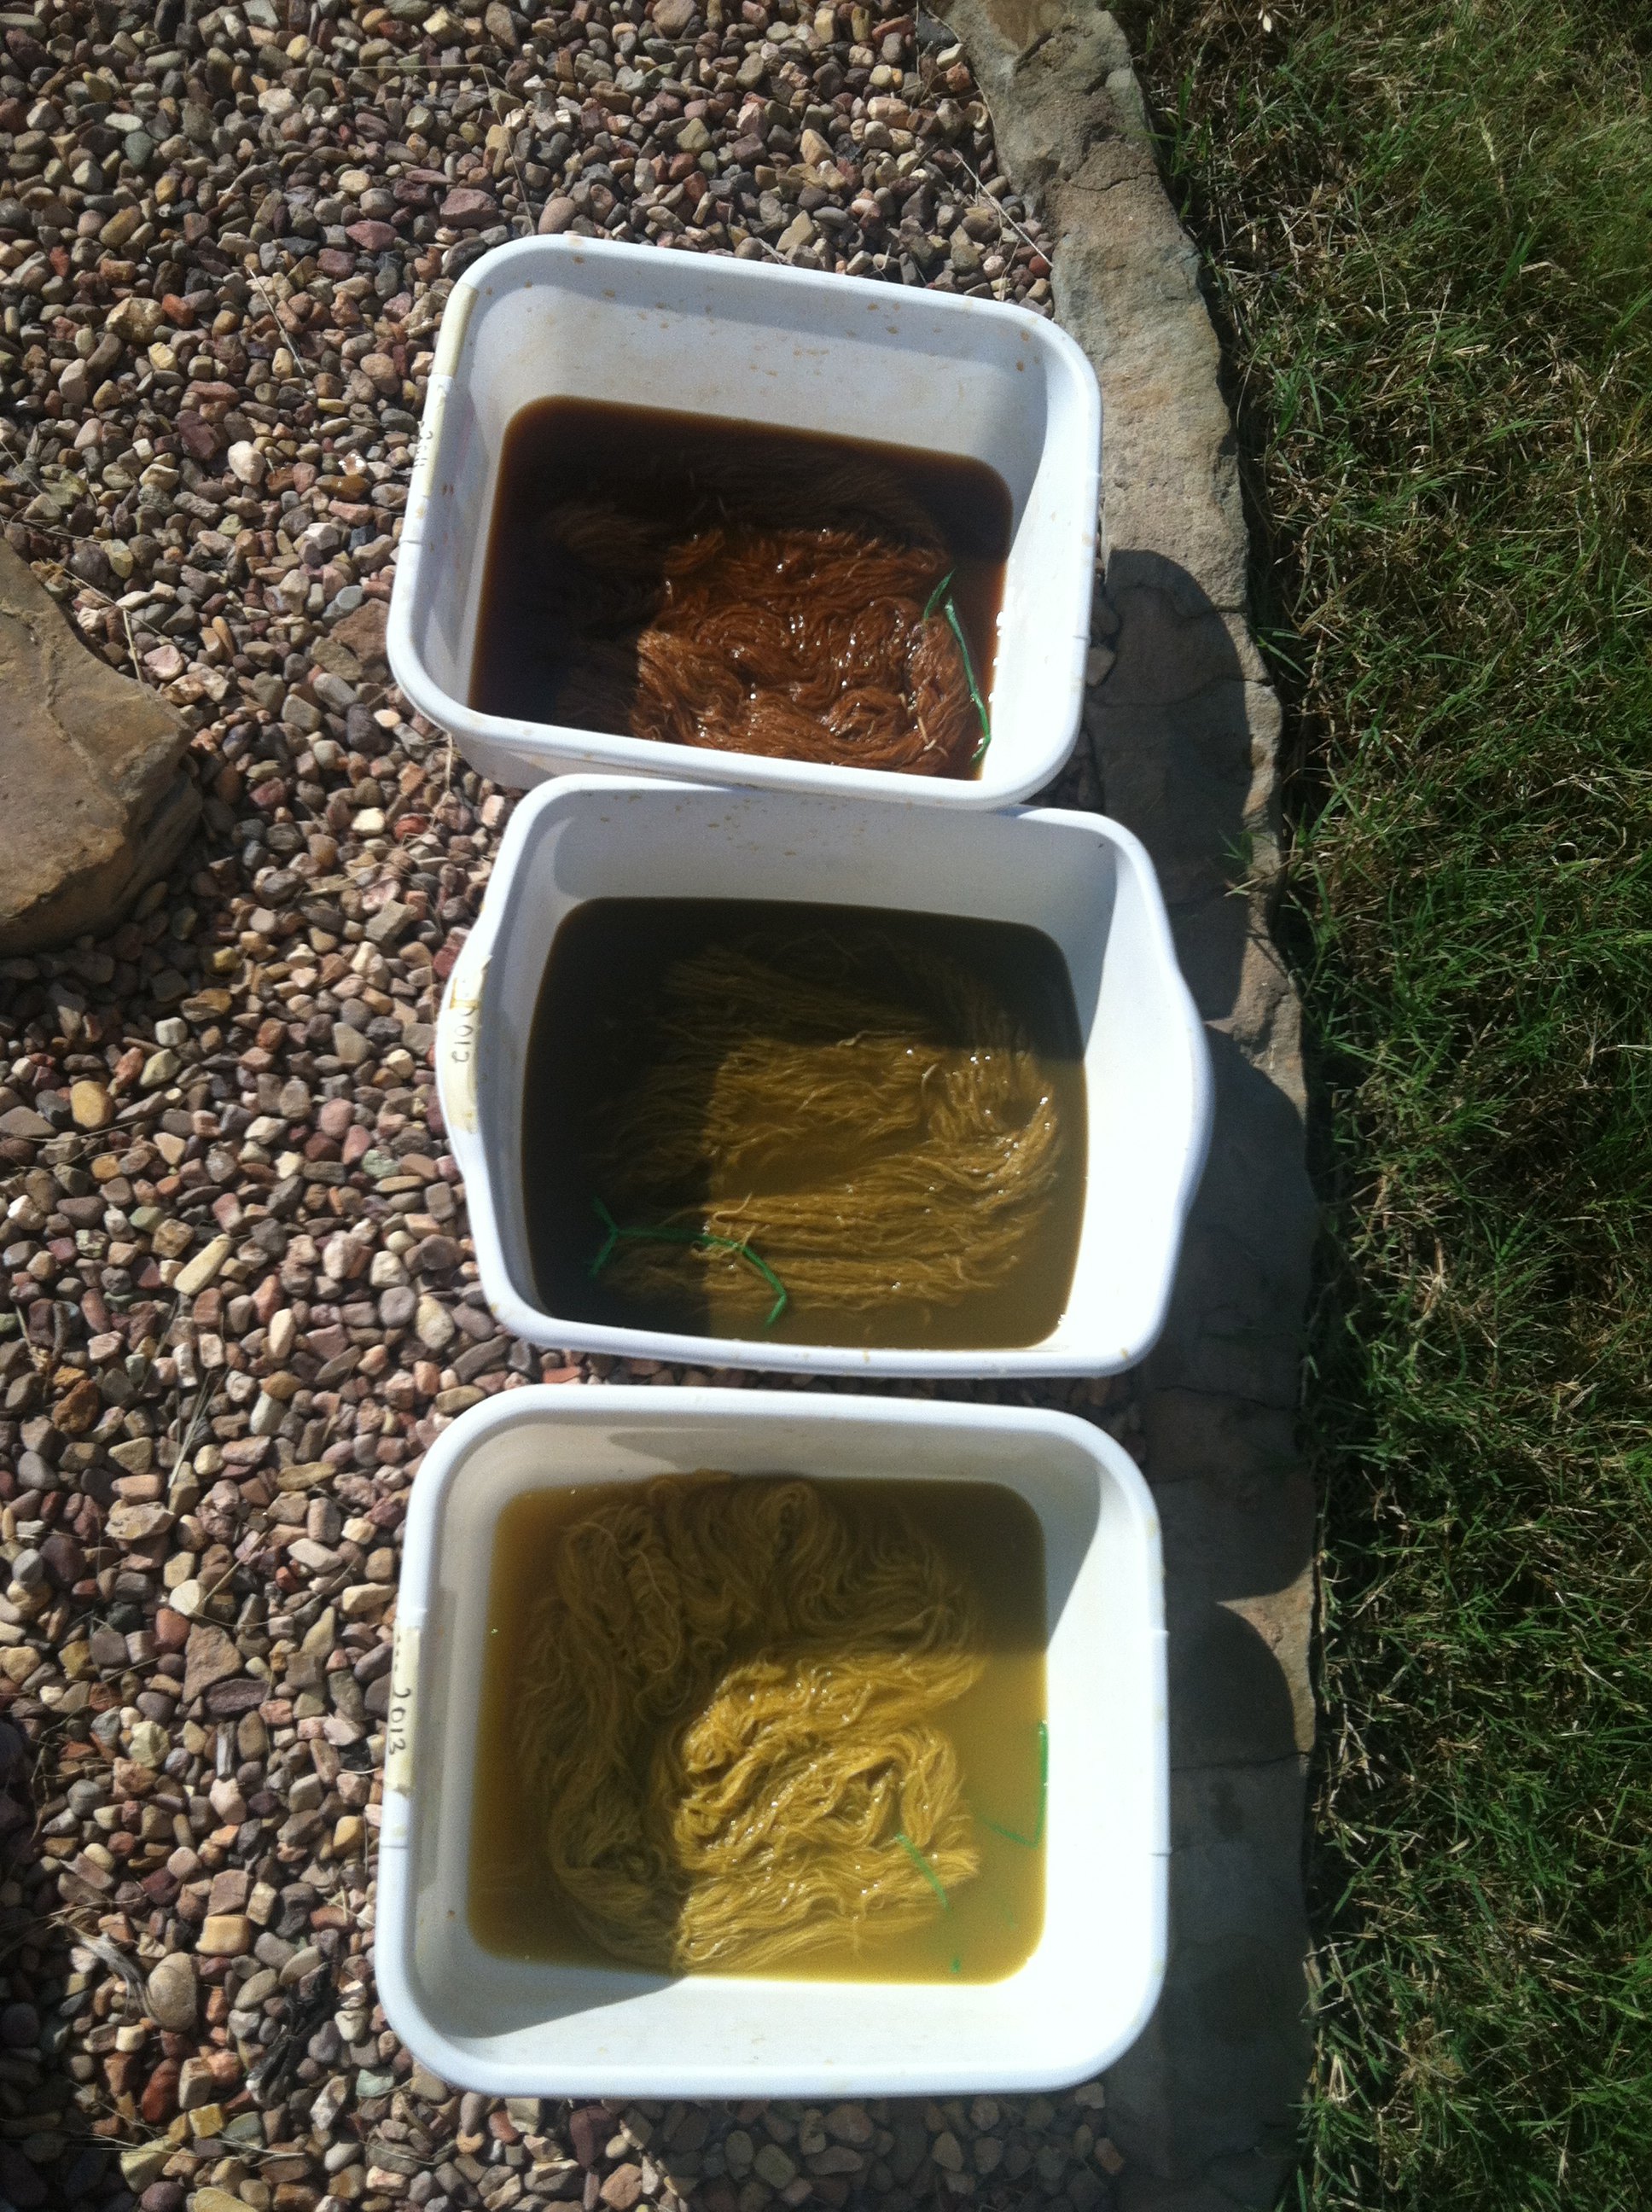
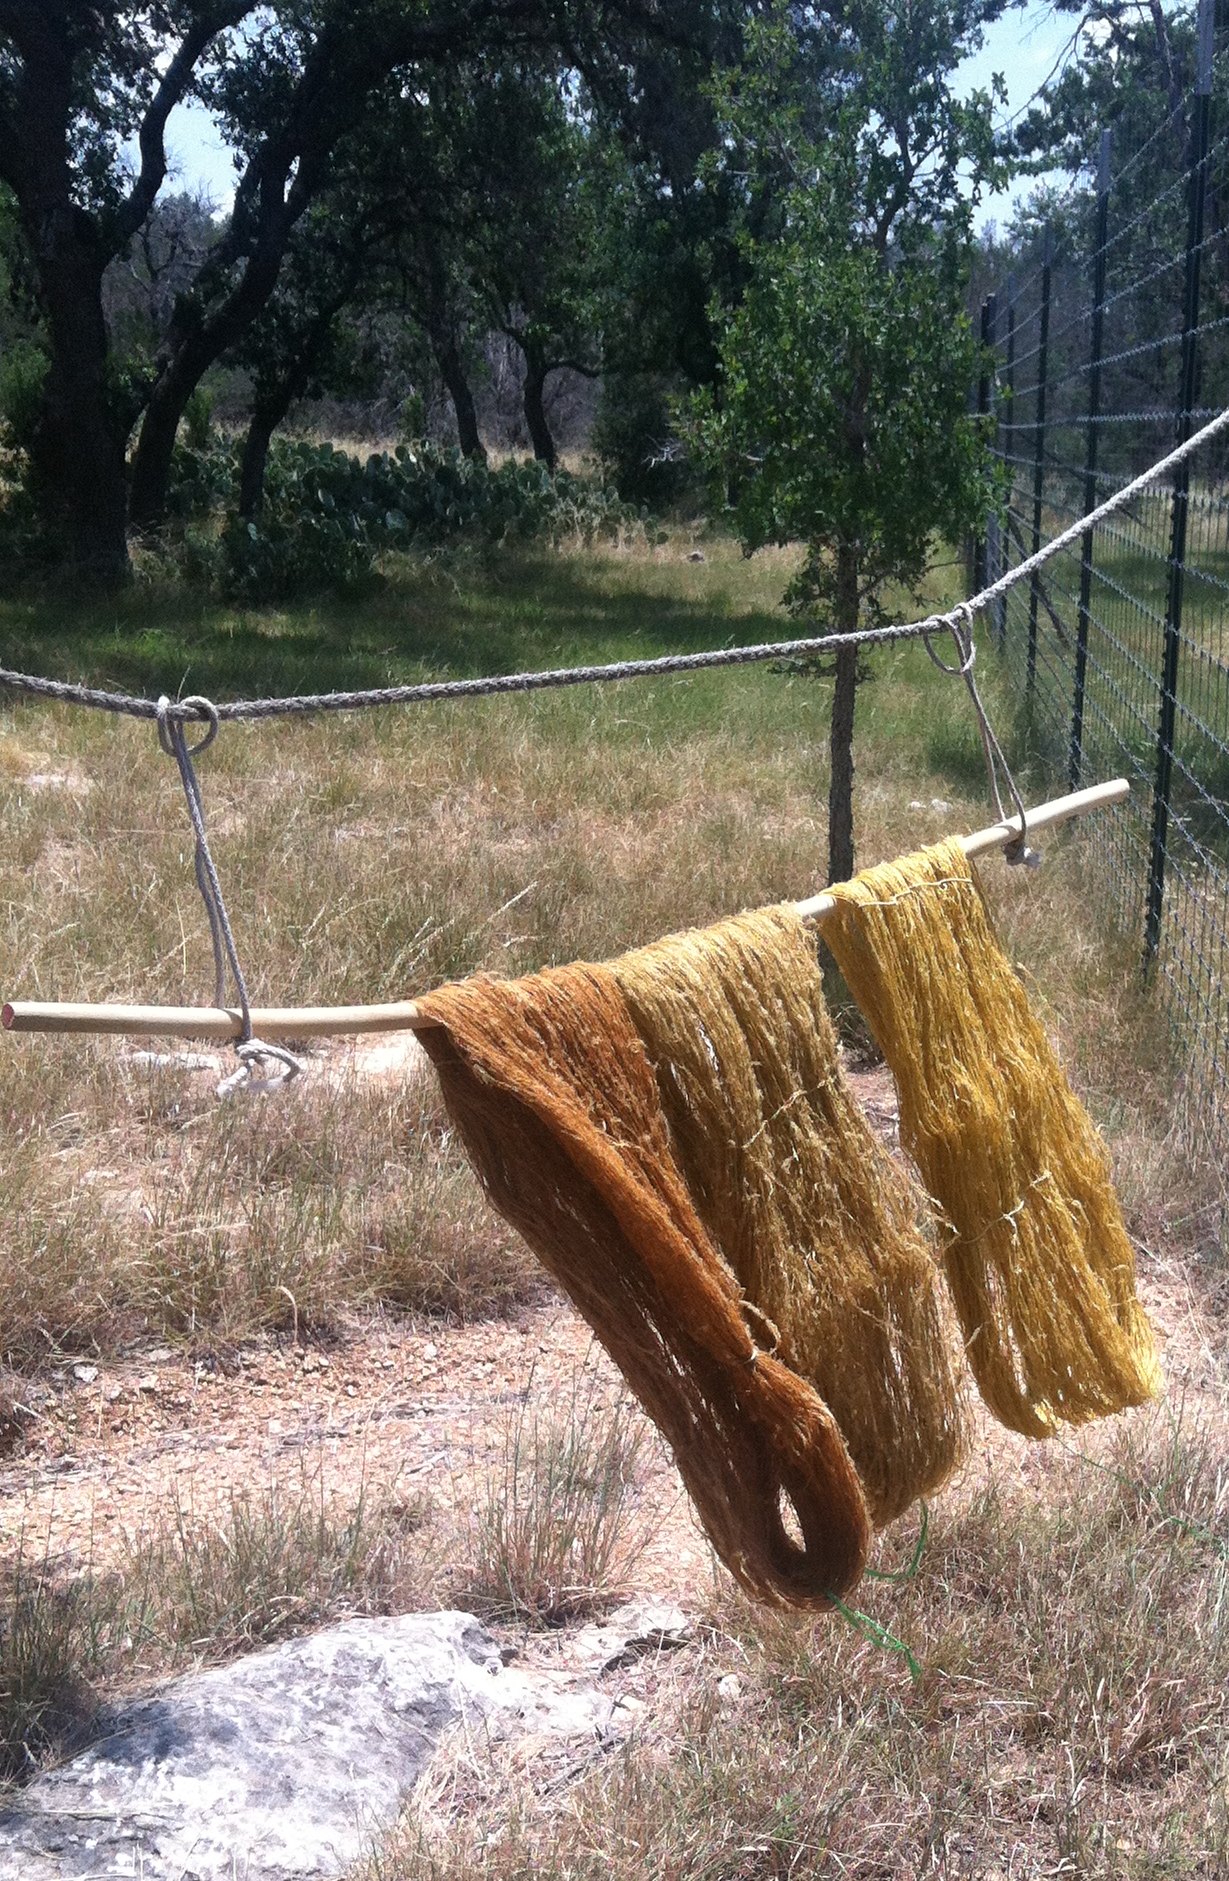
Next I had my aged persimmon juice, 2011, 2012 and this year’s 2013.  In my search for black I’ve been holding back some of the persimmon as I harvest it and set it aside to age and see if I can come up with a nice black.  I am very happy with the 2011 color.  There was not too much difference between 2012 and 2013 so I think a two year age is best.   It has deepened considerably and I still have set aside to see what another year does to the color.  The other colors I’ll probably over dye with the upcoming indigo harvest!

IMG_1374

Top 2011 vintage
Middle 2012 vintage
Bottom 2013 fresh dip

IMG_1378

Did 3 dips of 10 minutes with an hour of sun time in between each dip
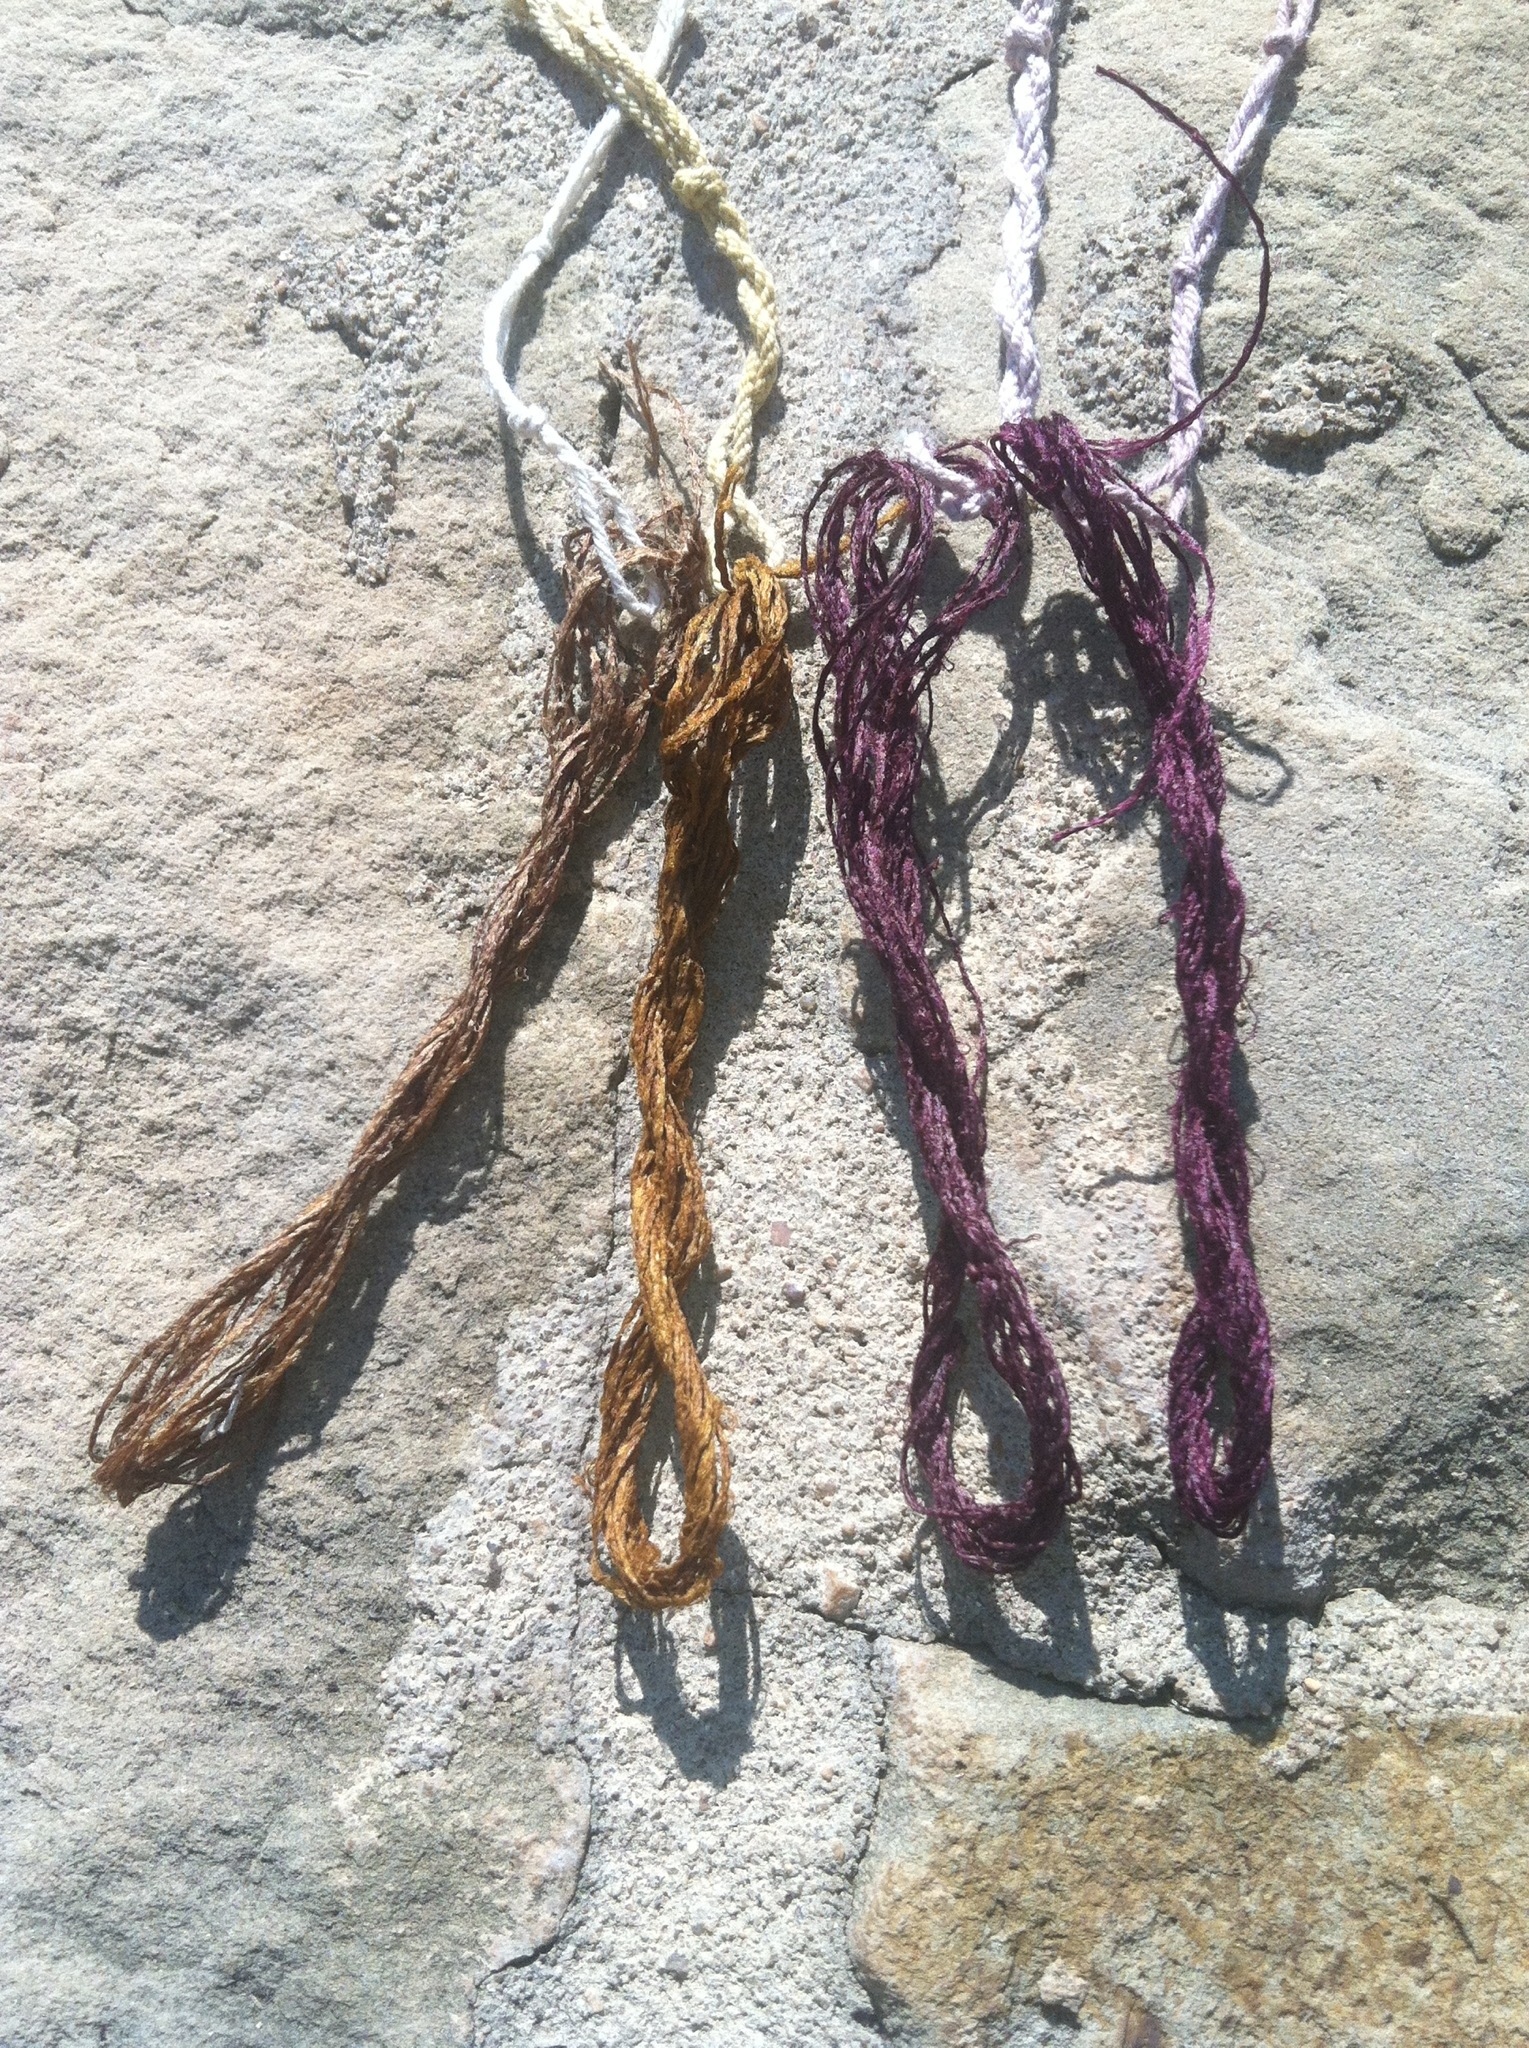
IMG_1388

Before Orvus wash

IMG_1396

After Orvus wash


Degumming silk

3 Jul

This morning is dedicated to degumming silk. It is a pleasant morning to listen to the kettle sing and watch the cat in his dream of catching hummingbirds.

I did a cold test of Habu’s Kinari N-63B, explained here:
http://www.habutextiles.com/N-64-KINARI

in oak gall, persimmon and two lichens before I degummed or mordanted the silk. The silk literally sucked in the dye without any treatment. Hmmmmm, something to consider in the future.

20130703-095742.jpg

After degumming the silk will make its way thru the mordant prep and finally the dye pot! Two skeins will make their way thru the cold process of persimmon dips and sun darkening. The second two will go thru the high alkaline lichen pot. We’ll see how it holds up. I have confidence it will!

20130703-100153.jpg
Later this afternoon my weld flowers have simmered and are waiting for a wool dip. We’ll see if I simmered enough for 8 ounces of wool!

20130703-100451.jpg

Weld & Shoulder progress

28 May

My weld and madder root are close to harvest, both for color and seeds. Below is a photo of the tiny weld blooms.

I did end up with shoulder surgery on May 8th. My bicep head tendon was partially torn and needed stitches and some shoulder spurs had to be removed. Fascinating! Both combined to create pain and slow me down on the dye front. I’m out of lifting action until Aug at least.

In the meantime I’m pursuing time at the loom with some light short term weaving and designing for some rugs. I’ll be ready to create once my arm recuperates !

But I’ll need to be very nice to my hubby so I can run this weld seed dye pot soon!

20130528-120939.jpg

Greens – over or under

2 Sep

Here are examples of over dyeing and under dyeing with indigo. As I experiment with agarita, weld, cota and persimmon yellows it is fascinating to see the impact of the order color is laid on a yarn as one goes for green. Here are the resulting greens from my valley. My camera might not have captured all the green tones but they are there!

20120901-223640.jpg

Now here are the different components. Where appropriate I have laid the yellow in the middle and placed the indigo overdyed above the yellow and the yellow over the indigo below the skein. It made quite a difference in green in how one does the color layers.

20120901-223948.jpg

Finally here is the persimmon series. In this case I used blender indigo over the cold persimmon dip. I like that color layering better than using persimmon over indigo. It is more pleasing to my eye. The different substrates or yarns also took the dyes in different depths and yielded different tones.

20120901-224423.jpg

All in all a successful color journey in figuring out greens available to me in my valley!

Long lost Weld returns after drought

1 Jul

I keep charts on where I plant seeds.  My garden area is only 4 years old.  The first two years were lost to deer before we fenced the area.  The past two years have suffered from severe drought.  So, sometimes seeds just don’t perform, at all.  The weld was a perfect example.  They were planted on the west side of the house, under an awning but still, the west side in the Texas Hill country is HOT.   So I gave them up as casualties to the heat.

As we worked the garden terraces I realized one irrigation line wasn’t working correctly.  Once that was fixed, to my surprise, the weld made an appearance!  Sweet, they were just thirsty!

I listened to the folks who said don’t bother with the large stalks, not enough color in them to make it worth it and set the stalks aside.  However, once they dried they are just right for weaving pirns, hollow and easy to cut.  More to come on that!

So here are the results of my first year of weld using the flower and seed portion.  I harvested and dyed with the seeds fresh around June 1st before the heat cranked up.  We were also battling katydid infestation and it was apparent I was going to lose the leaves if I waited much longer.  I have dried the leaves and the small leaf stalks and have set them aside to try later.  I could not resist trying one of my Japanese Indigo blue skeins in the weld.  The results was a lovely green.  It is interesting to note that the wool, the first dye bath, was a vibrant yellow.  The silk, which followed the wool, was a slightly less vibrant yellow, still nice but not as clear.  I am curious when I use the leaves if I will get the same difference, BUT the silk will go first in the dye bath on the next round.

Image

Weld stalks

23 Jun

20120623-122452.jpg

I have just figured out that the large weld stalks one discards are hollow! Perfect size for weaving pirns. Time to experiment with the dried stalks and my Lao silk shuttles.

%d bloggers like this: