Archive | japanese indigo RSS feed for this section

Indigo Yield Testing in Texas

5 Jul

Note, SORRY guys, I accidentally deleted my blog post, my bad, let’s try this again.The 2020 season was time for experimenting with wet extraction of my Indigofera Suffruticosa and my Japanese Indigo.  Prior years, due to our Texas heat and extreme weather, it was easier to pick the leaves and dry them for storage while I became acquainted with growing the plant itself in the Texas Hill country.  You gotta keep the plant alive to reach the indigo cycle.

Let me just say for the record that I am extremely glad that Stony Creek Colors and Botanical Colors are vendors for indigo pigment.  I enjoy growing the indigo varieties, but for my 110 gallon indigo vat I will never grow enough indigo to fill that vat adequately to obtain dark color for my paste resist work.  However, I do small batches with my home grown indigo when I do stitch shibori or just need to overdye yarn skeins for weaving.  Both methods, buying or growing are viable depending on your vat size or intent.

Below is my indigo pigment chart provided by Stony Creek Colors after analyzing my home grown pigment content, comparing vinegar wash versus no wash, and a comparison of Japanese Indigo versus Indigofera Suffruticosa.  I submitted a total of 13 one gram samples over the season to test for pigment content.  In other words, I process 13 batches over the growing season, kept notes on leaf weight, washing and kept them separate for testing.

Each test batch of dried pigment was 1 gram more or less. Summer Arrowood, Senior Research Chemist, was most patient in explaining their testing process. I had a question on the above chart on the last 2 columns on the right of the chart I received with my above testing. This is what I asked. “What is difference on your table between Indigo Content of Solids vs Overall % indigo of sample. Are you spinning out moisture from my sample or drying it further? Is the Overall % more indicative of indigo contained? I am having trouble differentiating between the phrases since they are referring to the same sample.”

Response from Summer Arrowood, Senior Research Chemist, “Your samples were quite moist, as much as 43% water in the case of #12.  In order for our analysis to work the samples must be very dry.  I dried the entire sample on a moisture balance and then took the dry material and analyzed it for indigo content.  The ‘Indigo content of solids’ refers to this analysis. To get the ‘overall % indigo’, I used the moisture content and the indigo purity to calculate the % indigo of the sample as you sent it, including the water mass.”

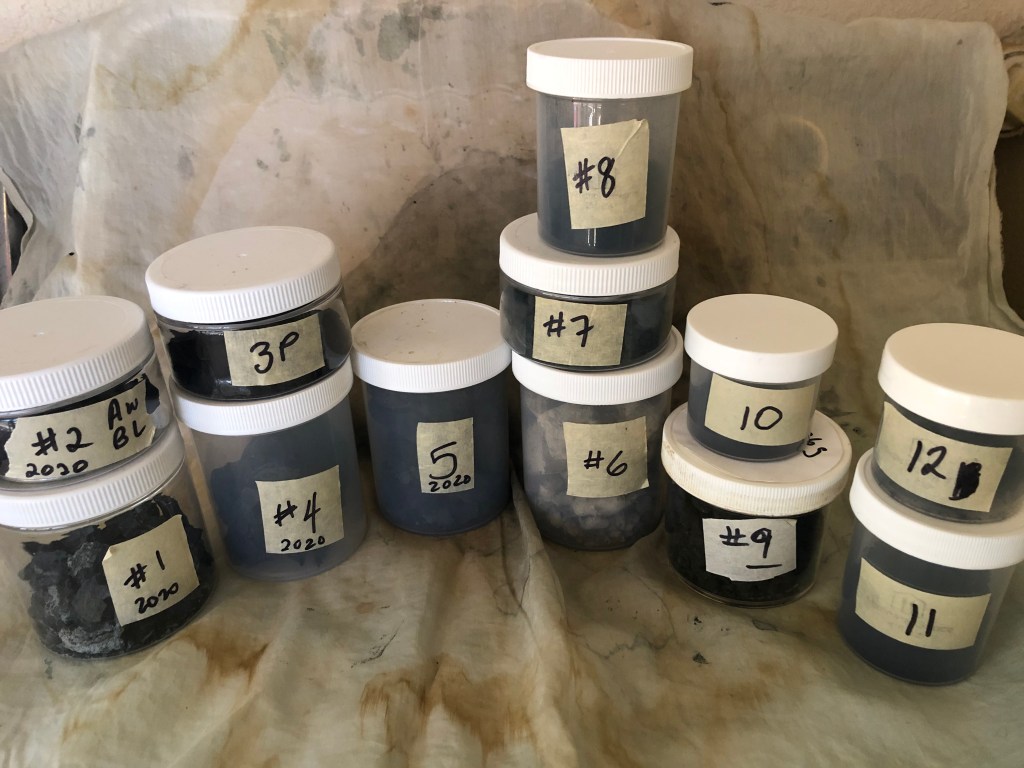
My big surprise was the LATER in the season that I harvested my Indigofera Suffruticosa the HIGHER my indigo content went.  I expected the indigo content to be much higher in July and August with the sun intensity, instead, October and November growth gave the greater yield in the Texas Hill country.  This was in two – four year old shrubs. My field notes chart combined with the Stony Creek pigment report sorted by yield is below. Of course there are other notes on leaf weight/sun/process but this is an abbreviated compilation. 

I’ve added my growing notes in the chart below in addition to the testing performed by Stony Creek Colors on my samples submitted. Chart is sorted by Indigo per Sample yield but I’ve included data to show you the seasonal cycle.    The late season results were surprising. I was happy with the seasonal yield although it does include 4 batches that did not get washed to remove the calcium carbonate. I included the weight of pigment before washing and after washing. Towards the end of the season I had committed to washing with vinegar on all my batches and felt what I had measured earlier in the season gave me info I needed to see the difference. I calculated the the reduction in volume stored was about 80-90%.

I feel that reduction in volume was sufficient to justify the extra time washing pigment.As indicated in the indigotin chart, my Japanese Indigo did not perform well at all.  I do not know why, but I suspect the intense sun here in central Texas had an impact on indigotin production.  Even though I use a sunshade that does not seem to help the indigo production in the Japanese Indigo.   Even looking at early season harvest my indigo levels were not high.

Details for those who want to know more….

In summary, I did only wet extraction in 2020, washed my pigment and compared seasonal extracts, washed vs not washed pigment %’s. Stony Creek Colors was very helpful in explaining their testing methods and indigo content % measurements to me.  Having been educated by the grower/dyers in the FaceBook Indigo Pigment Extraction group I made the plunge. I am a measuring person, the type that likes to have an idea of what effort I am putting in and what I am getting out of it.  My observation is that dried leaves were giving me good color on a small scale but exactly how much pigment are the dried leaves giving me?  Wet extraction seemed to be the best way to measure the picked leaves, render them down to pigment and get a measure from that effort.  I am a measuring person, so I have records of my leaf weight before I dry them to compare to the wet extraction results.  I am also a frugal and “older” indigo farmer.  I only want to pick as much as my limited equipment could handle and that I could lift.  I had a good idea what I could pick, strip and lift in the AM and set out in my 5 gallon buckets to soak in the sun for a couple of days for the wet extraction.

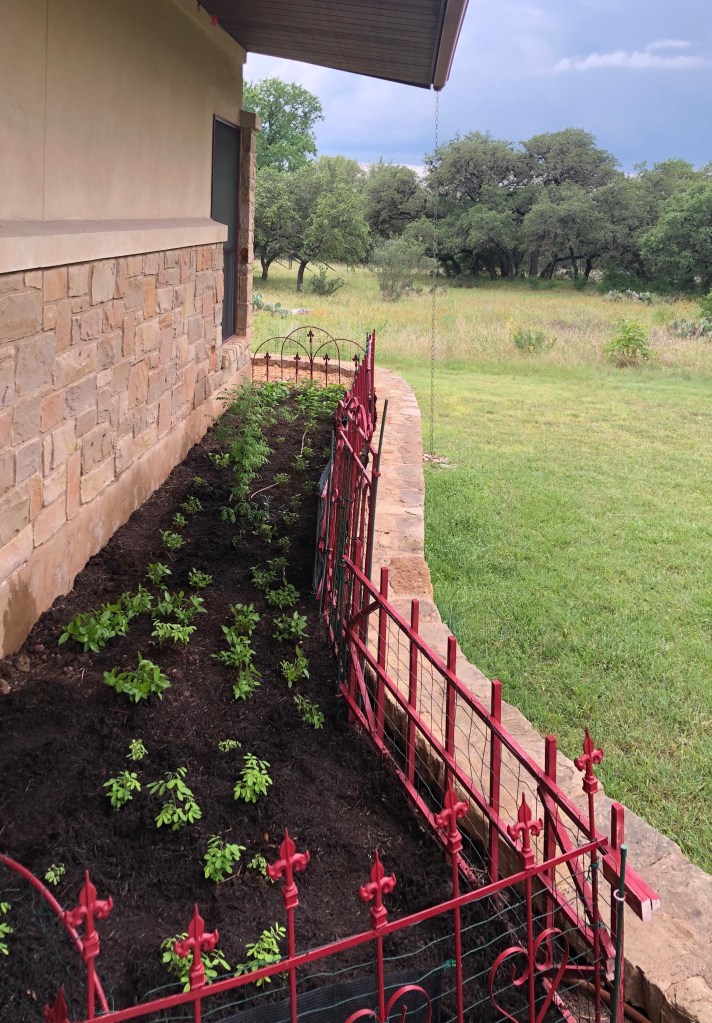
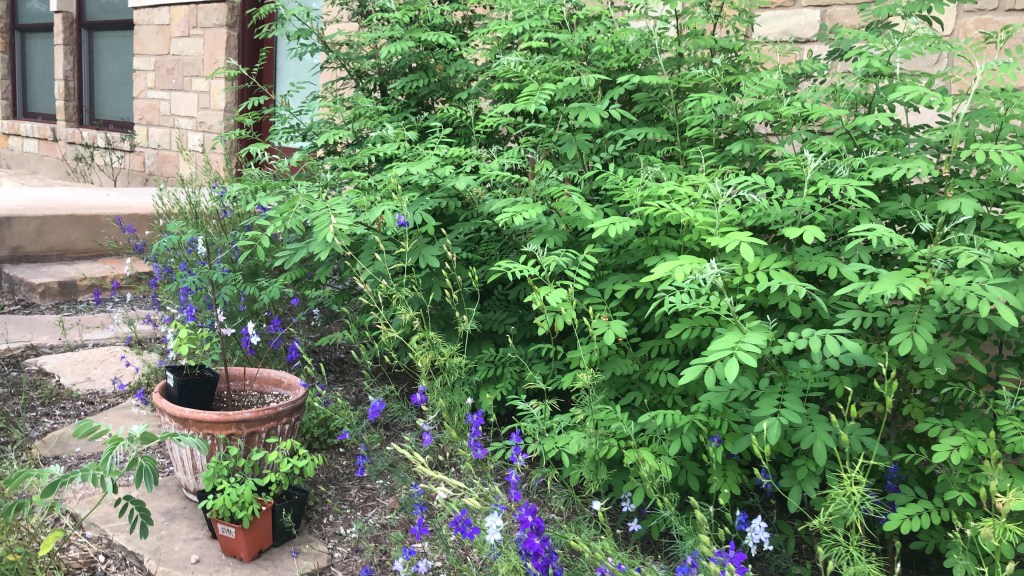
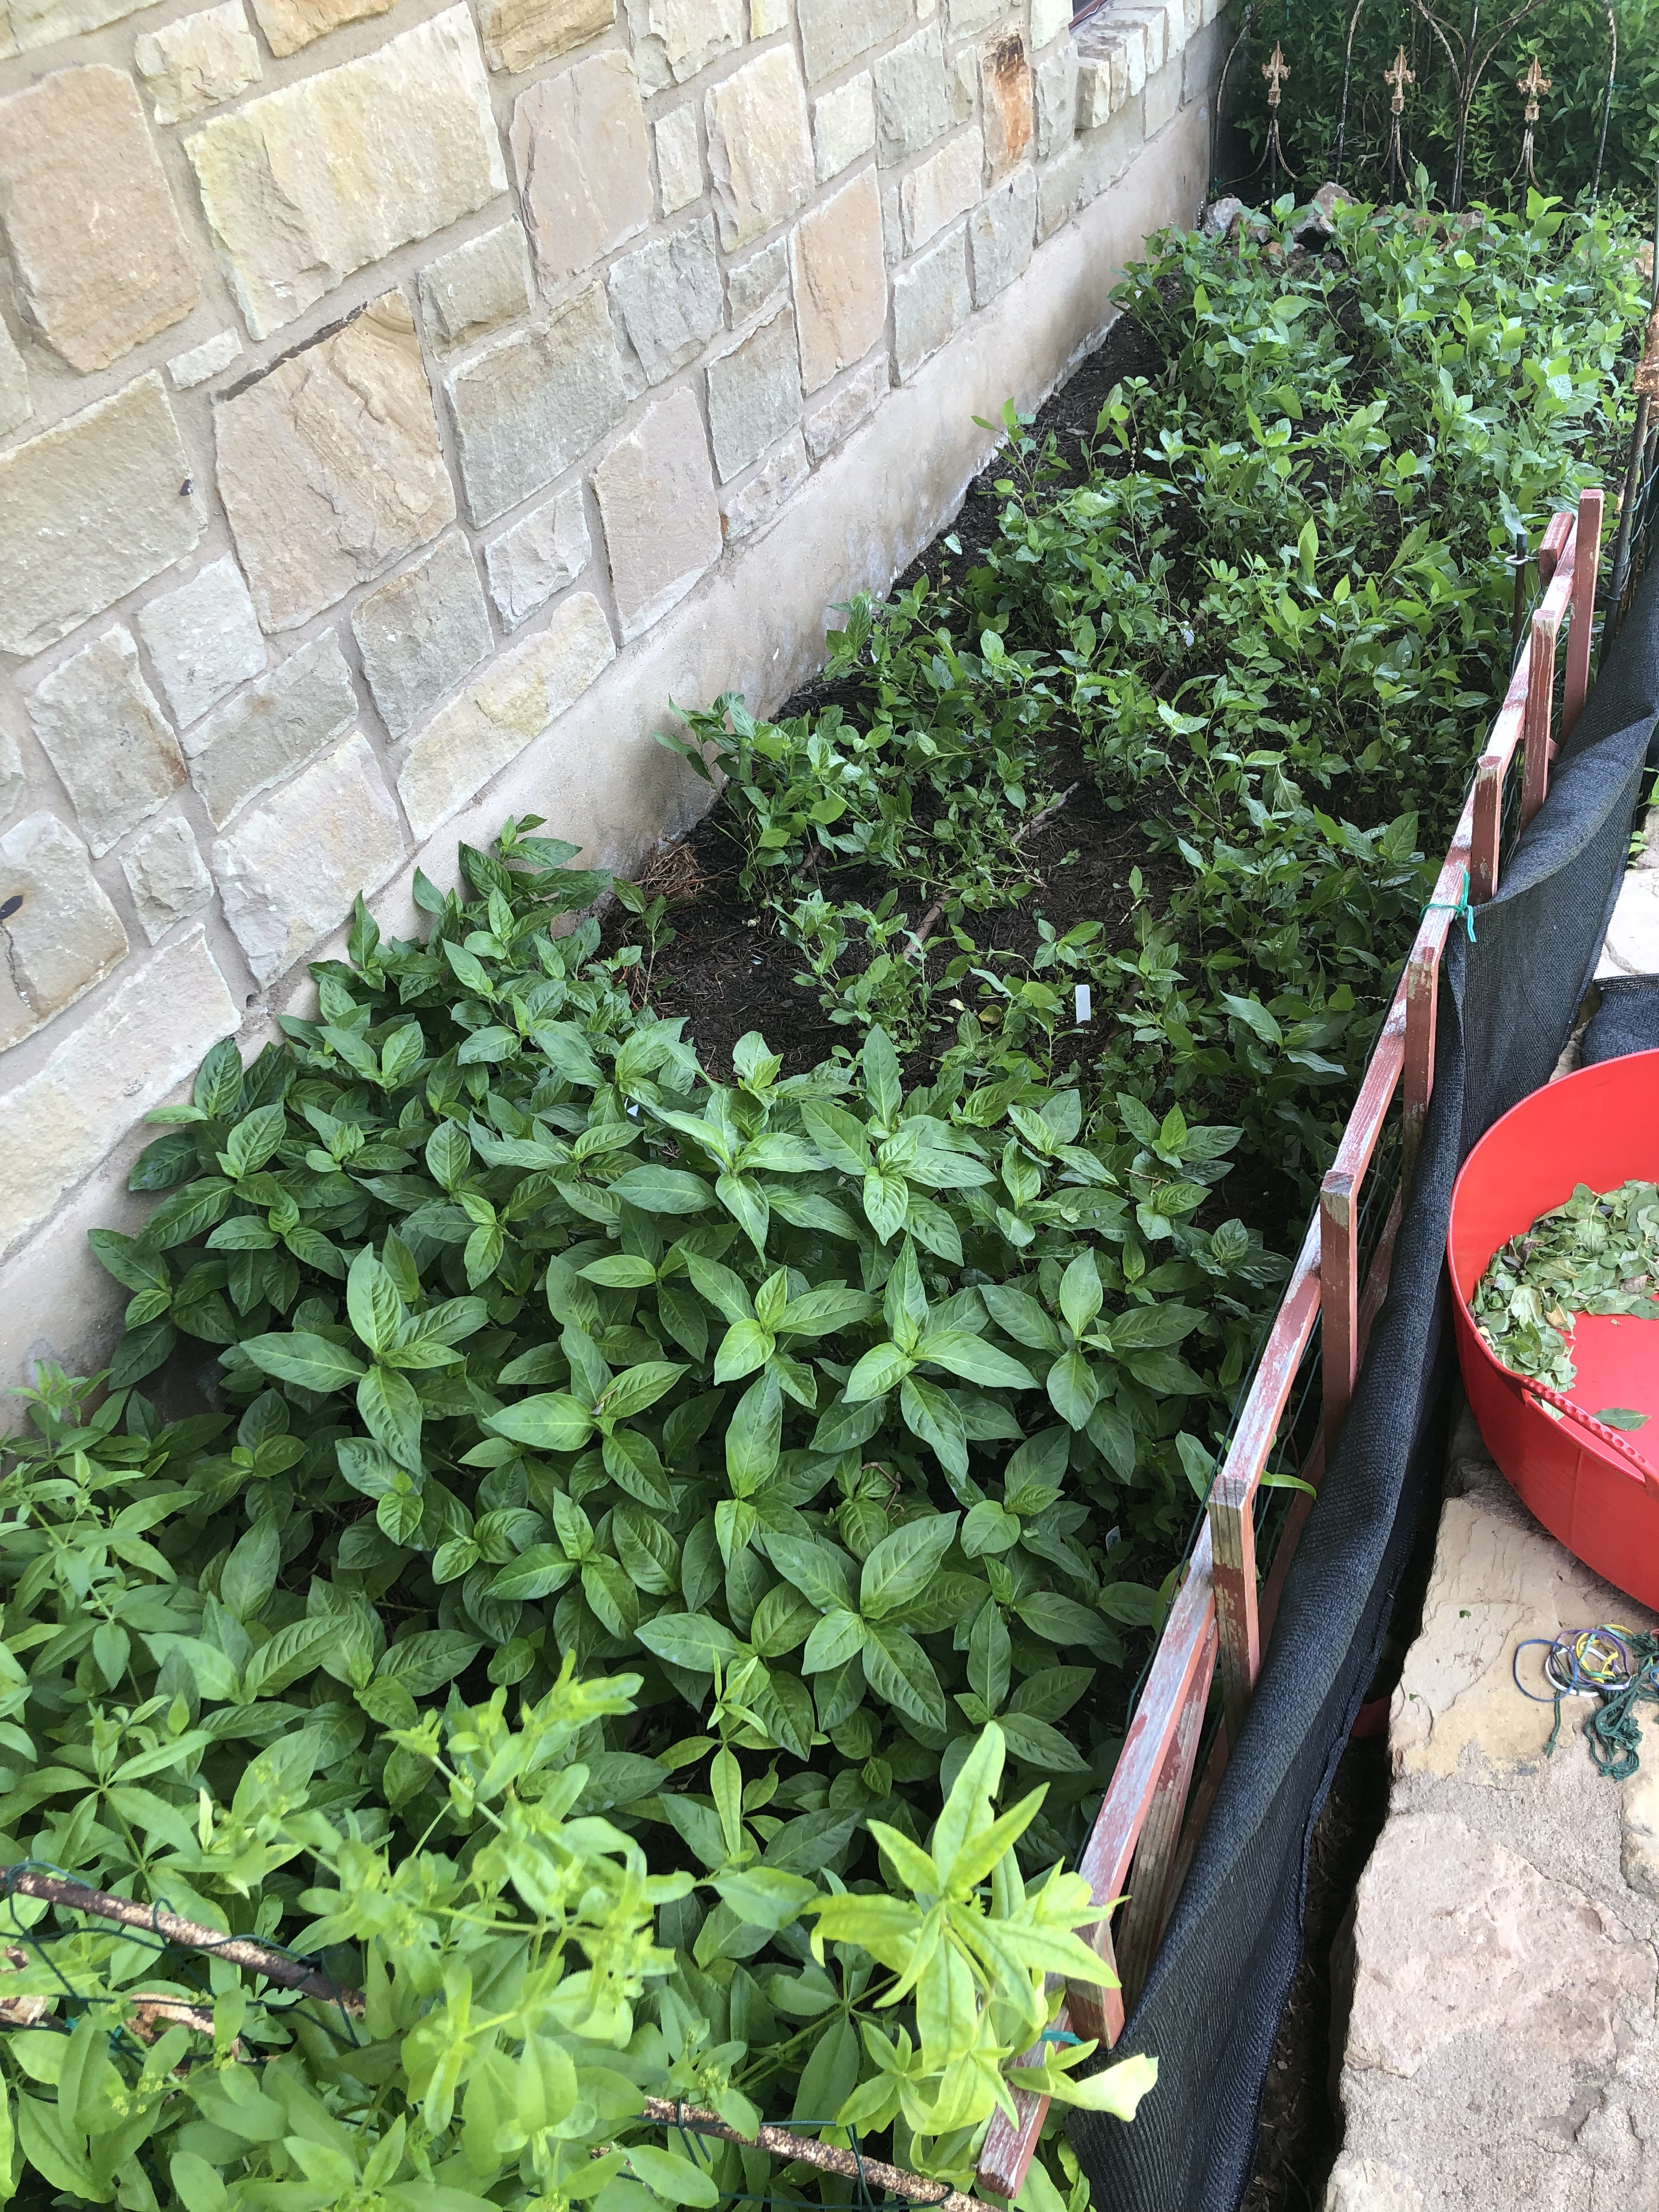
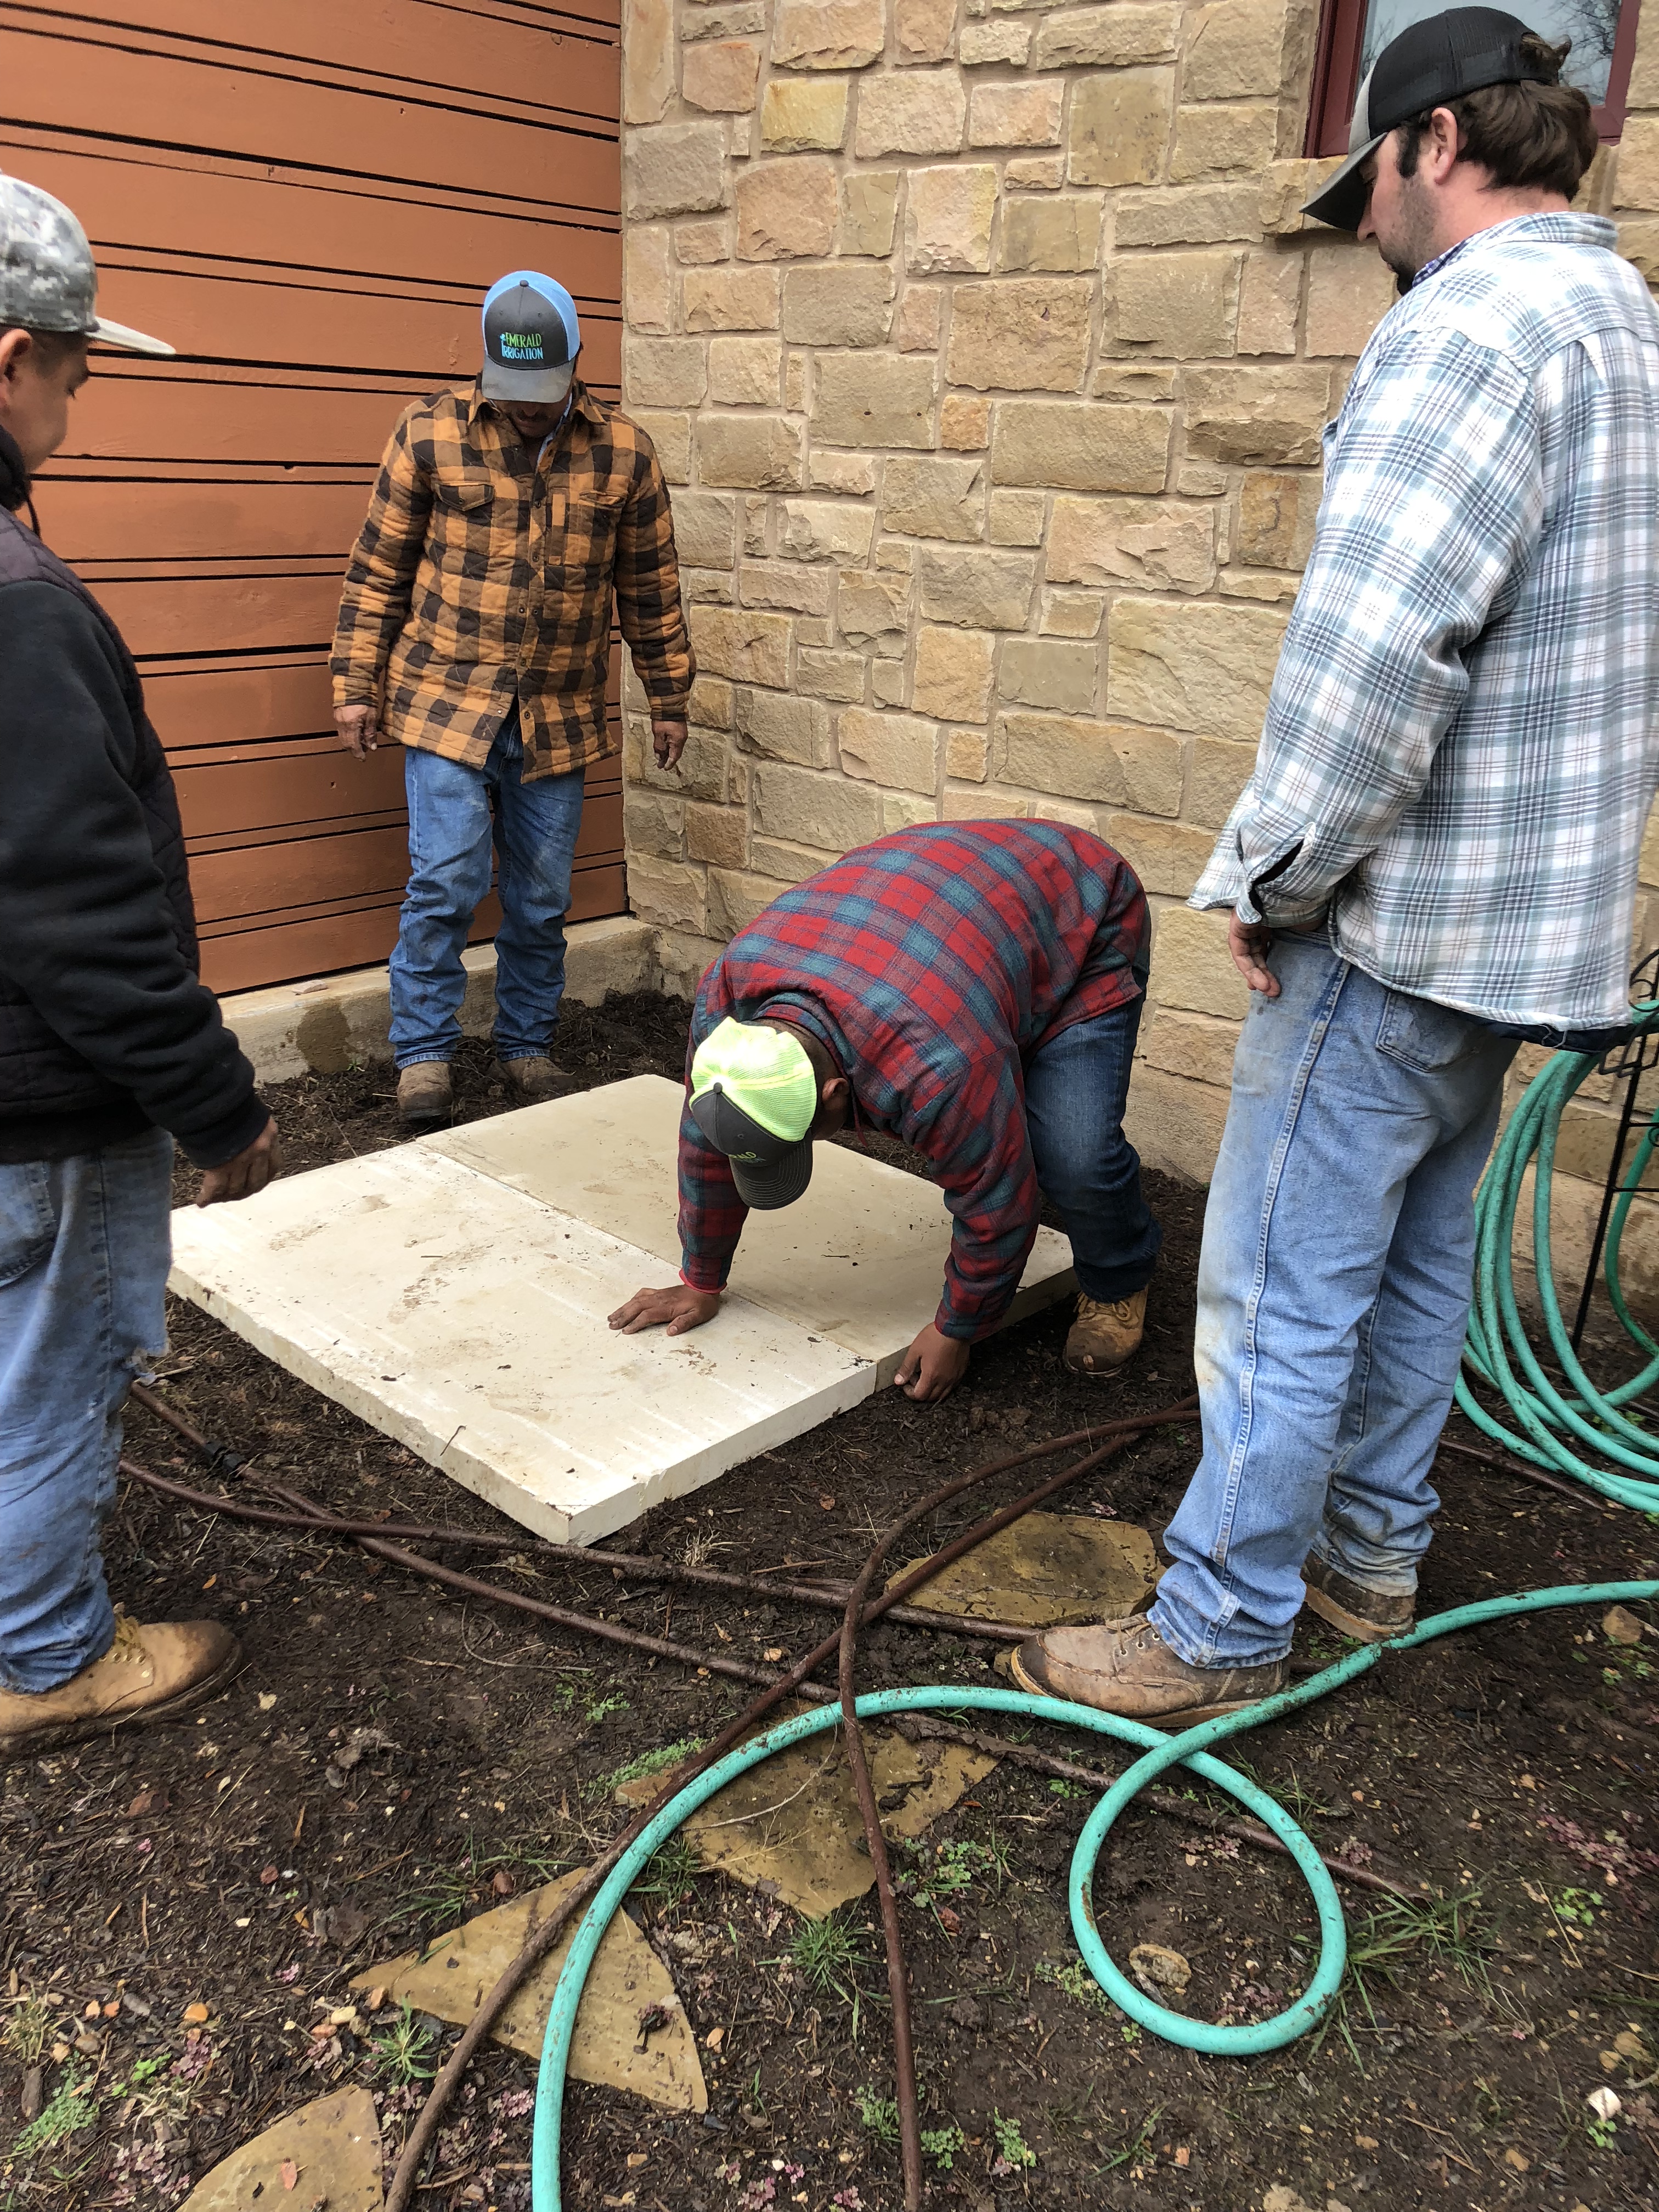
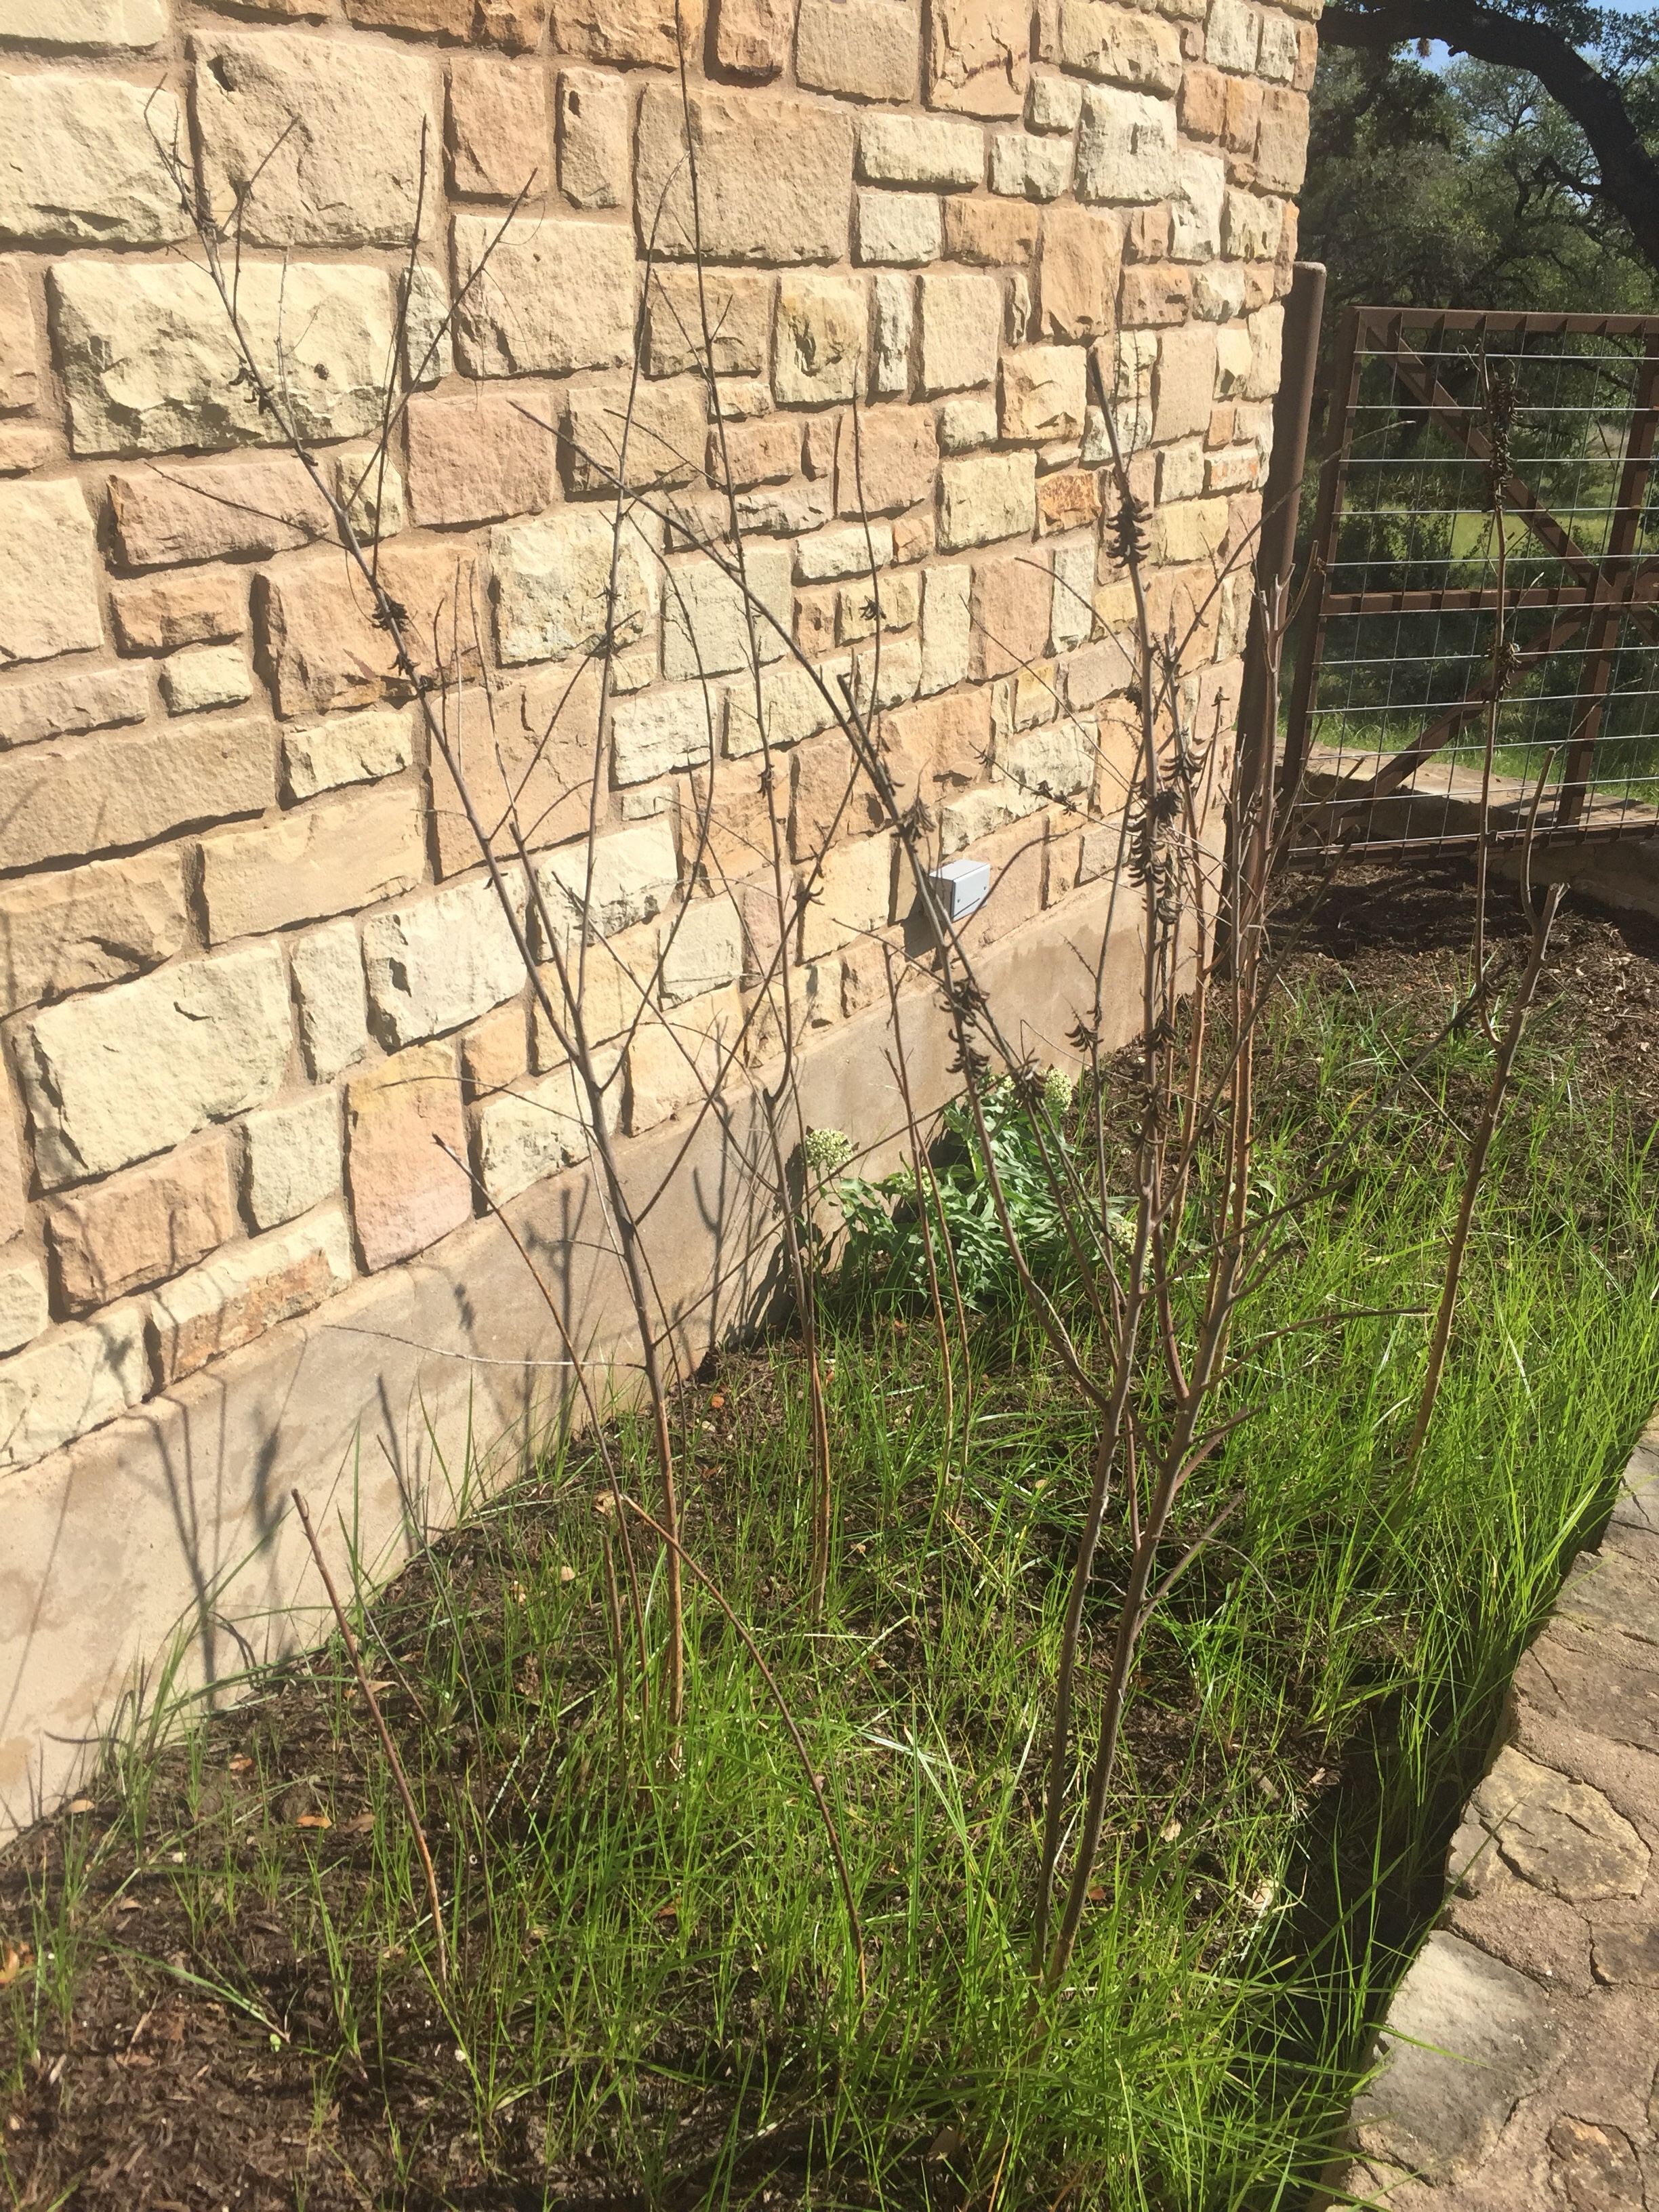
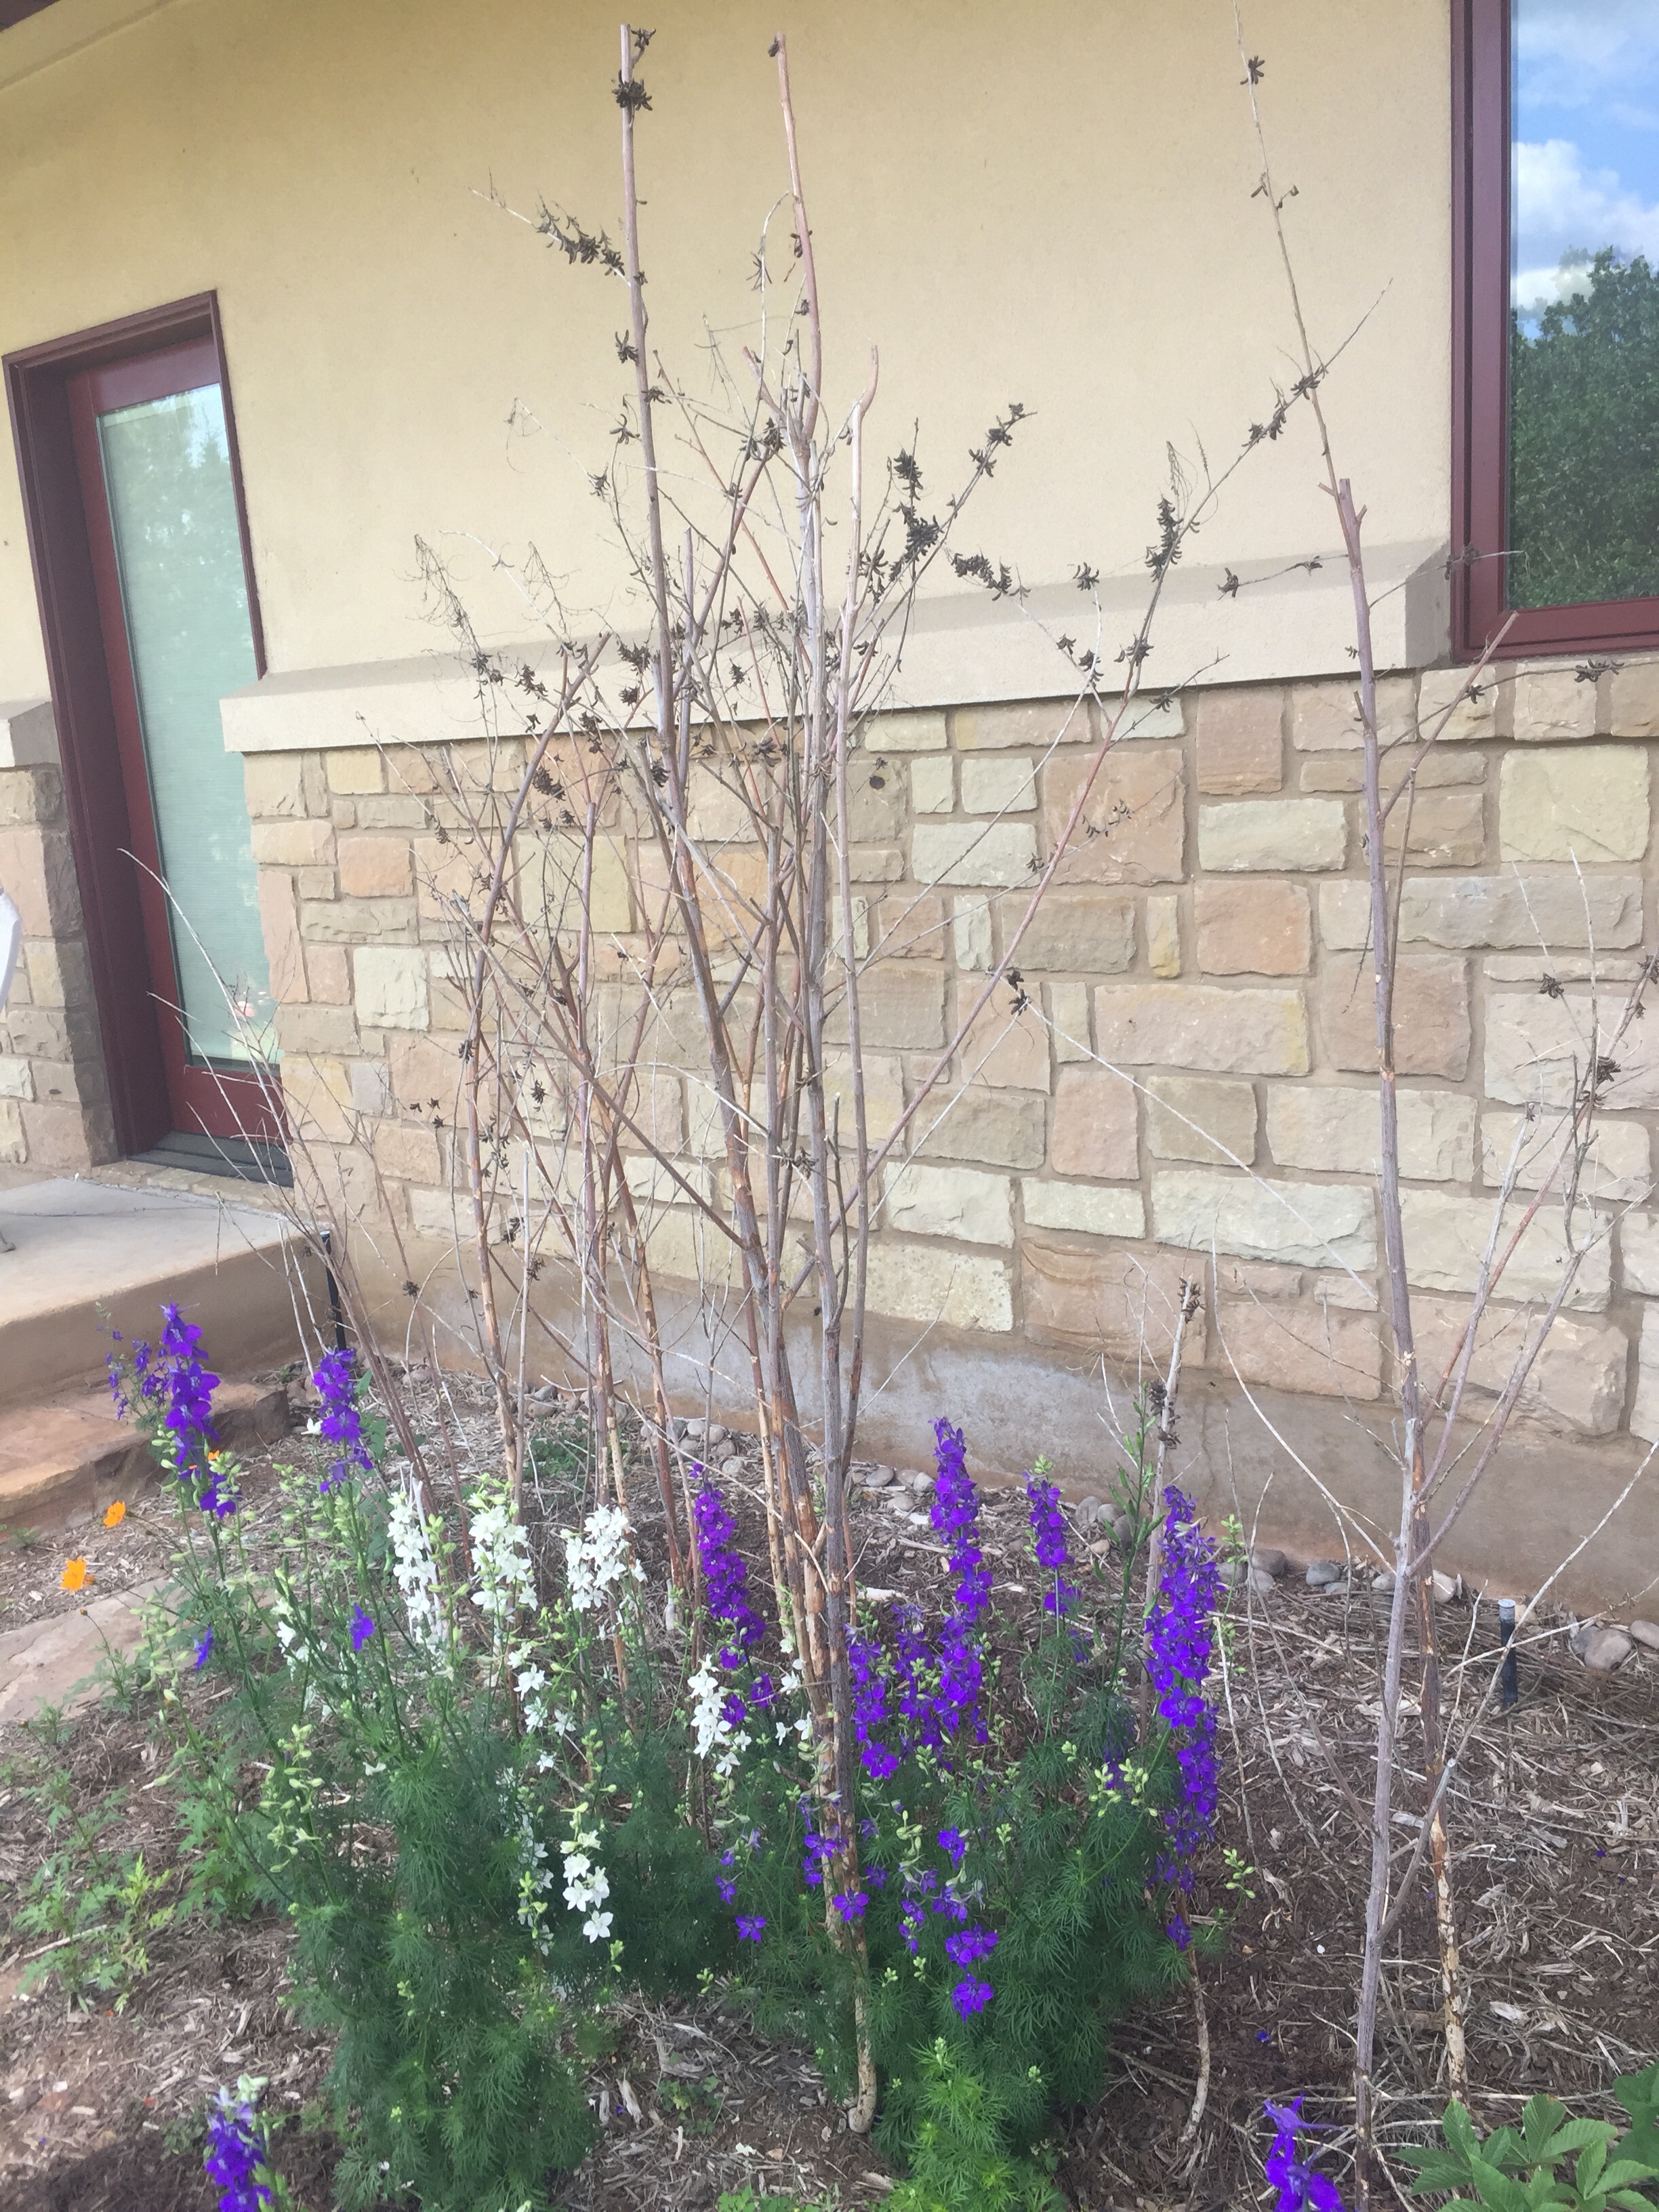
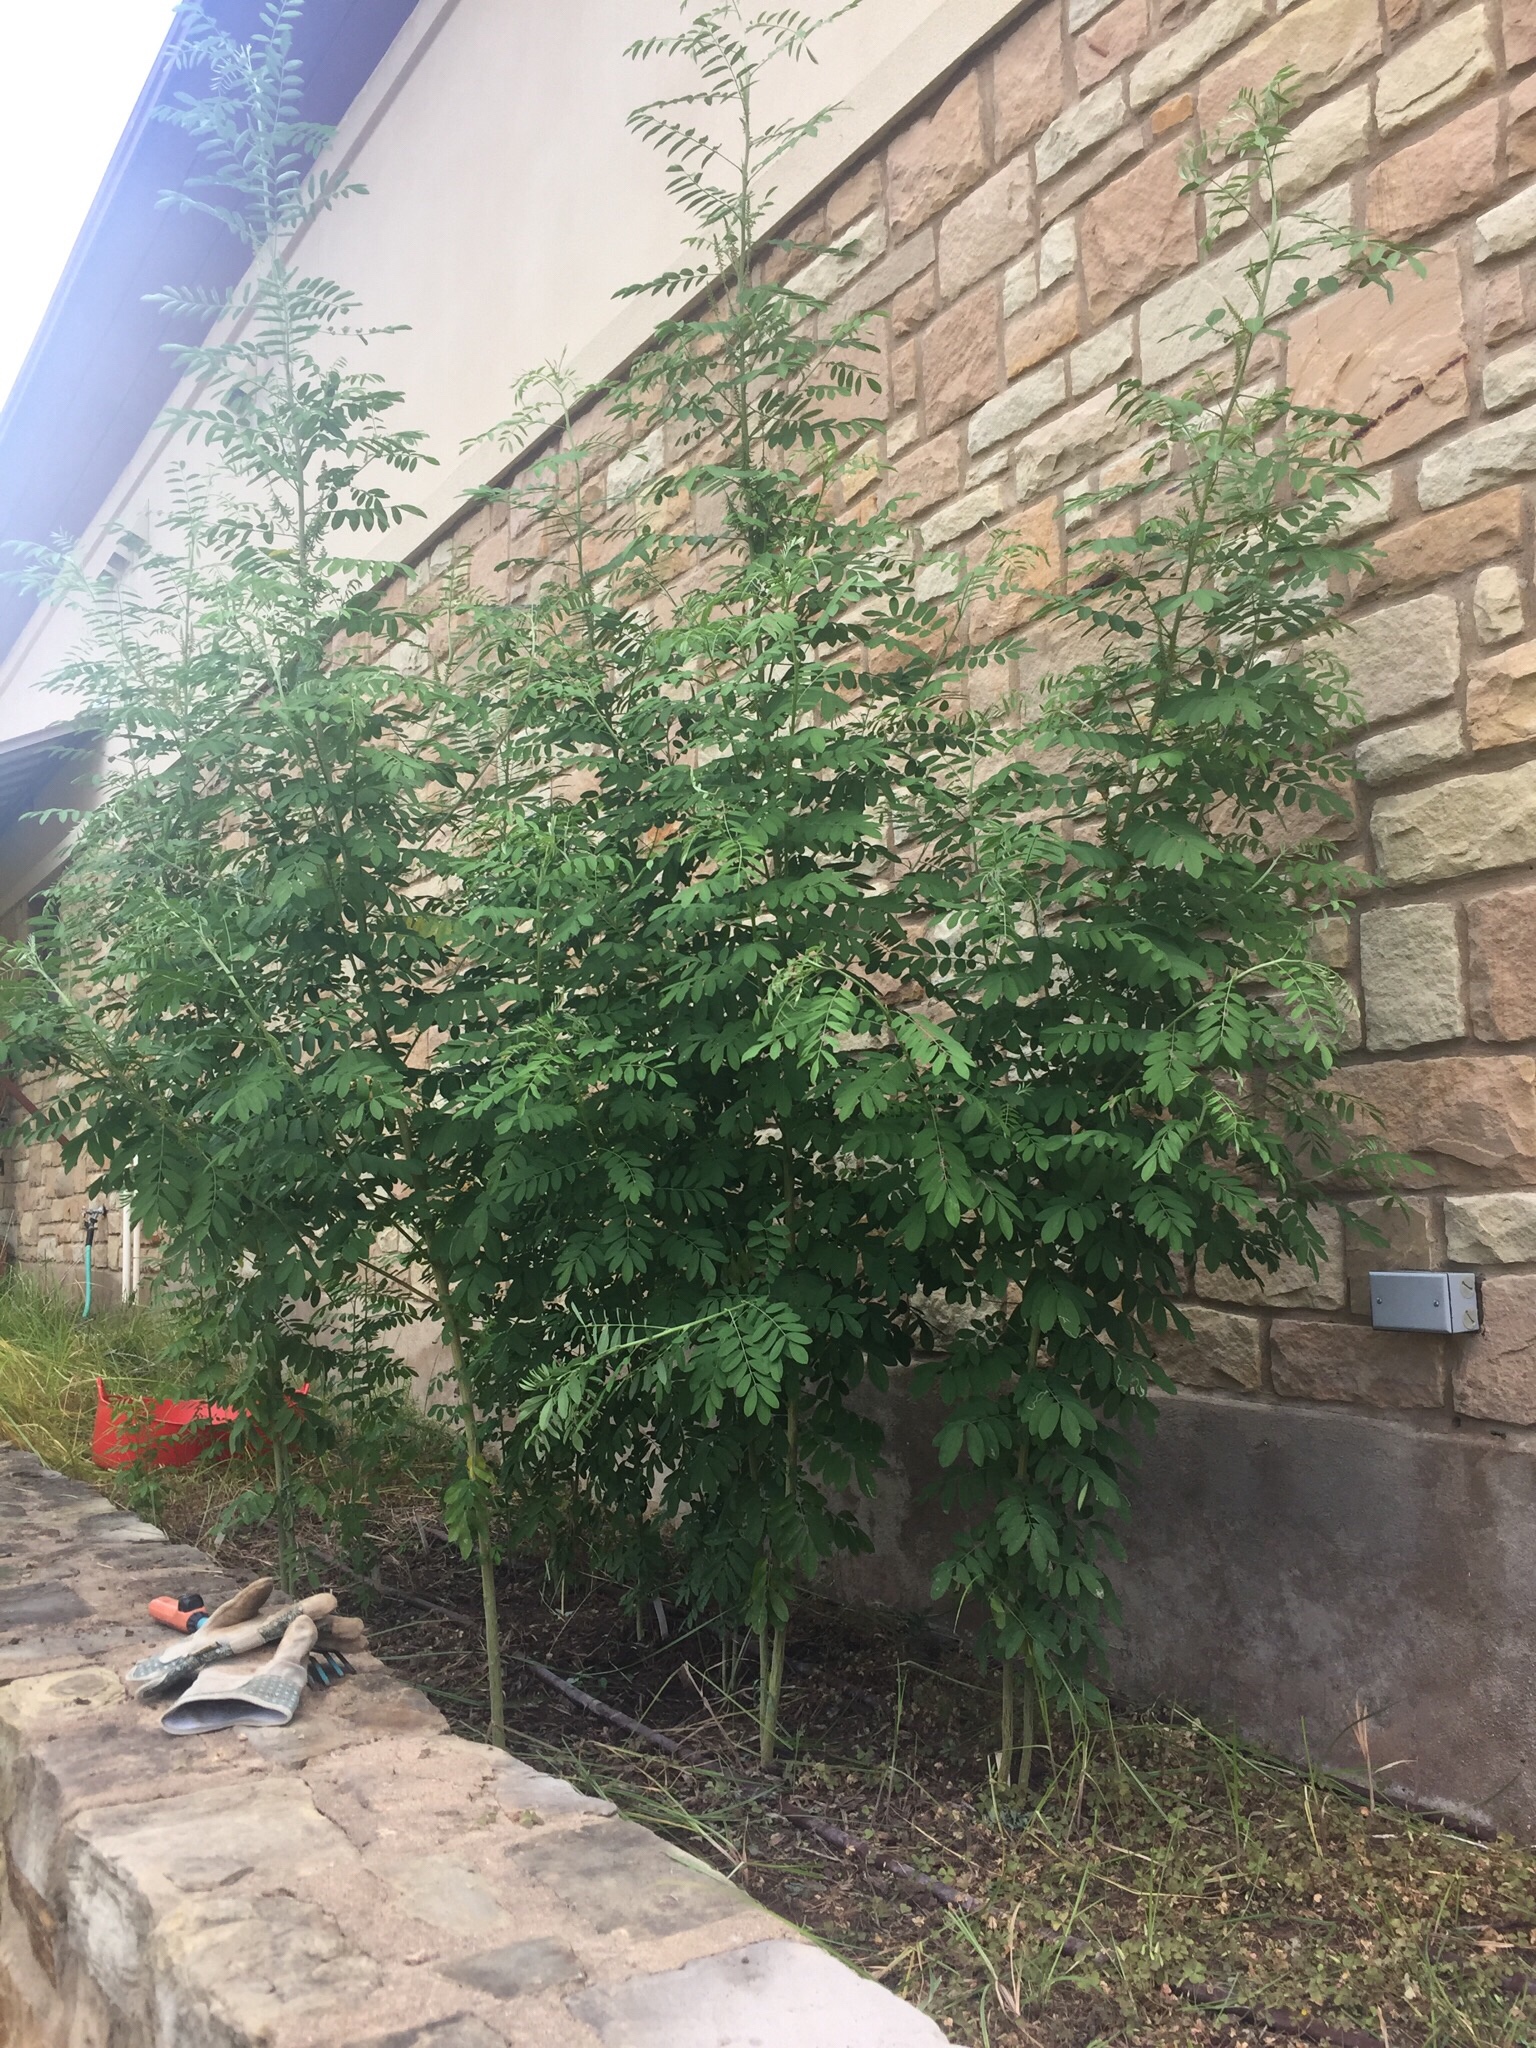
My bushes told me what I needed to cut as I could see the bluish tinge in the leaves.   I trimmed both varieties for shape and for the winds to avoid damage during storm seasons.  My Indigofera Suffruticosa shrubs can last for at least 4 or 5 seasons if I don’t have a killing frost or cold spell.  It is now game over due to our major freeze and power failure we had in February 2021. This 2021 spring I am back to restarting my plants from seedlings.  It will regrow! My plan was to double check my testing but with my bush loss this year, I had a test set back. 2022 will be the year to test the IS again in central Texas. I set aside growing Japanese Indigo as I am focusing on prepping the IS beds which had settled over 3-4 years as the shrubs grew and this is my time to reprep those beds for new plants. Heaving Texas soil takes time for a home farmer.

Washing Indigo Yield with 9% Vinegar

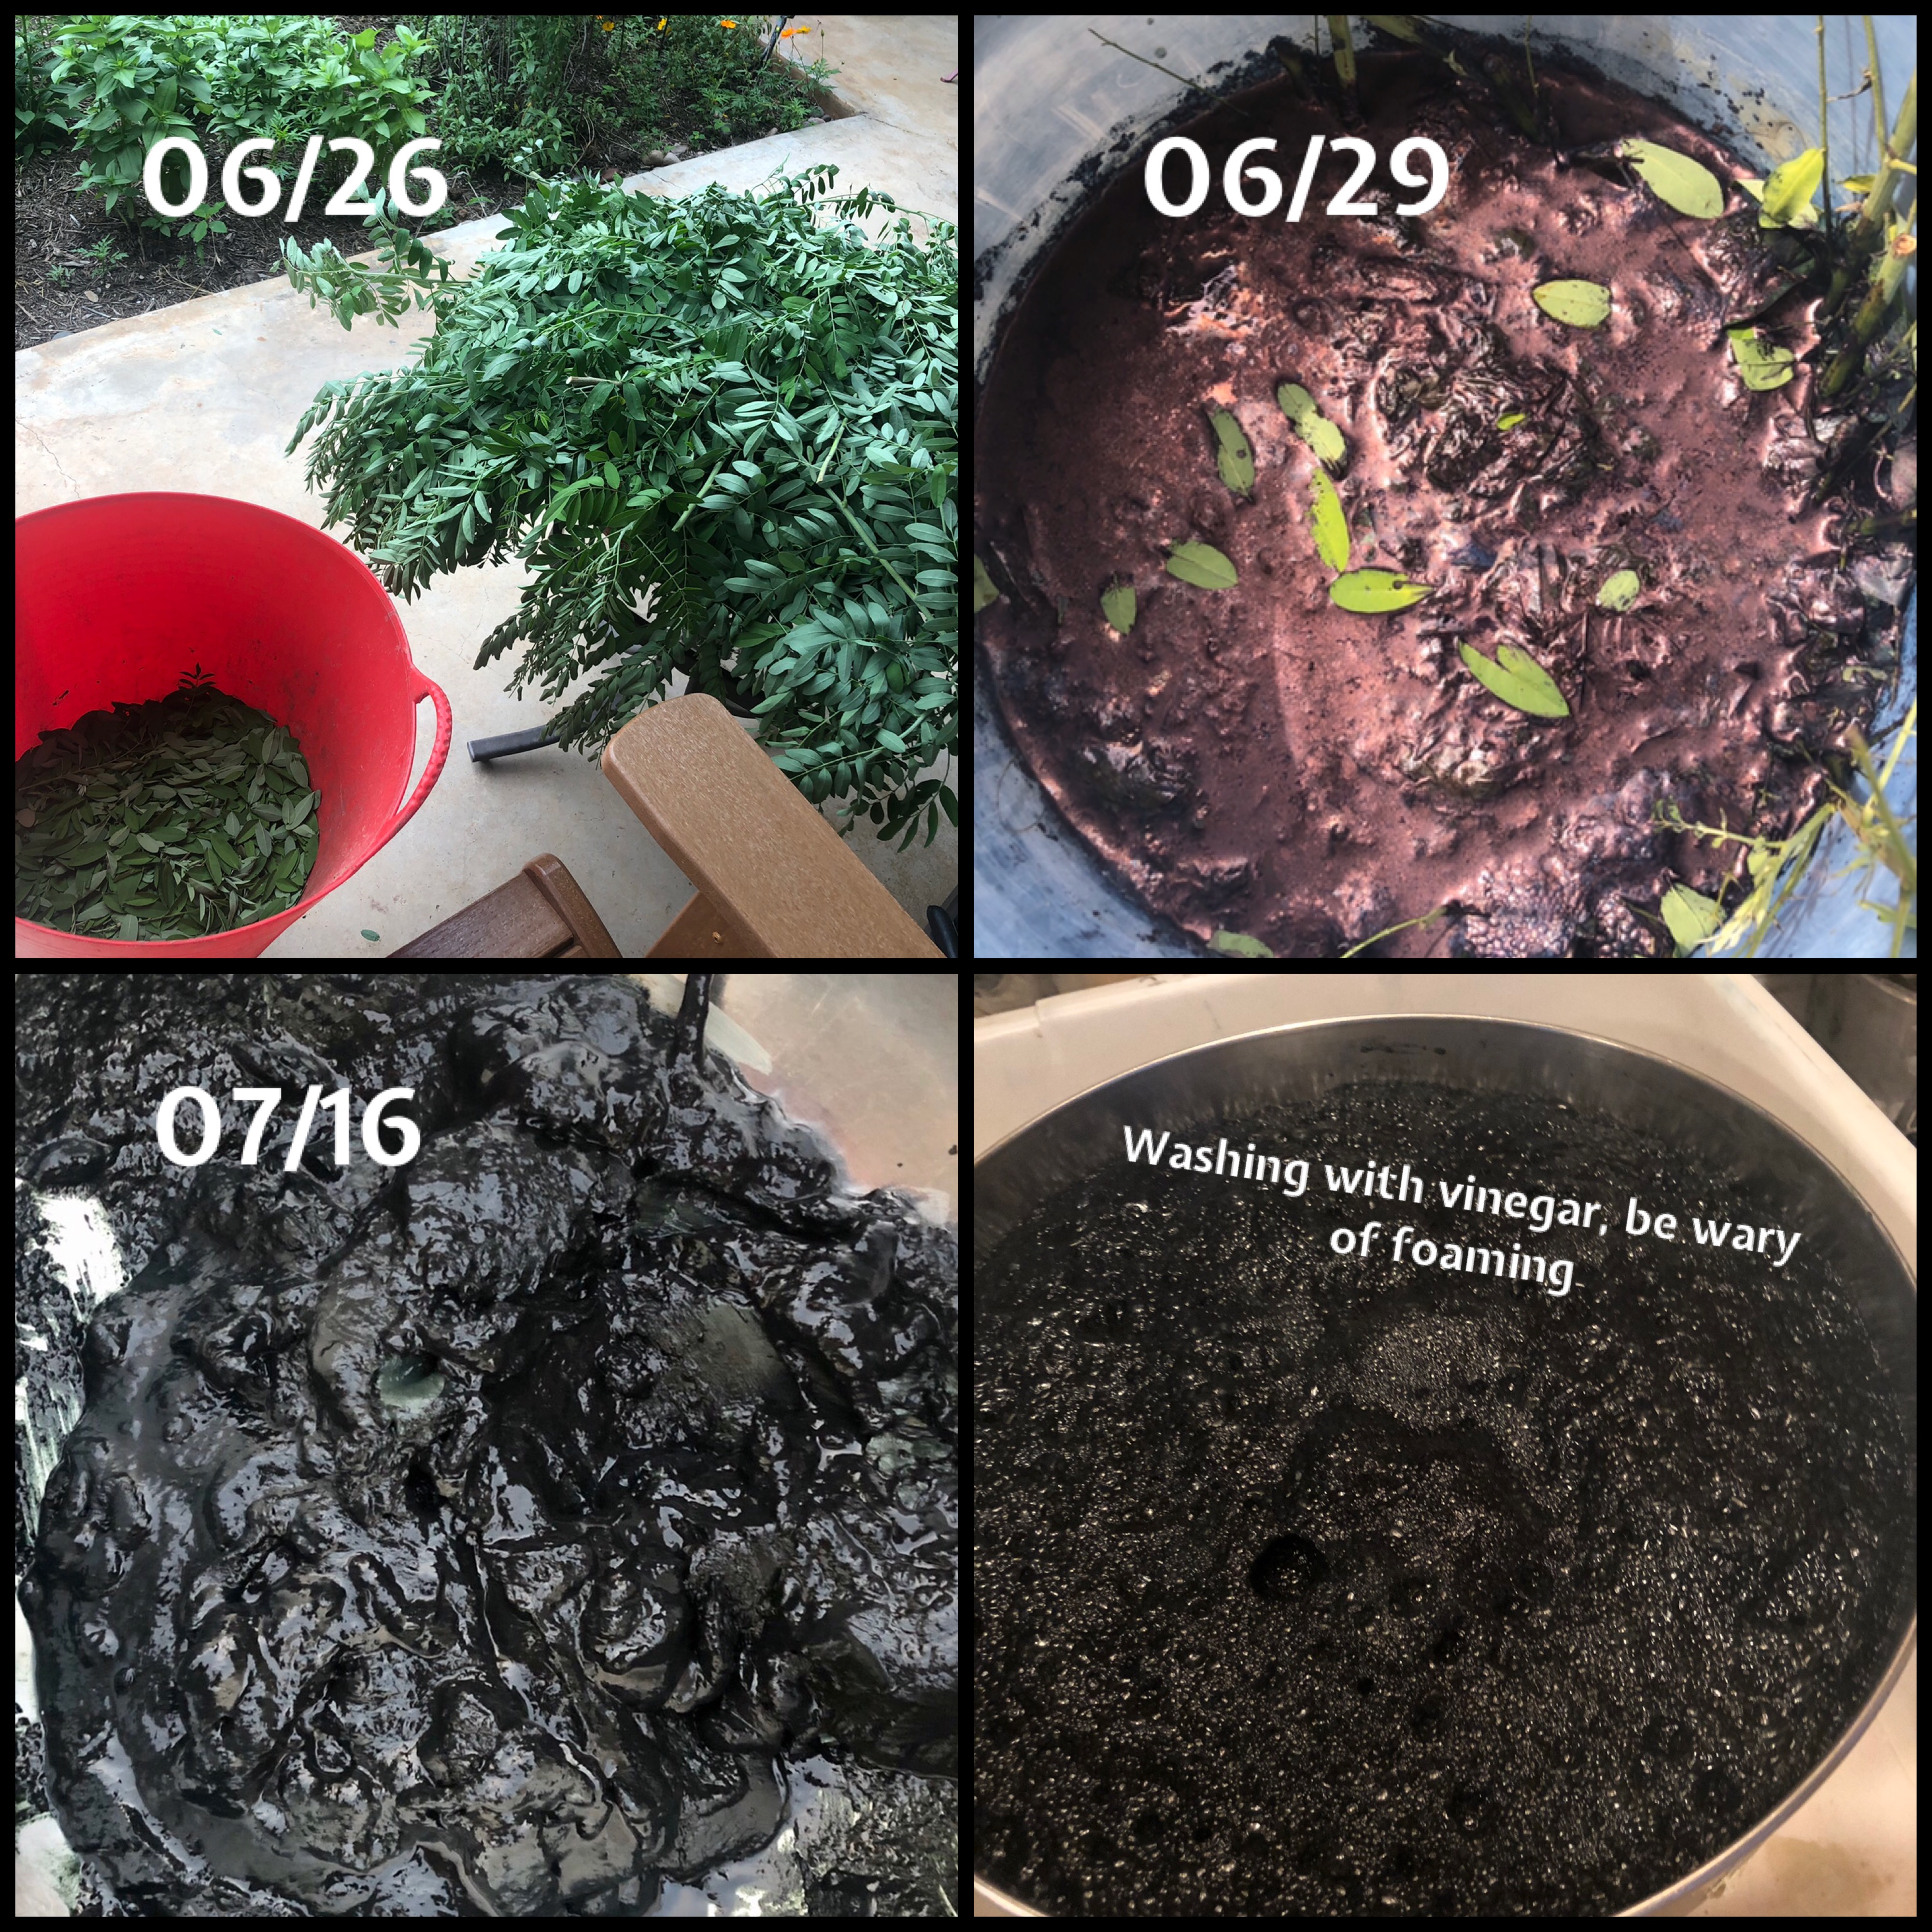
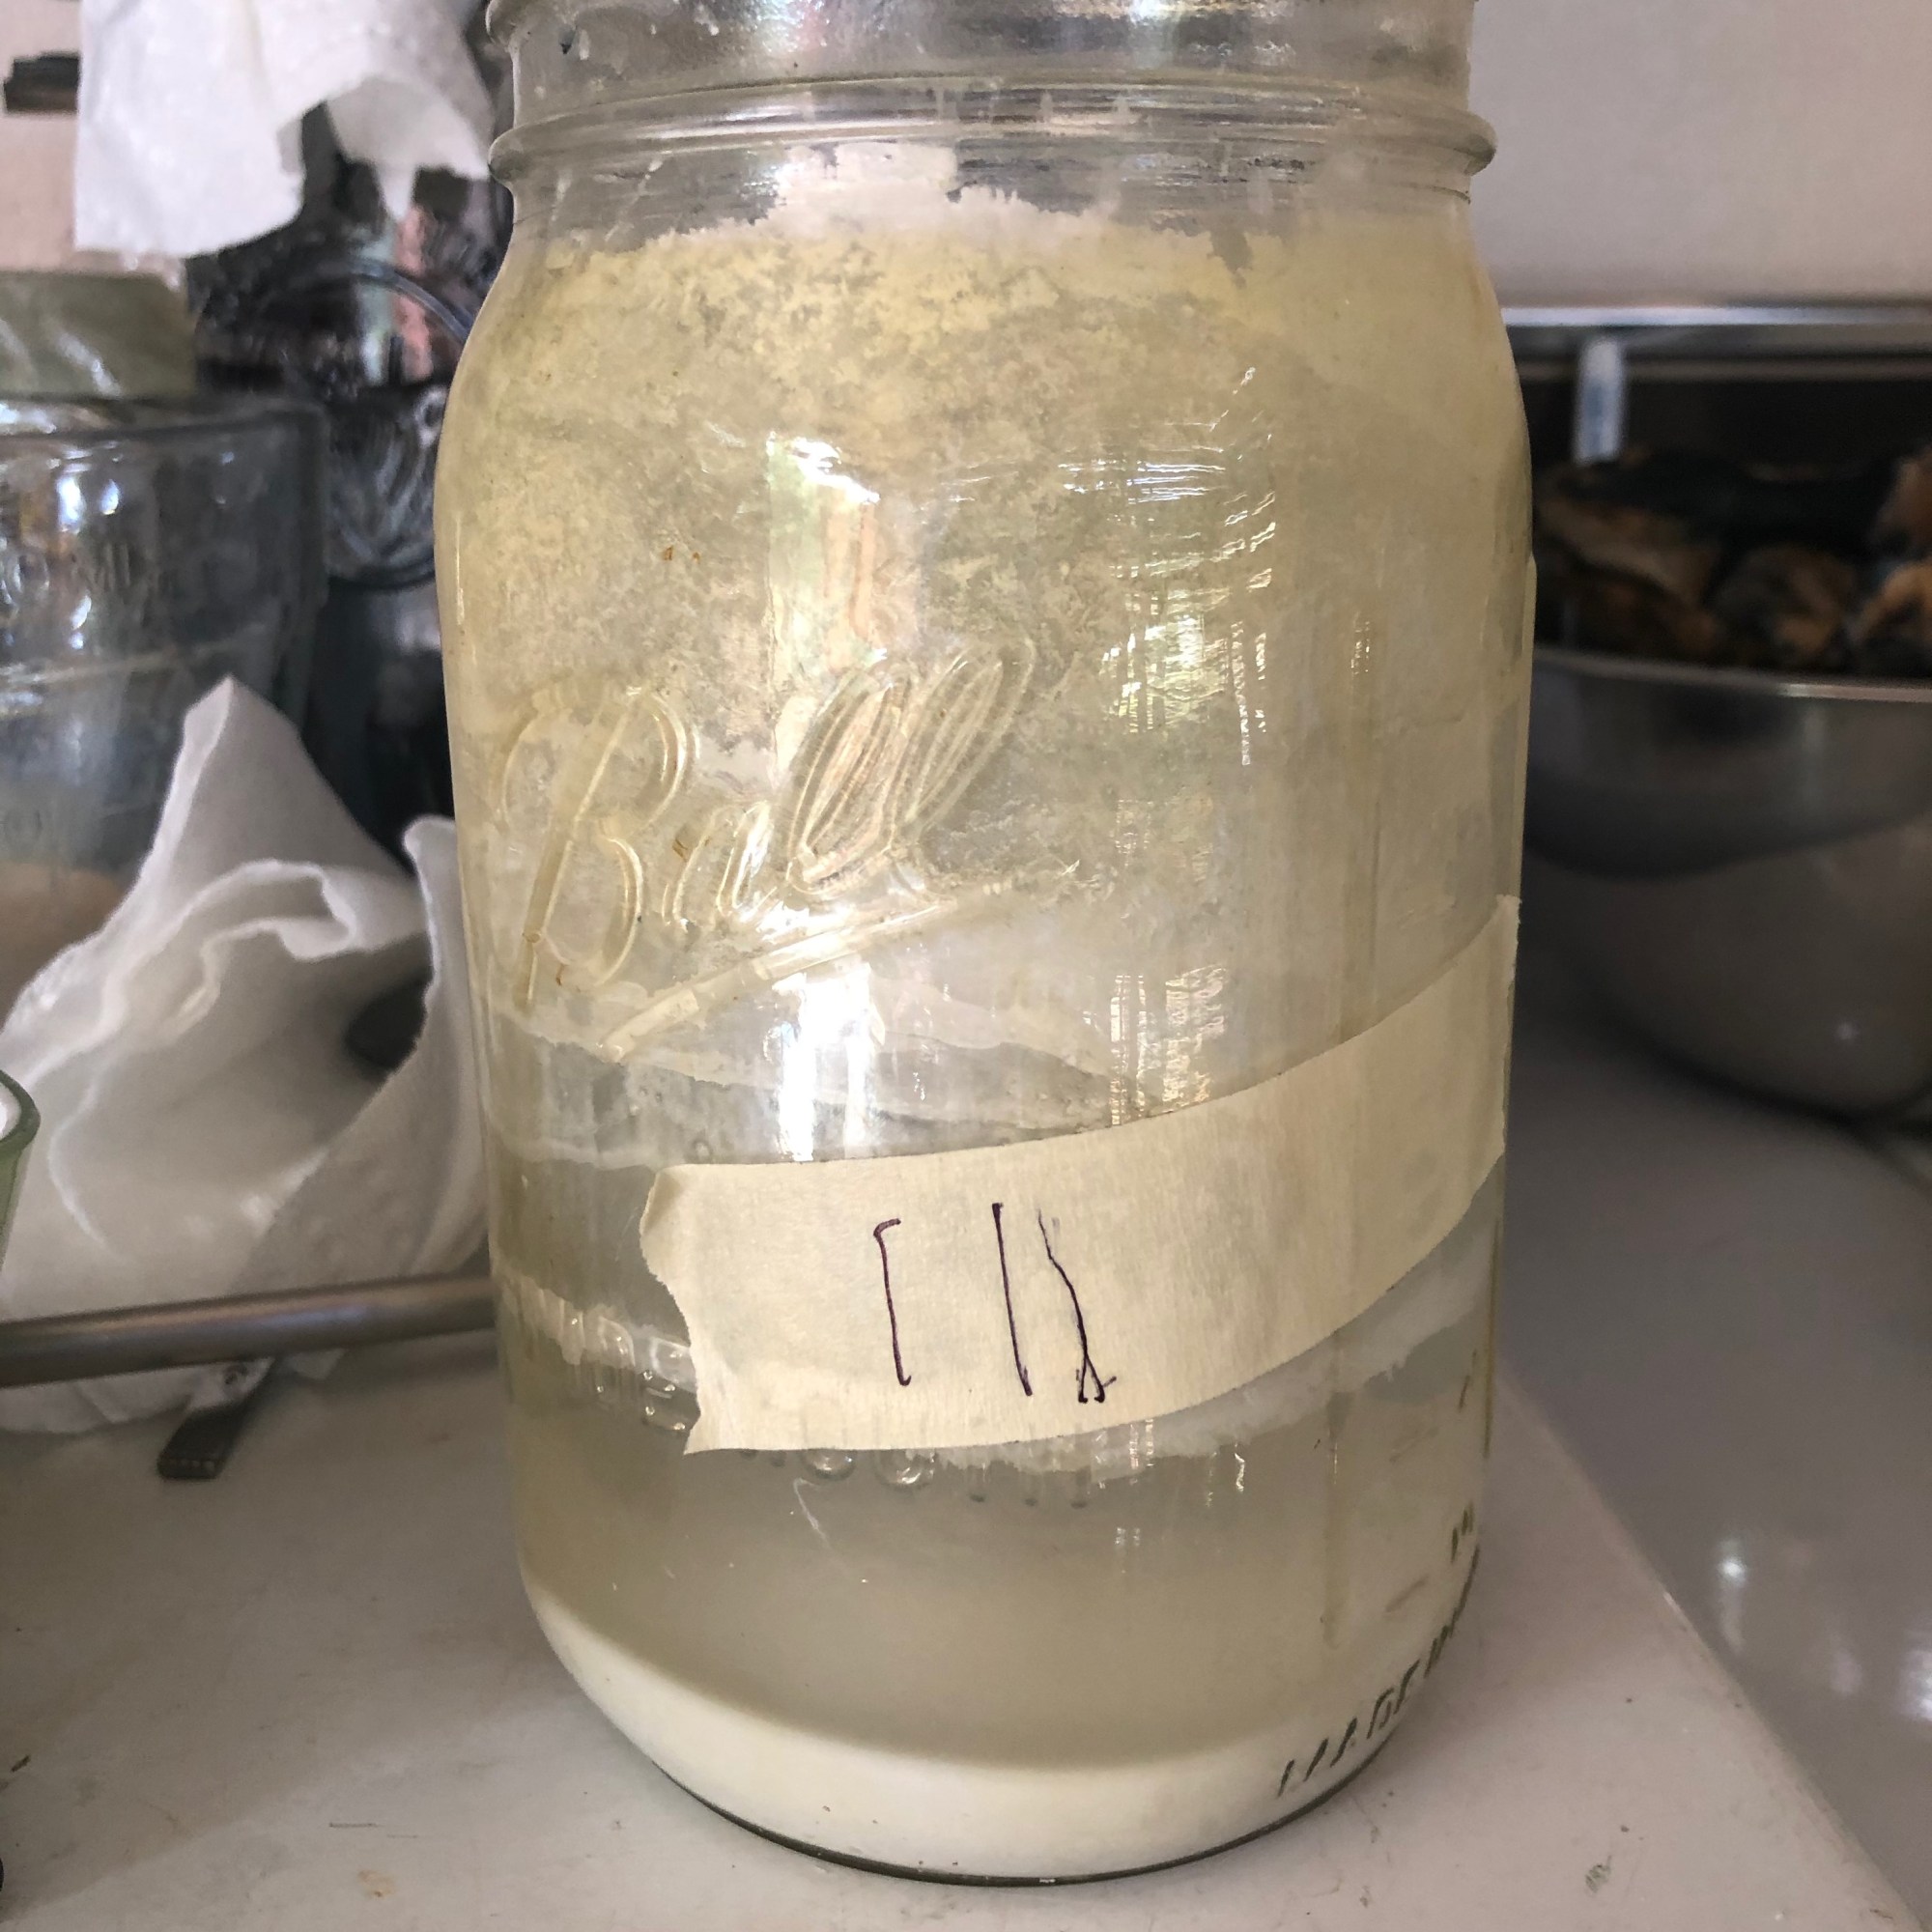
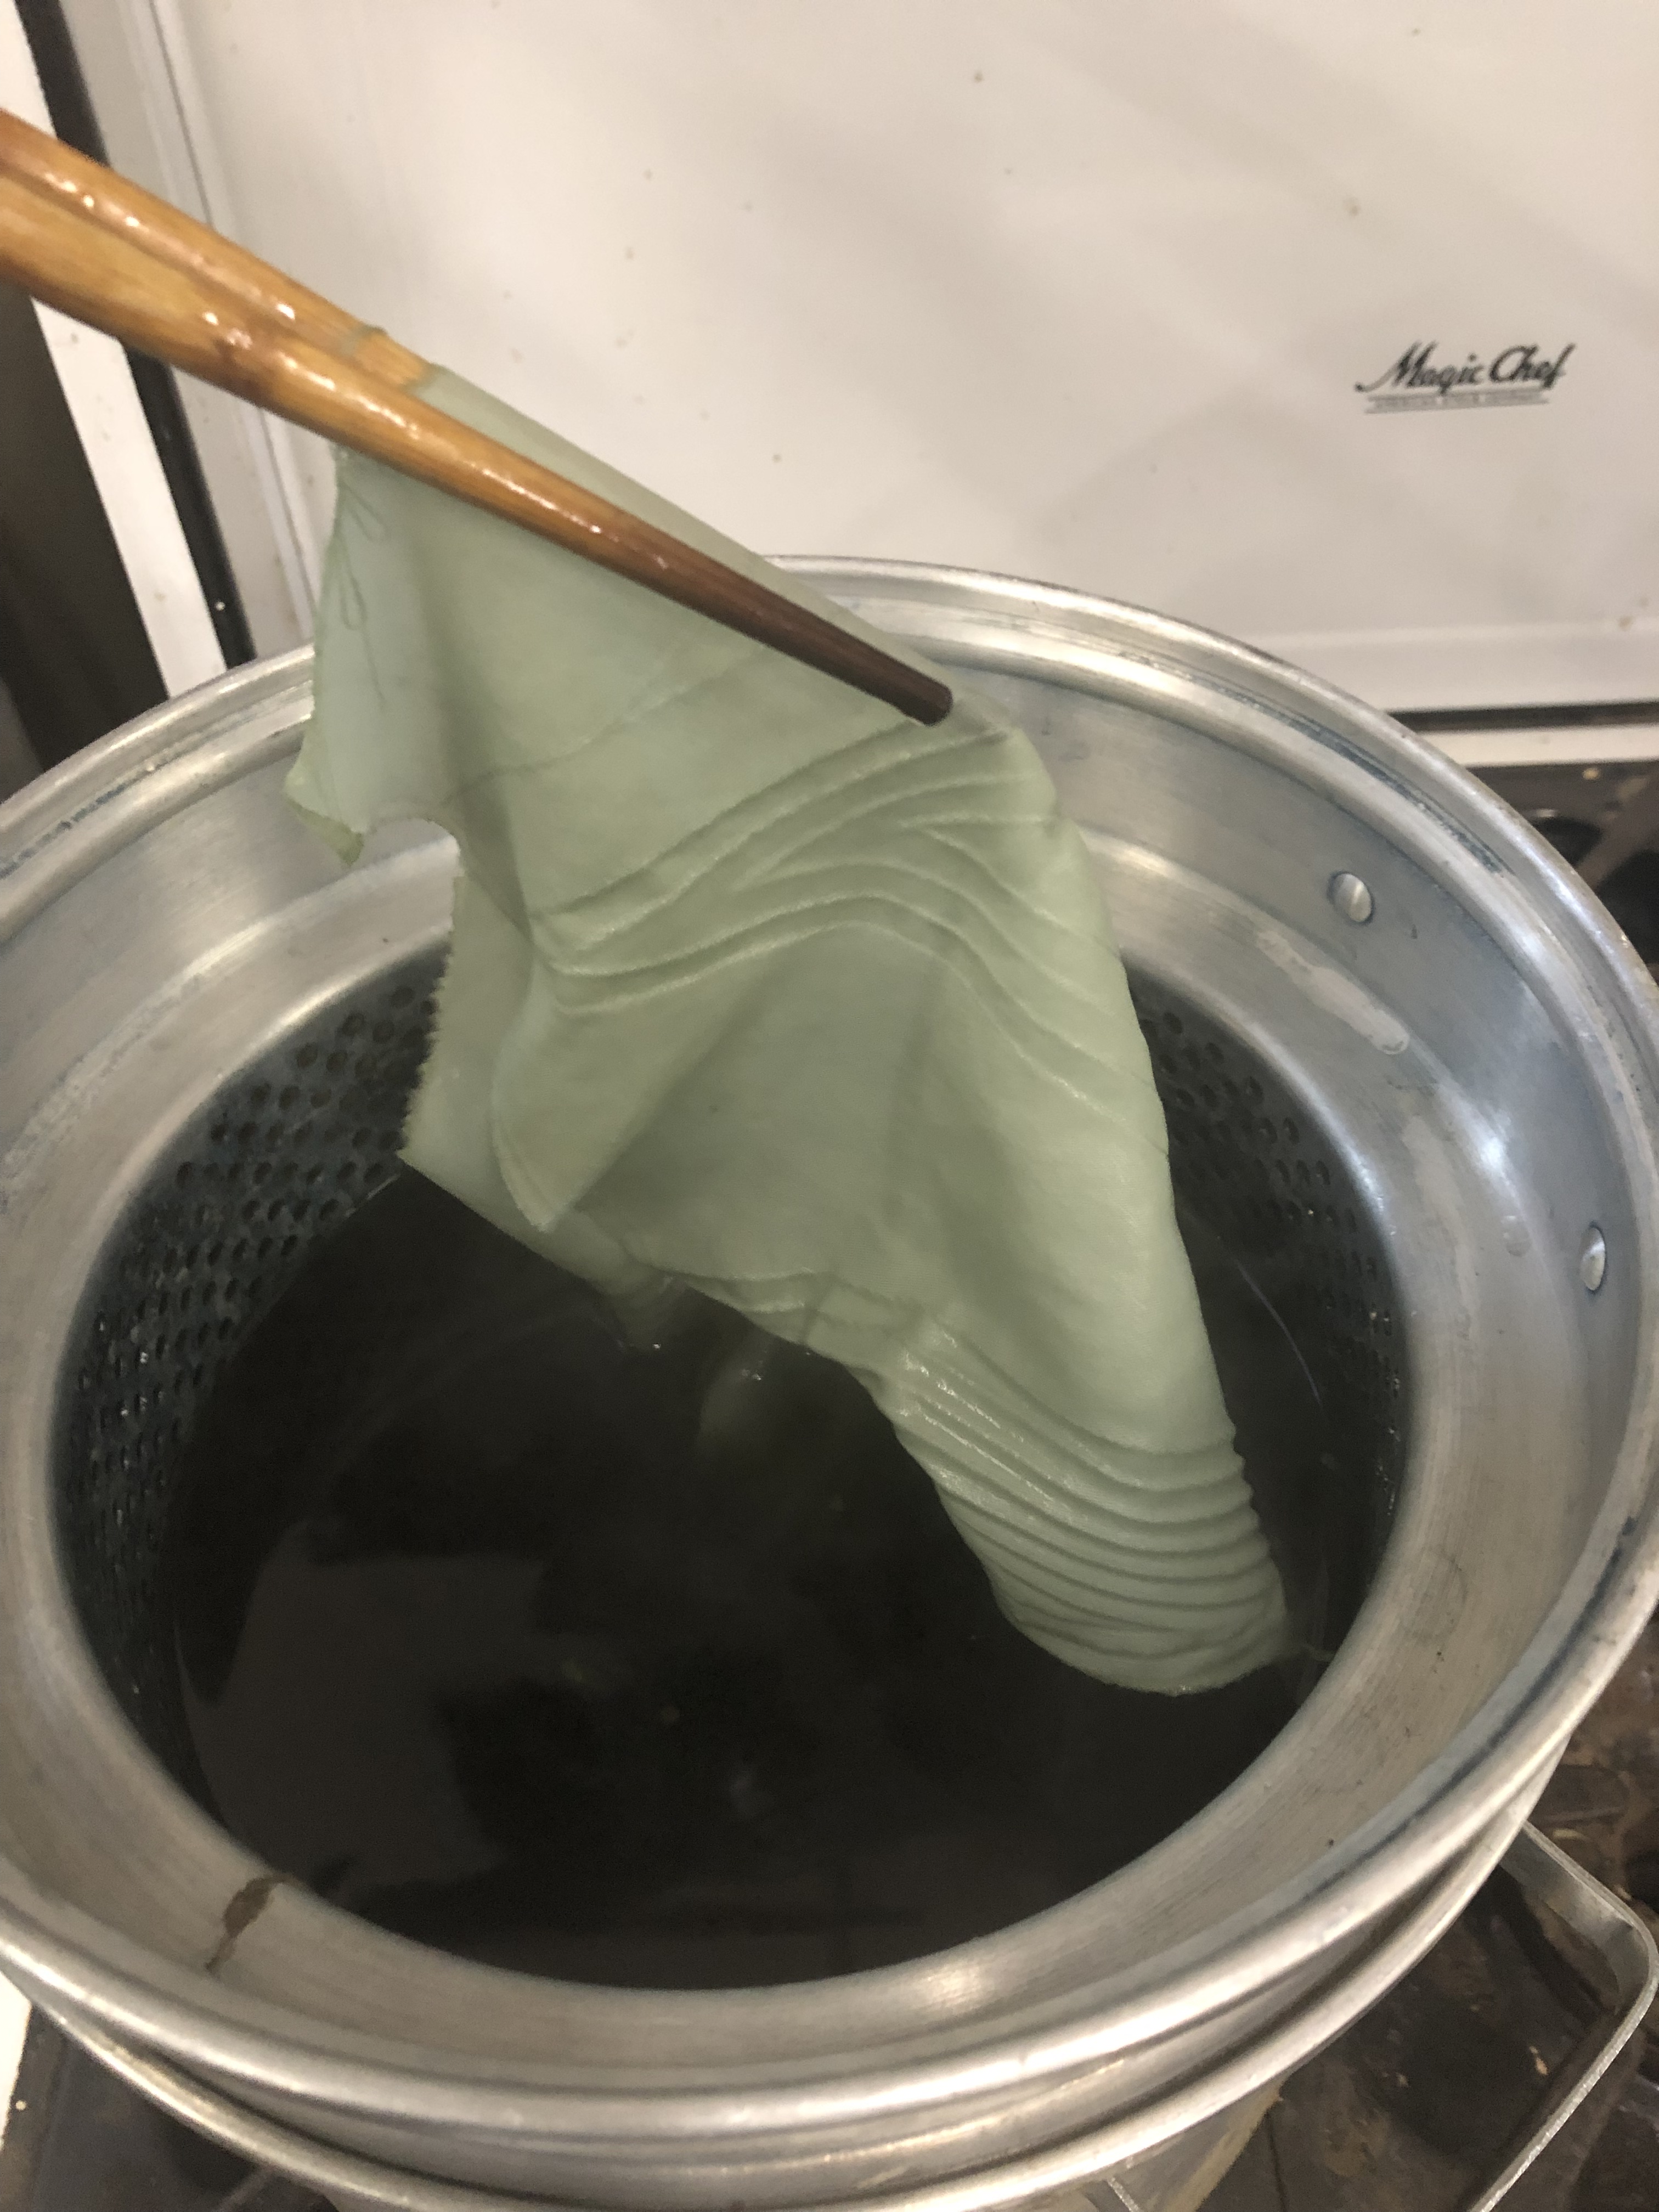
The kicker in the wet “measuring” process is the calcium hydroxide used to flocculate the indigo and get It to settle for filtration. Despite trying several methods of just using water settling the indigo, my observation is that this method takes way too long for the indigo to settle to a useable filtration state. Using the calcium hydroxide is much more efficient for me and enabled me to get on with the process and my life outside of indigo. But, the 4-6 tablespoons of calcium hydroxide added for flocculation adds weight and one cannot get a clean measurement of just pigment. So I investigated washing my pigment with 9% vinegar to cleanse it of the calcium carbonate which the calcium hydroxide inevitably becomes when mixed with water and oxygen. Leaving it as paste just adds to bulk and one must always add more slaked lime to reactivate the indigo chemistry to get the bonding. Plus washing reduces the sludge. I have heard mutterings that the vinegar washing impacts the indigo paste but I have not found anything in writing. Folks do wash only with water, next time I will try that against a vinegar wash and compare.

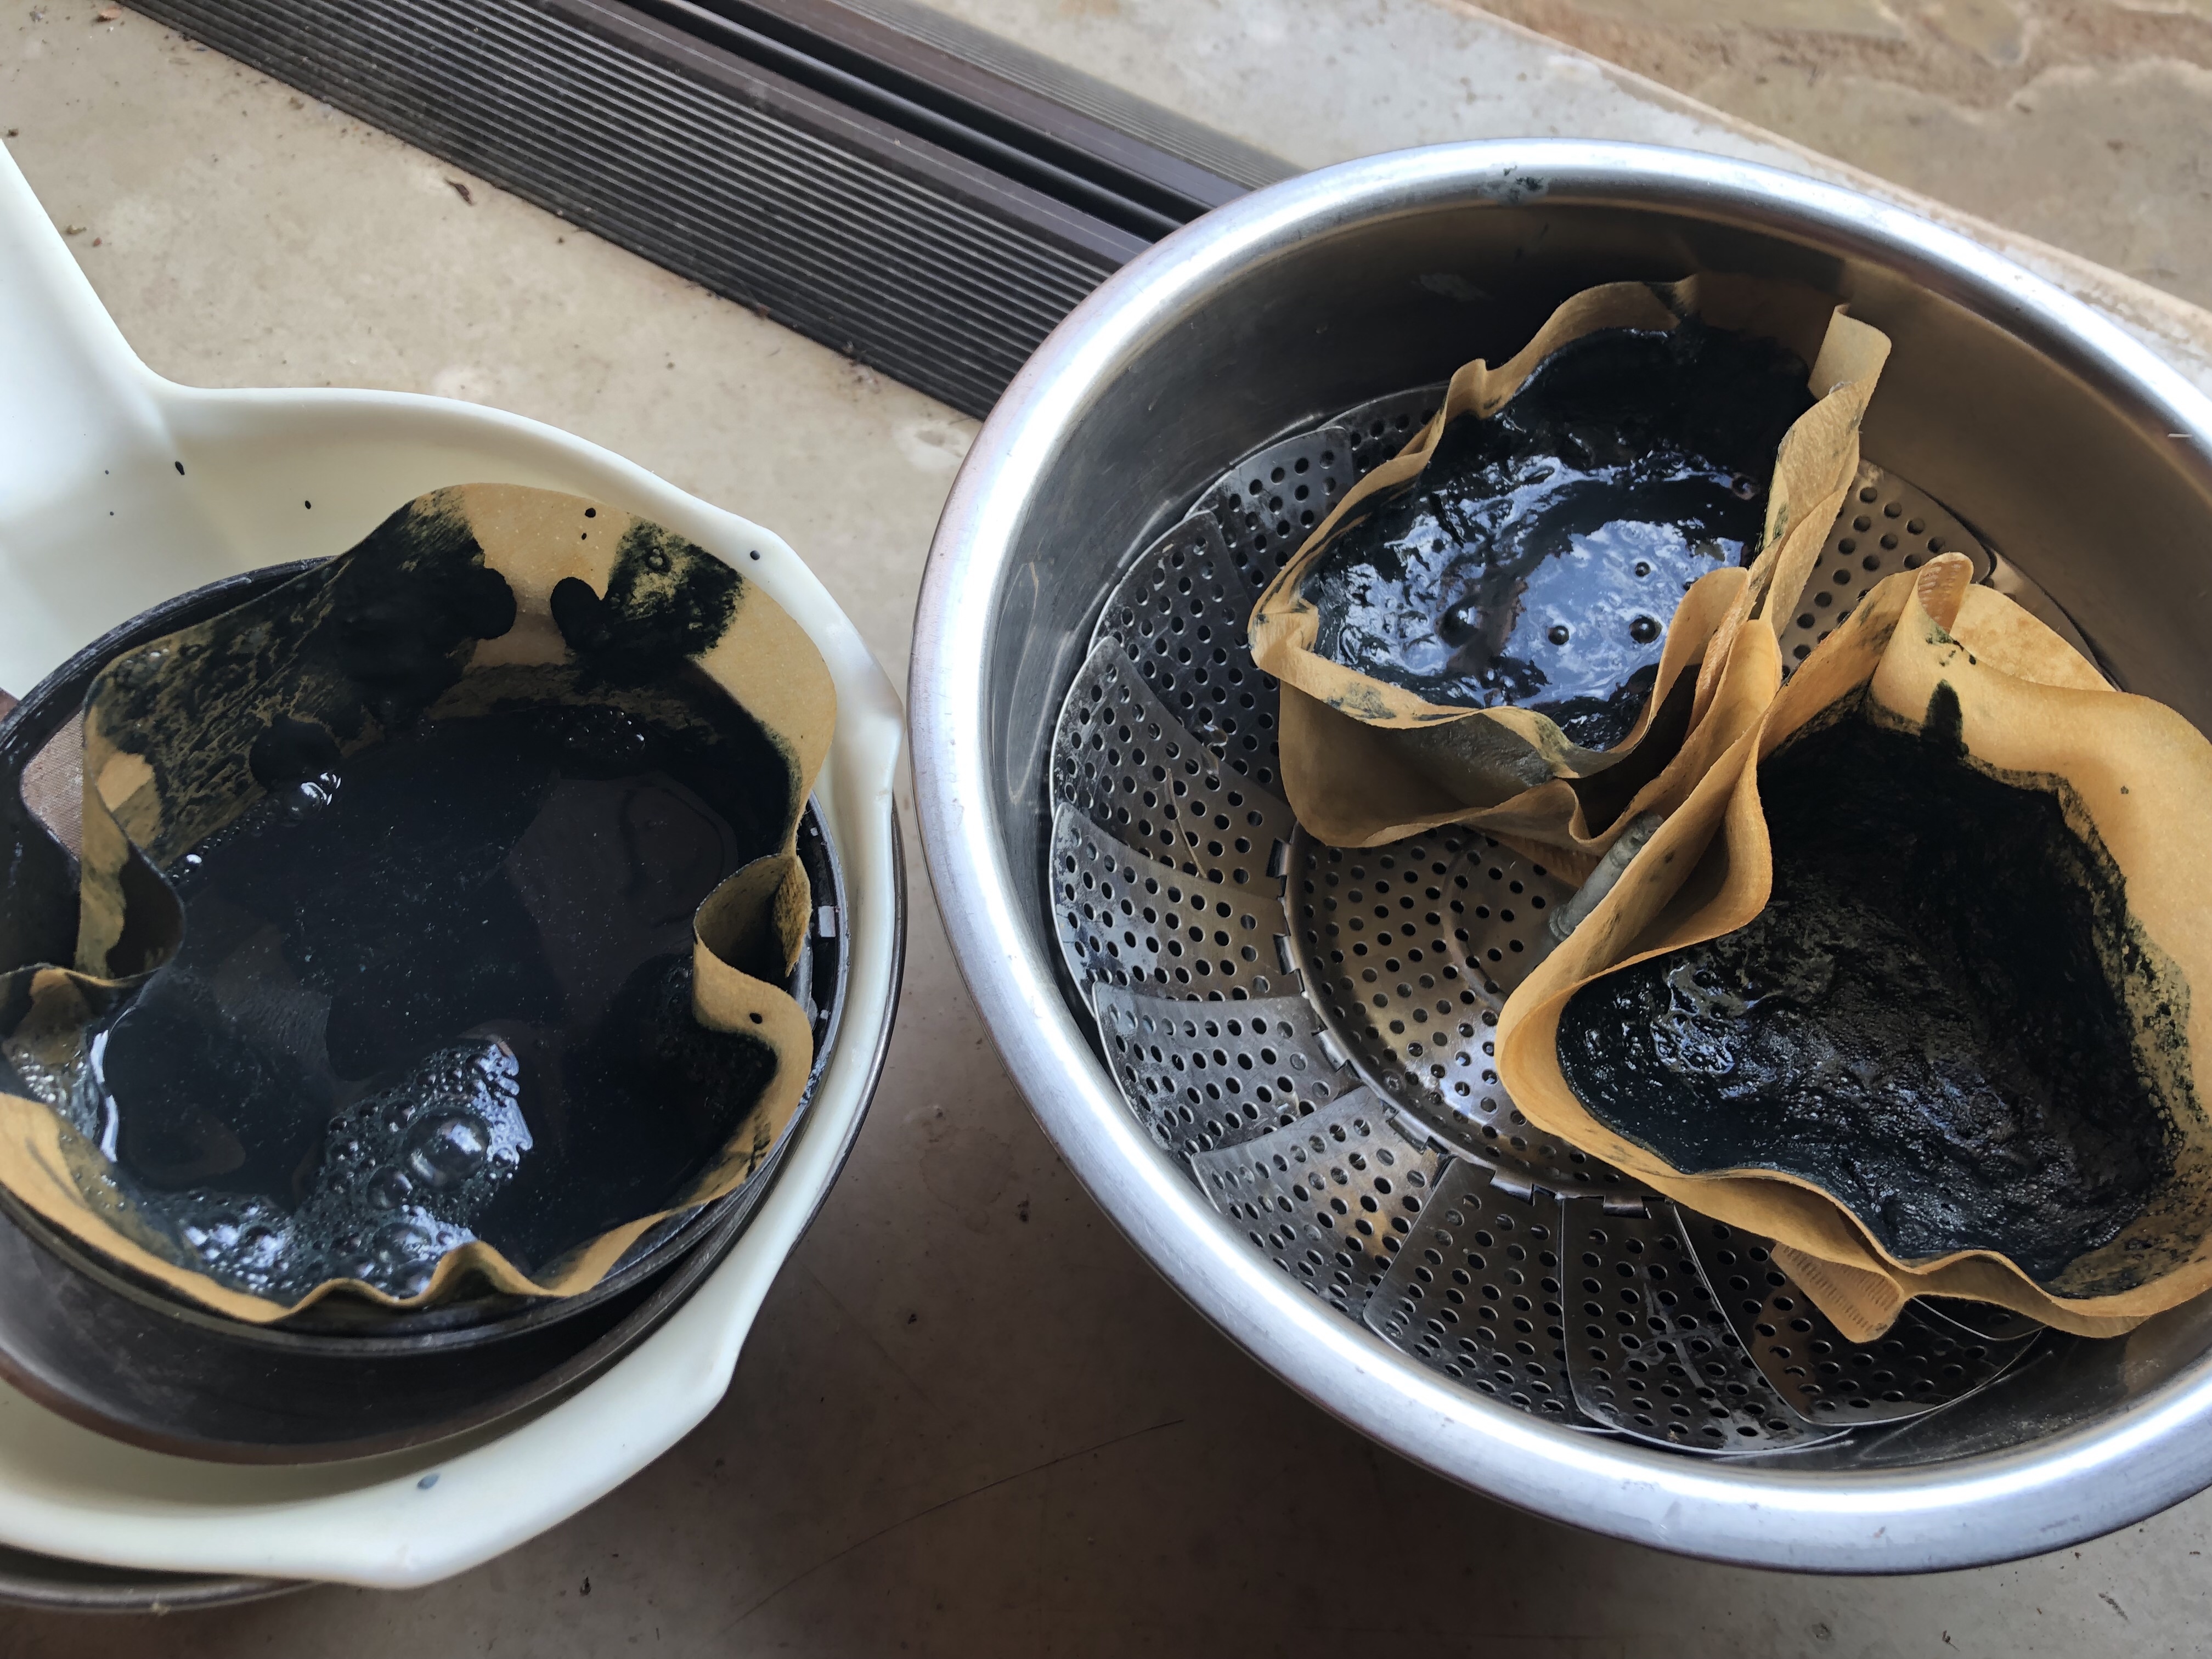
On a side note, I mixed ONLY calcium hydroxide and water and used my sump pump as if I were mixing a flocculation brew to create a test.  I washed it about four times and did see a major reduction in calcium carbonate volume. My observation is that I had the greatest reduction with the 9% vinegar after two washes.  Wash 3 & 4 worked but just seemed like extra effort just because I could. Unfortunately, at that time my mom was having a round of health problems, so I did well just to complete the vinegar washes and capture photos.  My intent to measure reduced volume each time was thwarted by real life outside the dye patio.  Sometimes I just had to walk away from the dye patio process and leave everything to wait for me until mom was cared for.  But visual observation of the process showed the reduction was substantial despite the lack of measurement of the process.

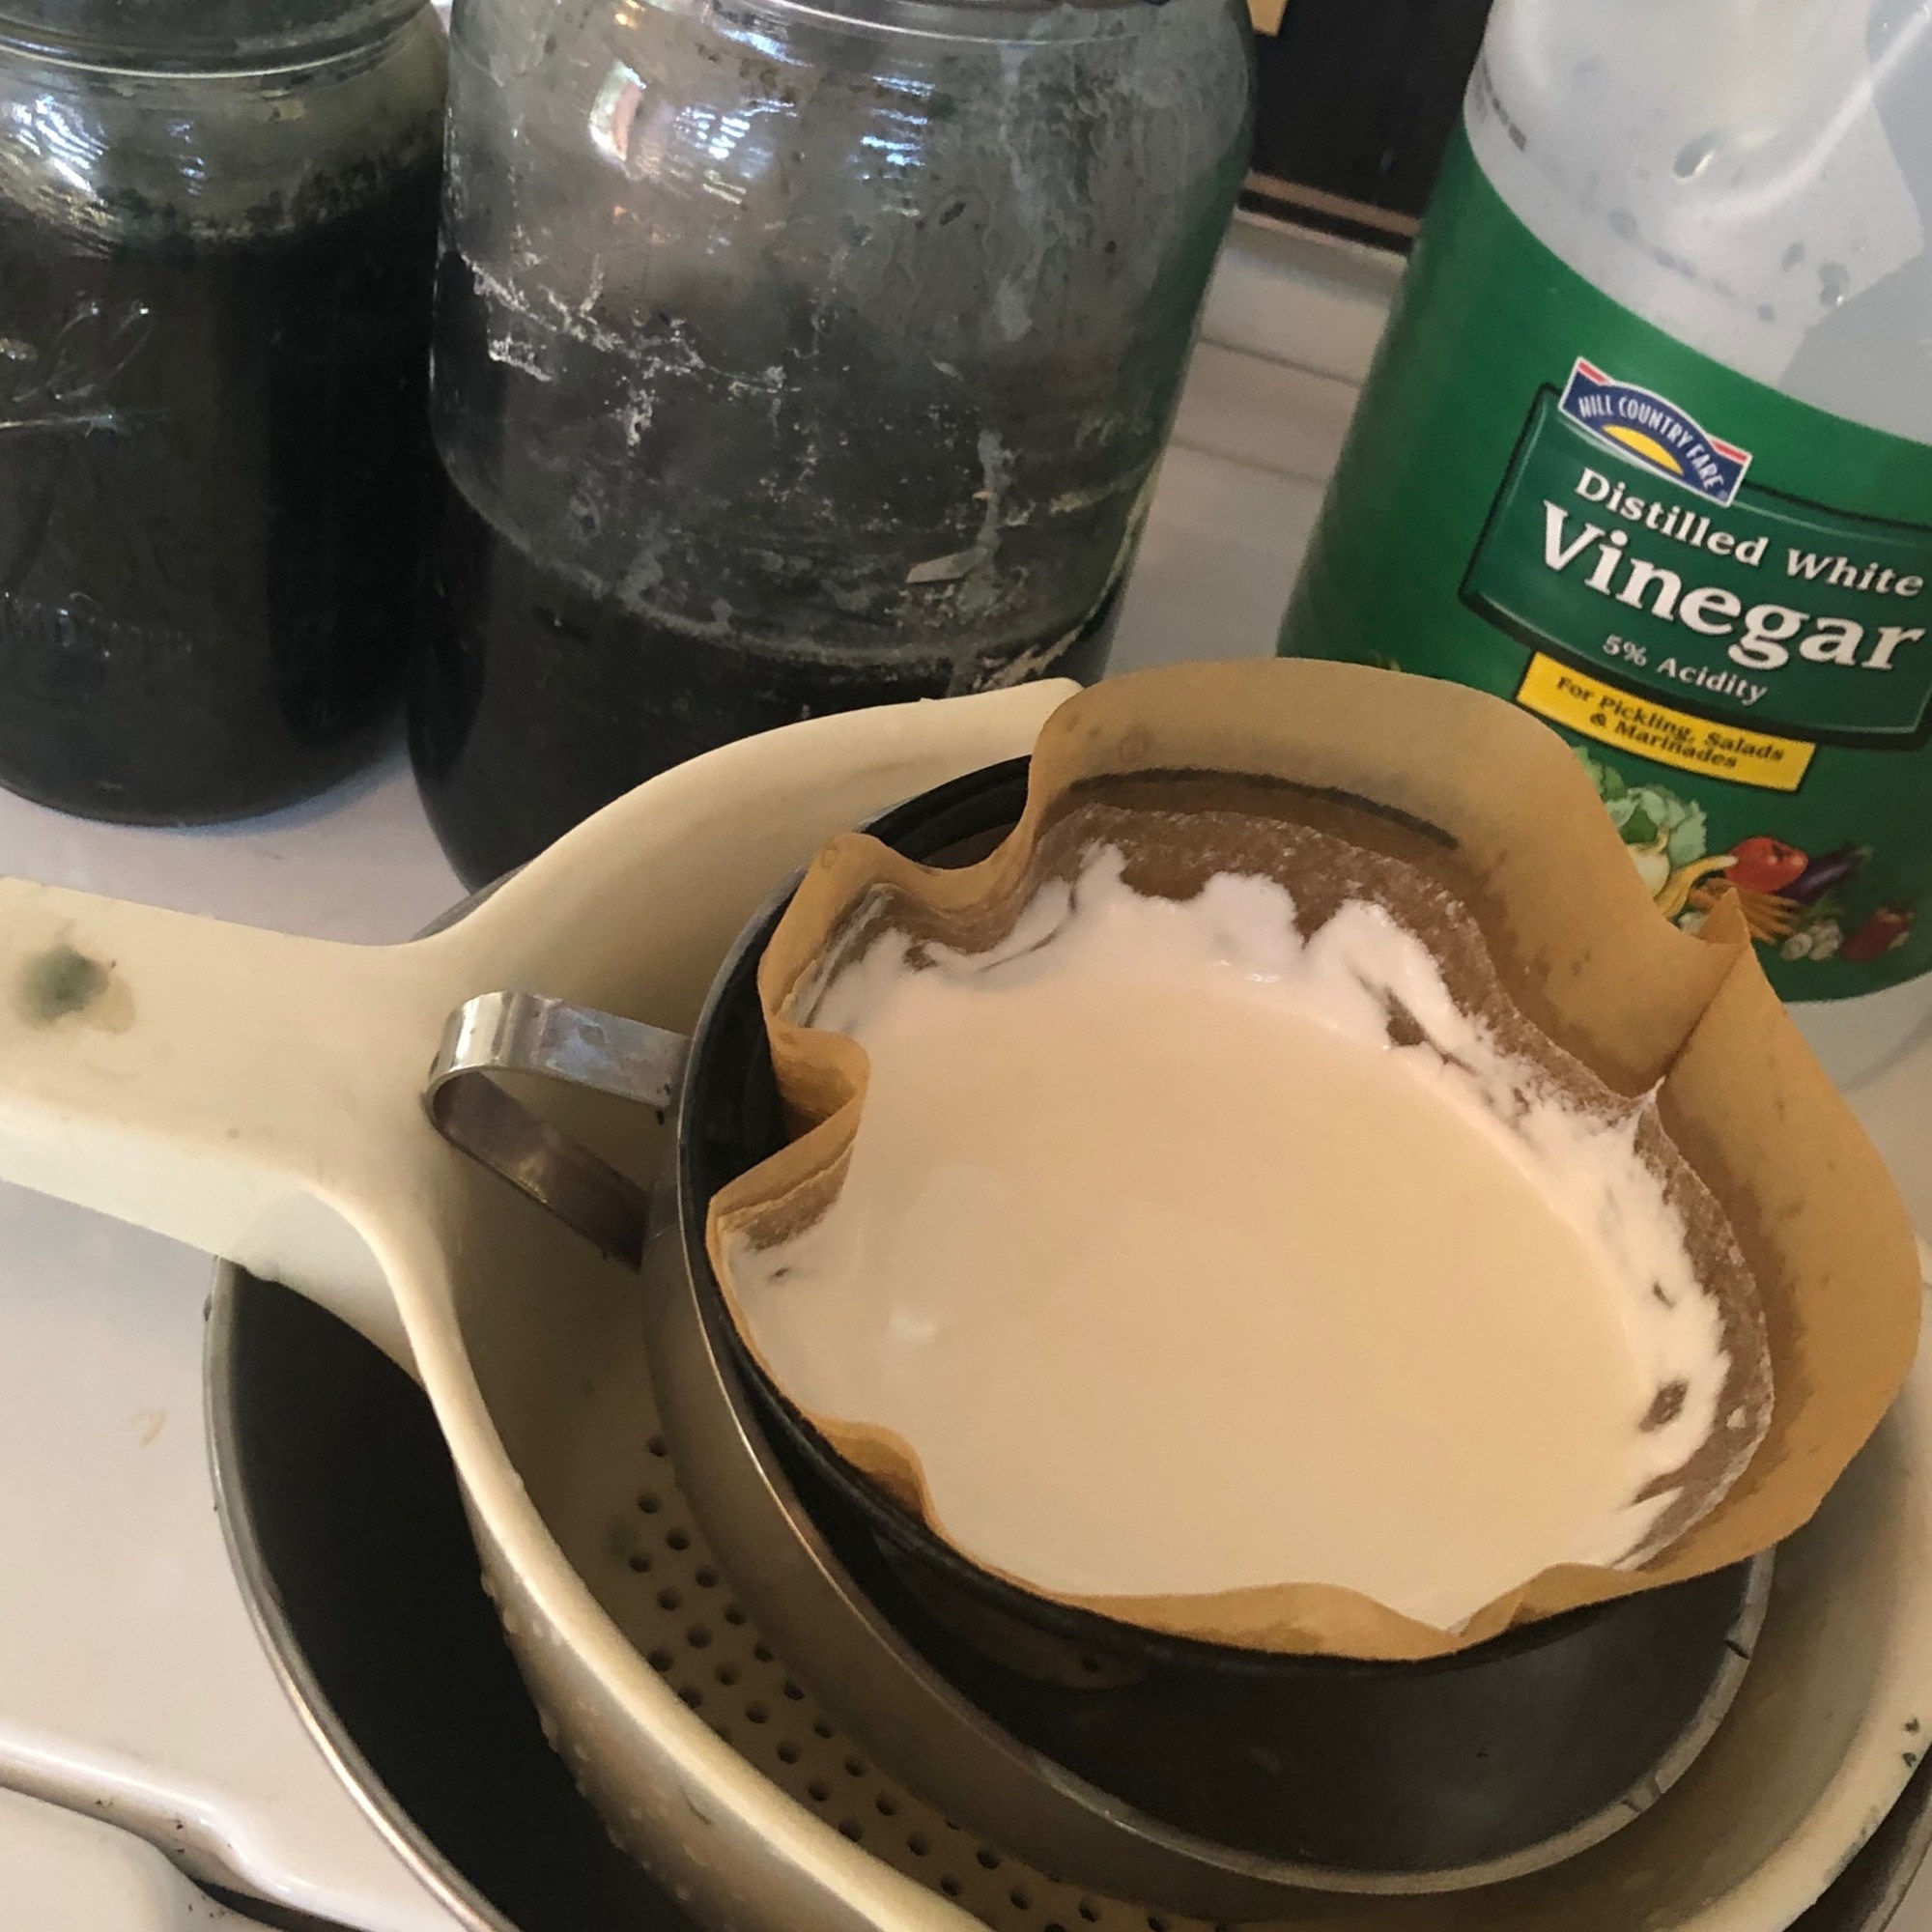
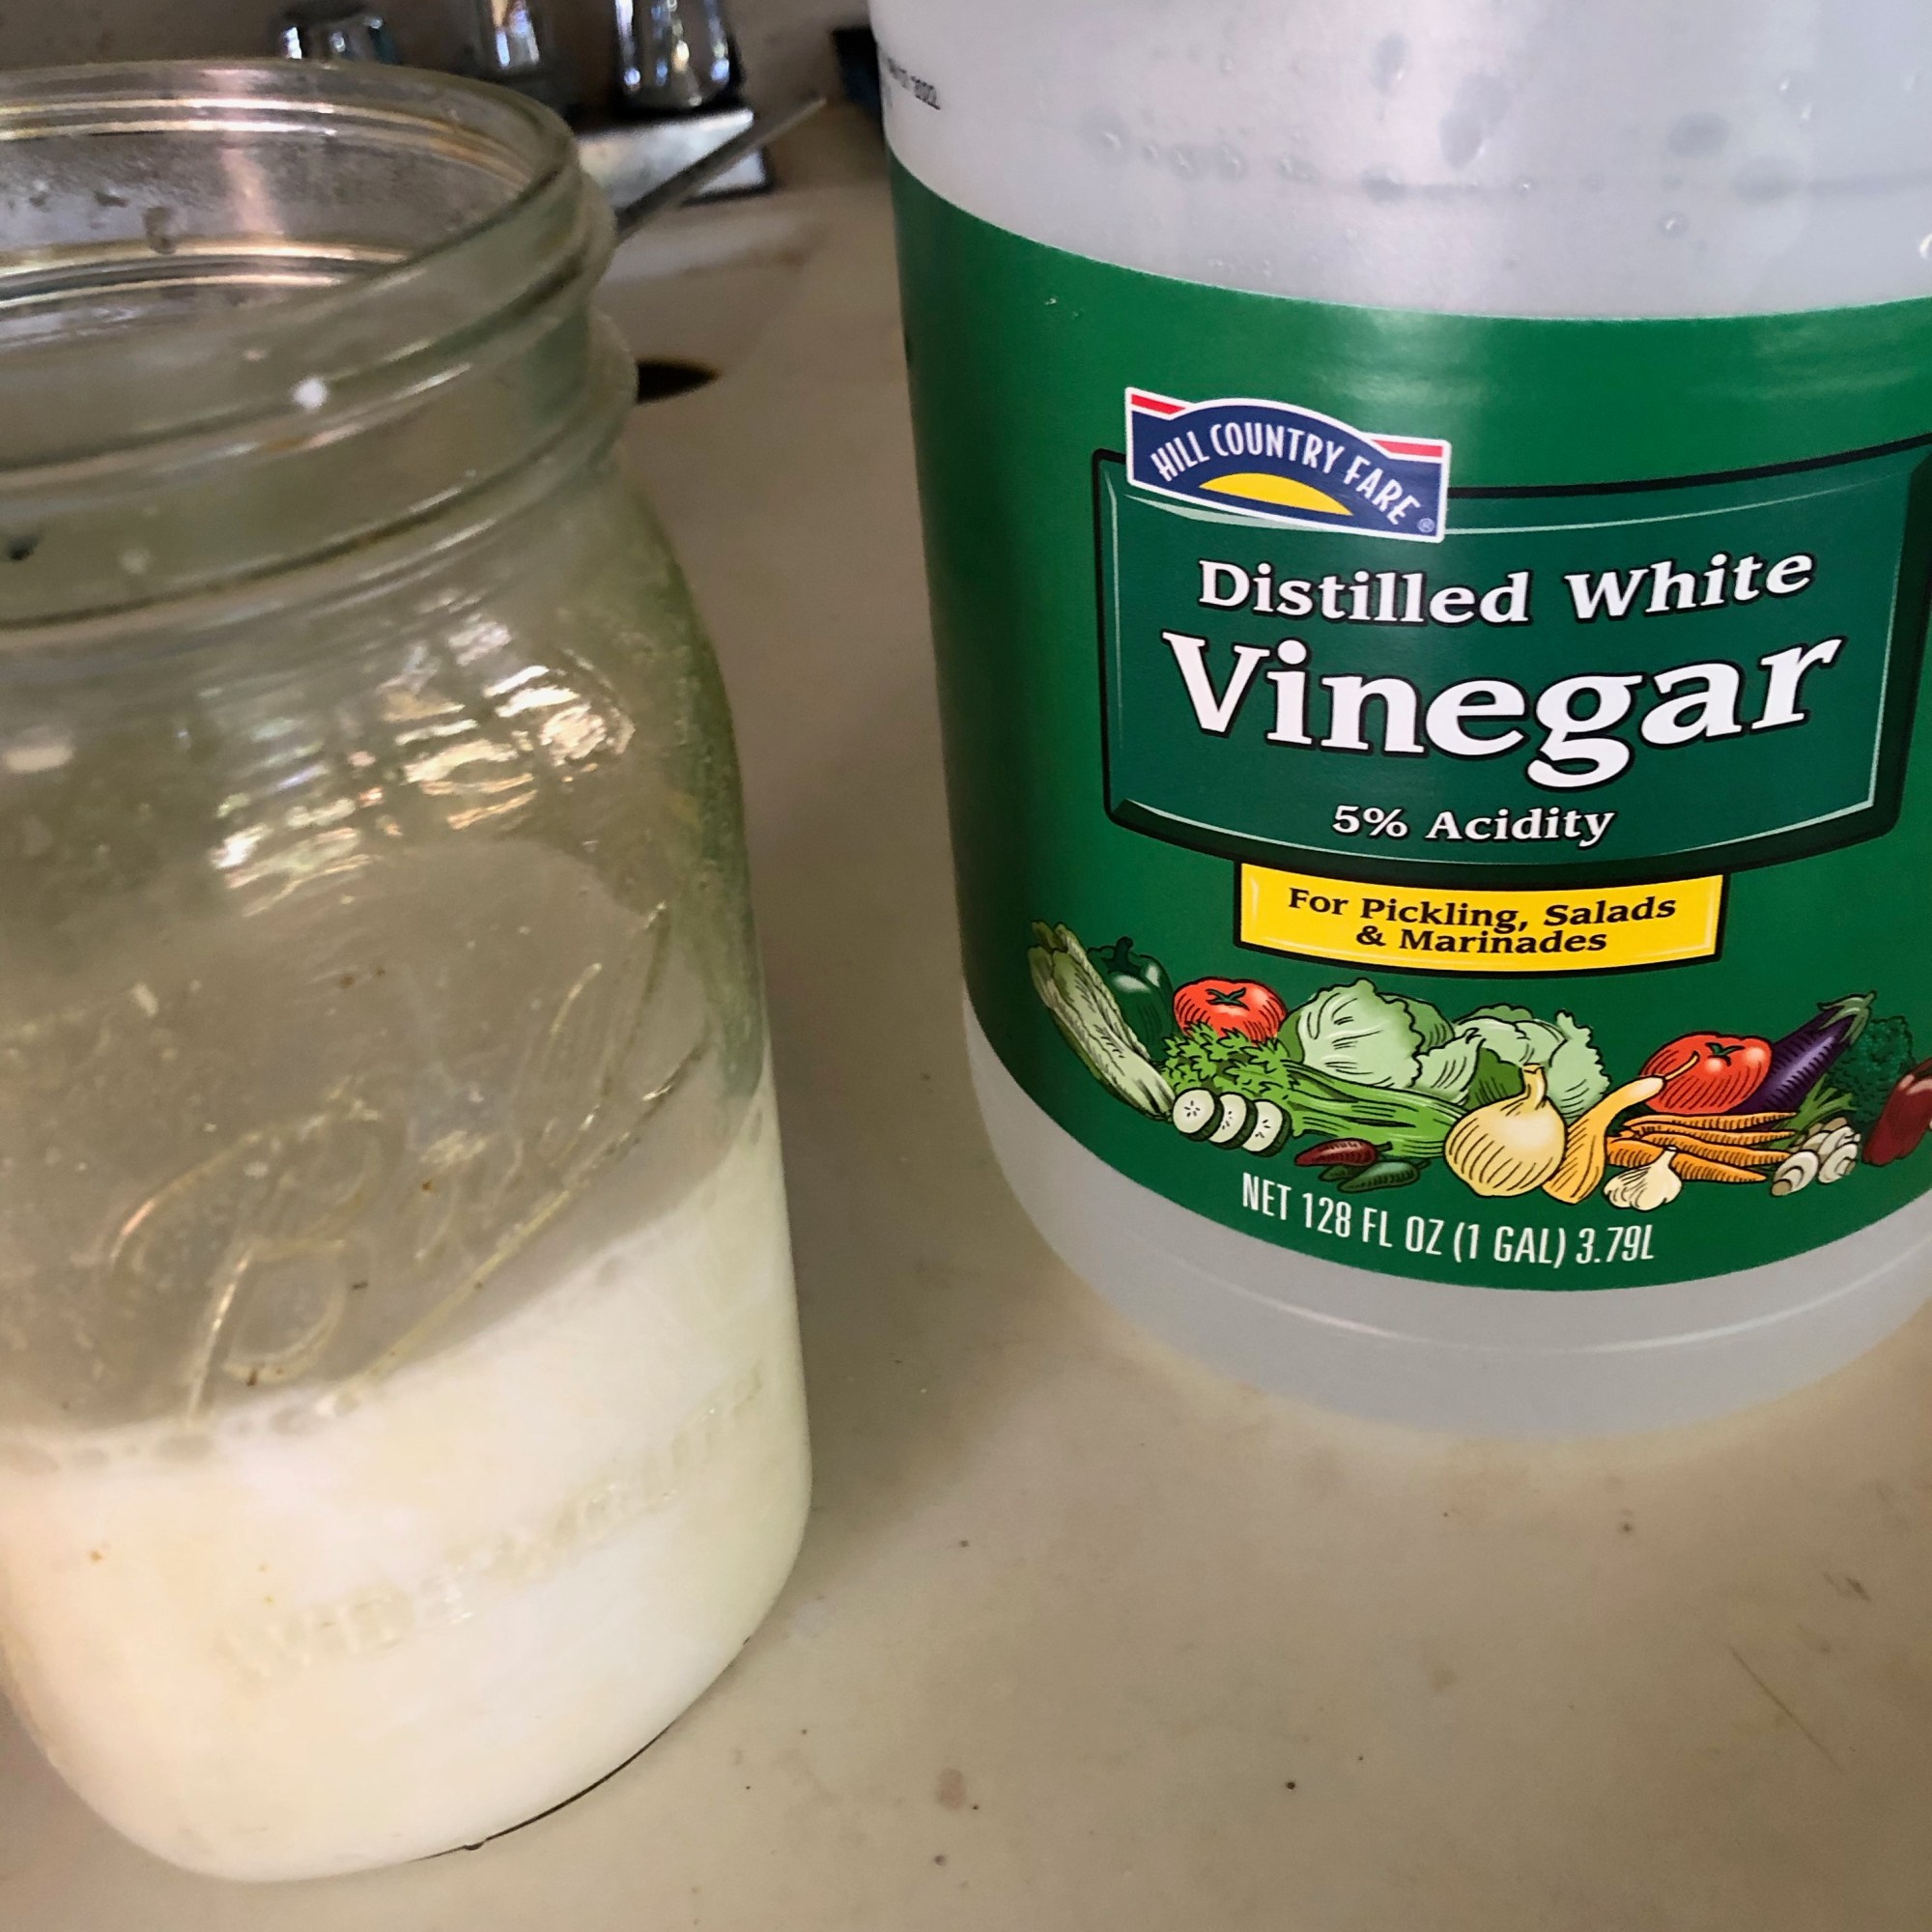
Watching the vinegar work on the calcium carbonate

 Two Looms was very generous with information as to how they clean their indigo with citric acid or hydrochloric acid.  However, we are on a well and septic system with direct discharge to the Pedernales River and I felt like that journey was beyond my chemical skill set, hence 9% vinegar. I haven’t tried 20% agricultural vinegar but it is definitely on my list.  I need to investigate safety measures needed for that level of acid and recommend that one check the MSDS data to understand the risks of 20% agricultural vinegar.  It is a chemical that can hurt you.  Nine percent works just fine for me.  We are sitting on alkaline limestone, so I don’t feel real bad about discarding vinegar dissolved calcium carbonate water into our natural system.

I found 5 gallon buckets and the Dudas 25 micron filter really useful for washing the pigment in manageable amounts.  I usually wash it with a 3:1 9% vinegar to water at least twice AFTER the normal filtration is done.  I found the wet paste mixed well with the vinegar brew.  One learns to mix the vinegar in slowly or you get the lava foam effect and can lose solution from an overflow accident.  Keep an eye on the foam reaction.  That is the vinegar hitting the calcium carbonate and dissolving it.  This is a good thing except when it overflows your filter.  This step takes time but if you’ve been extracting indigo from your leaves you aren’t in this for a quick process.  

The benefit of washing with vinegar means I am not storing wet paste and the dried and washed pigment is MUCH easier to grind.  The volume reduction is significant between wet paste and dried pigment and does not require a refrigerator or extra storage space.  If you do the math on my chart above you’l see that I had a 60 – 90% reduction in volume.   Here is a link to a YouTube video on my vinegar washing, you’ll bounce over to YouTube, sorry, WordPress changed some functionality and I could not get it directly into my blog. This gives you a view of how I wash my home grown indigo and ALSO how I wash the Big Jar at the end of the season to retrieve my indigo for the next solar season. I learned about storing mud from one season to the next from the indigo masters in Sapa, Vietnam who were very genorous with their knowledge. I met them thru Above The Fray – Textile Travel, a great journey with friends a couple of years ago.

I’m glad I went to the trouble and expense to separate out batches over the season and get the analysis of indigo content.  My next step is to compare my dried leaf output to the wet extraction to get a general idea of what 100 grams of dried leaf indigo gives me compared to my pigment. More math is in my future when I am in the mood.

This was an extremely long blog entry.  Any suggestions, questions or comments would be most welcome.  Deb Mc

IS & JI planted, add water & wait for heat

5 Jun

This week we hit 100+. I’ve finished as much planting as I can in Fort Indigo. The fences have been newly painted and hopefully will withstand the armadillo and possum incursions for grubs. The indigo bed was enlarged at the expense of a madder bed. This year I am mixing Japanese Indigo and Indigofera Suffruticosa in the same bed. The IS will shade the JI and the two have played well together when I trim the IS limbs up. Plus I have the added bonus that the JI beta enzyme appears to work with the SI leaves when the two are crushed together. More on that later this season.

Smaller earlier planted IS compared to spoiled IS seedlings held in pots to grow.
Before the mulch the plants, both IS and JI, are placed by irrigation emitters to ensure water available in the hot season
Mulch in place, fence in place, now we wait for growth to kick in.
For comparison, two & three year IS bushes happily growing under the eaves facing East. Note the new seedlings for this year.

So, if all goes well I will continue to practice with my indigo extraction and blender vats this summer. And, even more importantly I will have an Indigofera Suffruticosa seed crop this fall.

When one experiments

22 Aug

I was trying for indirubin red with Japanese indigo….no success…yet!

Fresh leaves-chopped

Bring to boil in double boiler-will push to grey

Add the cloth as water bubbles, cloth should turn red as bubbles hit cloth.

Notes also said add more vinegar to push the red.

Now….no red but a very good moss green. Lightfastness still to be tested.

Samples

V= left overnight in vinegar

O= left overnight in JI stew + vinegar

Right hand sample pulled from pot & rinsed immediately.

Negative research is good. I will try again with a different method. This recipe boggled my mind as I don’t think of a process of Japanese Indigo with boiled water.

July 2019 Japanese Indigo Harvest

24 Jul

It is time to harvest my Japanese Indigo before the Texas August heat. I am definitely a small grower, dependent on irrigation & sun shield fabric. My indigo bed is about 3 1/2 feet by 14 feet, it is not huge because my shade & irrigation lines limit productive garden. Plus I have to protect from “the diggers”, armadillos. Hence my desire to dry leaves, it is works for my pace. As an aside you can see my madder root which has a reckless disregard for the Texas heat & armidillos trying to breach the indigo fort.

I prepped 10 bundles to dry. This week’s weather is perfect for drying, hot, no rain & moderate wind.

My dye patio shelving does double duty as drying rack. The green fabric protects the “greens” overnight. We have racoons. In a couple of days the bunches will be dry enough to strip the leaves easily and store in bins for final drying for storage.

The bed has been watered and resecured. More will grow & I will harvest again in late September.

New tools-Dried Indigo

27 May

I’ve shared photos of my Japanese Indigo leaf harvest before so some of this is repeat for some readers. For other readers this is worth repeating. My Japanese Indigo crop sprouted in February, way early for the Texas Hill Country. Sprouts came from discarded seeds and root stock left on the ground last season. This bonus crop is now in the way of planting new seedlings. So time to try new harvesting tools and drying methods with this bonus crop. I can tell by it’s height and leaf size as it goes to seed it is not as vigorous as new annuals. So it needs to clear the way for this year’s seedlings.

I have electric clippers that I use in garden trimming (arthritis slows me down). Will they work faster than scissors? Caution….

The clippers worked well. I tried drying the leaves in the same set up I have for a different Indigo but I went back to my bundle and hang method. Why? The May winds blow over my temporary setup. For now, I’ve secured it to a gate. There is no wind to contend with in August and September when I usually harvest. Remember….bonus crop due to the Texas rains last fall & late winter temperatures.

A couple of days will render these bundles to a dry level that will enable me to easily strip off the leaves of the stems. But one always looks for alternatives in one’s circumstances and environment.

Work Before the Dye Pot

3 May

“When Life Spirals Out of Control” series

You carve & create the stencils

You create the paste resist from bran & sweet rice flour & steam it. That was yesterday’s project.

You prep the fabric, should have done this while paste was steaming.

You lay the paste down, carefully & slowly.

And go on to the next piece….notice I am not to the dye stuff yet. That was grown, harvested & dried last year.

Will allow to dry overnight, then on to dye pot.

Gasp…Japanese Indigo in mid-March in the Hill Country

24 Mar

Truly unusual, indigo in mid-March. When I left on my travels in mid-January I noticed that, for the first time my Japanese Indigo had sprouted on its own. In January. I figured it would freeze back, but come mid-February it had grown well and was holding it own. I left the country again thinking our late February or early March freezes would put it in its place.

Well, I am home now, my husband did defend the plants thru one deep freeze (serious husband points) and the indigo is thriving, even blooming. Normally this time of year I would be turning the soil, enriching it, placing the drip hose and eyeing the seeds figuring out when to start the seed packs.

So, now what do I do? Let it continue to grow till it hits a foot and harvest it? I am tempted to do a pigment extraction. I usually dry & hold. Suggestions are welcome.

This is truly a bonus crop from last year’s seeds left in place. We still have cricket season in the near future. If I do see cricket chomping I will harvest. In the meantime I will dig out my seeds and prep my seedlings to drop in between these early bonus plants.

Winter Garden Chores

12 Jan

Temps here in Texas are just weird this season. Japanese Indigo seeds are sprouting early. Never have they sprouted in January.

Madder root are poking new shoots out rather than going dormant. Mid-January is just not the time for this dye plant behavior.

Being the weather opportunist I had Emerald Landscape local folks out to pull a large perennial flower bed which was past its prime, weed & layout a pad for an indigo pot work area. More to come on this pot install journey later.

After 10 years here our rosemary had gotten old and overgrown and needed to be pulled. Since John & I have also gotten older as well the day of garden muscle help was most welcome.

Since I did not have to wrestle rosemary bushes out of the ground I used this wet day to trim back madder root away from acanthus bushes and save the roots for dyeing. I hate to toss red roots. The gardeners think I am nuts.

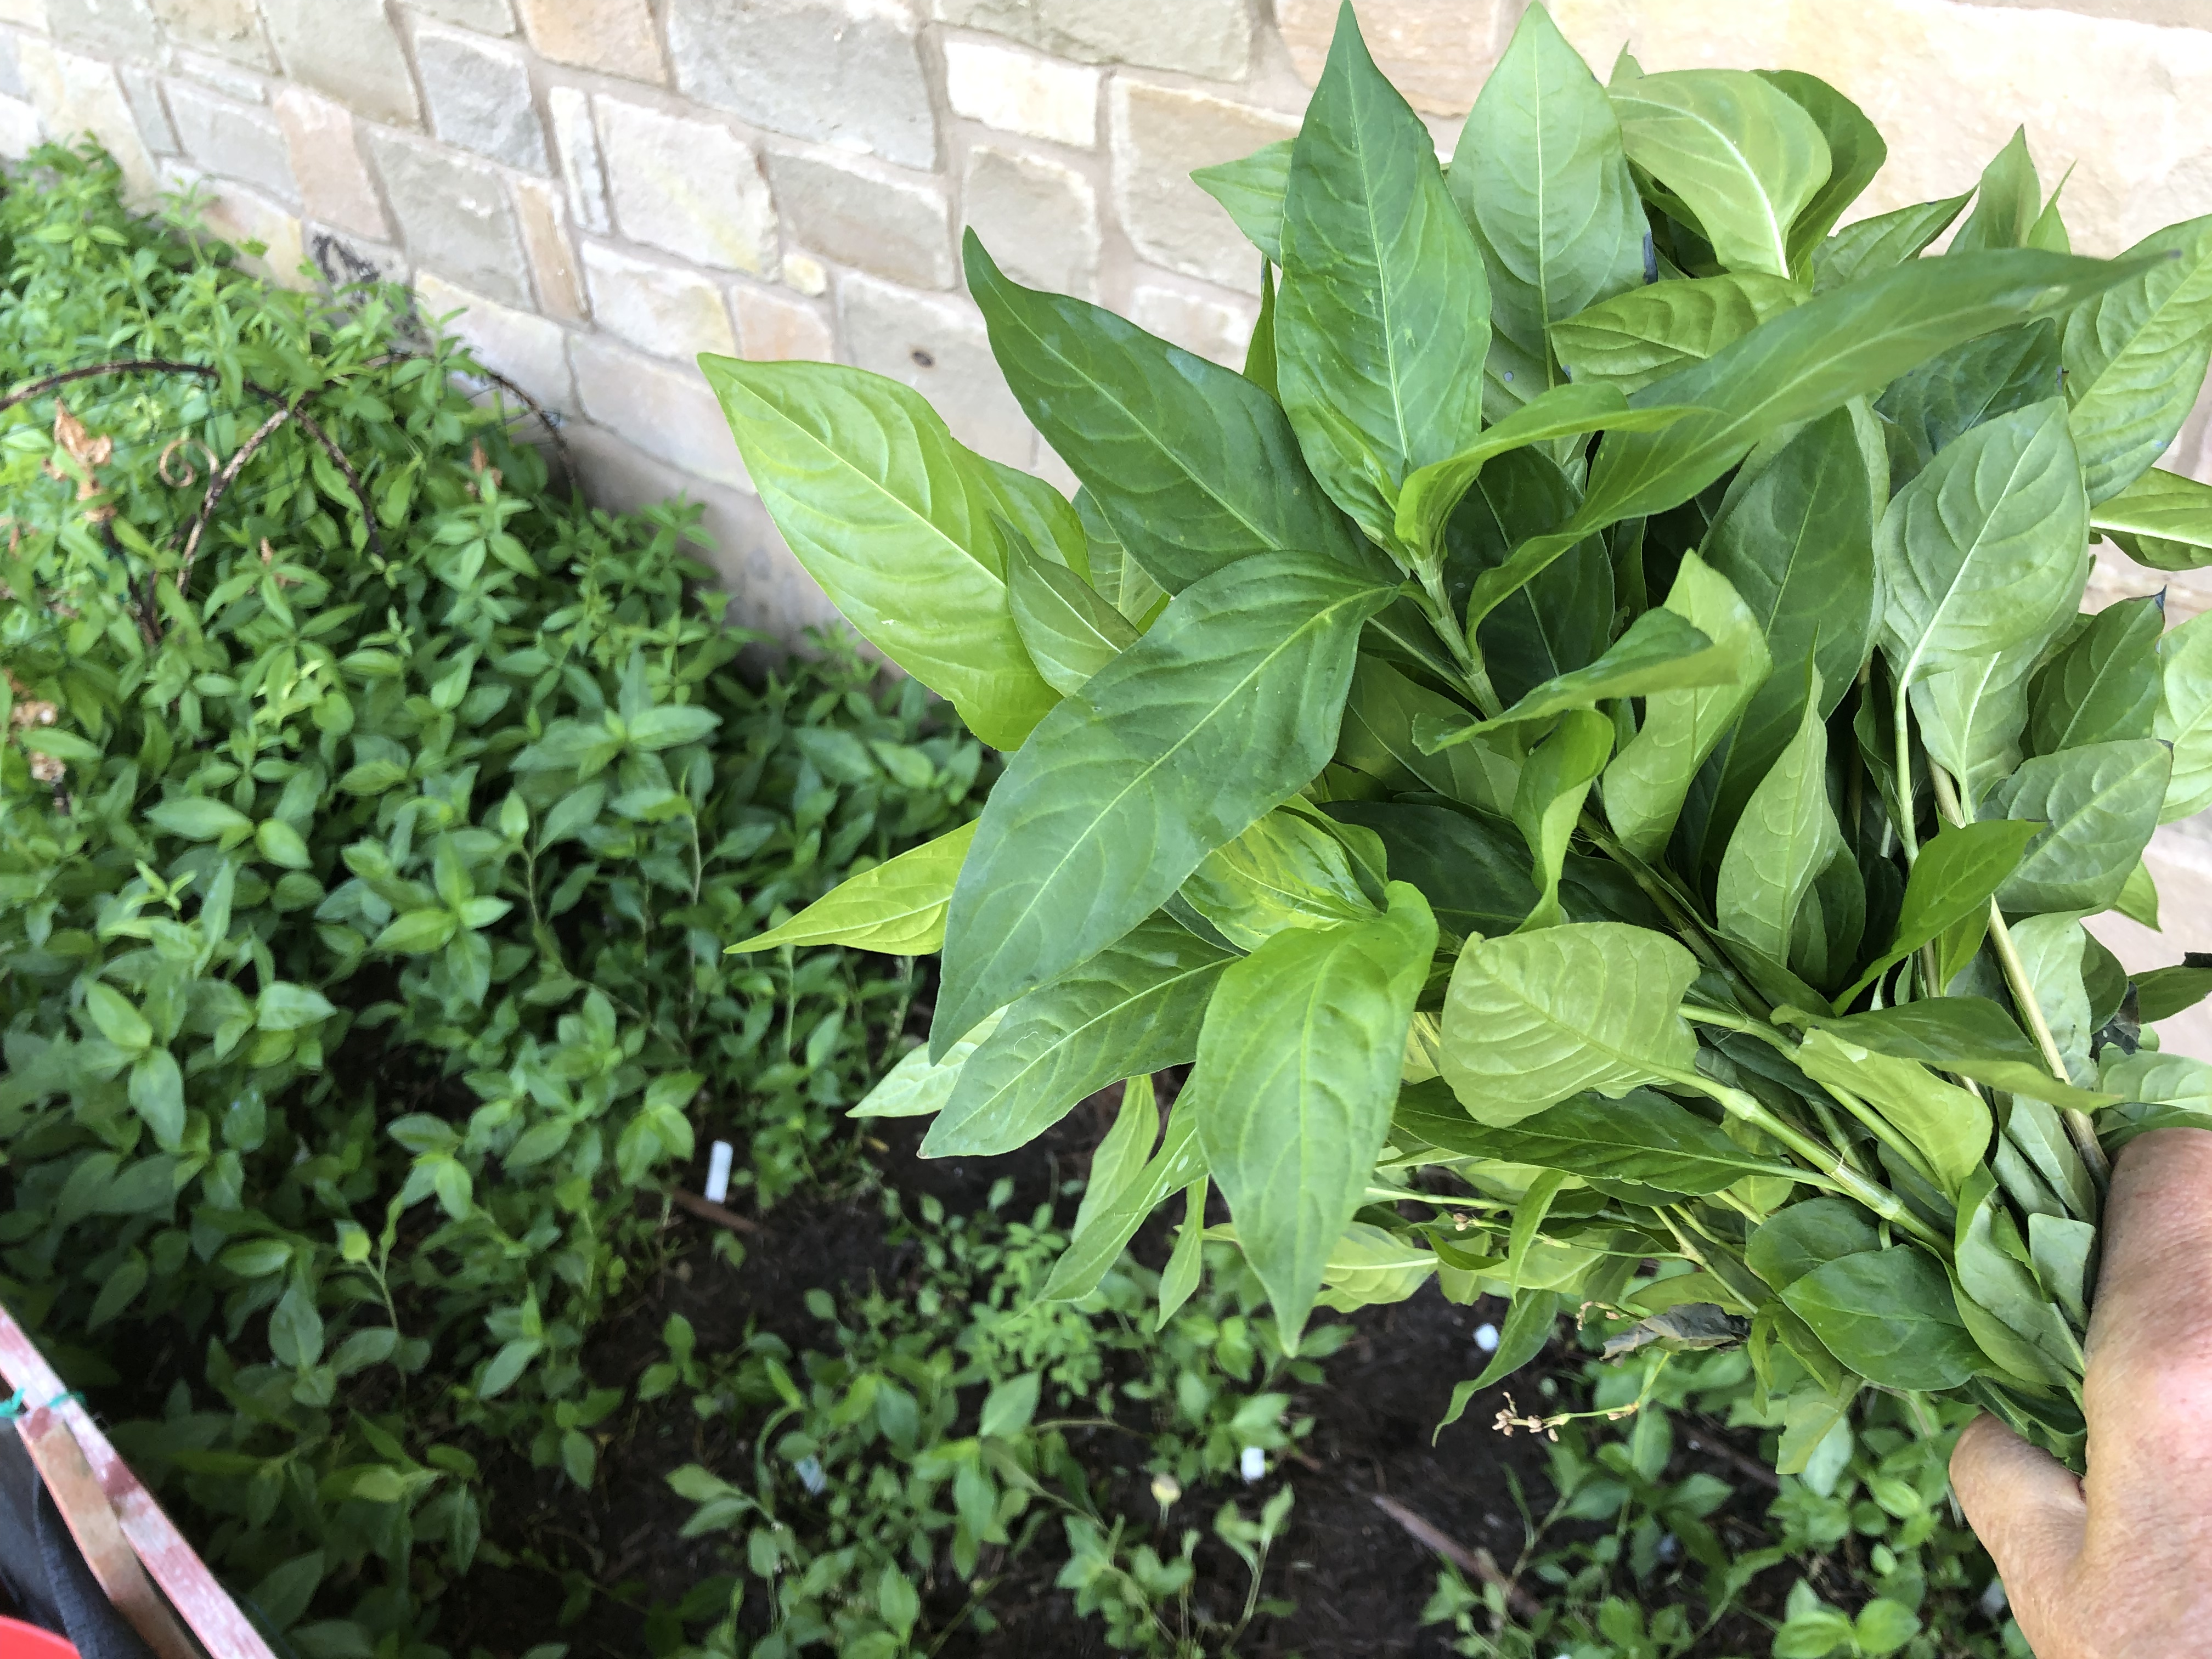
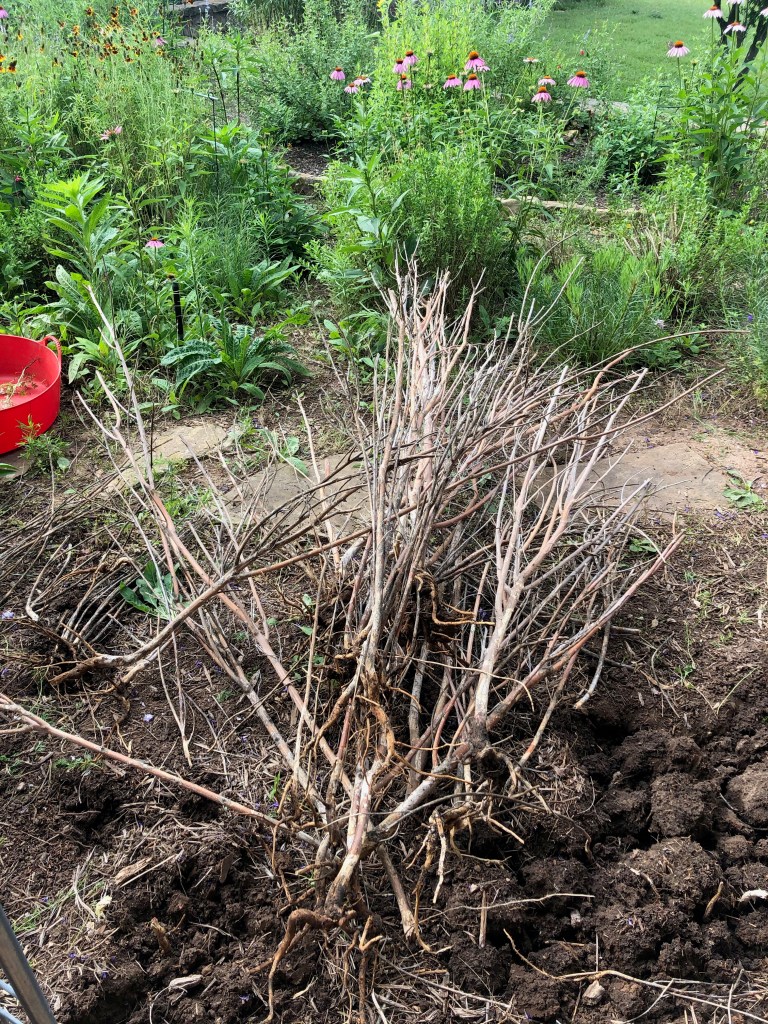
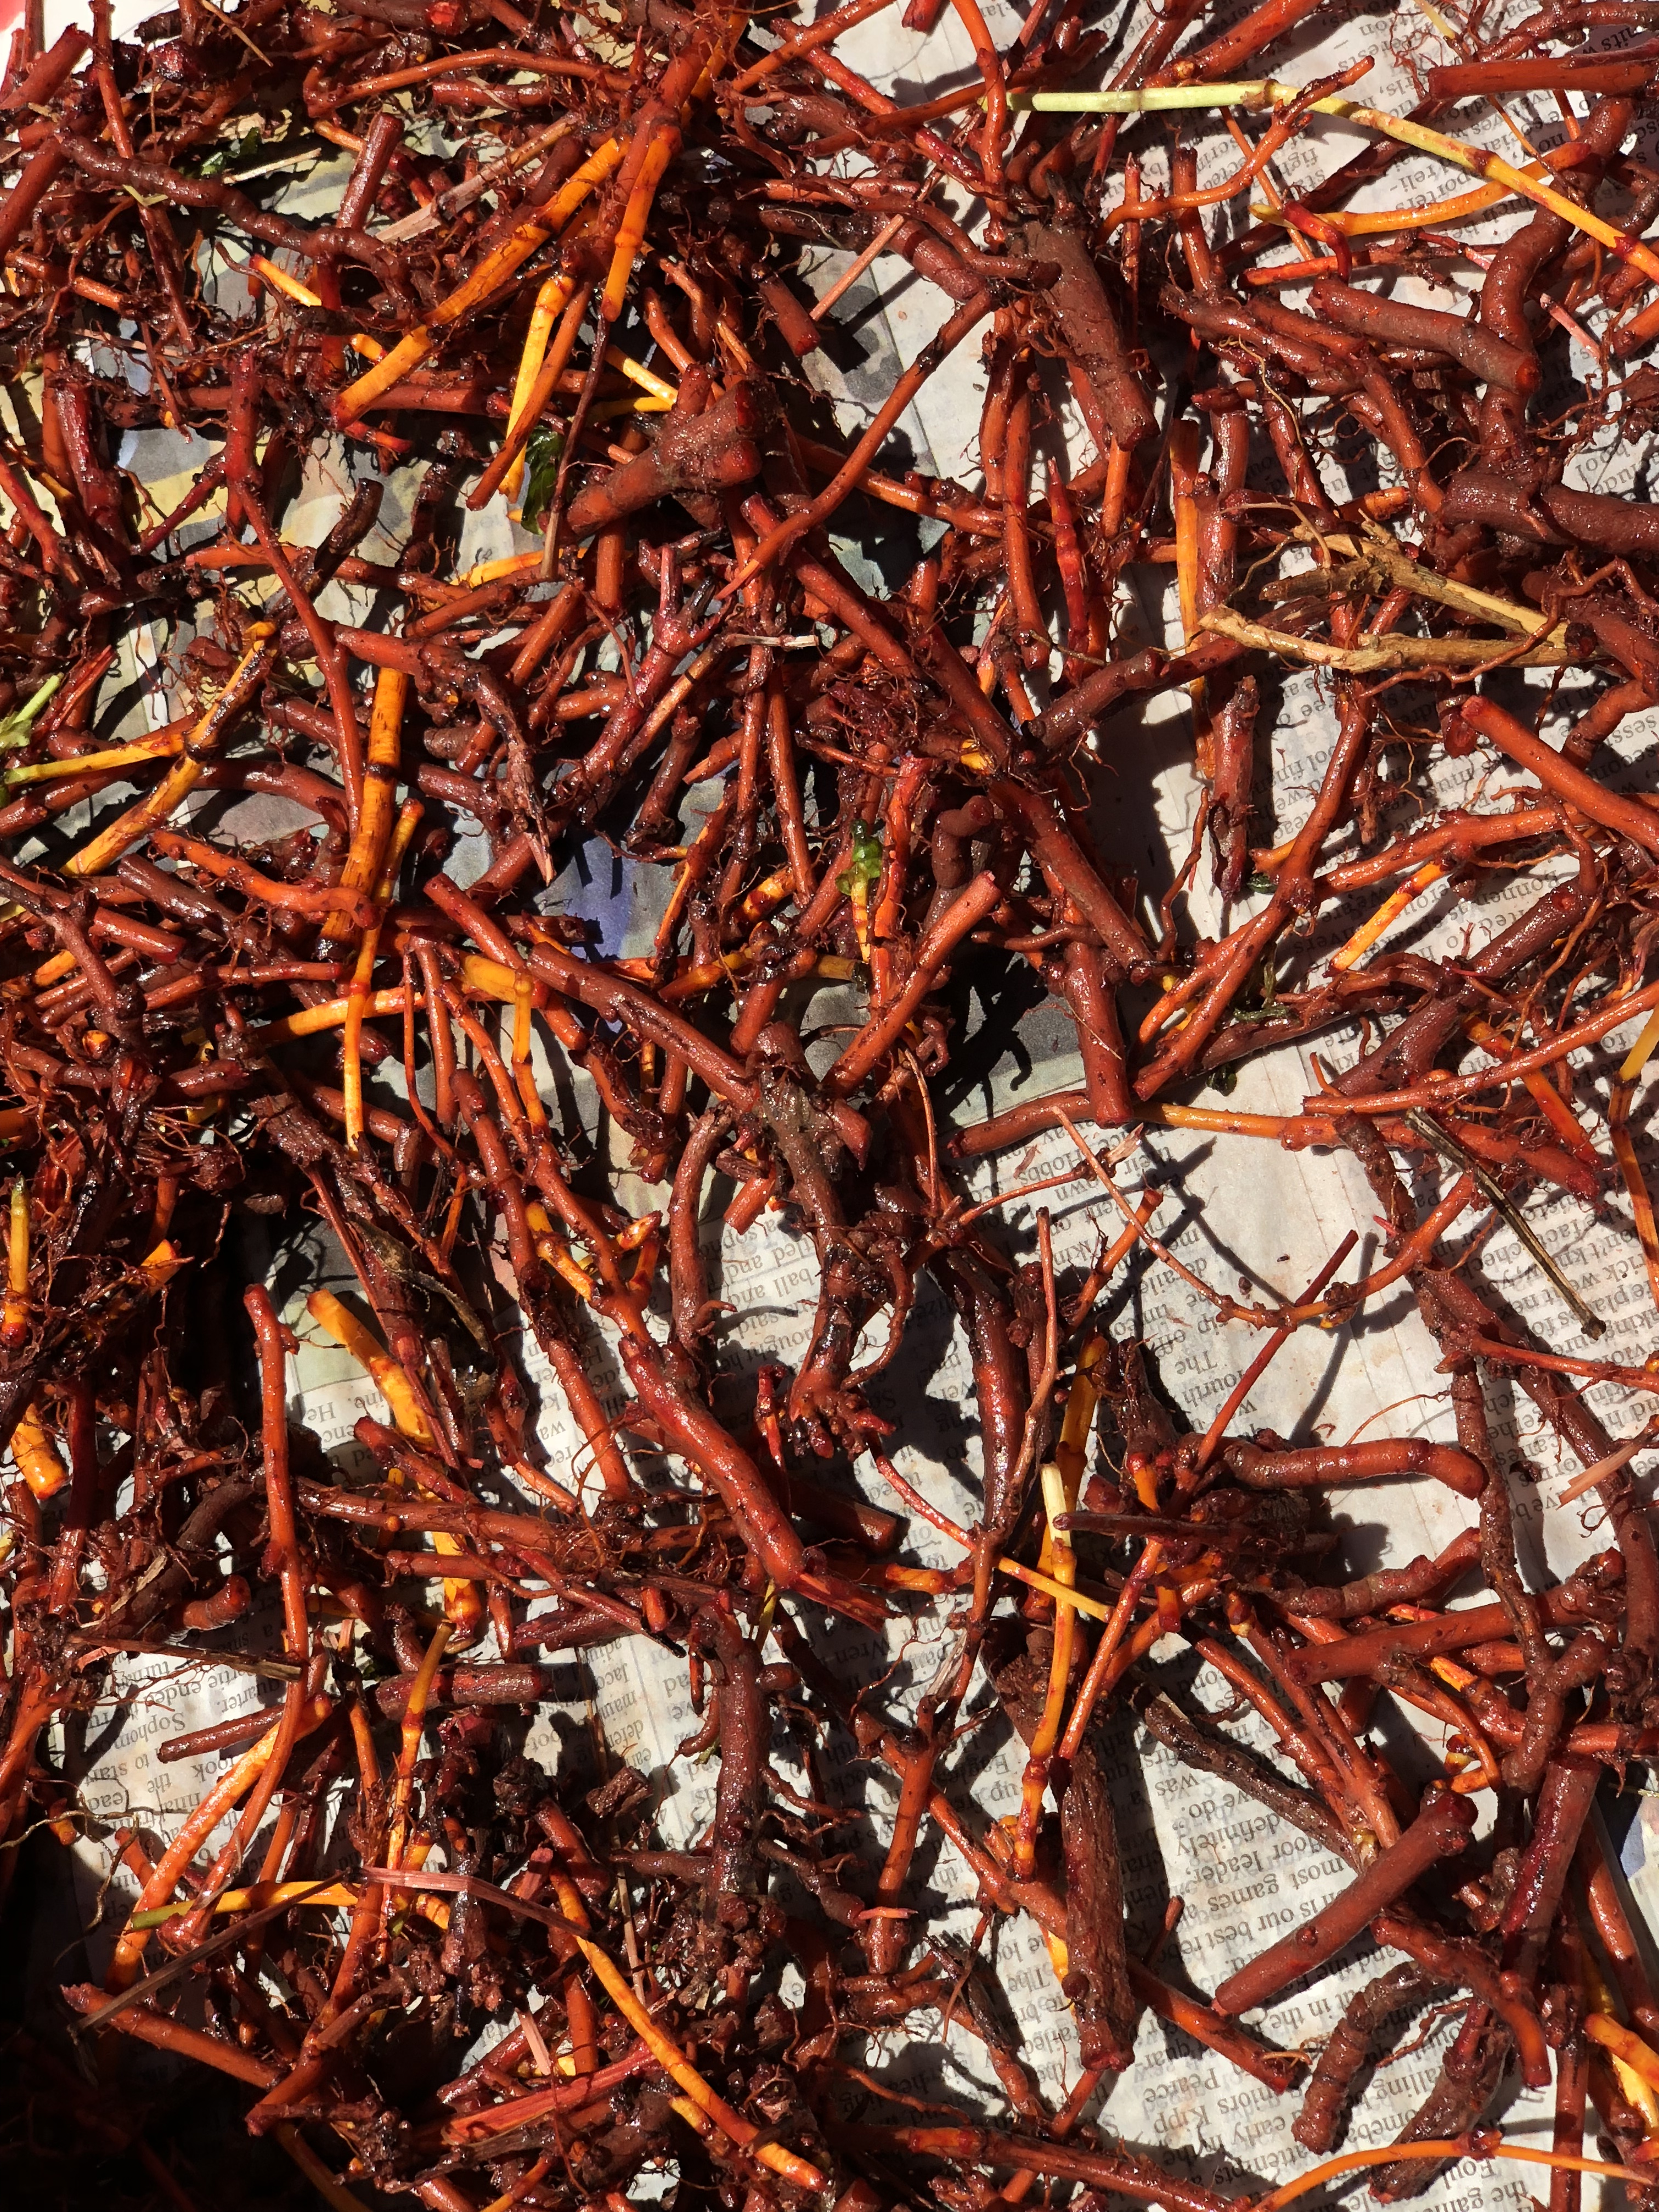
Here are the roots after cleaning. I will let them dry for a couple of days and then cut them smaller for further drying.

The garden bed is now prepped for the 3 year root harvest. It has been 4 years since the last harvest. More to come on this harvest later. Where’s my pitchfork?

Indigo Growth & Texas Temperatures

5 May

Short Summary for those of you up north planning to start your Indigofera Suffruticosa seeds – wait for warm sunny days or use a heat mat but don’t get cocky and plant outside too early. The Indigofera Suffruticosa is a southern hemisphere plant and demands those warmer growing conditions. It will reward you when those conditions are met. If after reading this you still want to buy some Indigofera Suffruticosa seeds pop over here for the shop link. SOLD OUT FOR 2018!

Folks are surely aware of the long winter up north this year. In Texas, we had an early March warm up to 80 degrees and then a temperature dive to mock us. Now, a “temperature dive” here in the Texas Hill Country means 50-60 degrees as opposed to the 70-80 degrees that are usually present in April and May as Mother Nature reeves her engine up in preparation for the 90-100 degrees in late May and June. Different perspective on heat for growing temperature depends on where you live.

During the March/April early warmth of 80 degrees on March 17th I tucked in my Japanese Indigo seeds into their seed trays and started prepping my garden beds.

On April 1st, tempted by the warm temperatures, I planted my Indigofera Suffruticosa into their seed trays.

Both species sprouted willingly in the early warmth and sun and then the temperatures “dived” down to the 50’s and 60’s again.

The weather flipped back to consistently cool and overcast. The Japanese Indigo shook it off and continued to grow. The Japanese Indigo seedlings have now gone on to live in Fort Indigo (secured from digging armadillos) and are to the next phase of cricket and hail survival in anticipation of Texas summer heat. One works for one’s indigo blue here in the Hill Country. Note the madder root attempting to breach Fort Indigo.

The Indigo Suffruticosa (IS) took a stand and just stopped growing, repeat…..just stopped. It did not die, it maintained its tiny height and lingered waiting longly for the sun’s warmth.

It is now May 5th and the Indigo Suffruticosa seedlings have begun to grudgingly grow again with daytime temps of 80 degrees and sunlight. In fact, a IS seedling tray, which was not in the sun, during the early heat never sprouted. Same dirt, same treatment, only difference was the sun/warmth effect.

I’ve also added more IS seeds which sprouted quickly to reward me and am now watching over both sets of seedlings until they reach a height of about 5 inches and then they will be hardened and transplanted out to my garden beds. I do look forward to all the intrepid folks reports from up north that are poised to plant their seeds and see if they can get them to grow. Repeat after me, sun…..heat…..warmth…..place those plants carefully.

I should mention that weld seeds planted in the trays at the same time had the same growth behavior. Sprout, grow, stop and hold. The weld will be planted out this week as weld dies back when our region hits the 90’s. Their life cycle is fairly quick due to the heat. Early Texas spring (whenever it may be) is the weld’s favorite season. I have about decided that with easy access to the Texas Persimmon (diospyros texana) for my dye yellow I will let go of trying to grow weld here.

I have mentioned several times that I have been on bud watch on my older Indigo Suffruticosa shrubs. They typically live two to three years here depending on our winter freezes and their age. I am very sad to report that the “Winter 2018”, which consisted of a couple of weeks in January/February with lows below 15 degrees, in the Hill Country took ALL of my bushes. It also took out some hibiscus that had survived since 2014. Our local Texas Hill Country Olive Company confirmed also that they had bad freeze damage that took out some of their trees this winter.

I especially mourn the tall Indigofera Suffruticosa that was “outside” the deer fence and was my marker for the “do the deer eat it” experiment. The deer left this volunteer plant outside the fence alone all year, not a nibble. I was looking forward to observing the spring’s impact on that bush because we are entering a drought period. This would have been a great temptation test for the deer or the bush, depending on your viewpoint. That test is not to happen, I will have to plant out some seedlings and defend them from the deer and digging possums. We’ll see who wins “outside the fence line”.

I do have one survivor sprouting against the wall “outside the fence”. See behind the dead shrub? This is a good time to show the difference between the Lindheimer’s Senna that grows wild here and the Indigofera Suffruticosa. They look very much alike in the teenage stage but there is a small appearance difference. The Senna has double leaves on the stem tip. The Suffruticosa has a single leaf. Subtle but significant when you are making a decision on what to pull and what to leave in place. And no, the senna does not yield blue.

So, this week will consist of pulling the dead IS shrubs with proper ceremony, leaving a few for the hummingbirds to use as perches (at least someone is taking joy in those dead branches) and prepping the ground for the Indigofera Suffruticosa seedlings that are still in protective custody in a screen area on my porch.

I love gardening and the life cycle, but it is times like this that one thinks of buying the indigo pigment and moving on with one’s color life!

Remembering last year’s suffruticosa leaves…..never take them for granted.

10 day difference for Japanese Indigo seedlings

30 Mar

10 days & temperature increases and sunshine made a big difference. March 17th I planted my Japanese Indigo seeds, by the 27th I had sprouts! I ordered the wrong seed tray. Duh, but seeds planted in new tray sprouted sooner than my old method. I am smarter now despite myself. 
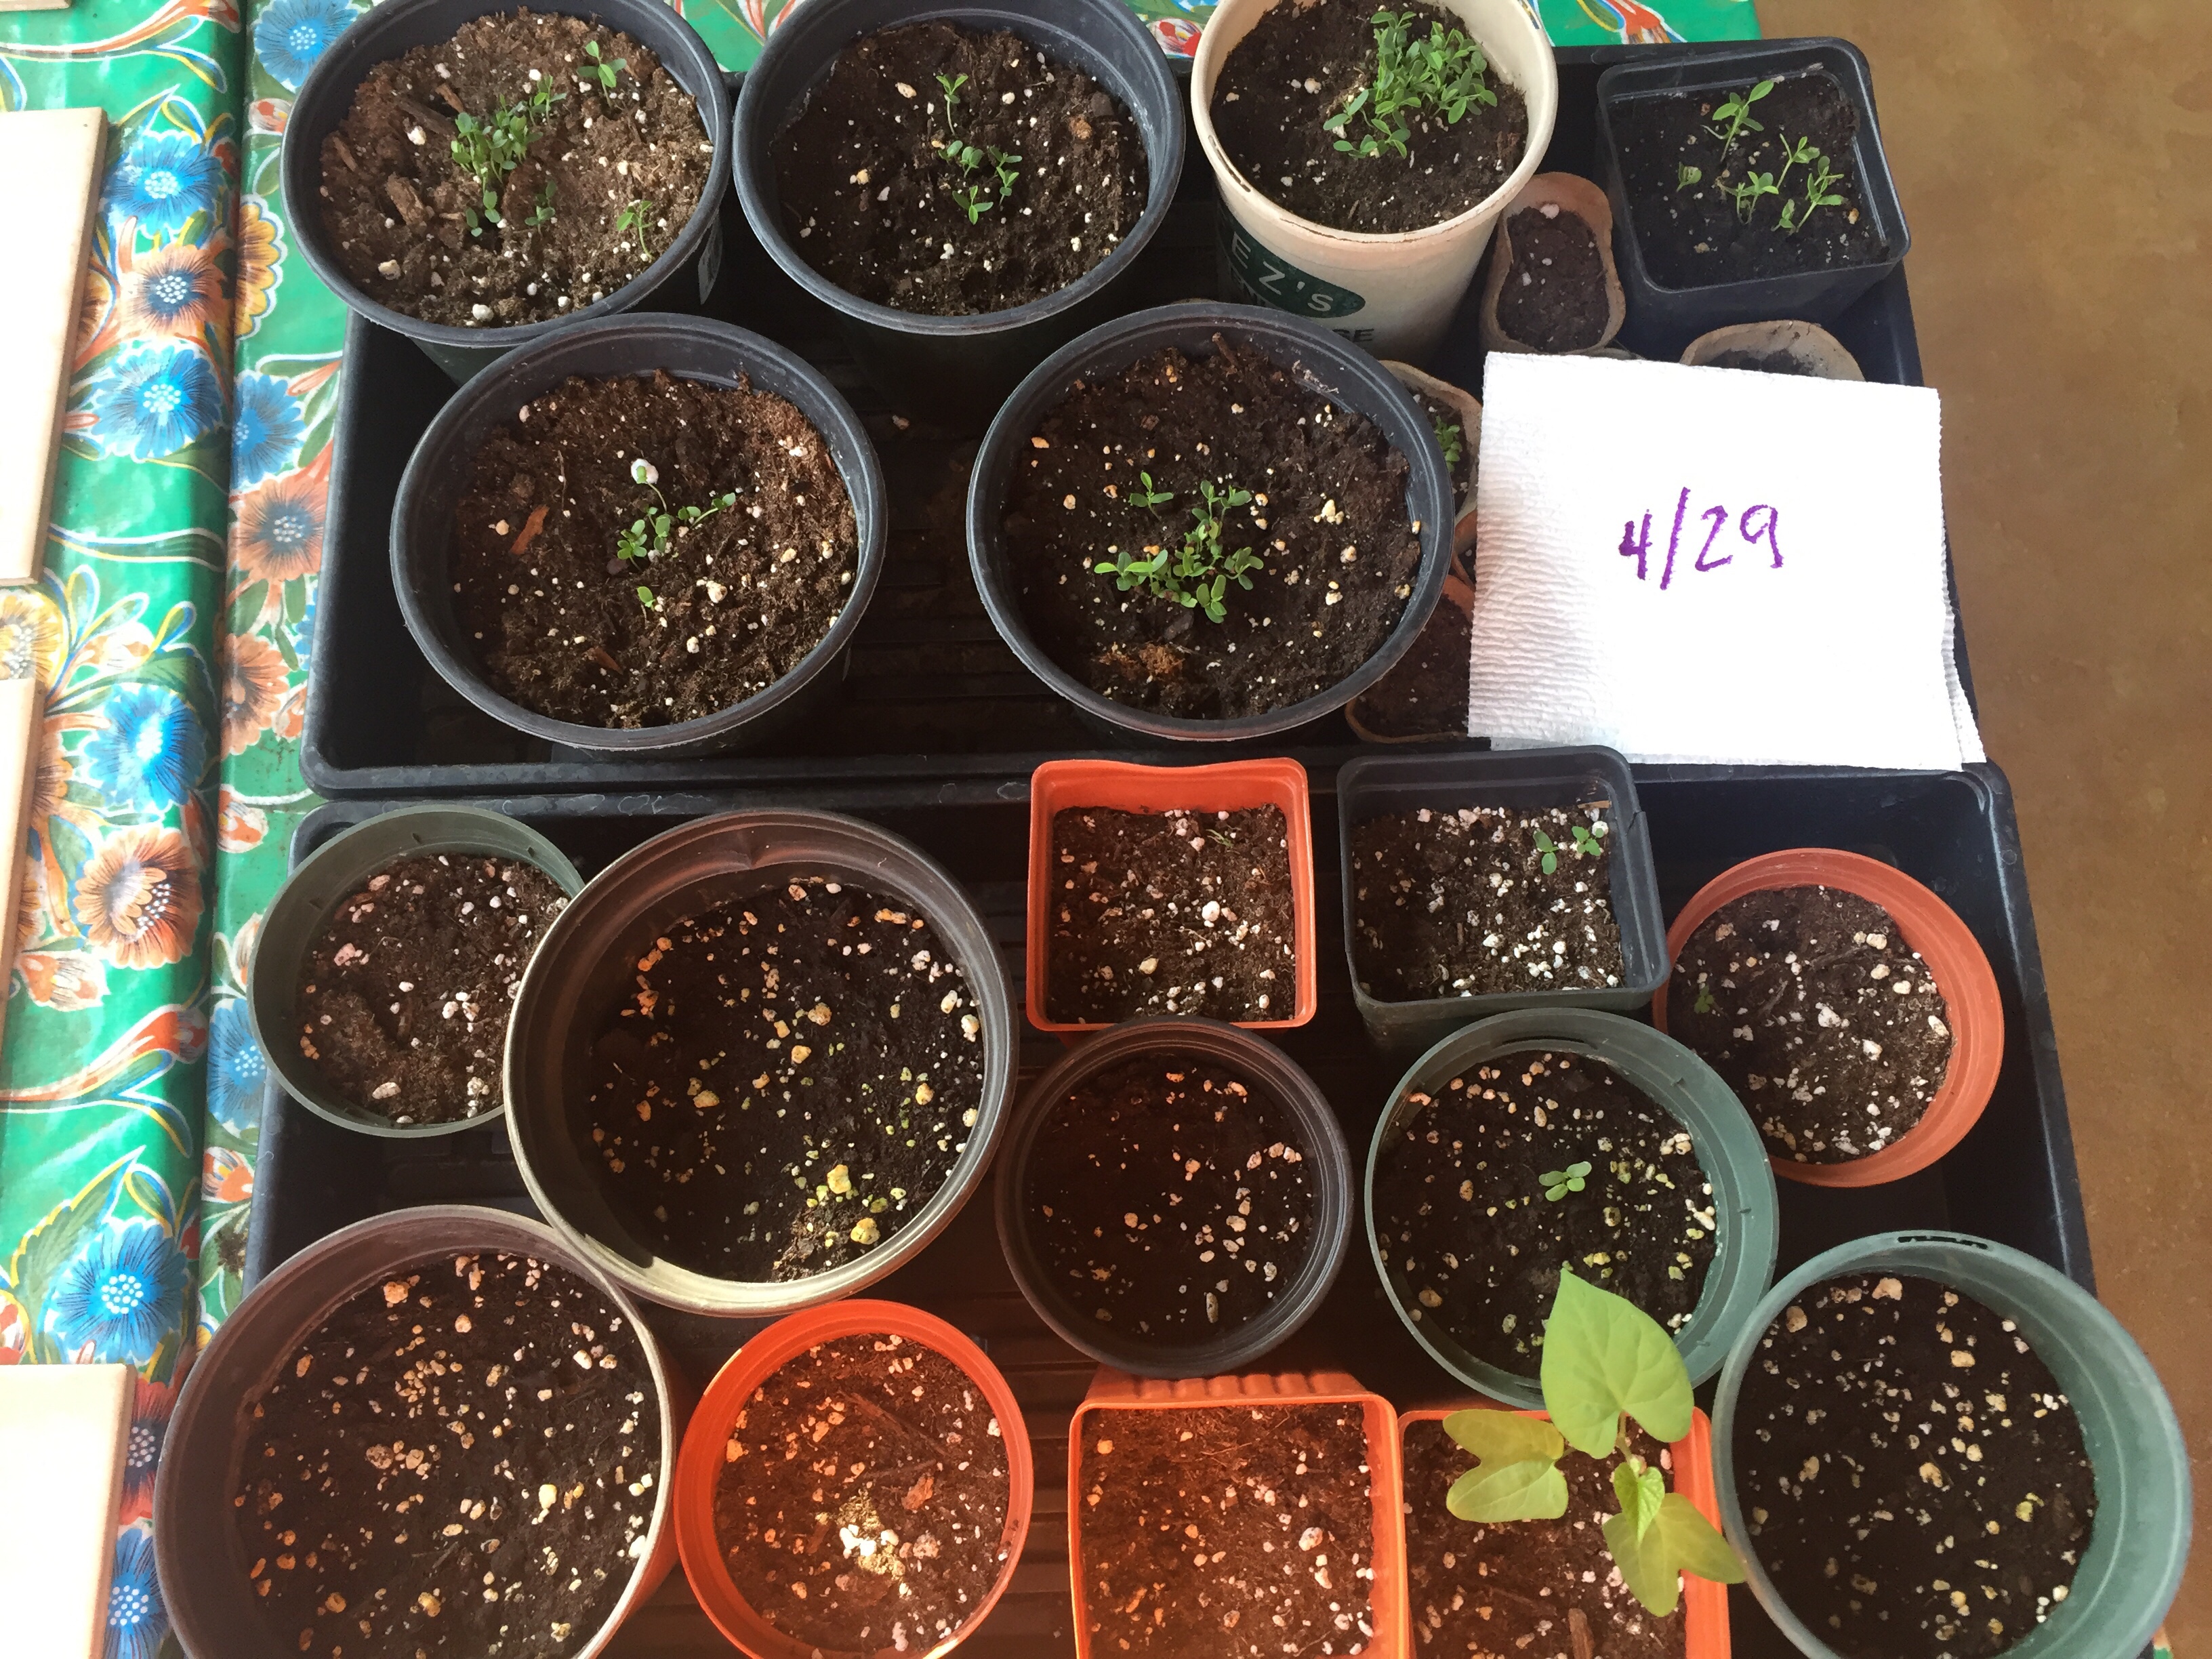
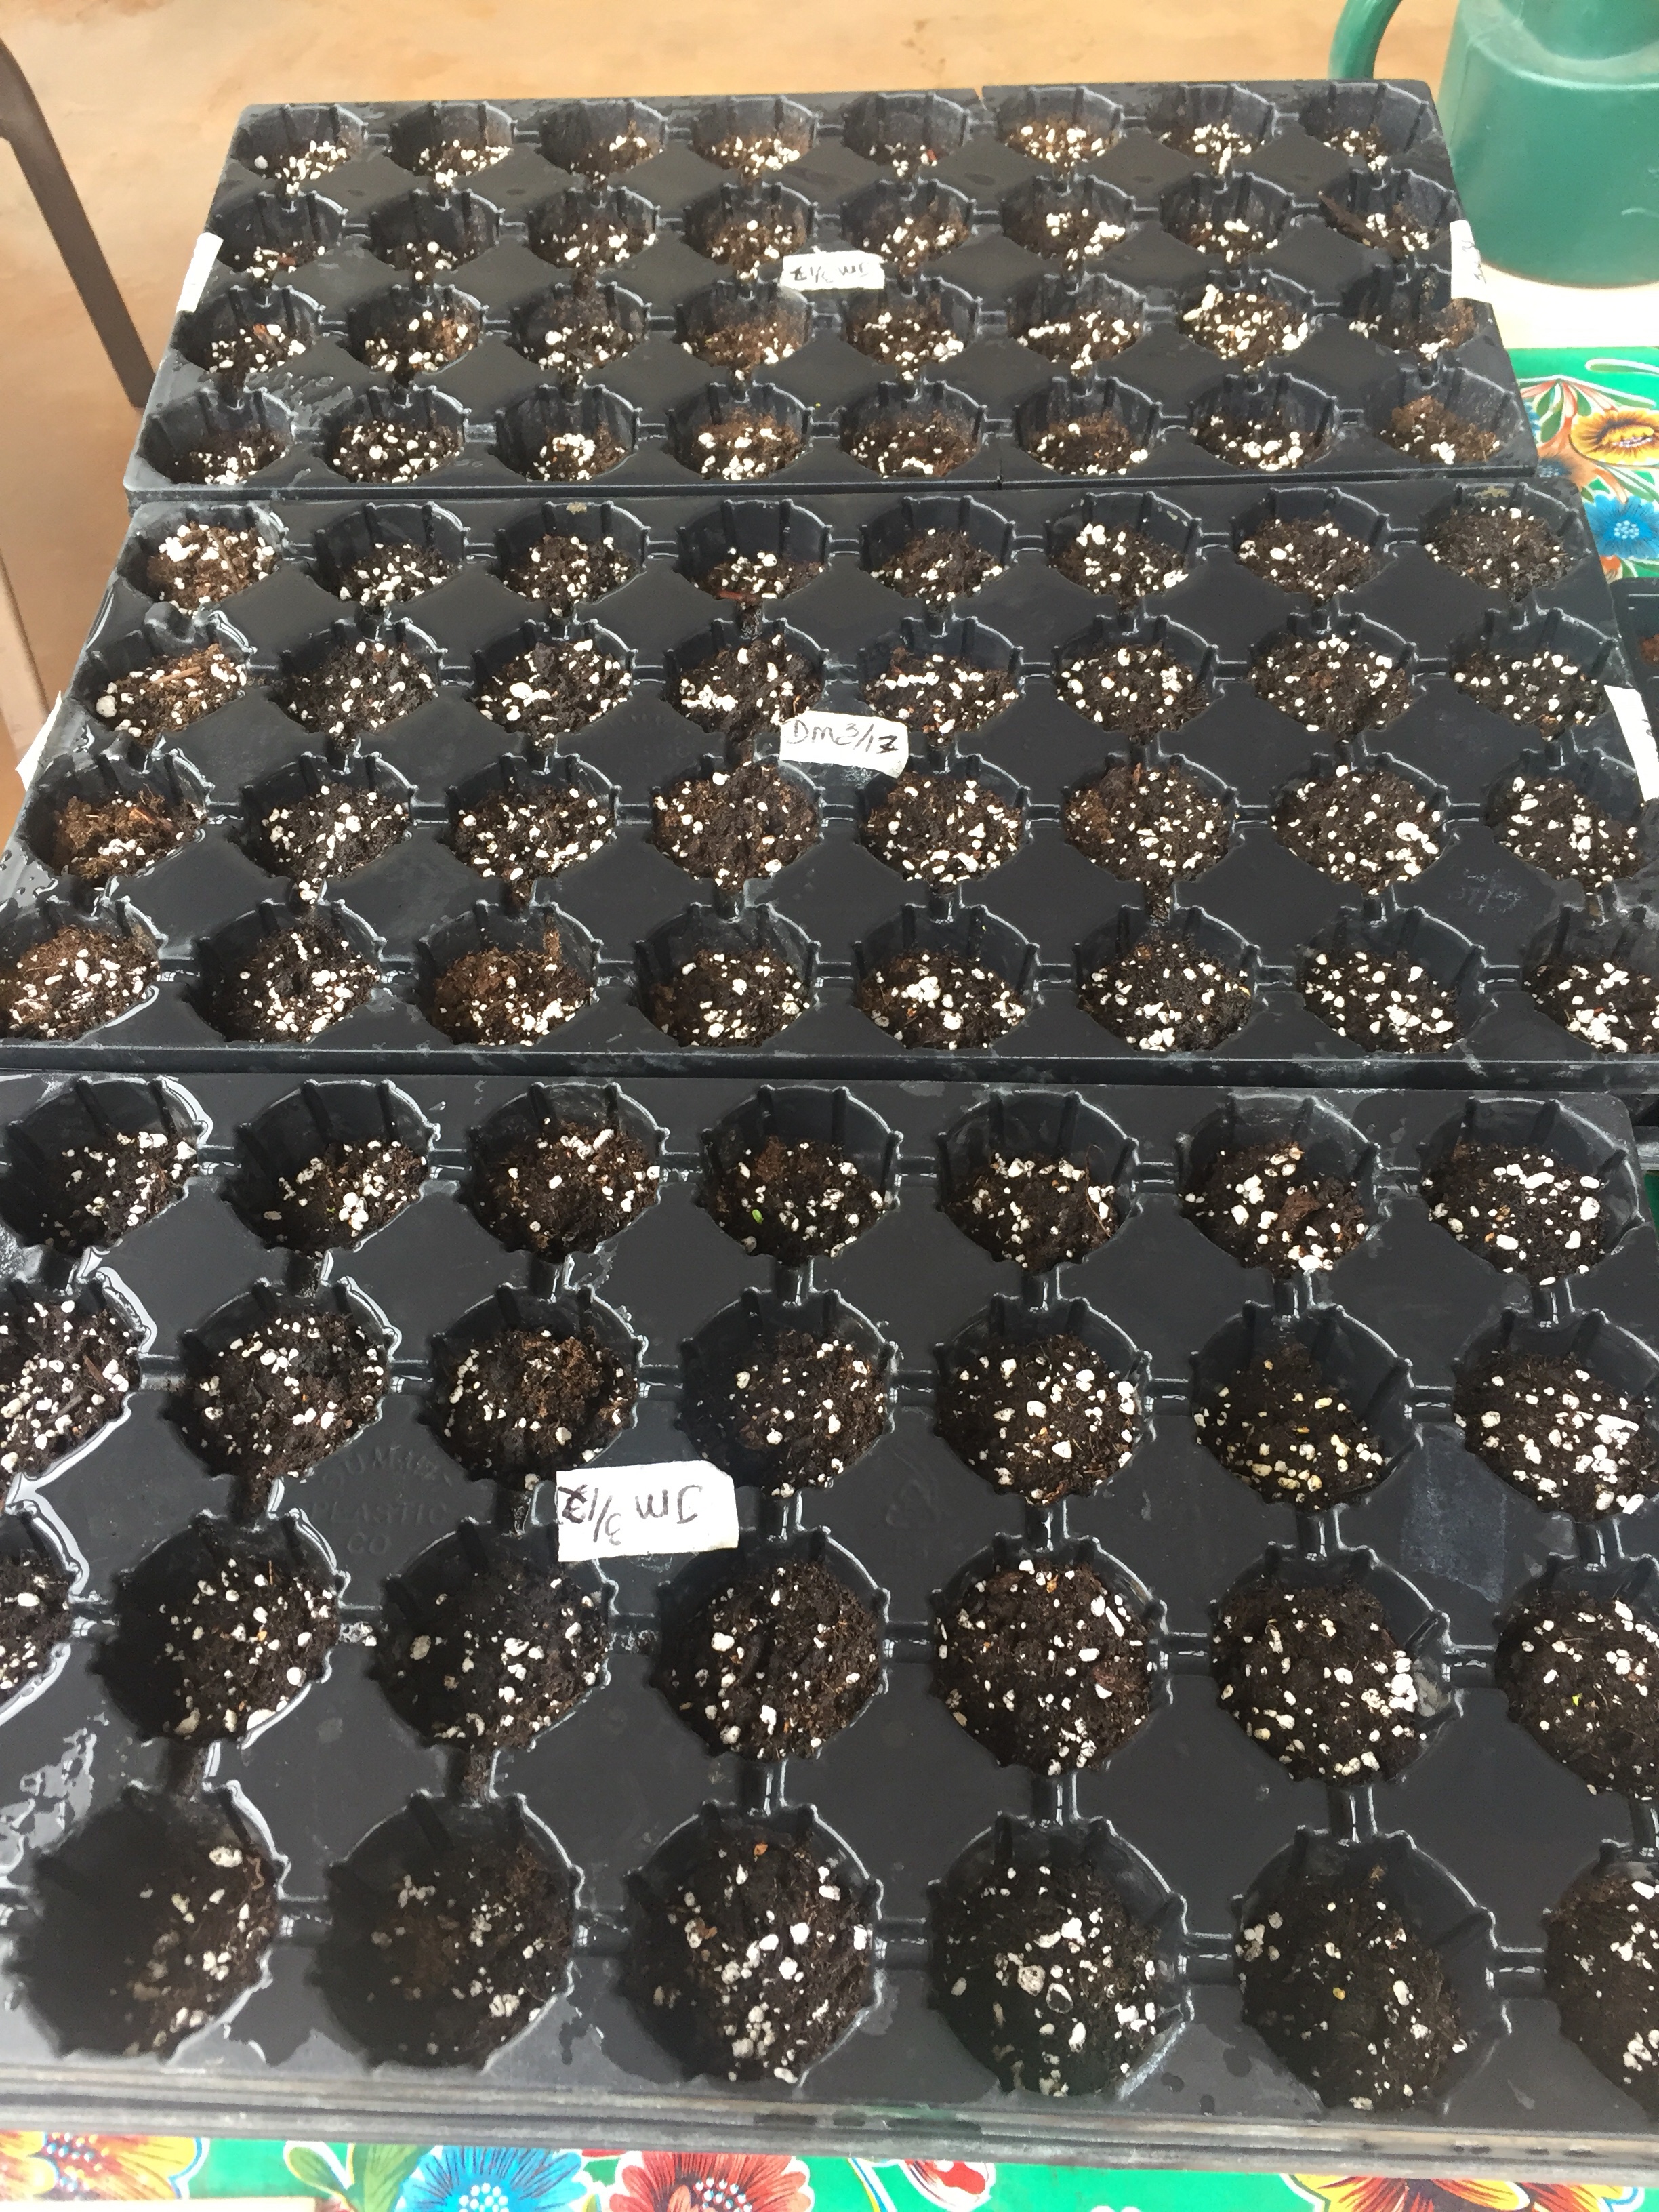
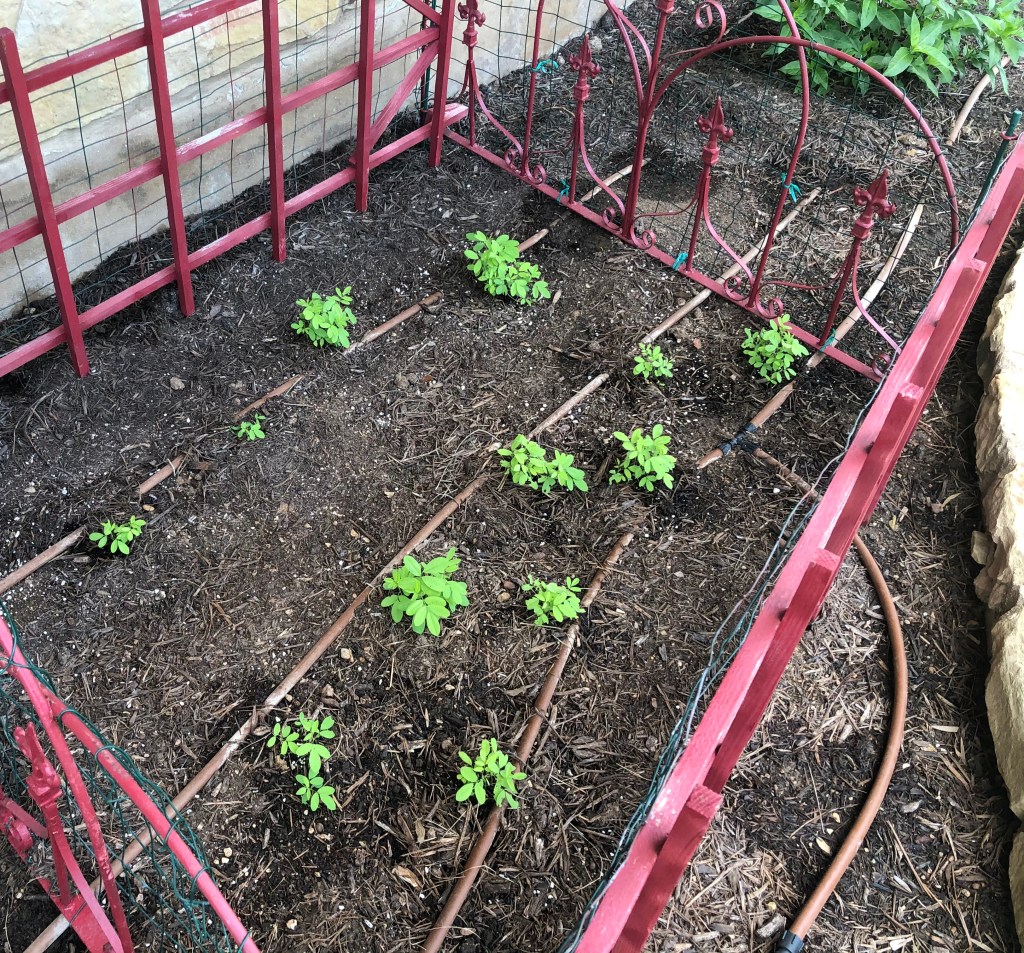
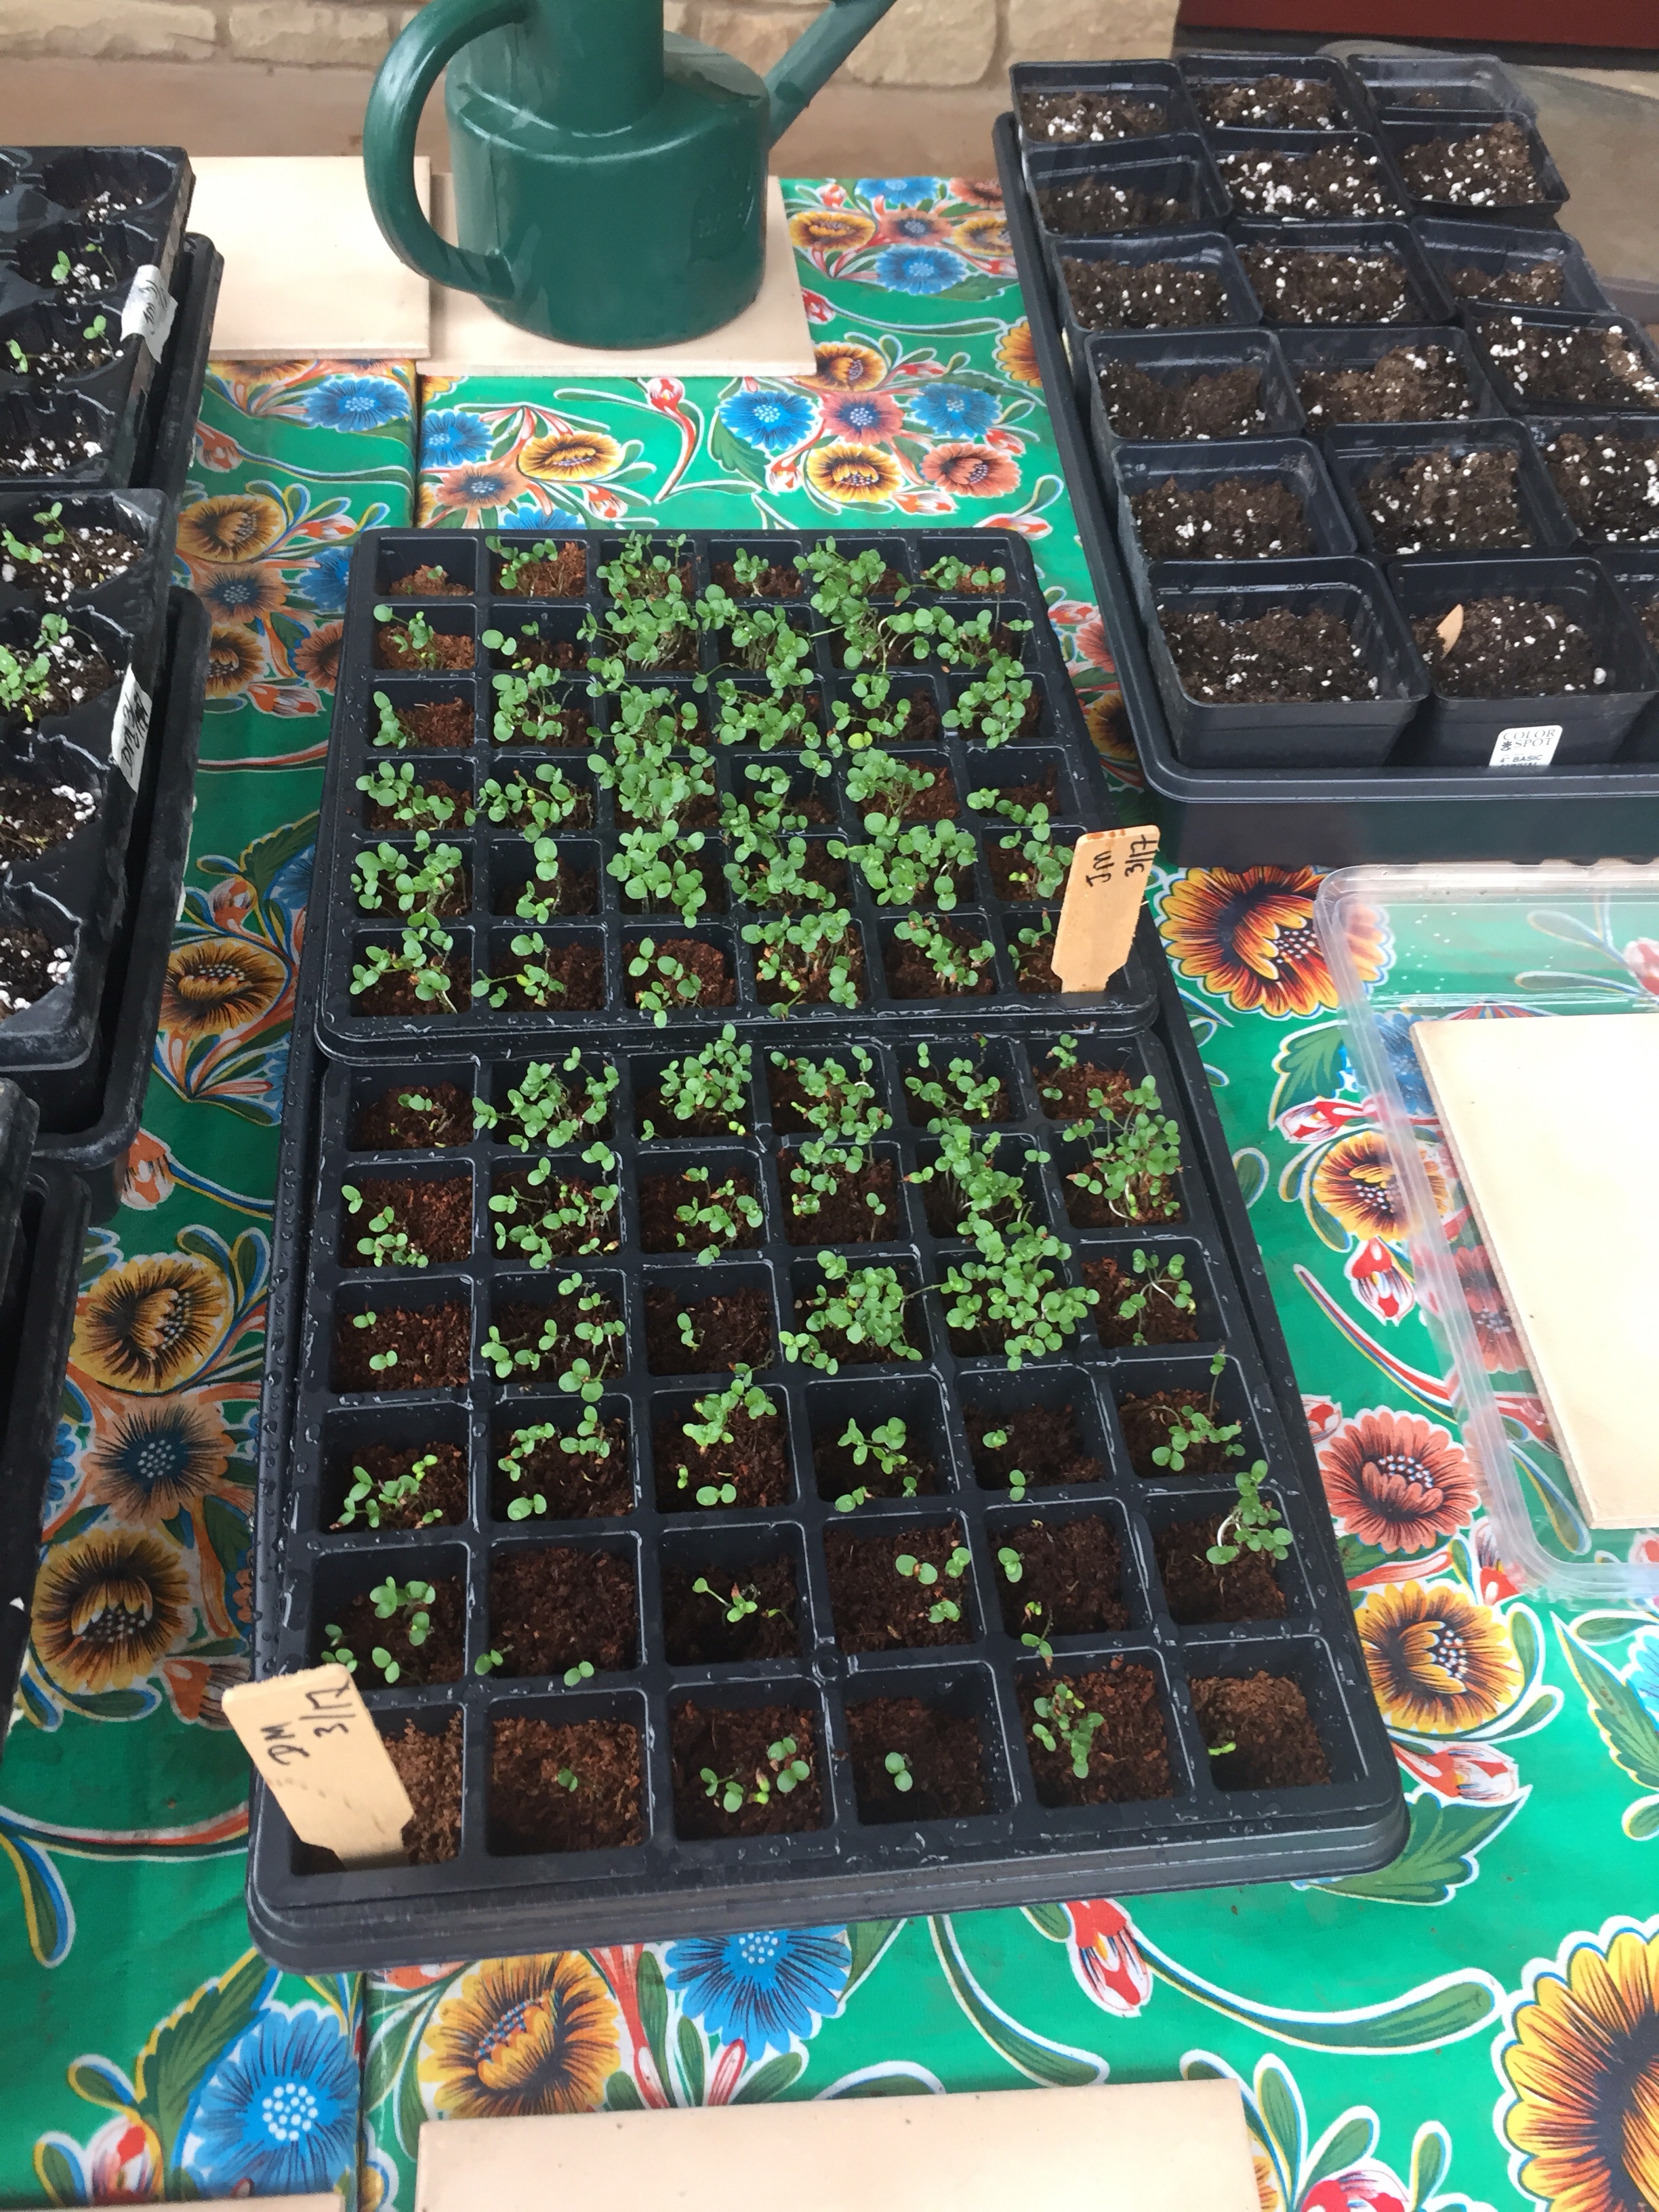
Next up I will plant my Indigofera Suffruticosa seeds. I’ll throw Cota and Hopi Sunflowers into the mix this year also. Maybe I can beat the birds to the seeds for dye this year.

I am still on bud watch on my older Suffruticosa plants. Will the 3 year old plants live longer? Did the freeze this January take the younger plants out? The drama of gardening continues.

Plus the Texas Persimmon is budding and blooming. Before I know it I will be out picking persimmons in July for the dye.