I drove down to San Antonio to the Surface Design Association Conference marketplace earlier this month. I met some friends from New York, Delaware and Colorado. We had a great time going thru the art galleries and fiber art supply venders. One of my short term goals was to do some warp painting or other surface design on some warps while I wait for my shoulder to come back into action. My shoulder is on the mend but I have limited range of motion and cannot lift. Throwing a shuttle and lifting dye pots or wet skeins is a no go right now! So I picked up some supplies from Marlene Glickman at http://silkdyes.com/supplies.html She walked me thru making silk blanks into beautiful scarves using a baggie, the dyes and taking advantage of the crease dye method. I saw the potential for some easy warp painting!
When all the conference attendees were off in the keynote speech I took advantage of Marlene’s time and she gave me an intro to using the silk paints. They only work on protein fibers, attach when wet and don’t require heat setting, an interesting acid dye formulation. Since I am a chemical dye rookie this seem like the least investment of time and effort to do some training wheel chemical dyeing.
The goal is to prep a couple of warps and see how they look with the stenciling. Before I tackle a warp (which requires winding – more shoulder action) I worked with some stencils and some screen stencils. I also worked with an open stencil on dry and wet silk fabric and made myself a color chart of the 10 colors on hand, all prepped at the same strength.
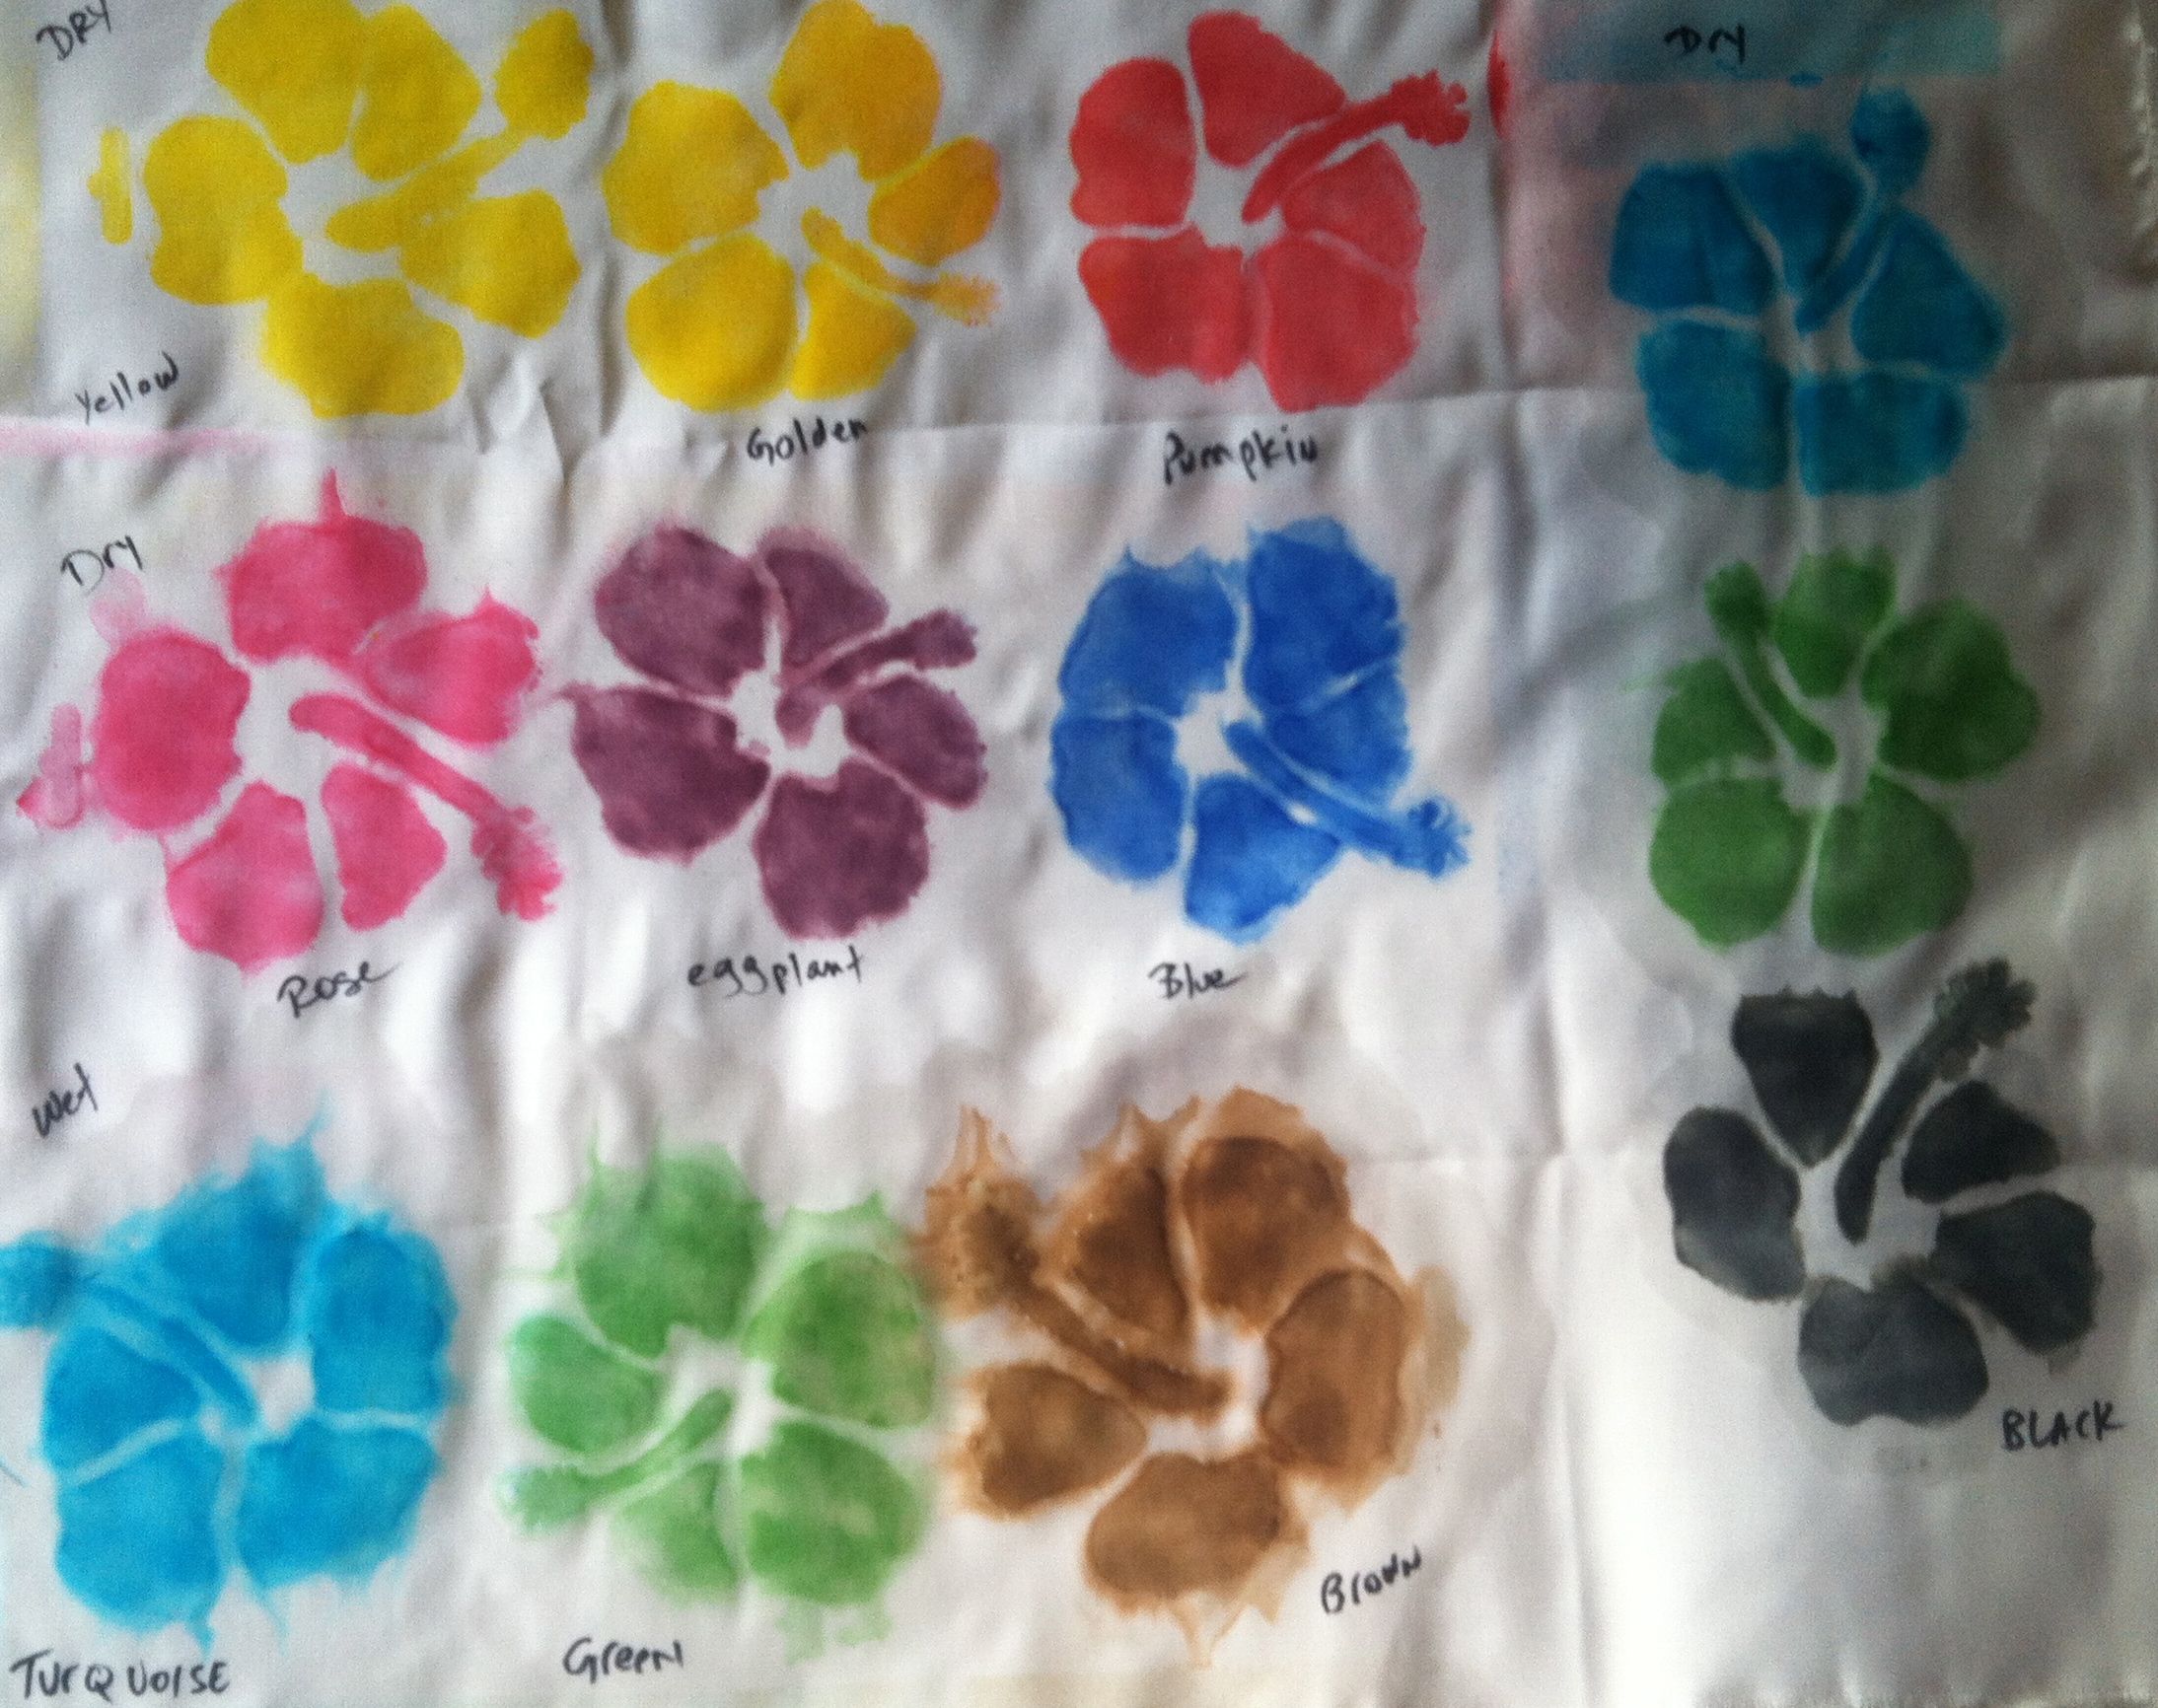
Experimenting with dry & wet application
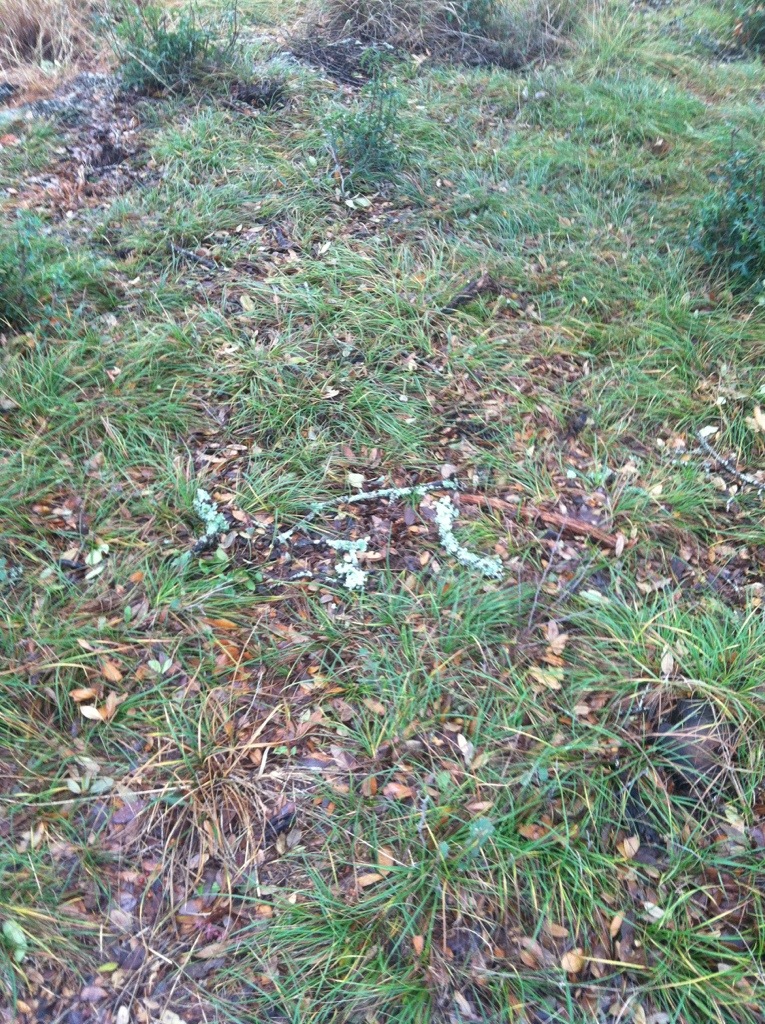
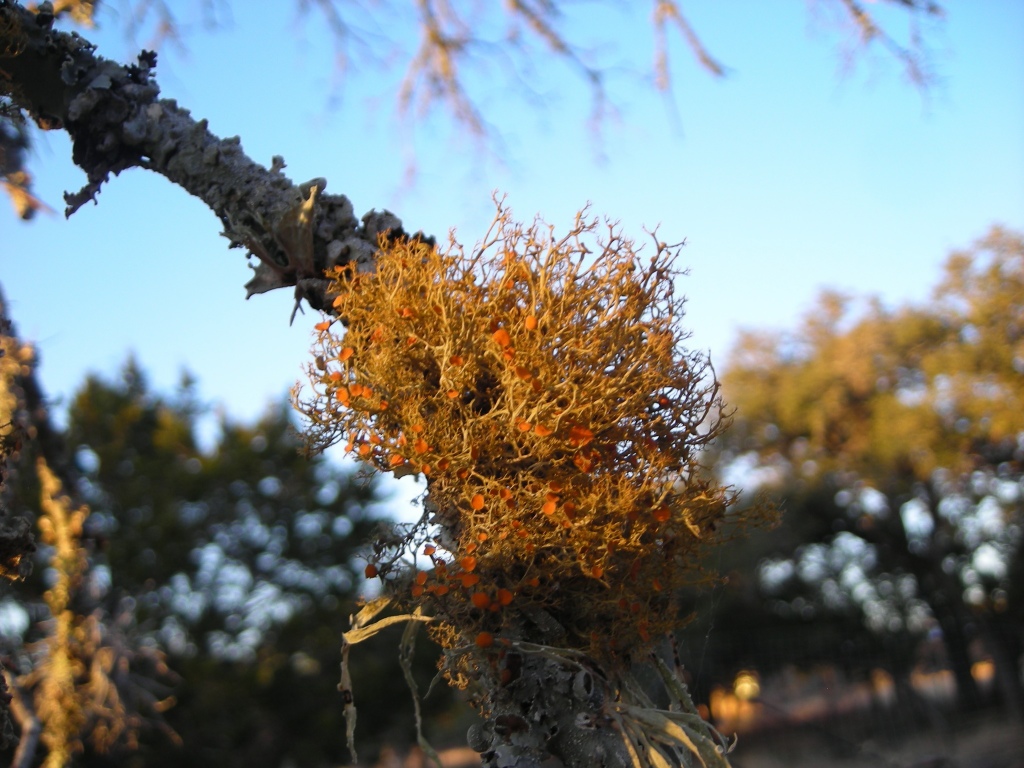
Marlene introduced me to using shaving cream as a medium to use a silkscreen to transfer a dye. The dragonflies below start with the green dye and a rose & green mixed together using the shaving cream as the transfer media. I also pulled some lichen and mixed in into the next cream batch and gave that a try. The lighter color rose brown is the lichen screen print.
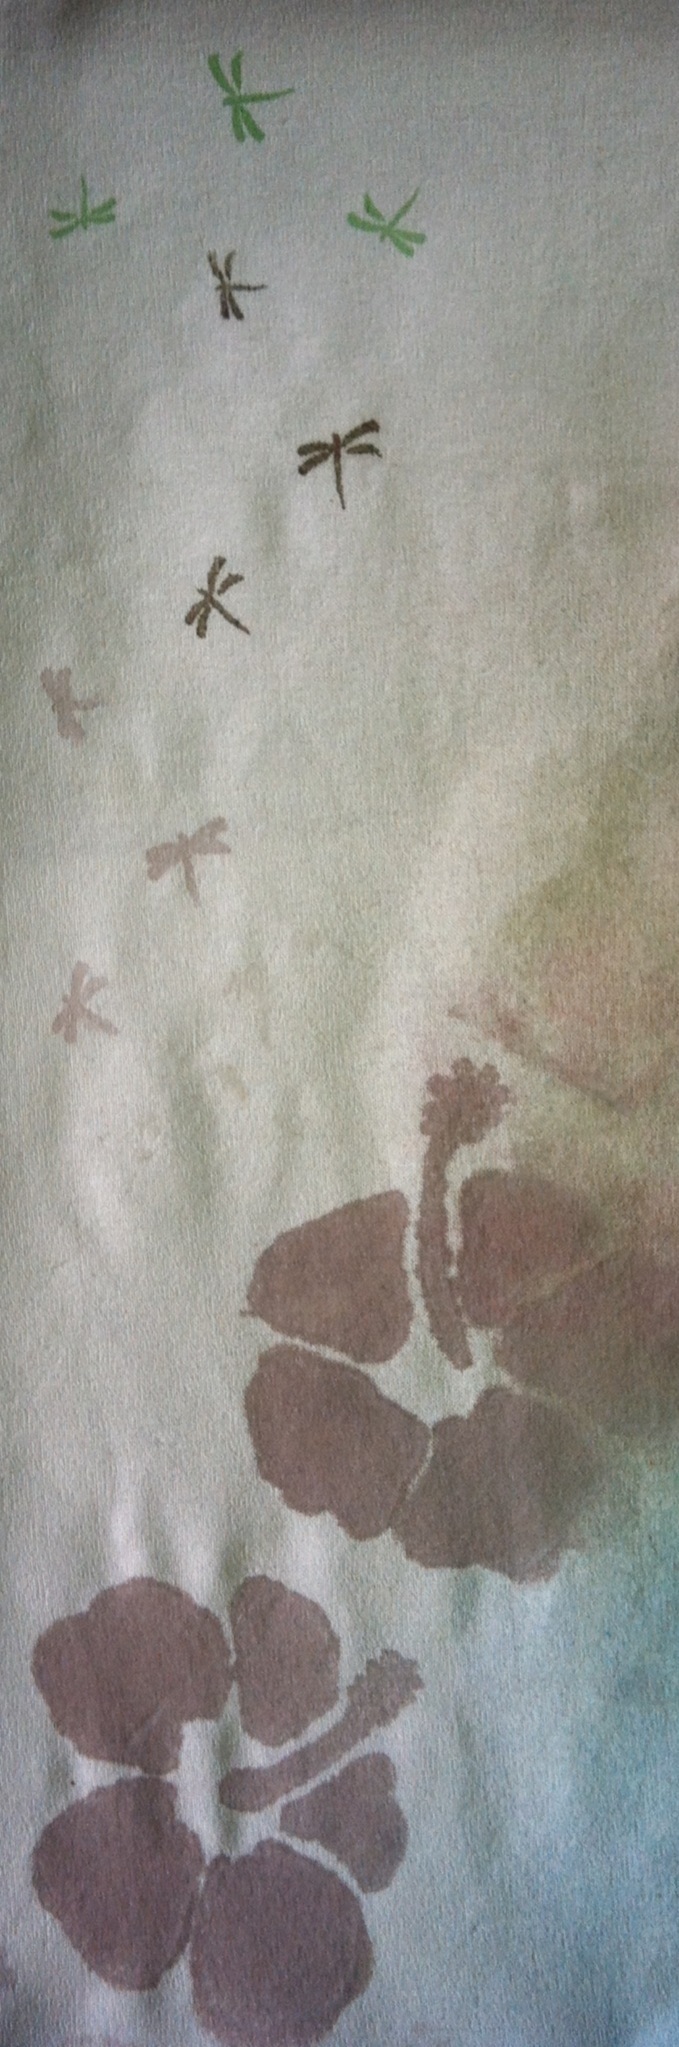
Experimenting with shaving cream and lichen
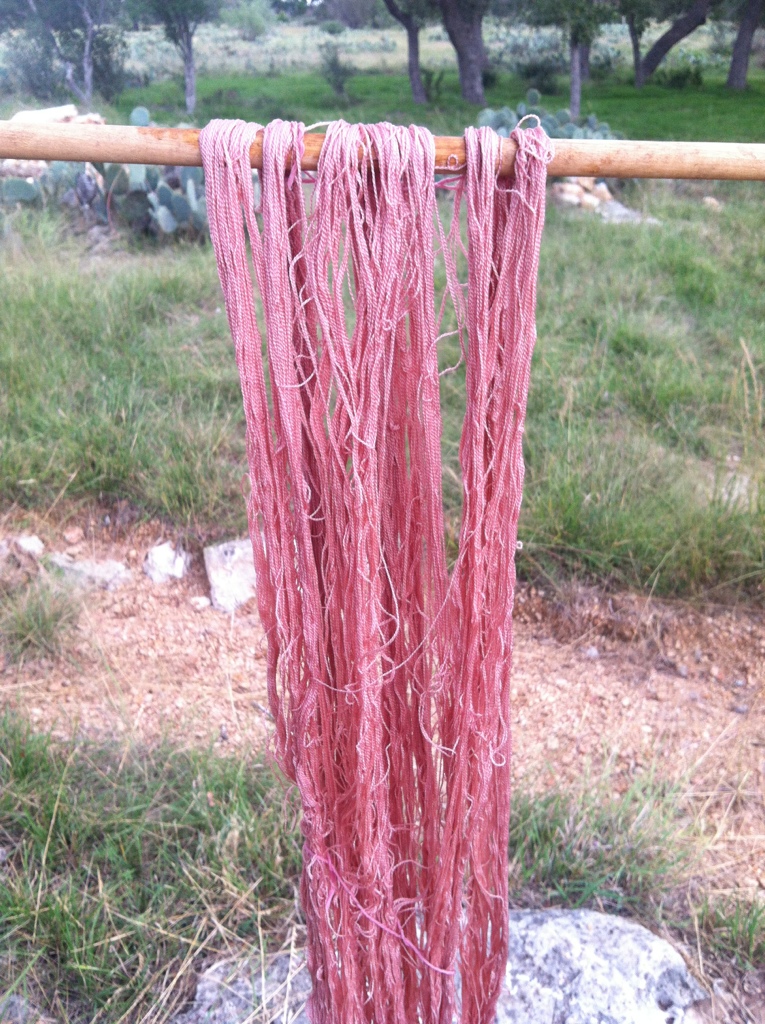
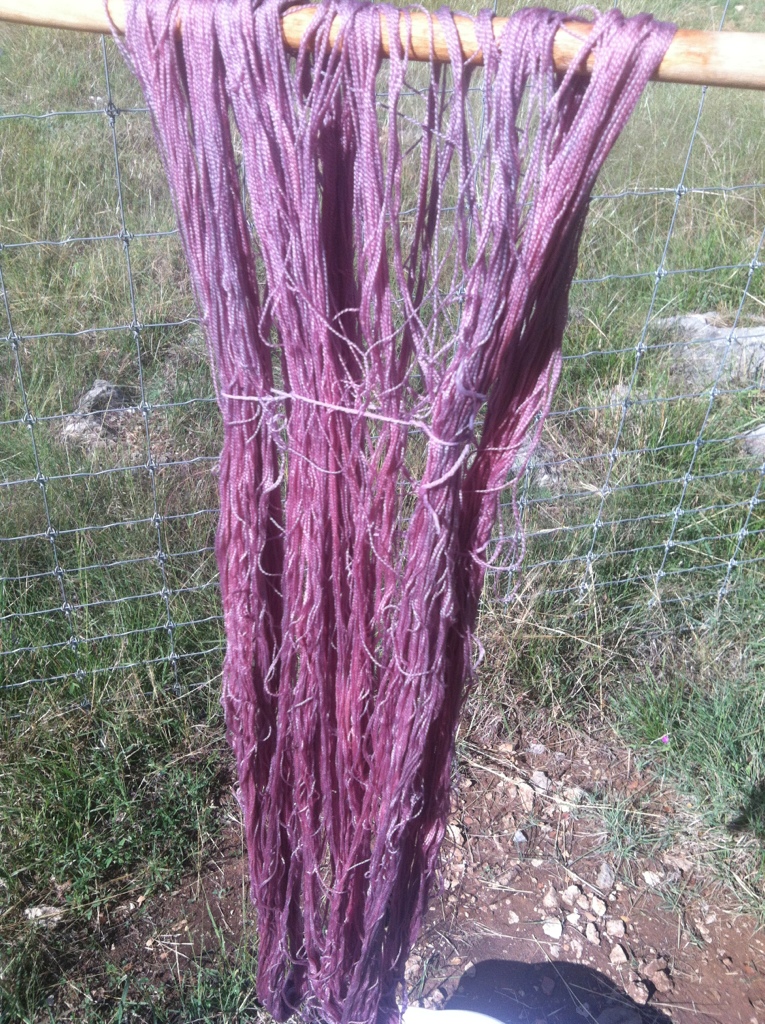
So now I’ll wash and iron the results and ponder the next step. I have guar gum I can use for the transfer media with my lichen and persimmon so that would be another direction. Perfection in the printing is not my goal. An ikat image on a warp is definitely going to be fuzzy so I’m not concerned with the open stencil wet edges. For now I’ll stay with my chemical dyes and see what else I can do with them.


You must be logged in to post a comment.