Vietnam side trip – weaving!

8 Jul

Ribbon yardage before cutting – Photo by Serena Harrigan – Textile Odyssey

Let’s swing over to Vietnam for a moment and take a break from the dye pot.  In January 2012 I visited northern Vietnam with Textile Odyssey Tours.   The looms, the people and the colorful ethnic clothing were fabulous.  I’ve posted some info in my trip journal.  Take a moment and glance at the simple looms used to create these colorful textiles.  Above are the Lo or Lao people showing me their yardage of ribbons.  The white stripes are the dividing lines that are used to cut the ribbons apart for placement in their skirts and jackets.  Enjoy!

Persimmon harvest begins

6 Jul

Well, the birds started early but I caught up with them before they took all the ripe persimmons. Over the next week I’ll work hard on sharing the dark purple fruit with my dye pot & the birds. Last year’s gold came from the green and purple blush fruit. This year I’ll experiment with the dark ripened fruit alone to test that color.

20120705-201856.jpg

Long lost Weld returns after drought

1 Jul

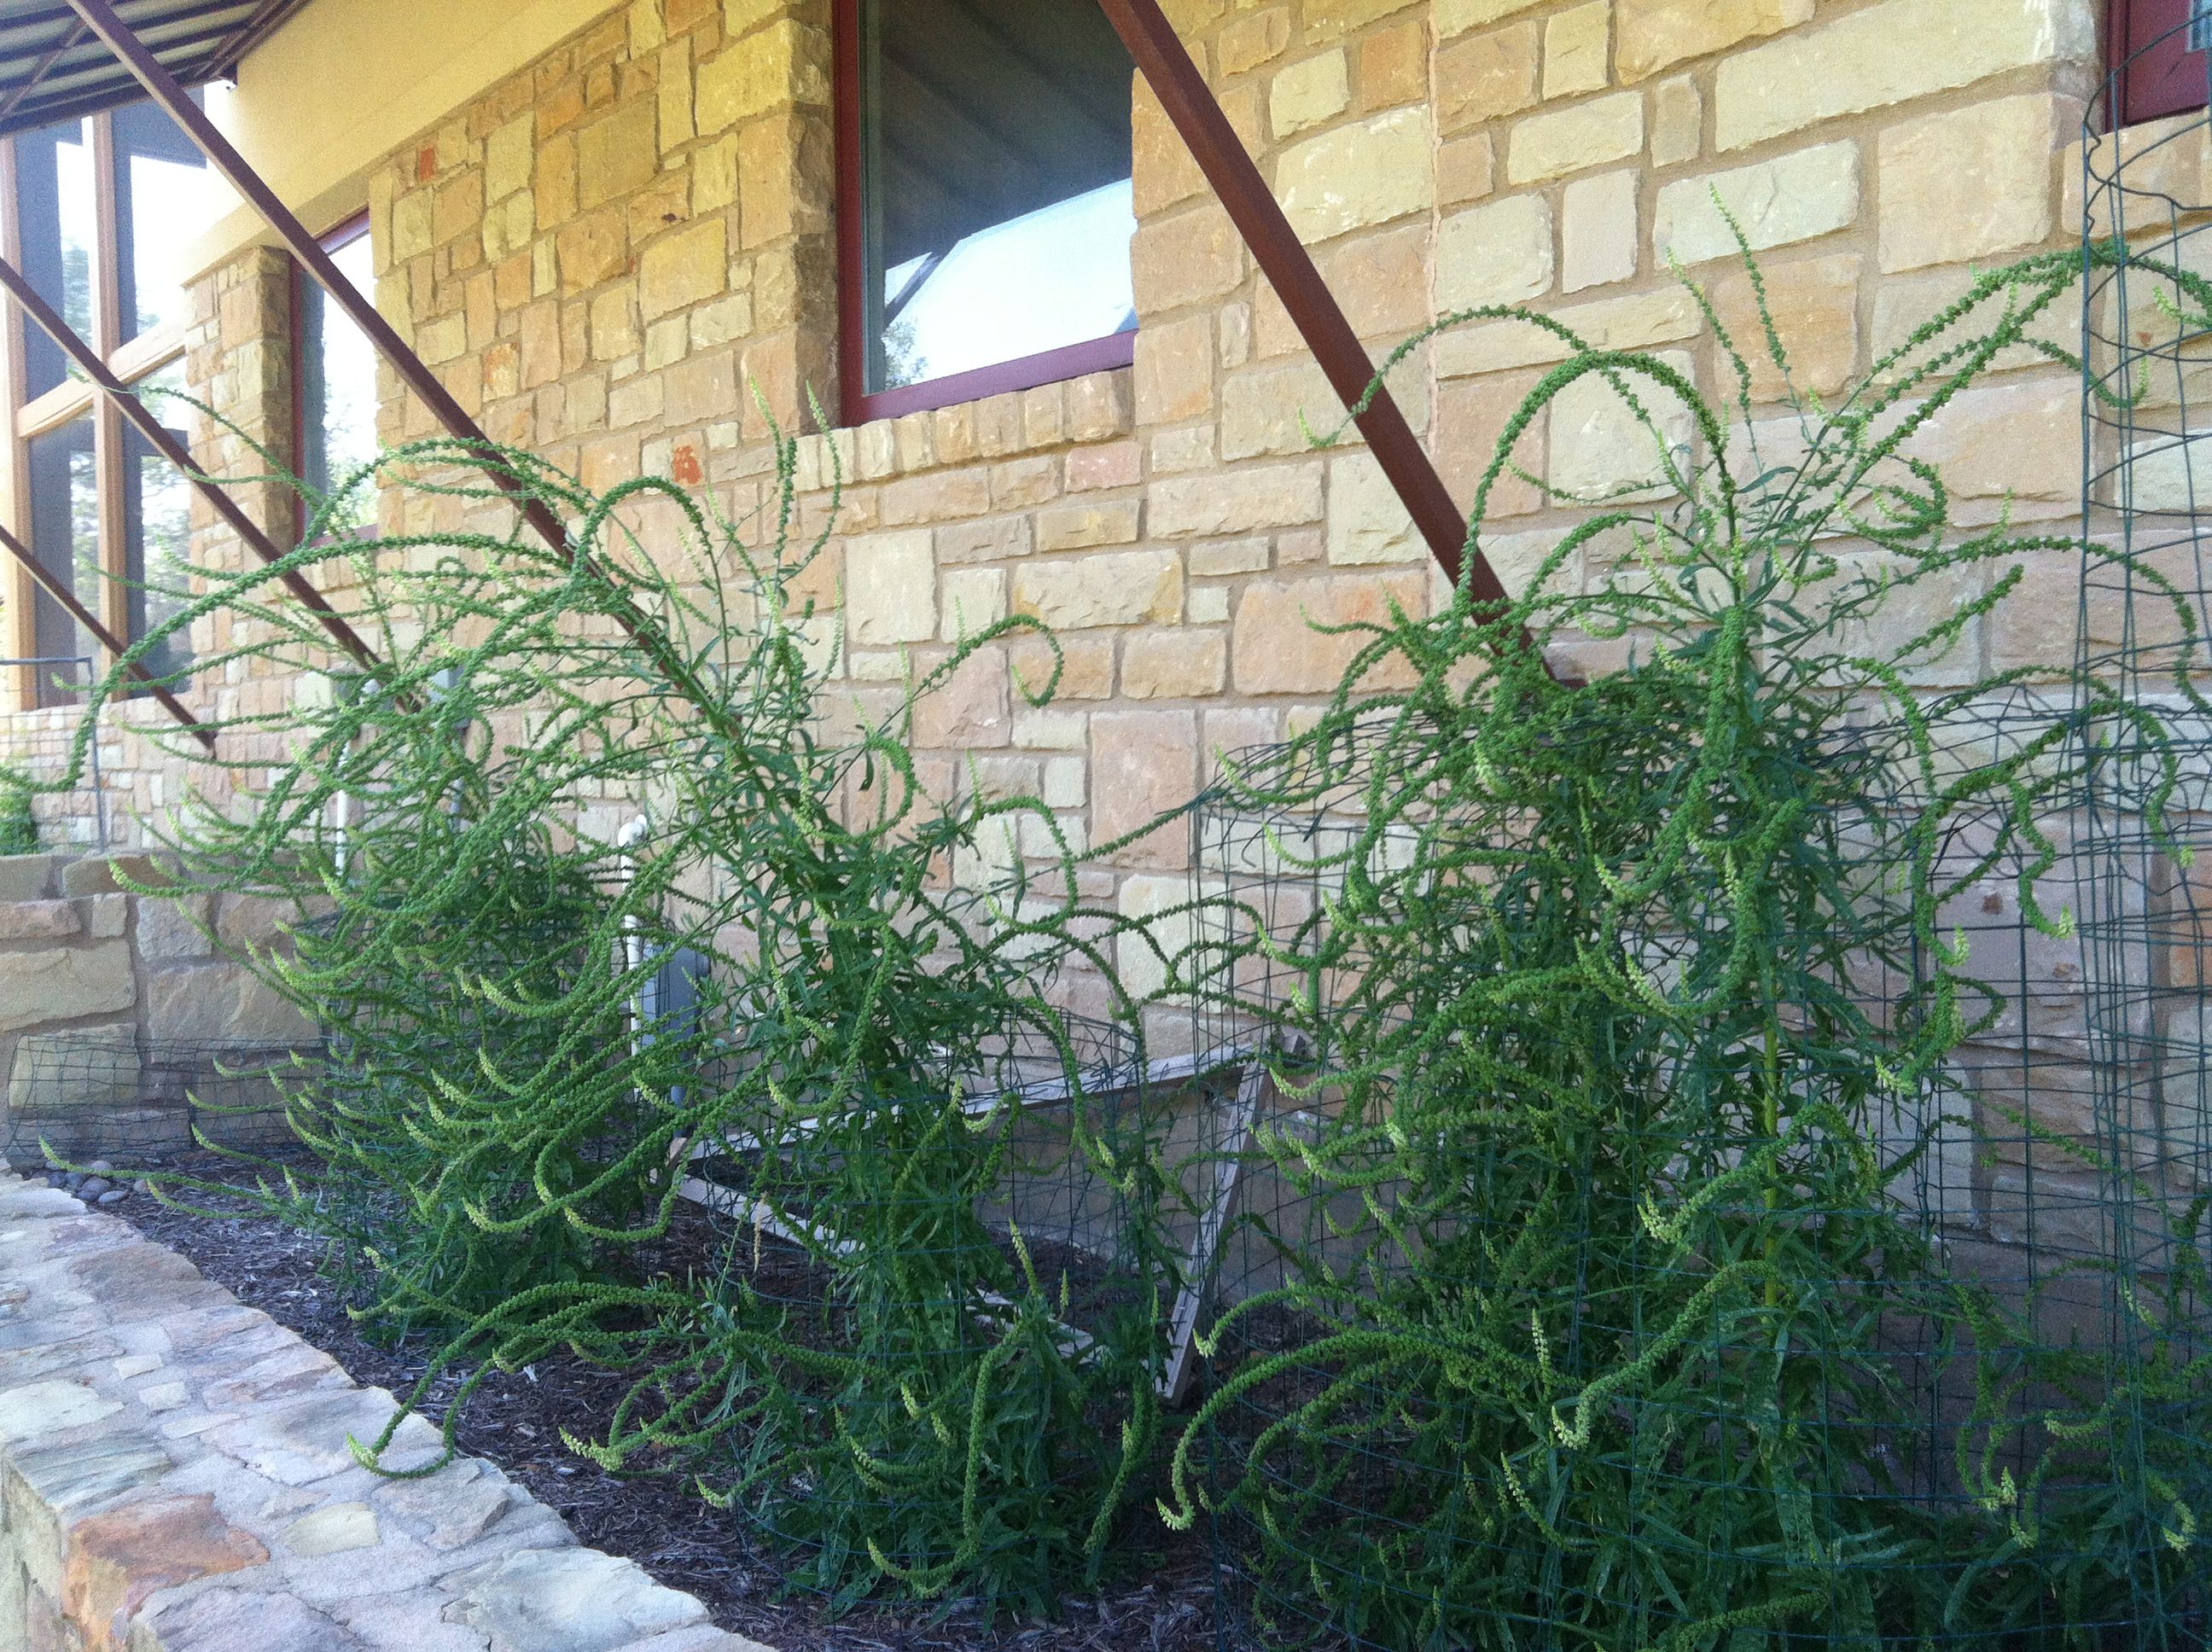
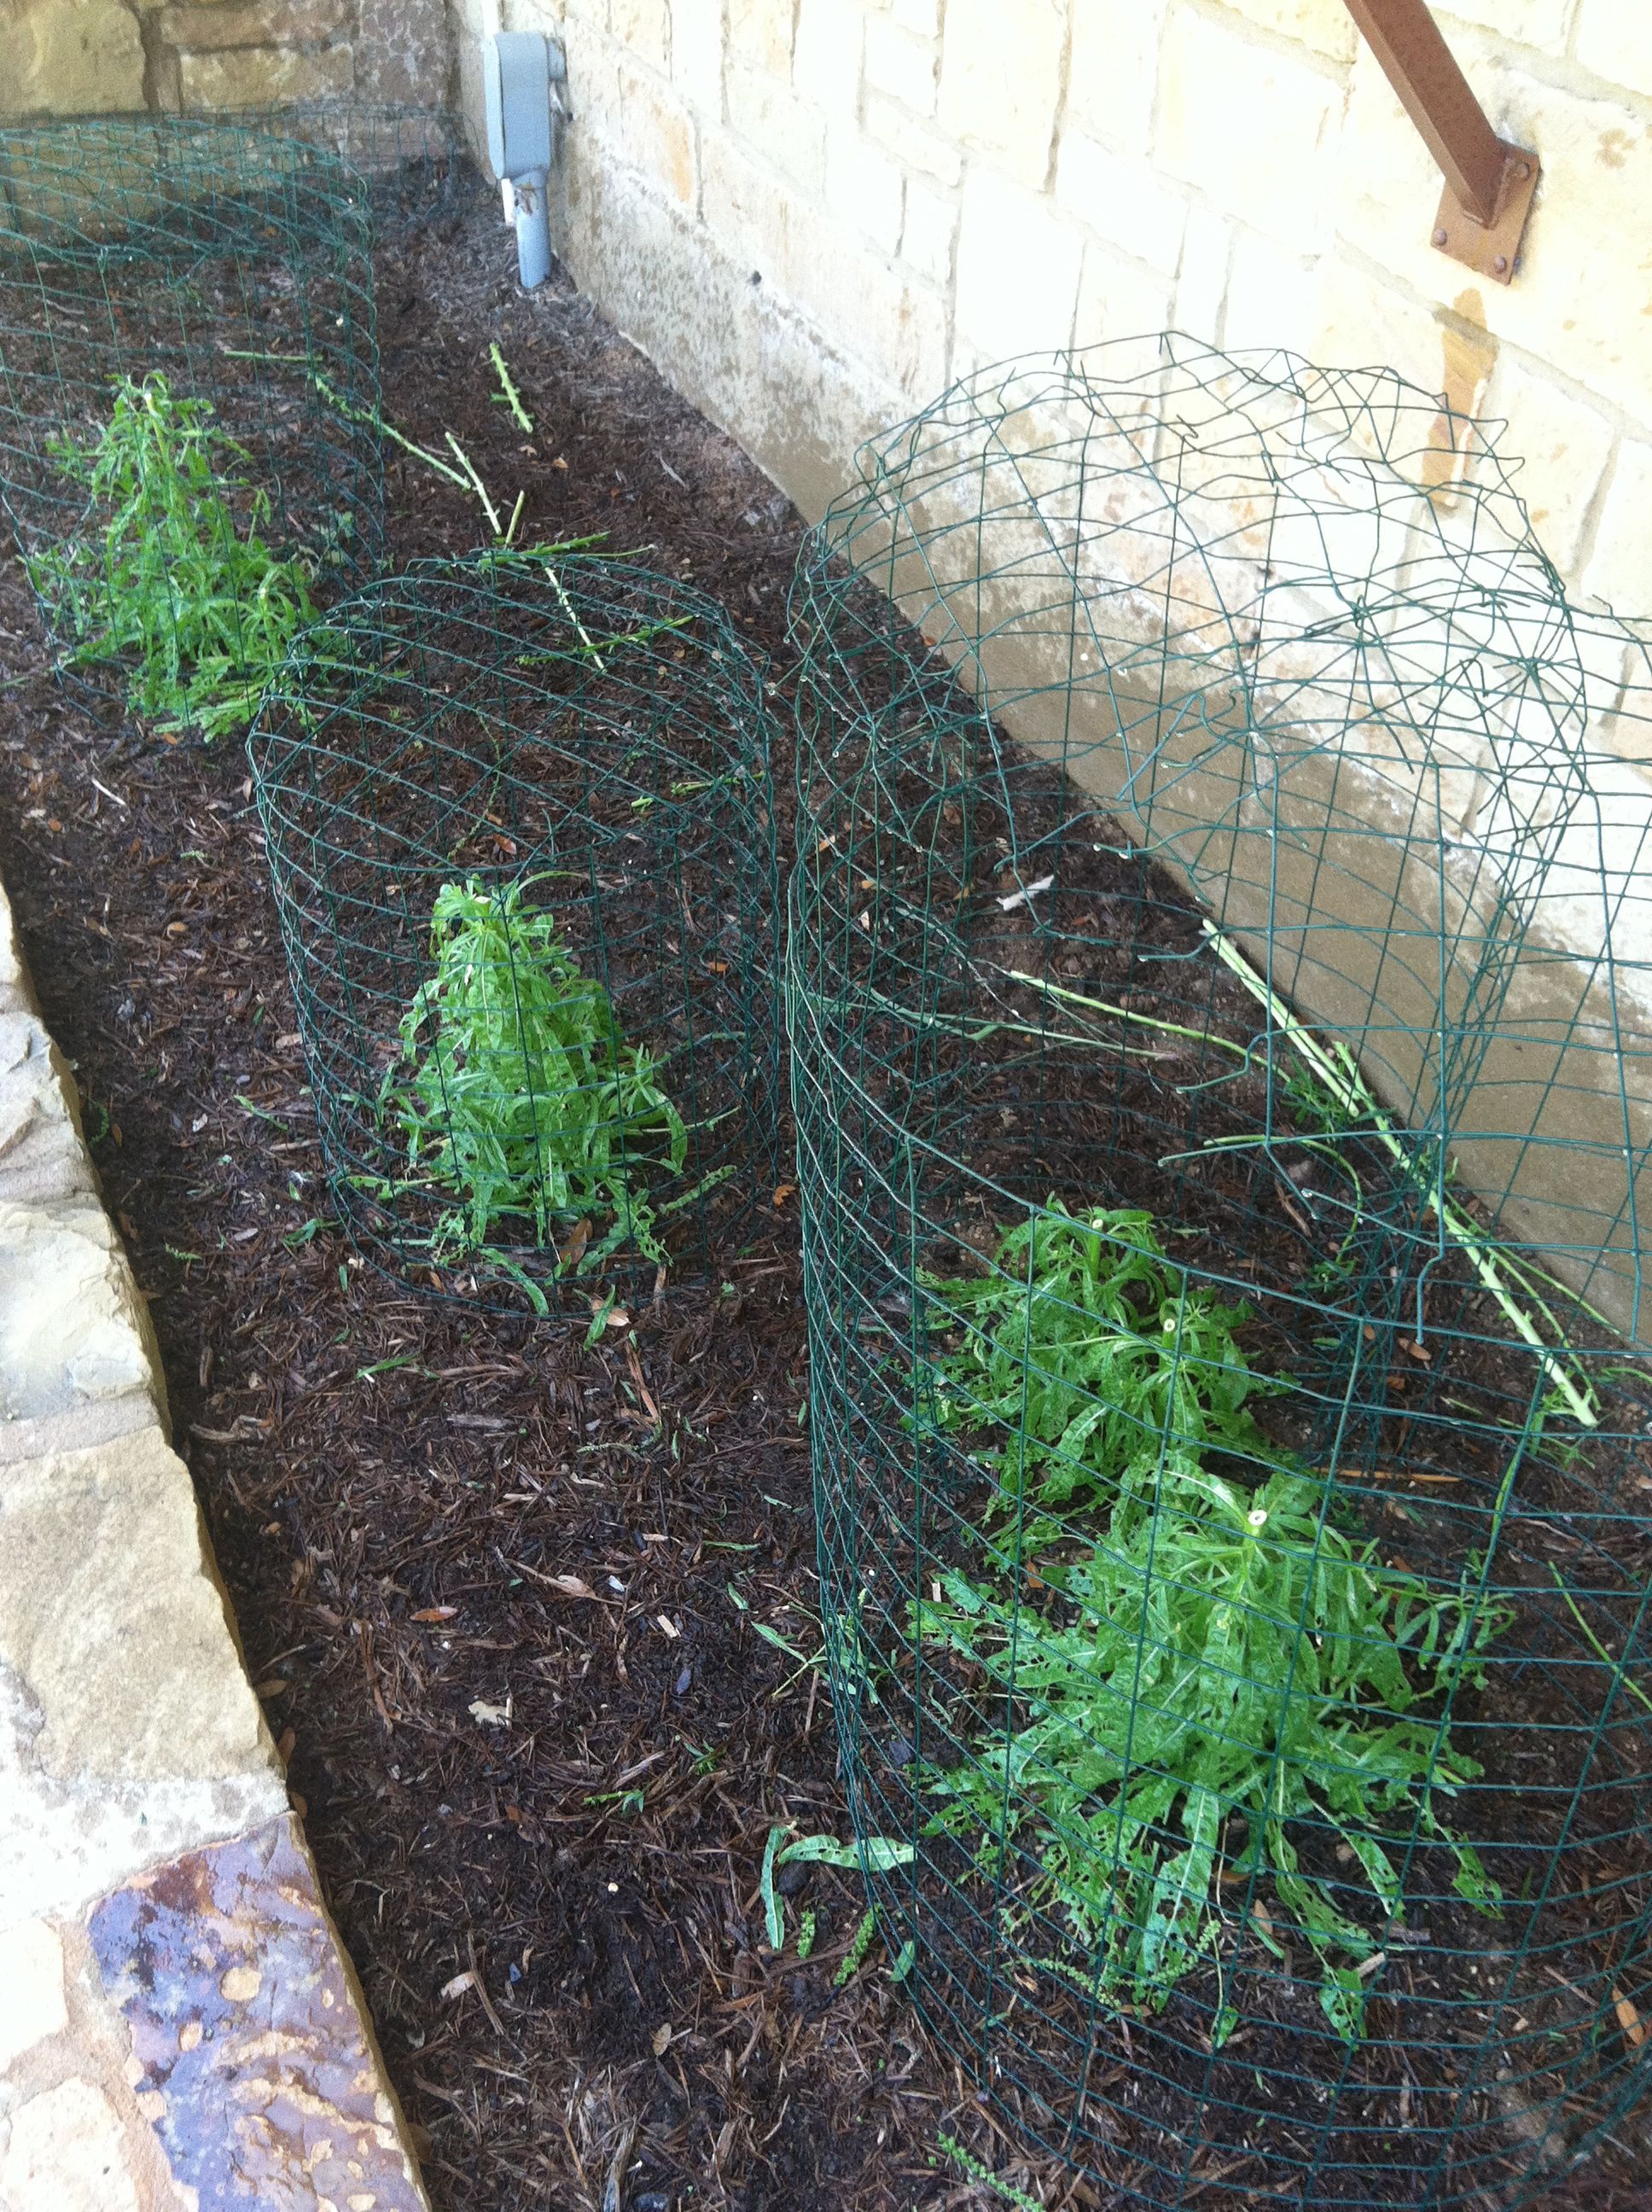
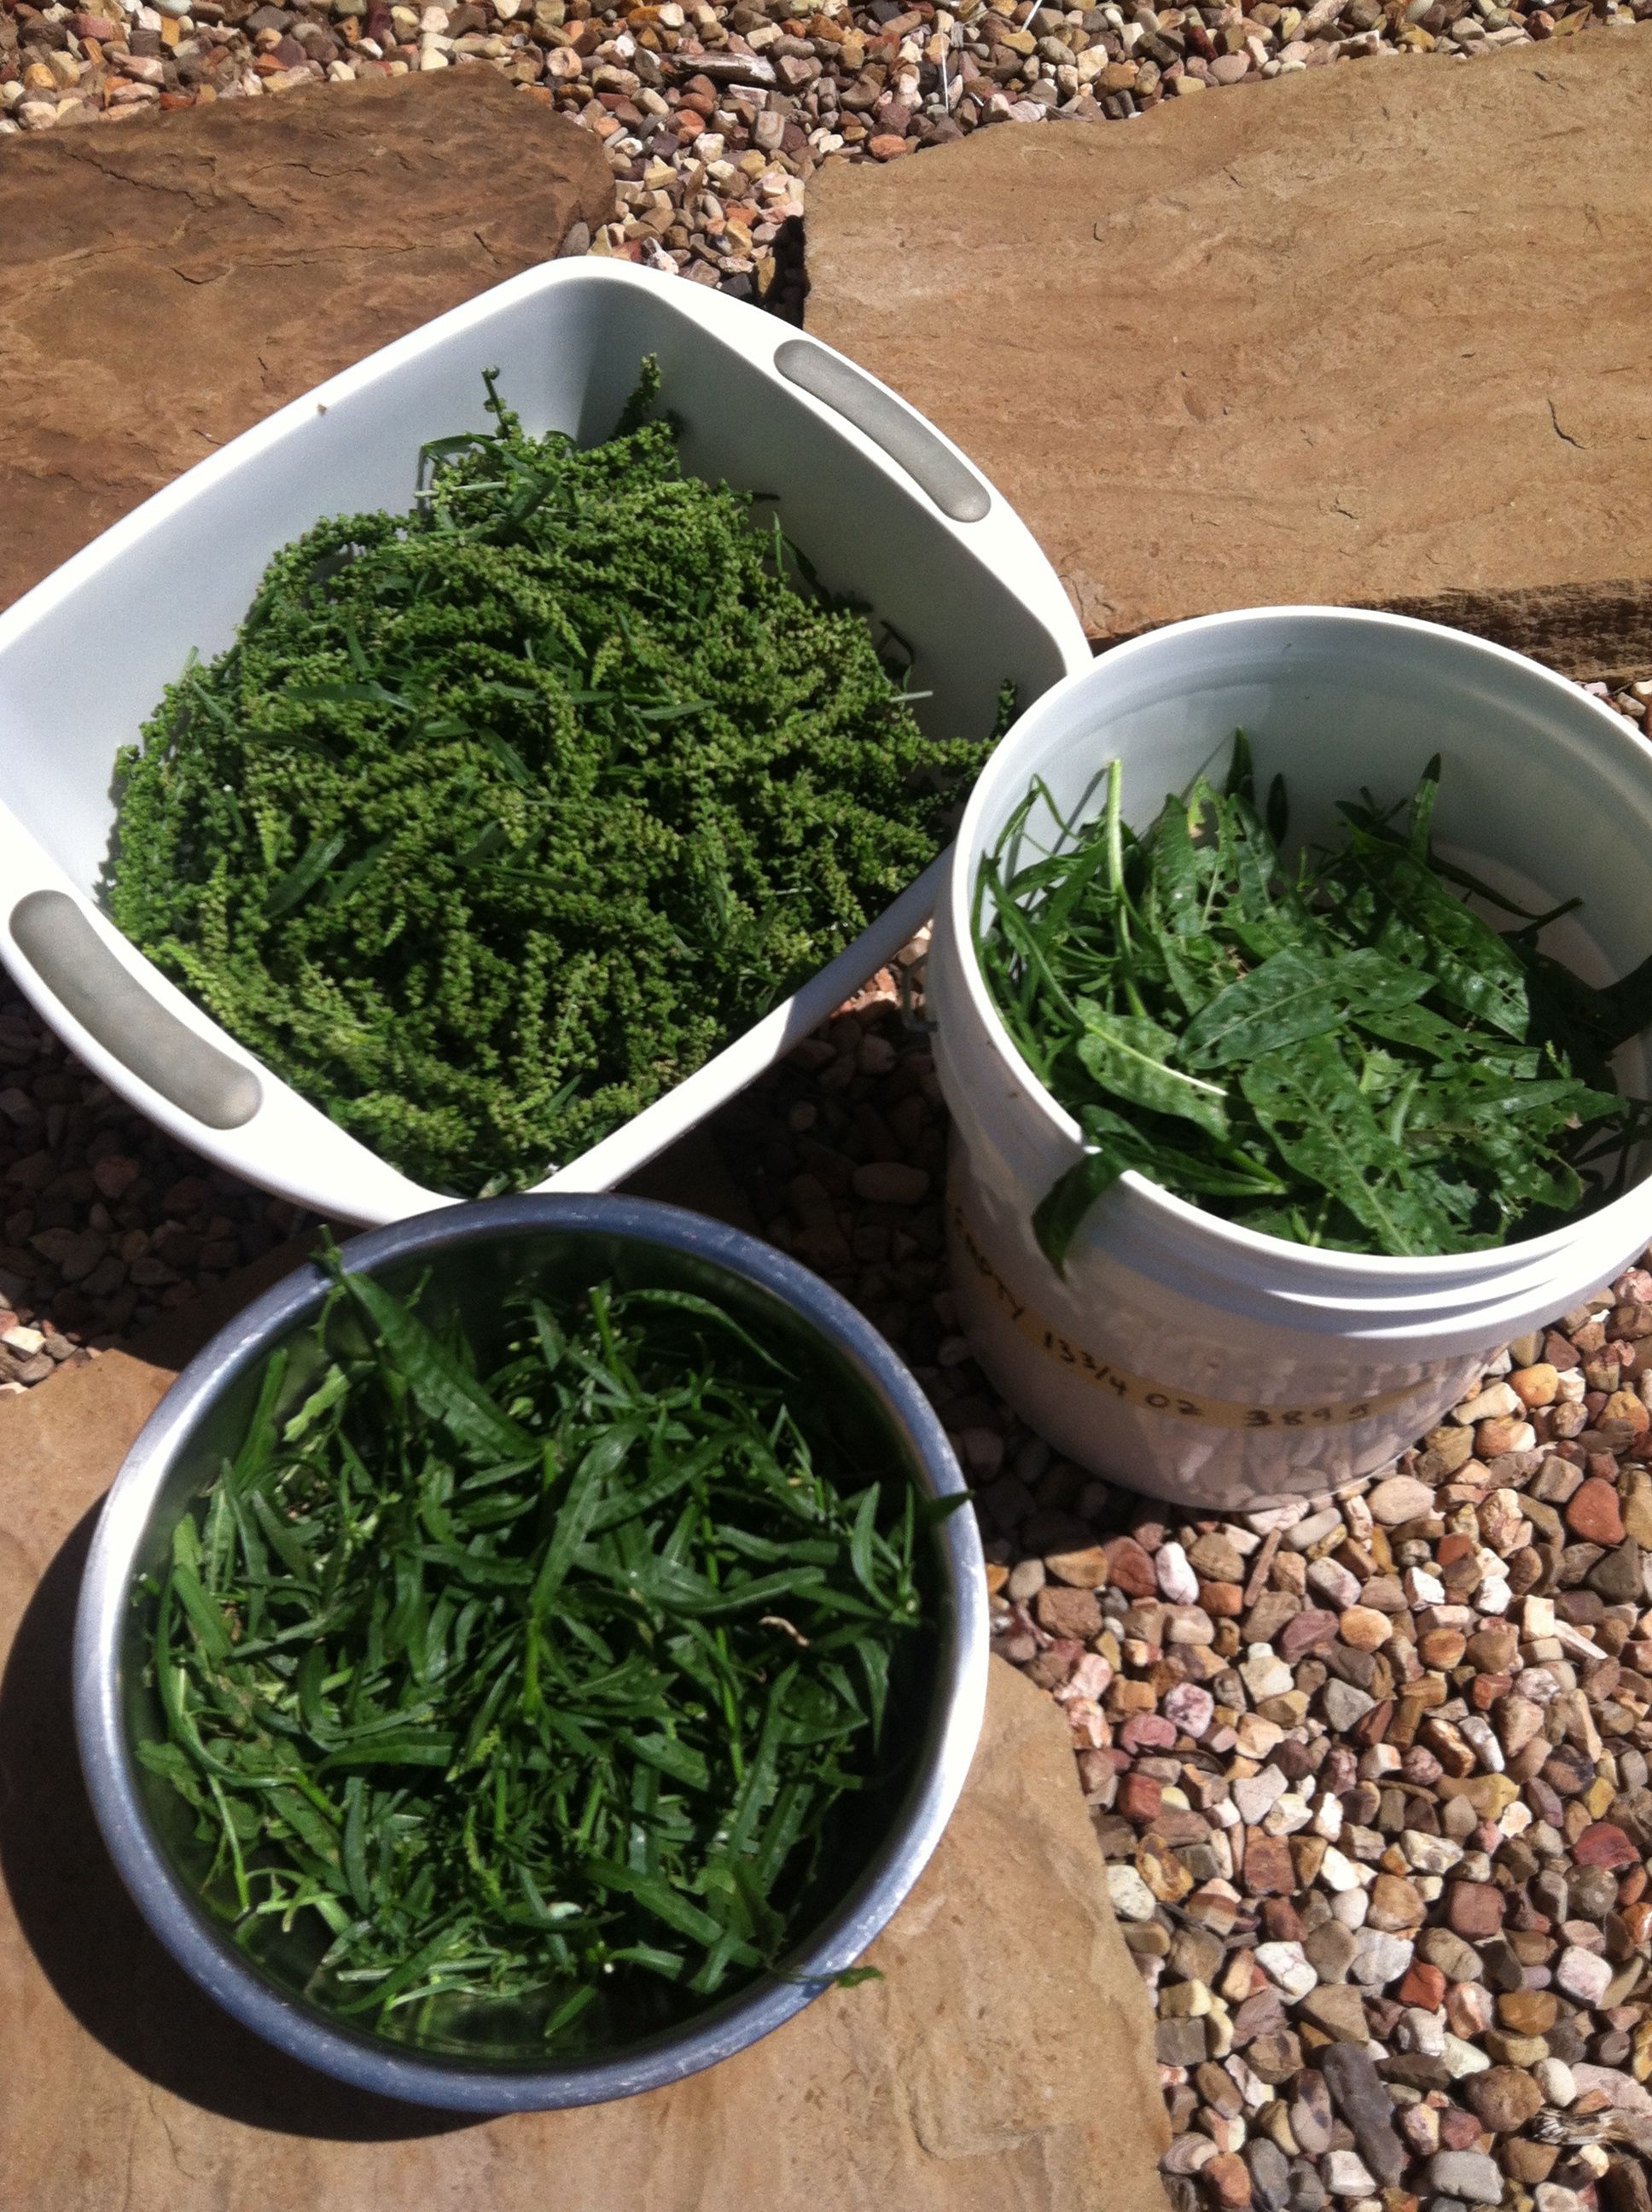
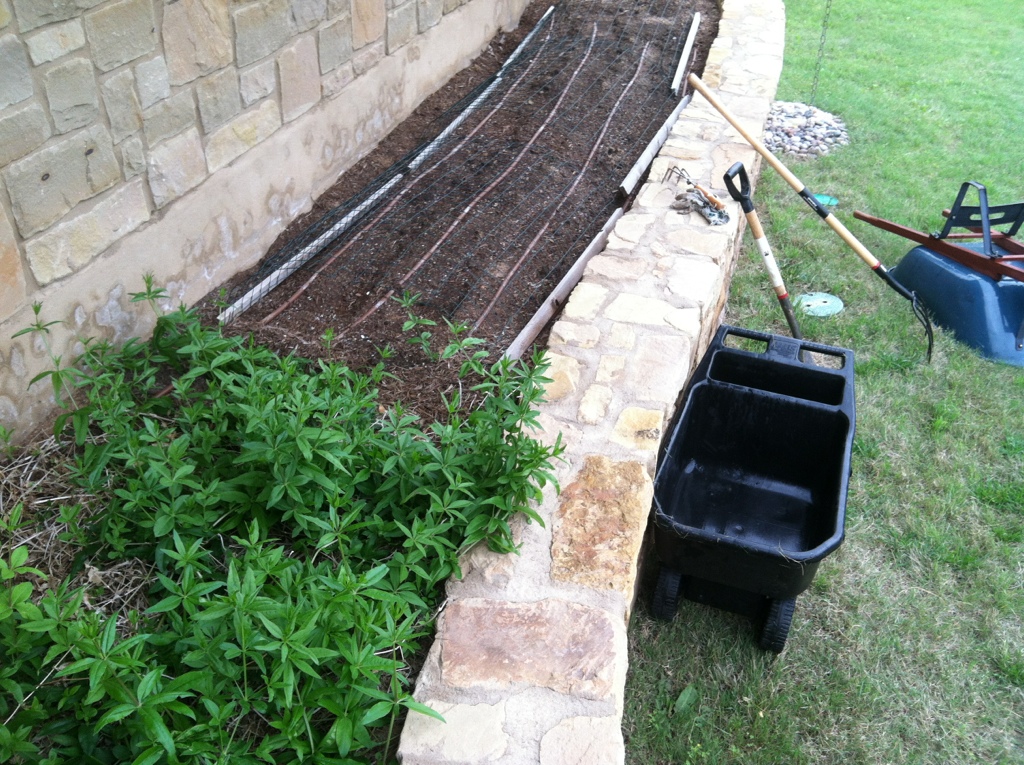
I keep charts on where I plant seeds.  My garden area is only 4 years old.  The first two years were lost to deer before we fenced the area.  The past two years have suffered from severe drought.  So, sometimes seeds just don’t perform, at all.  The weld was a perfect example.  They were planted on the west side of the house, under an awning but still, the west side in the Texas Hill country is HOT.   So I gave them up as casualties to the heat.

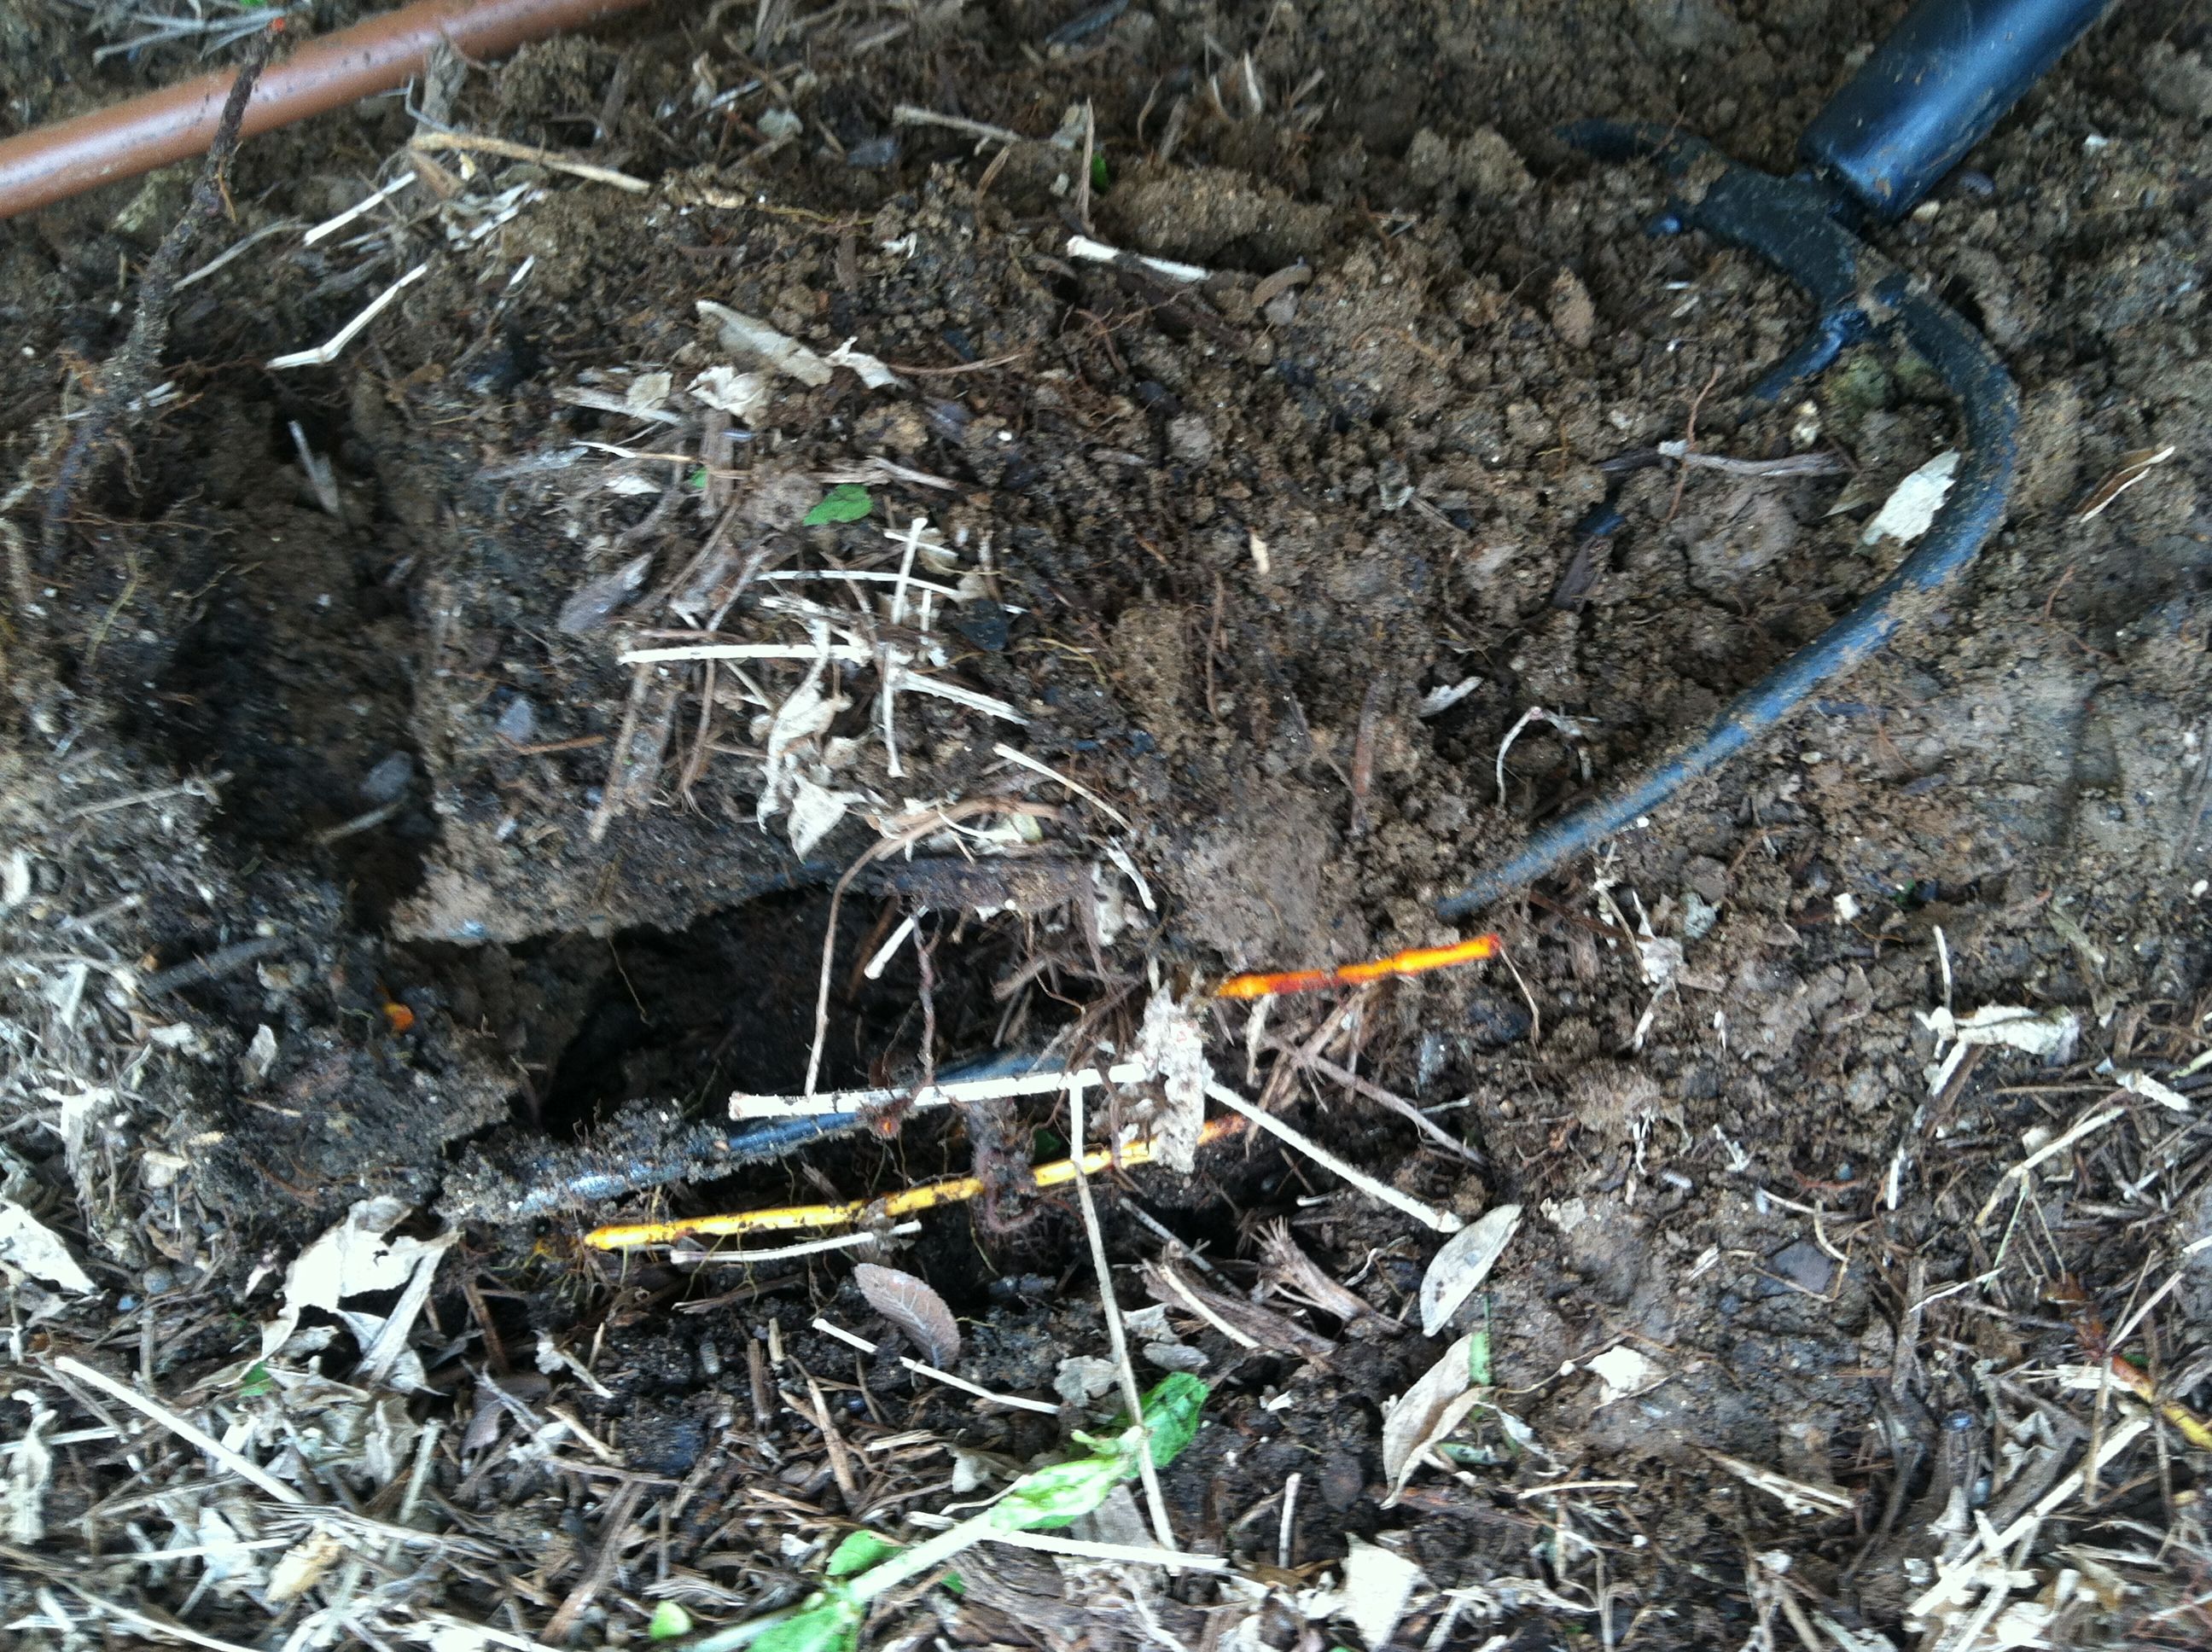
As we worked the garden terraces I realized one irrigation line wasn’t working correctly.  Once that was fixed, to my surprise, the weld made an appearance!  Sweet, they were just thirsty!

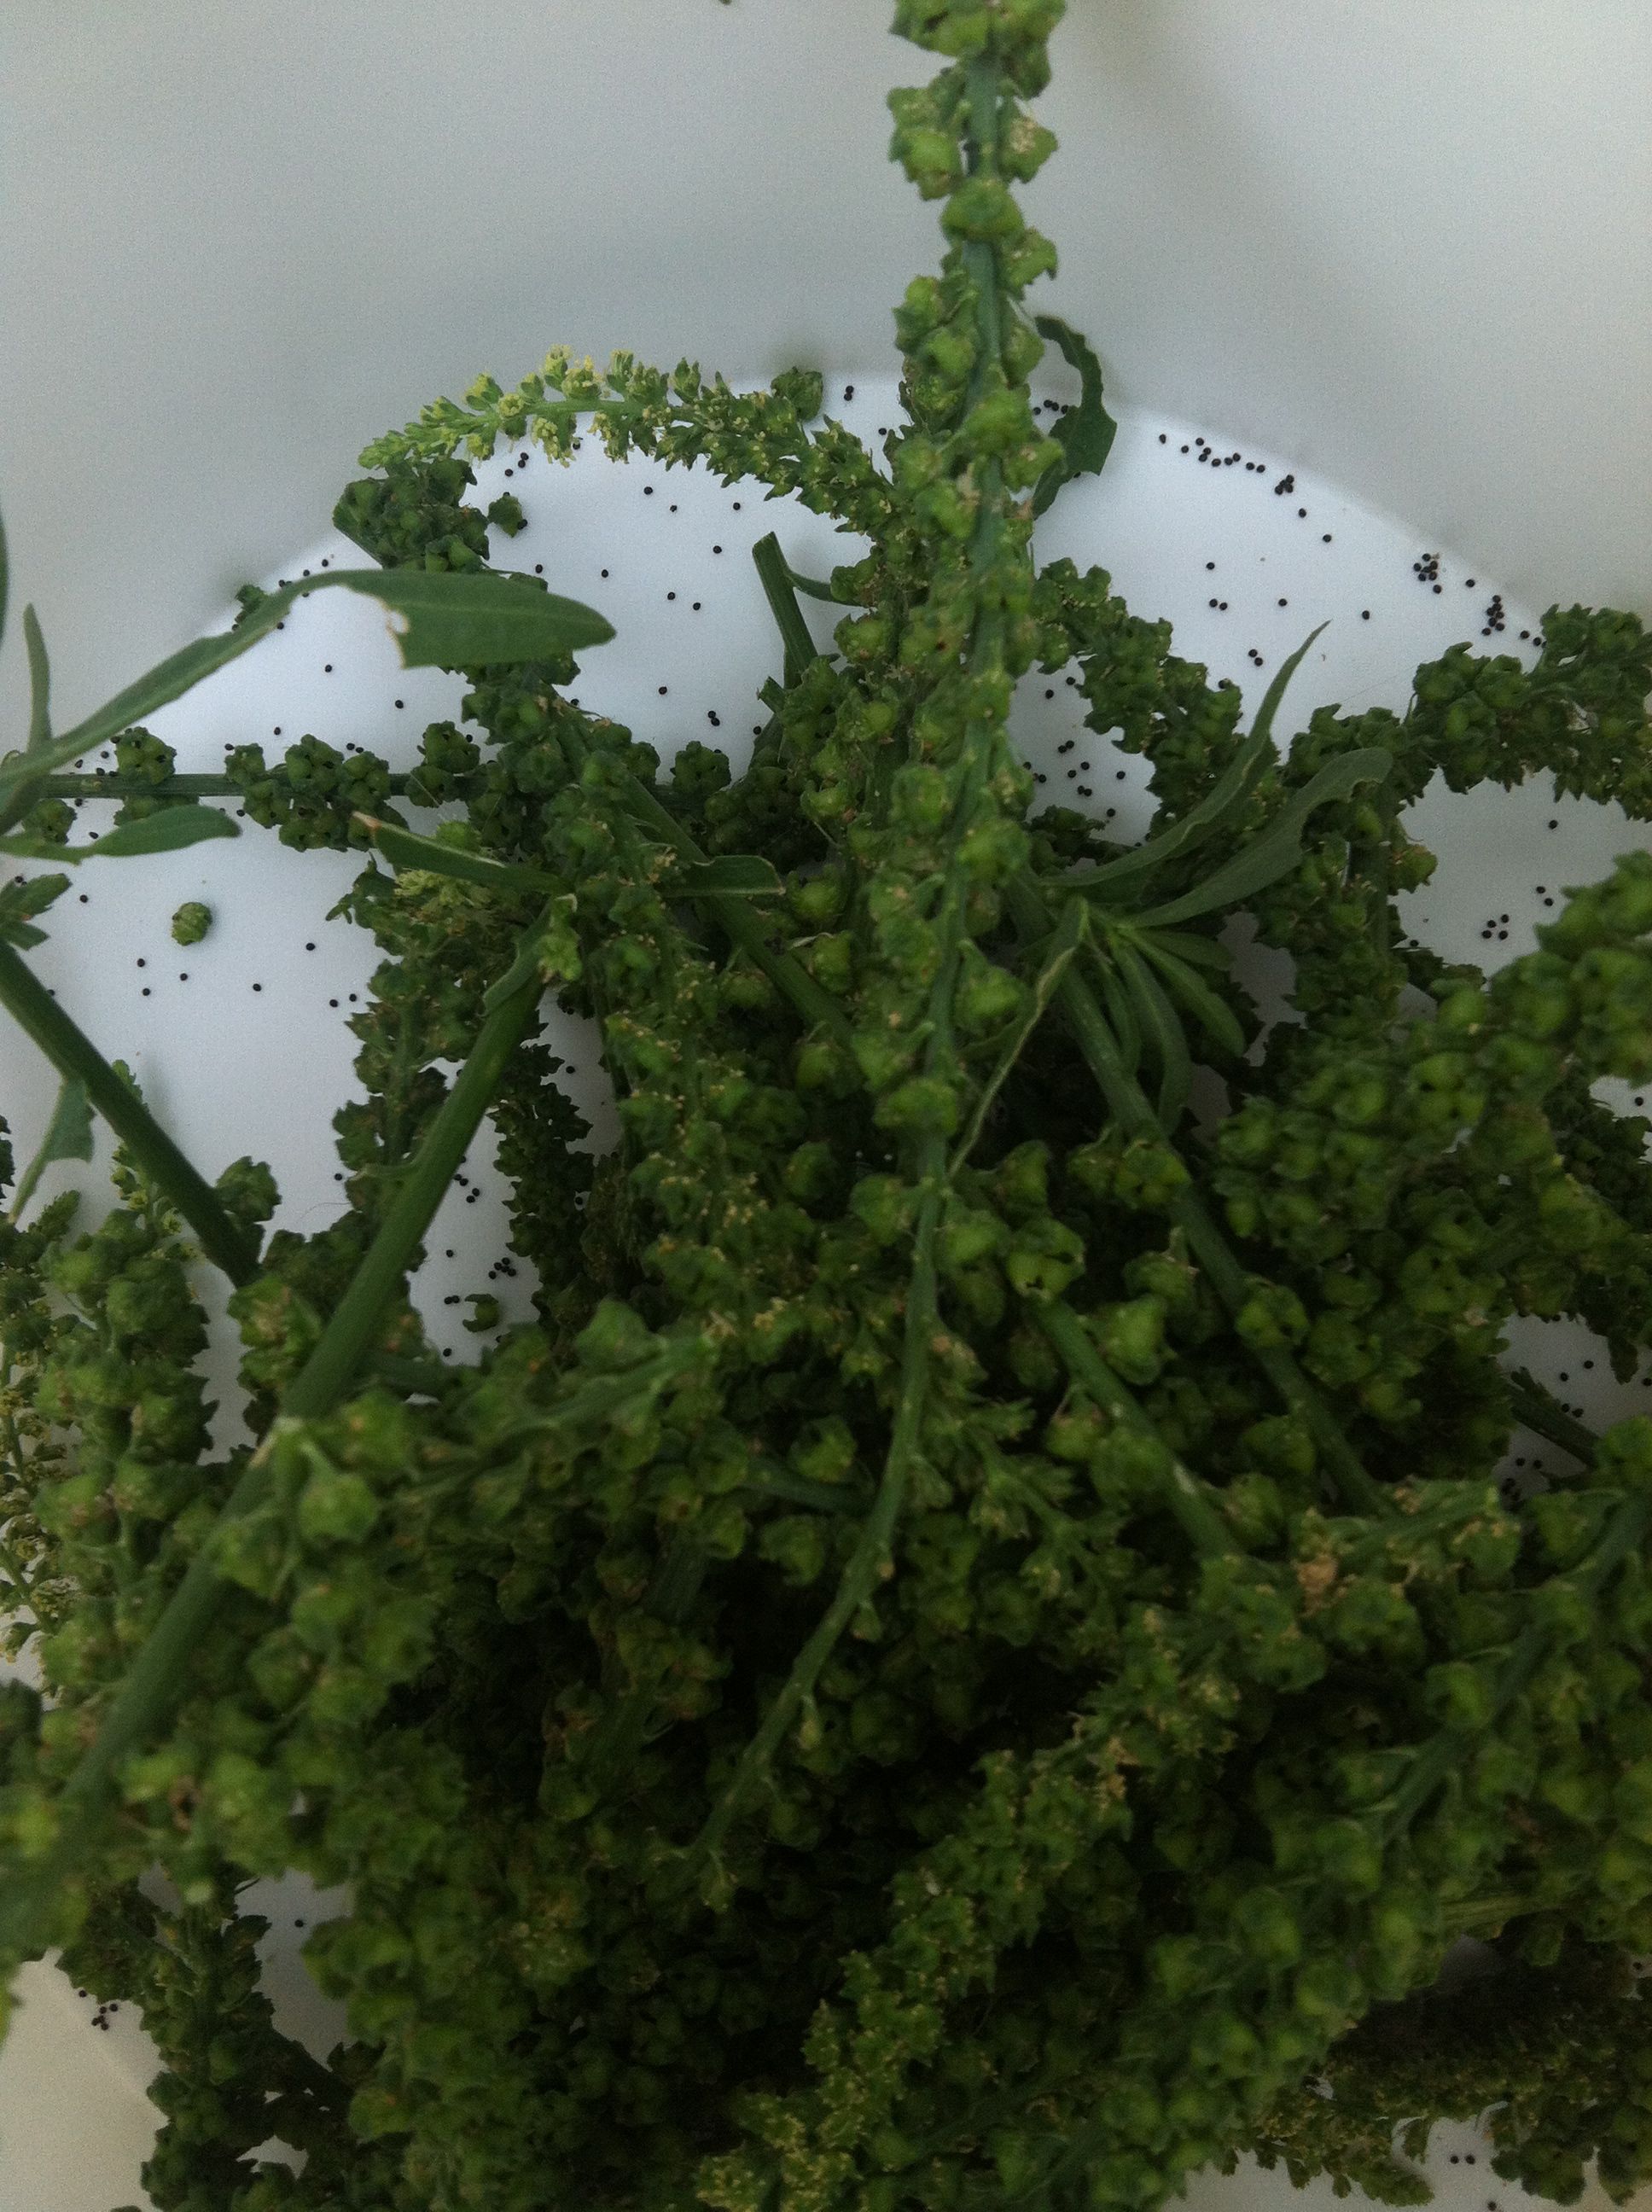
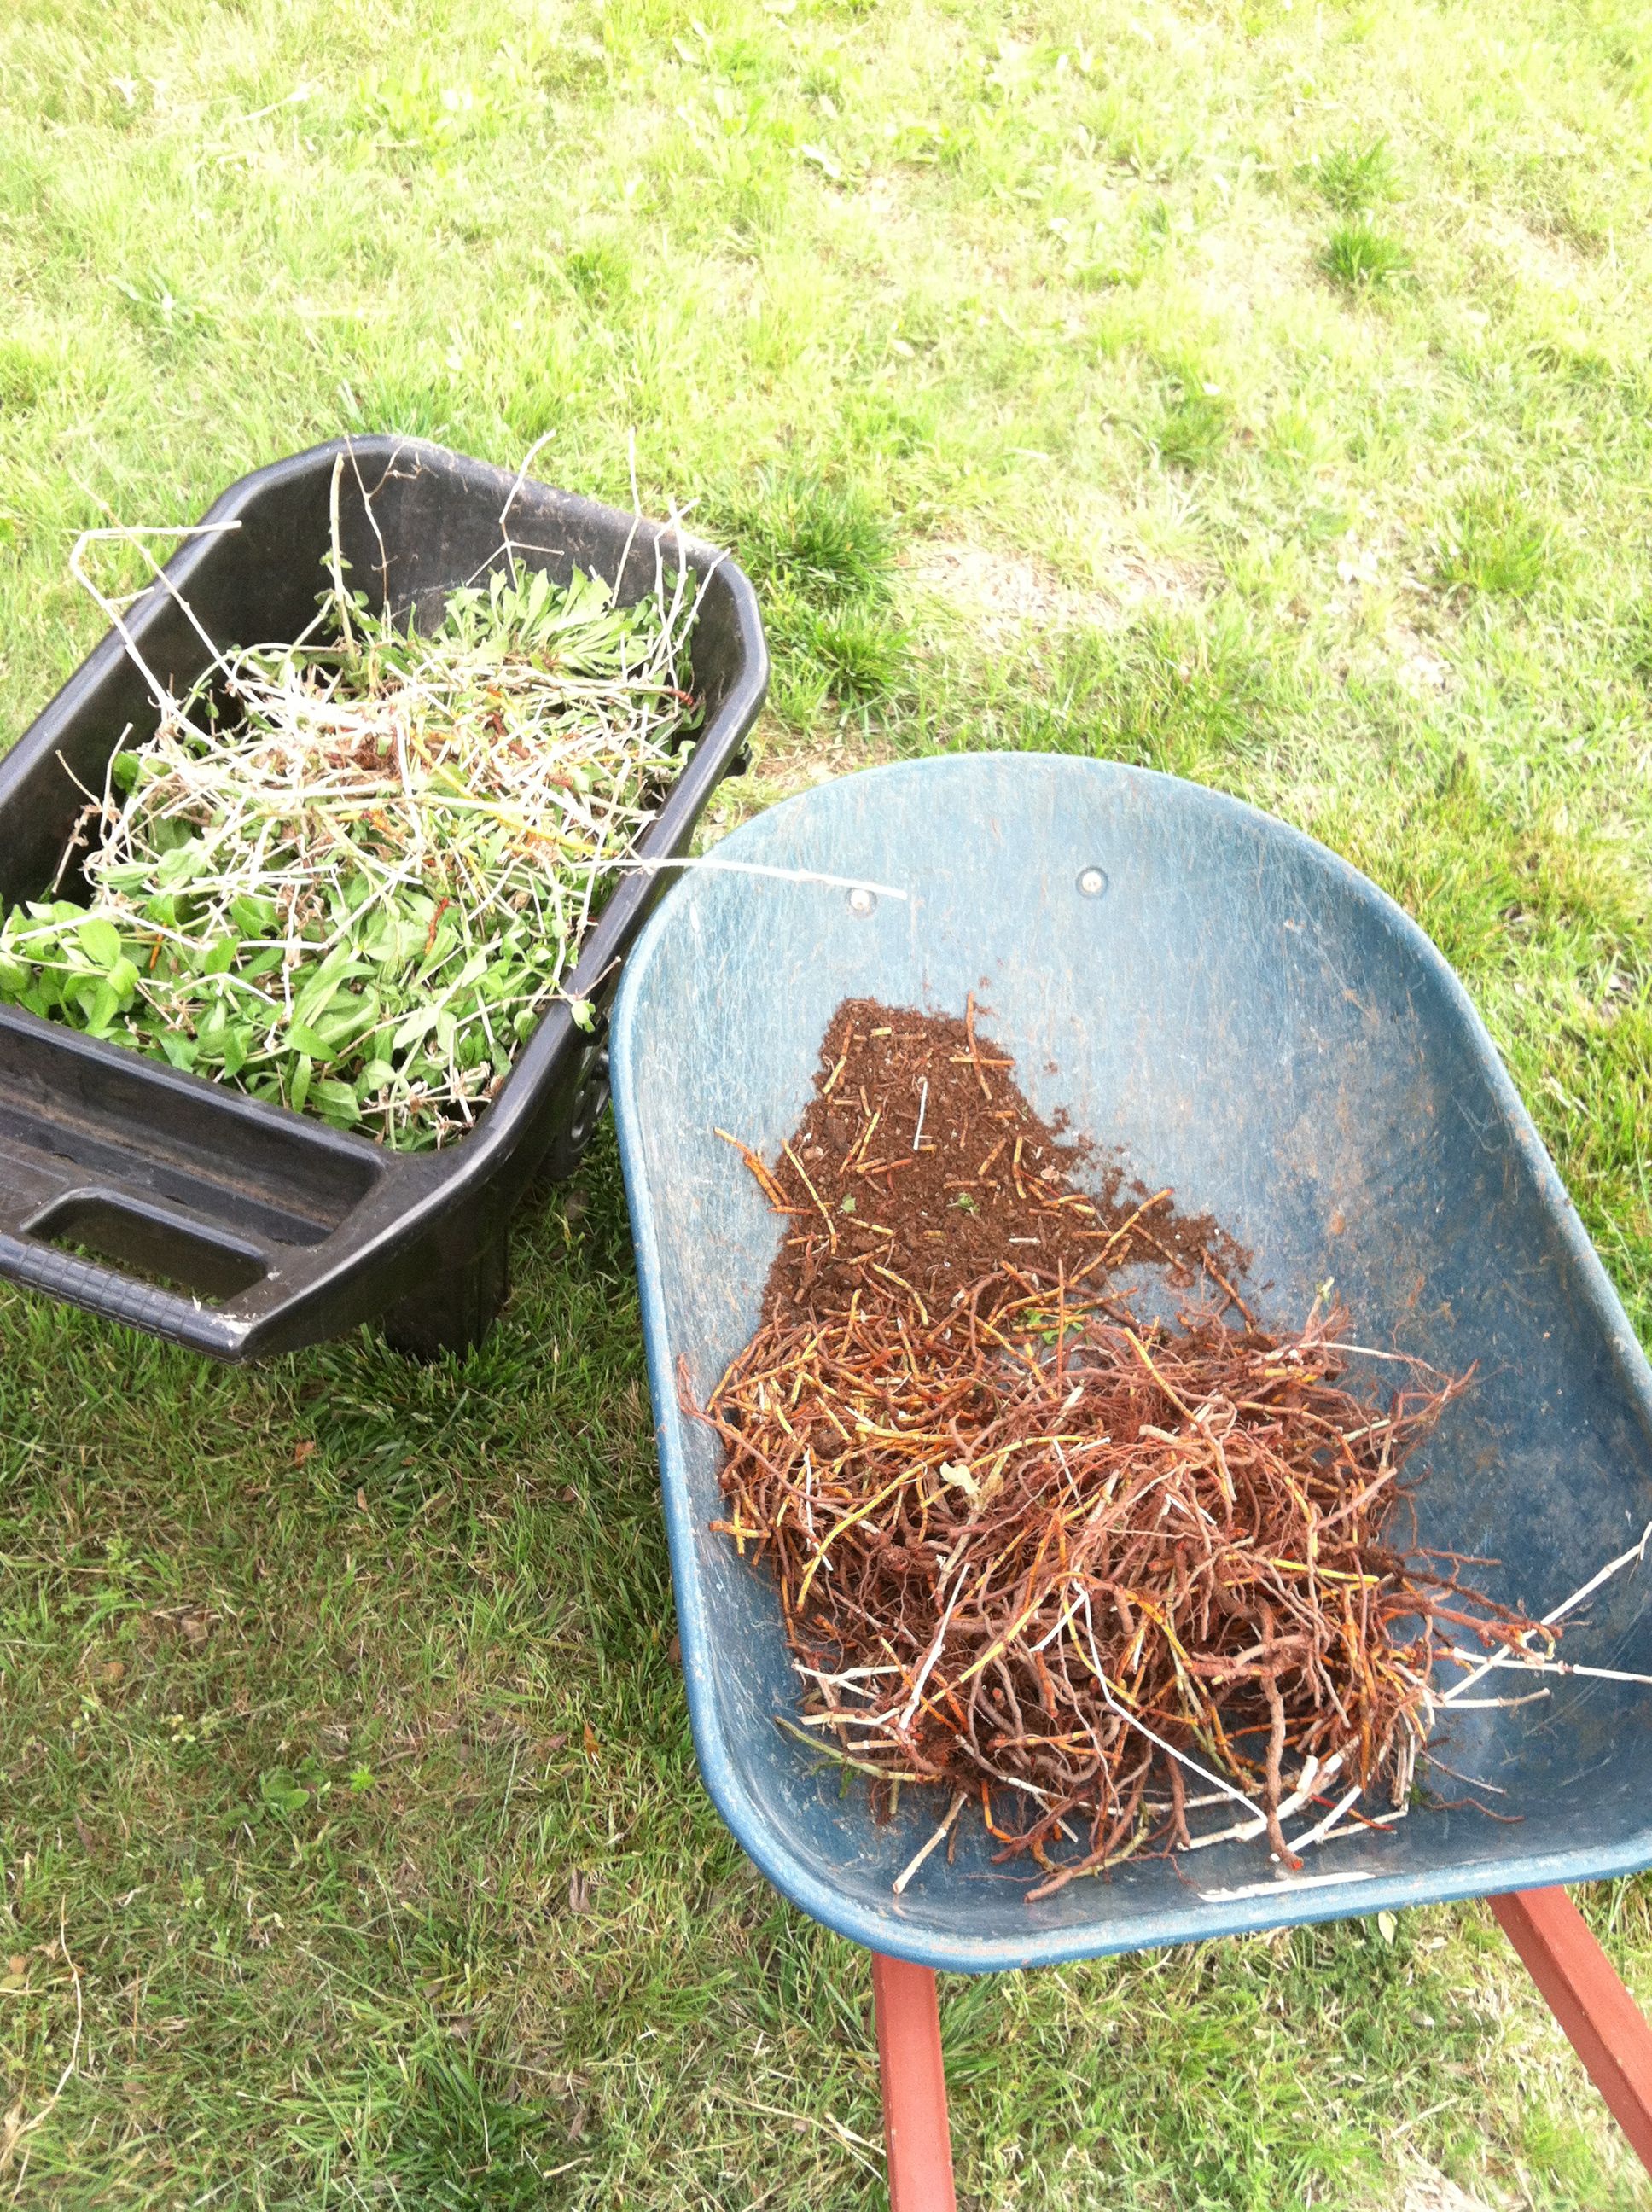
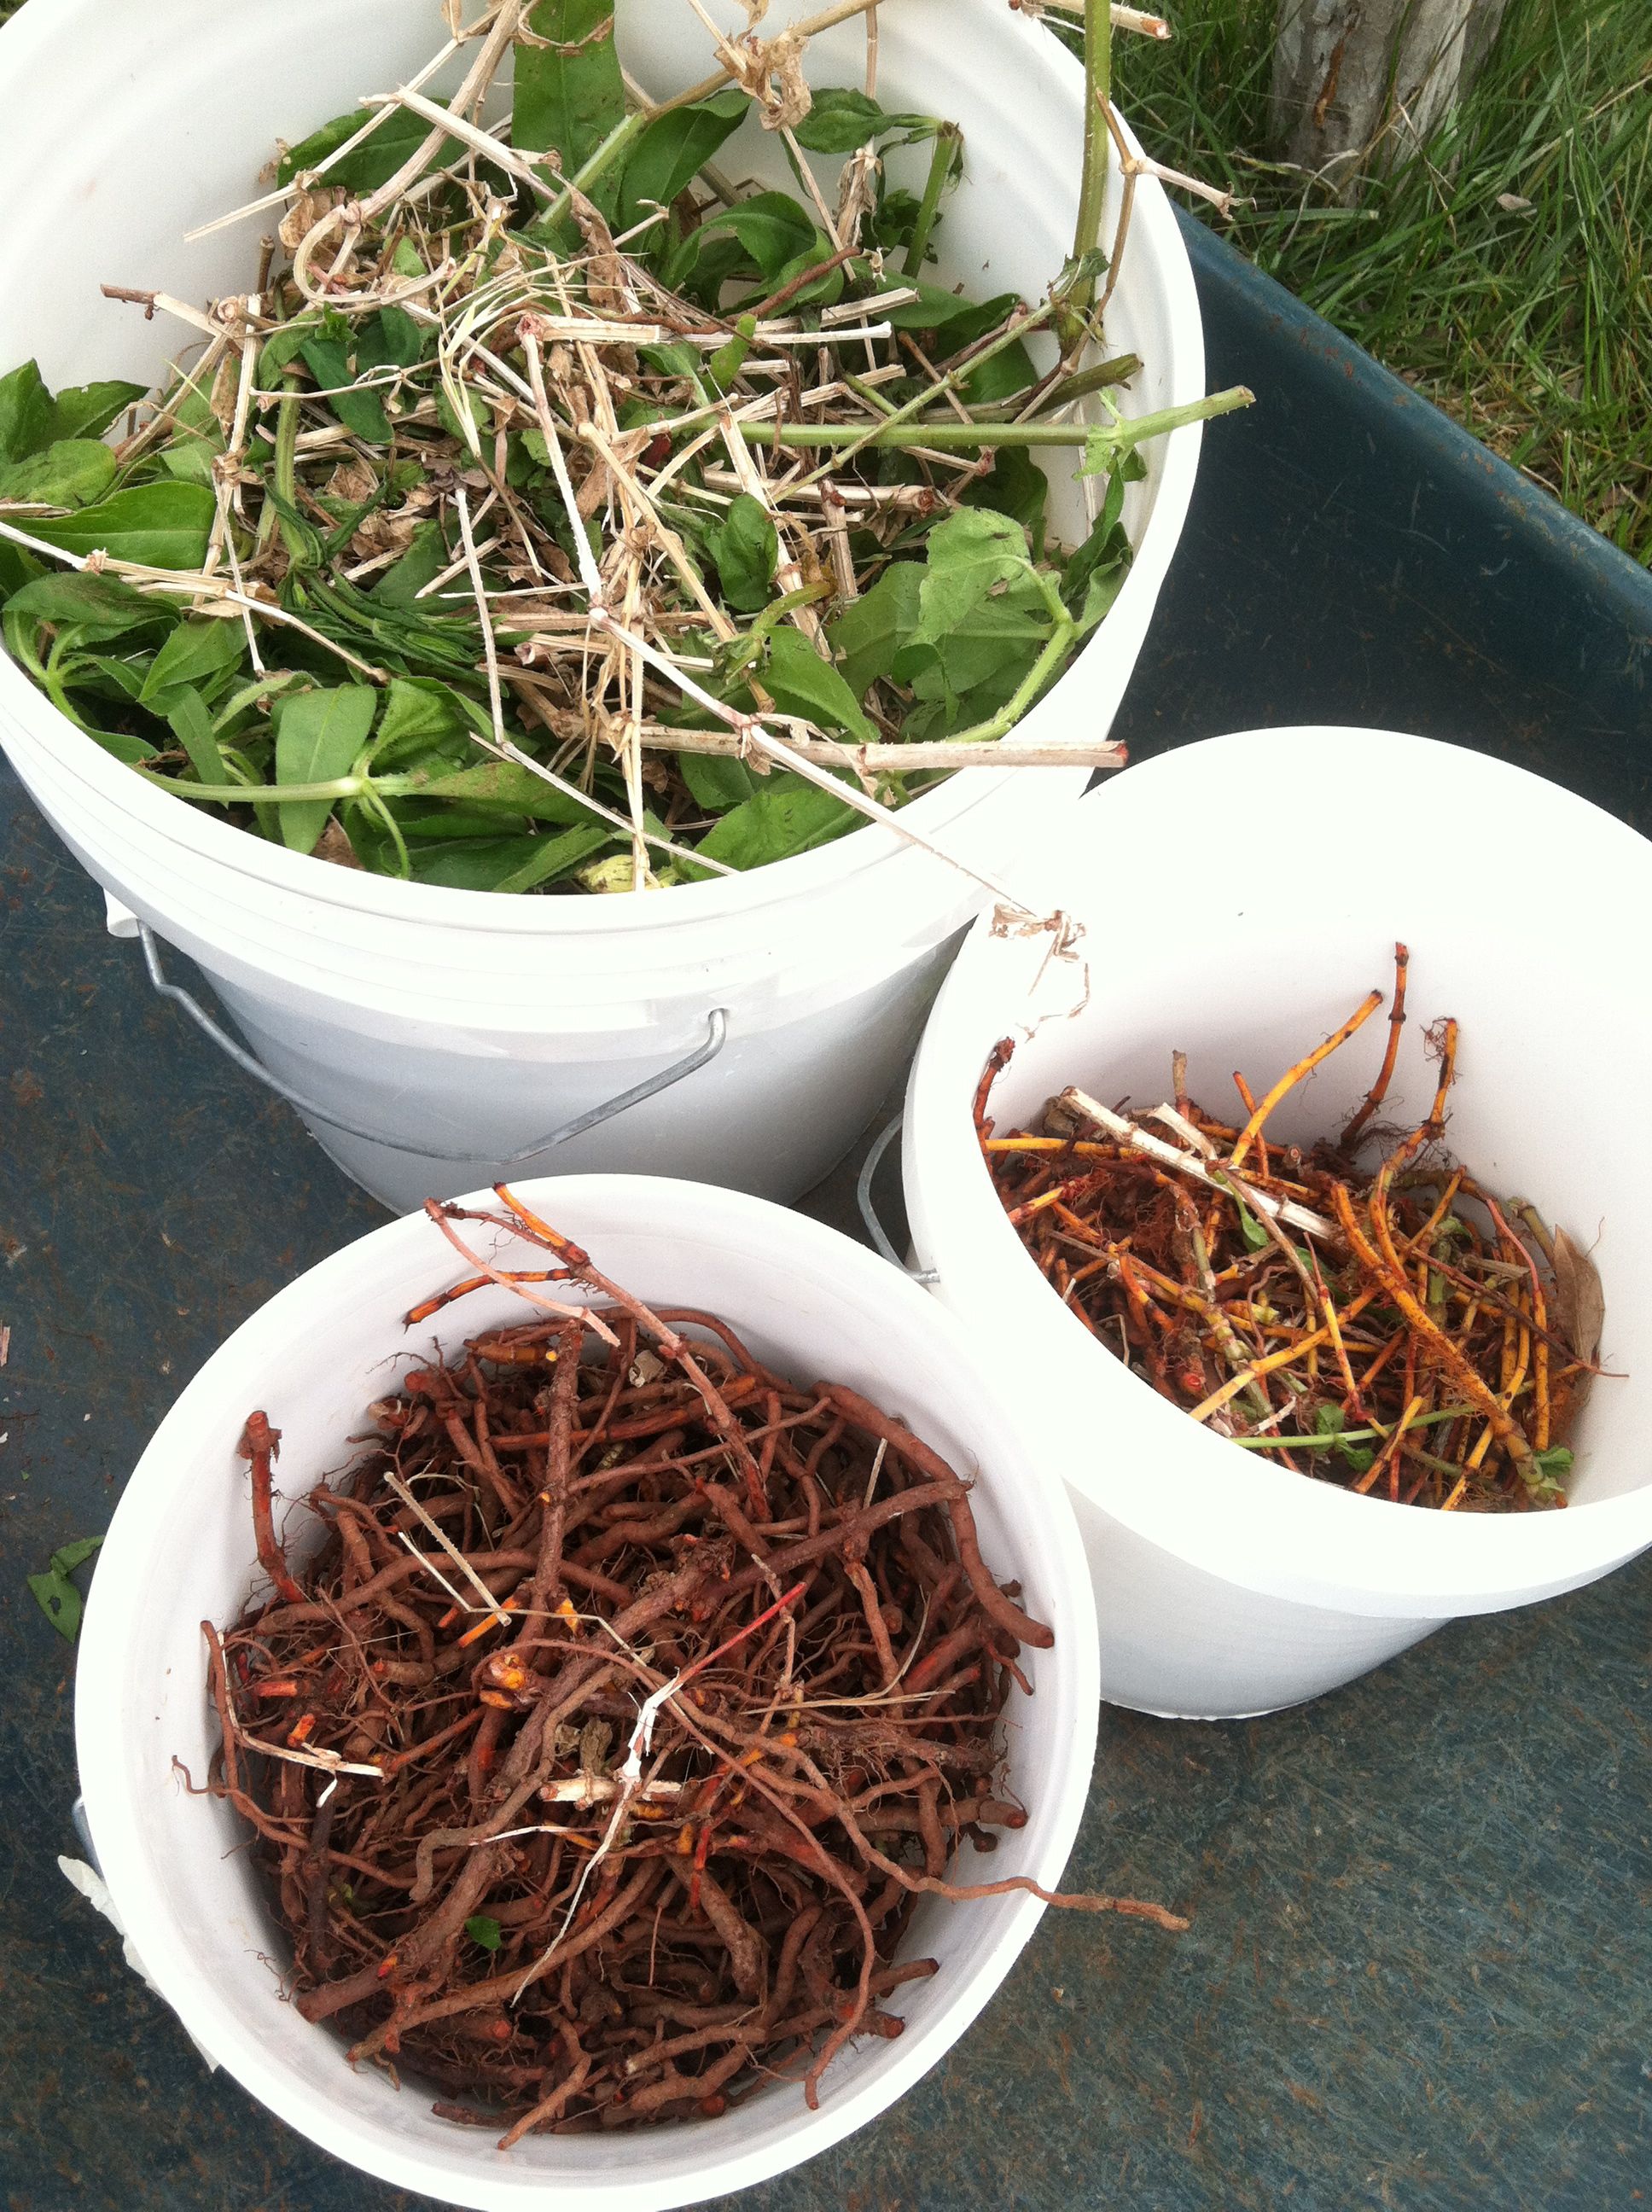
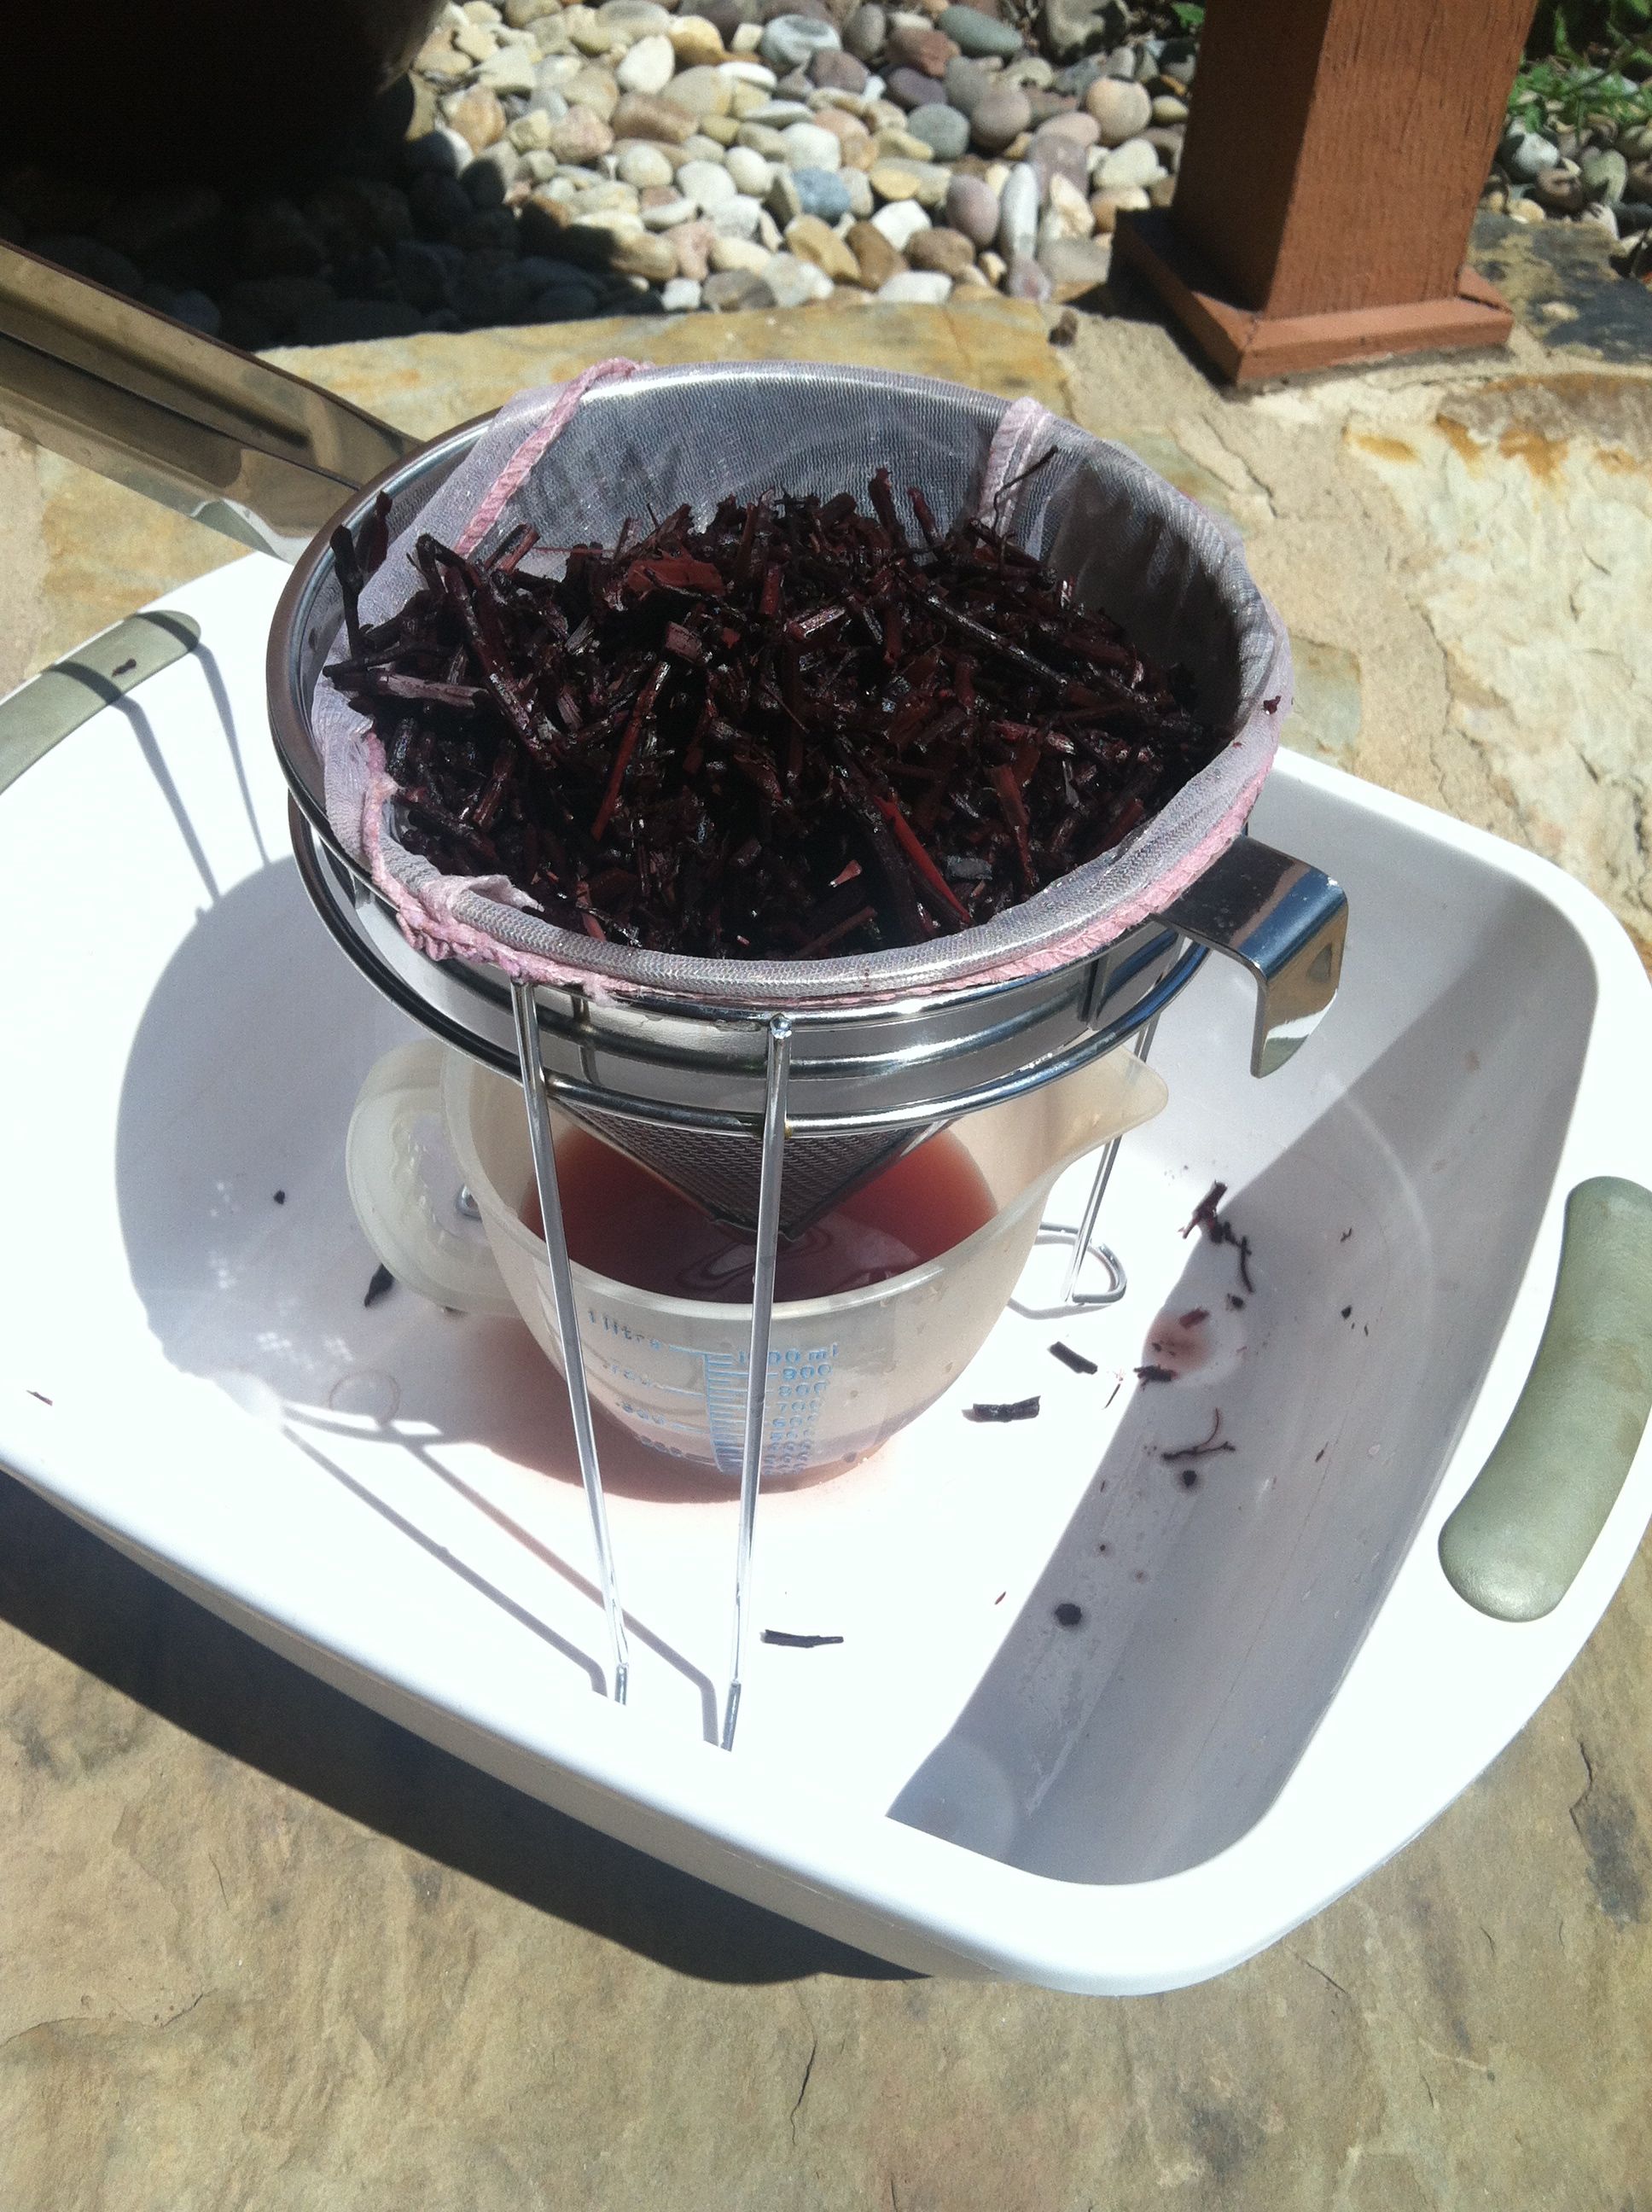
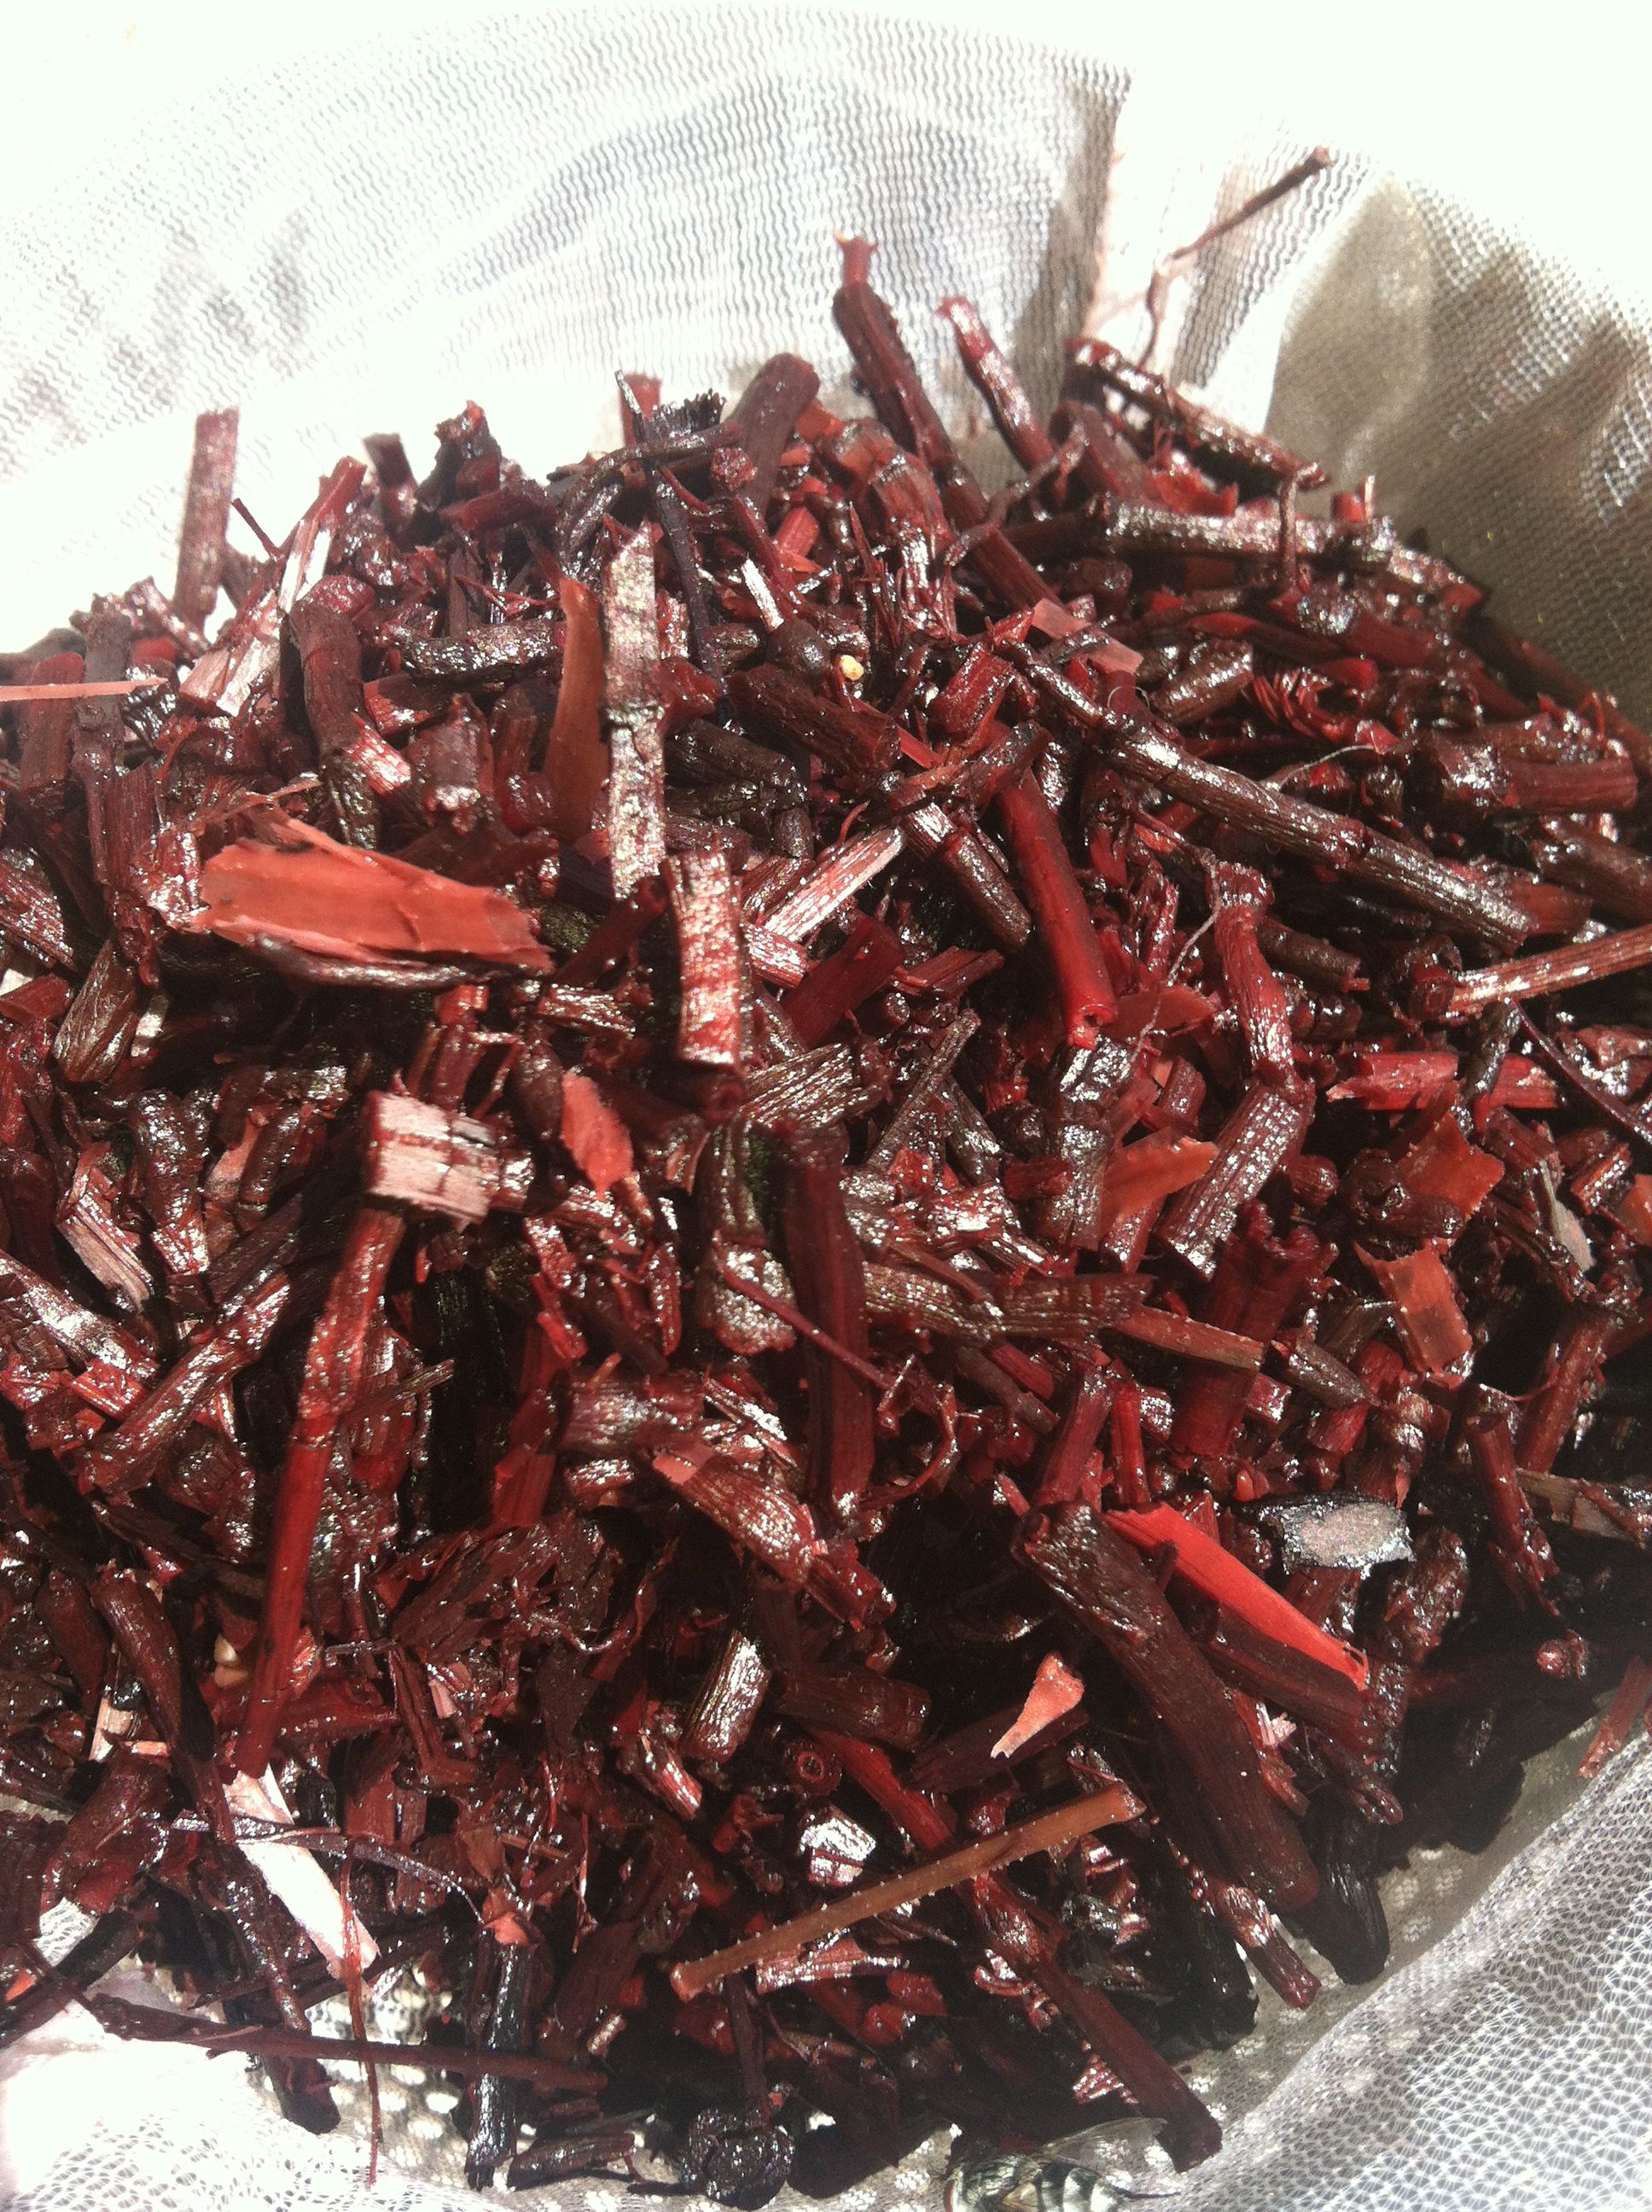
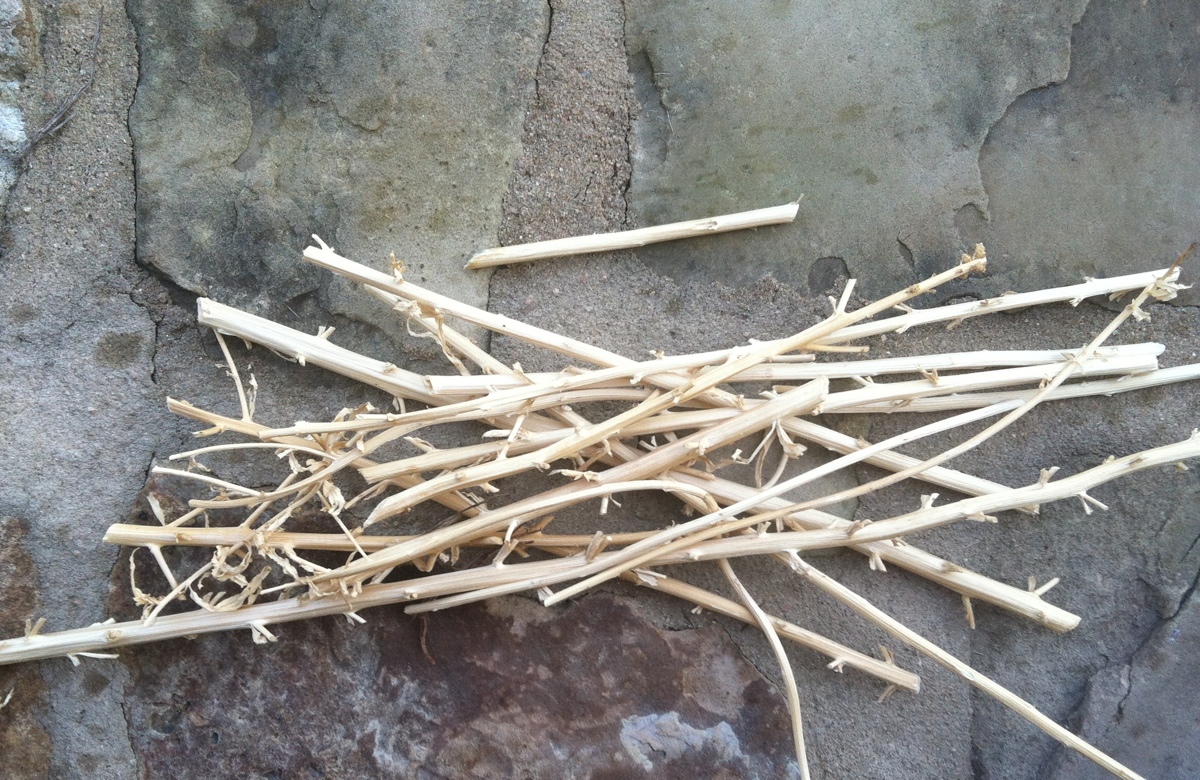
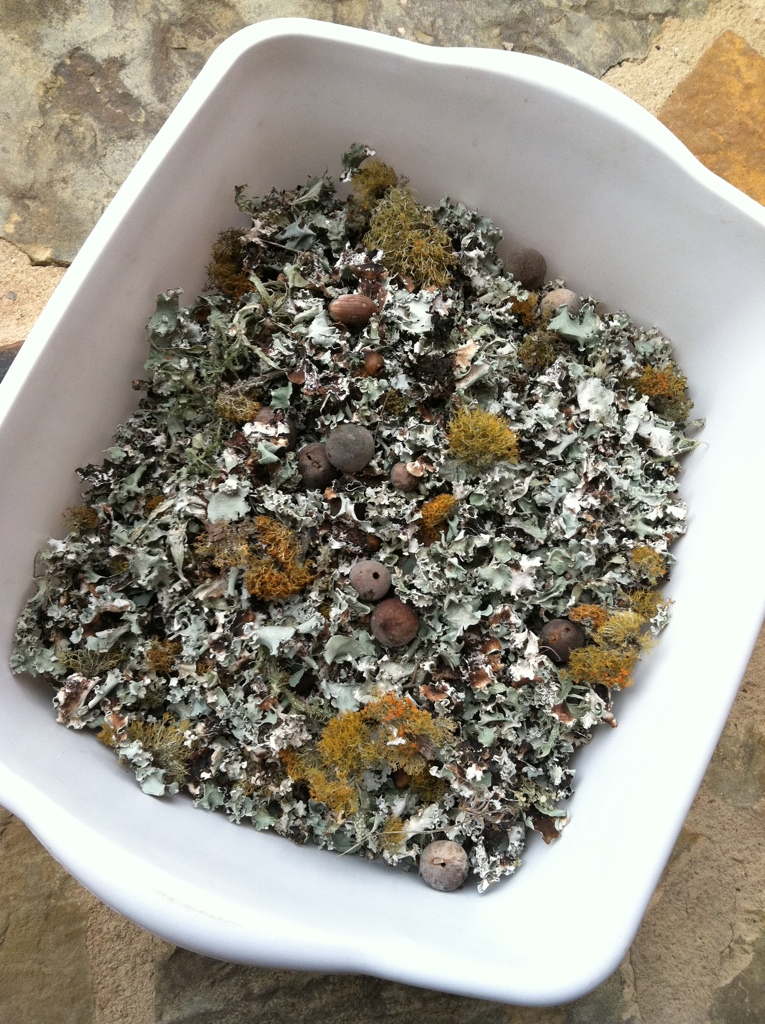
I listened to the folks who said don’t bother with the large stalks, not enough color in them to make it worth it and set the stalks aside.  However, once they dried they are just right for weaving pirns, hollow and easy to cut.  More to come on that!

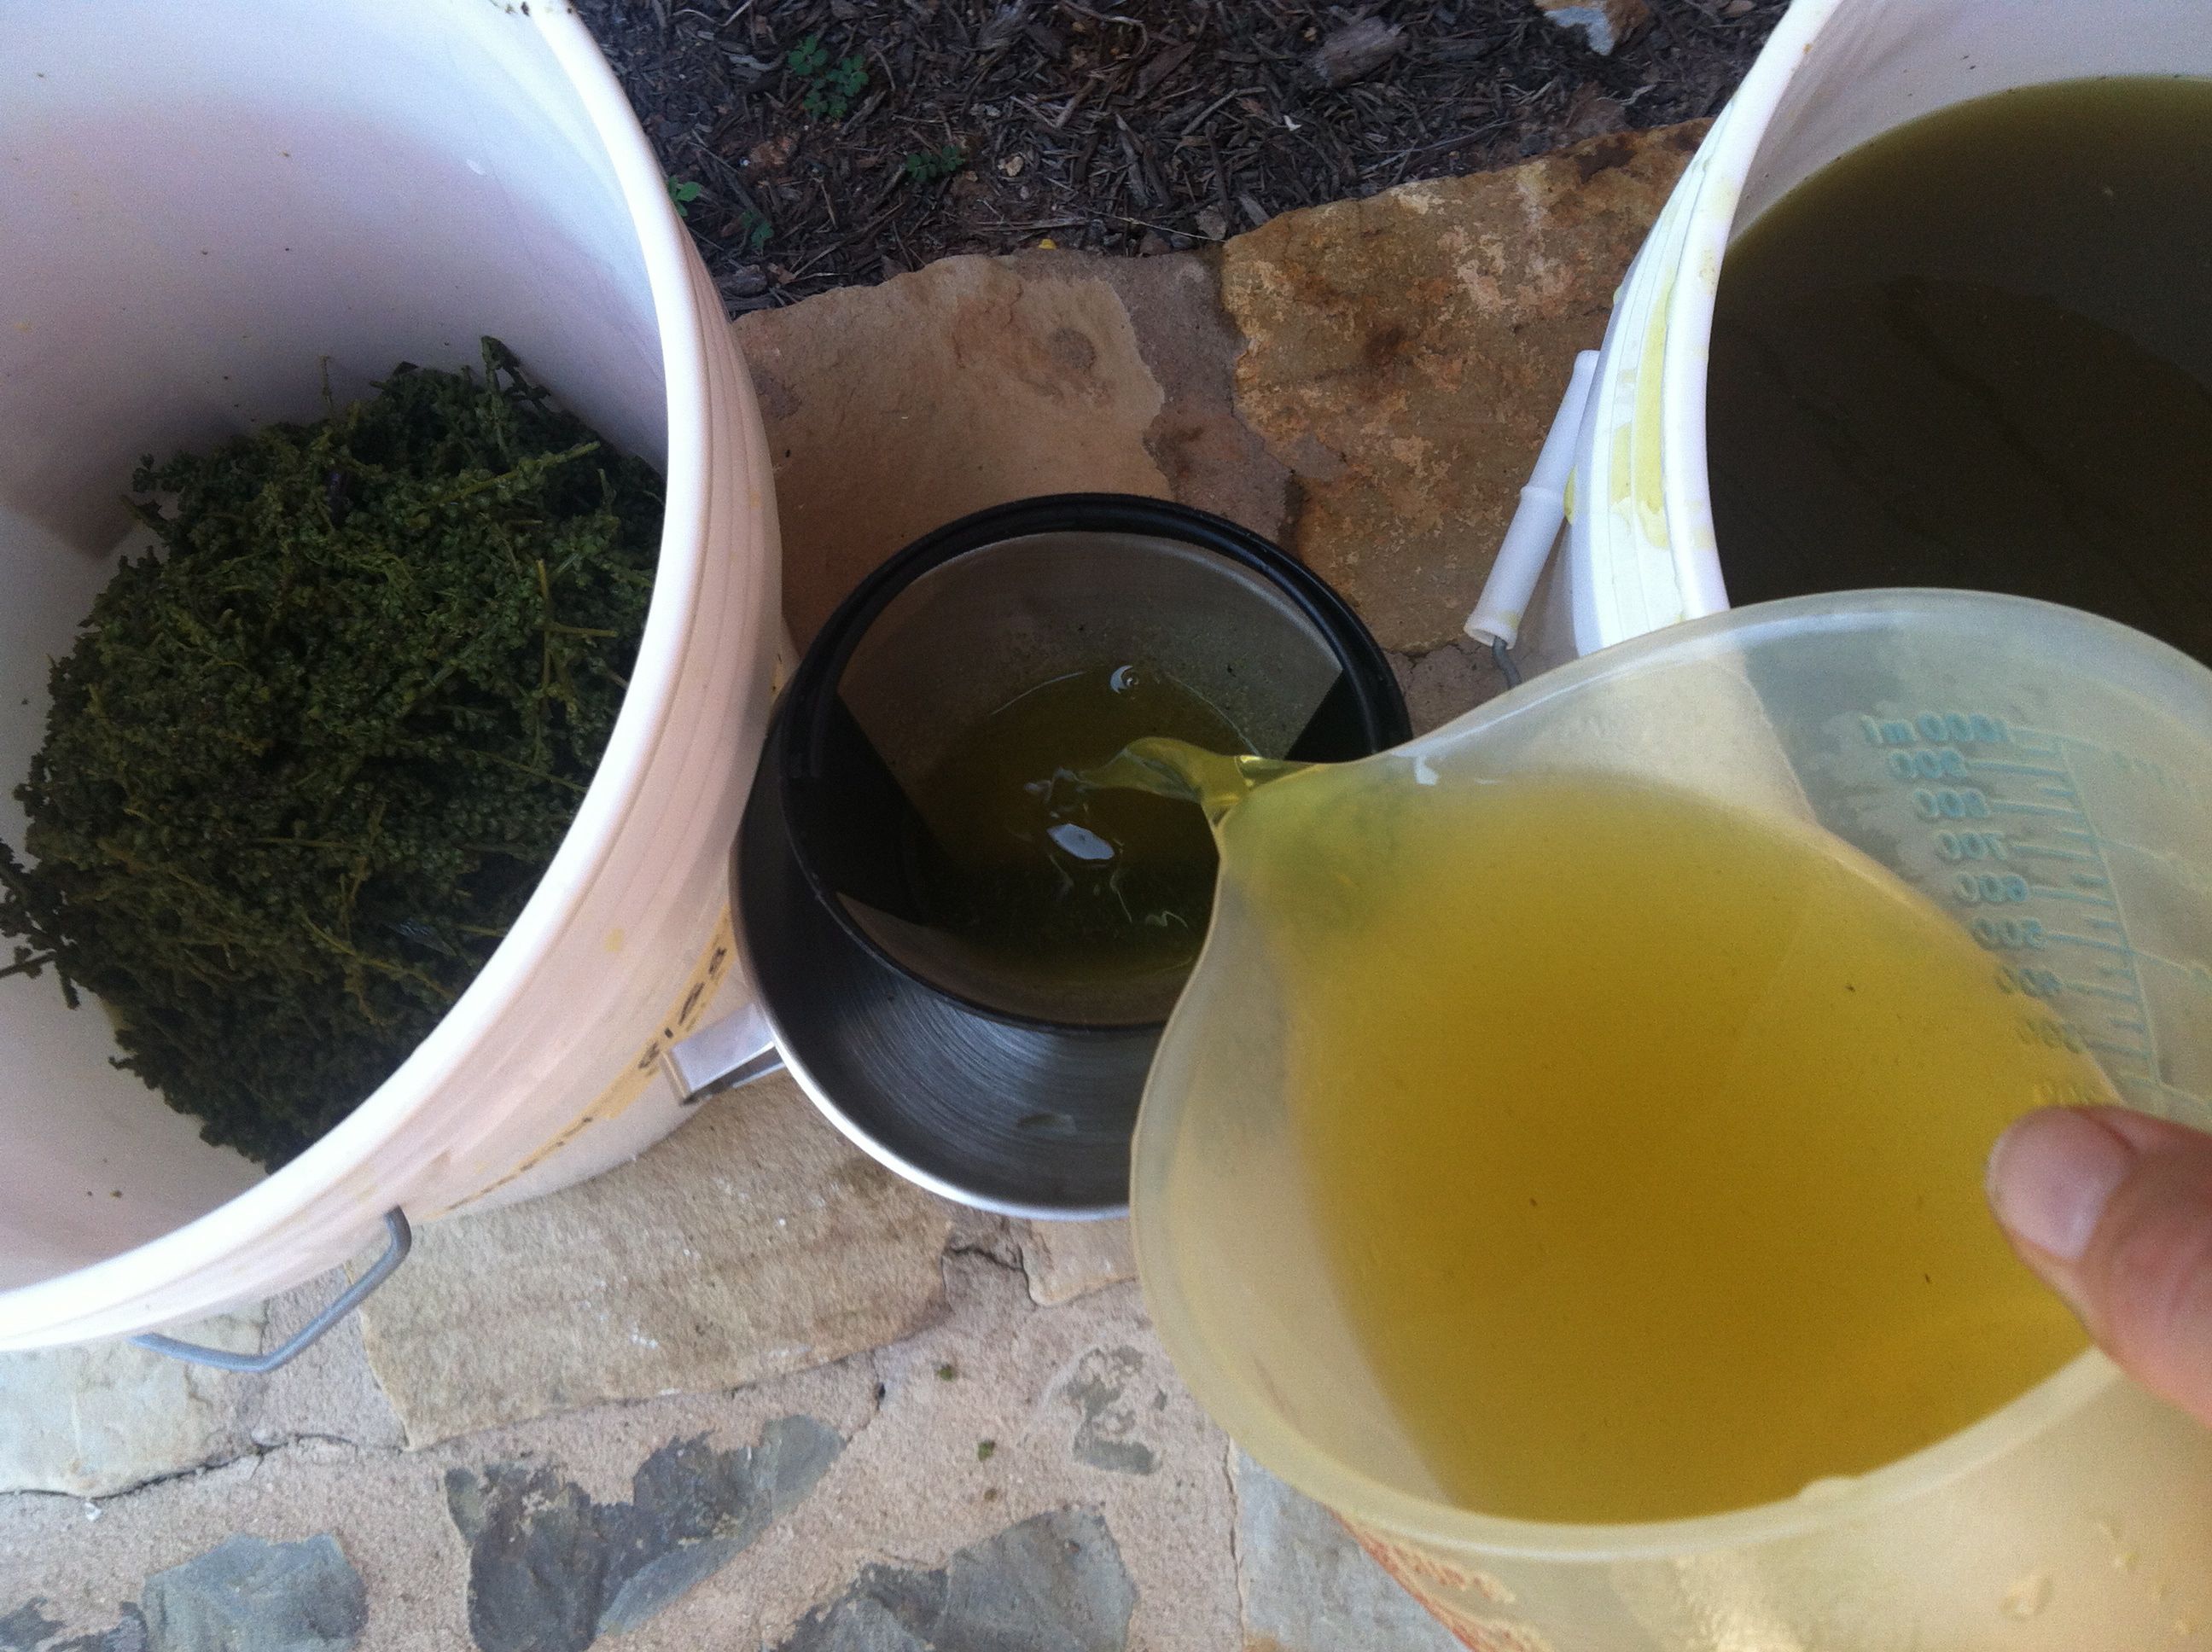
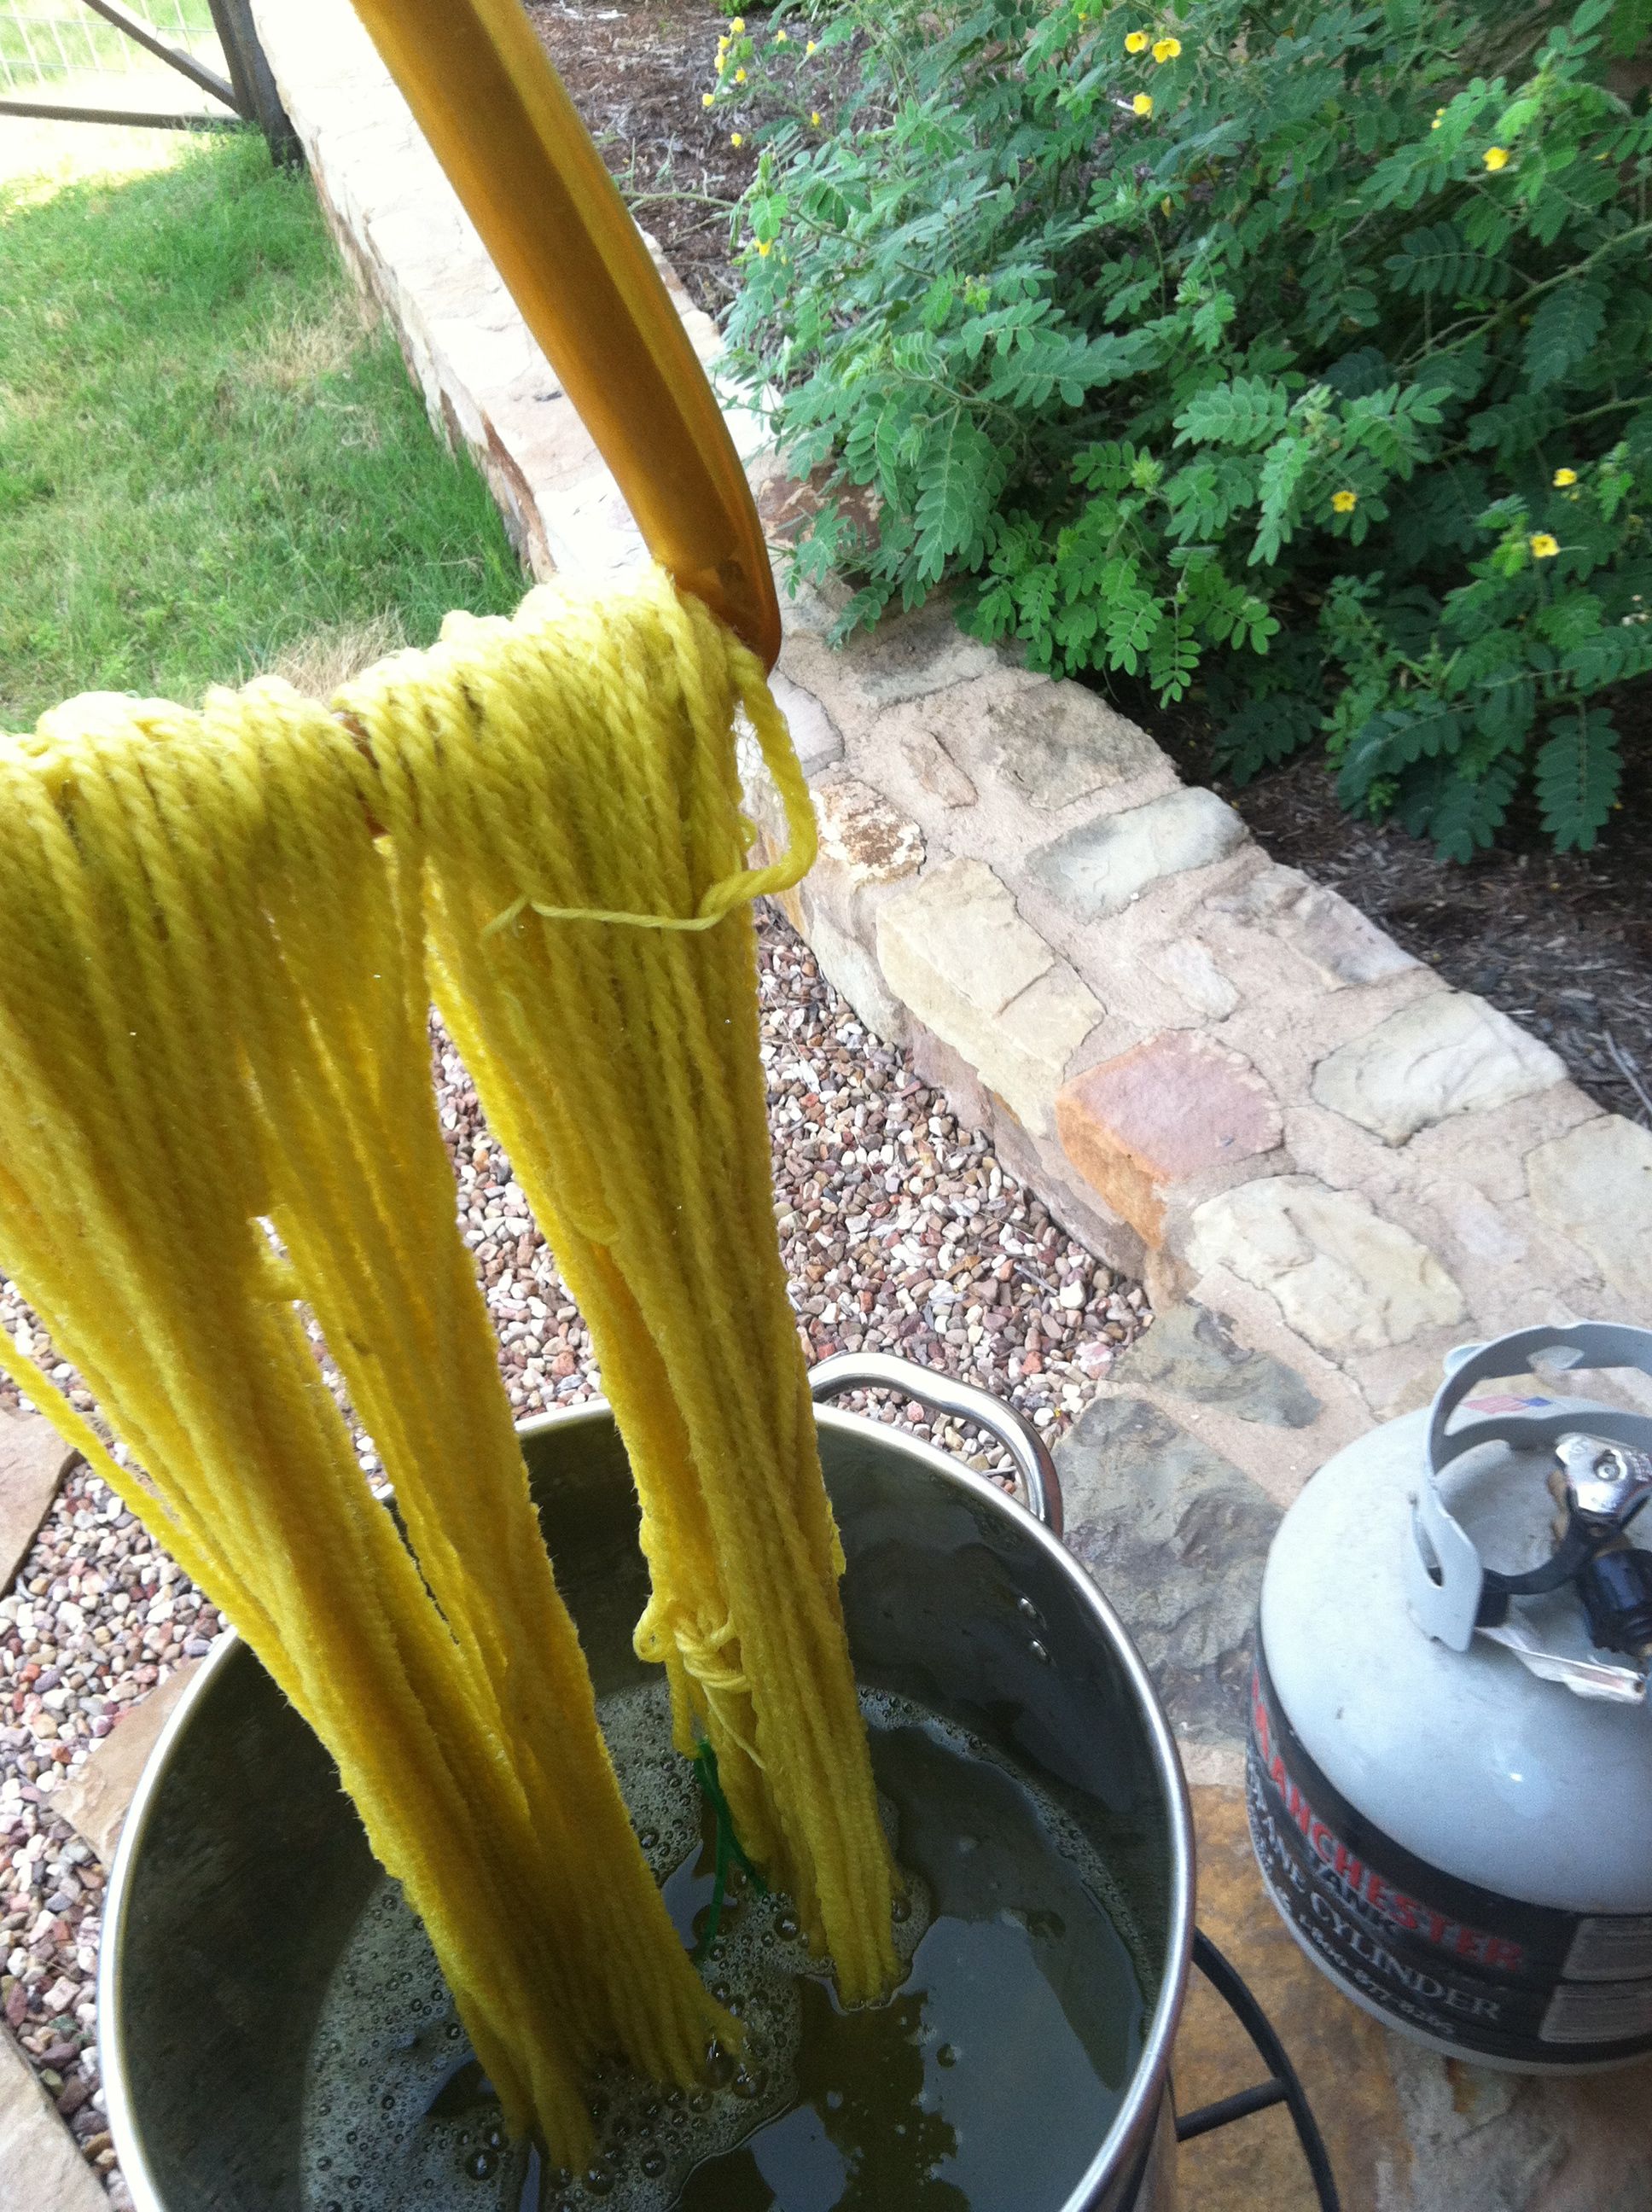
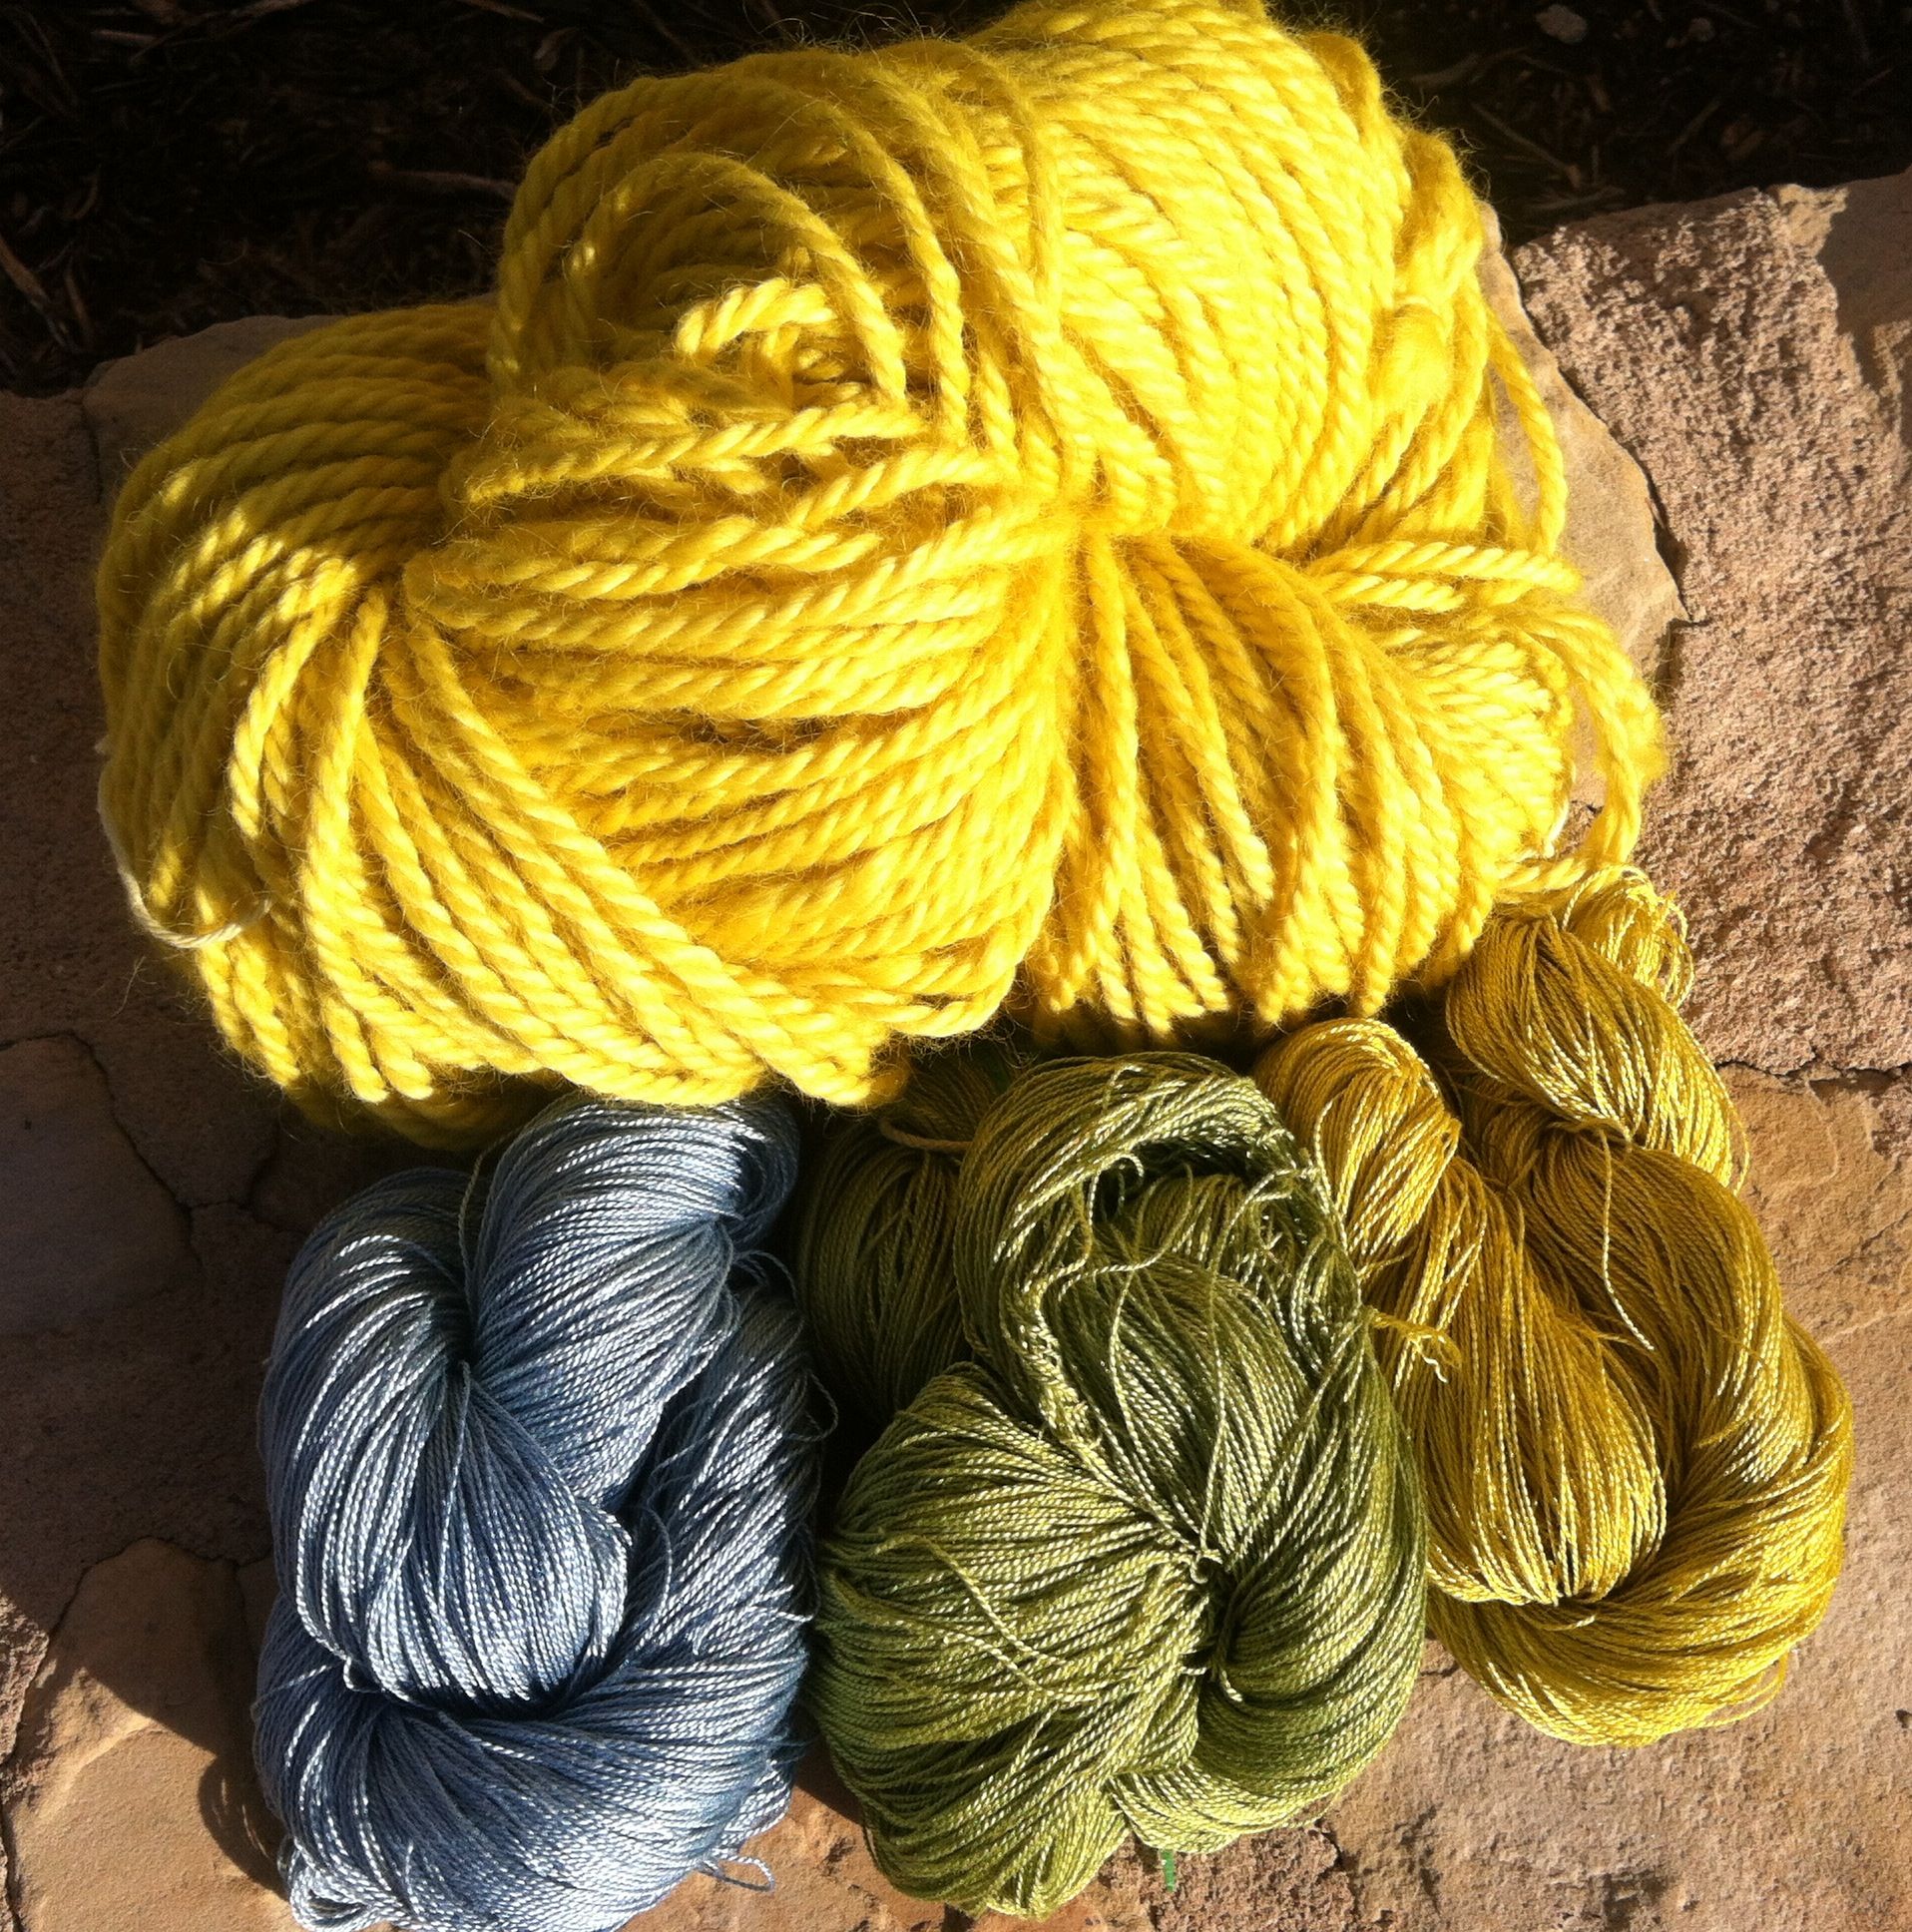
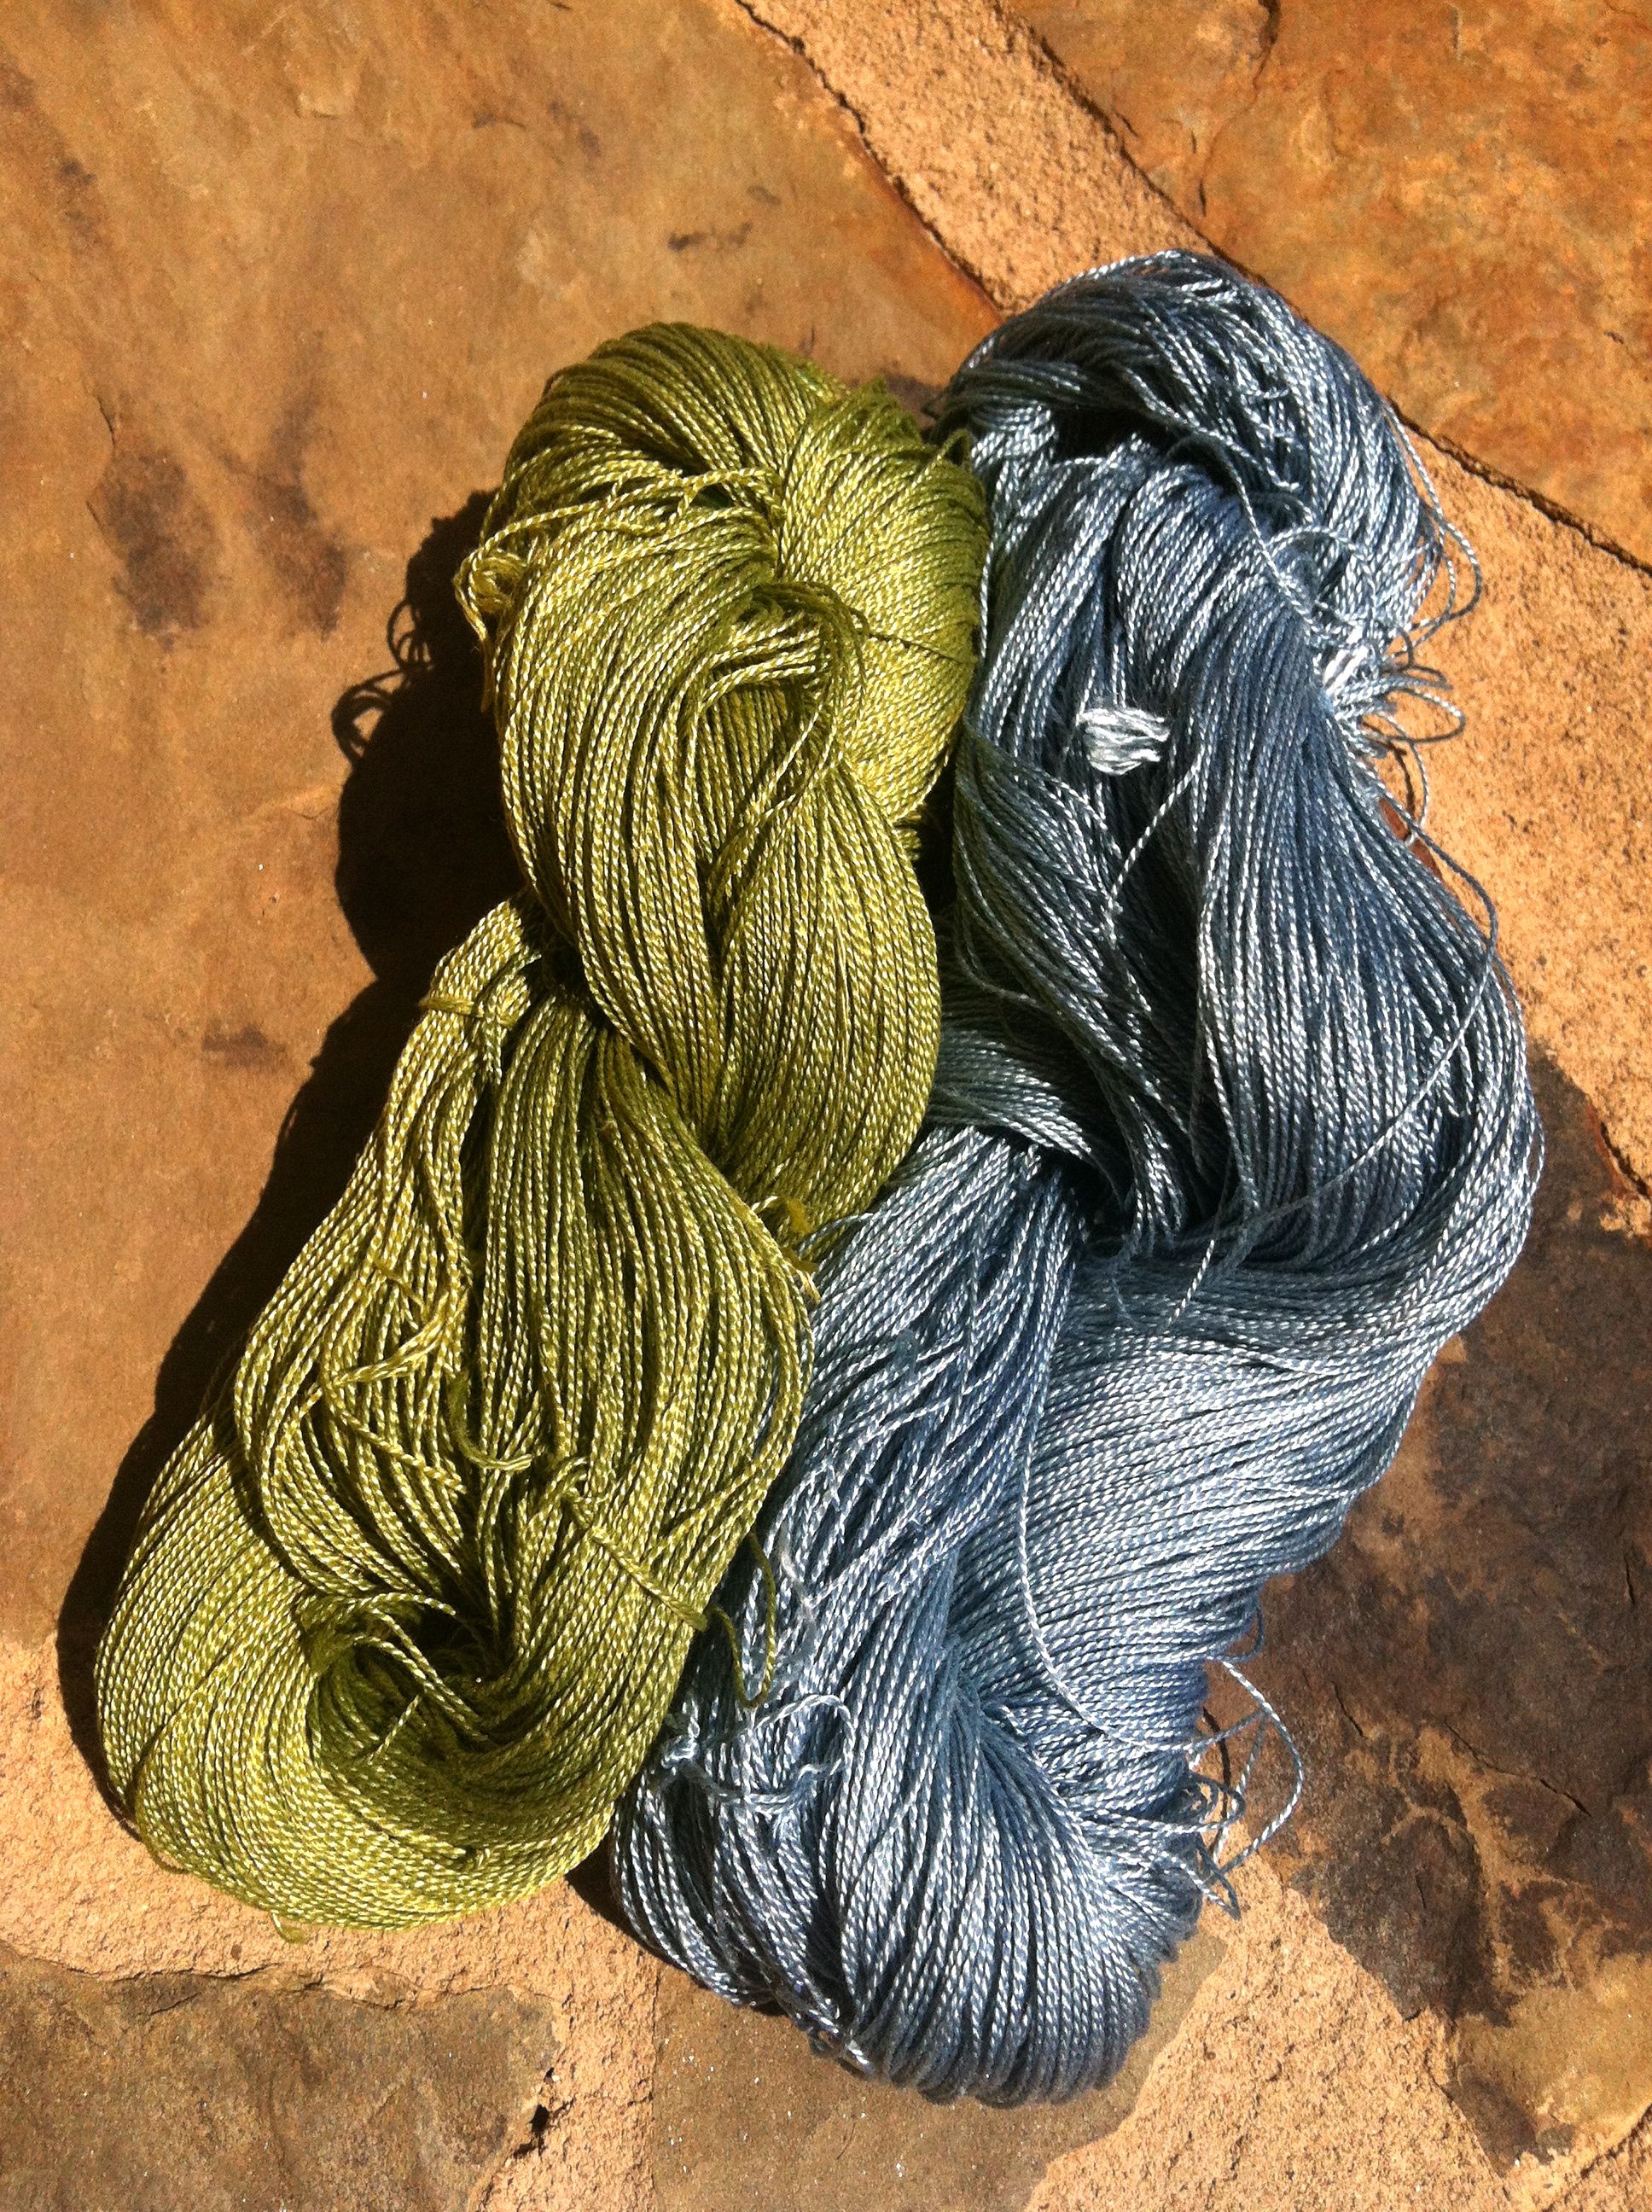
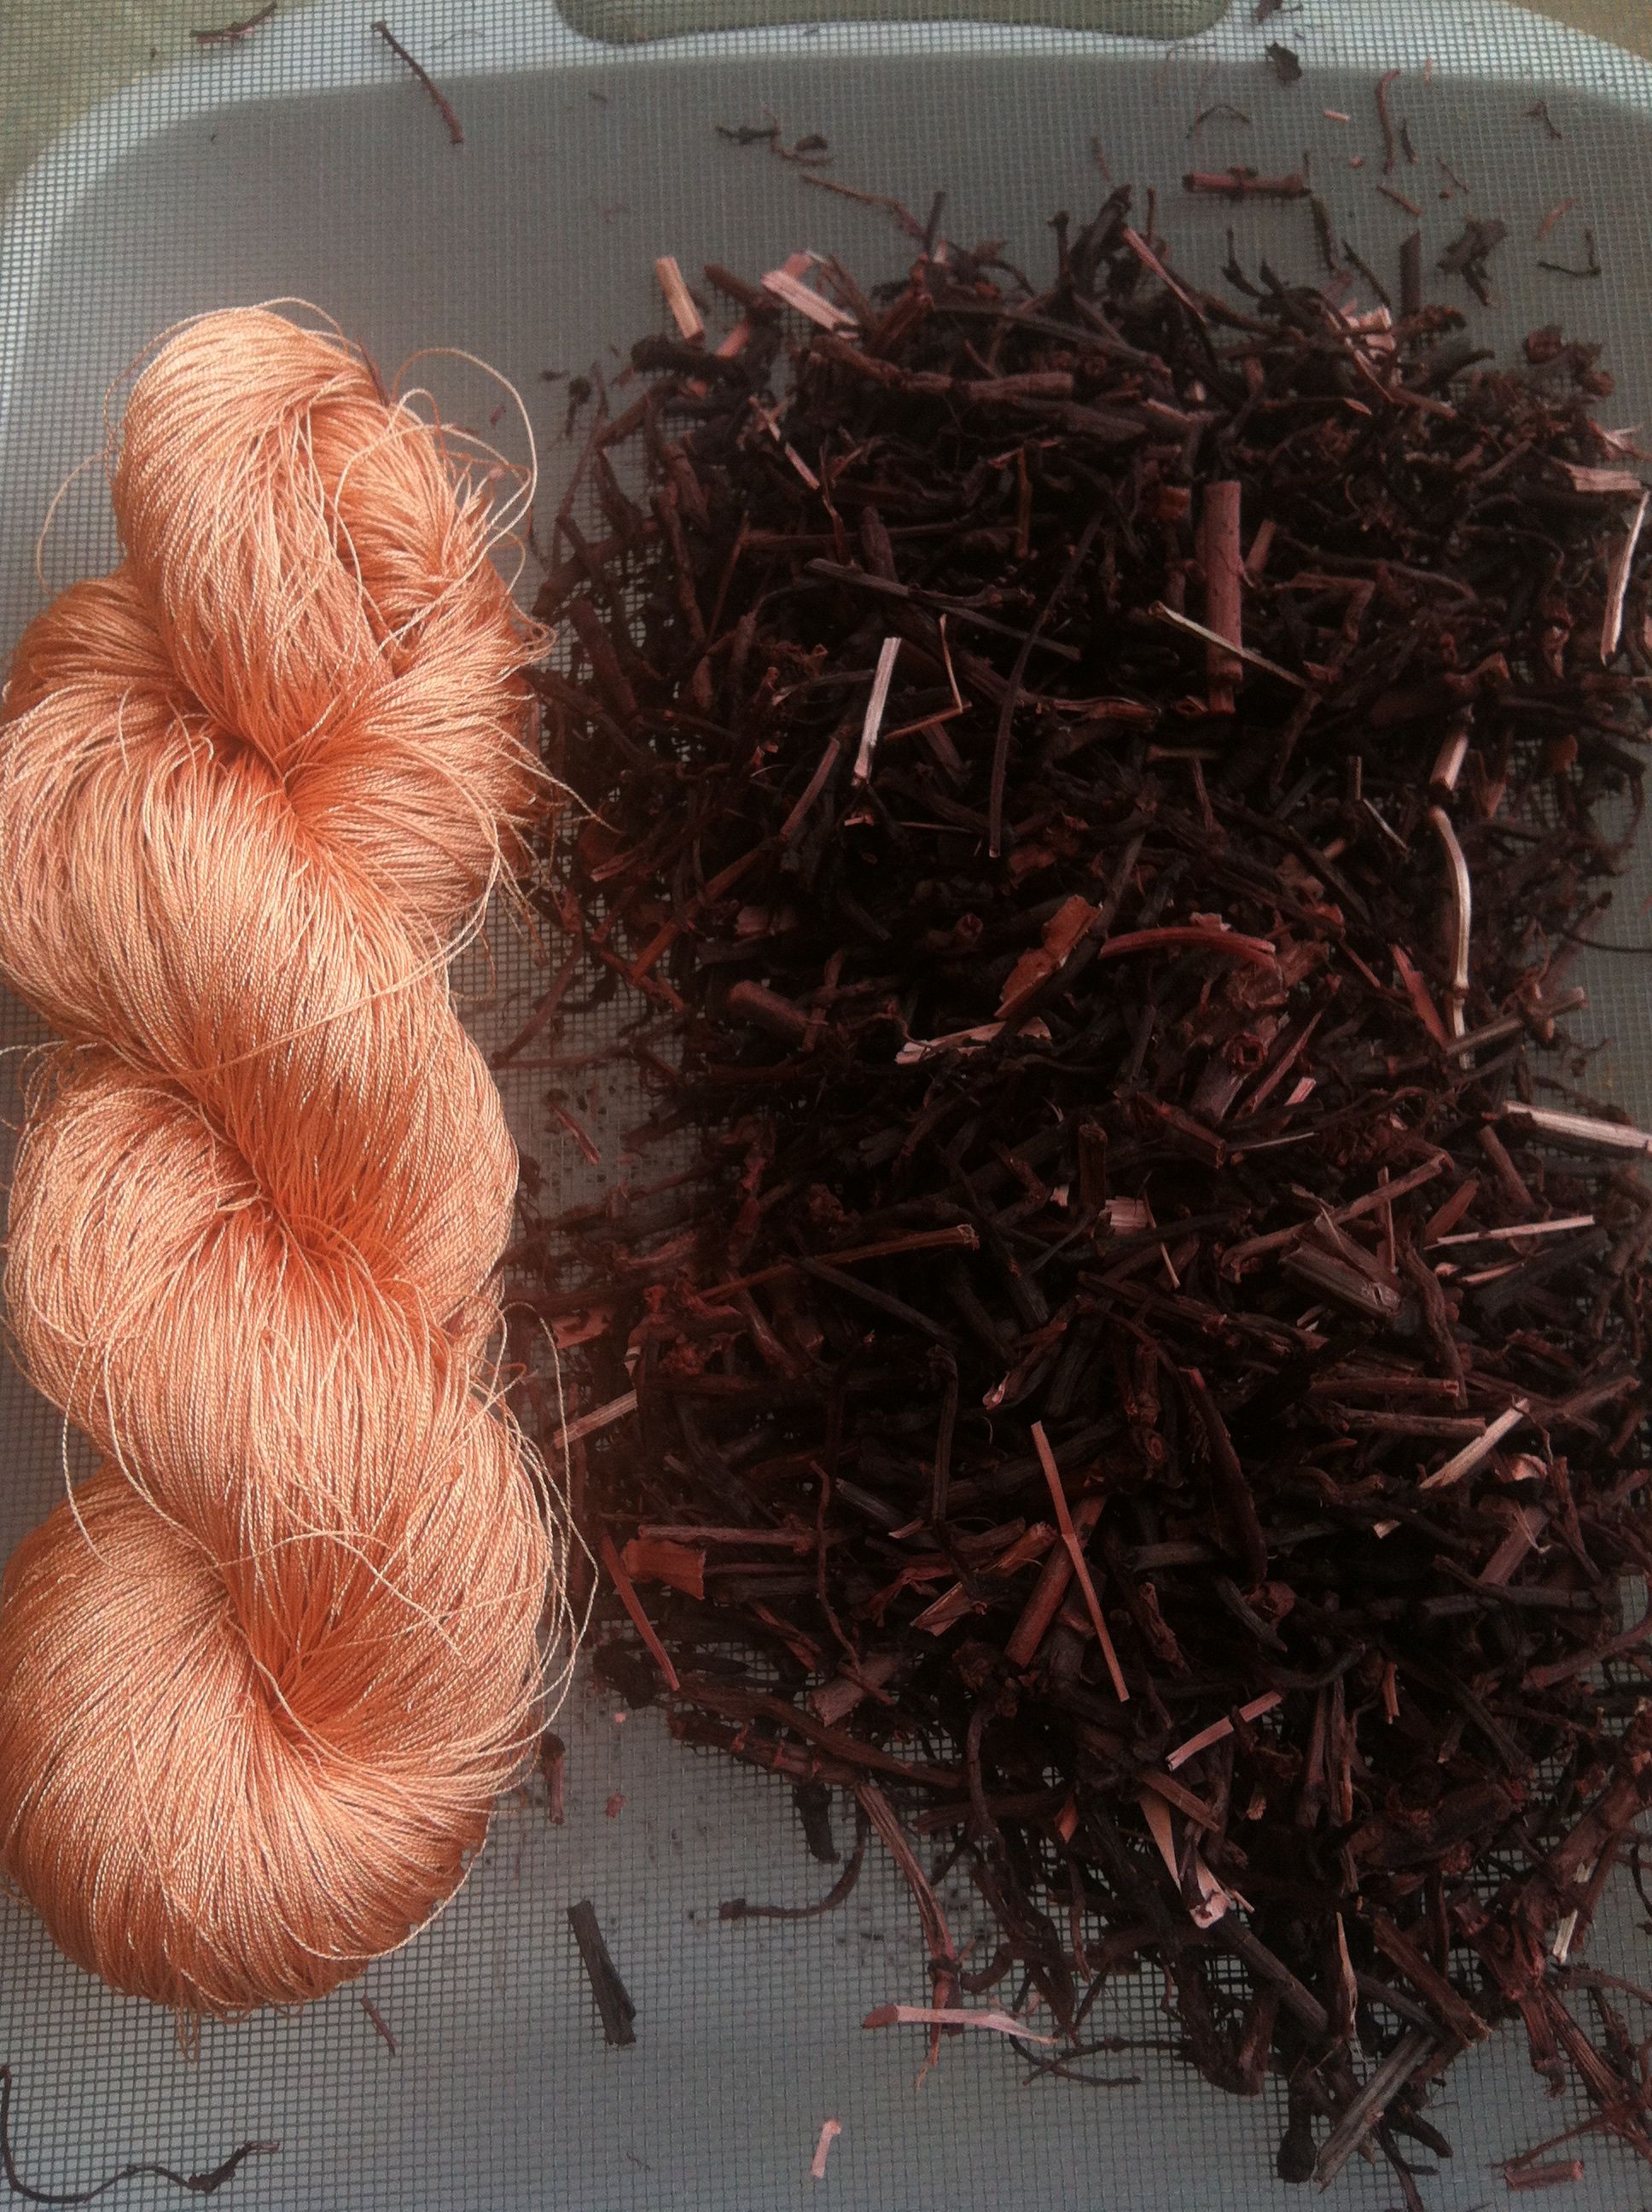
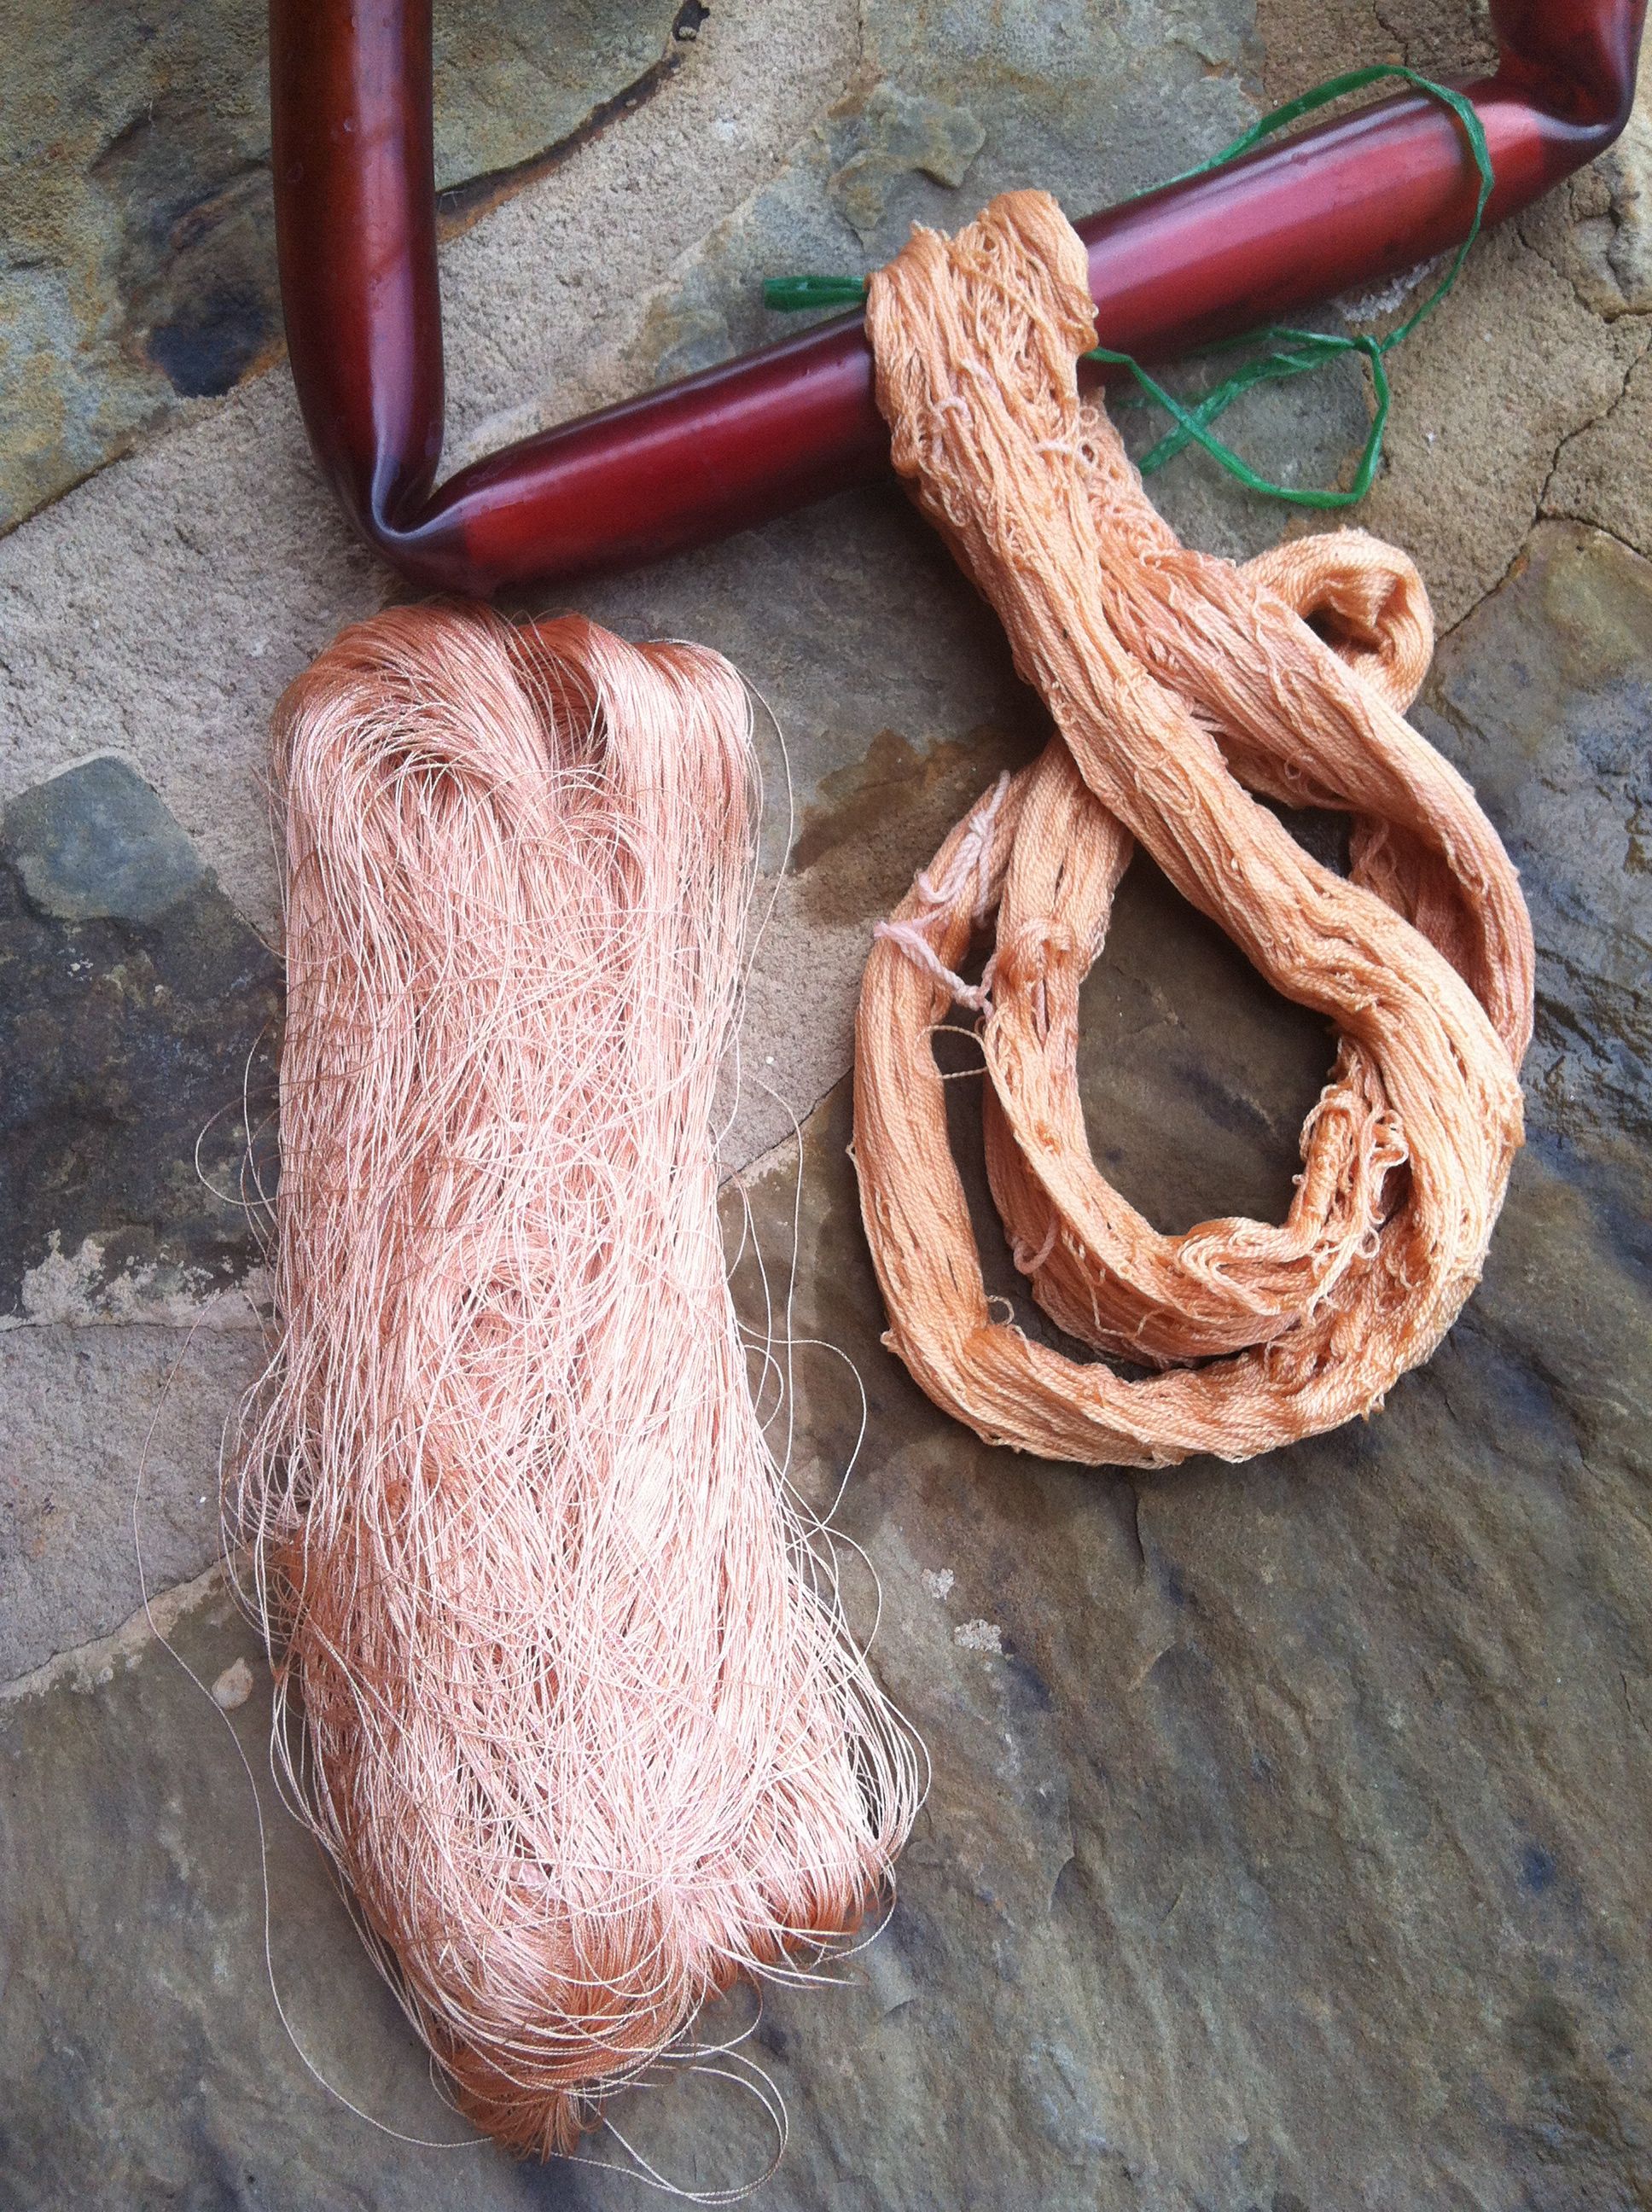
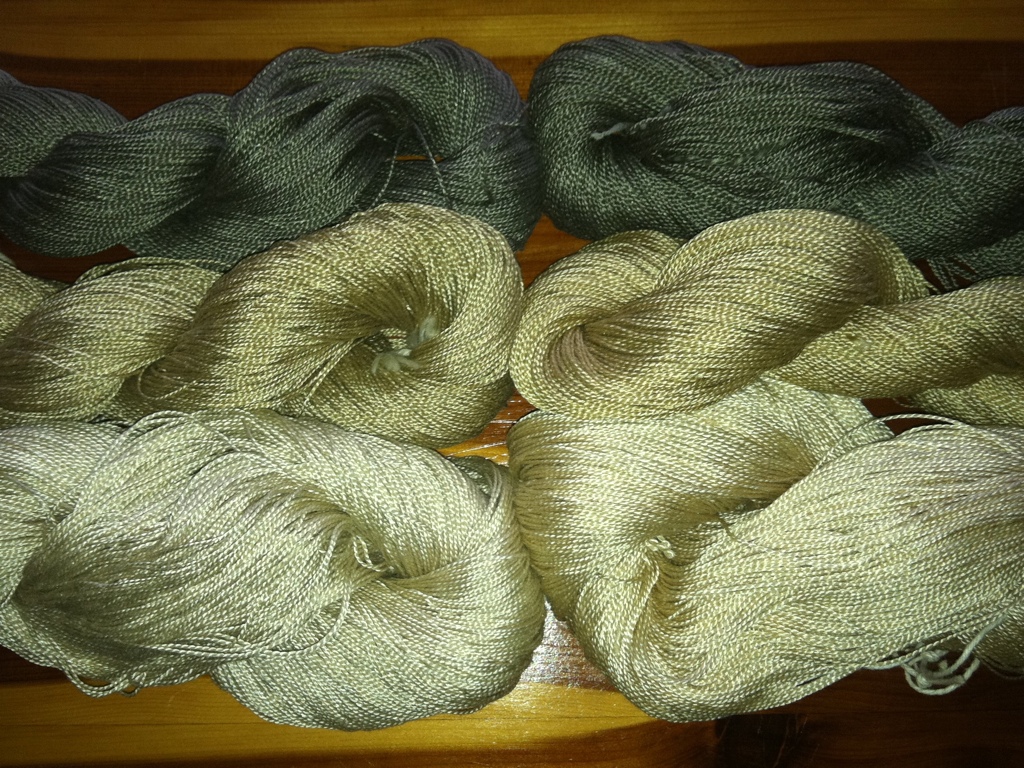
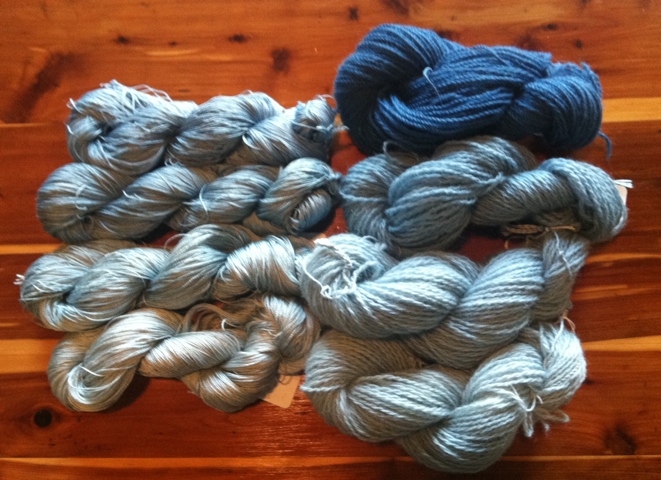
So here are the results of my first year of weld using the flower and seed portion.  I harvested and dyed with the seeds fresh around June 1st before the heat cranked up.  We were also battling katydid infestation and it was apparent I was going to lose the leaves if I waited much longer.  I have dried the leaves and the small leaf stalks and have set them aside to try later.  I could not resist trying one of my Japanese Indigo blue skeins in the weld.  The results was a lovely green.  It is interesting to note that the wool, the first dye bath, was a vibrant yellow.  The silk, which followed the wool, was a slightly less vibrant yellow, still nice but not as clear.  I am curious when I use the leaves if I will get the same difference, BUT the silk will go first in the dye bath on the next round.

Part 2 Texas Madder Root

30 Jun

Back in March I posted the “before” as I prepped to dig my madder root after 3 years of Texas sun and Texas well water (heavy on the limestone/calcium).  So here is the big dig photos.

I separated out the leaves, the large roots and the thin runner roots.  The leaves are soaking (yes, since March) and I plan to run a yellow dye path with them.  I dried the large roots and the thin runner roots and set them aside.  The shrinkage from drying was about 90%.  I’ll have to dig out my #’s but it was significant.  I let the roots dry thru the Texas spring heat from about March 27 to about April 18th.

I did my lazy dyer method with the smaller roots, which was minimal effort, and got a nice coral on my silk.  The roots went back into an Everclear alcohol soak to see if I could pull more color.  I still need to run the big roots but want to use my new silk.  AND of course, I haven’t mordanted that yet.  Always something to catch up on!

Image

Weld stalks

23 Jun

20120623-122452.jpg

I have just figured out that the large weld stalks one discards are hollow! Perfect size for weaving pirns. Time to experiment with the dried stalks and my Lao silk shuttles.

Image

Texas Madder Red

27 Mar

20120327-141037.jpg

Preparing to dig 3 year old madder root before I plant the indigo bed. The dye color “should” be intense since our water has high calcium (limestone) in it.

Colors from my valley – Parmotrema Austrosinese

31 Dec

Also known as unwhiskered ruffle lichen, here are some color ranges on silk I’ve gotten from my lichen by combining it with acorns, Japanese Indigo, iron, soda ash and ammonia.  Of course not at once!  There is quite a color range available.  I still have walnut and agarita to explore with lichen in color combinations.  Next up, lightfast tests….and more dyeing….what colors can I find in my valley!

Always collect ONLY windfall lichen.  Our Texas winds kick up every once in awhile here in HIll Country and when we have a heavy dew morning I have plenty on the ground to harvest!

In a later post I’ll detail how the colors were combined, but I couldn’t resist sharing since the skeins had dried and were so pretty!  The yarn was sourced from Habu and from Georgia Yarn Company.  They all held up well in the dyepot.


Unwhiskered ruffle lichen

Image

Lichen to Gall to Iron

10 Dec

20111210-142951.jpg

Left side is water soaked lichen-tan tones. Right side is soda ash soaked lichen-red tones. Middle lichen skeins are simmered in oak galls- still held tan or red tones. Top skeins are iron afterbath, no difference in color. All great neutrals.

Image

Time to sort lichen!

10 Dec

20111210-114026.jpg

After last week’s rain I was able to pick up plenty of windfall lichen. It’s dry and ready to sort. Ready for the next round of wind & rain!

Image

Taos Earth Palette

9 Dec

Indigo dye pots from top to bottom:
1. Chemical pot with hide glue
2. Fructose with a 24 hour rest
3. Aloe pot
4. Fructose with no rest.

Thanks so much to Diane DeSouza for teaching the class and Taos Wool Festival for sponsoring the Earth Palette Dye conference.

20111209-222931.jpg