Archive | March, 2024

Ferrous Vat Let the Mix Begin

14 Mar

Let the mixing begin. I only wore my mask till all the powders were wetted out and not floating in the air. Now watching the heat. A watched vat does not get hot fast. Thanks to everyone that mixed before me in the February class by Elisabeth so I could ponder the process. Here is a link to her classes.

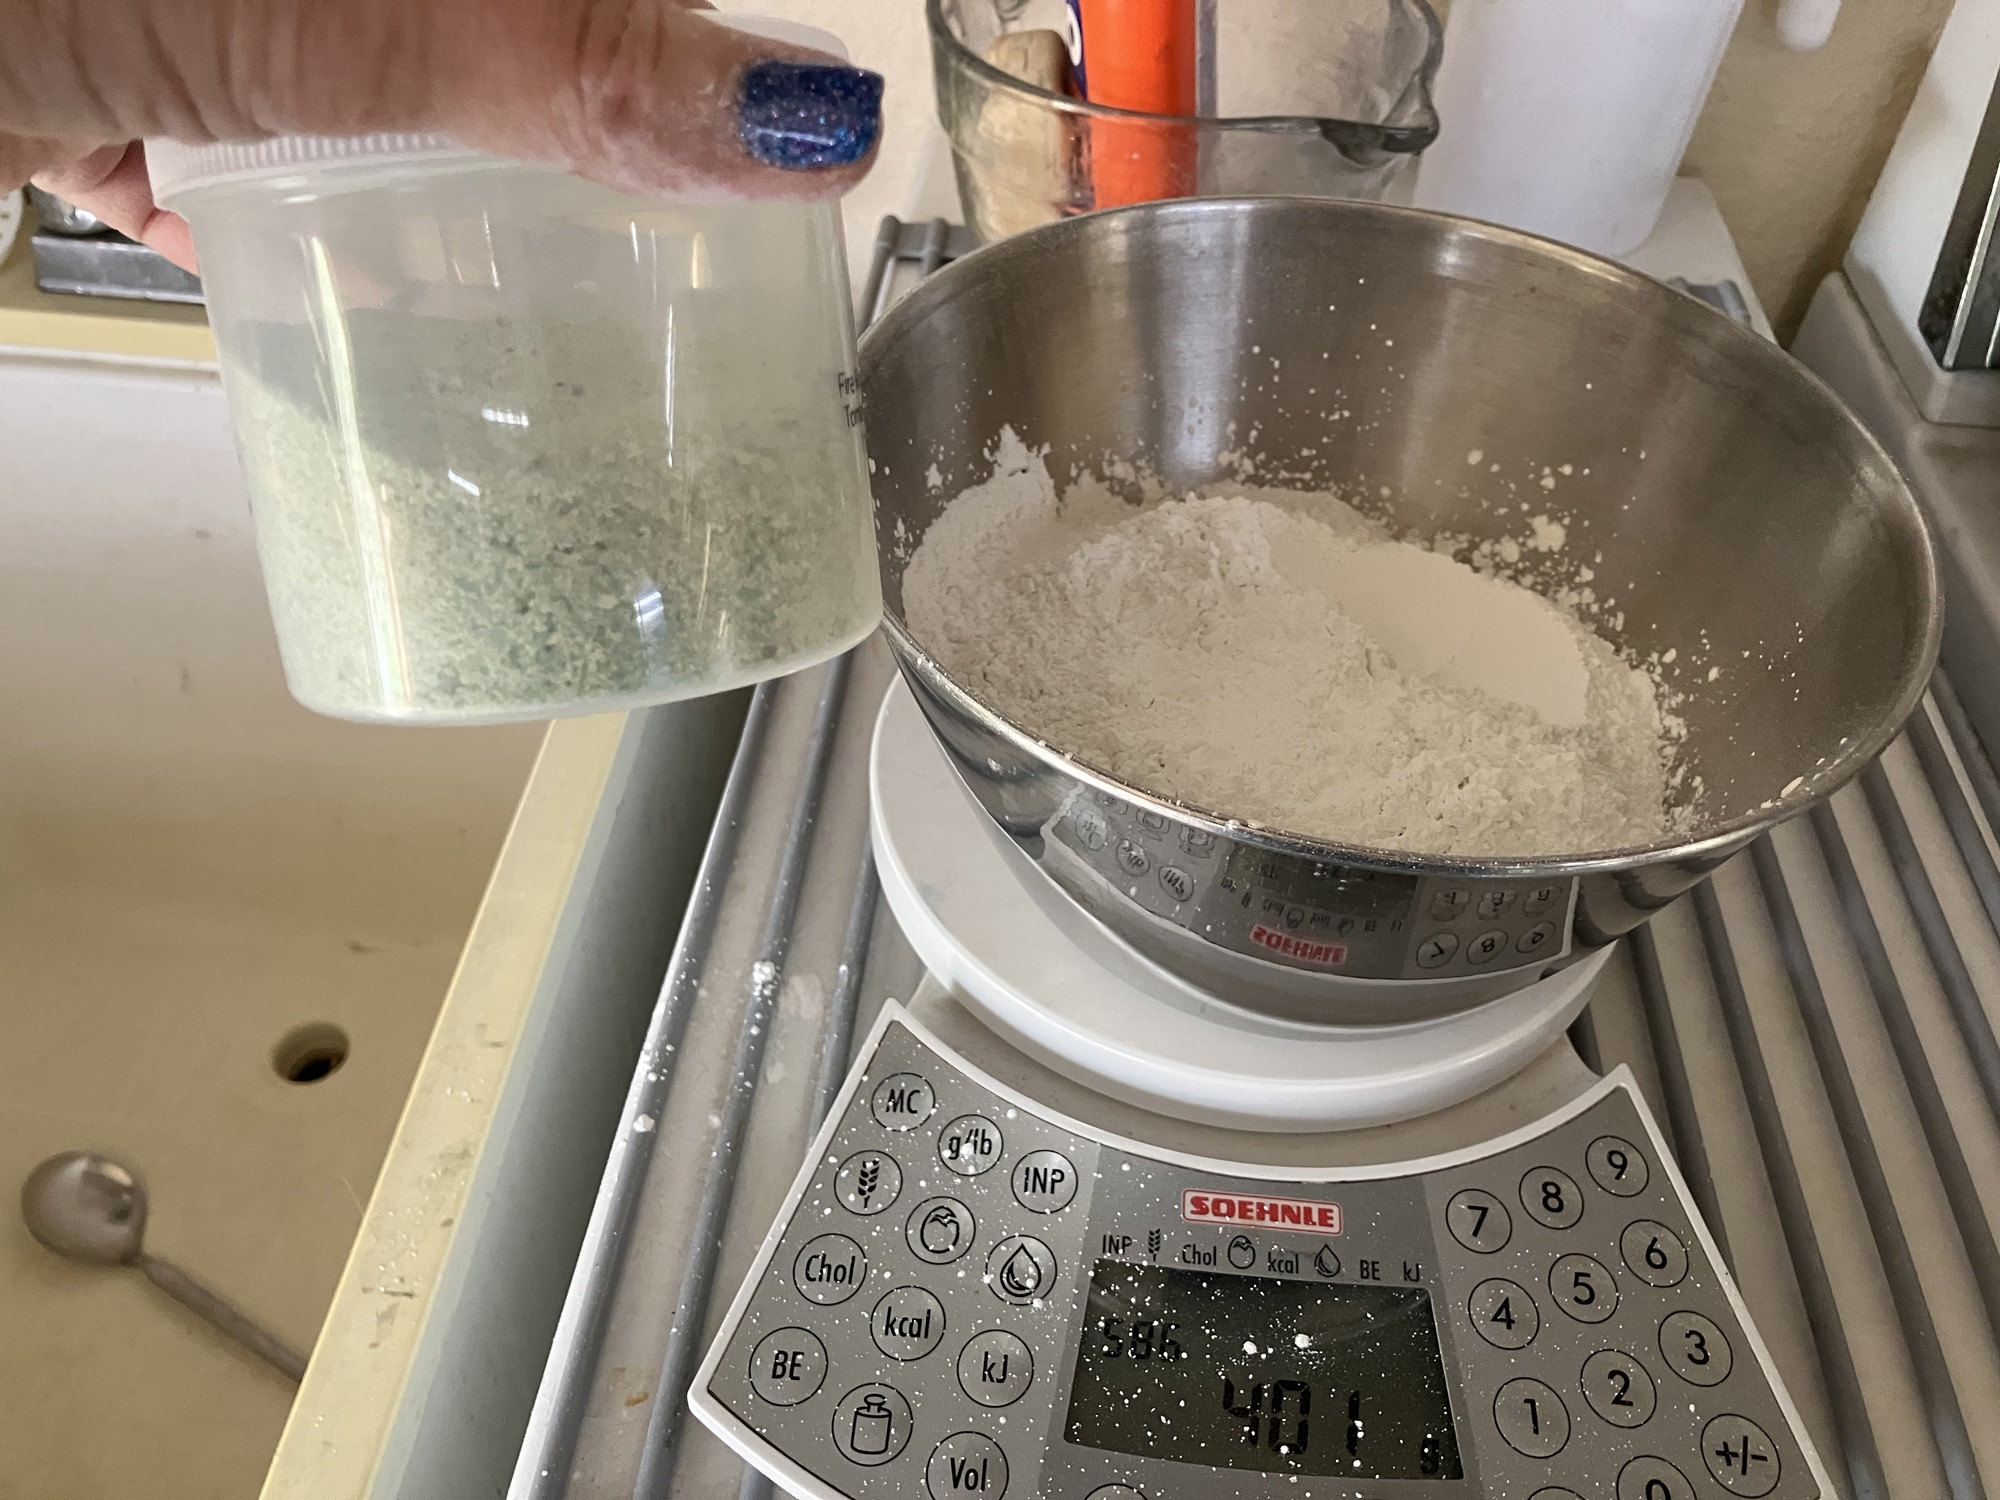
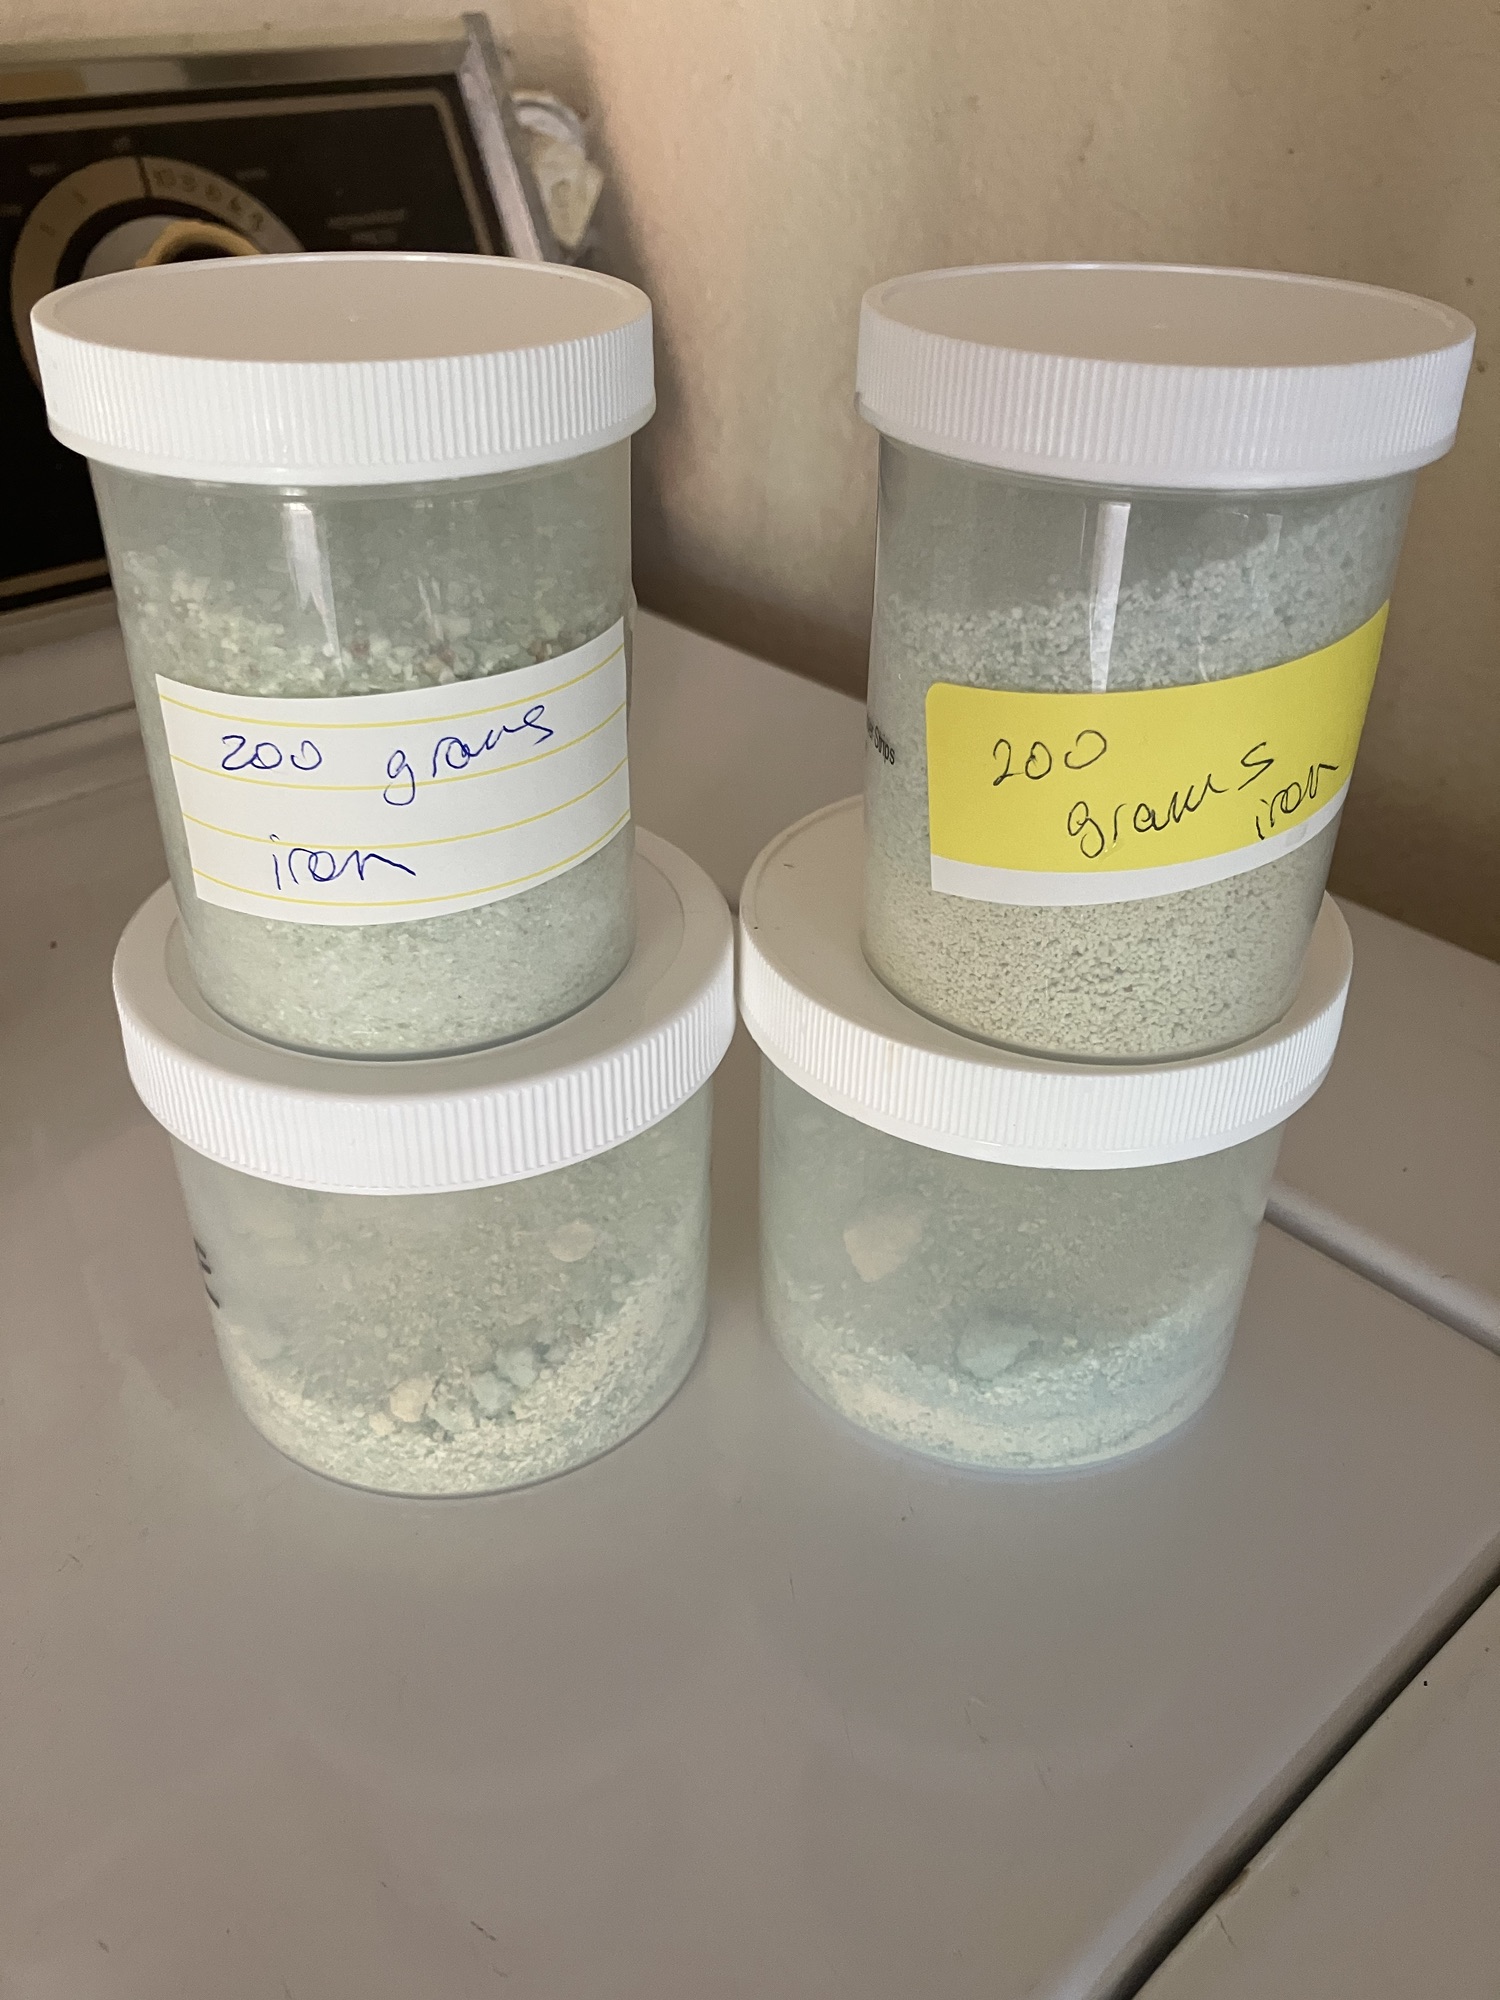
Ferrous sulfate and calcium hydroxide measured out. Got an idea of dry volume and water needed to dissolve.

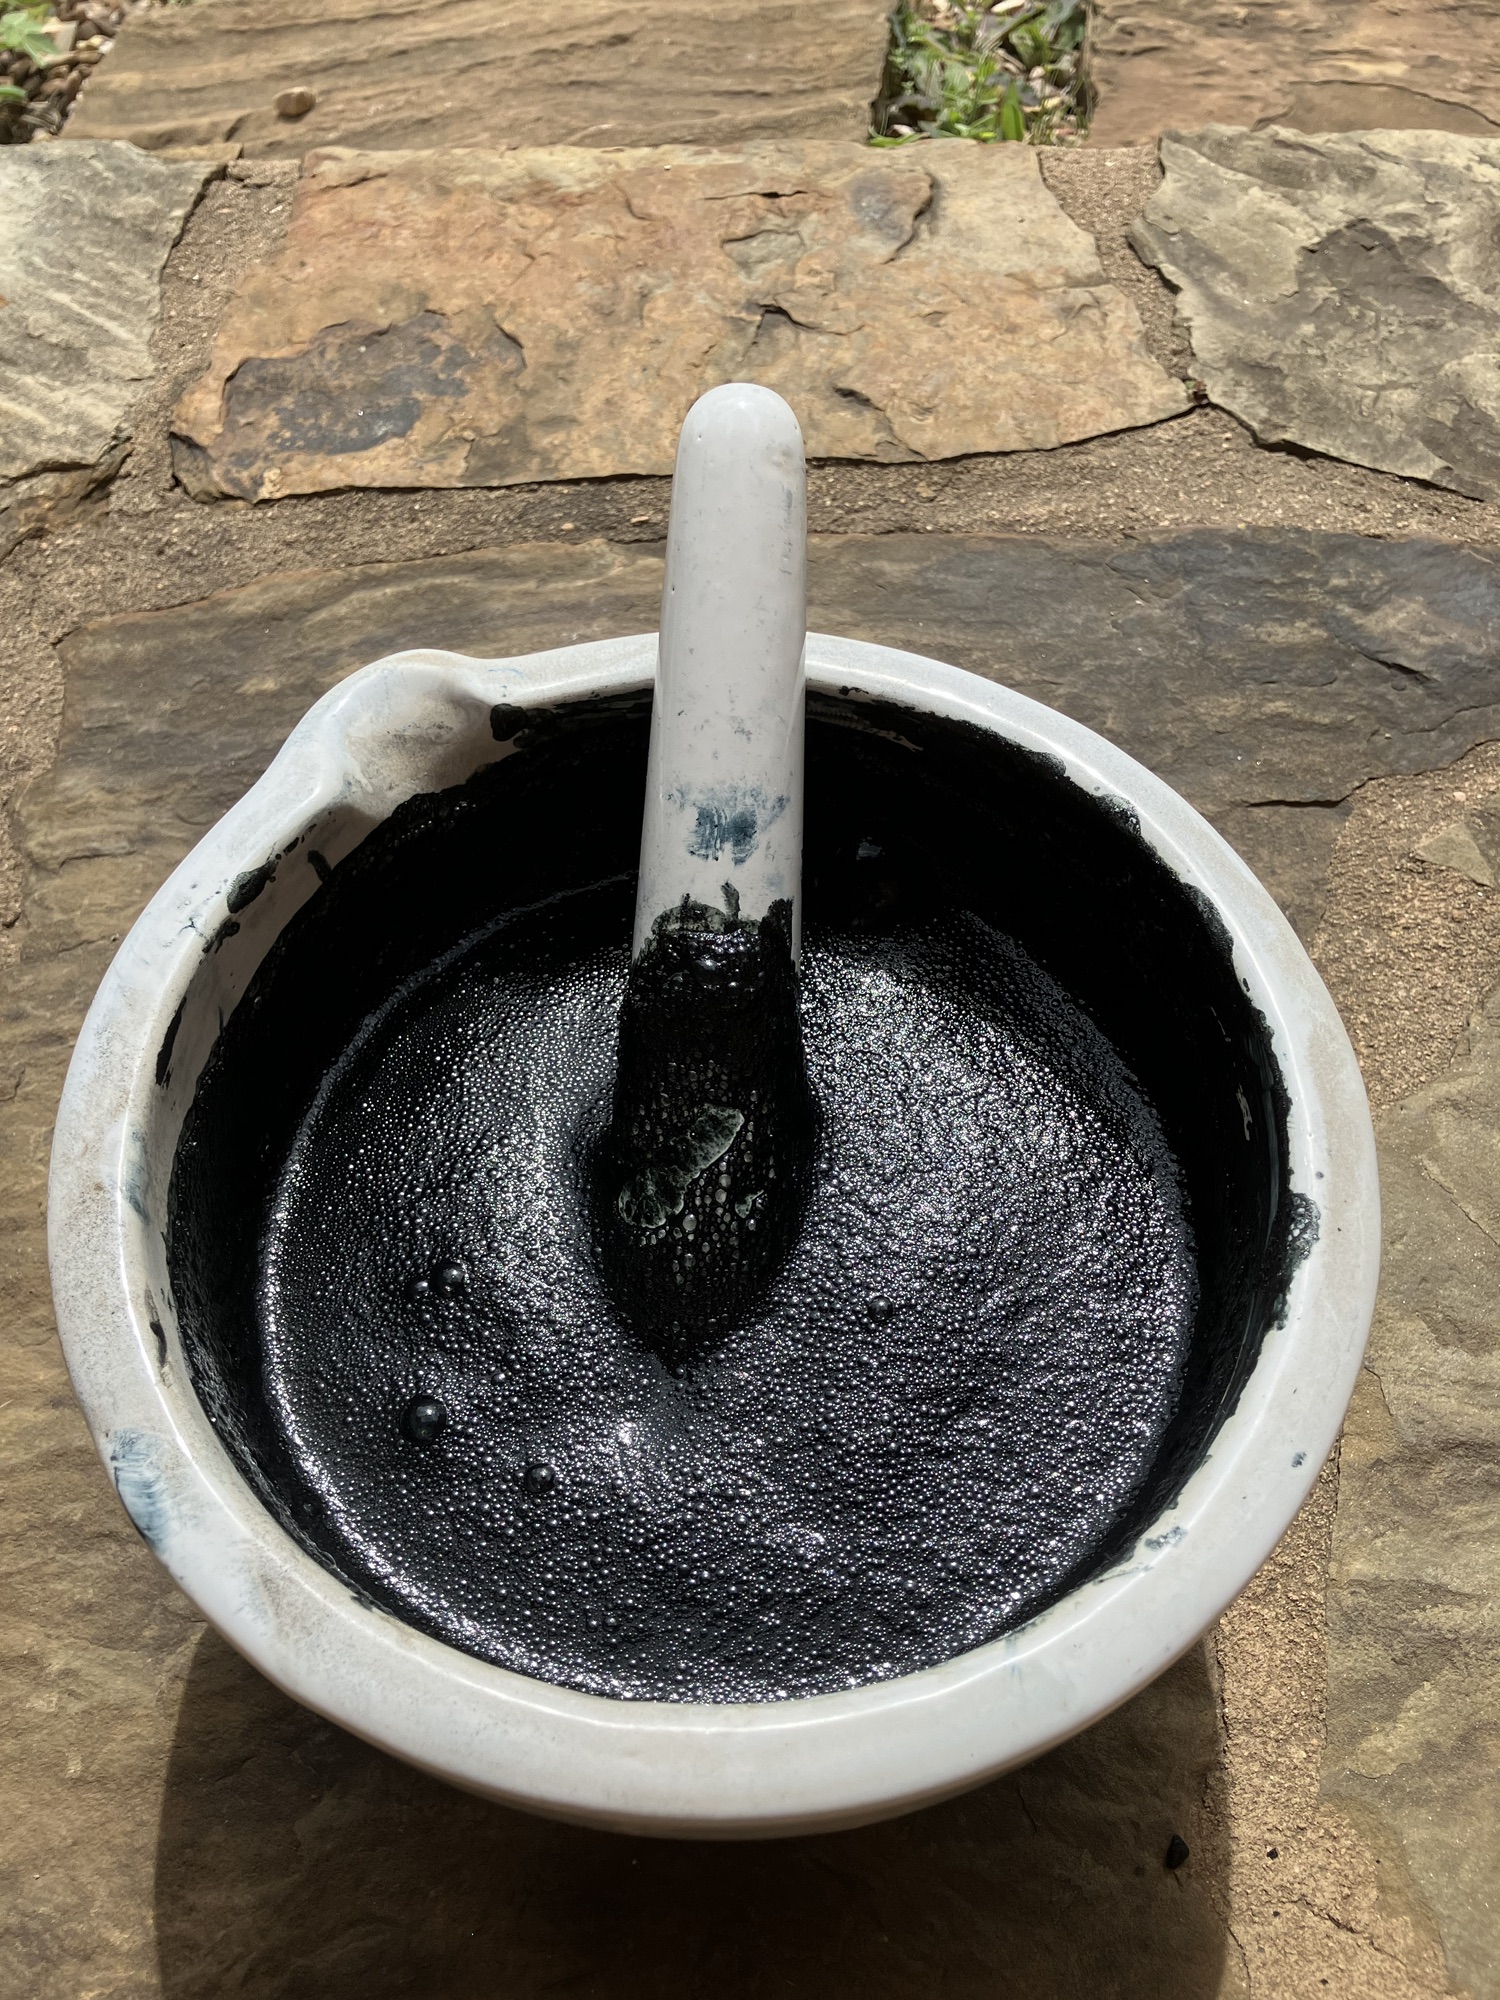
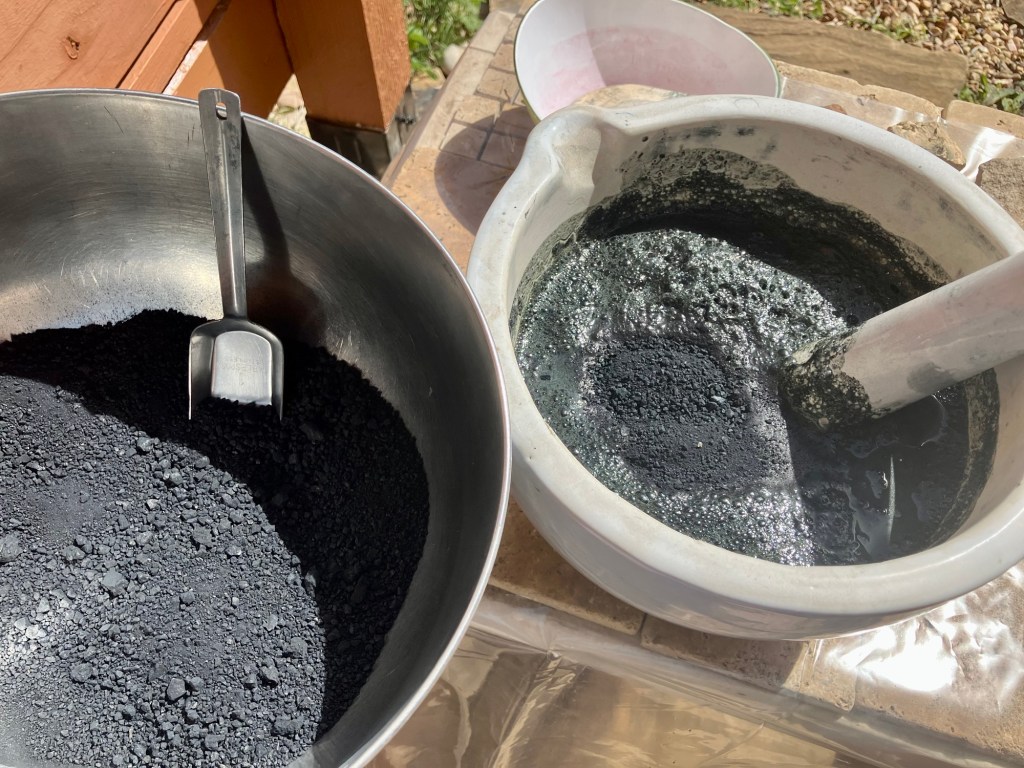
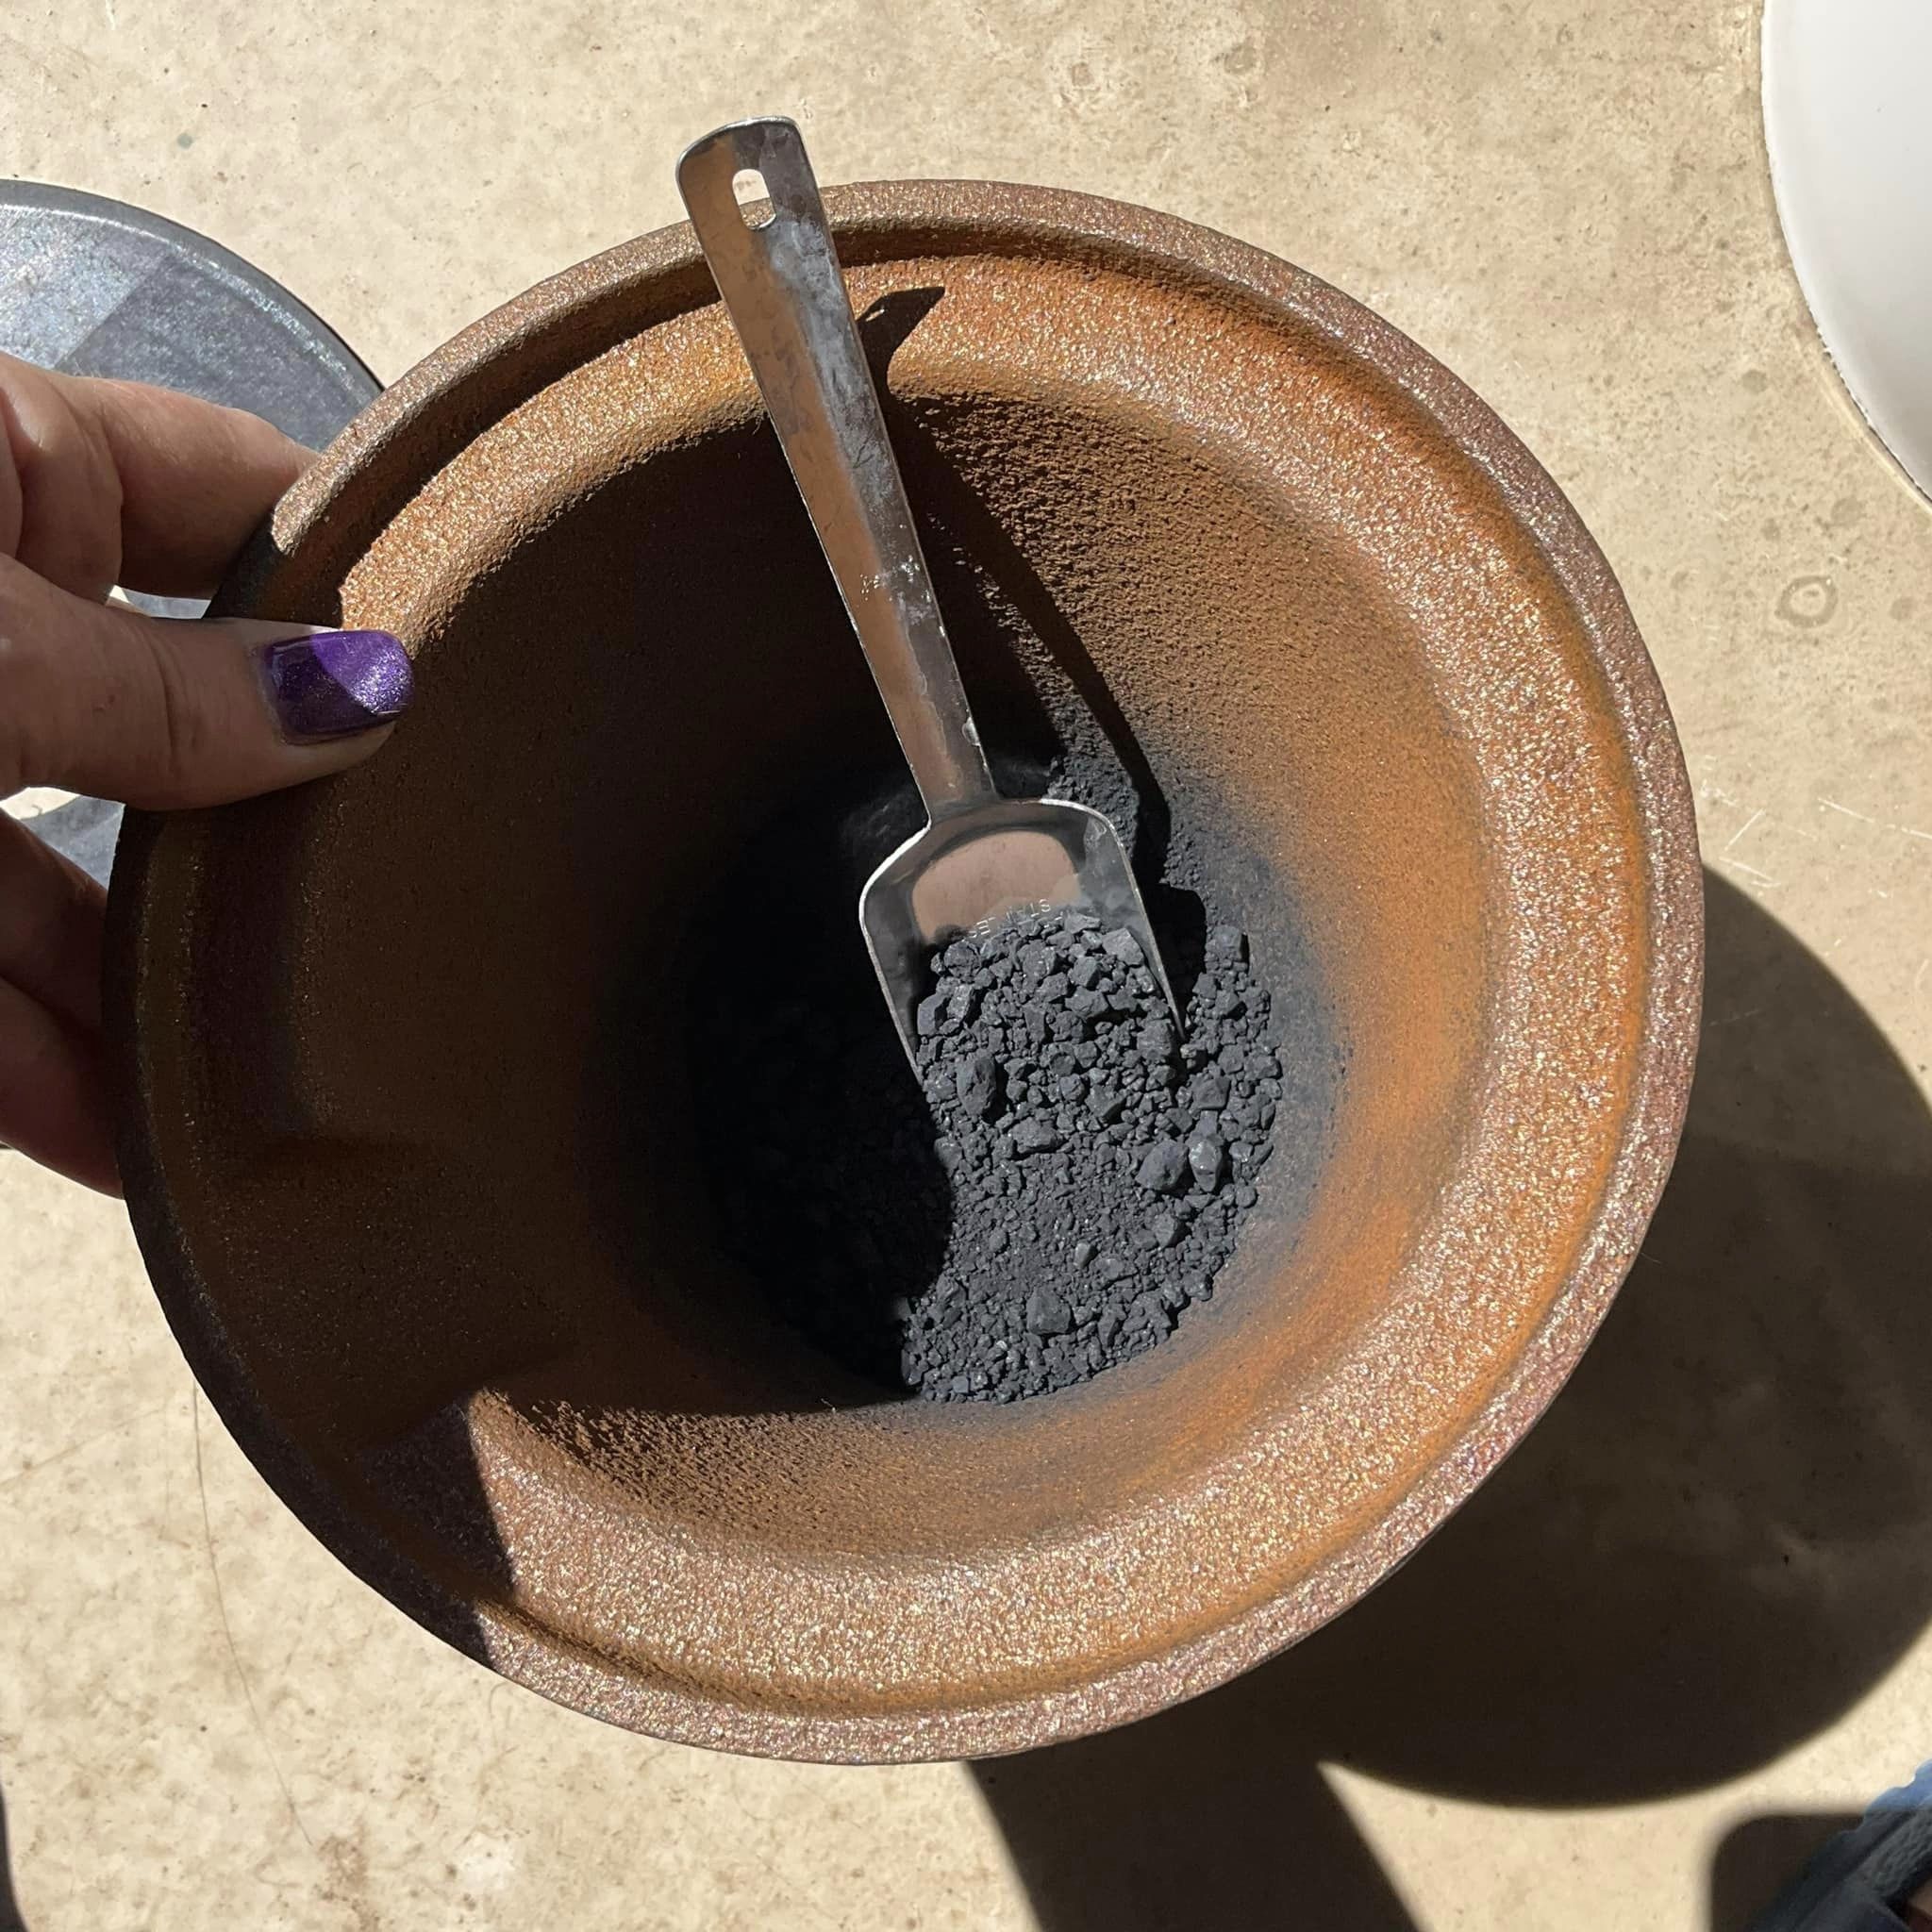
Pasted indigo gets one more stir to suspend pigment in the water. I left it overnight to let lumps soften & settle.

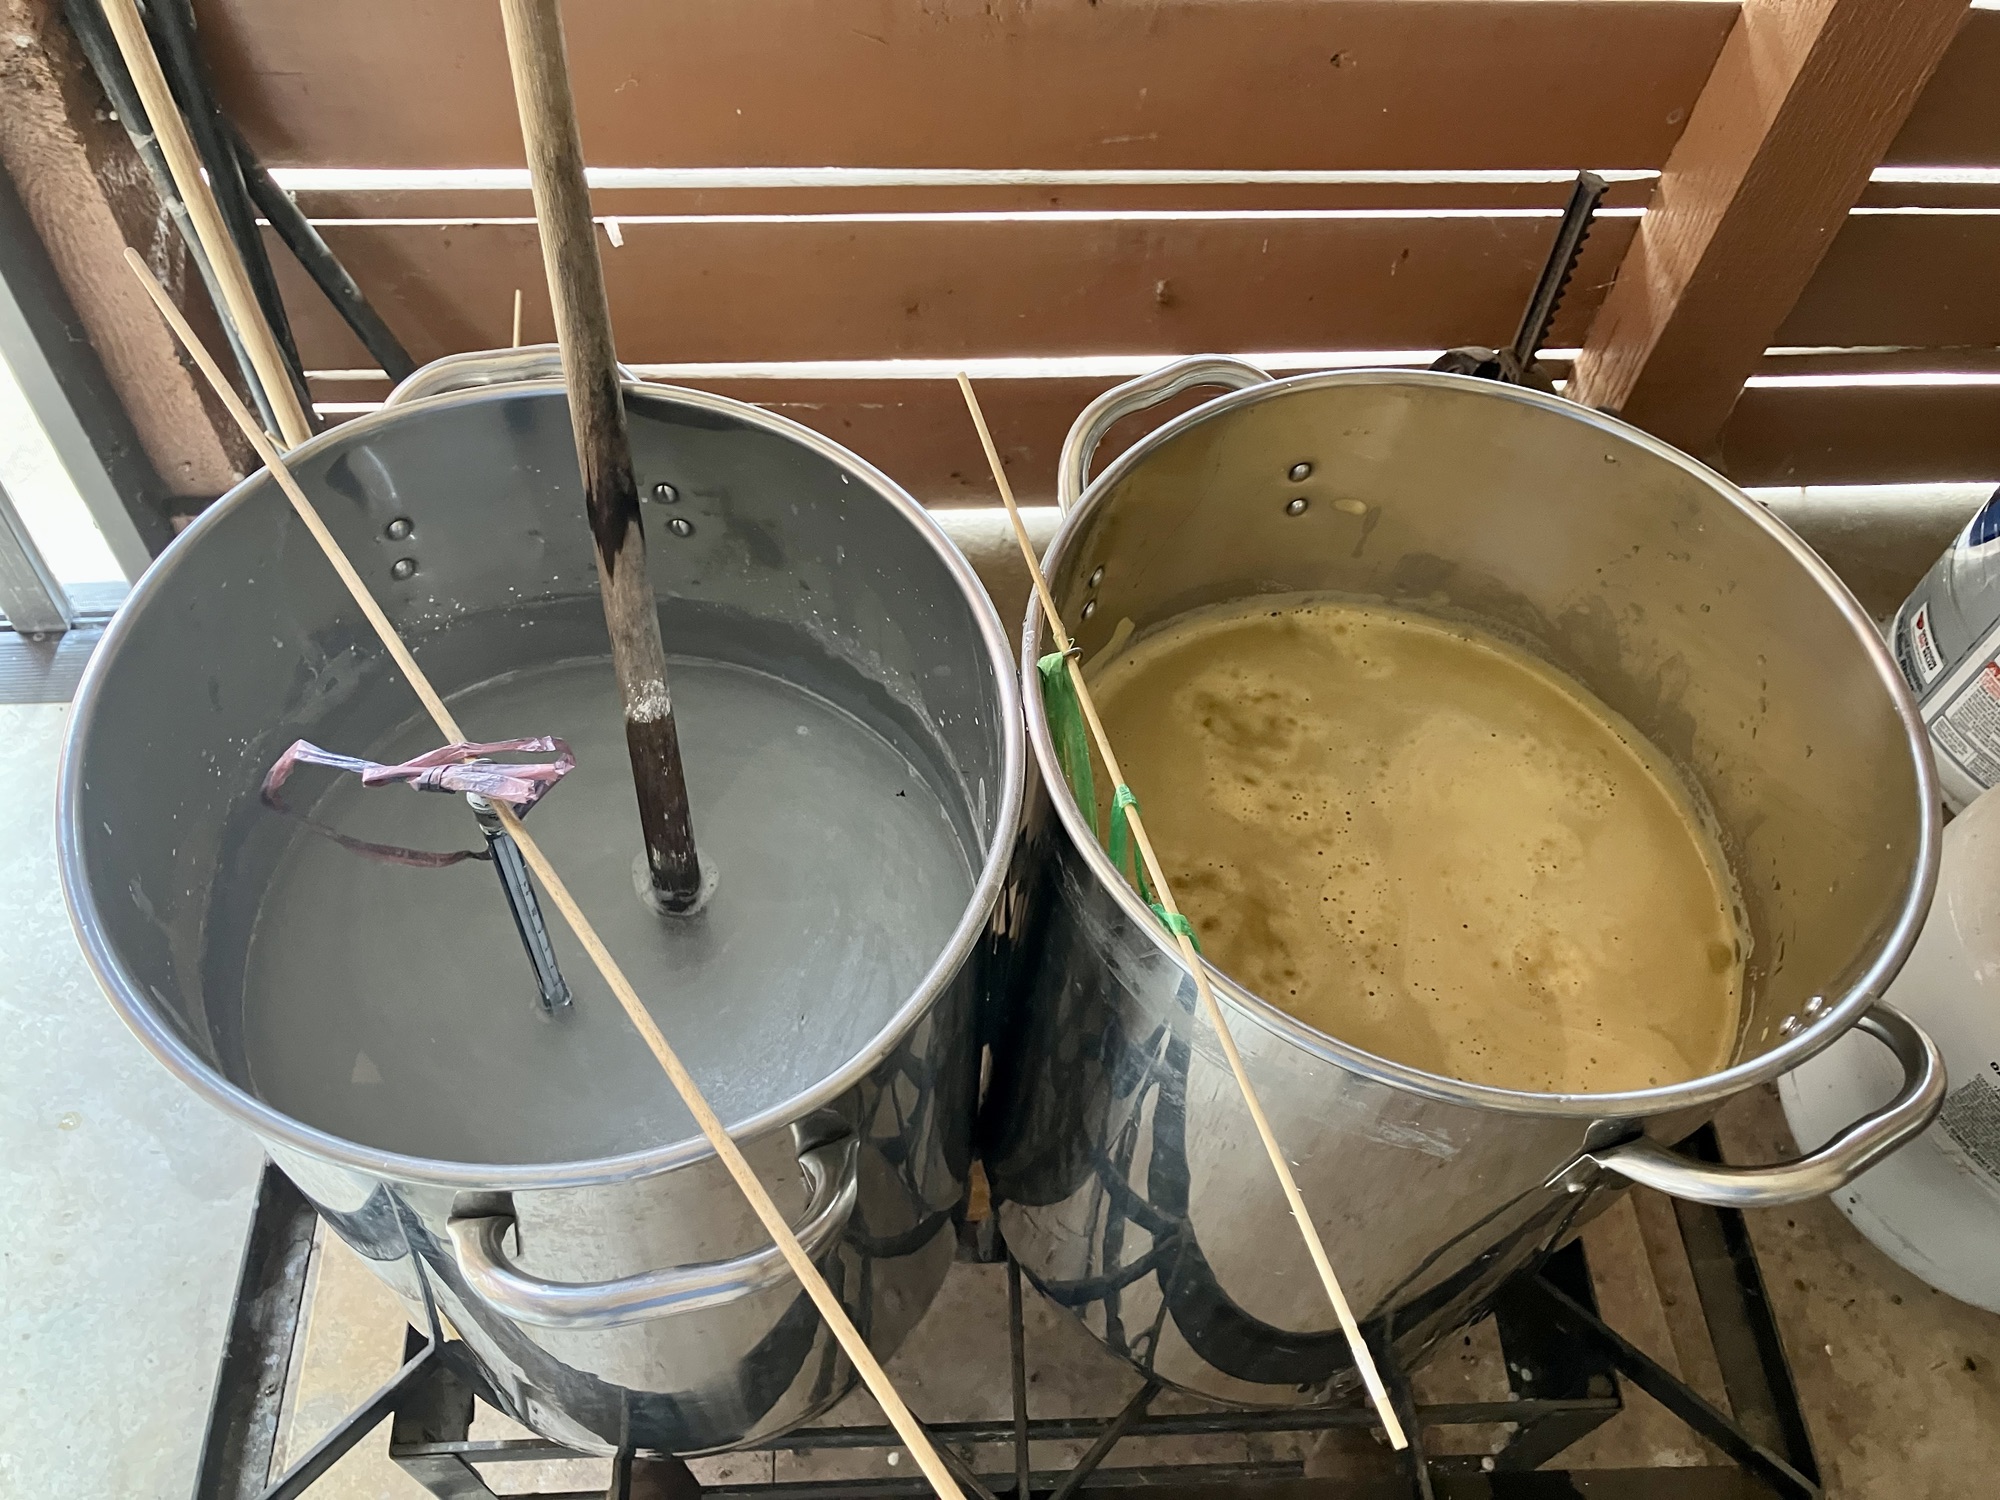
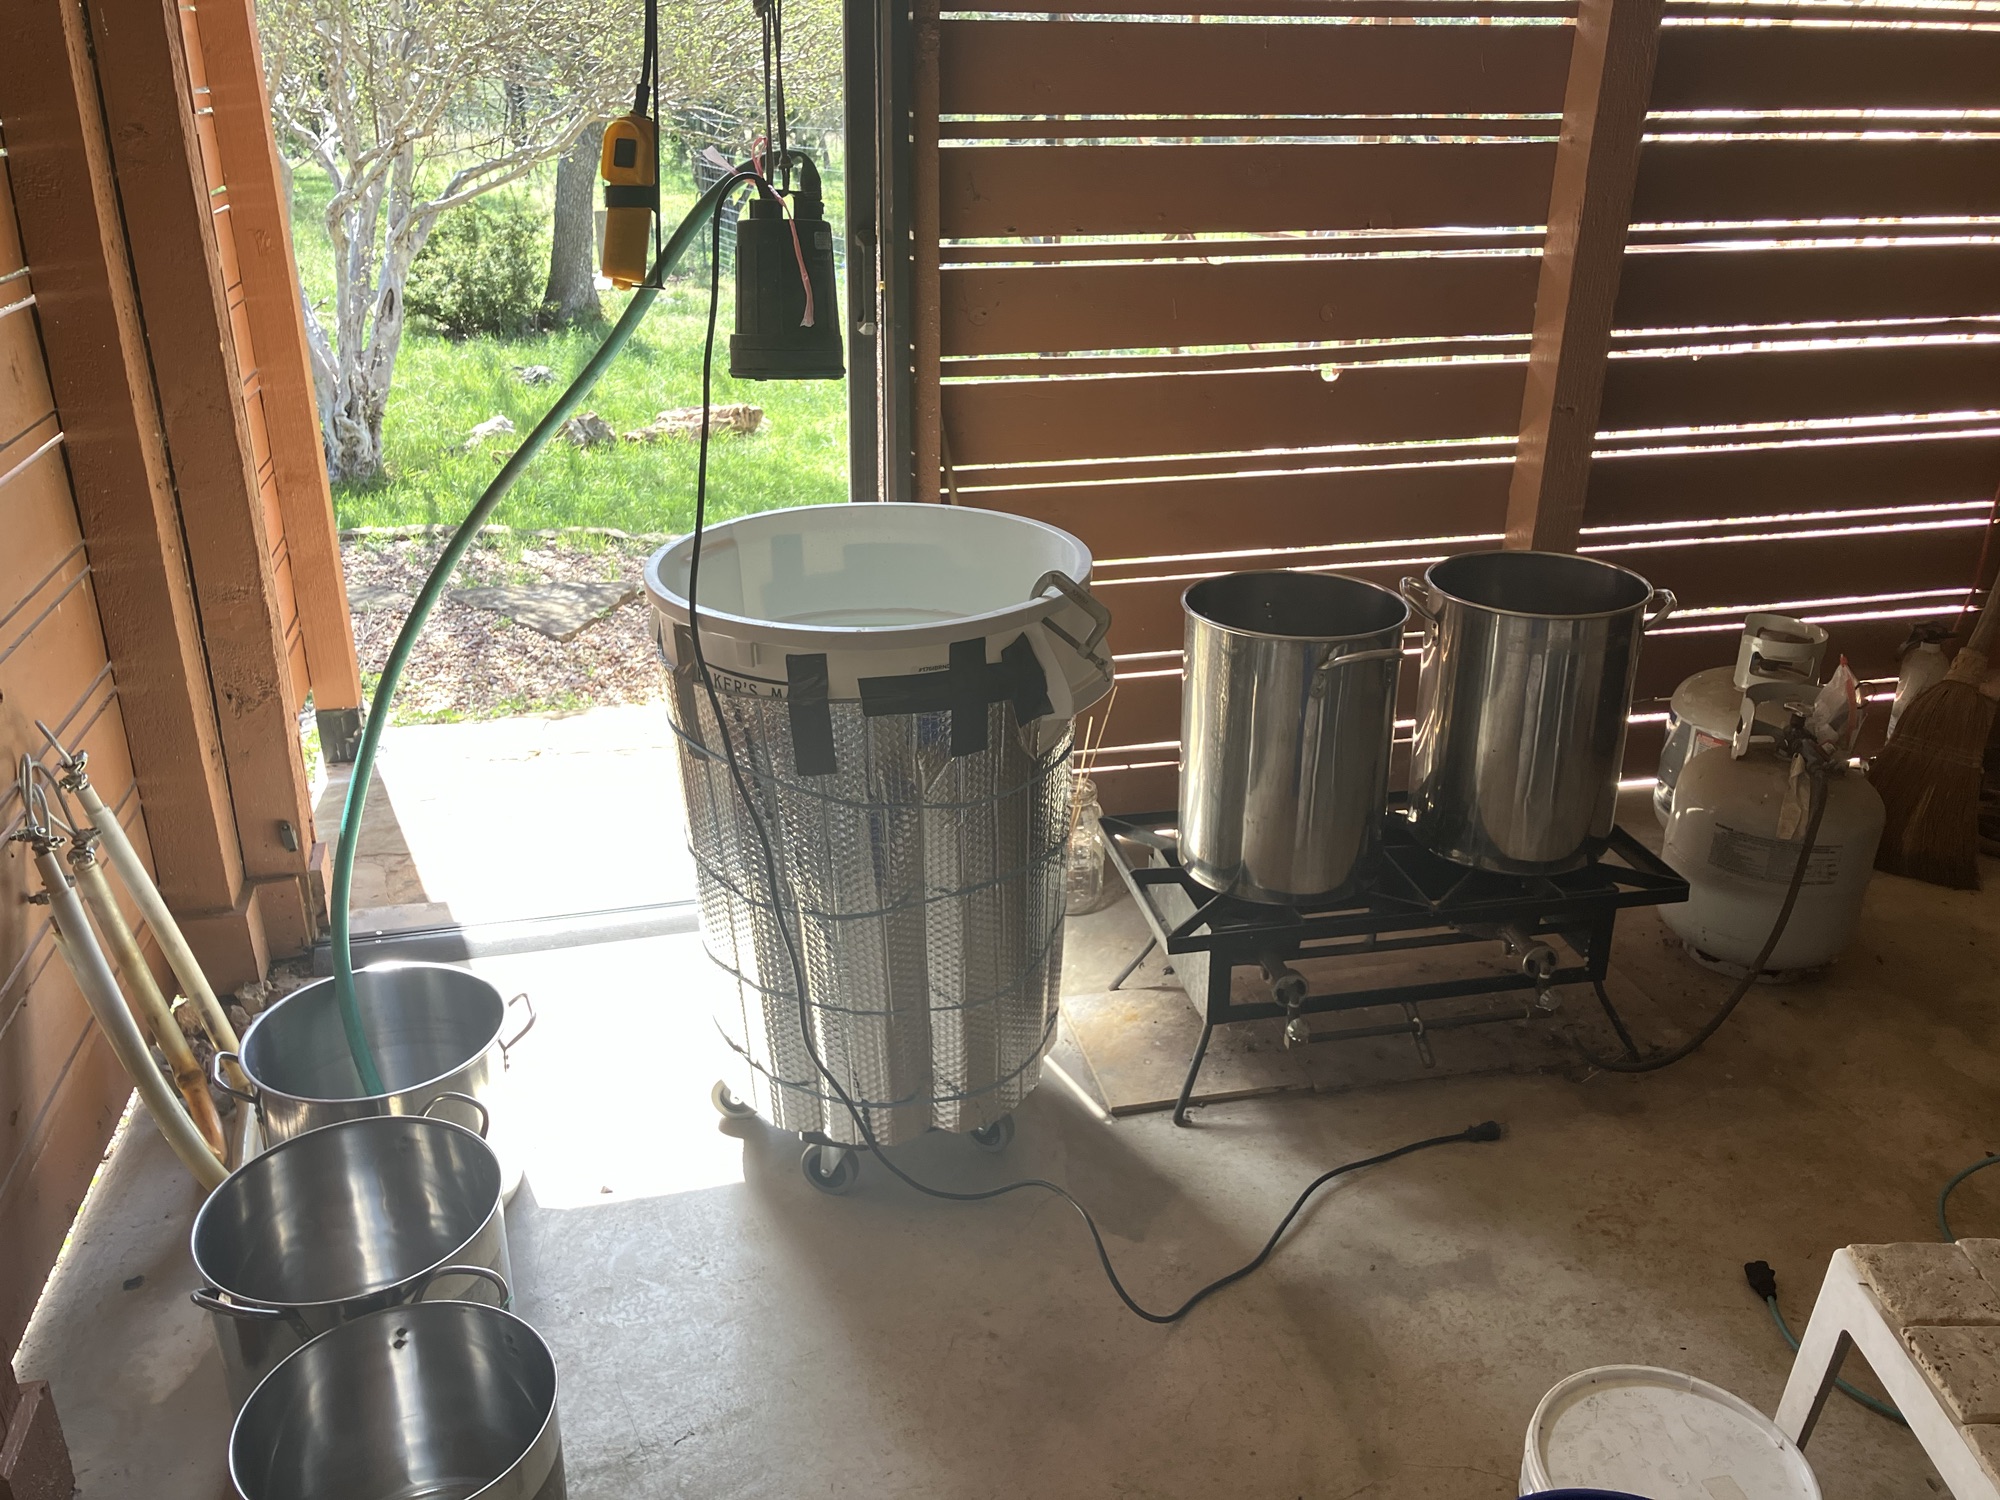
Vessels have heated water and ingredients added to dissolve

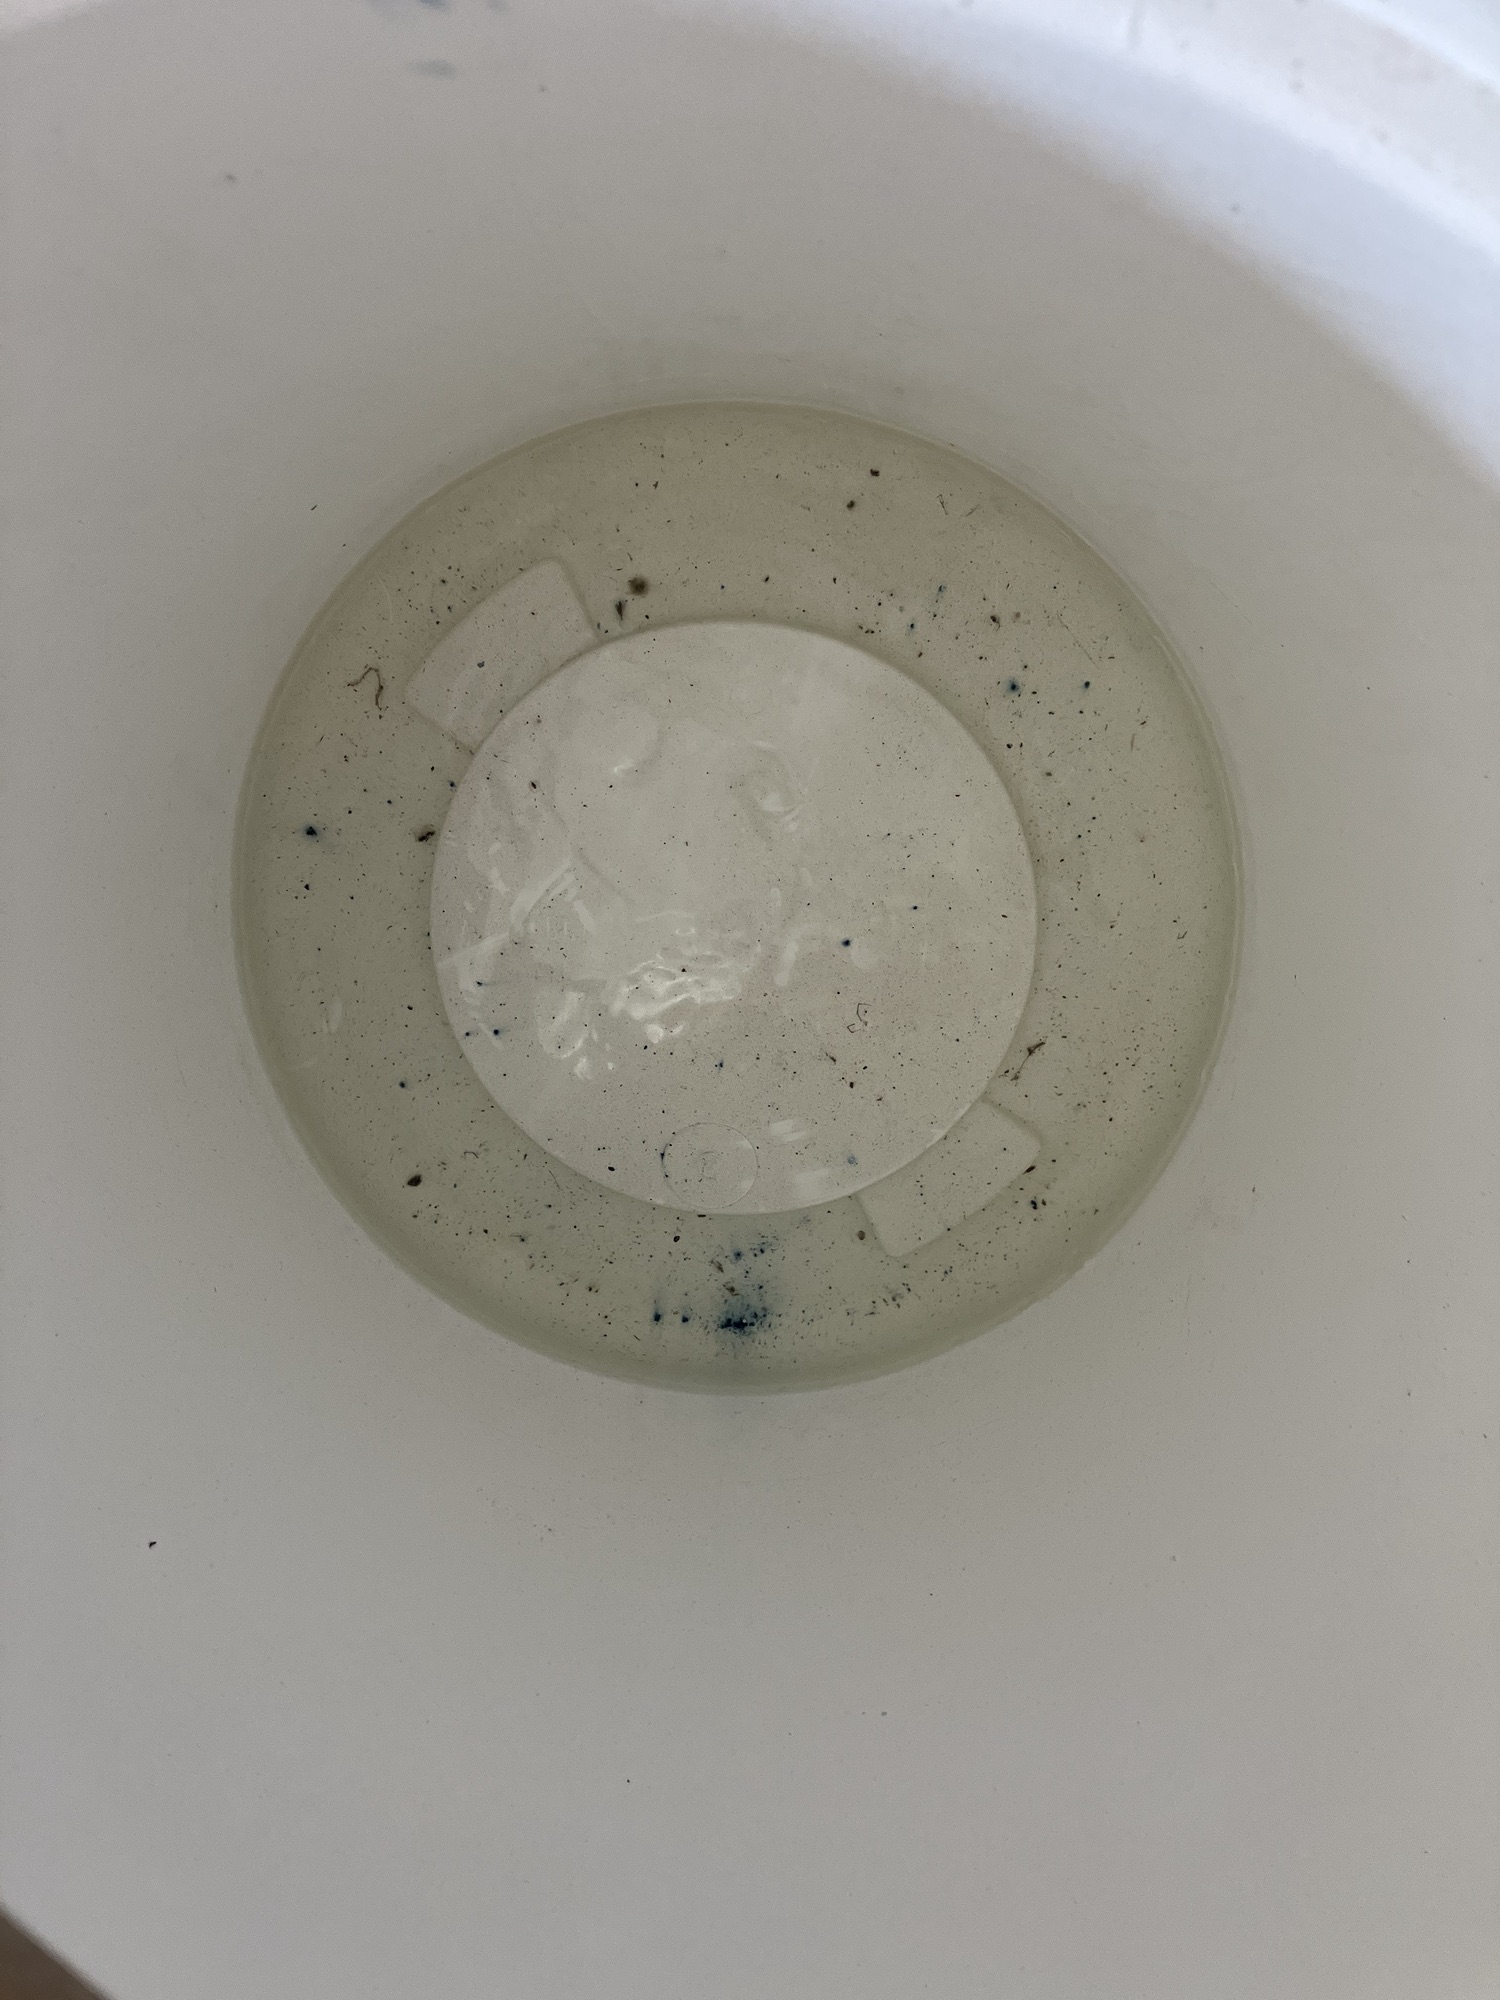
Mental note, this vat has an indent on the bottom I need to stir into and around. Wish I had measured the width before I started dumping ingredients into the vat. There is always an “if only”.

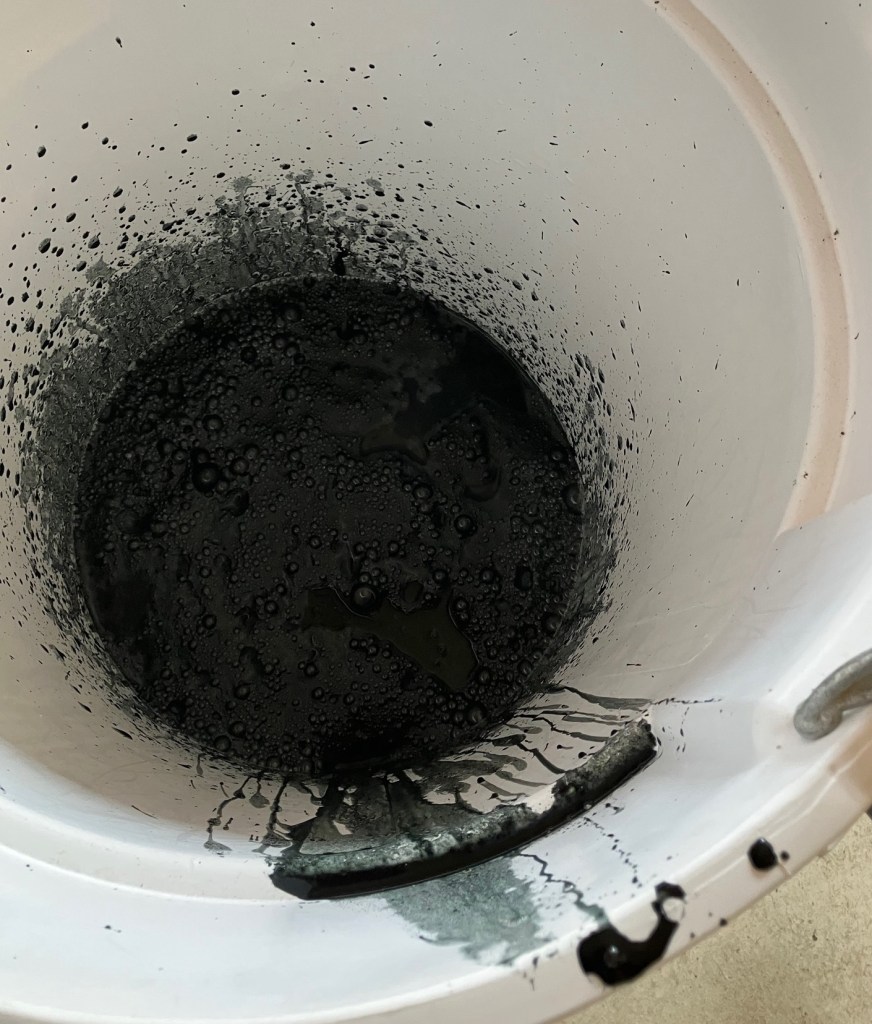
And splat! I wish I could set up neat & tidy but I always find a way to drip with large vats.

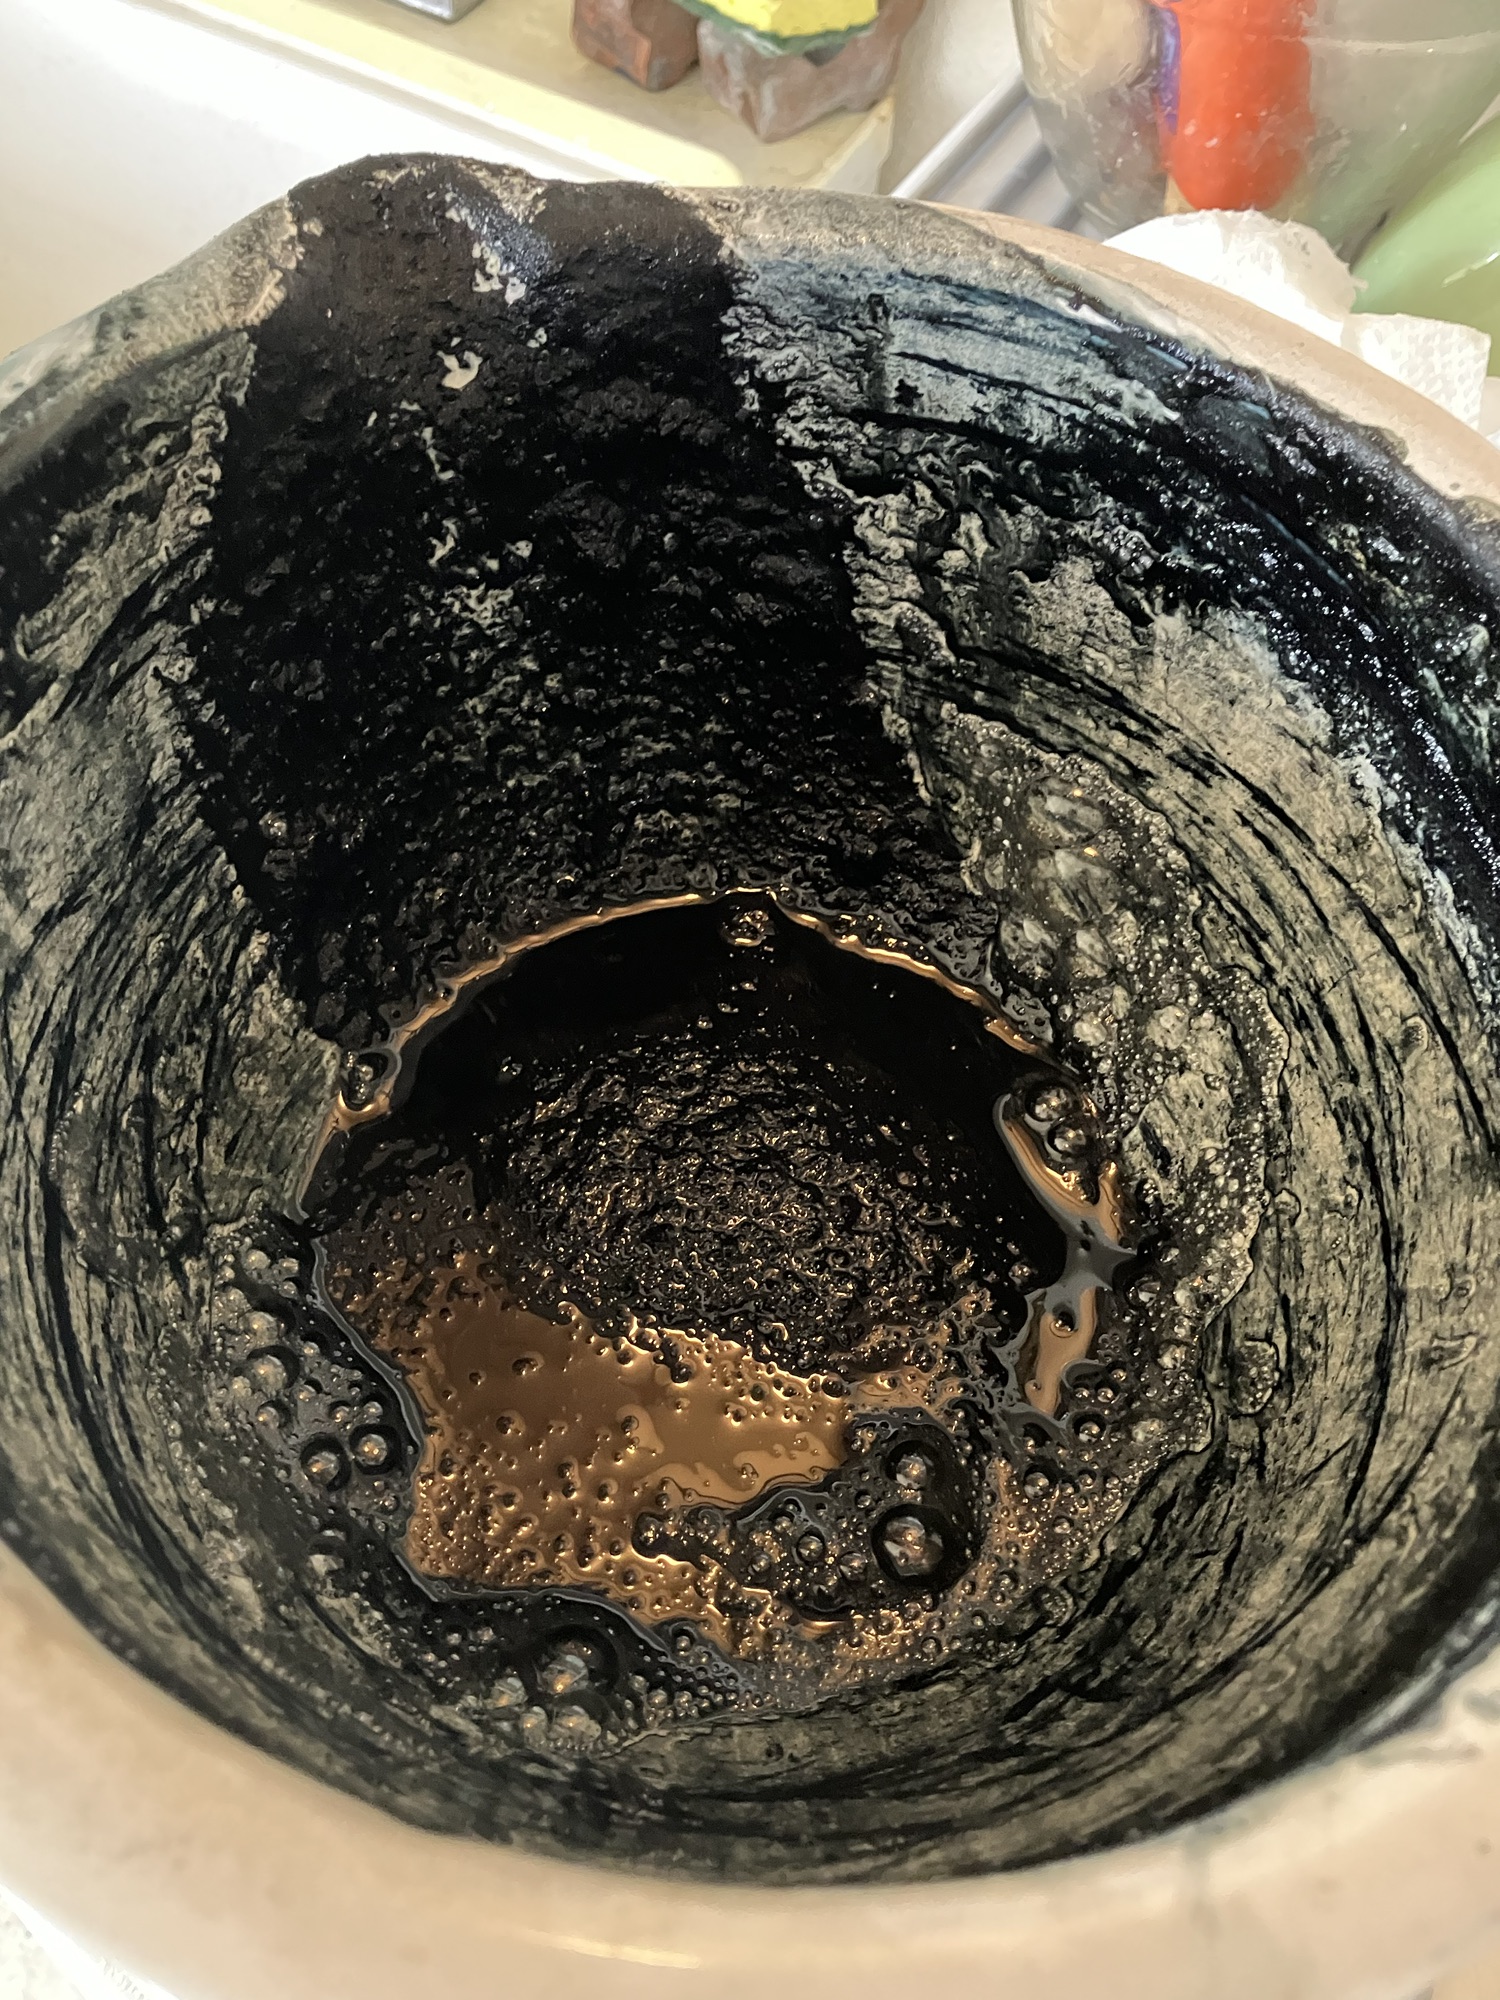
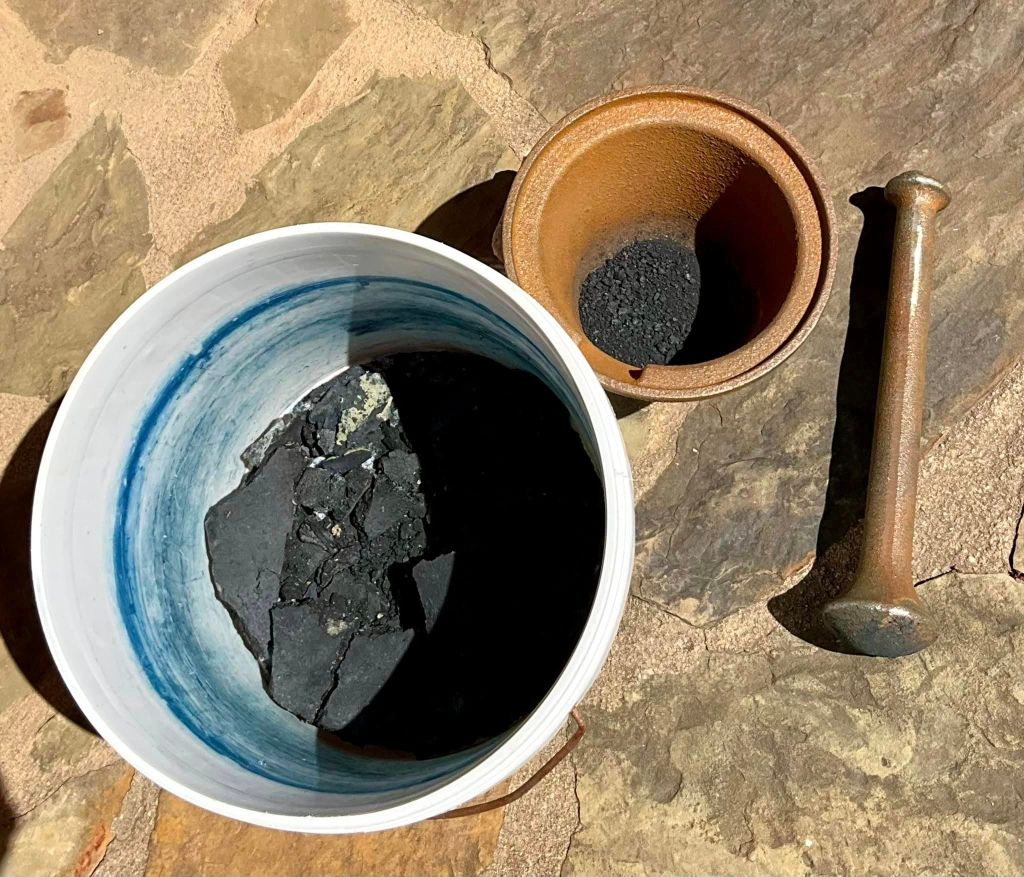
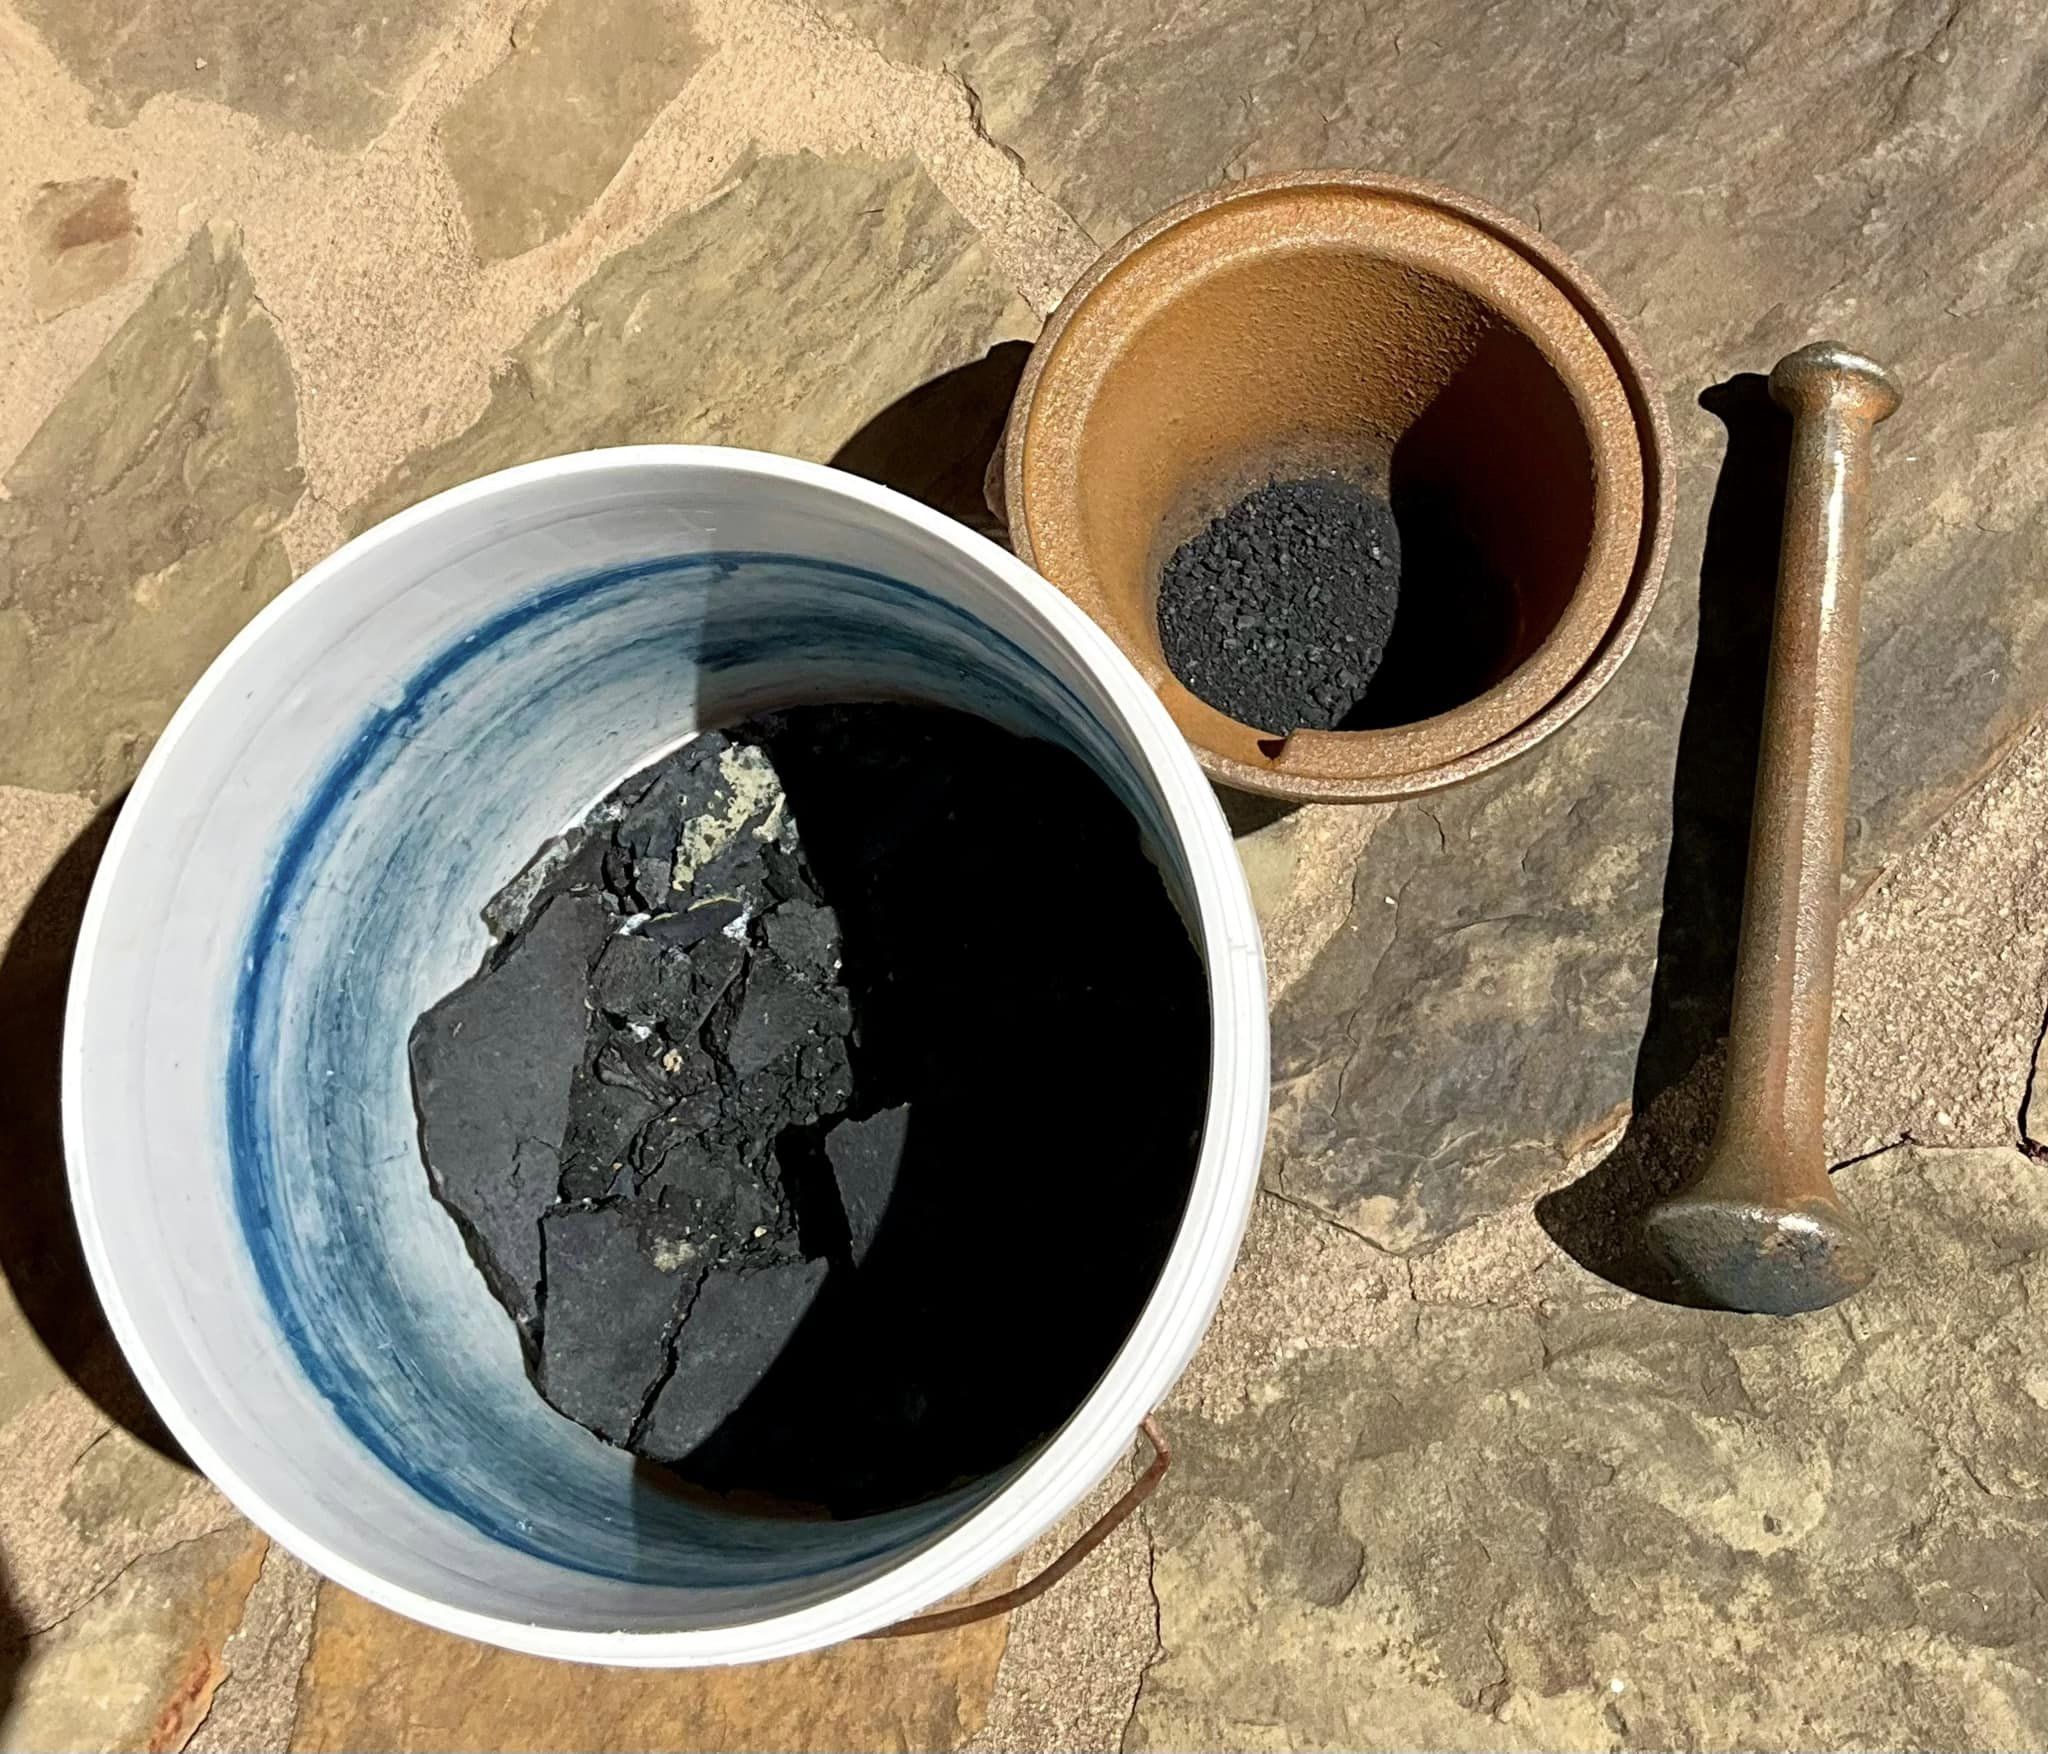
Pasting the leftover lumps. This is washed & dried pigment from my large Fructose vat. I wash my old fructose paste with 9% vinegar to remove the calcium carbonate and drain thru filters. Solely for the purpose of removing sludge volume and storage. We will find out how the pigment works after washing on a large scale.

My plan is to find out if same process works for “iron sludge”. I do NOT know if this process works for iron vat sludge or the chemical impact, yet. I need to create some iron sludge. Hence this vat is starting up. The Sapa indigo dyers use their pigment season to season in a wood ash vat. I decided to try using vinegar to reduce the calcium in a sludge reduction effort and clean up for use.

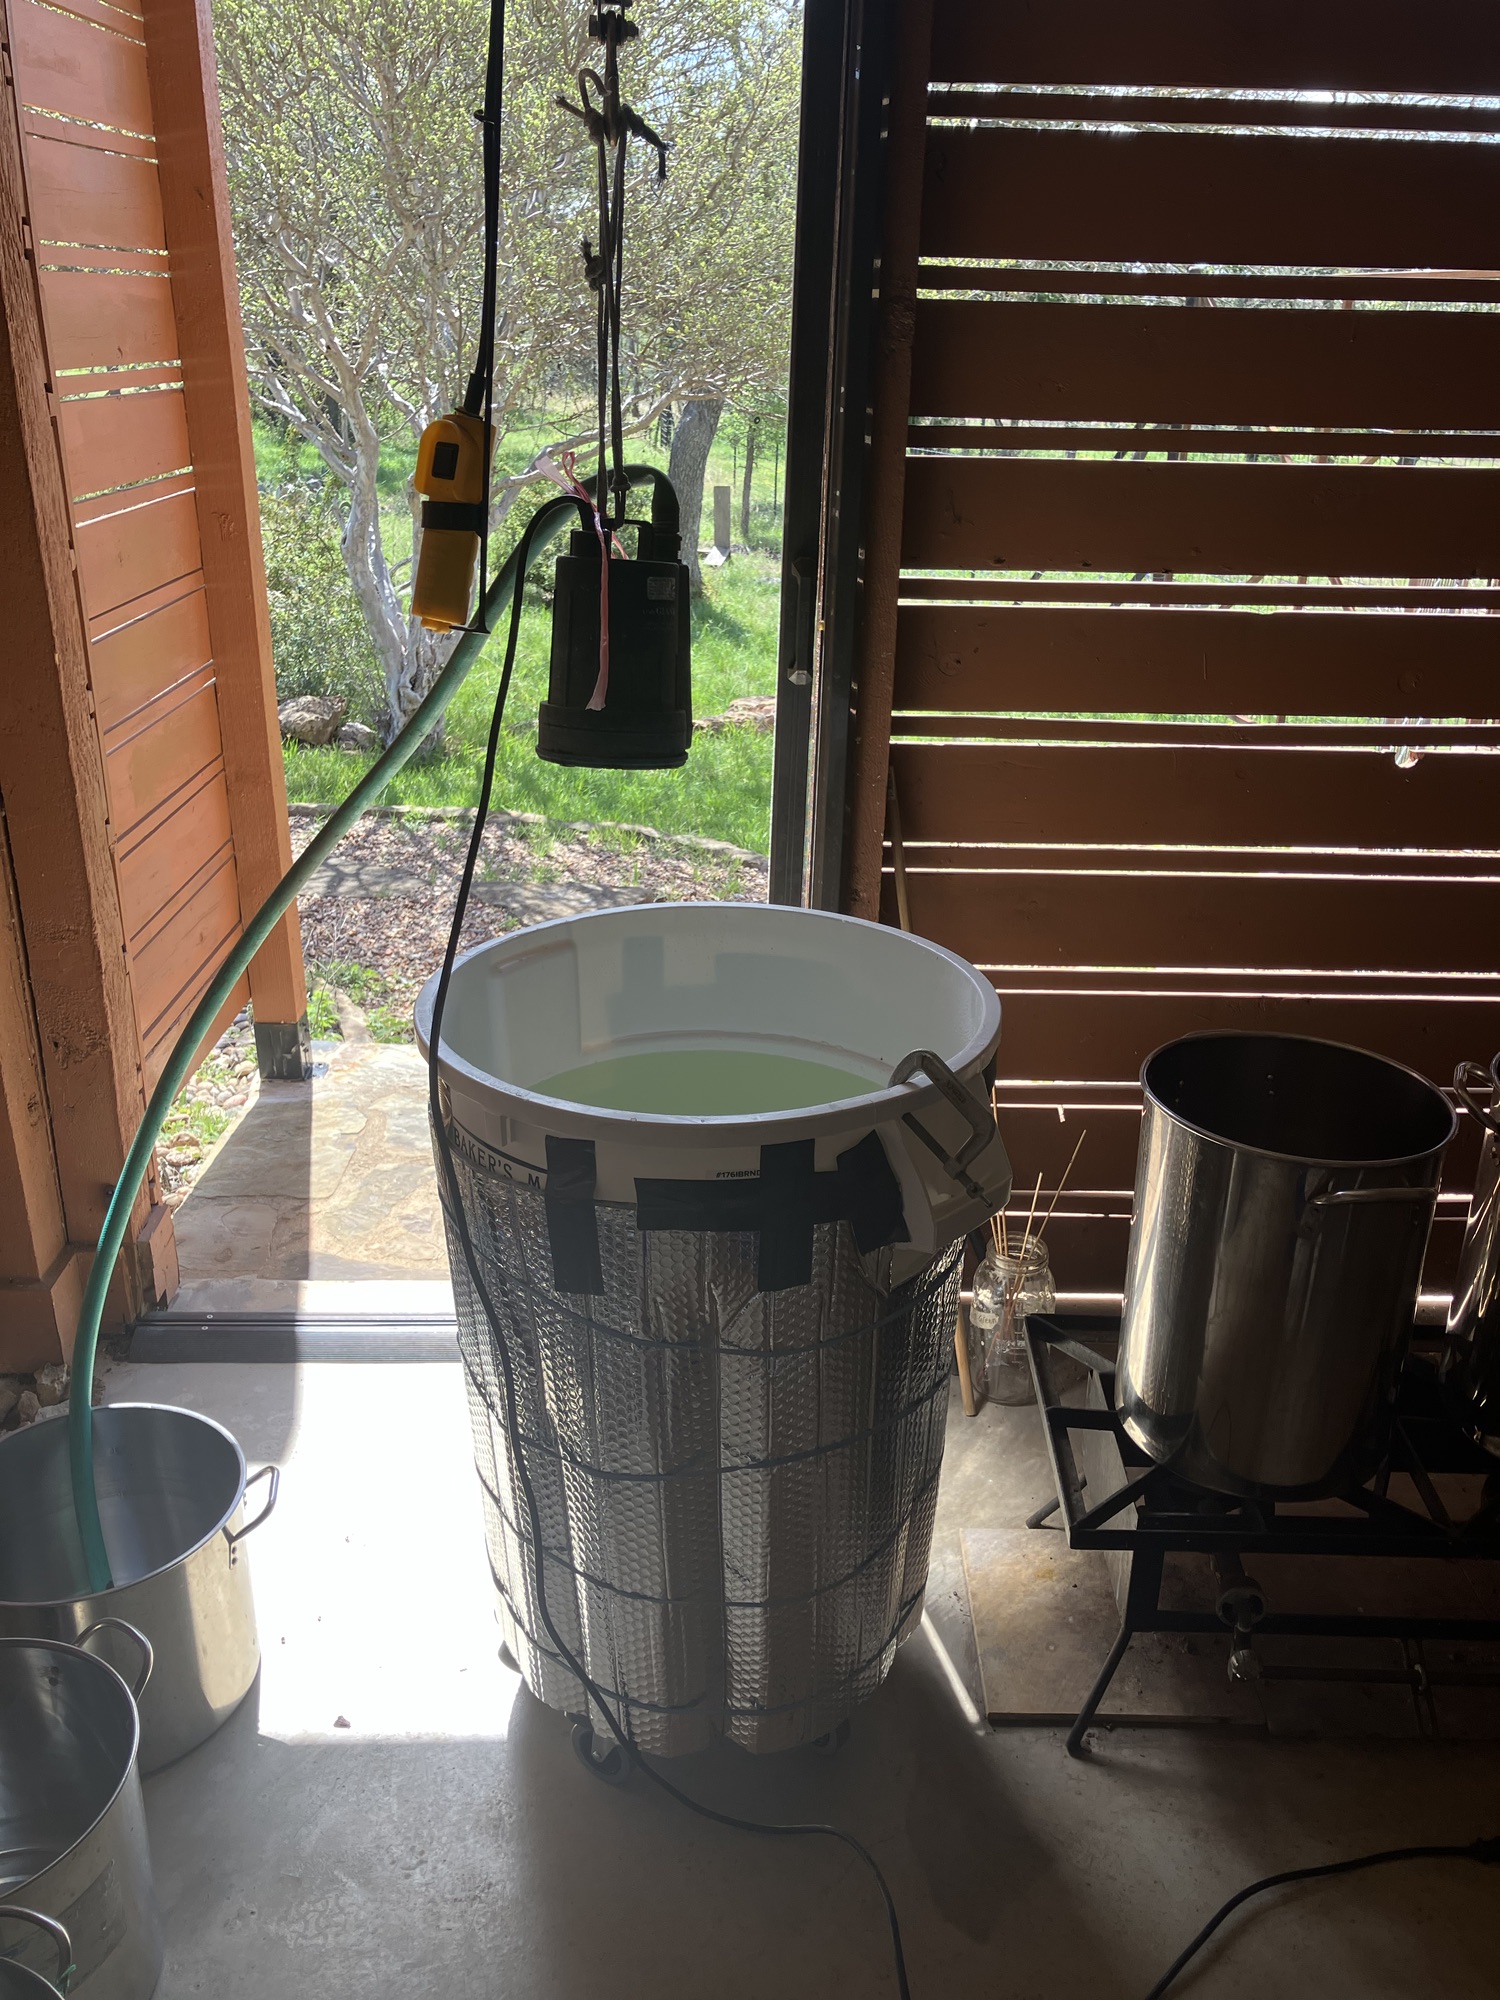
Old lady way of moving water from point A to point B

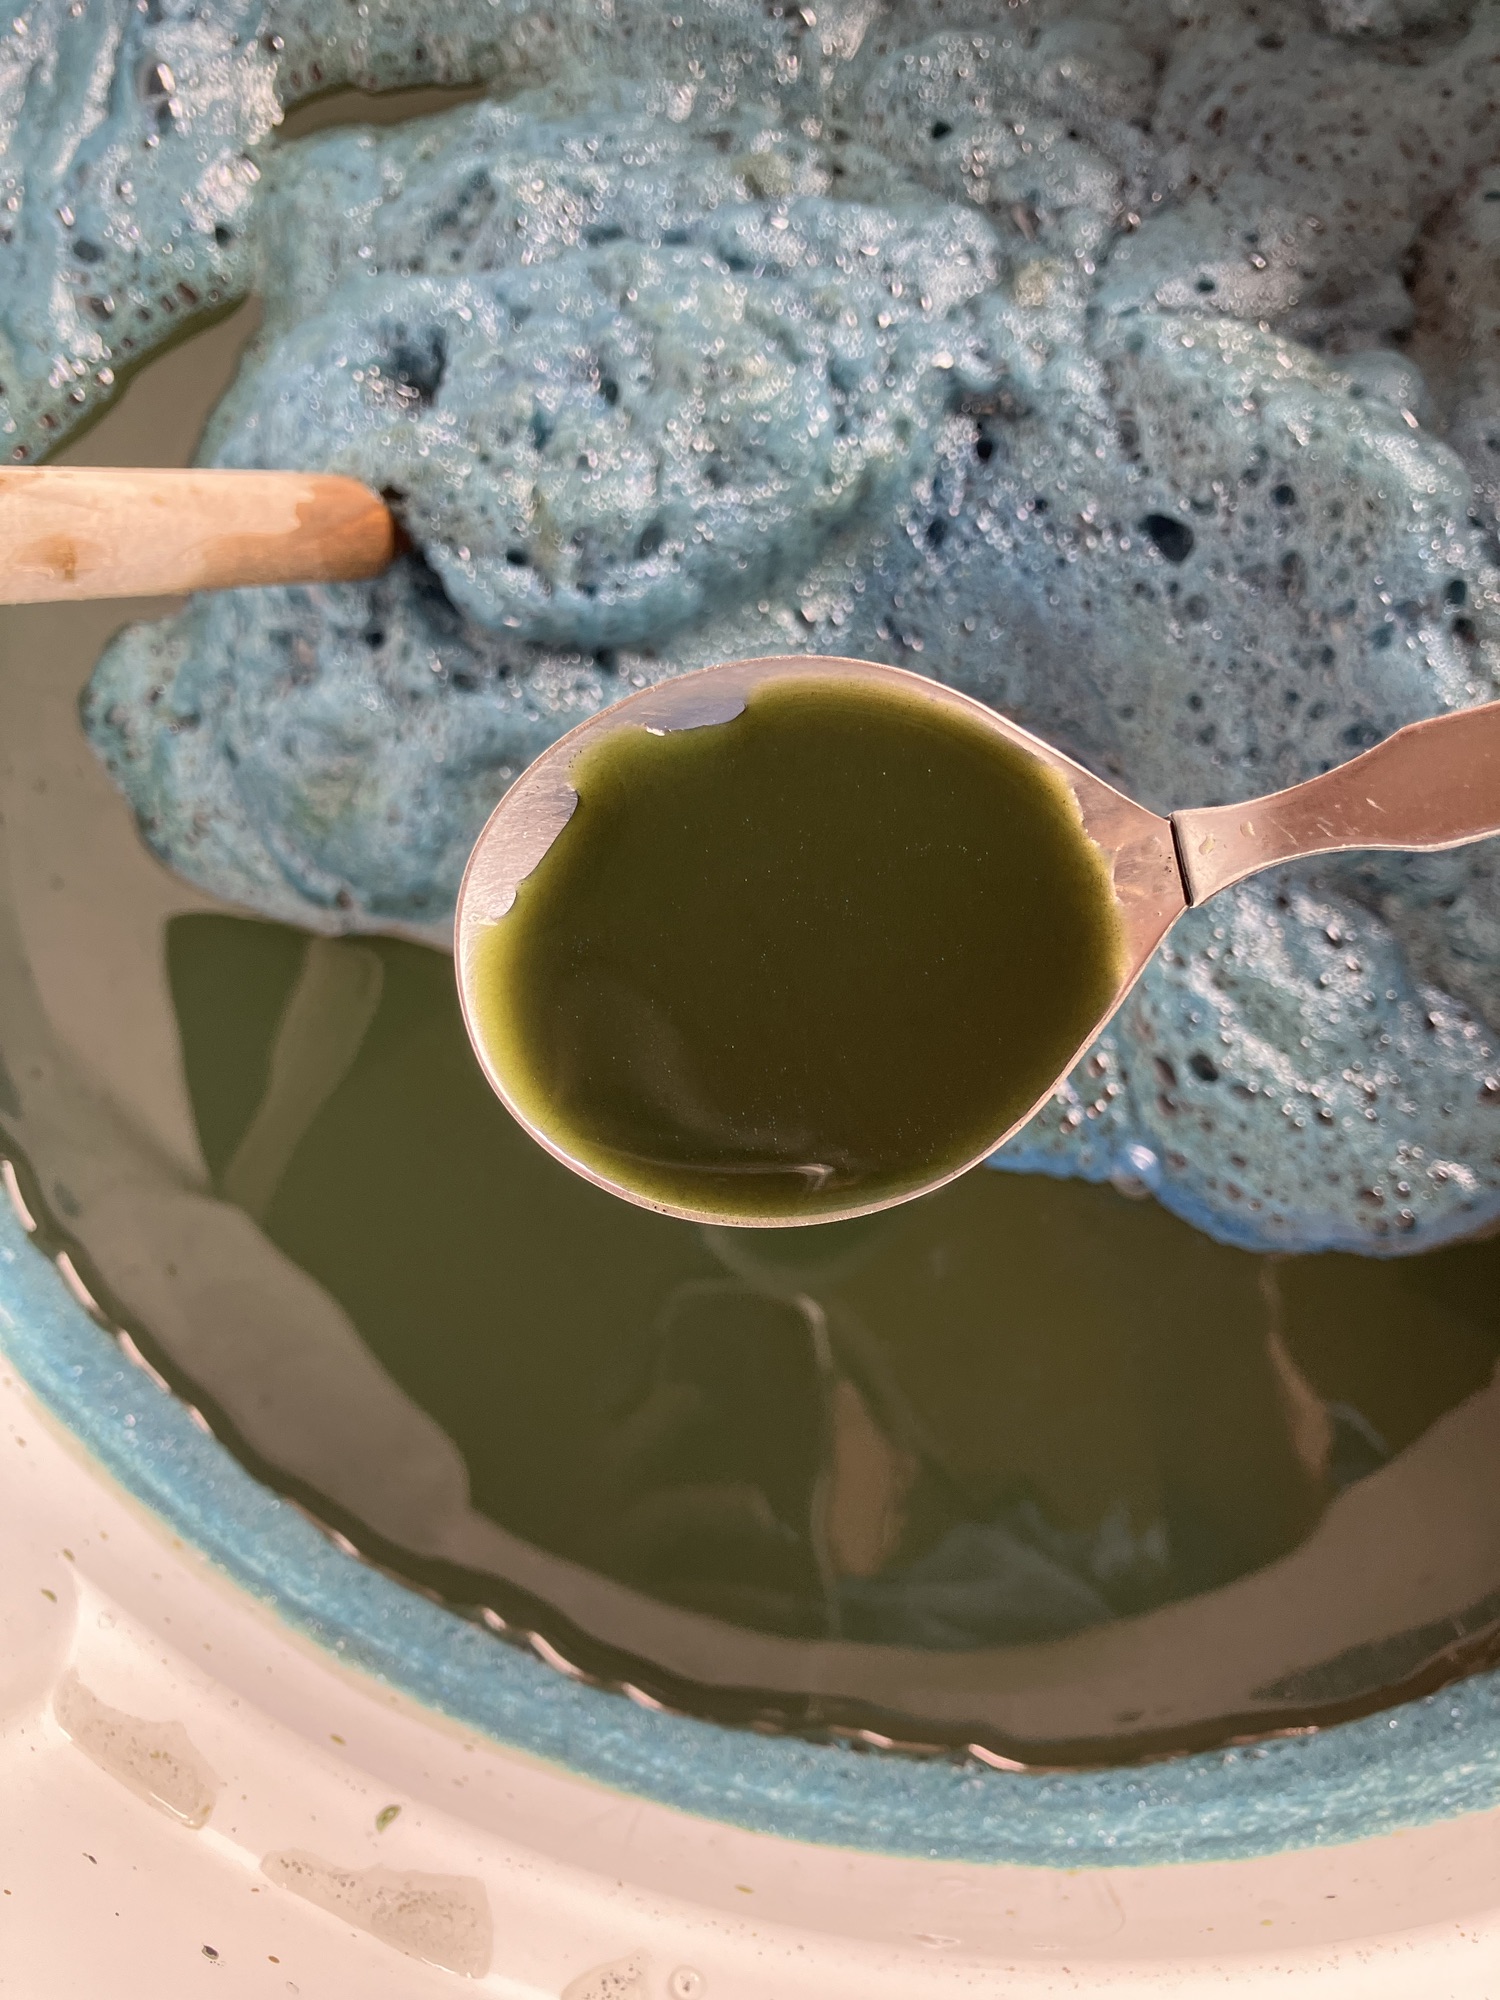
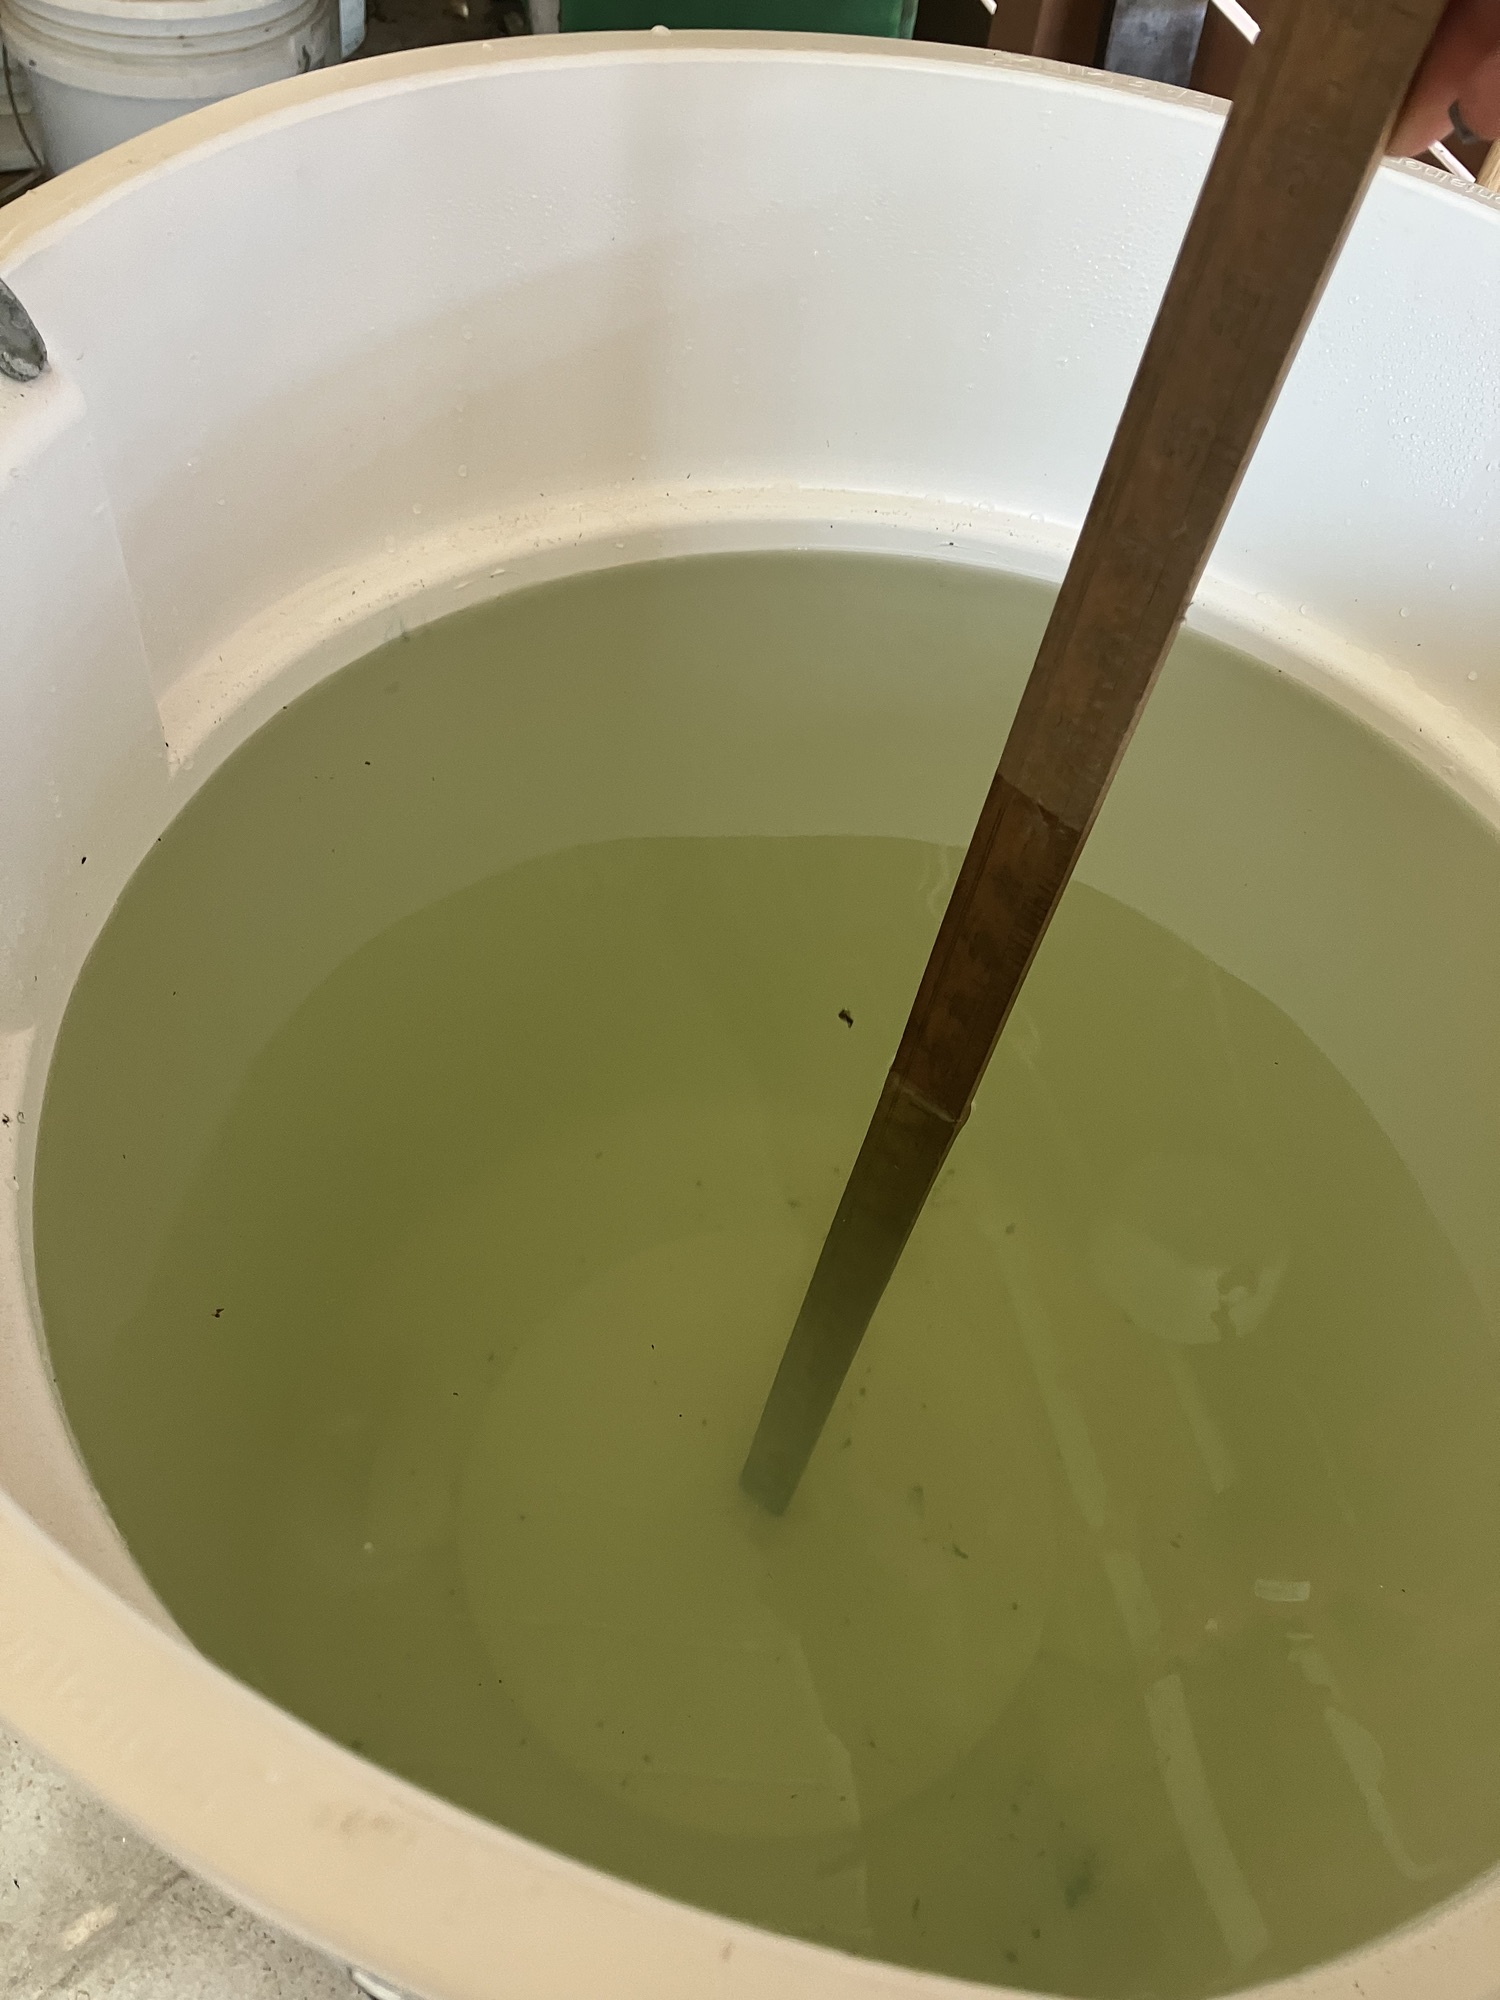
Nice & soupy, time to stir.

Stirring & stirring

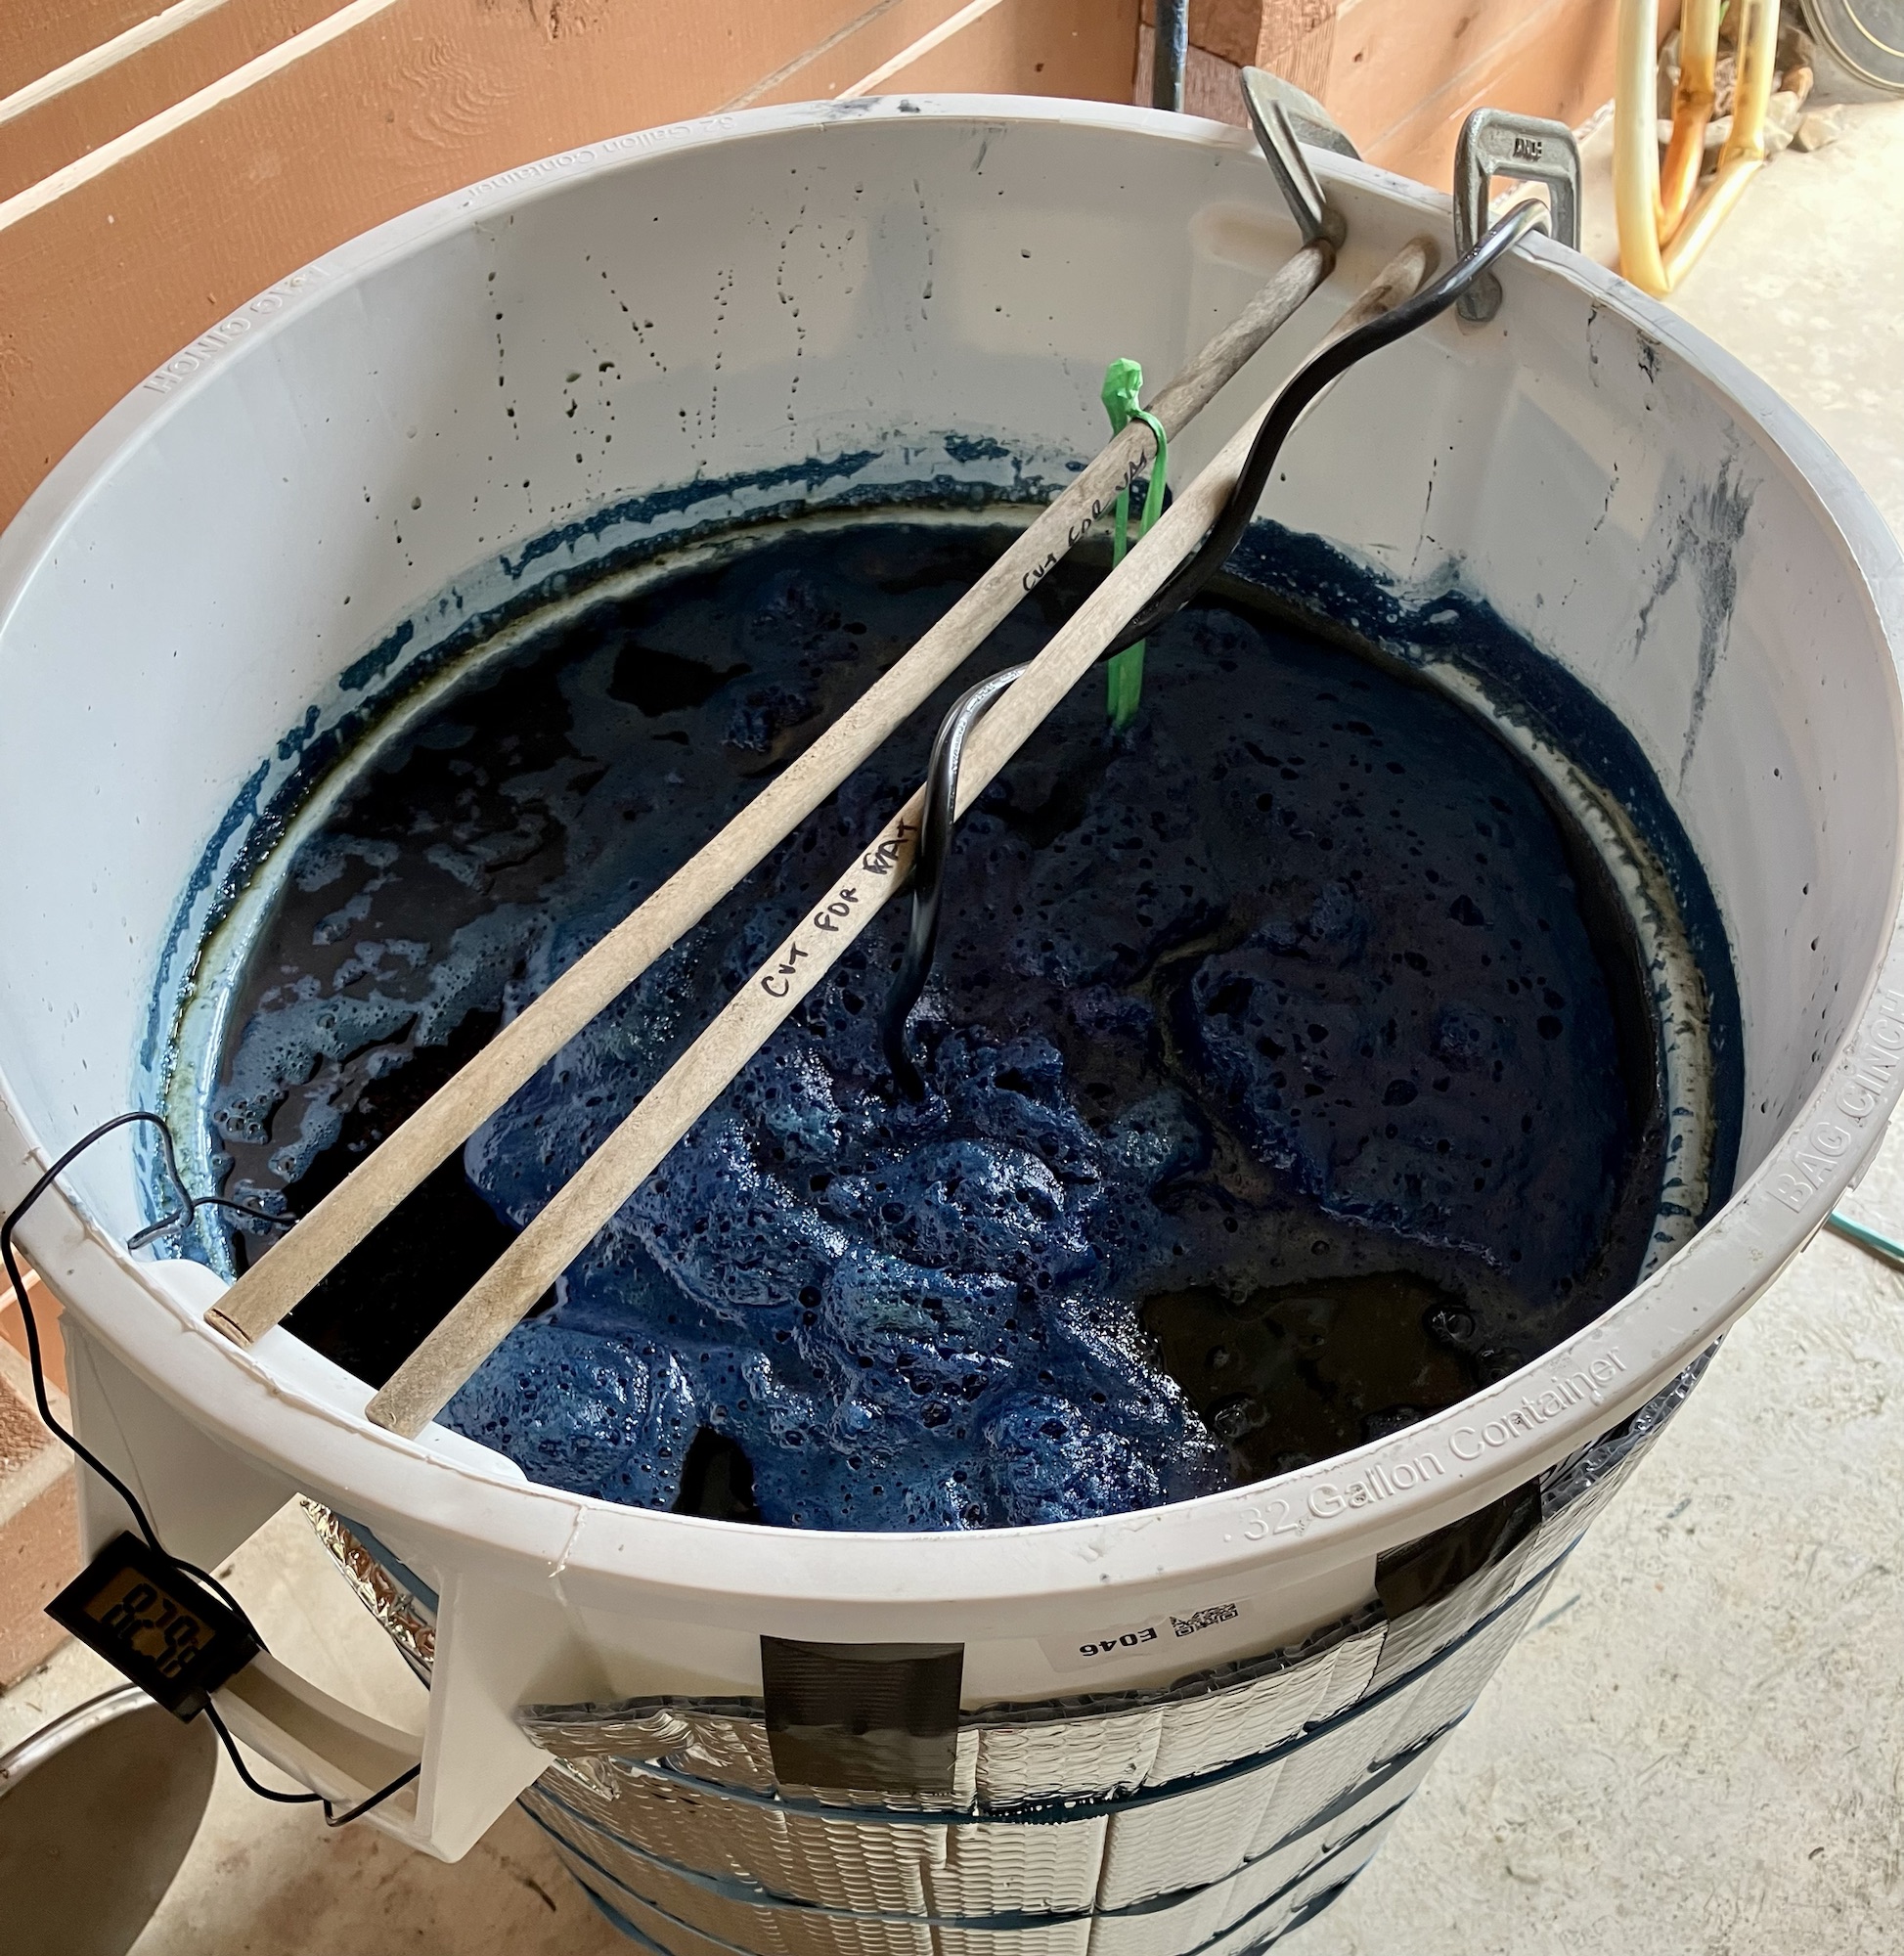
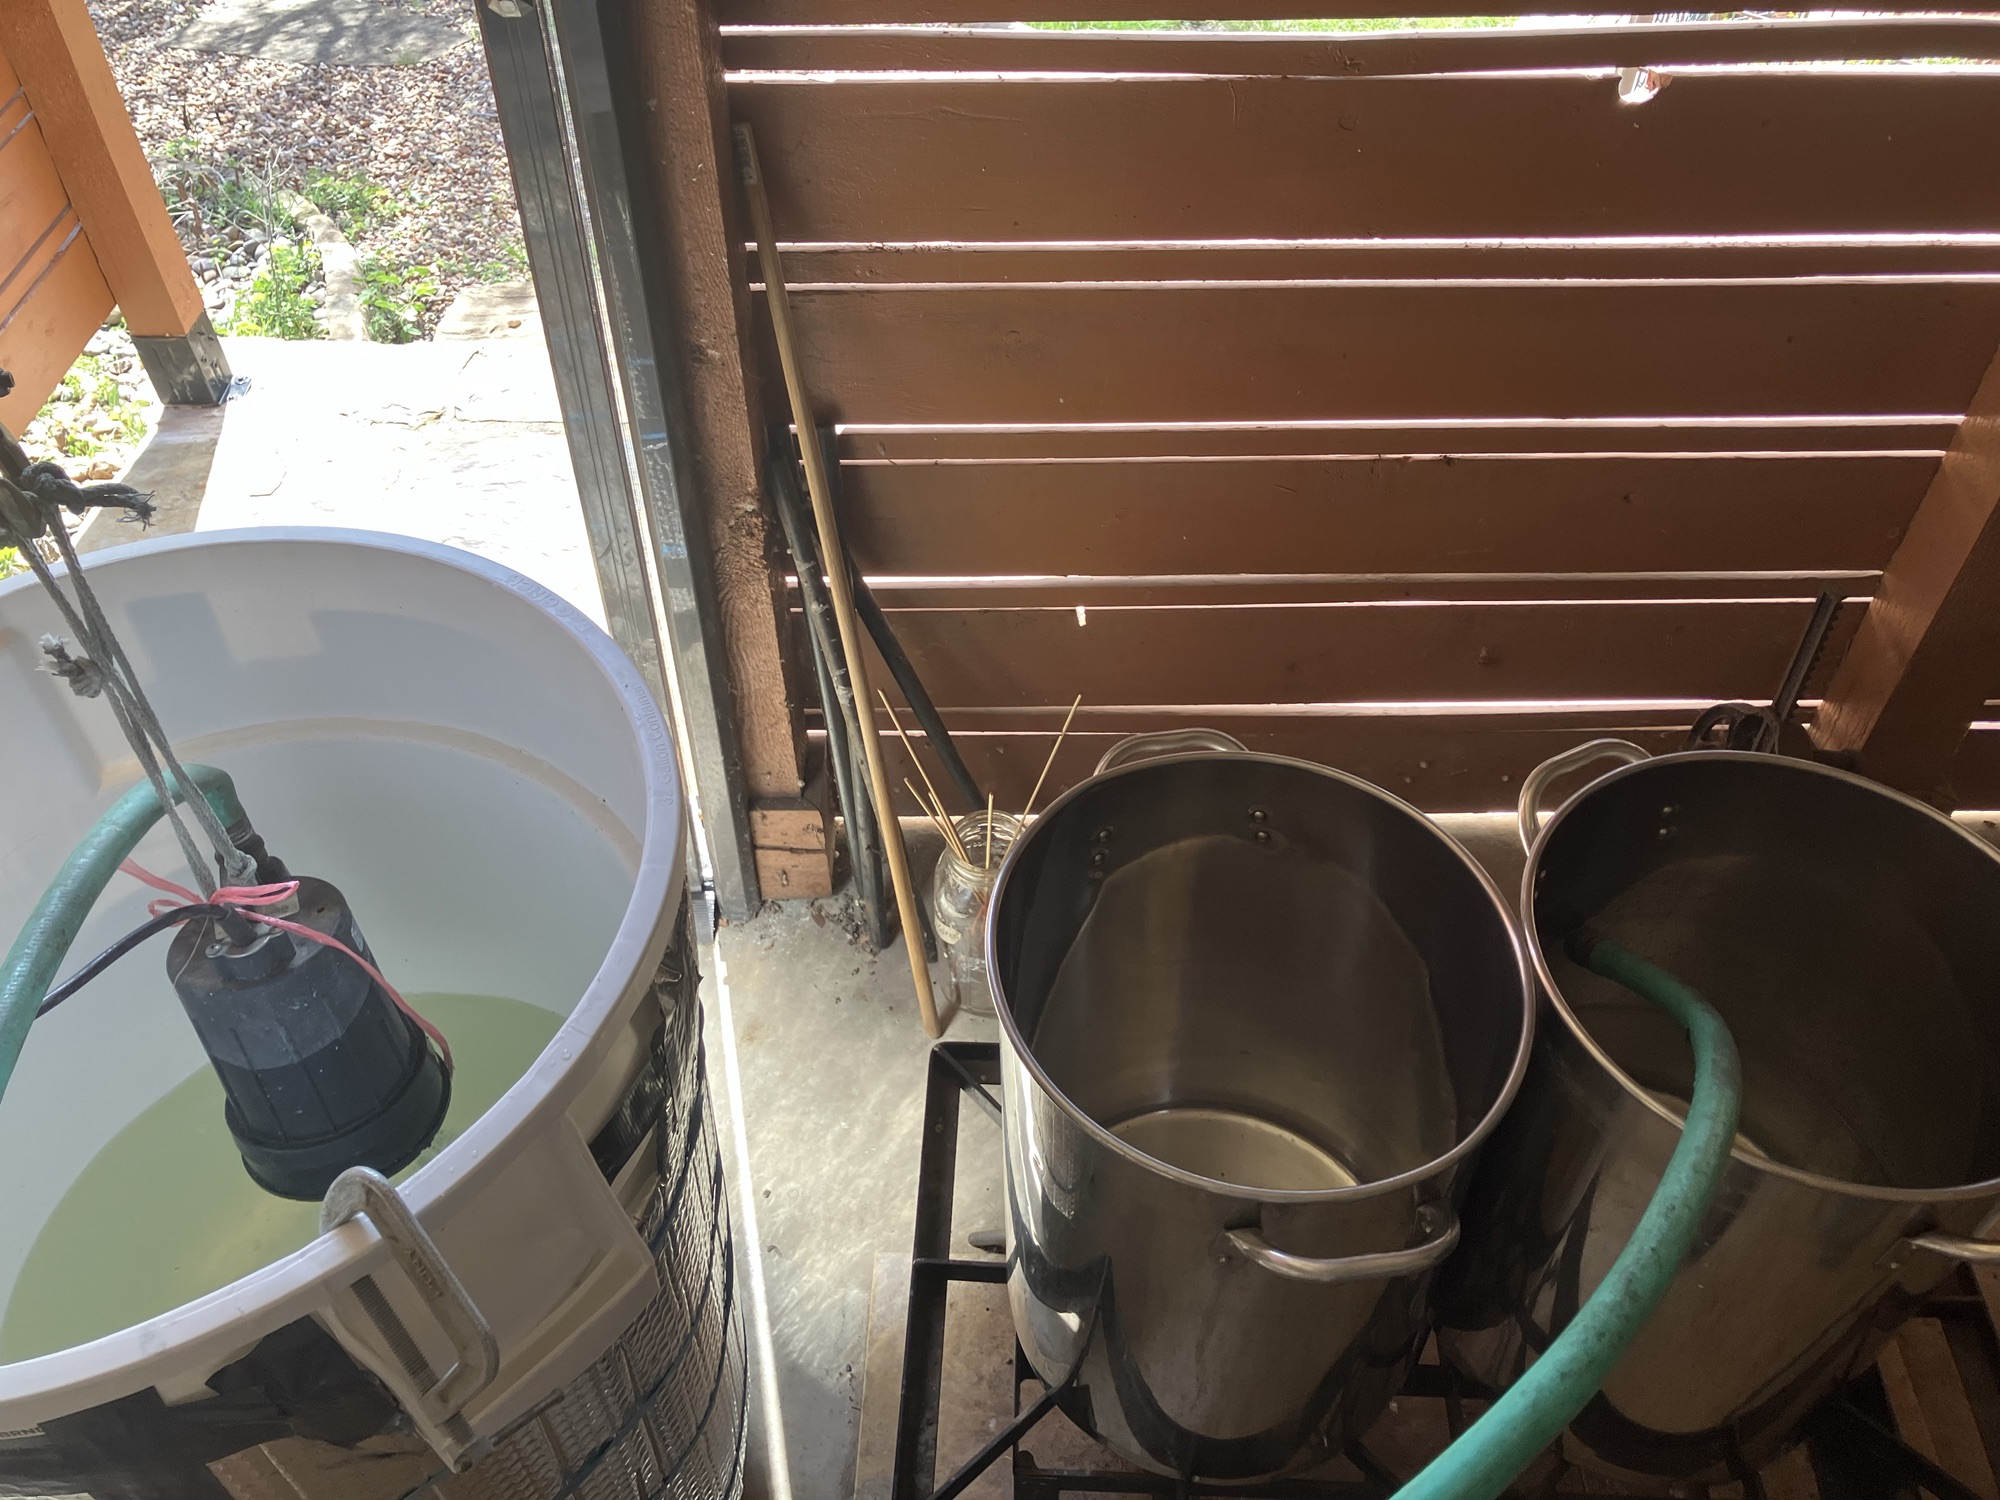
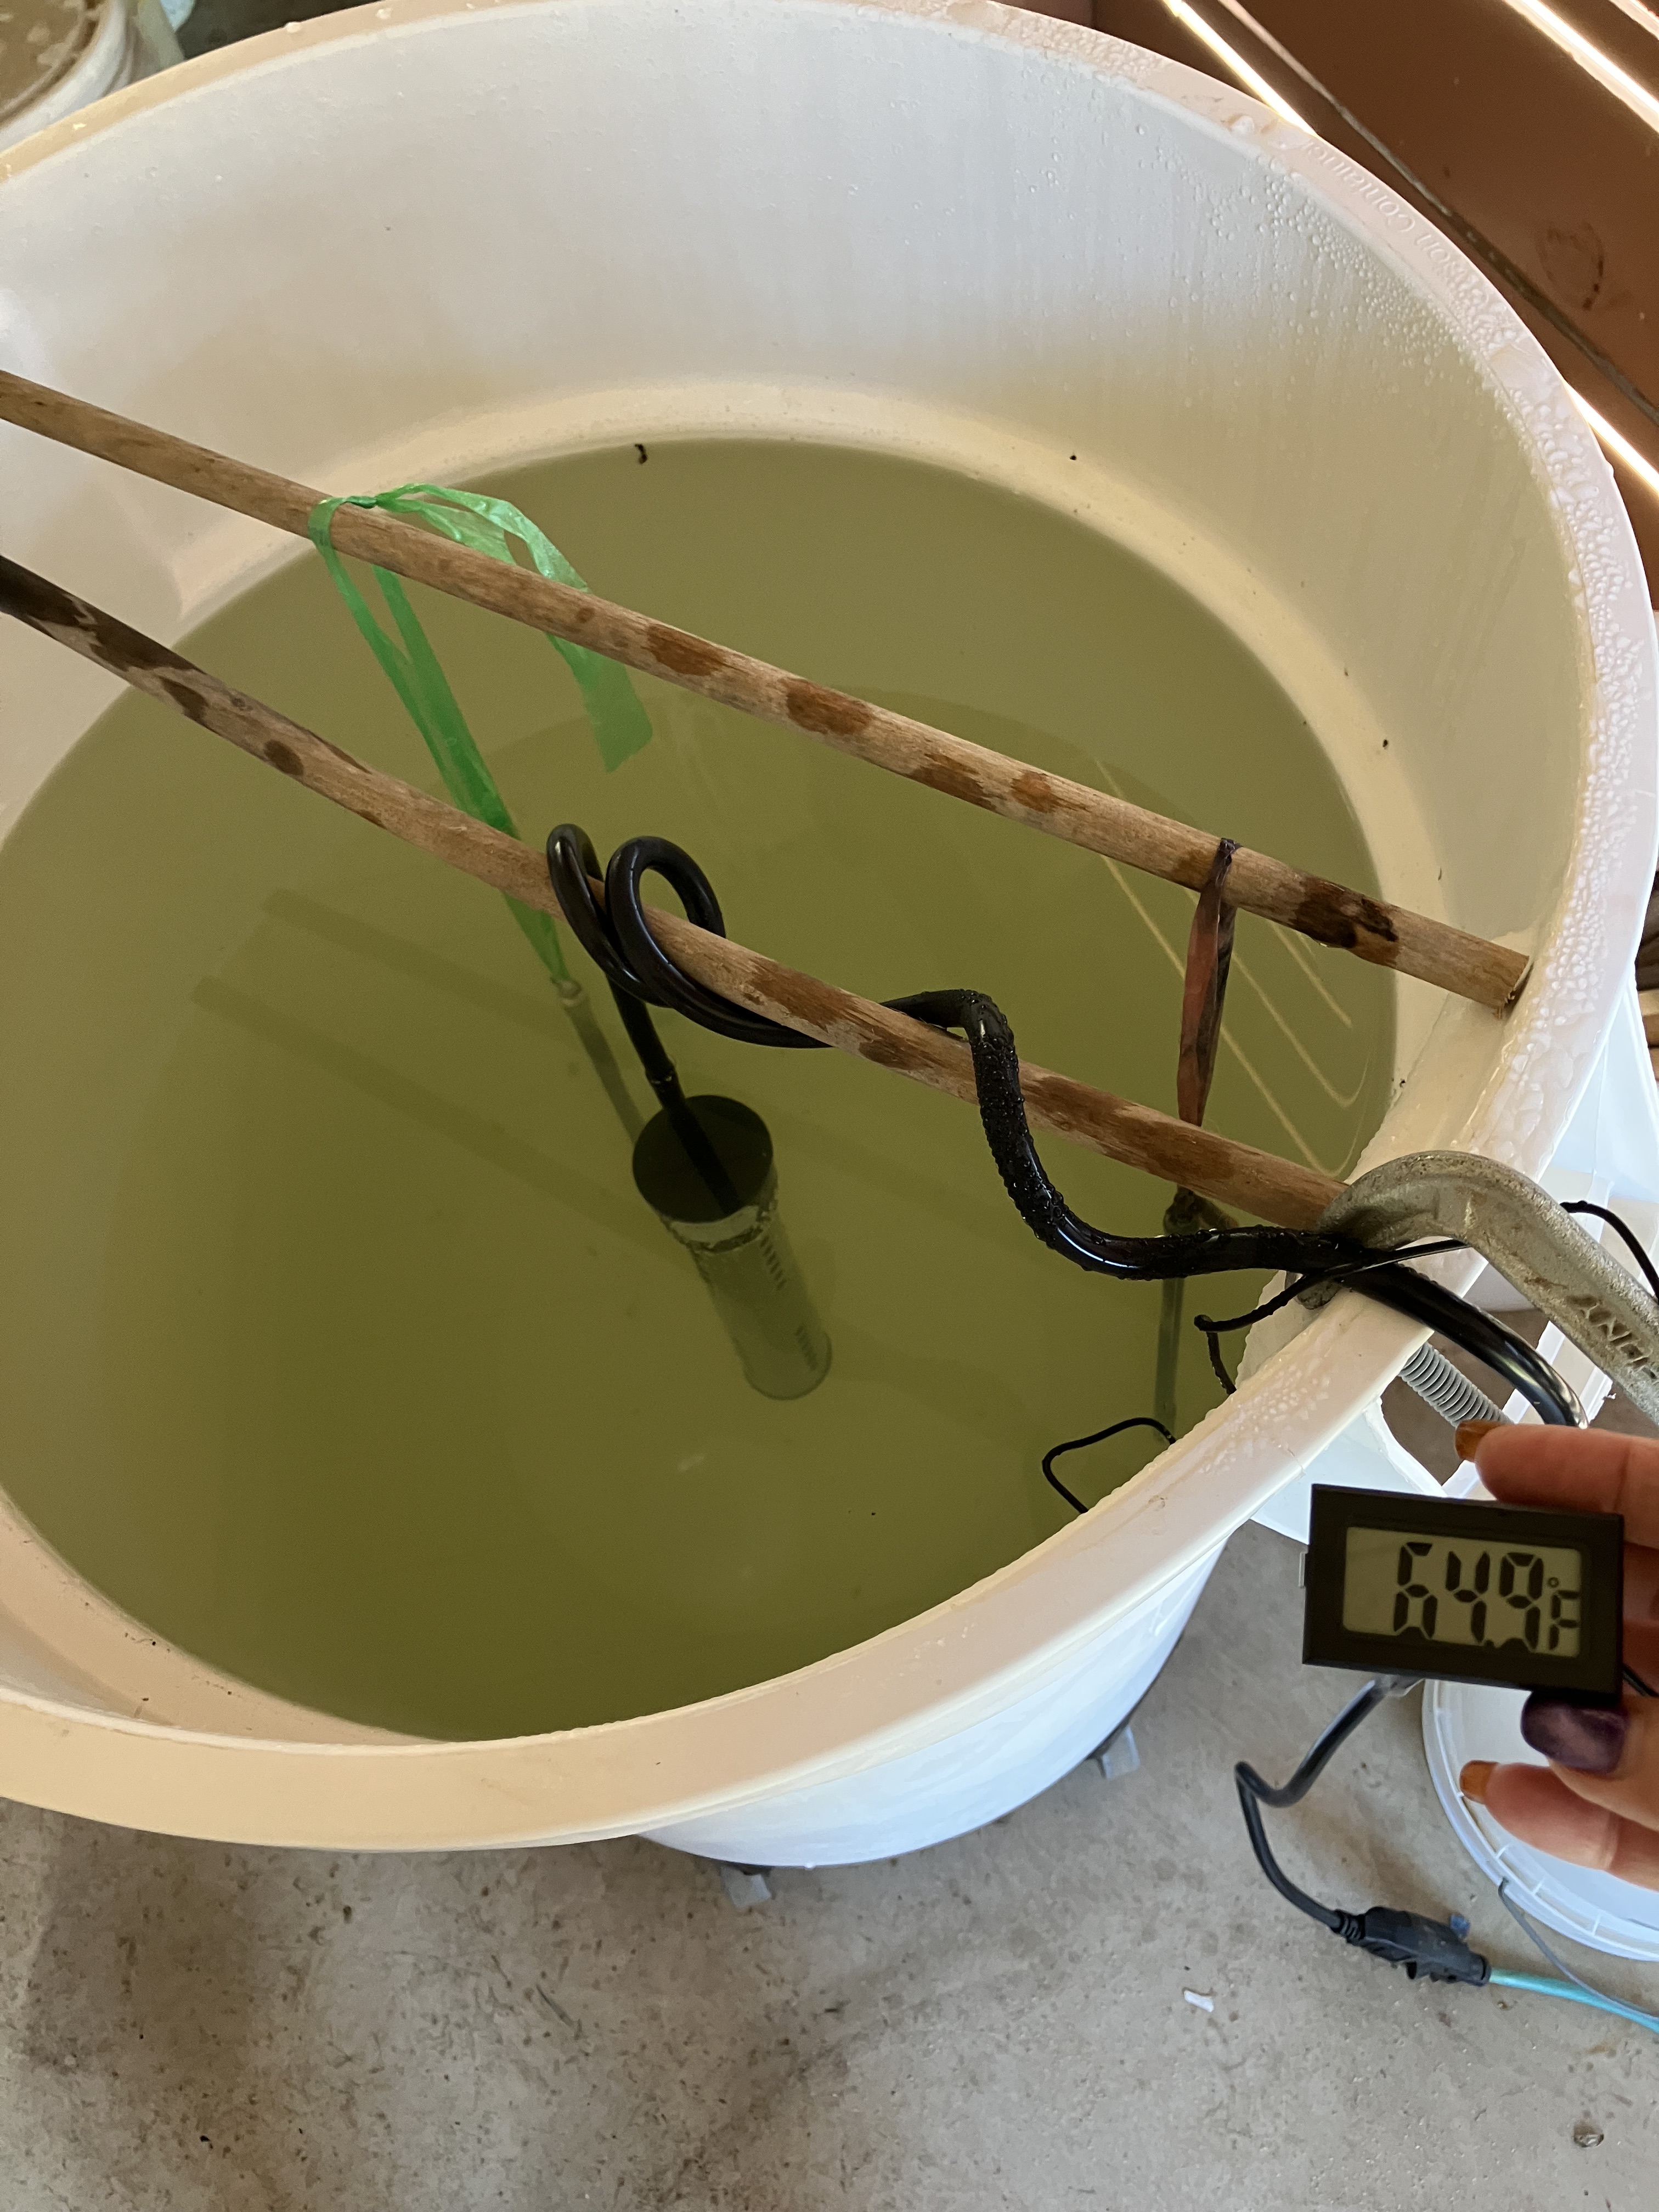
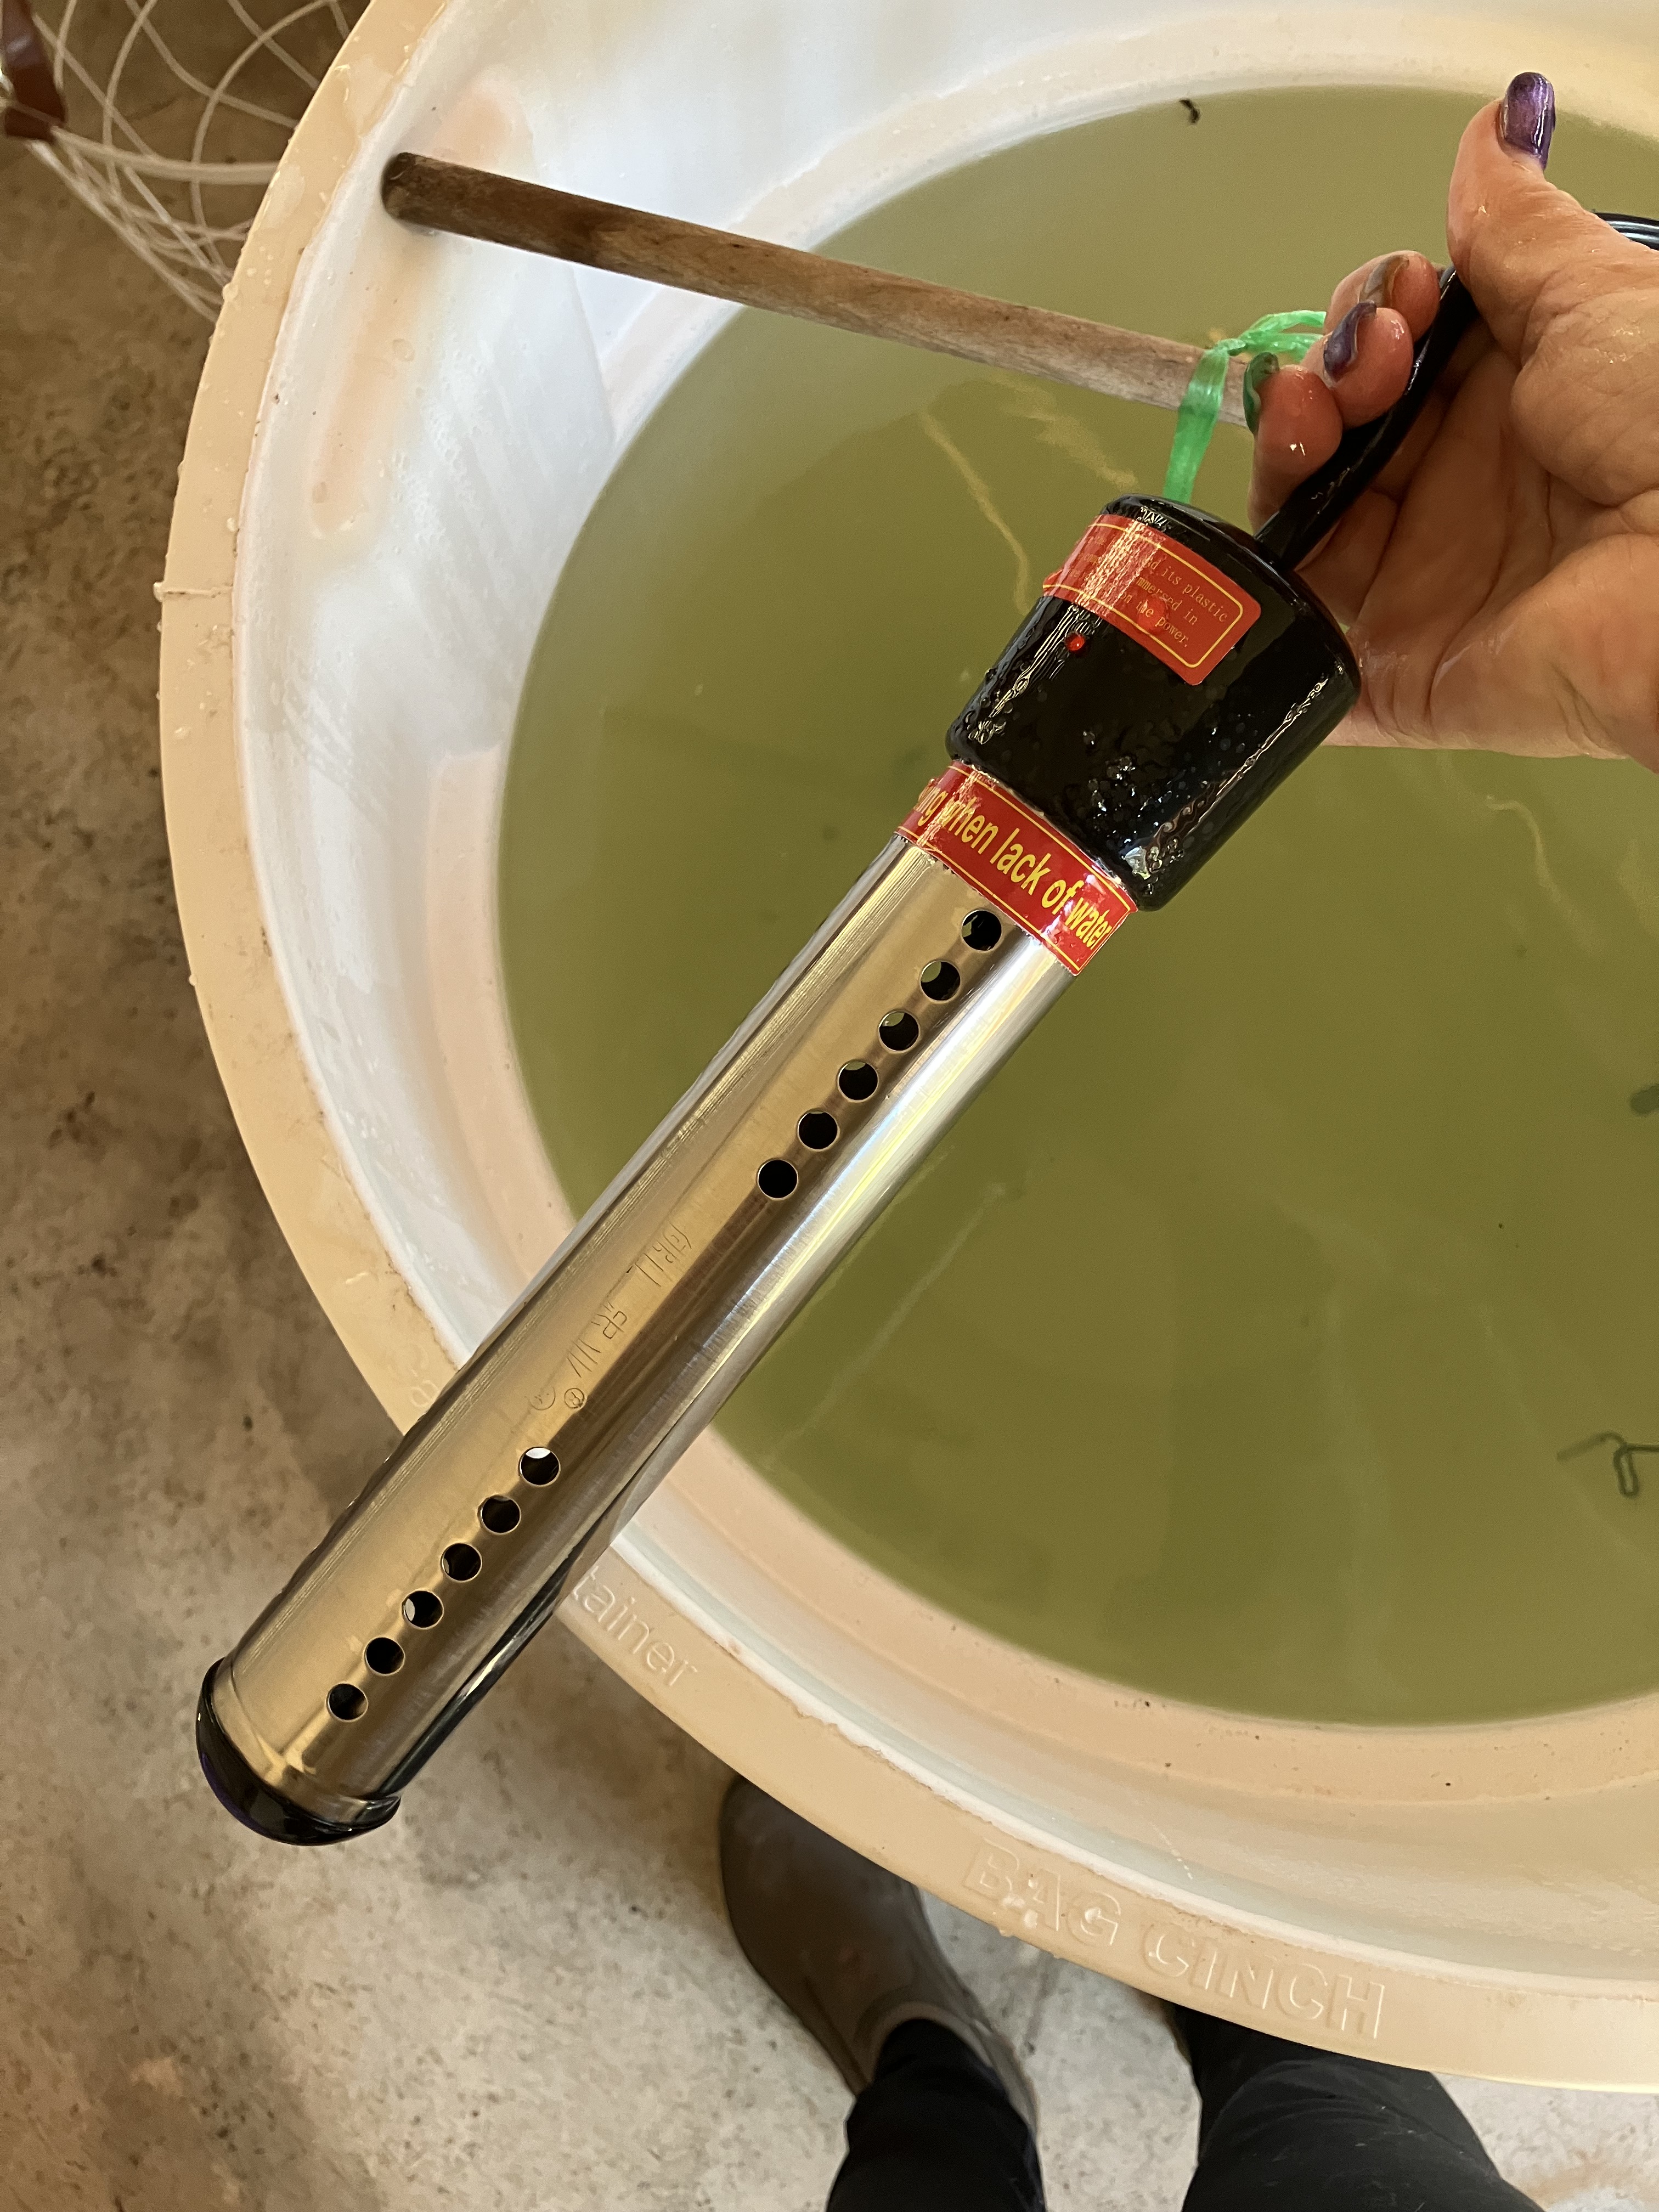
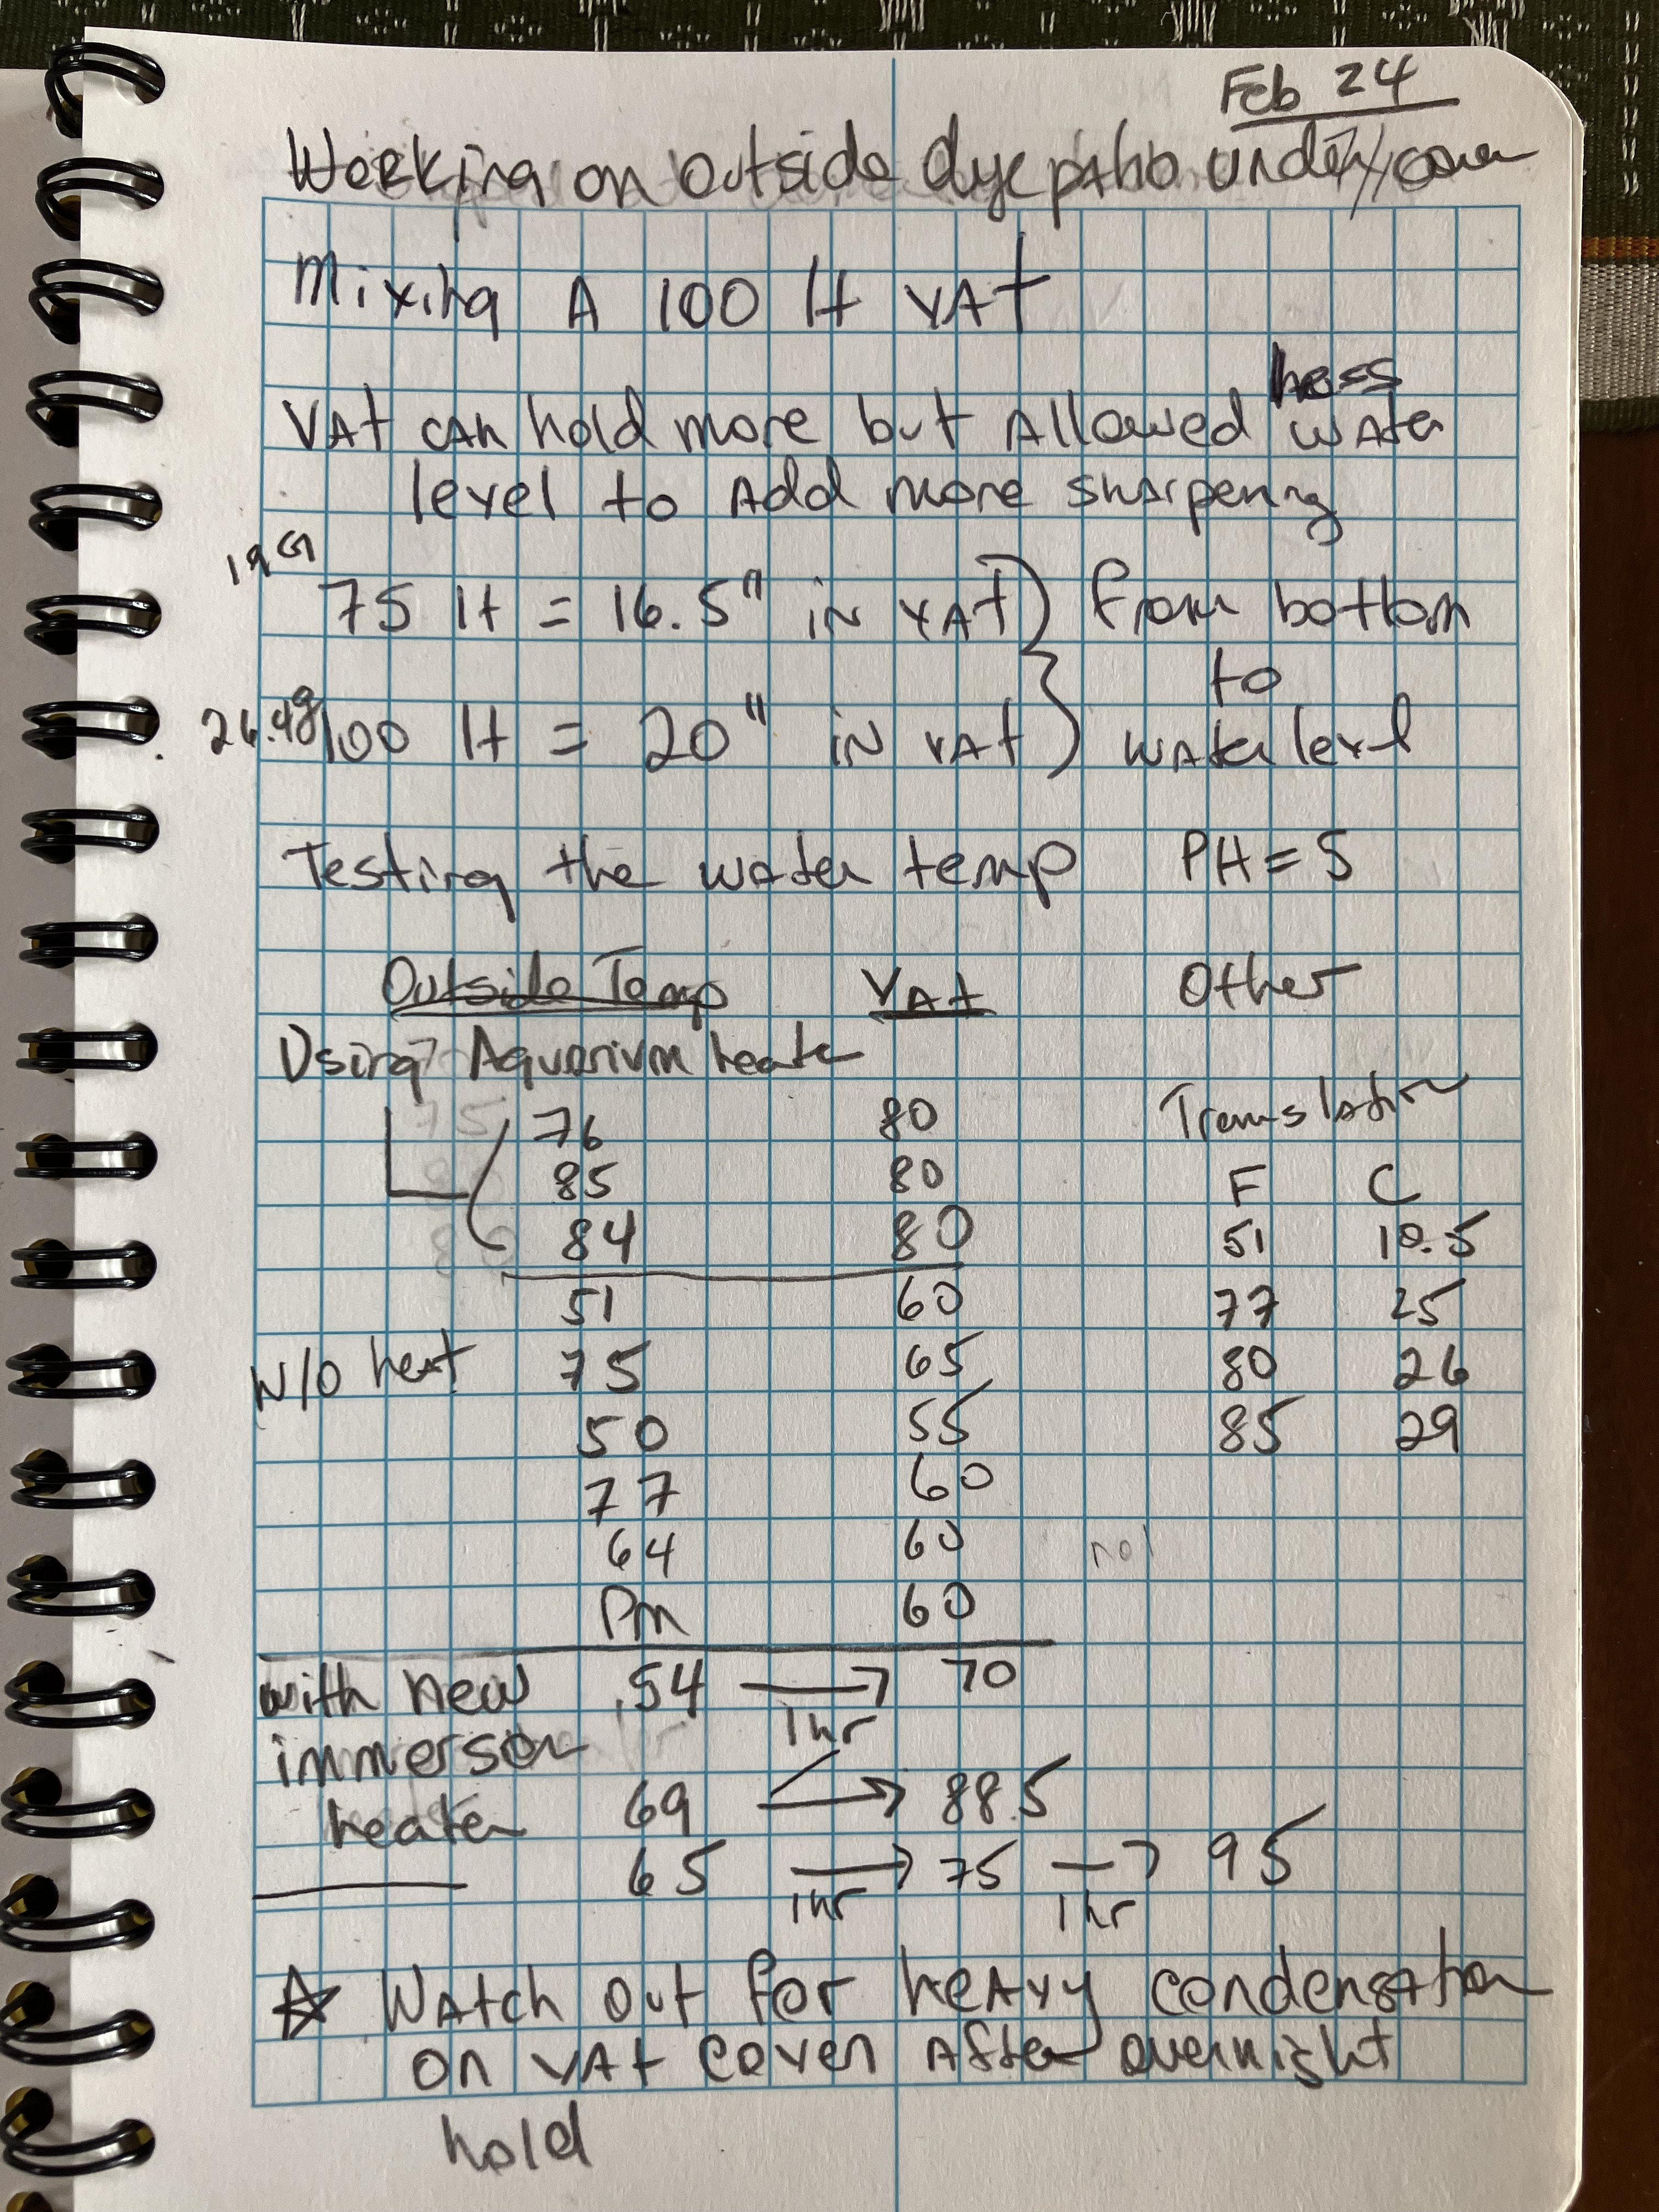
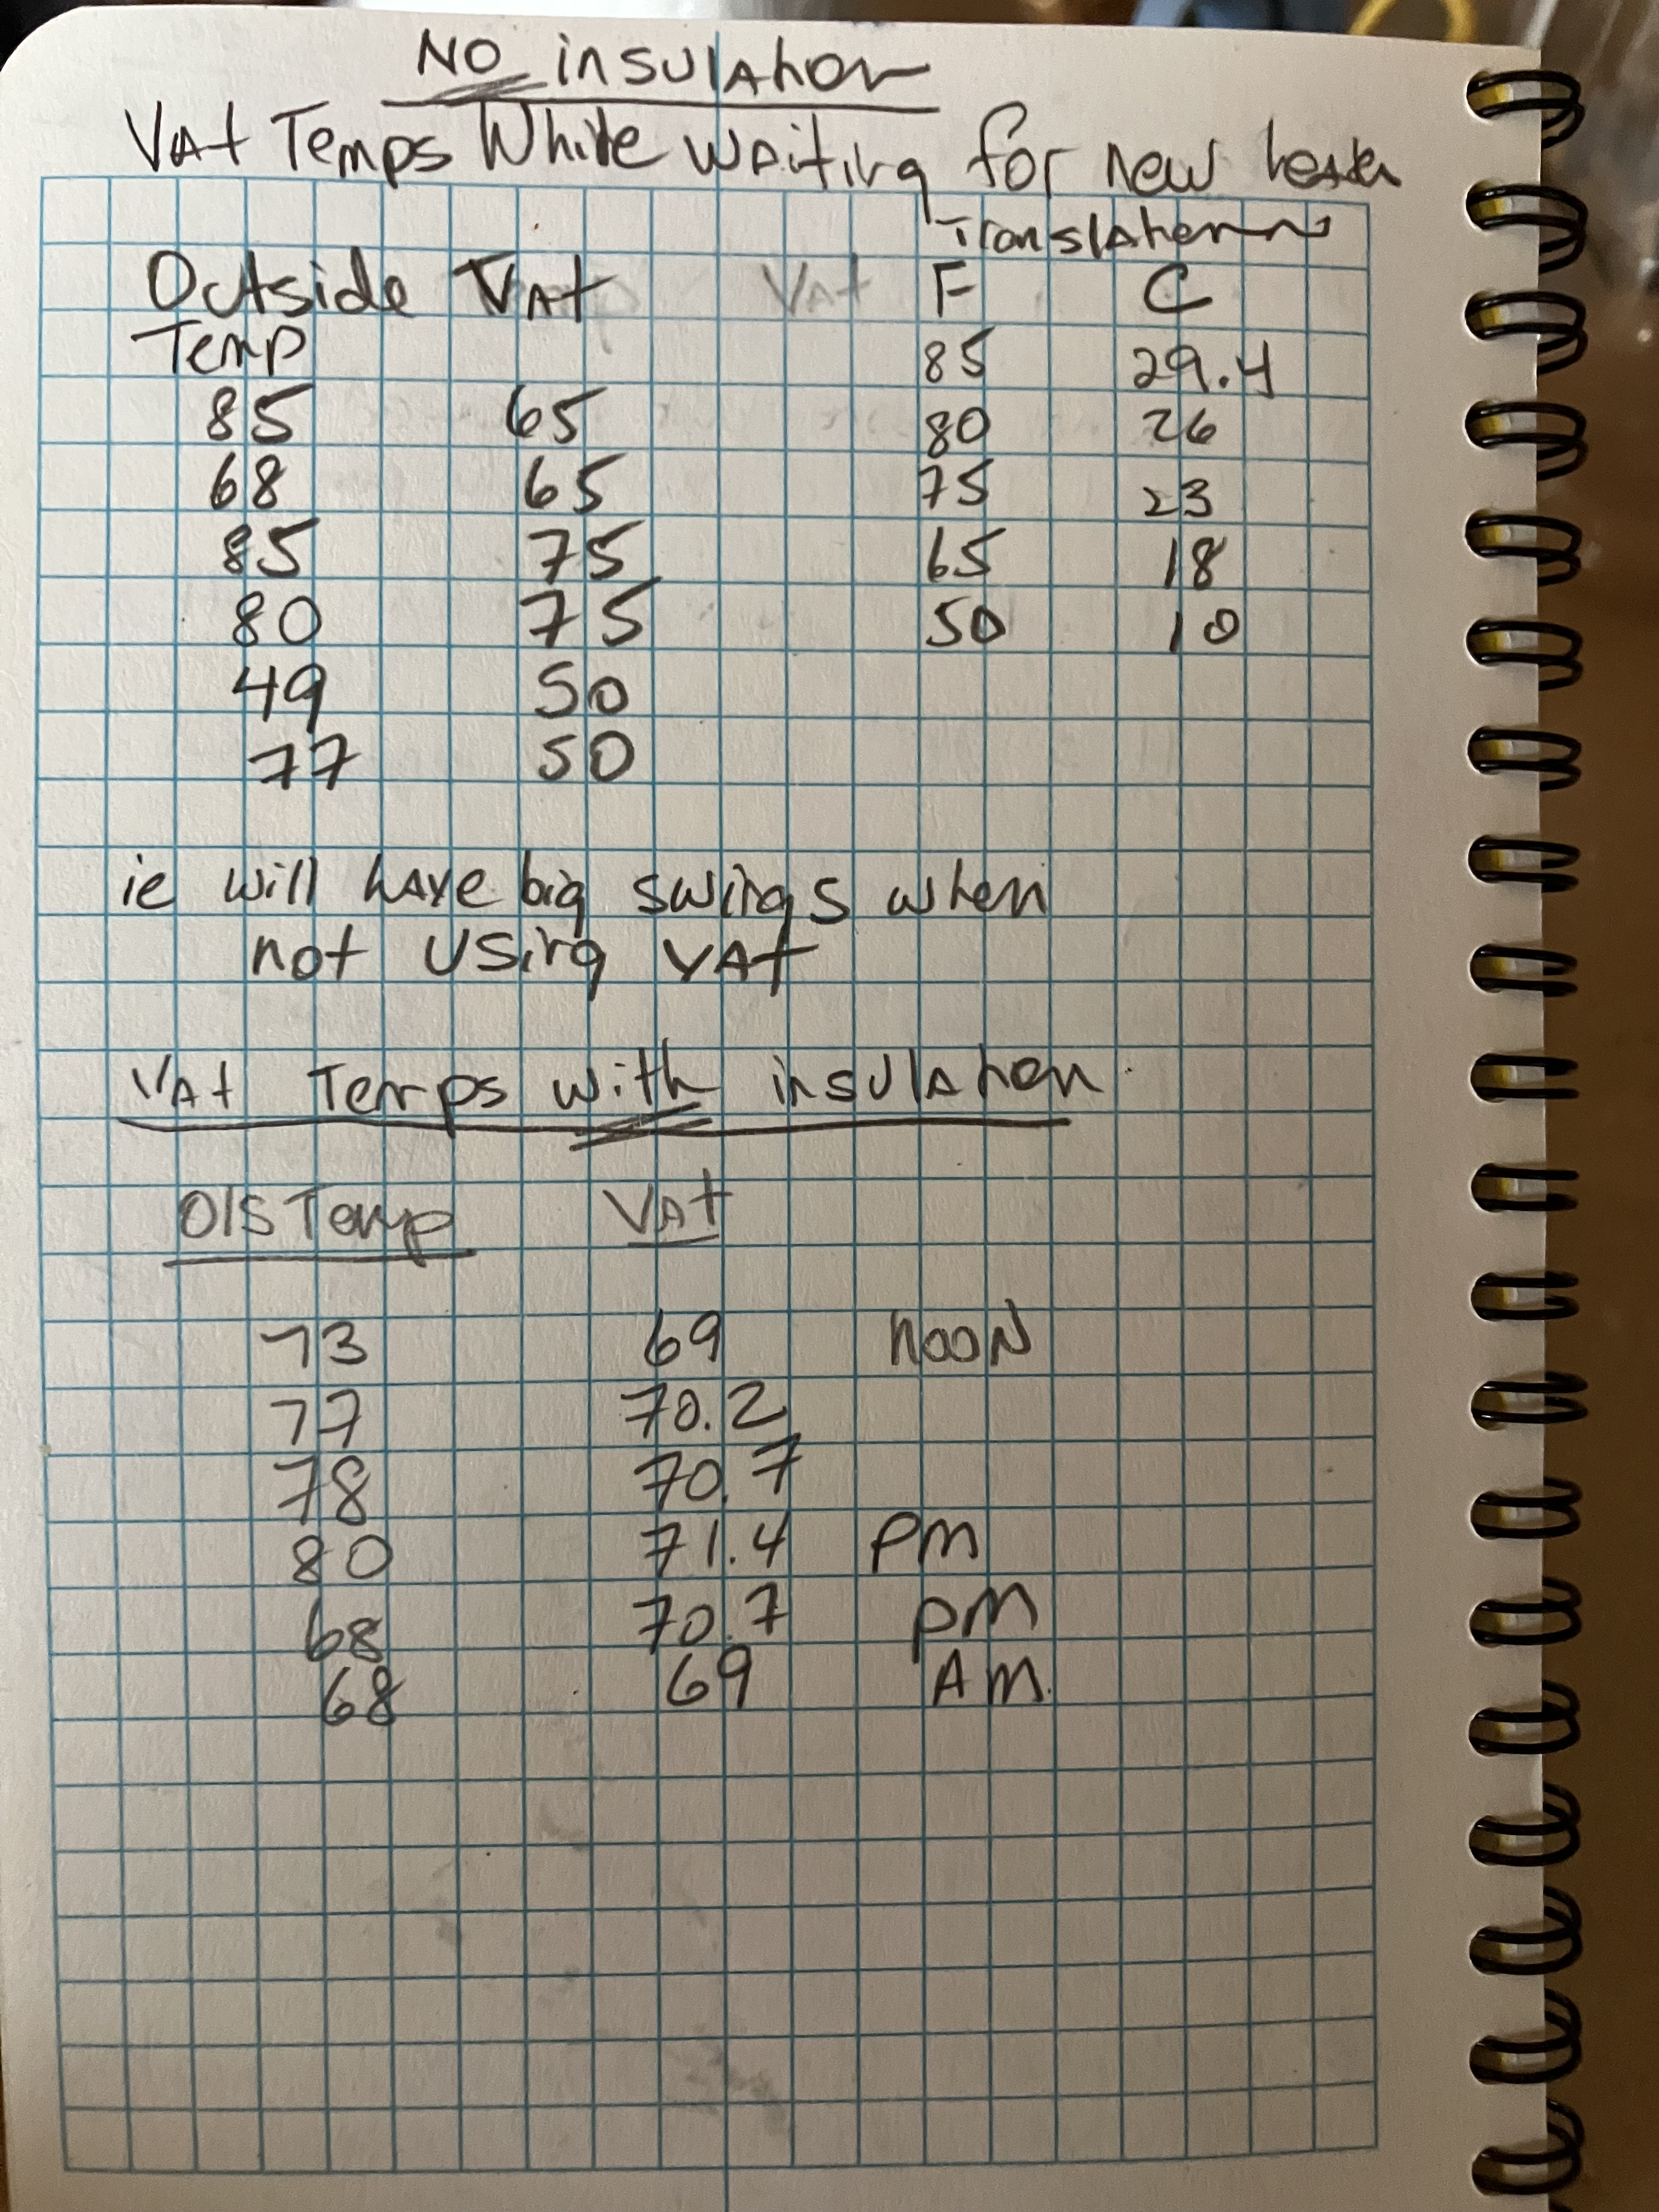
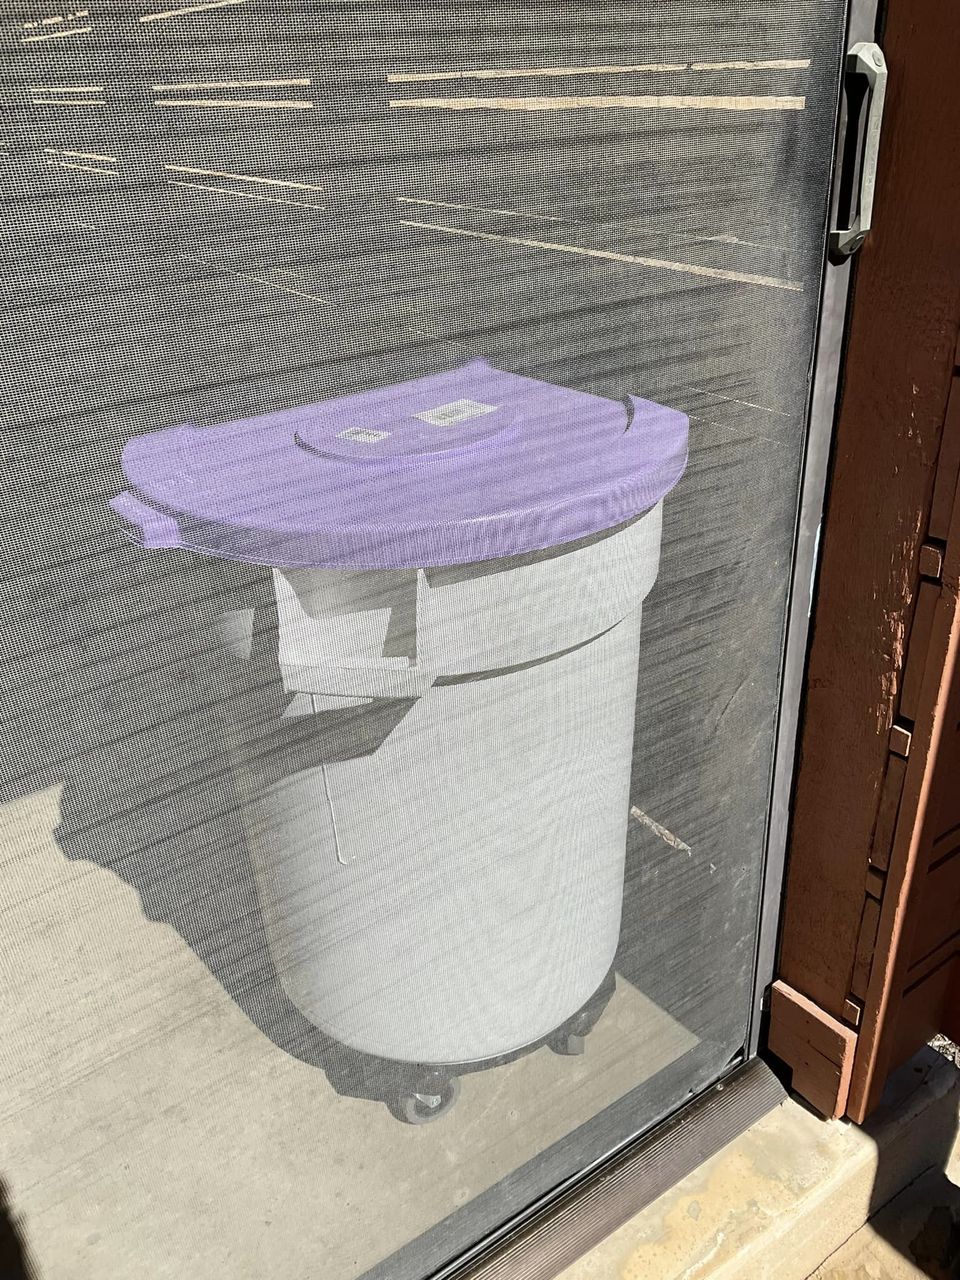
Now I heat & wait for reduction. My sticks that support my heater are sitting on the handle indents within the bucket. No holes were made. I suppose holes would be safer.  To me, if the sticks were left in place in the holes not much heat would escape. More importantly, I would be concerned with disturbing the structural integrity of the bucket sides by putting holes into the plastic. I am leaning towards putting holes or screw eyes in sticks and hold sticks by tying the handle. Right now I am still developing a relationship with my vat configuration. I’ll improve later.

Ferrous vat moving water & pasting indigo

13 Mar


Monday was all about moving water, pasting indigo and prepping other ingredients. For me it is getting an idea of how many prep vessels one needs to dissolve everything properly.  Earlier this month I tested temperatures on my outside dye patio in my new 100 liter vat with and without heat. I captured the temperature range info for future reference.

The vat is shaded from sun so I wanted to get an idea of the temperature range here in very early spring in the Texas Hill country. I measured the initial 100 liters to measure and see water depth for the proper water volume.  Plus to see if I had any vessel leaks. Now time to move water and prep the ingredients to mix. 

Now time to move water and prep the ingredients to mix. My husband and a good friend decided I needed a hoist to lift heavy loads a couple of years back.  I thank them mentally every time I use it to avoid stressing old back & arm surgeries. This time I combined using the hoist with my sump pump and quickly moved water out of the vat into various containers to start dissolving ingredients.  

Next I  pasted my indigo, a technique taught by Aboubakar Fofar at a master’s class at Botanical Colors.  Think pudding consistency, you paste your indigo to the consistency of pudding, smoothly suspending your pigment in water. I had been working on breaking down washed pigment to powder from my large fructose vat. This pigment has hardened over the winter after vinegar washing to remove excess calcium carbonate. I had to spend some quality time with my mortar and pestle grinding the indigo to powder.

Setting that paste aside I measured out my ferrous sulfate (iron) to see the quantity involved for start up and measured out additional iron for sharpening the vat further down the timeline. I usually don’t use iron in such a large amount so had no sense of the volume. It will be interesting to see how it dissolves. 

My calcium hydroxide is in the tidy package of Ms Wages pickling lime and doesn’t need additional processing. 

So bearing in mind I am working with a target volume of 100 liters I have my water set aside, the ingredients measured out and am ready to put it all together.

Heating and Loading the Ferrous (Iron) Vat

8 Mar

Continuing on lessons learned from Elisabeth Viguie-Culshaw on building an iron vat I am looking for a way to heat my 26 gallon vat. My first try with my current aquarium heater was a bust due to its limiting heat at 80 degrees F. So I went back to researching and found a bucket immersion heater with the proper heat range. The first one arrived with an in box warning of “do not use in iron container”. This was not on the web page when initially ordered. Since this is an iron vat, I decided to return it and reload and try again. The 2nd immersion heater arrived with no such warning. This one heats beautifully.

While I was waiting for the insulation to arrive I kept track of the air and water temps. My past solar fructose vat was only operated at 90 degrees F + so I was unfamiliar with my lower temp and its impact one my vat’s water sitting under shelter. Below are my log sheets for info.

All is in place, now I just need a block of time to pull together the ingredients. I’ve set out my pots to heat water to dissolve everything and will proceed with putting all the good stuff in the vat.

Trying a 100 liter iron vat

7 Mar

I decided with our drought and 105 degree extended string of days in the Texas Hill country I would try a smaller vat under shelter. Familiar with a fructose vat and its depth of shade I was ready to try an iron vat and explore its use and impact on our surrounding environment. We are on a well and septic system and in the middle of a rural area so I wanted to make sure I understood that type vat and had a way to dispose of waters safely. My current solar vat is 110 gallons. The new iron vat I am trying is 26 gallons, much smaller and hopefully will give better depths of shade faster than the fructose. I use rice paste resist, which does not hold up well to repeated dips in the fructose vats to get a deep shade of blue. Hopefully this iron vat will work better with the rice paste. Elisabeth Viguie-Culshaw opened up a workshop on making and maintaining an iron vat along with soya/lime paste resist instructions. I was traveling during the class but am finally settling down to “a go” on the vat and gathering supplies from what I learned from Elisabeth’s workshop.

Here is how I set out to set up this vat.

Phase 1, After finding the vat, I am testing for vat leaks & figuring out how to measure 100 liters of water easily. Measuring & marking buckets for easy 5 liter transfer. This vat is 1/4 the size of my 110 gal (416 liter) fructose vat. Due to extreme drought I am going smaller in water usage. It is on wheels so easy to push around. Before I add all the good stuff I’ll be testing my aquarium heater to ensure it will heat the vat to proper temperatures without harming the plastic. The ferrous vat is a cooler vat but still needs start up heat of 90° (30° C) to create a catalyst to kick start the indigo, ferrous (iron) & calcium hydroxide. But, I can work in the shade, not out in 105° F (41° C) heat. This container has an added benefit of wheels so I may move it around.

Phase 2 is grinding my washed indigo from the big vat. I shut it down due to past two years of extreme drought & 105° F (41°) temp and dried my rinsed indigo mud for storage. This means I have some indigo grinding to do. Getting closer to the “Big Mix” in the search for blue.

Shifting powder and lumps