Please note that this blog post is not to be used with any commercial ventures. If you sell dried indigo, please experiment and write your own instructions. Venders referring to this post have not asked permission to link to this post. This blog is not for their commercial use except for John Marshall’s great book, details below.
July 2018 Newsflash! JOHN Marshall has come out with a new release covering a variety of ways to use your Japanese Indigo. The process described below in my blog is covered in his book, here is a link to my review & where you order his book. Enjoy!
Original post…One of the frustrations of a small producer of indigo is the limited amount available to dye things blue at one time. Of course, one can buy dried indigo powder from India or South America, but when one has stepped firmly over the edge into growing your own Japanese Indigo you look beyond the obvious and want to work within your own garden boundaries. 
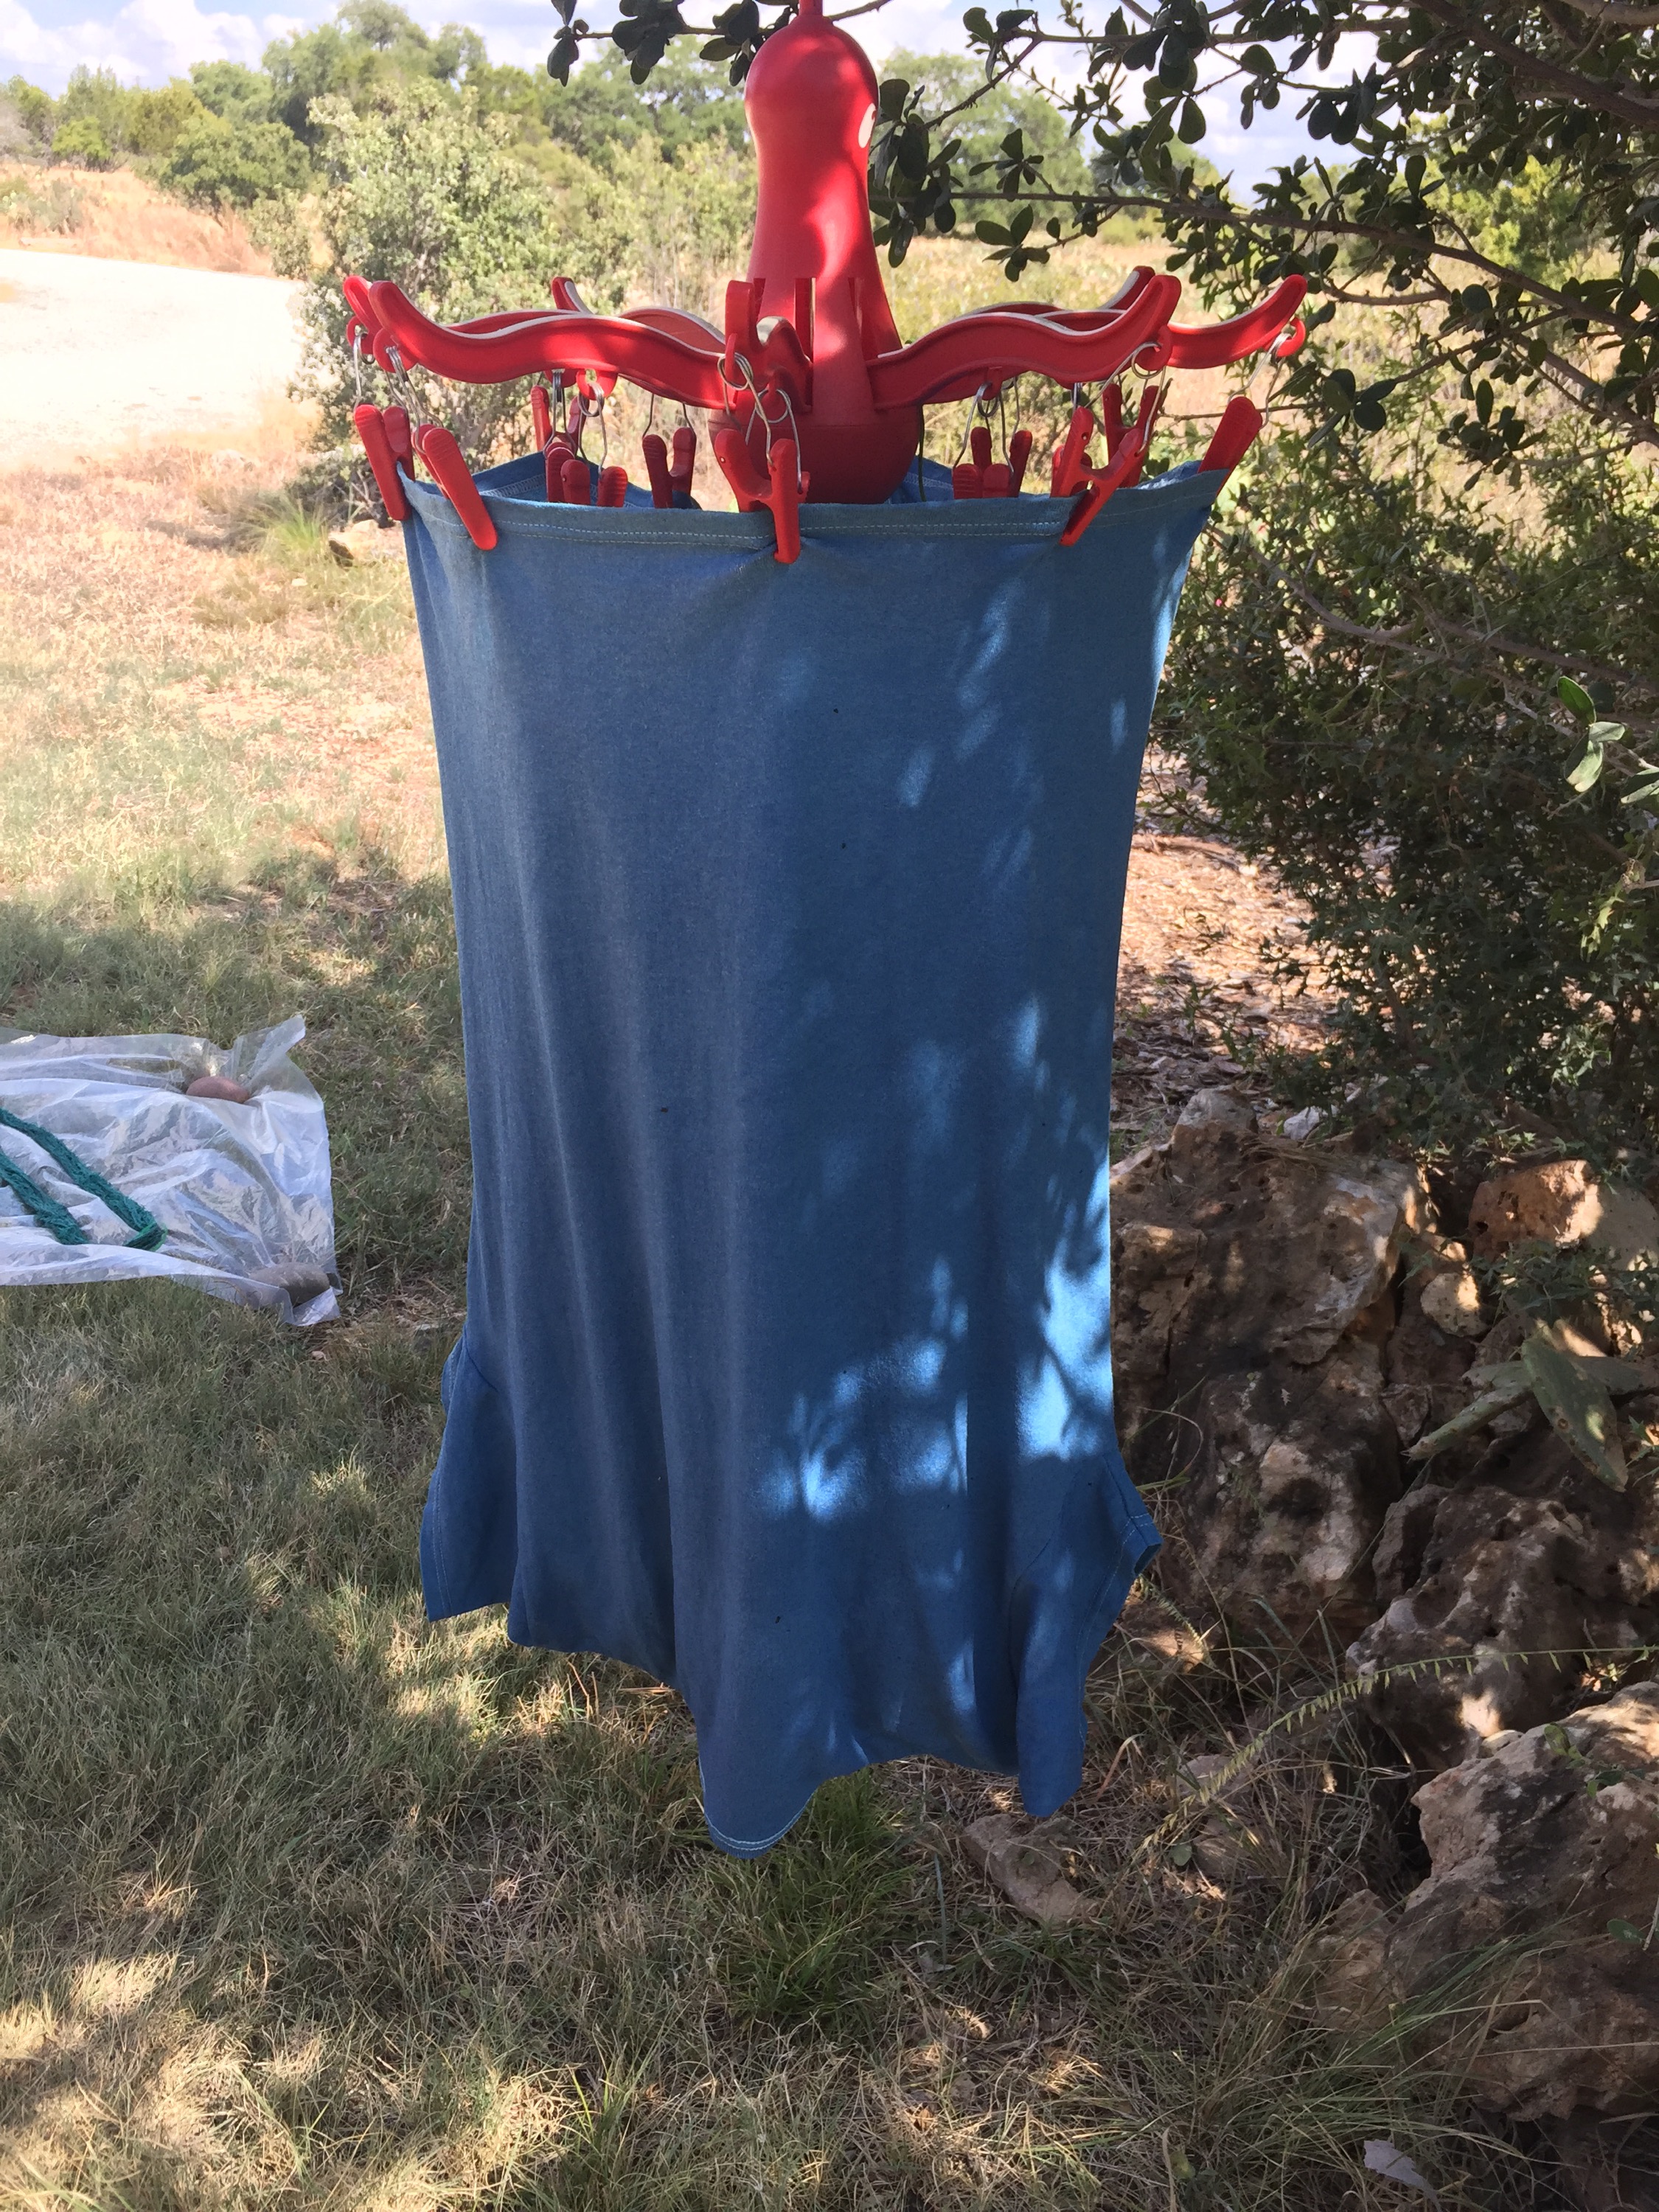
Drying my Japanese Indigo appears to be the solution for me. Below is a photo of my first experiment with 100 grams of dried indigo leaves after neutralizing with vinegar and washing with Orvis. Three articles (1 cotton and 2 silk) were dipped twice each for 5 minutes. The extra skein on the lower left is a blender fresh Japanese Indigo skein left overnight in a fresh batch and is provided just as an example of the different color way you get with another method using your Japanese Indigo.  Consider the fact that I can and will run another batch of dried indigo and continue to dip these items to continue to darken their color. This first test batch I stuck close to John Marshall’s recipe (c-Background below) and kept track of measurements. For those who like #’s, here you go:
- The cotton t-shirt weighed 150 grams
- The scarf weighed 25 grams
- The silk skein weighed in at 48 grams
- Total of 223 grams for total substrate dyed
So the ratio is 100:223 or 1 part dried indigo to about 2 parts substrate. Impressed with the color obtain at that ratio? I am.
This means I can harvest and dry my indigo over the growing season and have my indigo on hand when I have time to enjoy the dye pot process. With the violent weather and winds that we can have in the Texas Hill country it is very attractive to be able to harvest and dry part of your harvest and protect it from unpredictable climate.
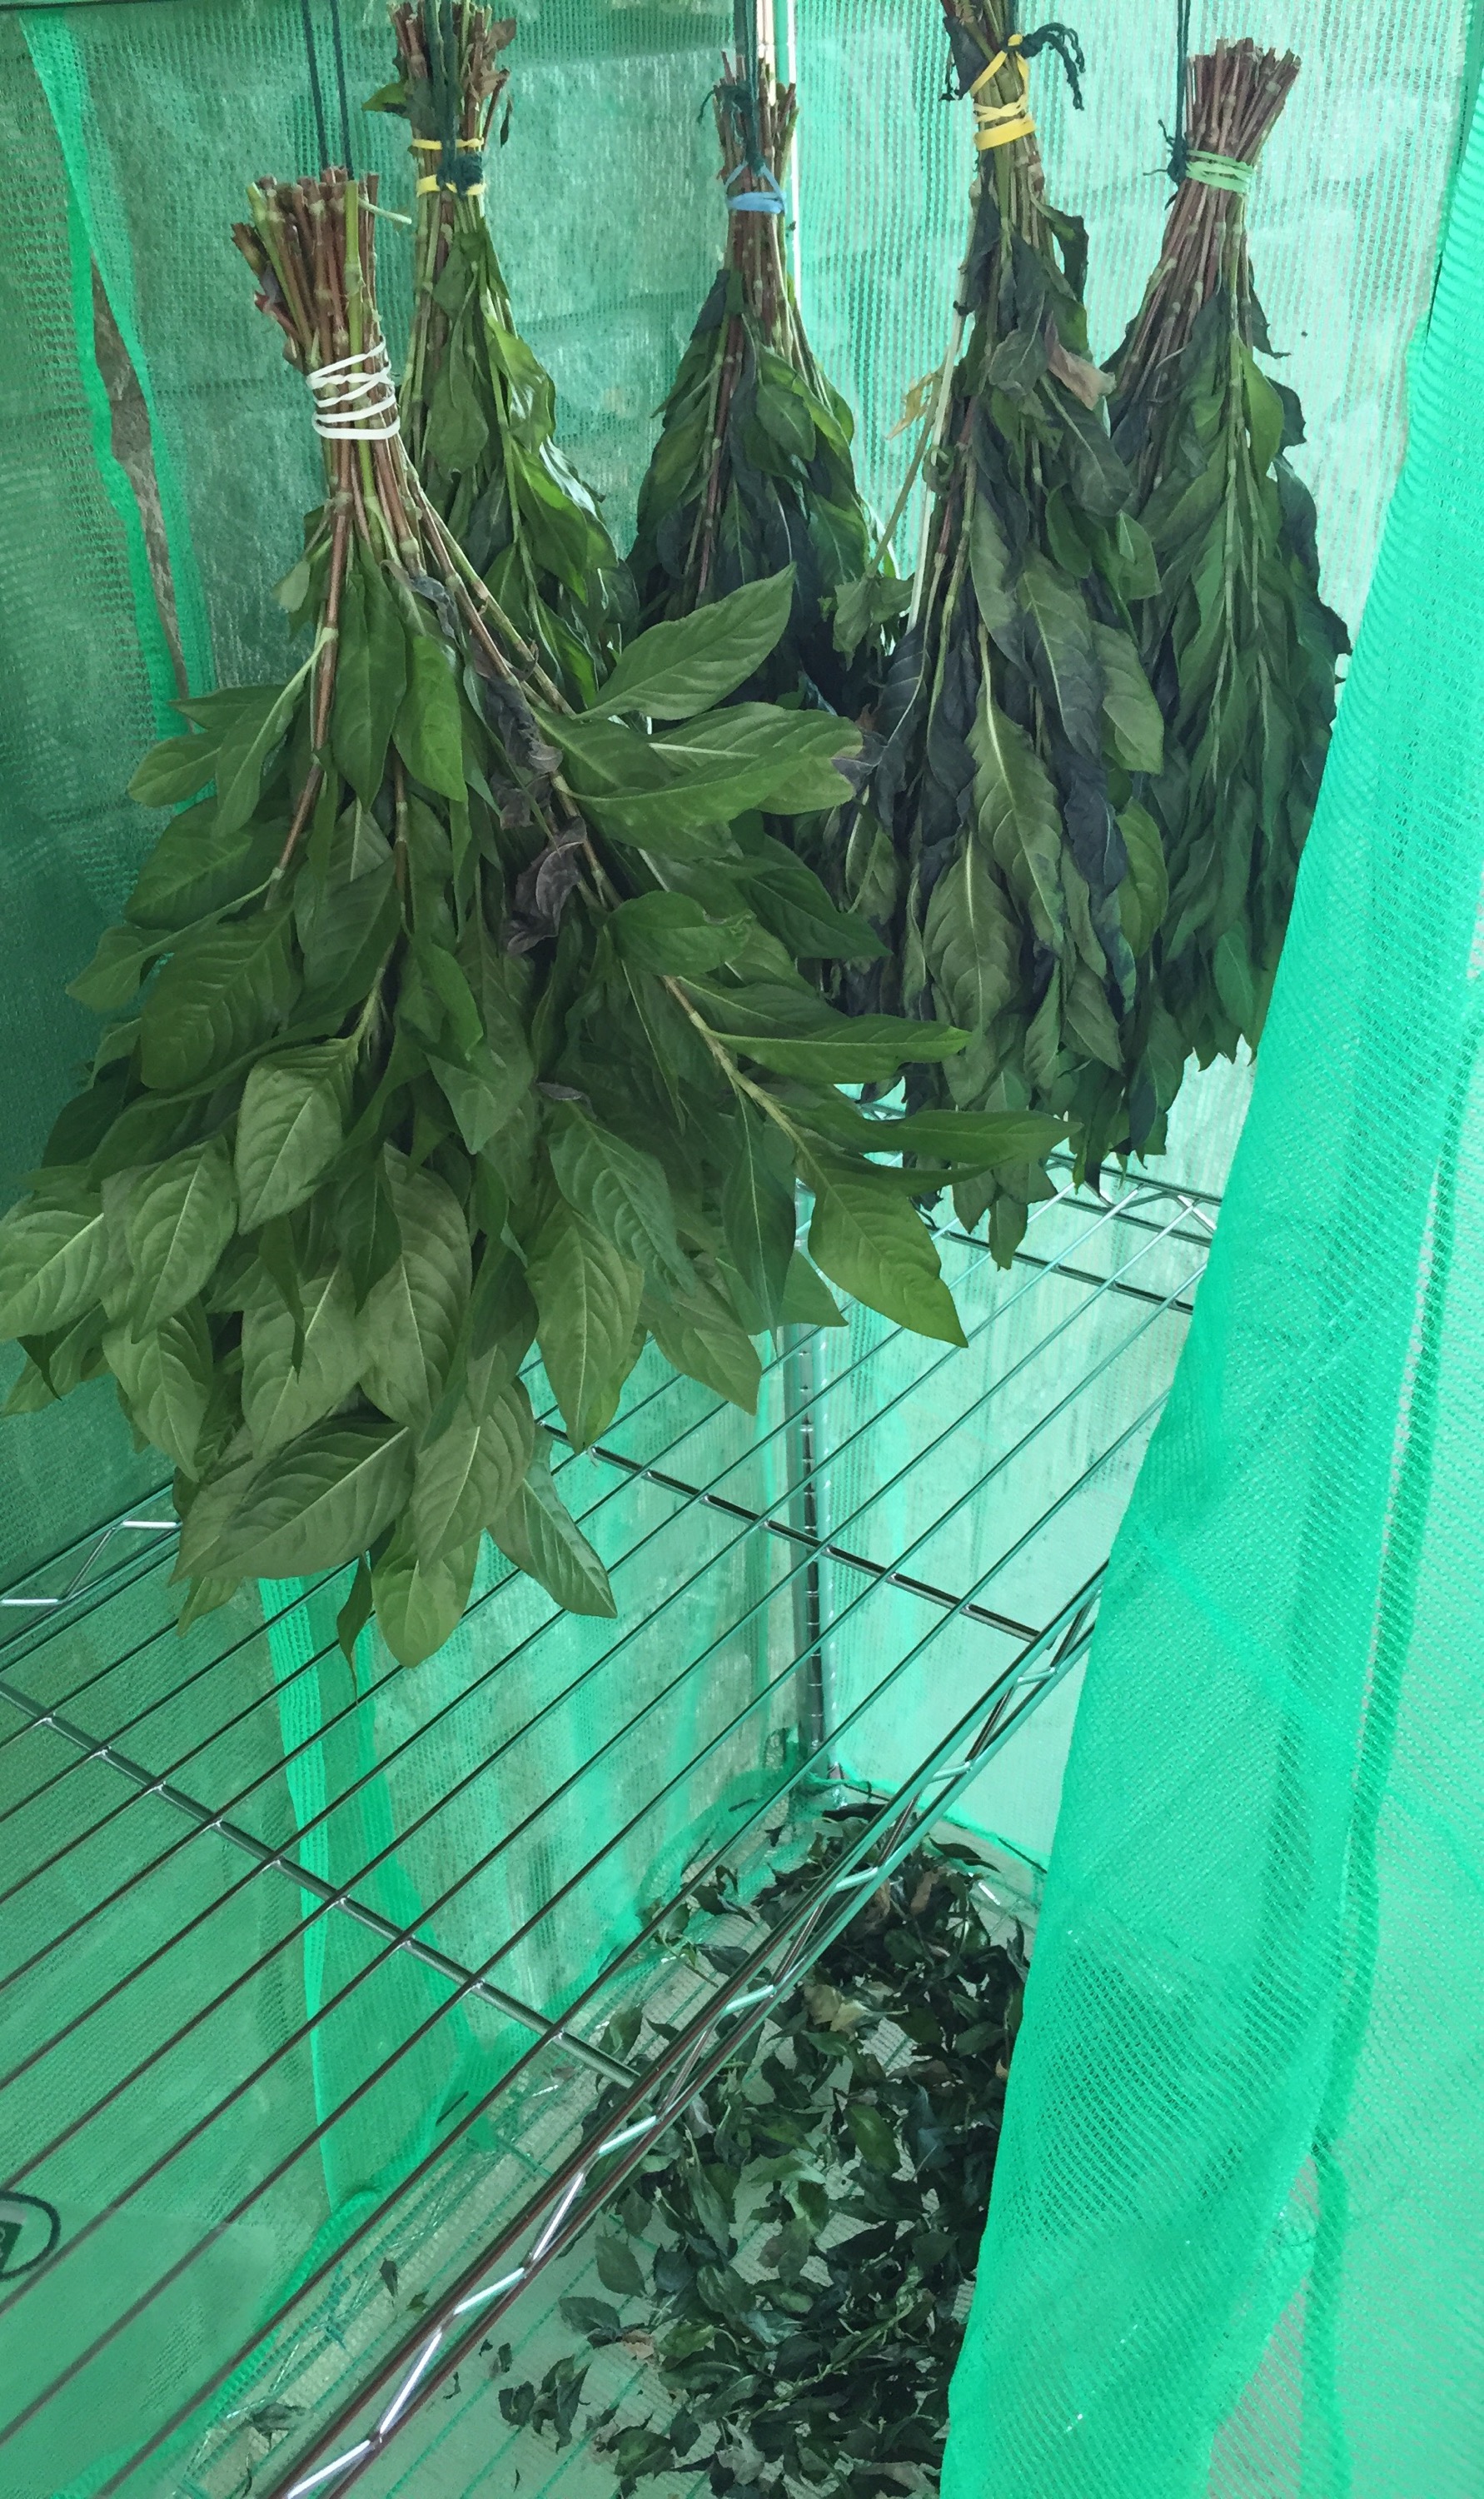
Some additional #’s for you, each of my indigo plants have at the beginning of their peak and thru their main growing season 10-12 stalks ready for cutting with an undergrowth of new plants coming up. Remember I am located in Central Texas and irrigate my plants with well water heavy in calcium. Other geographical locations will have different growing conditions. Go ahead, run out and count your plant stalks. I’ll wait! Put in the comments where you are located and what # of stalks your plant is putting out. 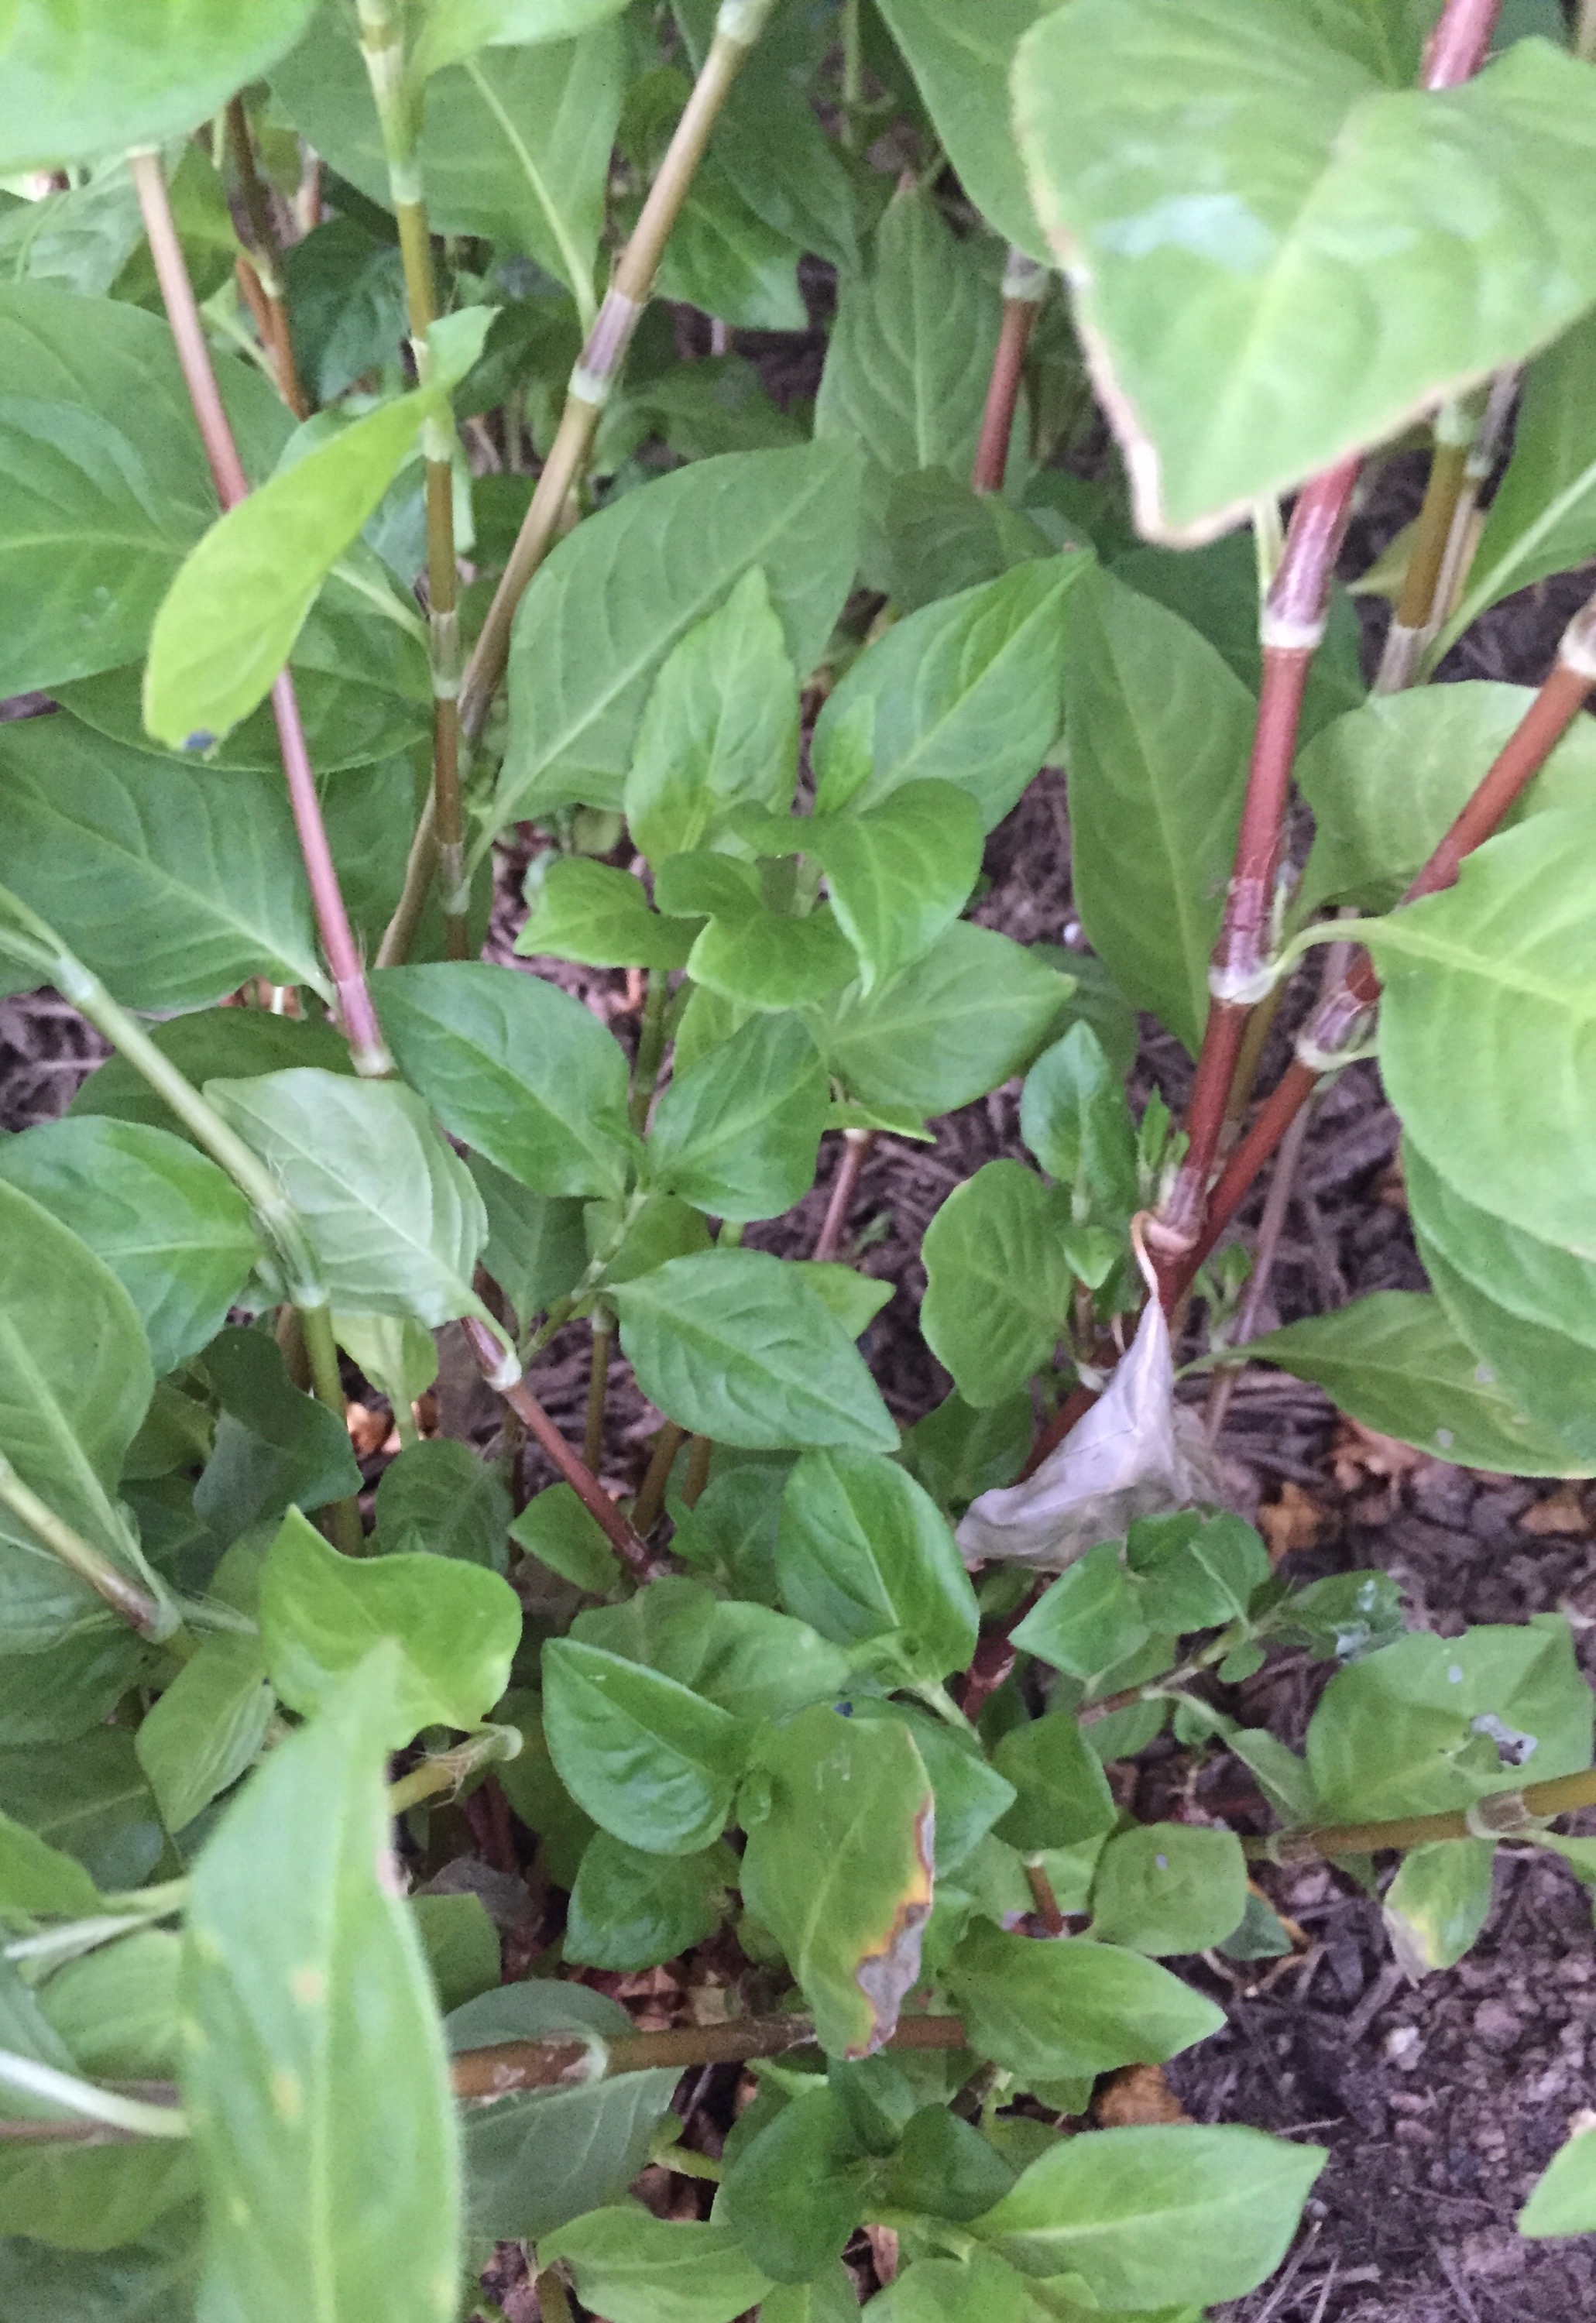 I go thru my Japanese Indigo bed and pick the plant stalks without blossoms for my drying bundles. My bundles usually hold 20-24 stalks for drying. Below are photos of my drying method. I secure my bundles to protect them from the birds and bugs AND the wind. I don’t want an unexpected gust to send my leaves somewhere I cannot retrieve them.
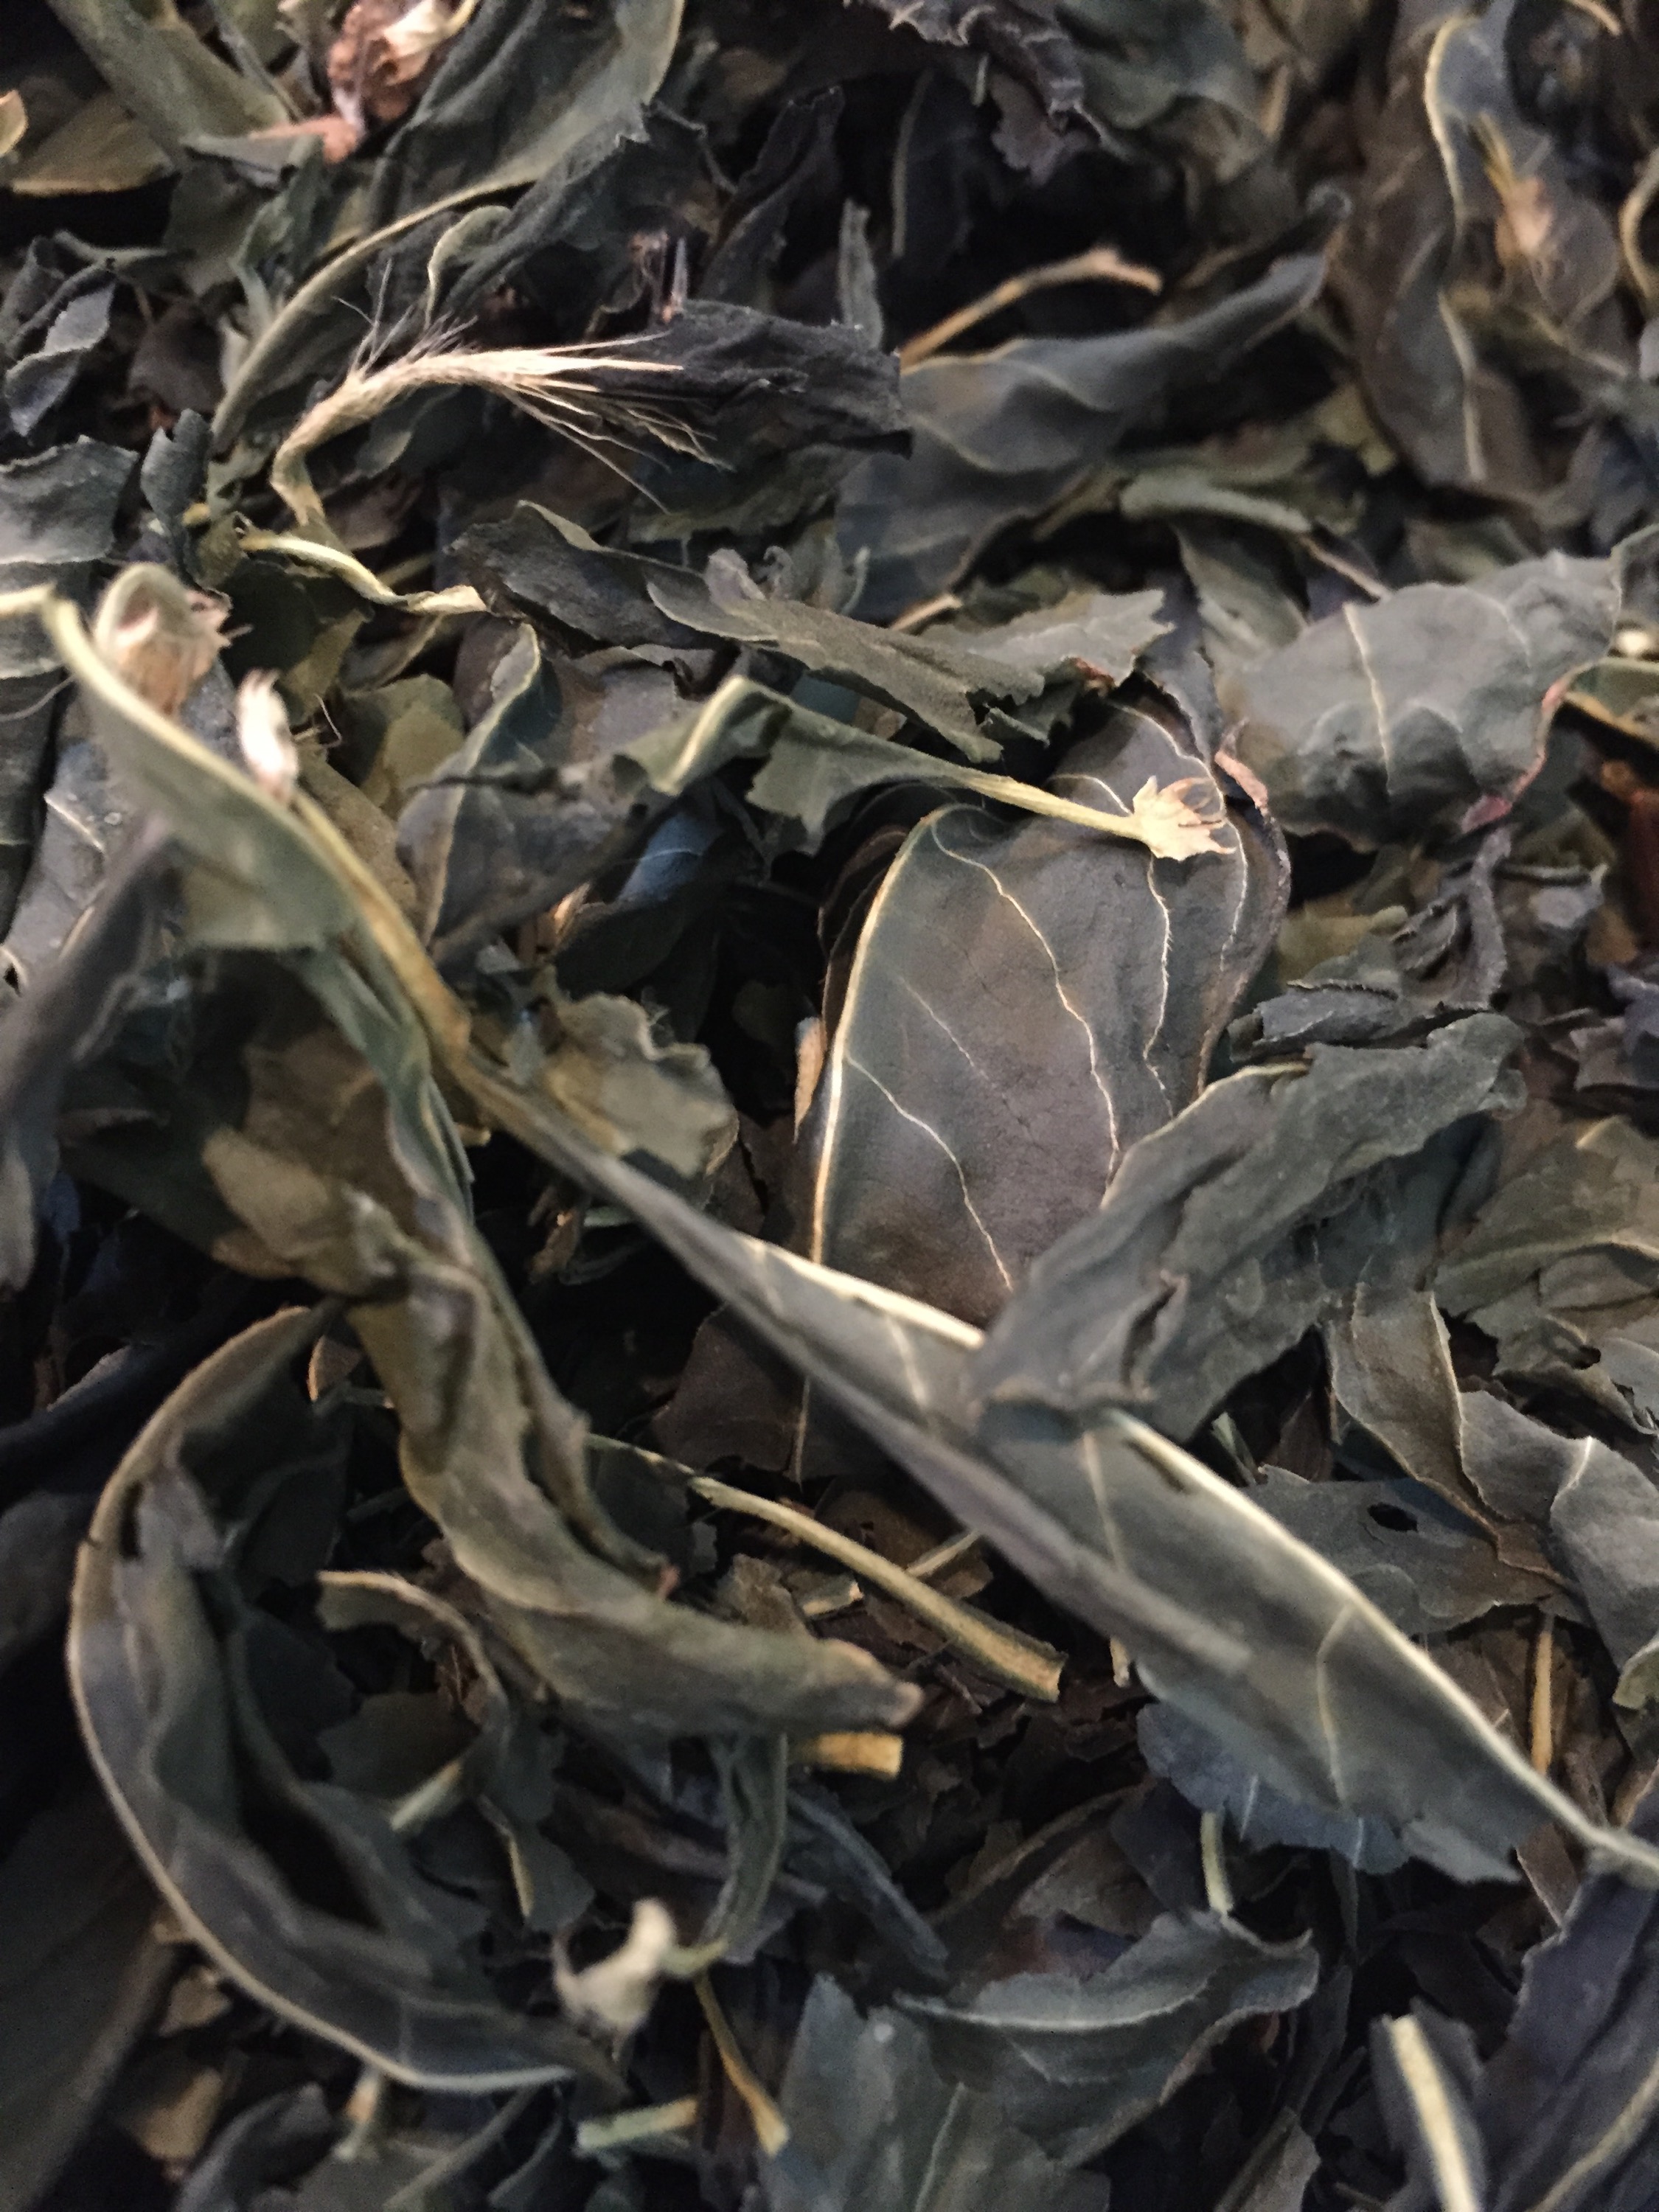
 After about three days in my Texas heat the stalks have dried down enough for me to strip them off the stalks and let them continue to dry.
In the interest of providing more #’s for those who want some guidelines here is more data:
- 6 bunches yielded 129 grams dried Japanese Indigo
- 4 bunches yielded 70 grams dried Japanese Indigo
- 2 bunches yielded 37 grams dried Japanese Indigo
As I type 5 more bunches are drying and now that our humidity has dropped after some much needed rain I will go out and continue to create more bunches for drying. 
 I know if you have read this far you are looking for the dried leaf recipe. My source is John Marshall’s limited edition Dyeing with Fresh-Leaf Japanese Indigo (link below in Background). Below is John’s recipe that I modified to use Soda Ash I had on hand rather than the Washing Soda called for in John’s recipe on page 16 of his book. I used the basic assumption that it takes 3 parts washing soda to equal 1 part Soda Ash. I am very grateful that John took the time to put his experience and the translation of different masters into a usable document for indigo dyers.
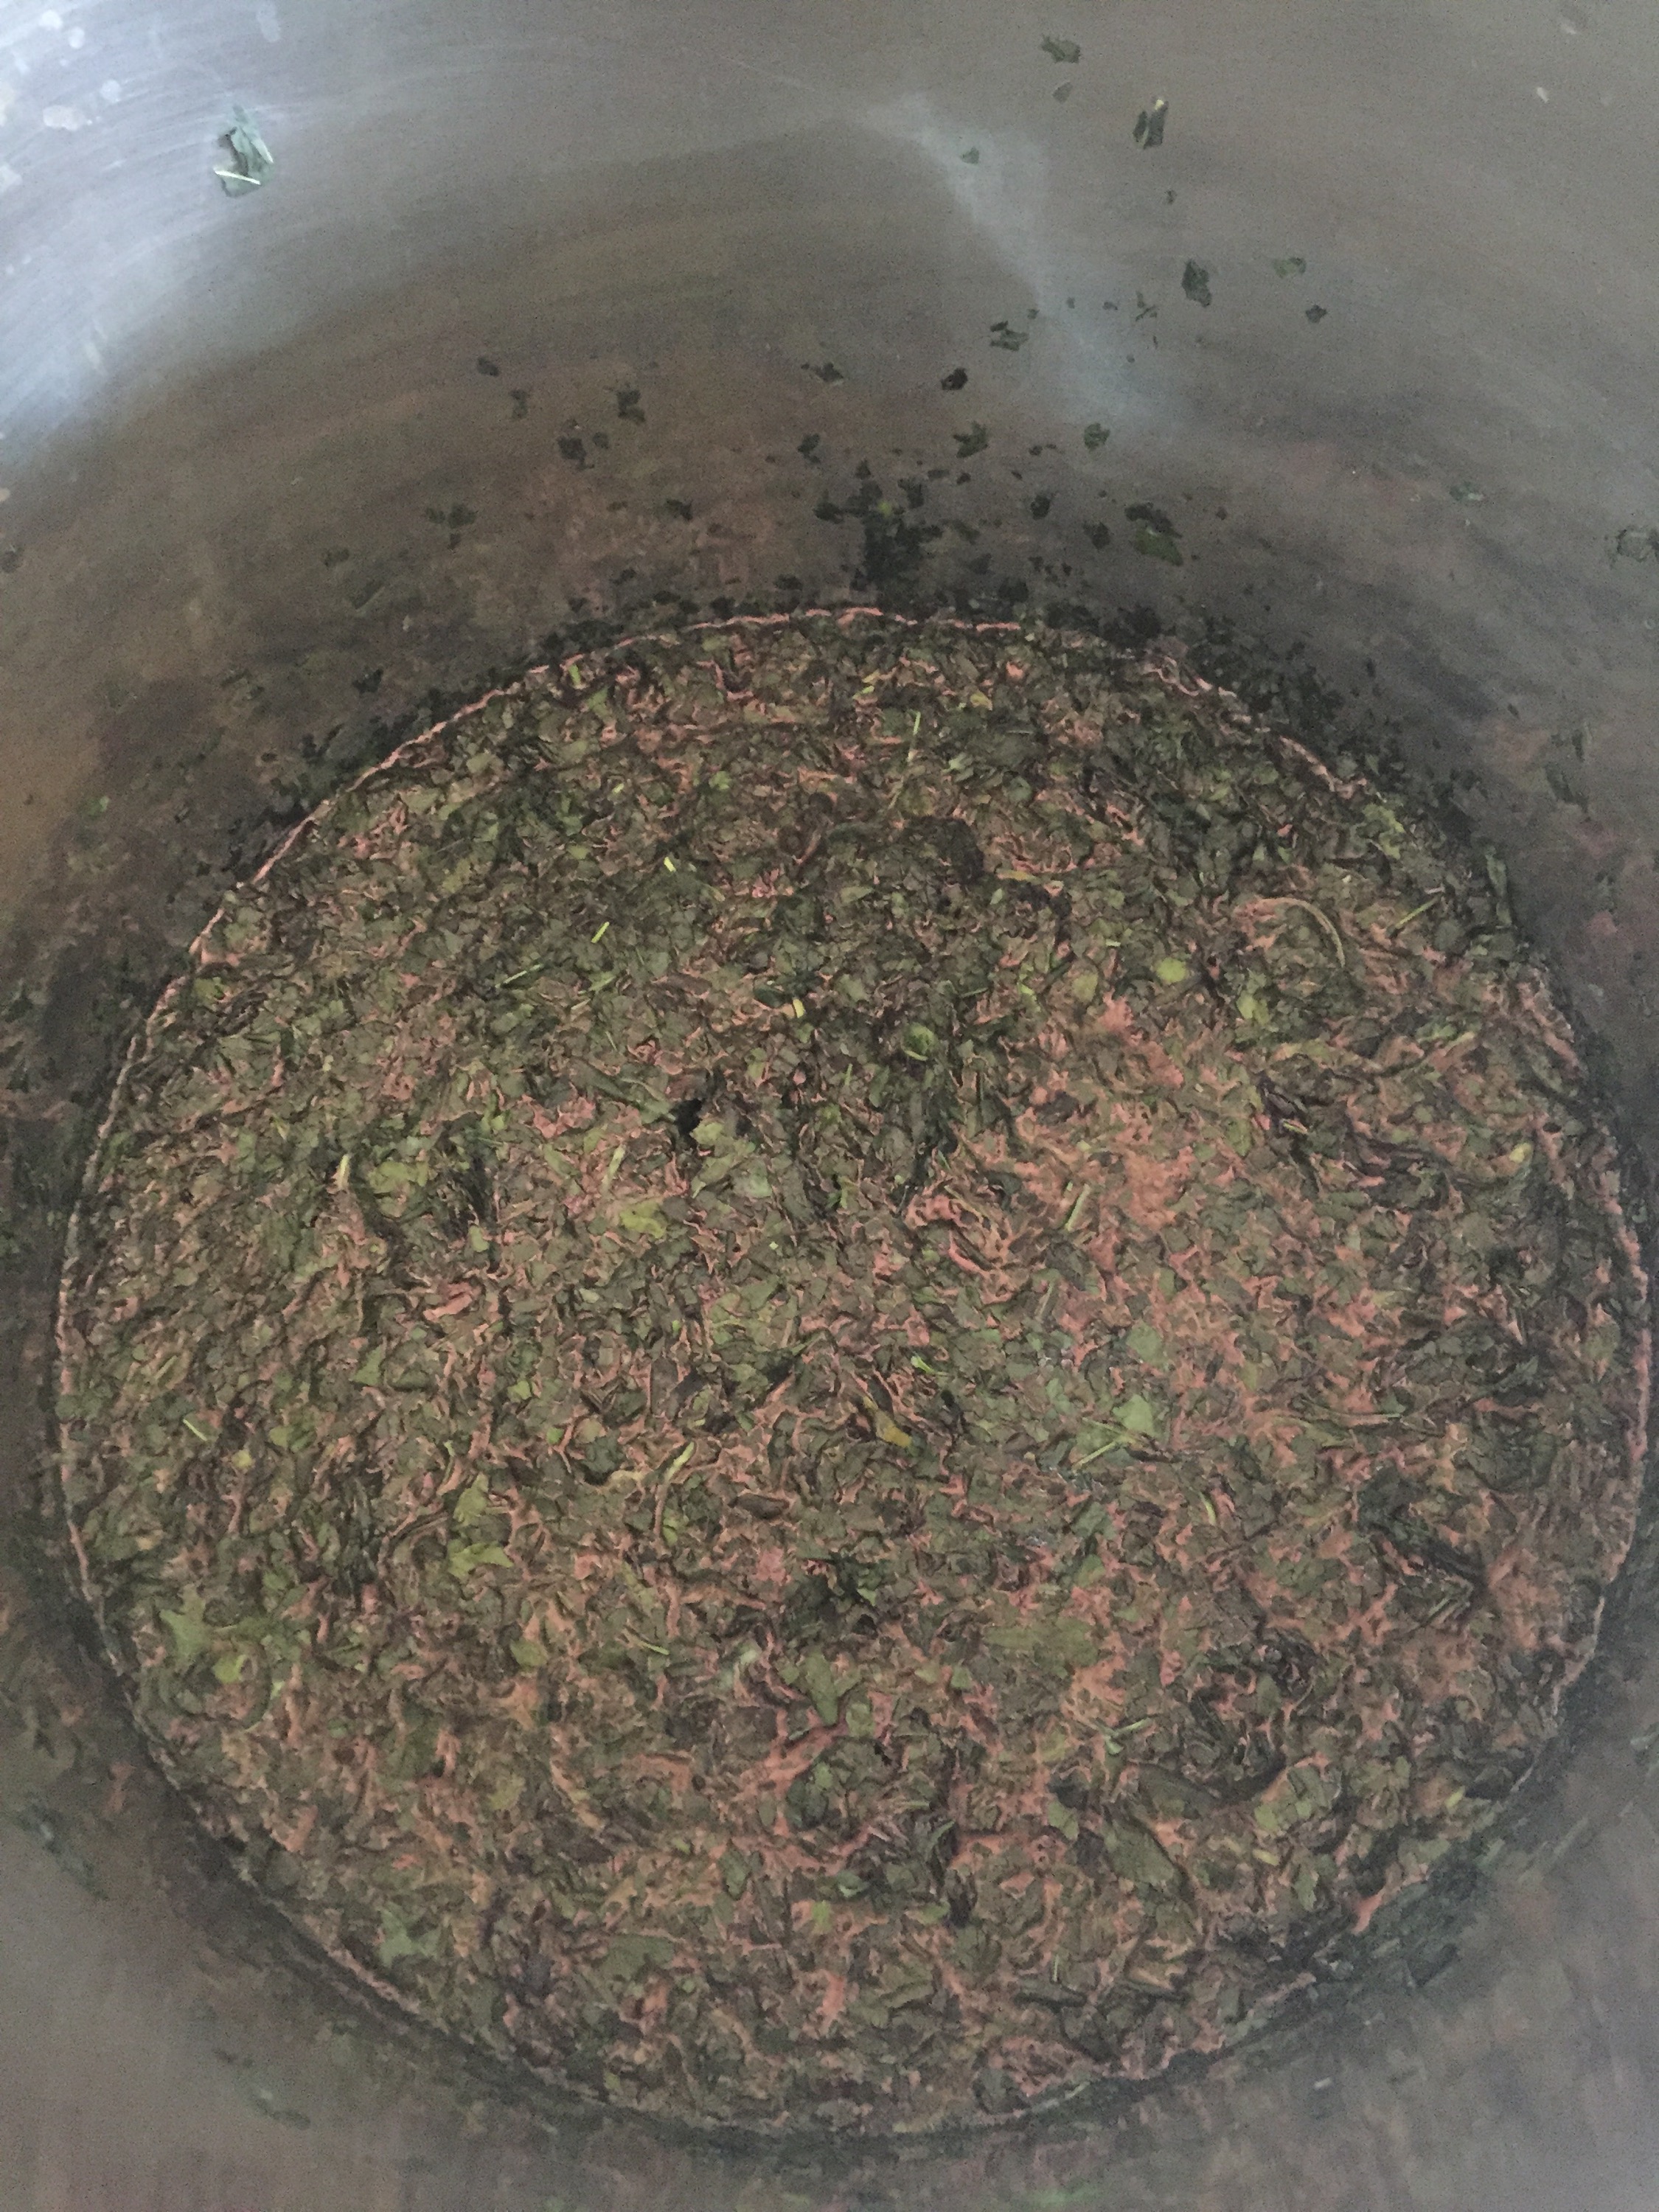
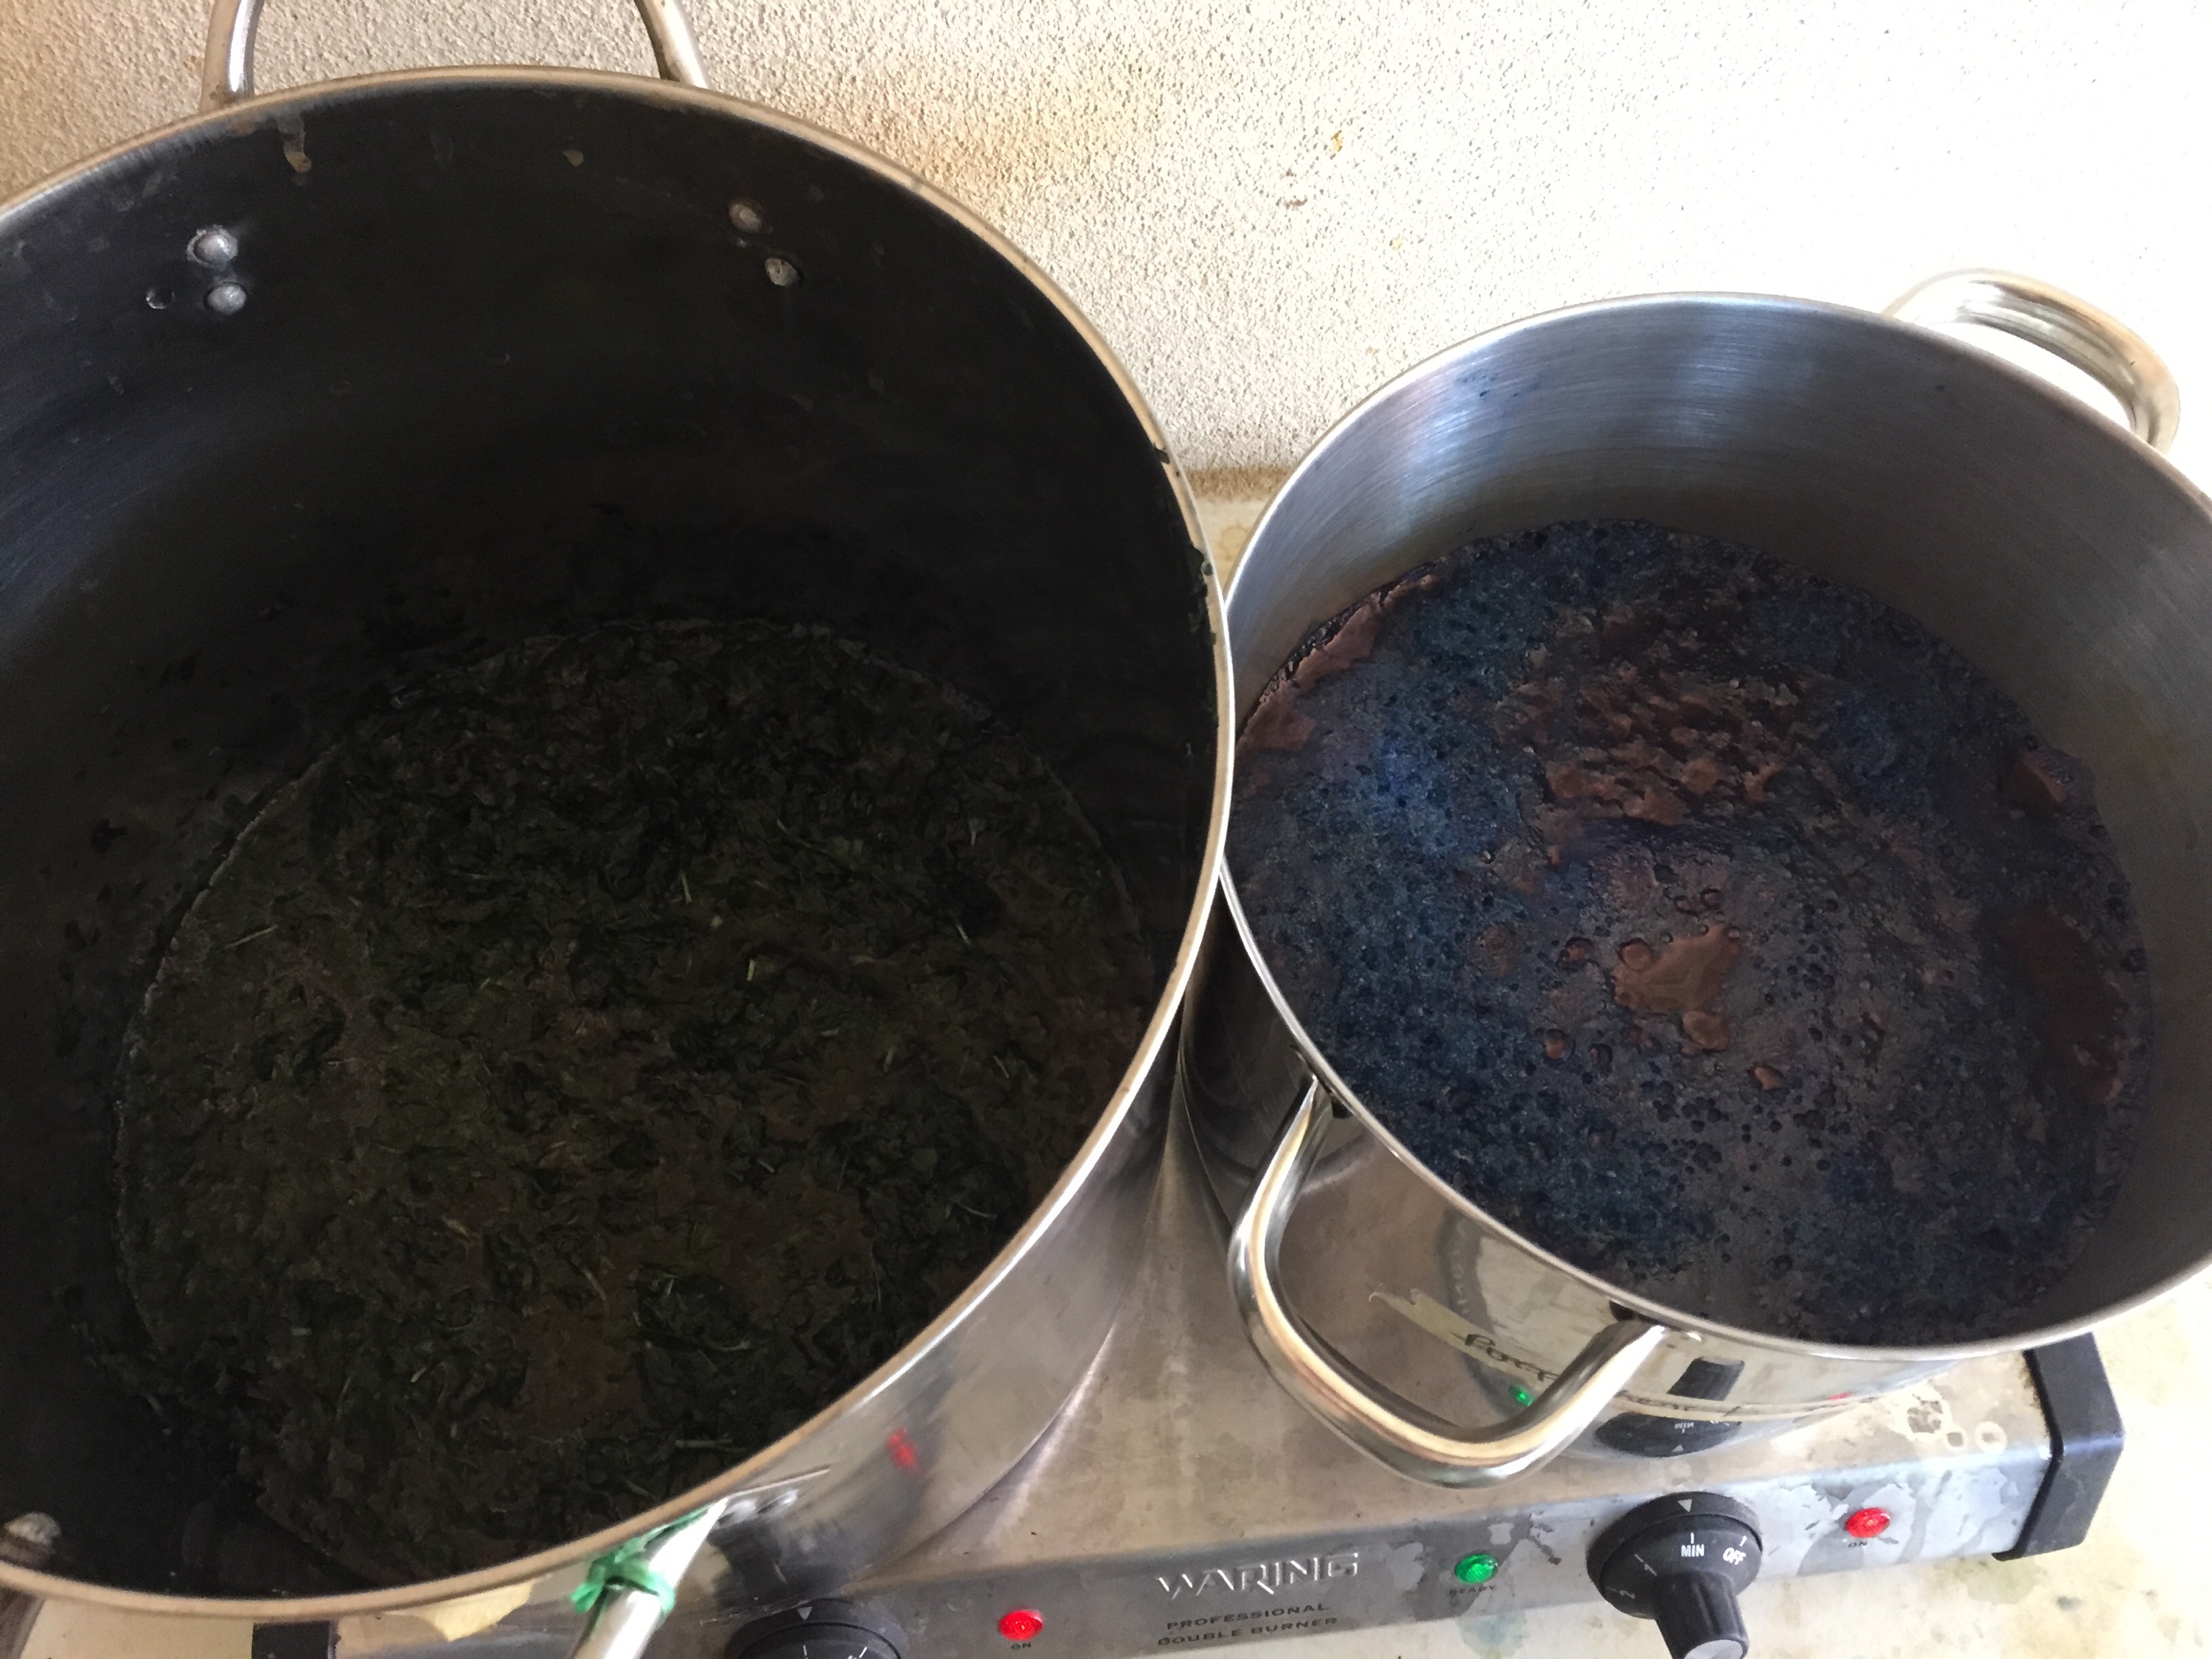
• You simmer the dried leaves for 20 minutes at a slow boil (honestly, I used an active simmer) and pour off the water. The water has a yellow tinge to it. That is the wash of components that will throw off your blue indigo. If you have ever used leftover blender JI leaves for a yellow dye, the water color is similar to that color. Discard the water. 
• After washing the leaves, I added 4 grams of soda ash and 6 grams of thiorea dioxide to 100 grams of dried indigo leaves in about 2 liters of water. I simmer almost to a boil and stirred as it heated. I did not boil. John says to boil. I could not bring myself to do so. I did not have my thermometer handy, the pot sang but I did not allow it to boil. It took about 20 minutes for first indigo glow to show on leaf and water surface.
• Strained the leaves and put the indigo solution into a separate pot.

- Went thru the process again but only added 2 grams of Soda Ash and 3 grams of thiorea dioxide to 2 liters of water and added my leaves back in, 20 minutes again.
- Stained the leaves and add the indigo solution into my holding pot.
- And repeated the 2 gram/3 gram step again, 20 minutes again. The indigo released was noticably less in the third extraction. The resulting strained liquid is your indigo dye bath.

I tested the PH of this mixture before adding my substrate and was found it registered at only 9. I was using the paper strips, not a meter. I did expect the PH to be much higher due to the Soda Ash and was not expecting the cotton t-shirt to take the indigo due to the low PH. I was surprised.
My items were submerged at 5 minutes each and allowed to oxidize twice. I kept the pot in the sun and the temp ranged from 100 to 120 degrees as I did my dipping and oxidizing.
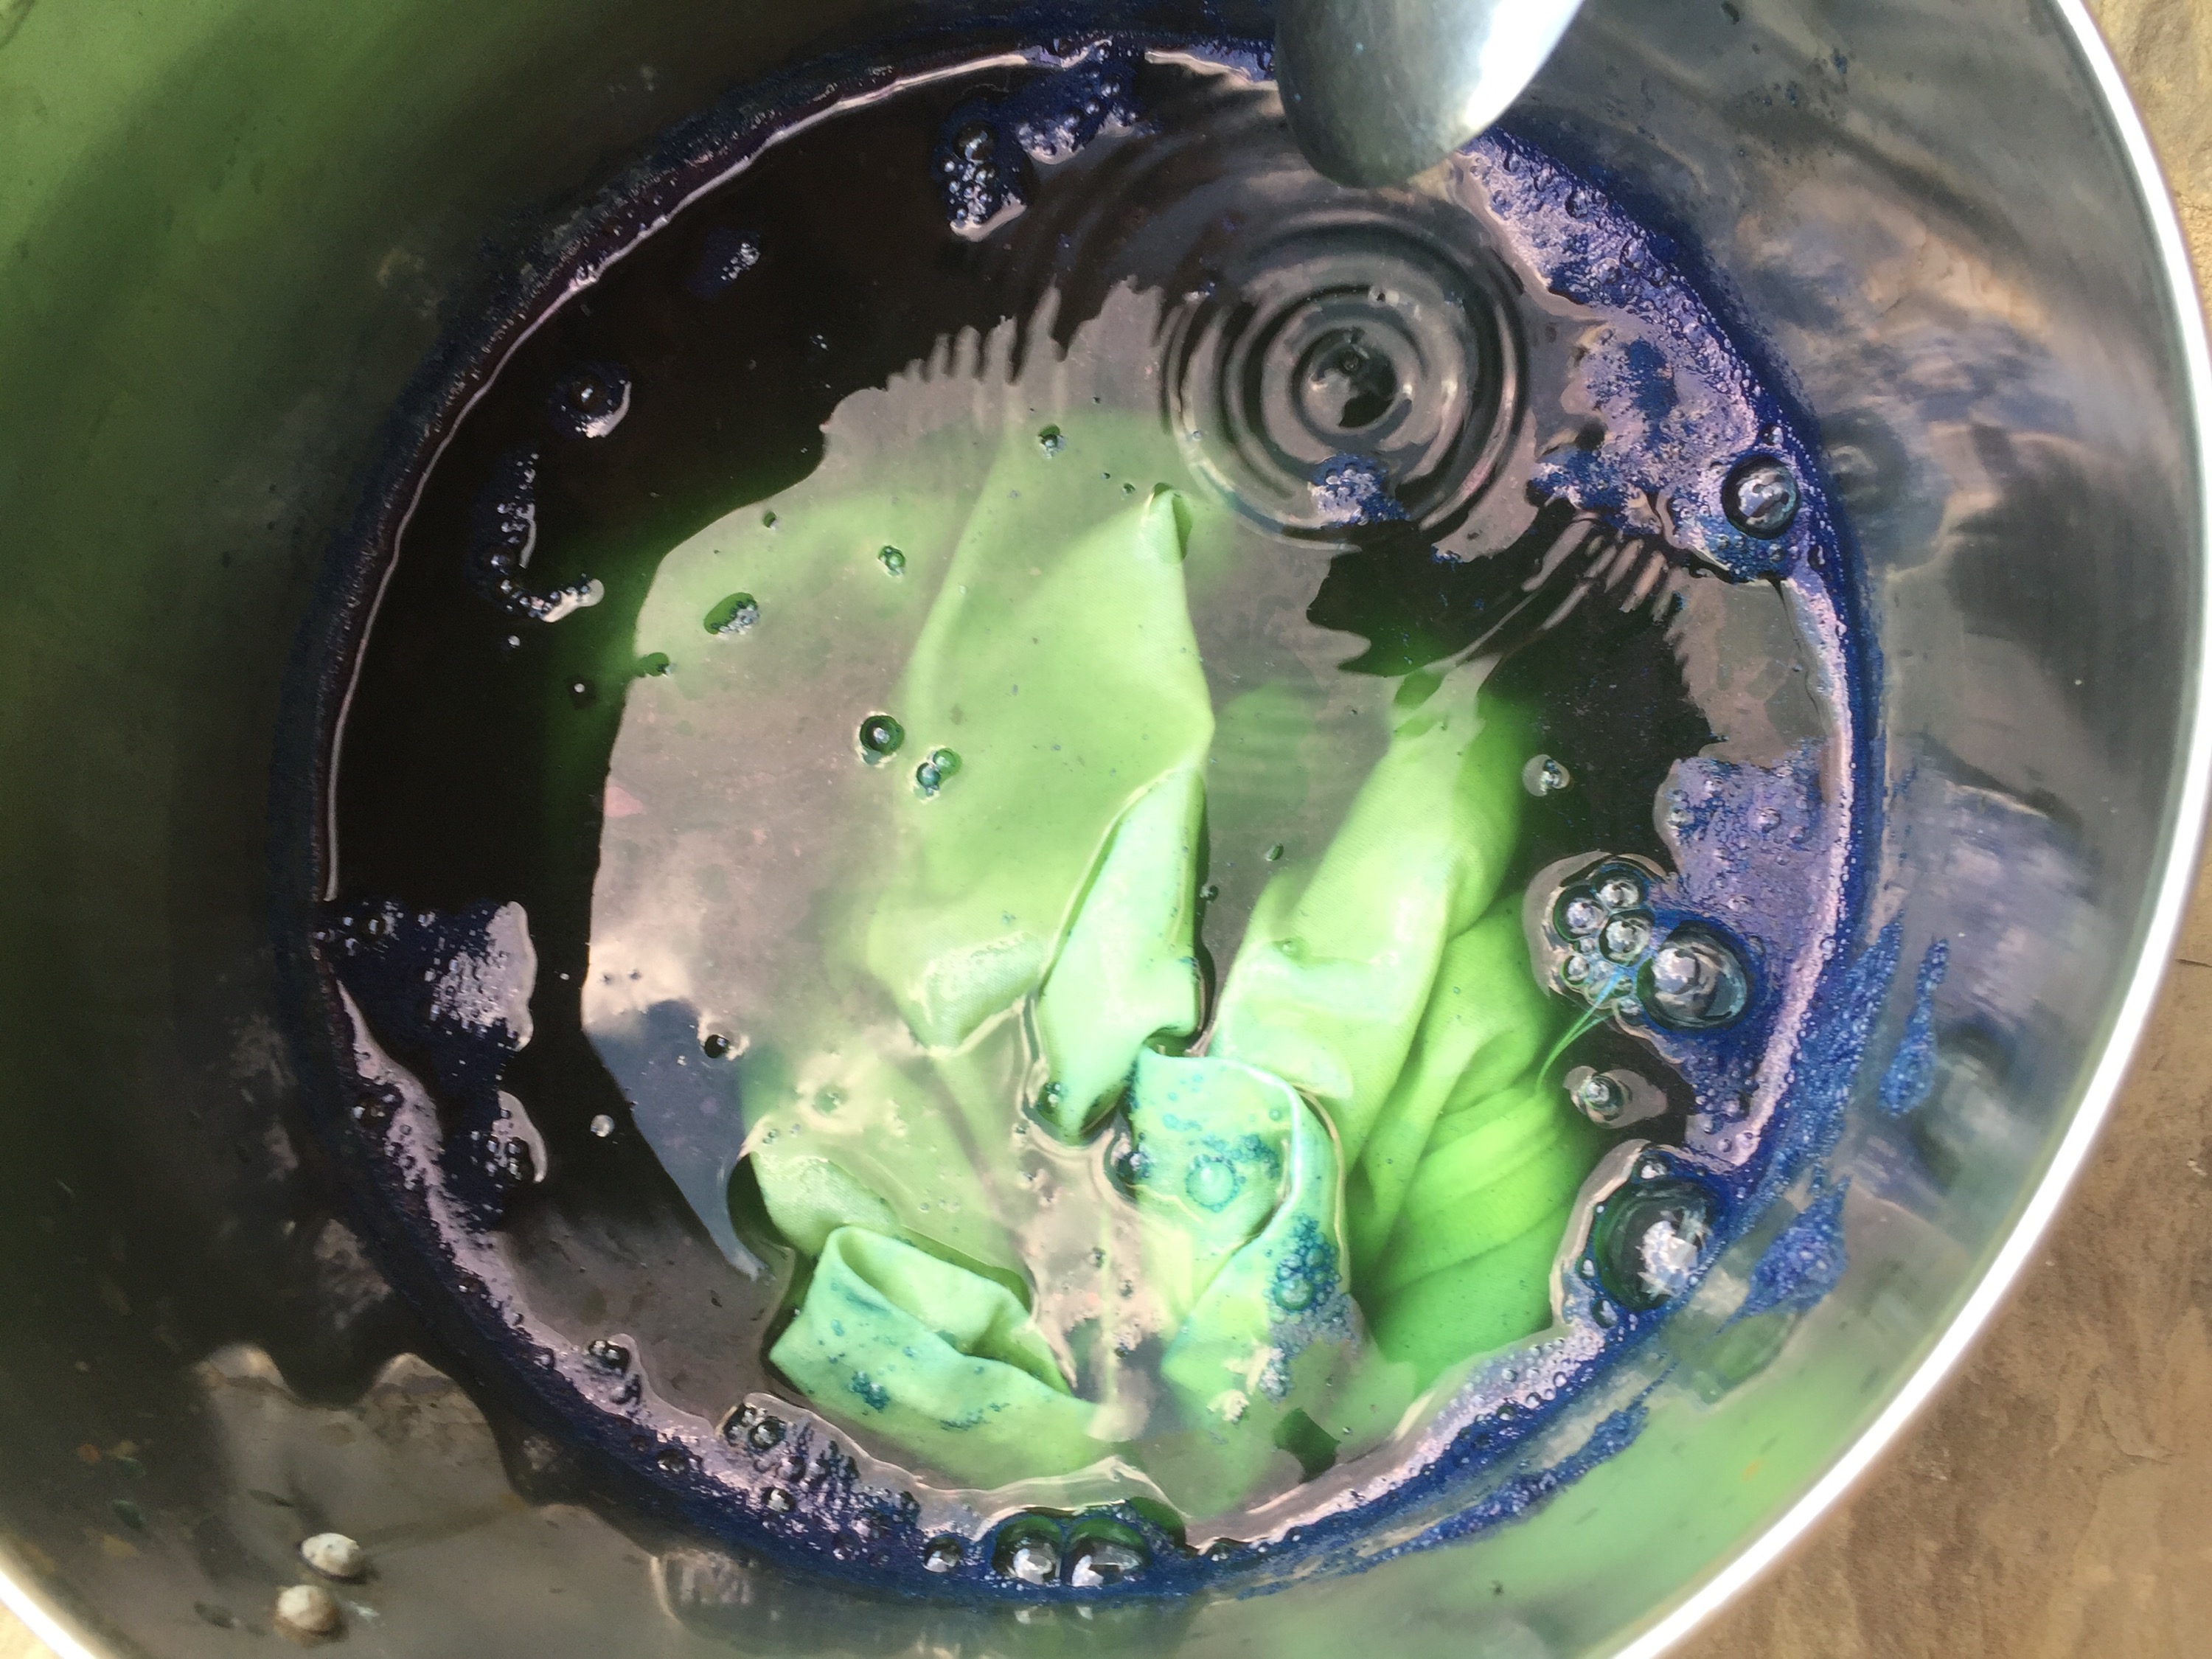

The magic of indigo oxidizing:
About the only negative about this process is I am still using Thiourea Dioxide for the oxygen reducer. I just do not like the smell of Thiourea. I plan to try the fructose/slaked lime method once I am more comfortable with the Thiourea Dioxide results.
Background: I have seen mention of dried indigo in books but no recipes to get me started. Of course I am familiar with the fermented indigo, sukumo, made from dried leaves. Being a small grower I was nowhere near producing the amount needed to get a decent blue. Nor do I have the facilities to ferment over a long period of time with winds and violent temperature swings beyond my control. So either fresh leaf indigo extaction, dried leaves or the traditional purchased indigo powder was the path for me.
When attending an indigo class at John Marshall’s studio he allowed us to look thru his Japanese dye book collection. I do not speak Japanese but I could see tantalizing photos of dried Japanese Indigo. John has been a master working with dyes in surface design over the years with his soymilk mordant and artistic mastery of stencil resist. (Yes, I am a serious fan girl) I asked if he could look thru the recipes and help me figure out a dried leaf path.
His side study along with his stencils has been with Japanese Indigo. He recently took the time to put his thoughts and mastery into a reference book based on his experience and the Japanese dye masters. The dried indigo recipe that I used is sourced from John’ book Dyeing with Fresh Leaf Indigo. His blog has blown up on him. When he reposts a new link I will put it here for you. The book is pricey but has many approaches and recipes and should be considered as a guild resource and brought into a library where folks can benefit.
John has also written about his dried indigo recipe for Turkey Red. It is at the end of his Turkey Red article.
Finally as of July 2018, JOHN has a new book release, click here for more info…
Enjoy, Deb Mc

Thank you Deb so very much for sharing this with us!
Most of my Japanese indigos in the garden and in the pot have bjuds on their stalks – are they useless for dyeing?
LikeLike
You should get color, give a try with a small blender batch to test some bloom stalks. Look at this link https://debmcclintock.me/2012/08/19/overdyeing-with-blender-indigo/
LikeLike
Impressive as always! My JI came from John’s seeds sent to me from someone on the dyers yahoo group. but arent doing great. Since I wasnt sure on growing time I put them in a pot. Mehhh. They are a single stock, no blossoms, about 14 in high after all summer. On the indigo FB group I got the idea that it likes acid soil, so I put coffee grounds around the plants. They perked up. We are going into fall in Arkansas so I’m going to try bringing the pot indoors . If they fail I will need seeds!
LikeLike
Last year my irrigation system failed so I had a complete crop failure…..fortunately John M and someone from Iowa gave me seeds so I had a crop this year. I have pink blooms and white blooms from the two sources…same leaf, just different blooms. Good luck!
LikeLike
Thank you for the in-depth details of this process! It sounds daunting, but the color is a rich reward for the effort.
LikeLike
Deb, this is a fabulous post! Thank you for taking the time to document your process and unselfishly share with the rest of us. I am saving for the future as I am growing a few seeds – maybe by next year! I would be so happy just with the leaves for Eco printing experiments. Again a big thank you!
LikeLike
Yes, Deb. I’d heard that John Marshalls recipe was the one, but it’s great to see it in action. I have this year’s harvest of dried leaves – what I couldn’t use fresh. Would love to talk more about this via email.
LikeLike
This is great! I want to know how to do this without the thiorea dioxide. Anybody know?
LikeLike
Nope, don’t know how yet, when you extract the fresh leaves you put a high ph in some form (soda ash or slaked lime) and add oxygen. You then “reduce” with thio or fructose or madder. That will be a path for next year’s crop. I want to test the known dry recipe with increased leaf ratio for now.
LikeLiked by 1 person
YES! Well, I am about to try it. I am using this great post and this: http://www.maiwa.com/pdf/organic_vat_data.pdf as my guides… you can use fruits instead of thiorea dioxide. Trying it with bananas now…
LikeLike
Deb, thank you so much for the detailed post how did this! hank you!
I will buy John Marshalls book when it becomes a little cheaper, he has done a wonderful work when researching and trying out japanese methods with japanese indigo, that kind of information seems to be all new to the western world like this dry leaf method. it makes me wonder how much new (or old) things can be still found in Japan or China, which we know nothing about.
When I read how you did the extraction from the dry leaves it started to make sense to me. I don’t know if I’m right but it seems that when the leaves are dried the indigo precursors in the leaves break down and oxidize attaching to the leaves (when they turn blue). It may be that the precursors of indigo in japanese indigo are sensitive to boiling (and that is why when you extract the normal method they can’t stand too high temperature) but when they are oxidized to blue indigotin in the leaves then they are not (like you can boil garment dyed with indigo and it stays blue). What you did was kind of stripping the indigo from the leaves the same way as you would do when you want to strip the color from indigo dyed fabric (in a bath with high pH and with reducing agent). Does this make sense or what do you think? If you would just simmer the dry leaves without alkaline and reducing agent the indigo would stay in the leaves. I still wonder about the high temperature because Lilies says that in reduced state indigo is sensitive to higher temperatures than 60C, but it seems that in this case he is wrong as what you did worked!
I have now harvested most of my japanese indigo, but I have a little left (perhaps 3-4 kilos worth of fresh leaves), I will dry them to experiment with this method.
You plants have grown really well. I plant mostly 2-3 plants in one place, so I can’t say how many stems would come from one plant, but I think that when there is only one plant at a place and it has room and water and nutrition to grow it is as good or even better than growing many plants in one place. I get about 300grams of stripped fresh leaves from one group of 2-3 plants grown together.
Thank you again for putting all this information in this post!
LikeLiked by 1 person
Deb, I so appreciate you sharing this method. We were always told not to dry our indigo leaves, that they had to be used fresh. This method certainly proves that theory wrong. My indigo plants are all harvested for this year, so maybe I can try it next year.
LikeLiked by 1 person
I was very happy when John Marshall unlocked the dry leaf method. Still needs to be experimented with for depth of color BUT we know it works!
LikeLike
Hi, thank you for the link to this over at IndiGrow fb group. I’m wondering about the thiox being introduced while cooking the leaves. Doesn’t a lot of oxidization happen when doing the series of extractions and pours? Obviously it worked. I’m wondering if you could do the extraction with just the soda ash and add the thiox afterwards. That might lessen the smell vapors. So many great things to try. Now I’m happy I have some dried leaf. Thanks, again.
LikeLike
Michele, good suggestion, worth a try. One must extract the indictin from the leaves and then reduce it. John’s Japanese method appears to do it all at once.This is all new to me.
LikeLike
I’m always pro one-pot methods out of laziness, but I also like an experiment, so I might try both. Now I wish I saved more dried.
LikeLiked by 1 person
Hi. Love your work and the fact you share. Have you tried the dry leaf with a fructose or ferrous vat method? I’ve been using both methods with powder extracts in six gallon vats. I keep,them heated to 90 degrees with fish tank heaters. They still drop in pH every night and it takes hours to revive. I’ve spiked vats with Thiox and they are ready in minutes. Curious to learn how dry leaf work in organic vats.. I’ve got 15 lbs of it from last summer saved for classes. We are in serious drought this summer! Harvest looks bad.
LikeLike
Thank you, I have not tried the fructose or ferrous vat method with the dry leaf. It is on my list of things to try. I will report on my blog when I do try it. I wandered off on another path with my fresh indigo suffrucitosa and fructose. It is good to know about the ph drop….I’ve run into the same thing with my IS and the fructose pot. Thank you for sharing that info.
LikeLike
Debbie, I grew some Japanese indigo, and harvested it in the rain the other day. Then I dried it and stripped it. Today, I could not find your instructions so I found some other online which said to heat the leaves in water for a couple of hours, up to 160 degrees. then to strain the leaves, add soda or ammonia to the water, and pour back and forth between two buckets till it turns blue, …. I added washing soda and have been pouring for quite a long time now but the tea is only a dark murky yellow. Will it ever turn blue?
I am not sure how to go forward. Can you give me any advice? Should I discard this liquid and try to get something more out of the leaves. I have saved them. Or shall I just forget this whole batch and start again?
I still have a pretty good crop remaining and expect what I cut to regrow between now and winter here in Brenham, but I would like to get some dye out of this effort if I can. I have my fiber skeins washed, wet, and waiting.
Thank you for any suggestions.
Virginia Hamilton
LikeLike
Sounds like you did not reduce the oxygen. Did you add thio, fructose, henna or madder root to kick off the oxygen reduction? Your indigo will just float around and wave at you rather than striking your yarn.
LikeLike
You are correct, I did not add anything except washing soda. The instructions said oxygenate the liquid till it turns blue then add the color remover. It never turned blue. Once I found your instructions for dried indigo it said heat the leaves w water and then pour off that yellow liquid and then start within the strained leaves.
Now I’ve had to travel out of town for a week so I left the strained leaves spread out on trays, and that yellow liquid is in a bucket which I thought I should ask my husband to pour out.
What would you do ?
Thanks, Virginia
Sent from my iPhone
>
LikeLike
It sounds like you are working with the pre-reduced indigo. I am sorry I can’t help you with that.
LikeLike
Oh, dear, I don’t know what is pre-reduced indigo. I picked the leaves, dried them, covered them with water, heated them for two hours up to 160 degrees, and strained the liquid.
Then I added soda to the strained liquid but it never turned blue.
I saved the leaves. Should I try adding more water to the leaves to extract the indigo or is there hope for the first yellow liquid I poured off?
Thanks again,
Virginia
LikeLike
Below is a very good book that has great instructions. You can try again with your liquid when you get home. Try pouring back and forth again and then add your reduction agent. That is what you missed the first time. The bath shoukd be at a temp of 100-120. Good luck!
Dyer’s Garden by Rita Buchanan
ISBN: 1-883010-07-01
Approach to natural dyes via touching the ground
LikeLike
I found the Dyer’s Garden at a yarn store while I was out of town. Thanks for that recommendation. (Of course I would like to buy John Marshall’s book.)
I am back home now and tried dying again today with a new batch of leaves. It has worked pretty well, but I think I put too much yarn in the dye bath and my yarns are more blue-green than I wanted. However, I will try again tomorrow and dye over the skeins. I only dyed one 100% wool skein, using the left over dye bath after the other skeins came out. It is bluer — less green — than the others but pale. I dyed three skeins first:
100% silk
50% wool + 50% silk
85% cotton + 15% linen
This is very fun. I’ve always enjoyed your write-ups and photos about dying and now I have done it myself! Thank you for your help.
Virginia
LikeLike
okay, Virginia, I am officially confused. Are you working with fresh Japanese Indigo leaves or with dried Japanese Indigo leaves? Rita’s book gives you the directions for working with FRESH leaves. My blog entry gives you John Marshall’s translated Japanese process with DRIED leaves. There are different process steps dried vs fresh. And of course there is the blender recipe that works with fresh leaves and is ANOTHER process. That is why I am asking. No criticism implied, just trying to clarify!
LikeLike
Hi, Deb, on my first try, I dried the leaves for a few days, as I thought I read in your post, but then I couldn’t find your page, for some reason, and so followed some other instruction — and heated the leaves for a few hours but not over 160 degrees. I strained the leaves and poured the liquid yellow-brown liquid back and forth but it never turned blue so I never added the color run remover which I had bought for the purpose. I kept the leaves but ended up throwing out the liquid which became moldy while I was out of town for a week.
Today, I started over and used fresh leaves according to Rita’s directions. It has worked as I described in my earlier post. Tomorrow, I will try again with another batch of fresh leaves and over-dye the skeins I dyed today. — Unless you have other advice. I am open to any suggestions. I have a pretty good patch of remaining indigo though it is mostly flowering now.
I am reading in Rita’s book I can boil the used leaves for some yellows and browns, but for the moment I was interested in the indigo color.
Thanks for any input,
Virginia
LikeLike
Ok great, fresh leaves, follow Rita’s instructions, they work well. Your skeins’ colors will deepen to blue. You are seeing the chlorophyl which will disappear. Hold aside one of your indigo skeins and use the “used” leaves for a yellow overdye. You can get a yellow skein, a blue skein and a green skein if you plan out your order of dyeing. Three colors from your indigo! There is always next year’s crop!
LikeLike
Oh, and actually your color after pouring back and forth might be a port color…the blue green color is from the indigo tinc species (can’t remember official name. Anyway note the color you started with and watch for the color shift.
LikeLike
I was reading your directions for using the dried leaves. I really like the idea of being able to dry the leaves snd use them when you want to. I will collect the various ingredients and try this as soon as I can.
Do you think it is worth my while to dry leaves from plants that are flowering? I will have more seeds than I need so that is not a concern for me.
Thanks,
Virginia
LikeLike
Yes! Mine worked last year.
LikeLike
This is good news. I will harvest and dry some now and then another “crop” when this one grows, back before cold weather sets in.
Virginia
Sent from my iPhone
>
LikeLike
Deb, I tried to distill your instruction into something like a recipe that I could print out and reference. If you have time, would you take a look and make any corrections? I put my questions in red, but I may have made mistakes elsewhere, too.
Thank you, Virginia
On Mon, Aug 29, 2016 at 11:19 PM, debmcclintock wrote:
> debmcclintock commented: “Yes! Mine worked last year.” >
LikeLike
no attachment to look at, not sure if you can post an attachment to my blog.
LikeLike
Hi, Debbie, today, I re-dyed two of the skeins that had been dyed a few days ago, and here is a photo of the result. I thought you might find it interesting. The 85% cotton+15% linen skein turned a darker, truer blue. The 100% silk, which had turned gray after the first attempt, turned a nice brown this time — not blue as I had hoped, but interesting and not a bad color.
Next I am going to dry the leaves and work from that.
Thanks for all your help. Any advice or feedback on the recipe I sent is welcomed. (I am an instructional designer/training developer by profession, so it is ingrained in me to try to distill and document — hence, the “recipe”.)
In October, I am going to take an indigo dyeing class at WC Mercantile in Navasota. I am sure that will provide more information for me to work with.
Best regards, Virginia Hamilton
LikeLike
no photos attached, not sure if you can put photos in the comments, I’ve had the brown and grey before also, seems to be related to the temperature of the indigo pot, between 100 – 120 degrees….enjoy your class in Navasota!
LikeLike
Towards the end of the season there is less indigo but give it a try.
LikeLike
I´m totally stunned by this method because I have learned that the precursors die when the leafs dry or put in the freezer. I recently did an experiment with fermenting some fresh, halv dried and dried wasted leafs. I put in a baby bathtub with water alone for 2 weeks. The smell almost killed me when separating the rottened matter. I then added ammonia and left for a week. Then I put some woollocks and a small cotton cloth overnight and it dyed, very light but it took some pigment. After I reduced with Sodiumditihionite and soaked another bigger cotton cloth which gave light blue. More ammonia added, aerating och more dithionite and I got a lovely sky blue tone. The cloth was prepared with simple shibori technique. As a last experiment I dyed a silk scarf and had to dip it several times. The colour I gor was light turqouise. When reading your post I understand that the dried leafs must have done a great part of the work. I once tried dried leafs heated in a jar as the usual method. It didnt give any pigment at all. Thank you so much for sharing your experiences! ❤ ❤
LikeLike
No problem, thank the Japanese dyers that wrote about & shared the process and John Marshall for translating the process from Japanese and publishing it.
LikeLike
I tried your Recipe using my Dried Japanese Indigo leaves. The only difference in recipes was I used Color Run Remover rather than the Thiorea Dioxide, and got no bloom, and no color in my yarn. Any ideas what I did wrong??
LikeLike
No
LikeLike
Thanks for walking us through your exploration of using your own indigo and for the recipe and references. Fascinating to me, a newbie to creating my own vat. I’ll hunt up John Marshall aslnd have a bit more courage in doing my own.
LikeLike
The first time you strain the yellow liquid it is discarded. The next two times, that liquid is discarded too?
Finally ready to try this!
Emily
LikeLike
Only the first time is the discard! The next pulls hold the liquid for your dyebath!
LikeLike
Thank you for this detailed post! Can you tell me, are you able to keep this type of dye bath going like you would a traditional indigo vat (for example – adding more fructose and lime), extending the use of the dye bath over a longer period of time? Or do you feel it’s just for one time use? Thanks!!
LikeLike
I have only used it with the thio d, treated as one time use. Let me know if you are successful with long term period of time.
LikeLike
Hi Debbie, yesterday I tried your method for dyeing with dried Japanese Indigo leaves and I’m really happy with the results. Thank you very much for sharing the process. I wrote a blog post about the dyeing process referring to your website hoping this is ok for you: https://kirkoe.wordpress.com/2020/08/27/blaufarben-mit-getrocknetem-farberknoterich/
Best wishes from Germany
Kirsten
LikeLiked by 1 person
Hello Deb.
I am very grateful for this post about dyeing with dry indigo leaves.
I live in North West Victoria in Australia and I think the weather is very similar to yours. Very strong winds, sudden and extreme changes in temperatures. This is why I have noticed that a lot of leaves on my japanese indigo plants already turn a beautiful dark blue on the plant. I was searching for ways to use them and the recipe you give here seems perfect. However I don’t want to use hydrosulfite. I don’t have any and don’t intend to buy some. You mentioned that the next time, you would try this recipe with lime and fructose. Did you ? How can I find this blog/page ? I am new to WordPress.
Thanks a lot, in advance.
genevieve
LikeLike
I have not tried the lime/fructose vat. The past two years I have been deeply involved in eldercare which has not left time to experiment. However in the Facebook group indigo pigment extractions Michael Garcia has posted a recipe. Join that group and ask to be tagged on that entry. It is on my list to try. Good luck. On a side note, I used thiorea dioxide rather than hydrosulfite, it is a different product that reduces indigo ad well. It is also referred to as Spectralite for indigo dyeing.
LikeLike