Well, prepping madder root for cold soak is sorta a misnomer in 80 degree Texas spring weather. But I’ll stick with a Tx cold soak.
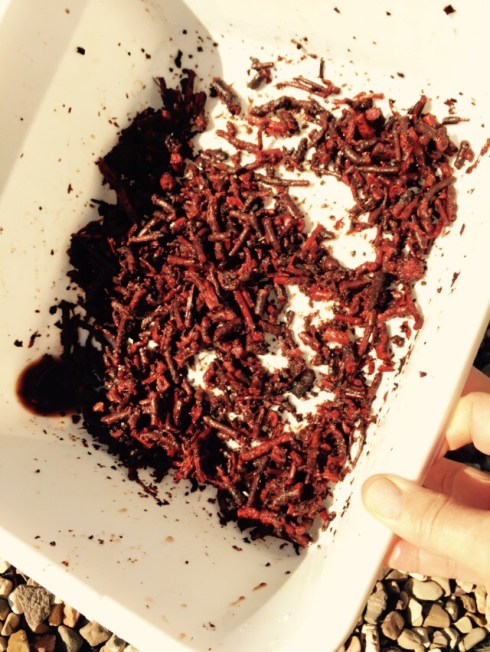
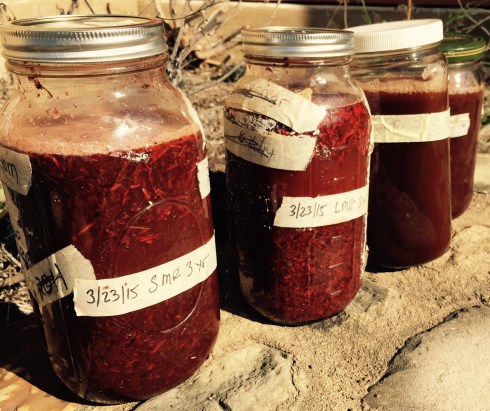
I took 100 grams (3.5oz) each of my 3 year large root & 3 year small root madder vintages and soaked them in 4 cups of water in the sun yesterday and overnight. Result was softened roots with the dirt and skin loosened.
I strained off the first 4 cups of water, set it aside and cut the larger roots with scissors so they would not jam my blender. Then into the blender with 4 more cups of water.
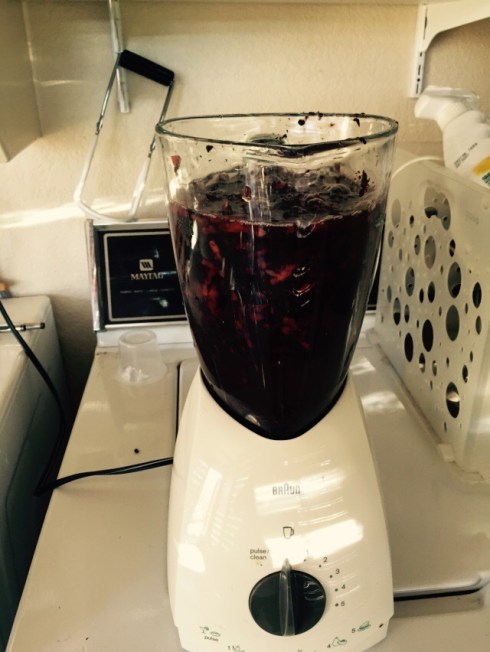
The first blend water was poured off again and reserved with the overnight soak water. You could see the dirt and skin that had loosened.
Into the blender one more time on high and the roots were pulverized for more soaking. Pouring off the soak water and the first blend water will, I hope, keep the brown accents out of my red.
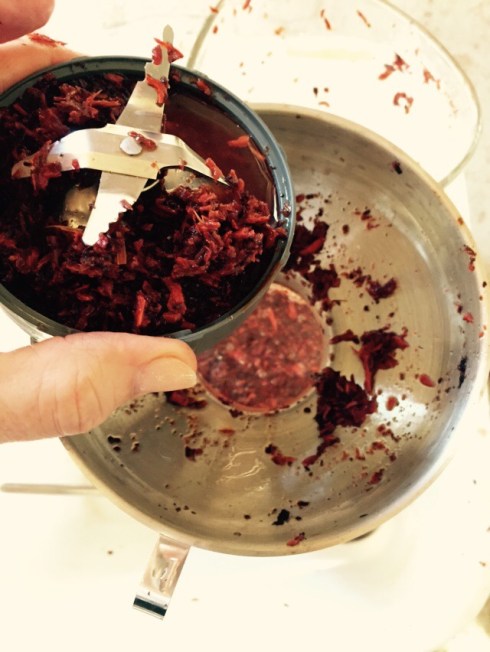
The madder slurry was poured back into the holding jar with its water and set out to sun simmer again for a couple of sun days until I am ready to add my silk.
Now, you can bet after this effort that I cringed when I lost some of my dye stock on the floor by pouring too fast. Grrr, breath and go slow, the madder has already taken 6 years to grow. What is my hurry?
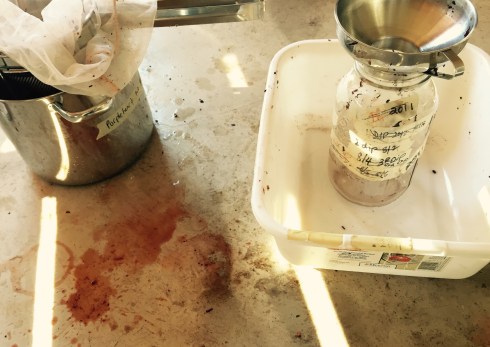
I repeated the process with another batch of my 3 year small root vintage and reserved the wash water again.
So now, the 3 &year small and large roots are solar heating for age color comparisons. The wash pull is waiting for me to do something with it. Hmmmm, pull pigment or dye silk, choices exist.
note: edited 3/20 to reflect batches processed were 3 year large root and small root…100 Grams each!

Watching this with much interest …
Would love to head your way some day. Please let me know if you ever offer a studio tour.
LikeLike
will keep you posted!
LikeLike
YES! A Deb studio Workshop. I have some old madder roots and will try this this summer at my northern studio. Thank you for the wonderful notes.
LikeLike
ha, tough to do a video, I’d probably drop the phone in the dye pot….I am teaching a “dry” class at CHT for beginners. Goal is to take the fear out of the natural dye pot. You are definitely NOT a beginner but pass the word!
Click to access CHT2015-RegBookFINAL-PC-or-Mac.pdf
LikeLike
This is so fascinating. I have dyed with madder roots before, but usually use extracts. I’m looking forward to seeing your results.
LikeLike
i’d have thrown a cloth on that spill, and into the pot later!
LikeLike
Ha, you are so right. On of my favorite natural dye teachers, Diane De Souza, always has a supply of mordanted hankies in the class for use for spills. I should adopt that practice on the dye patio, plenty of opportunity. I could put them out in the 106 heat this summer & set them!
LikeLiked by 1 person
i know sometimes, the dye “sop cloths” are true works of art on their own!
LikeLike
I now have 3 year madder of my own. This might be the year! I am following with intense interest 🙂
LikeLike
Good luck with it! Here’s what I got with some 2012 3 year old madder. https://debmcclintock.me/2012/08/04/part-3-texas-madder-root/
LikeLike
Dug 3 lbs of fresh roots. A patch that has gone out of control so this section was only a small part of what I have left. Most is over 6 years mingled with younger plants. New growth isn’t above the ground yet. Following your blog with optimism and chopped up roots after washing 4 times. Only dirt not color washed off. Covered with warm water and will let set overnight and blenderize tomorrow. Will control heat in the house as we are in Montana not Texas. Long time before we see 80 degrees. Thanks for sharing.
LikeLike
Justine, glad it helped. Keep an eye on the heat, don’t let it go above 120 or the red will break to brown. Do a really short blend and pour off that water to remove the outer skin and remaining dirt. THEN blenderize to serious small pieces and then heat soak for color. I just posted today about the color I got from the soak water. Its worth using. Enjoy!
LikeLike